How to Connect Google Lead Form with Todoist
The integration will allow you to get new leads from Google Lead Form and transfer them to Todoist for create task. This way you can automate the process of processing data from the Google Lead Form using Todoist as efficiently as possible.
Let's go through the entire Google Lead Form with Todoist setup steps together!
Navigation:
1. What will integration Google Lead Form with Todoist do?
2. How to connect Google Lead Form account?
3. How to connect Todoist account?
4. How to setup data transfer from Google Lead Form to Todoist?
5. An example of the data that will be sent to your Todoist.
6. Auto-update.
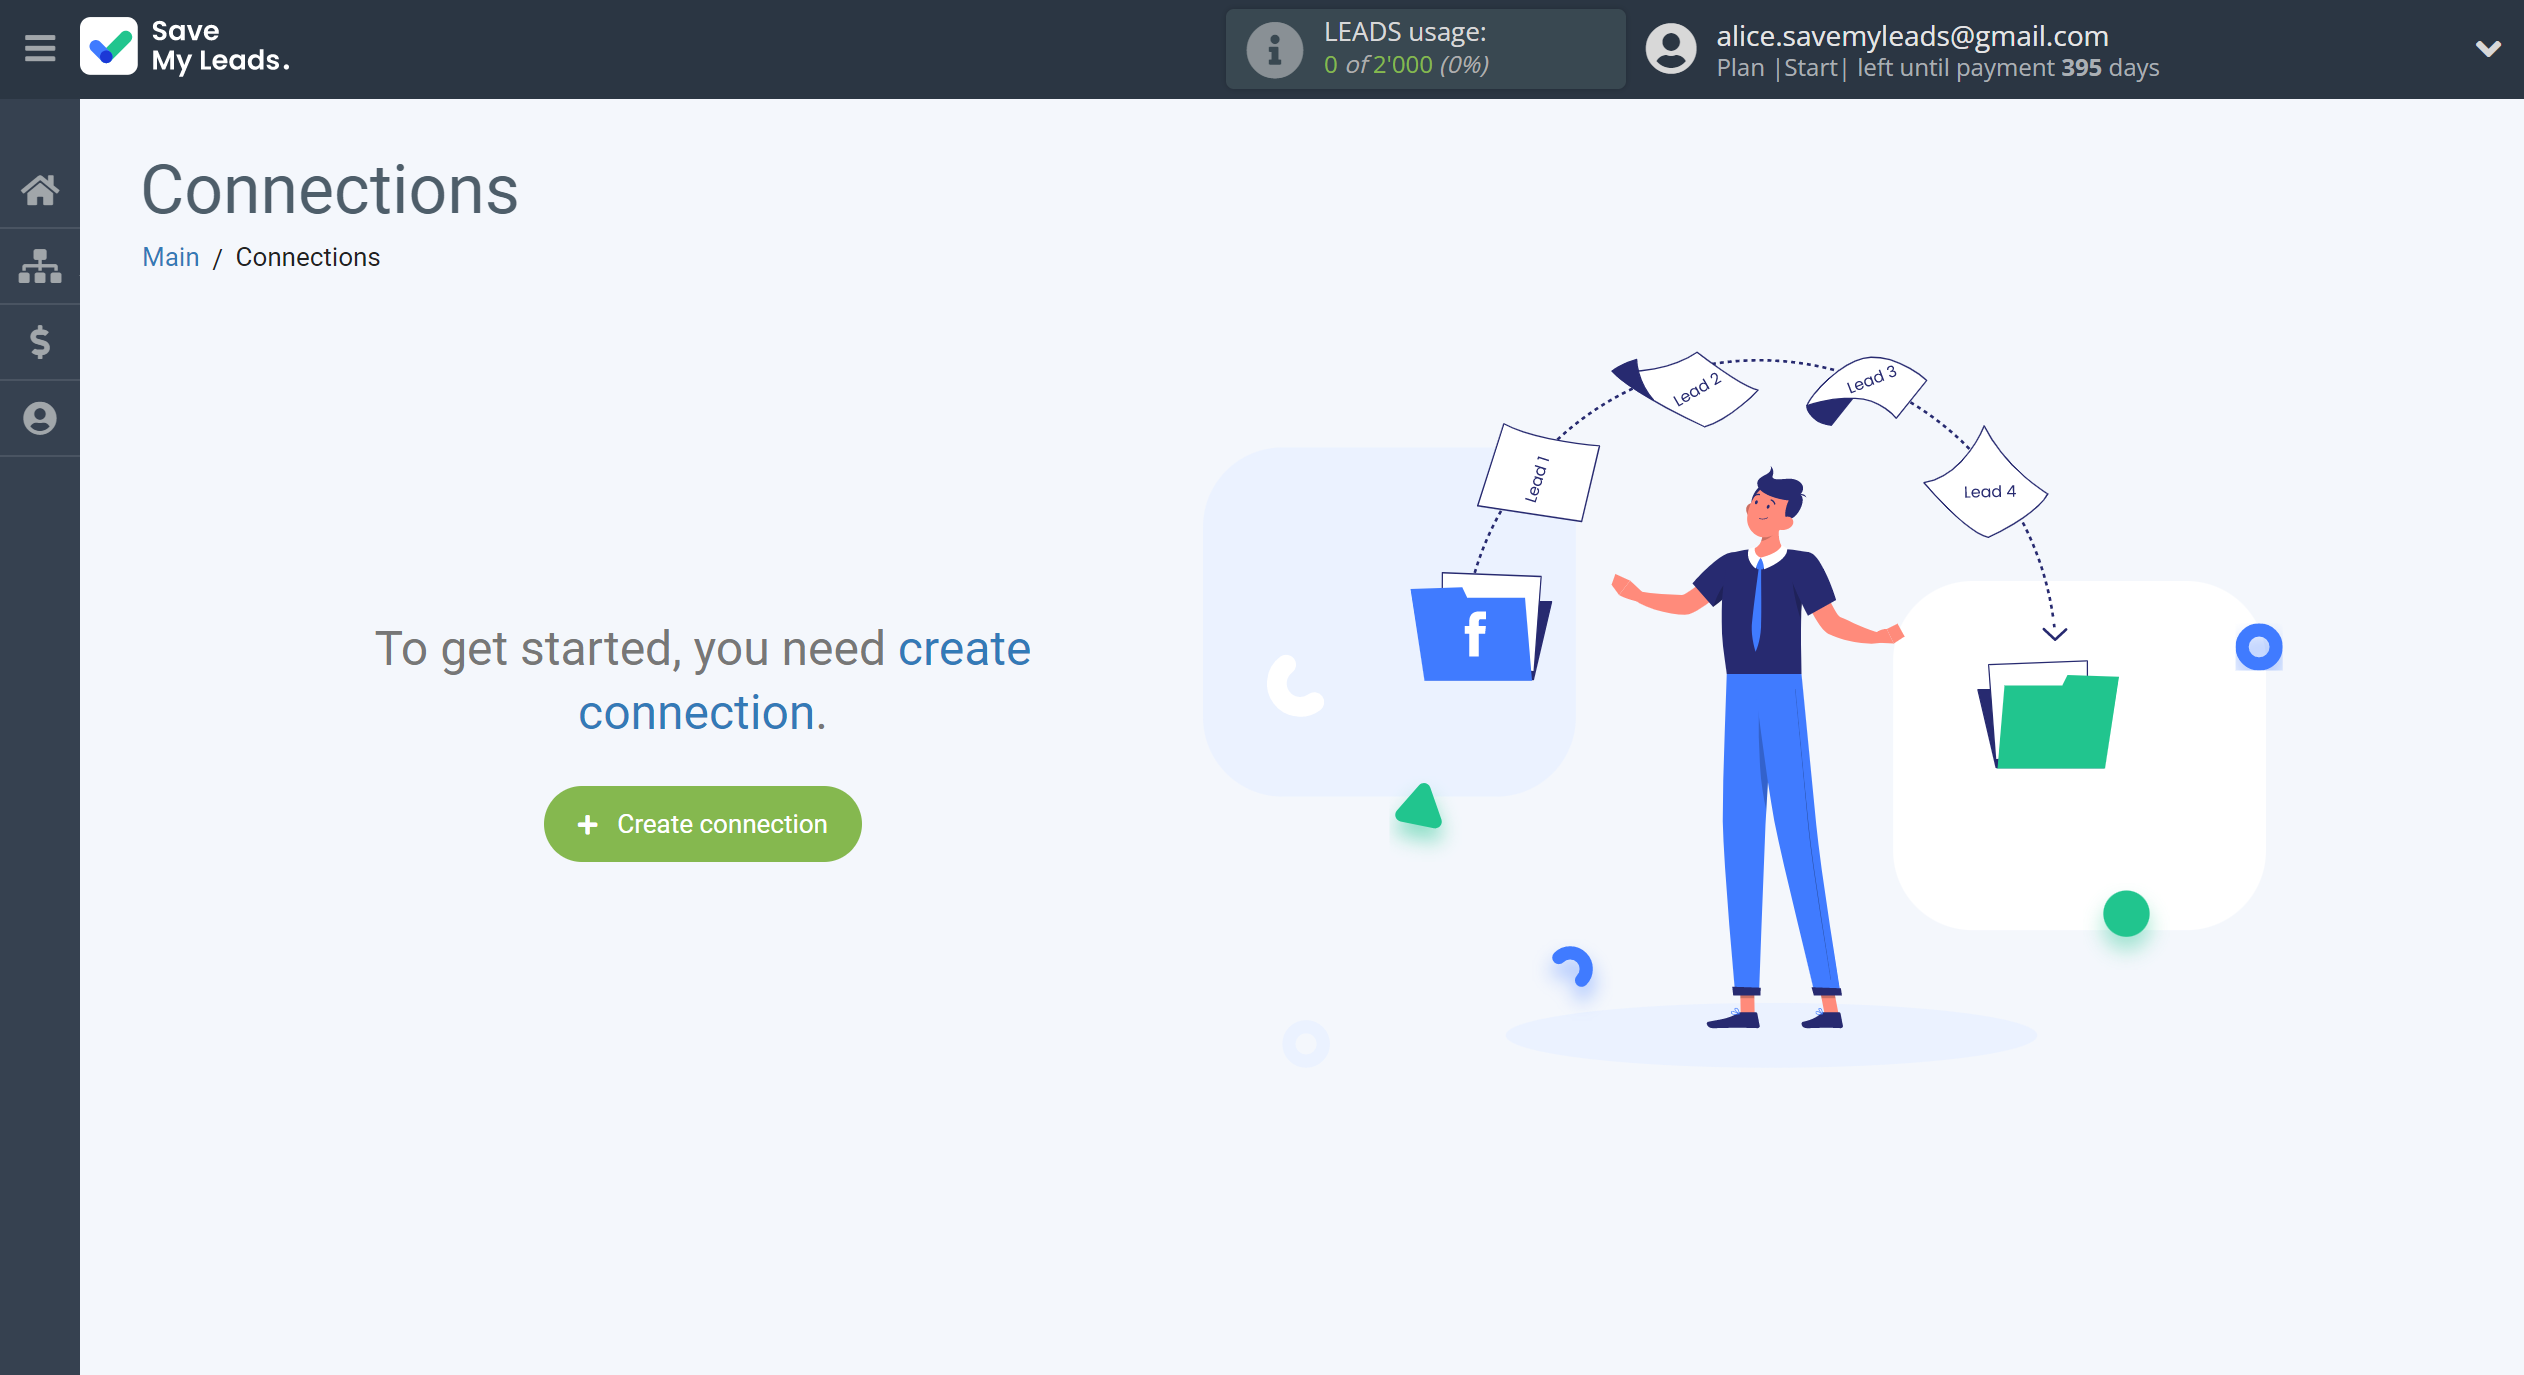
To start setup new connection, click "Create connection".
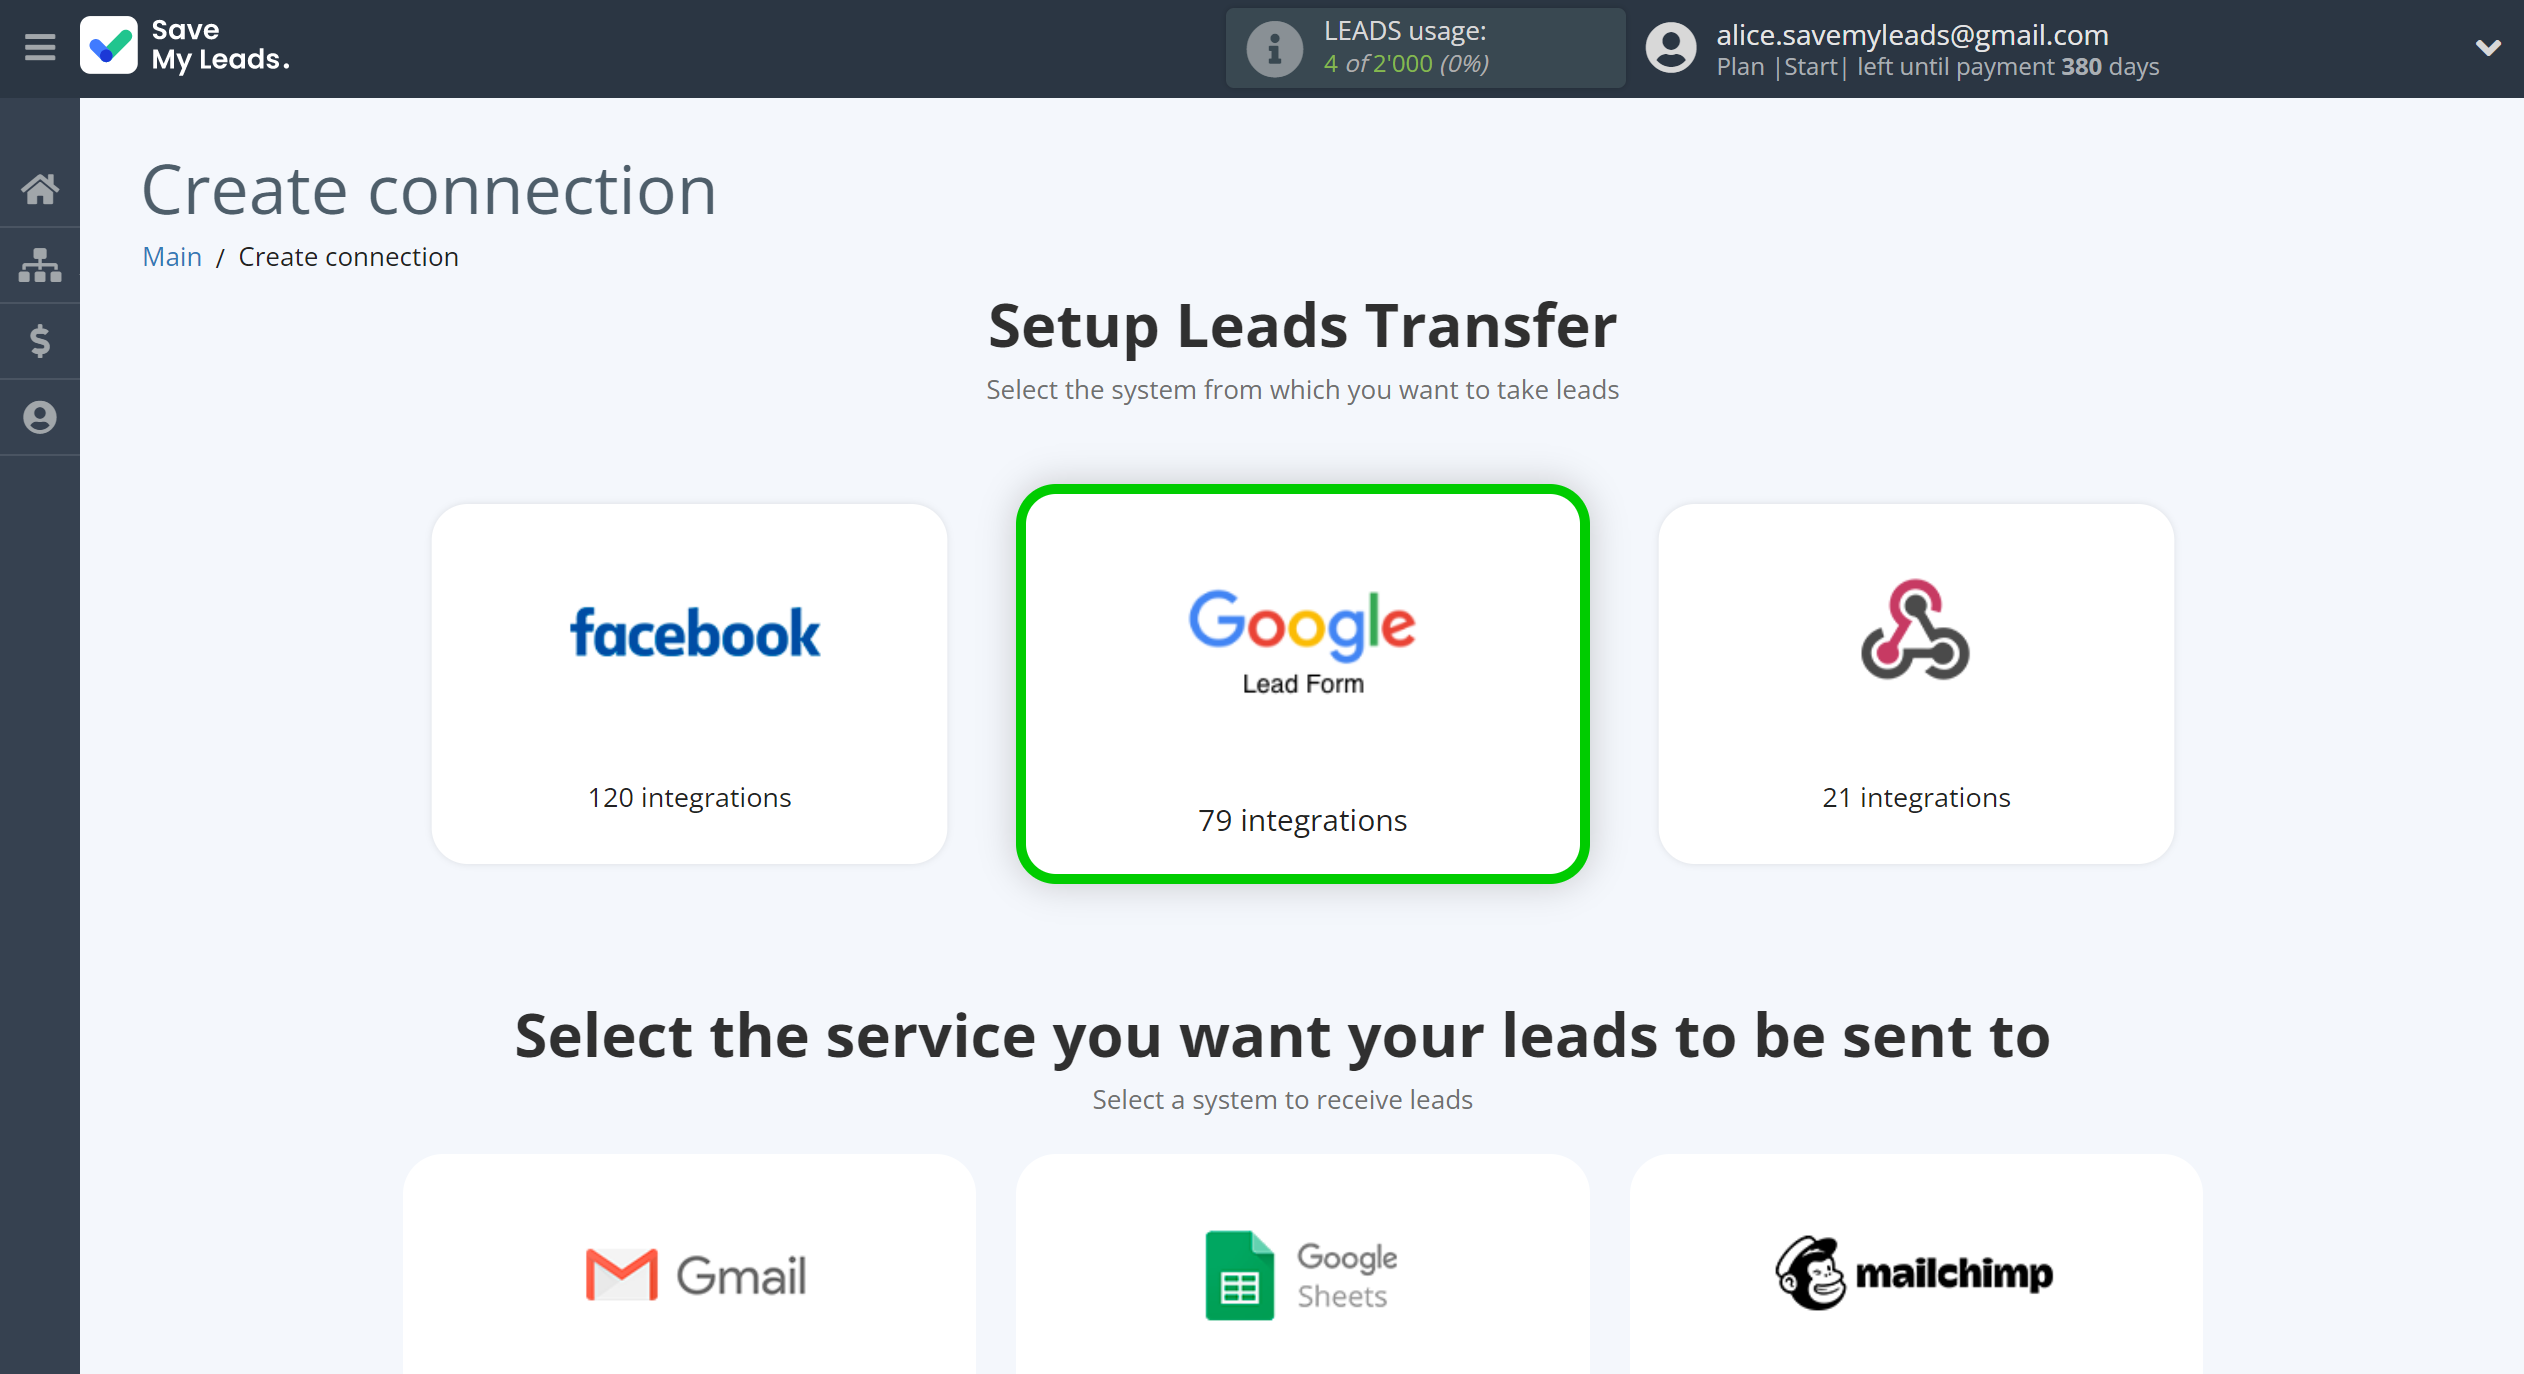
Select a system as the Data Source. In this case, you must specify the Google Lead Form.
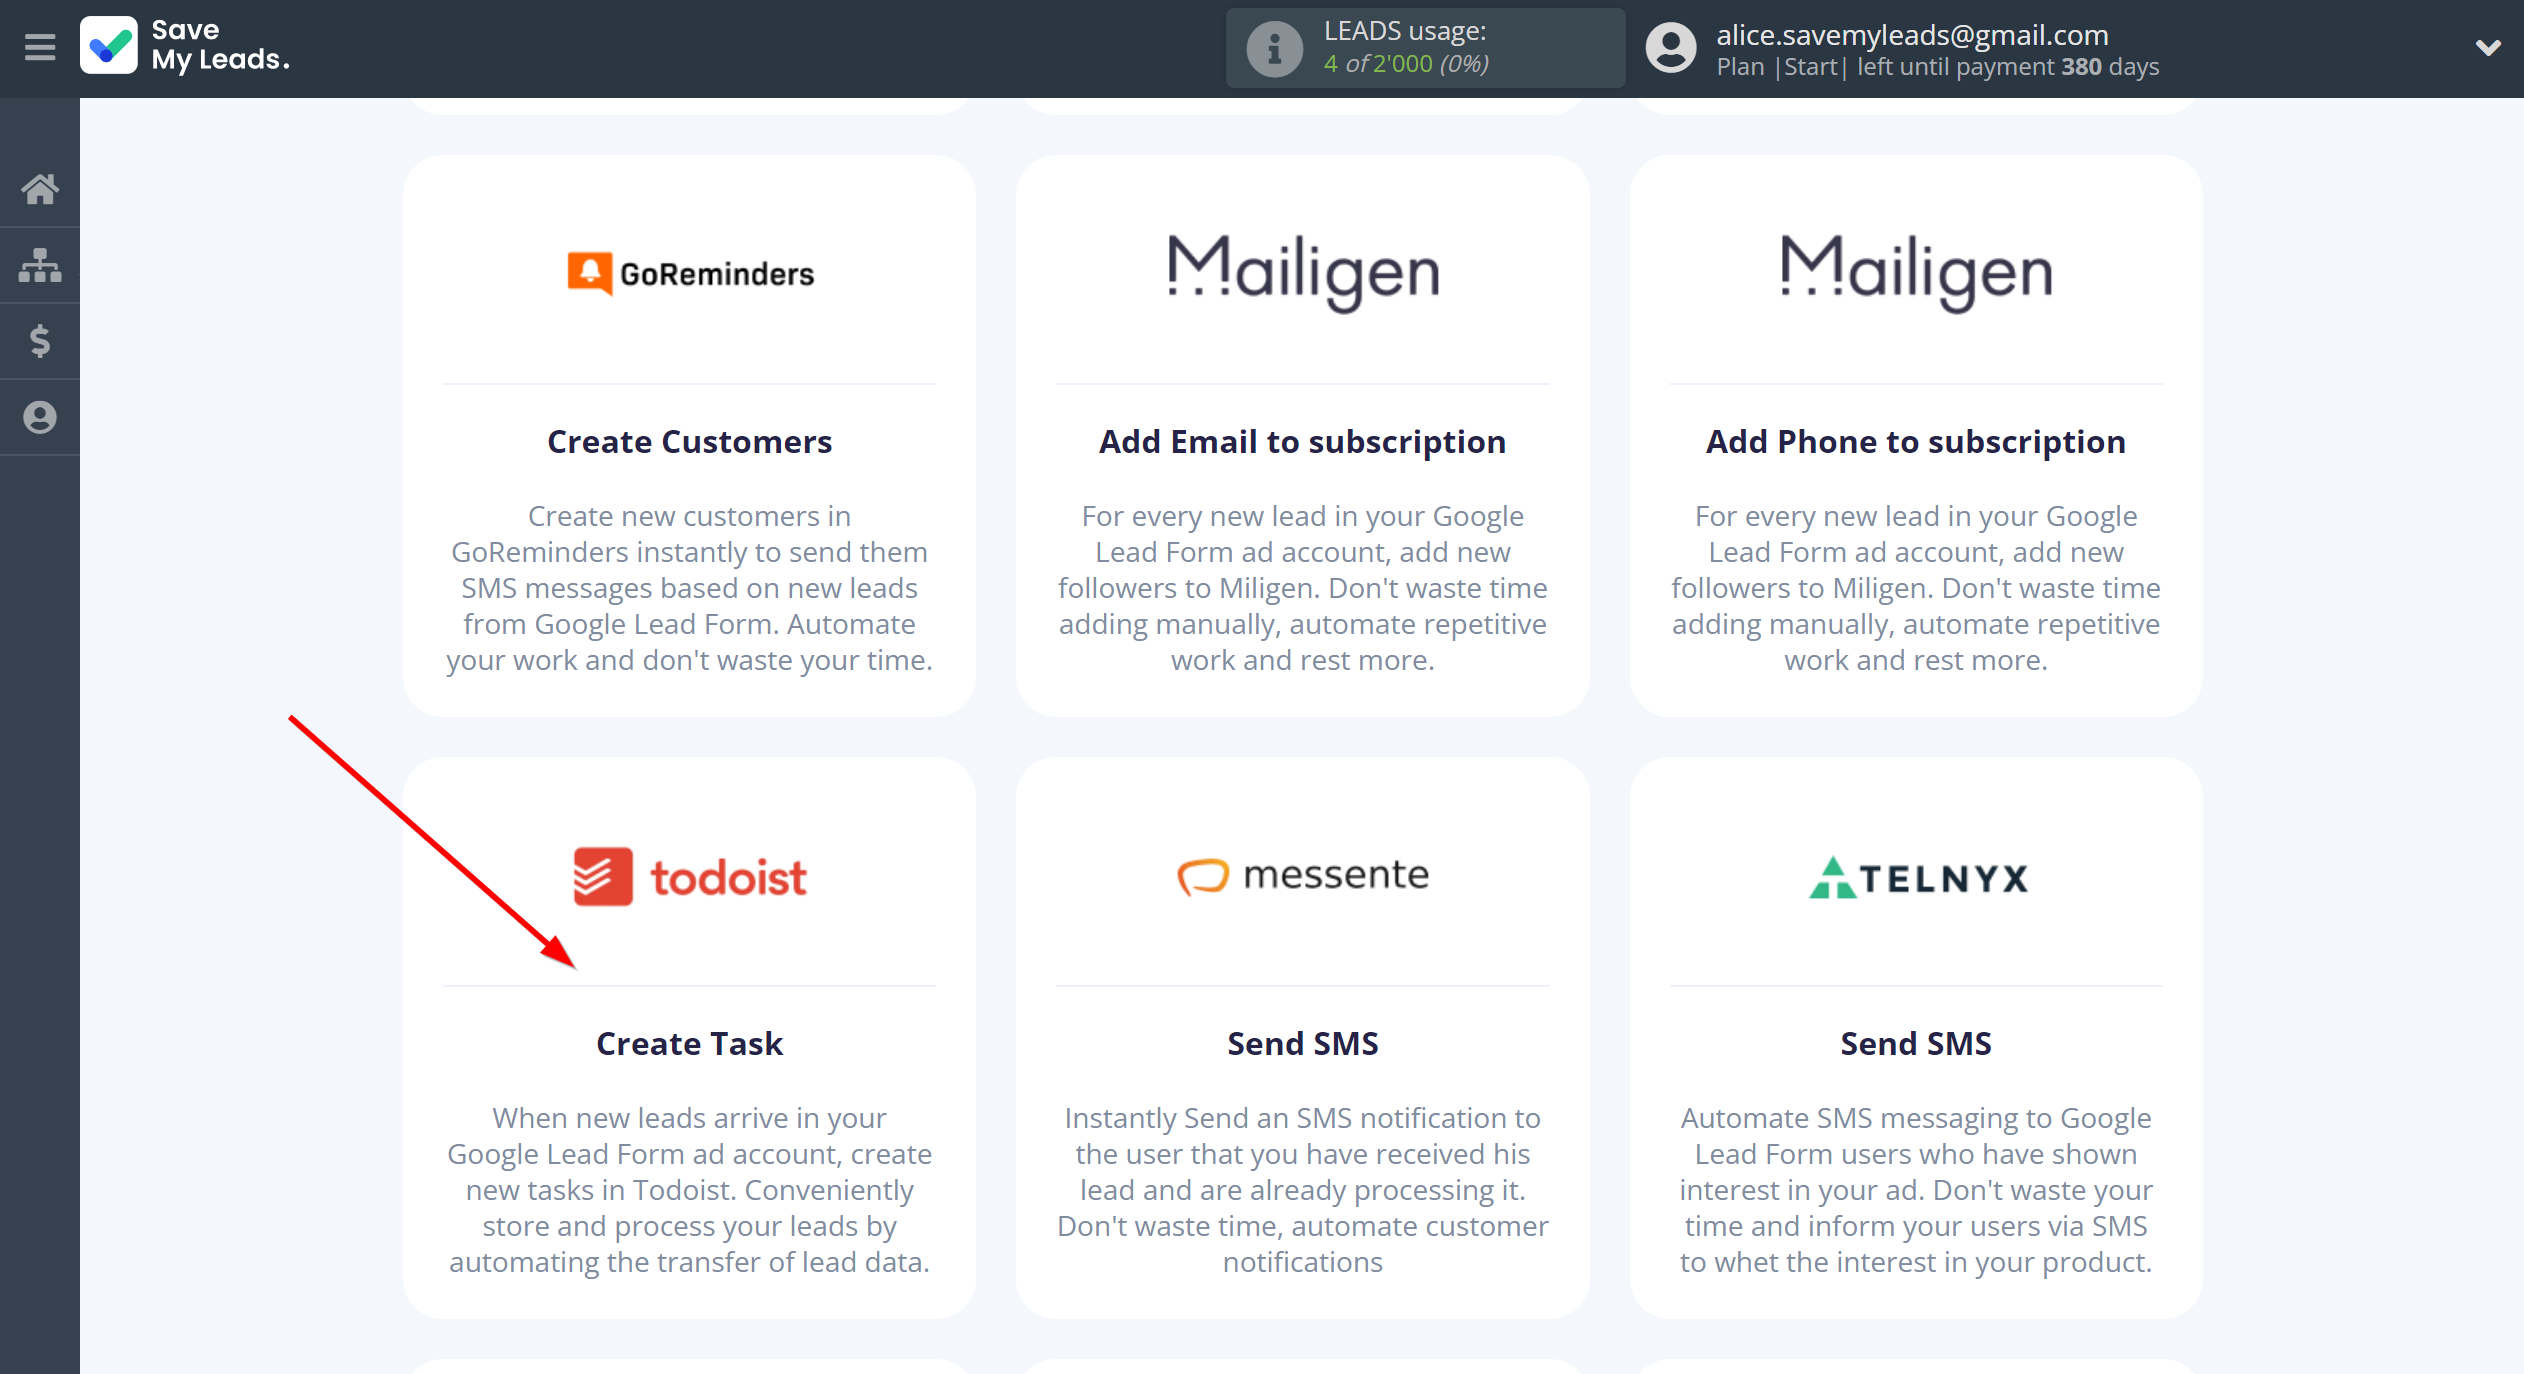
Next, you need to specify the system to which the data from the Google Lead Form will be transferred. In this case, you must specify Todoist.
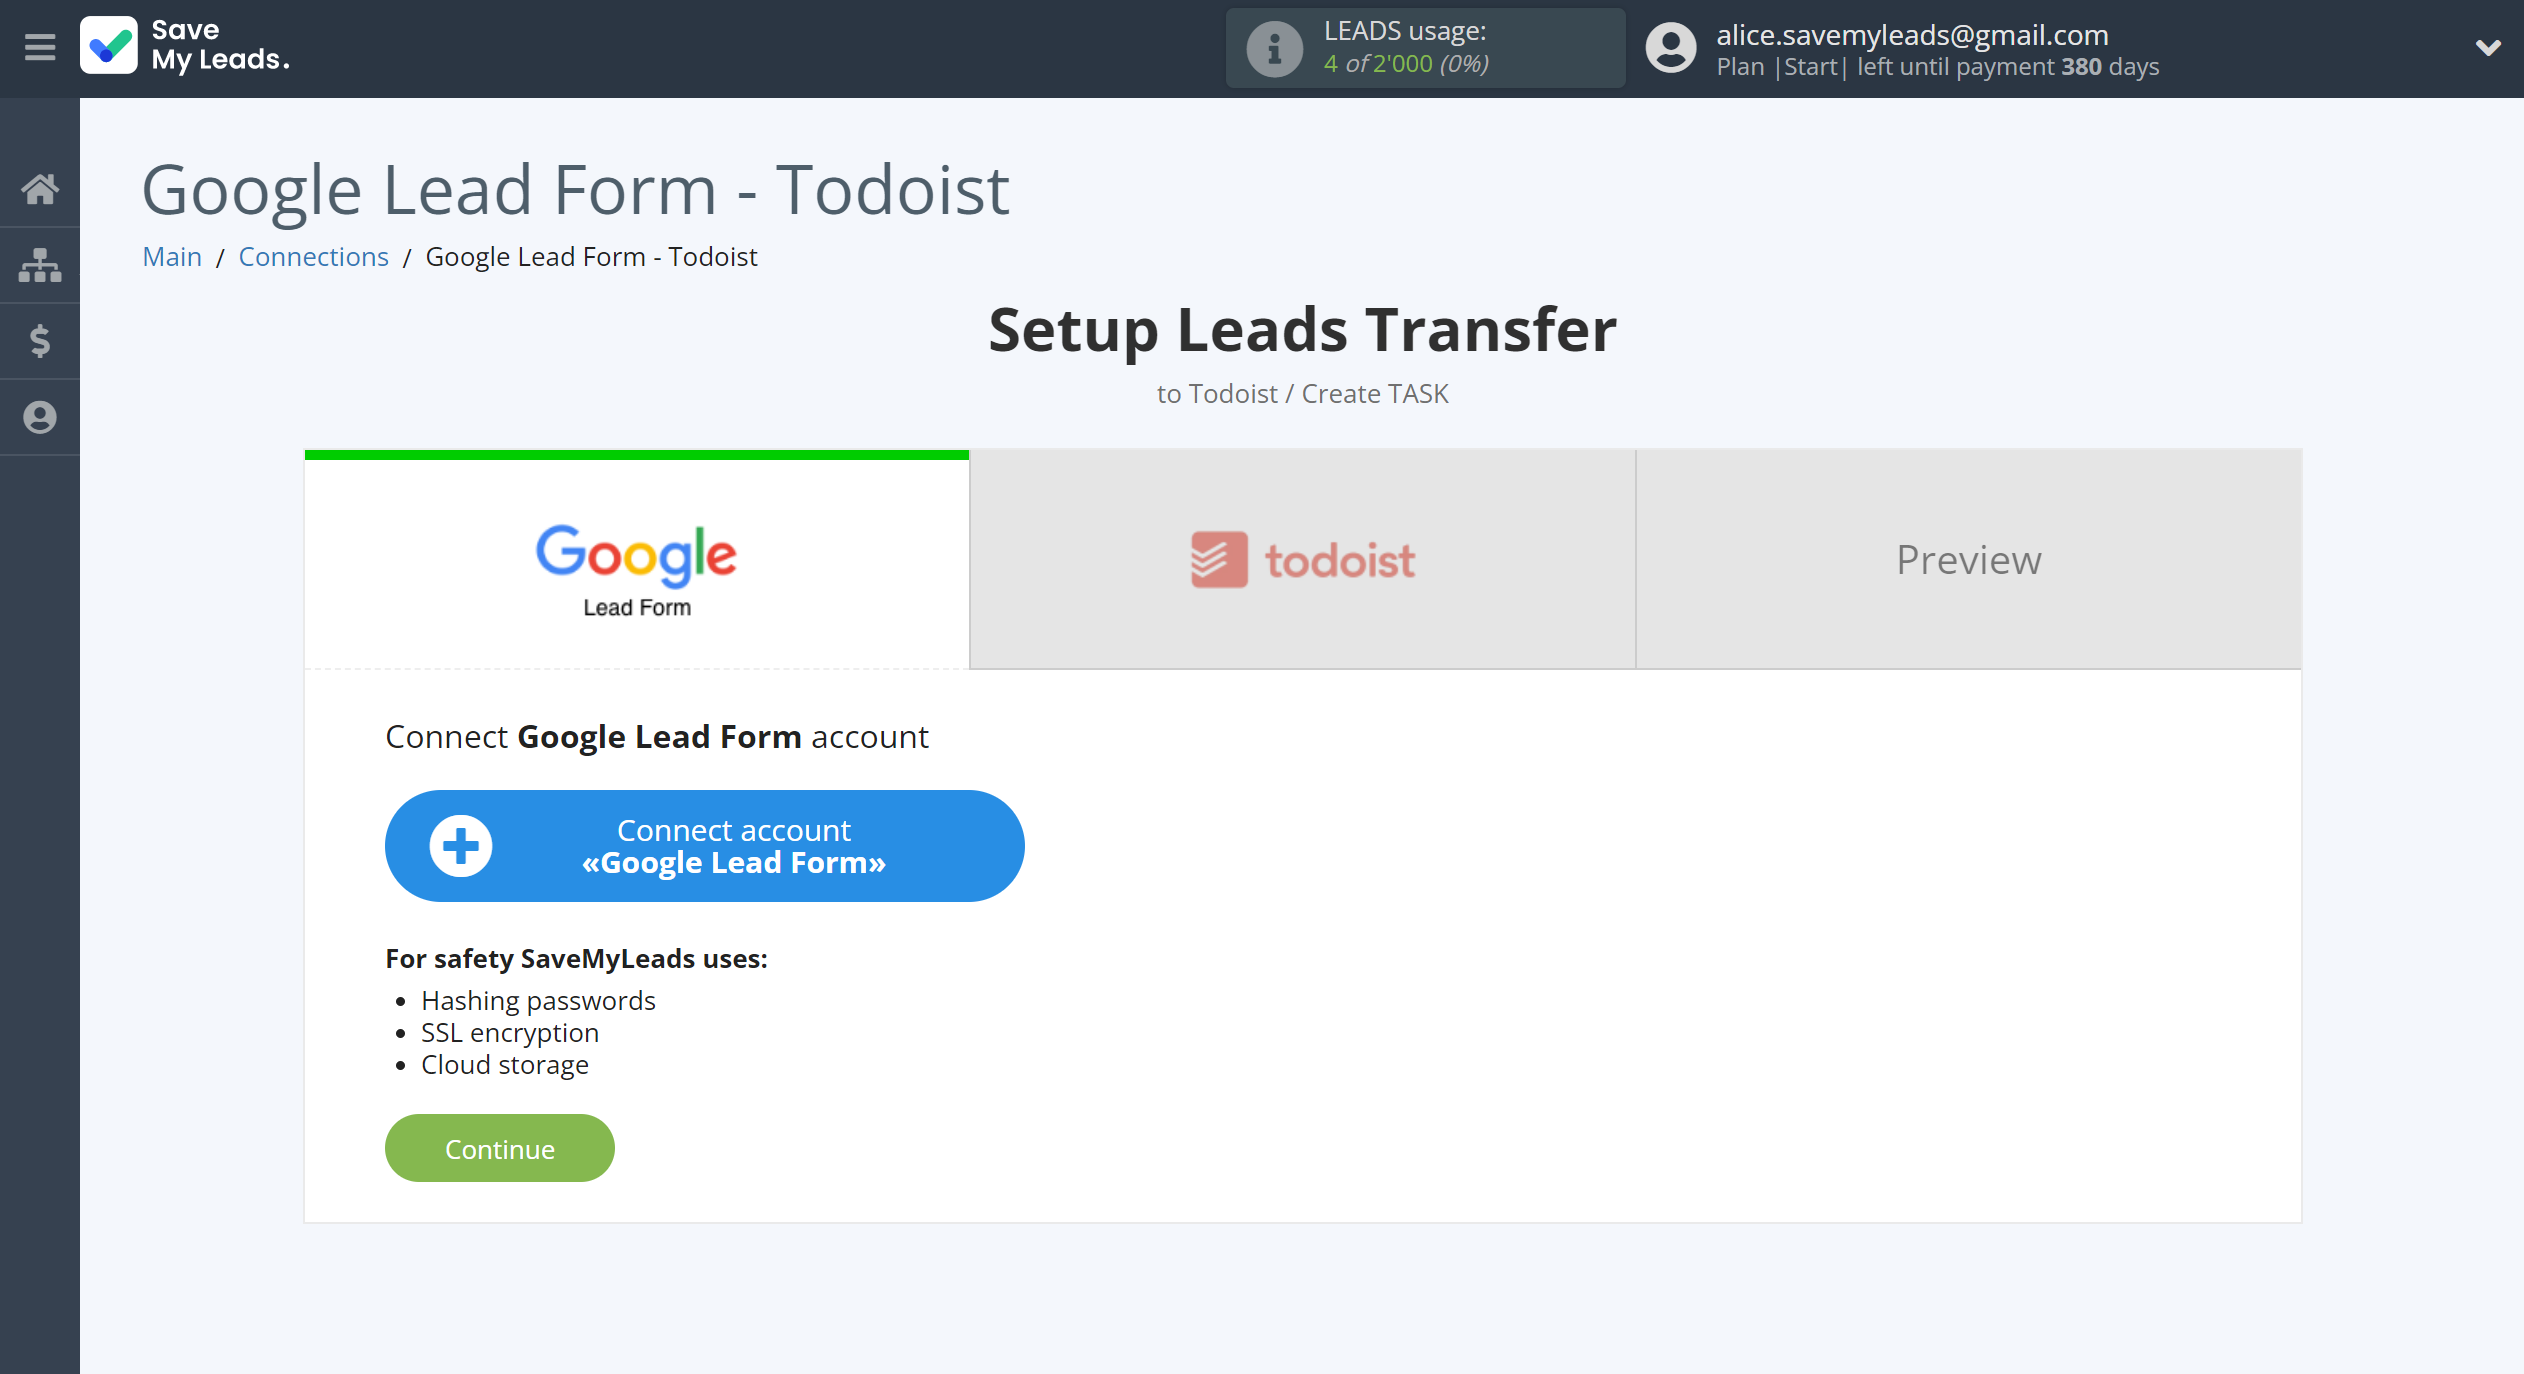
The next step is to select Google Lead Form account from which SaveMyLeads get leads.
If there are no accounts connected to the system, click "Connect account".
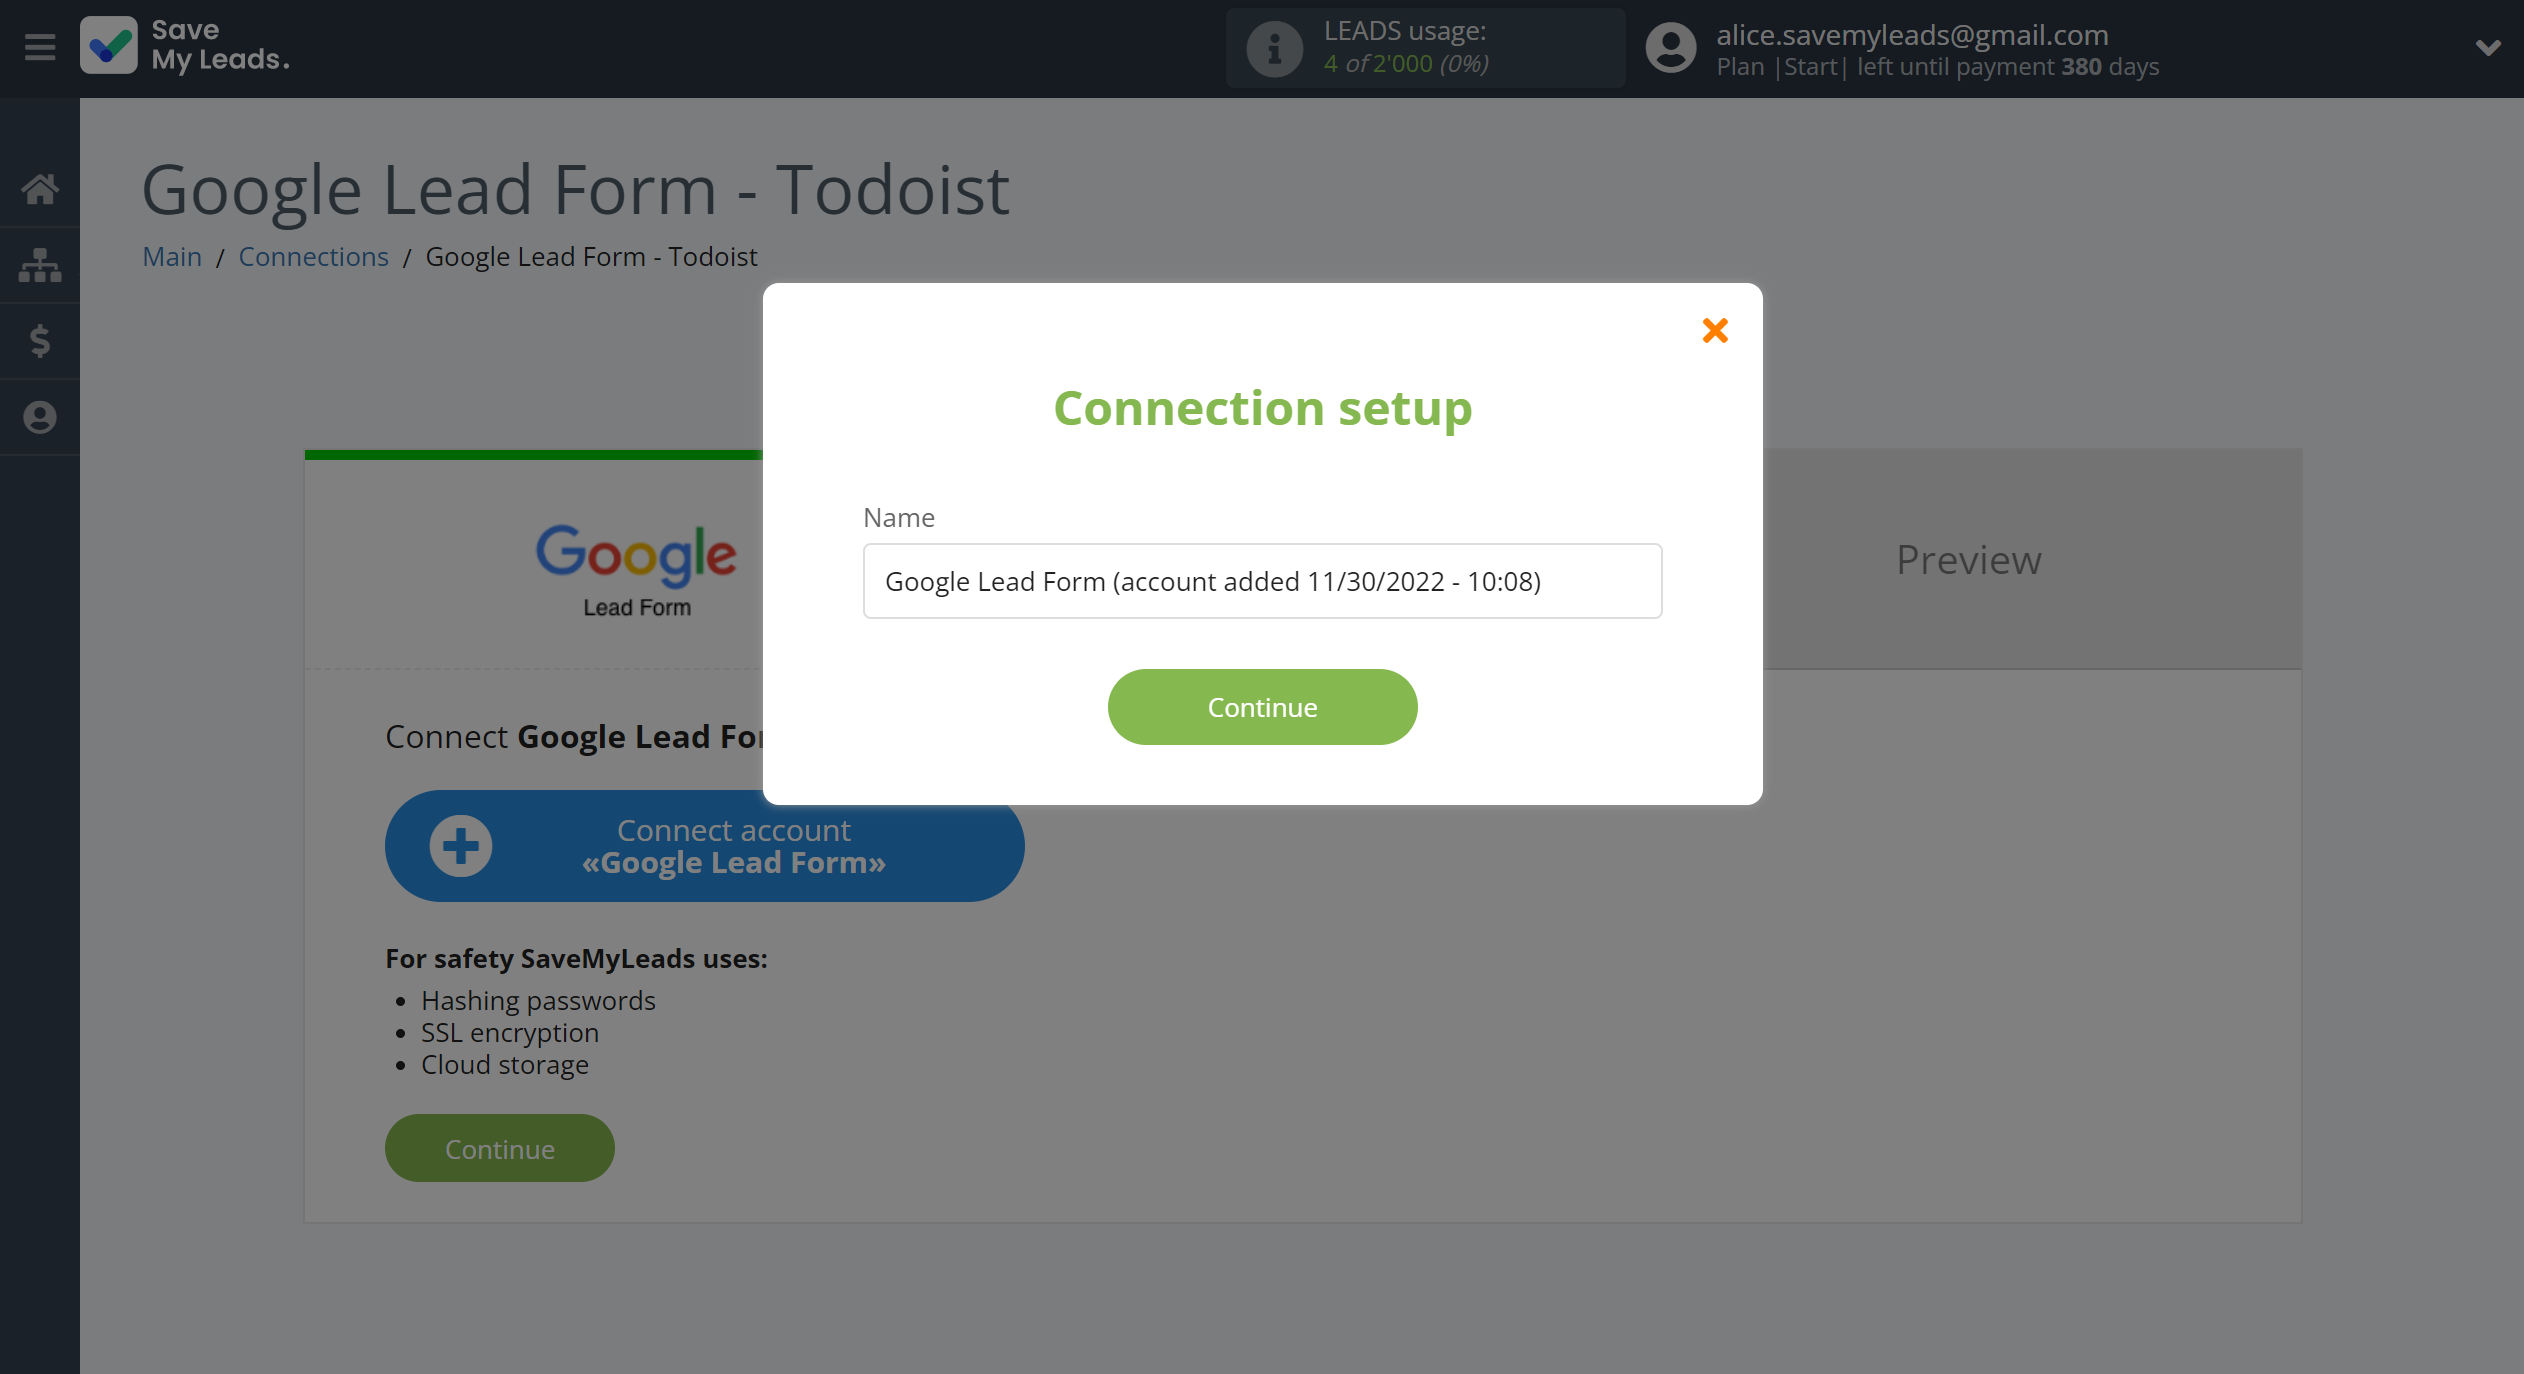
If desired, you can change its name or simply click "Continue".
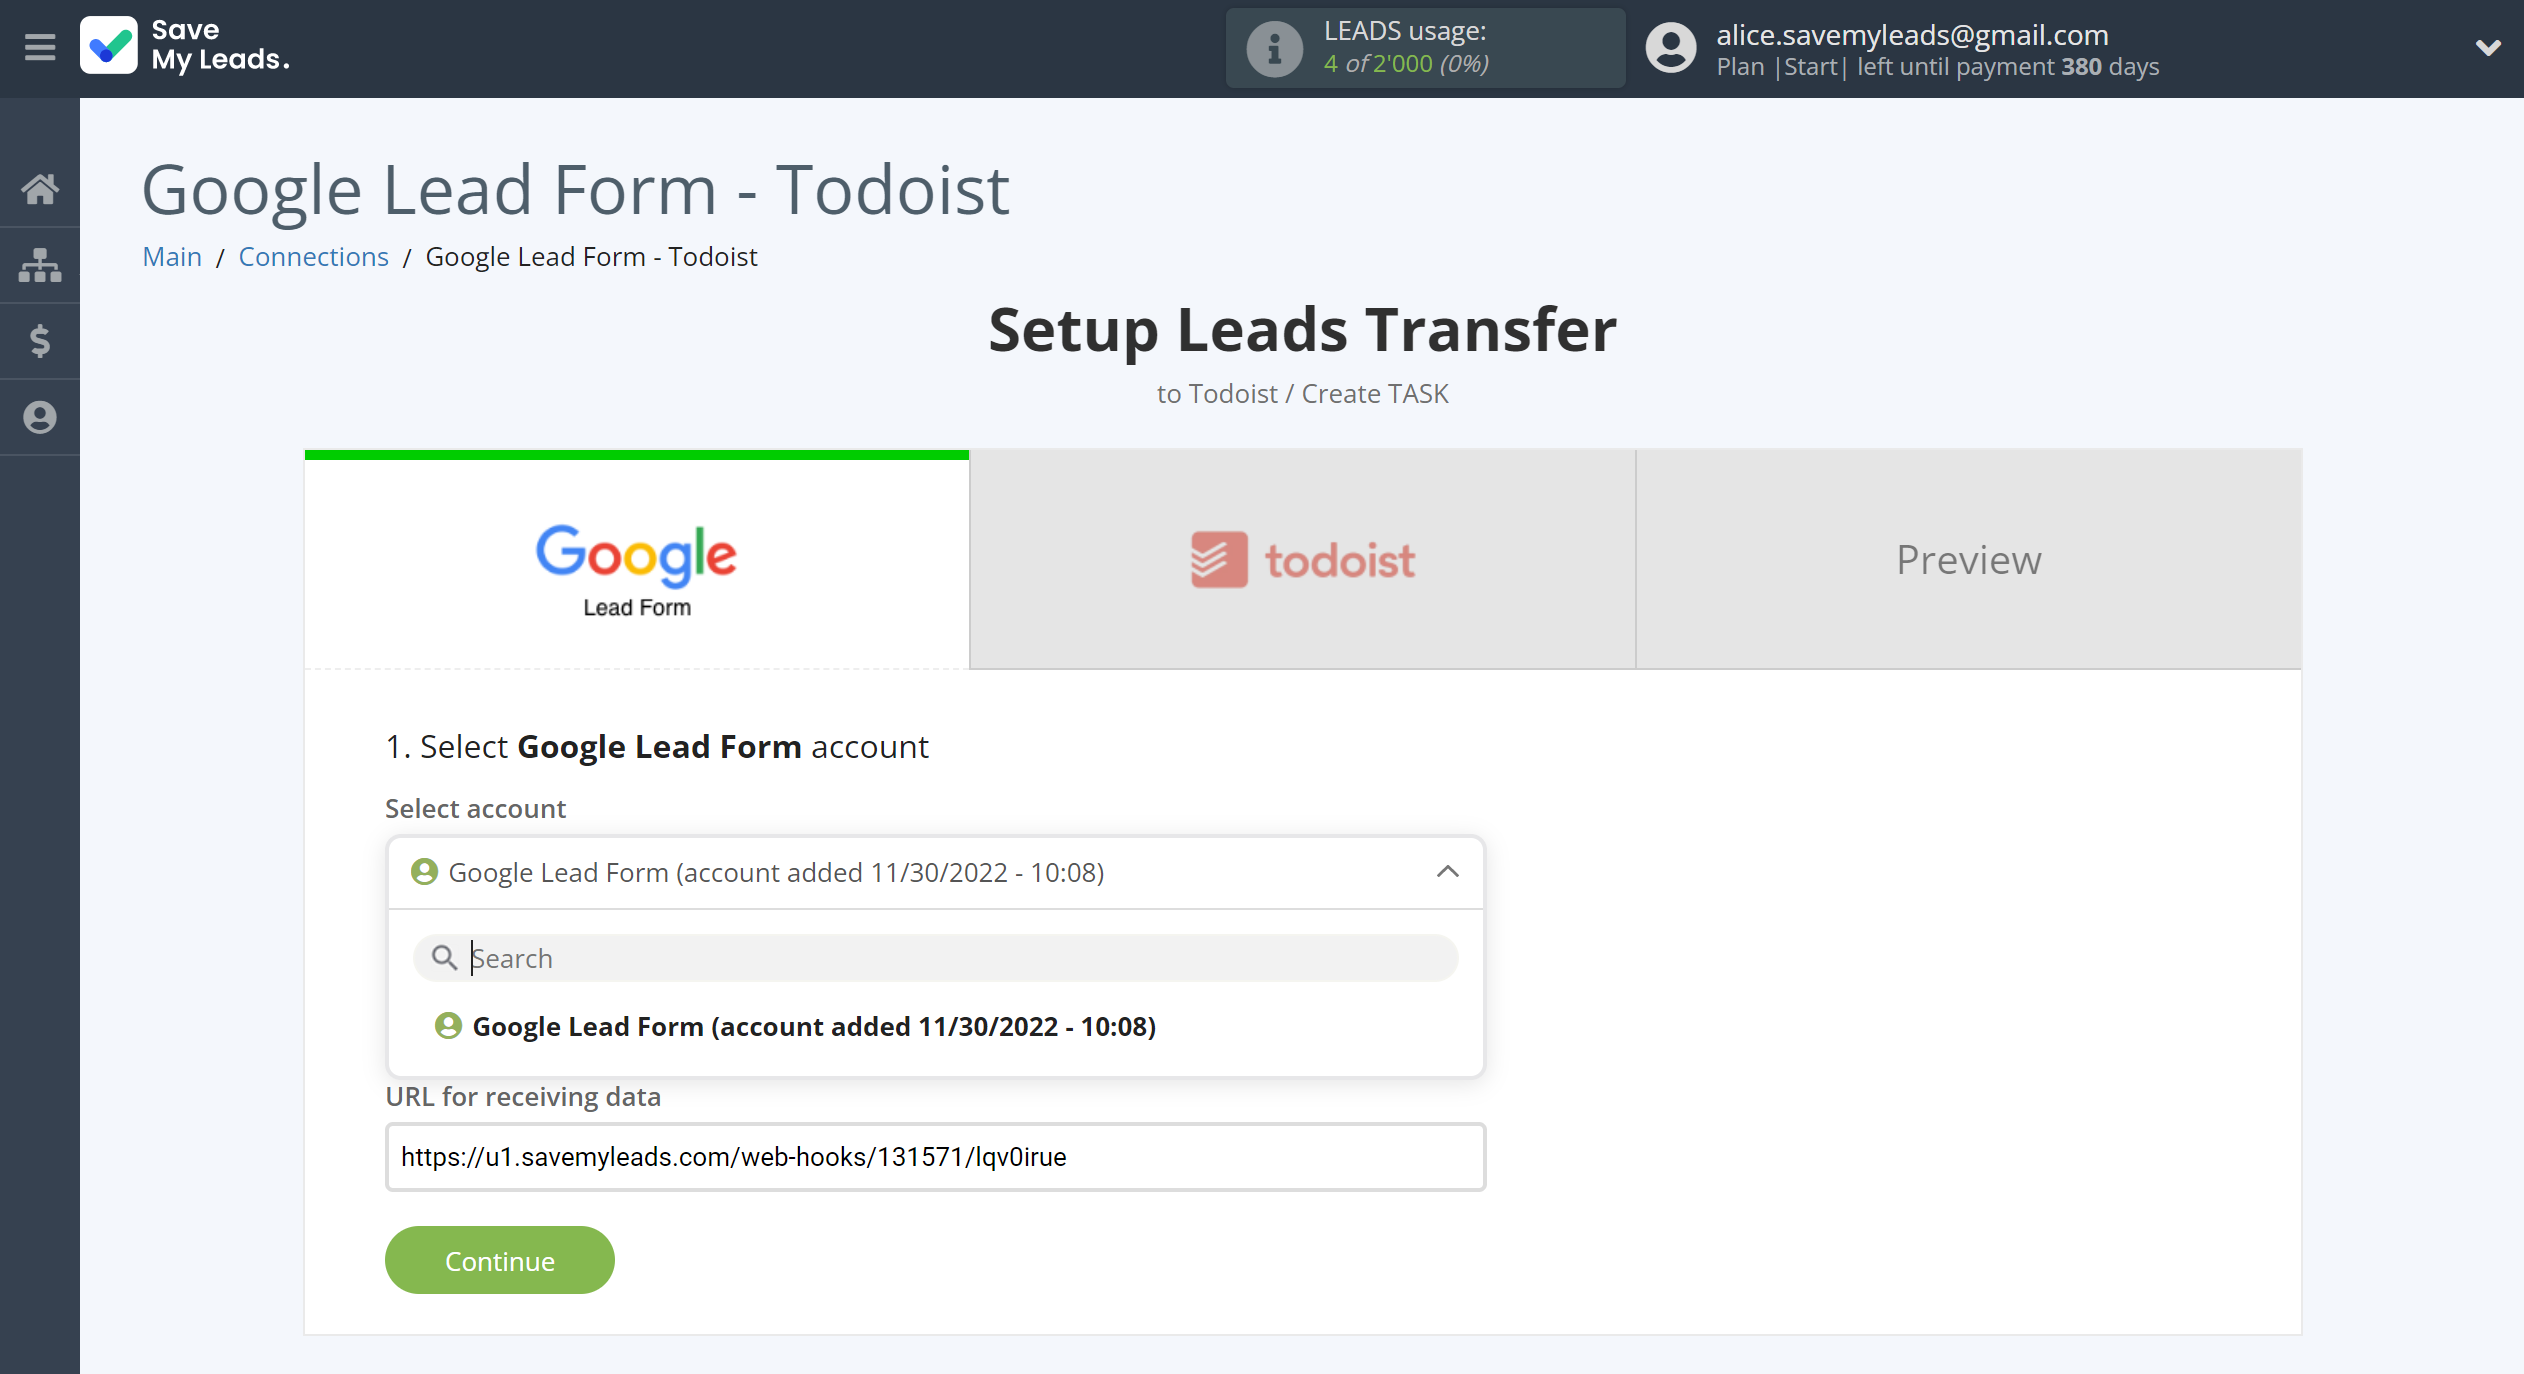
When the connected account is displayed in the "active accounts" list, select it for further work.
Attention! If your account is in the "inactive accounts" list, check your access to this account!
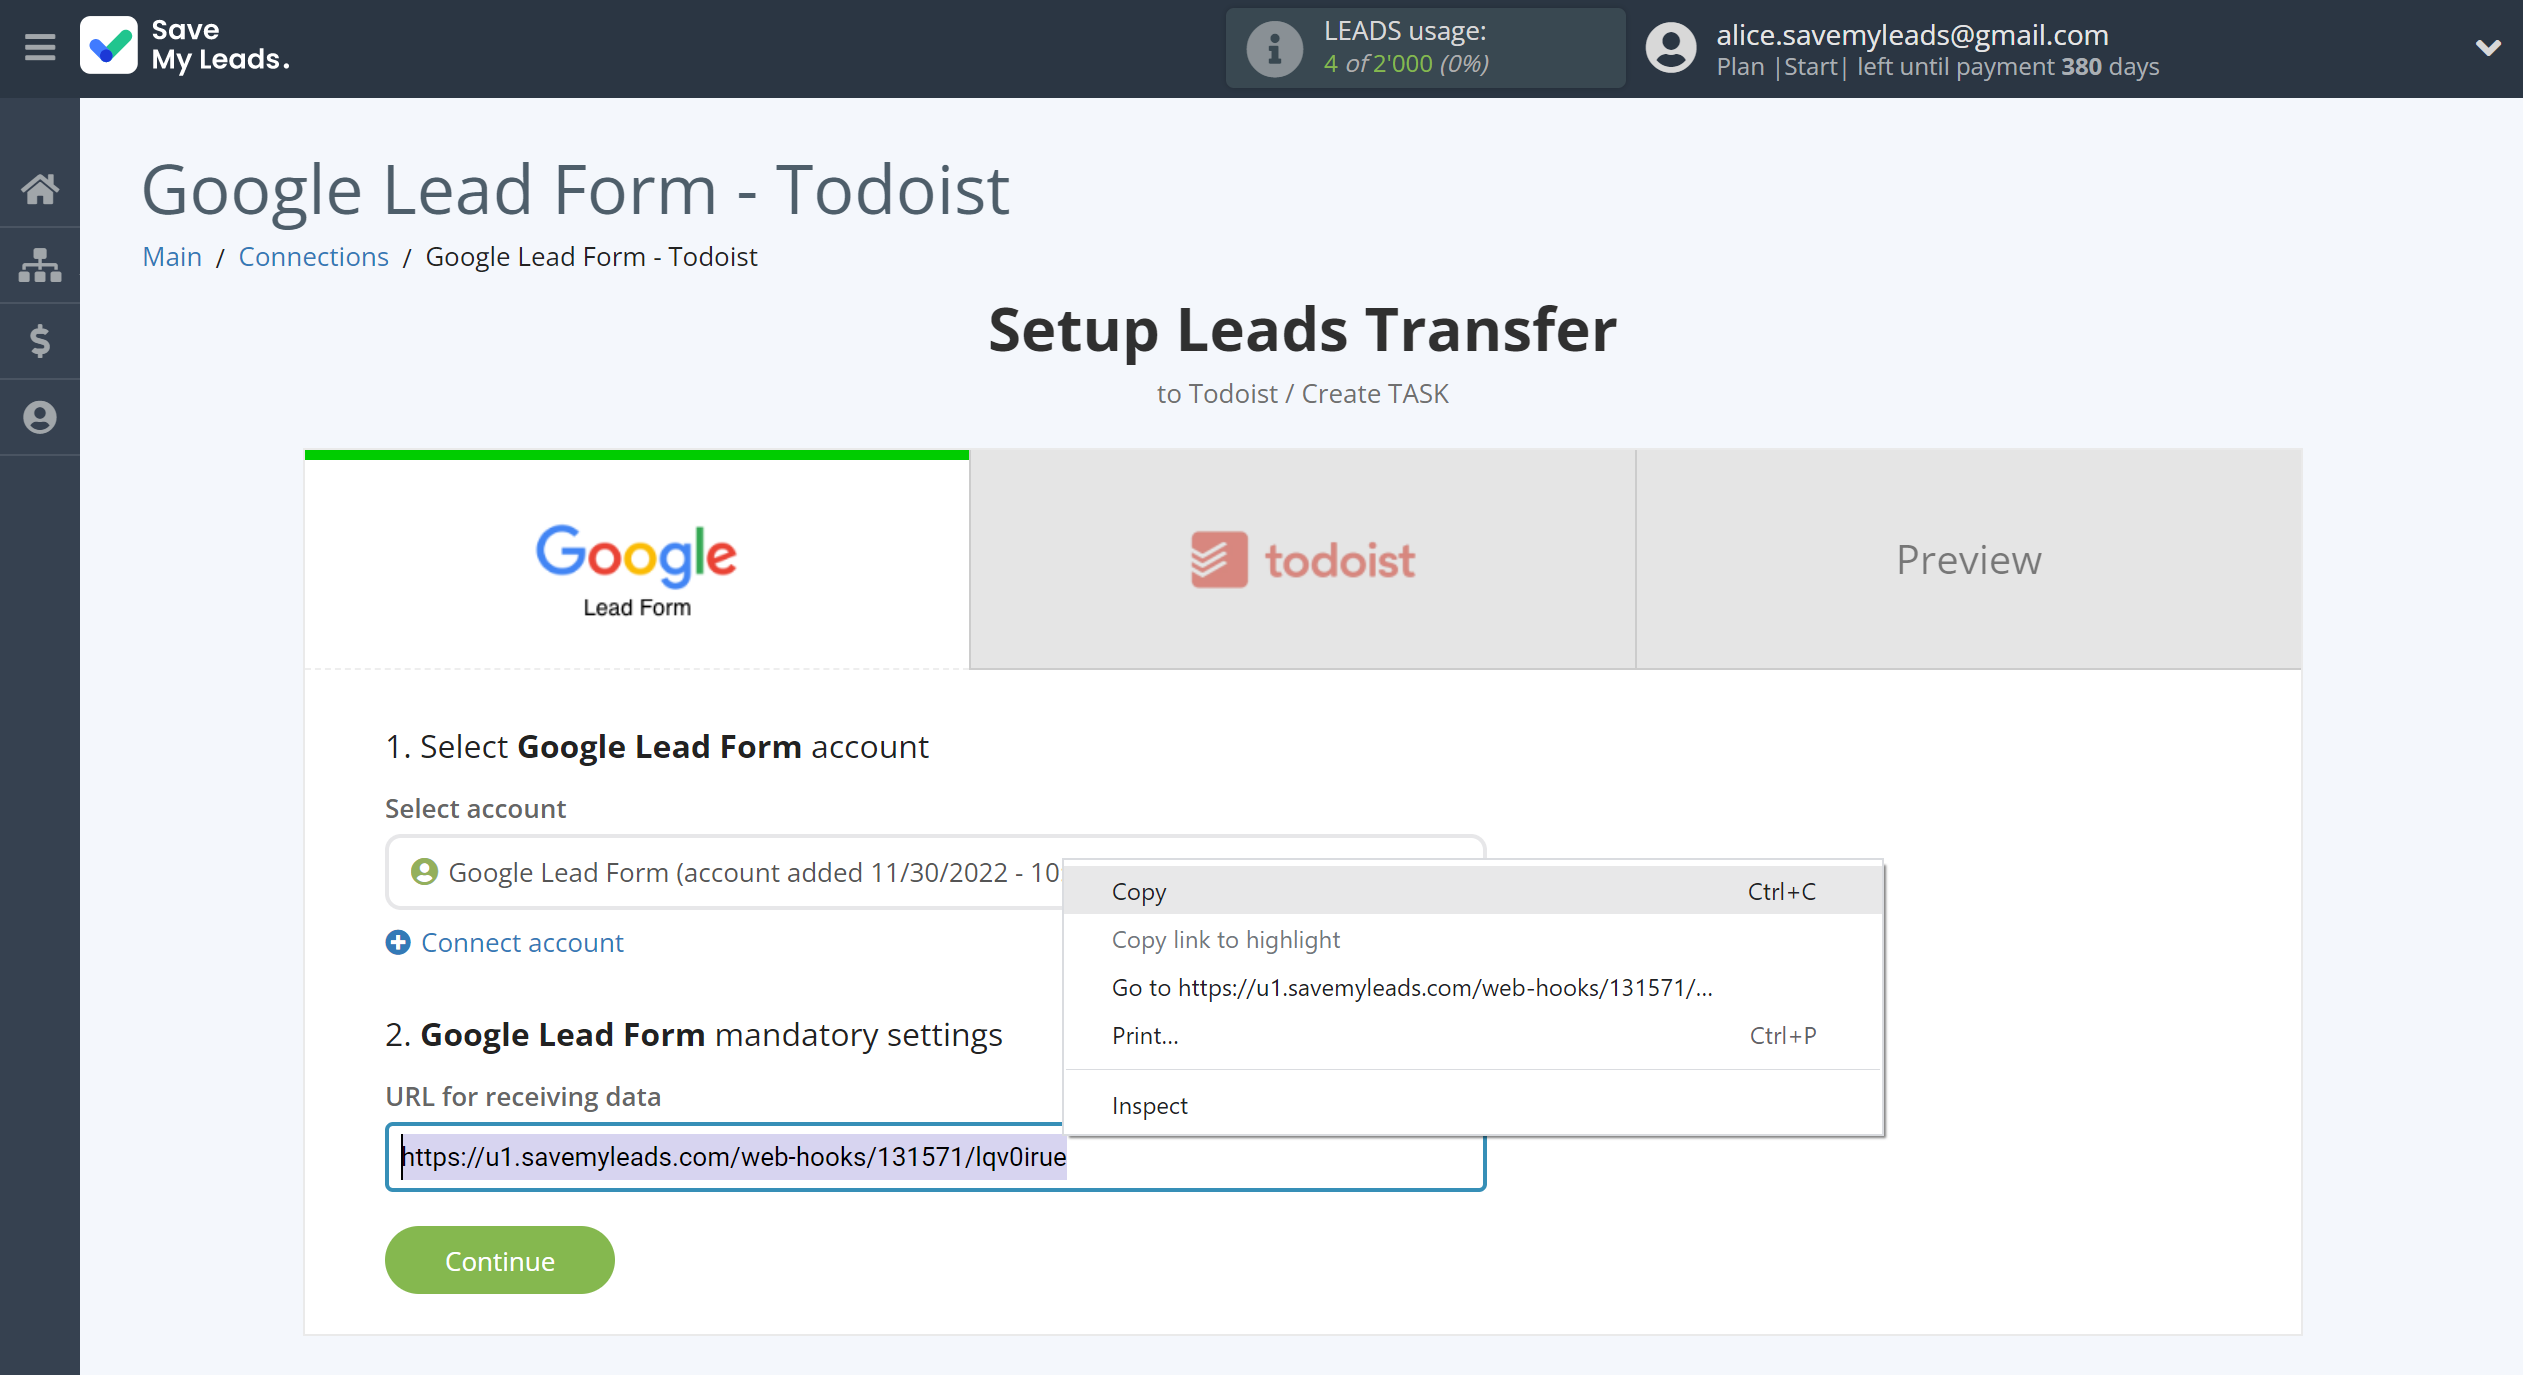
Next, you need to copy the "URL for receiving data", click "Continue" and go to your Google Lead Form account.
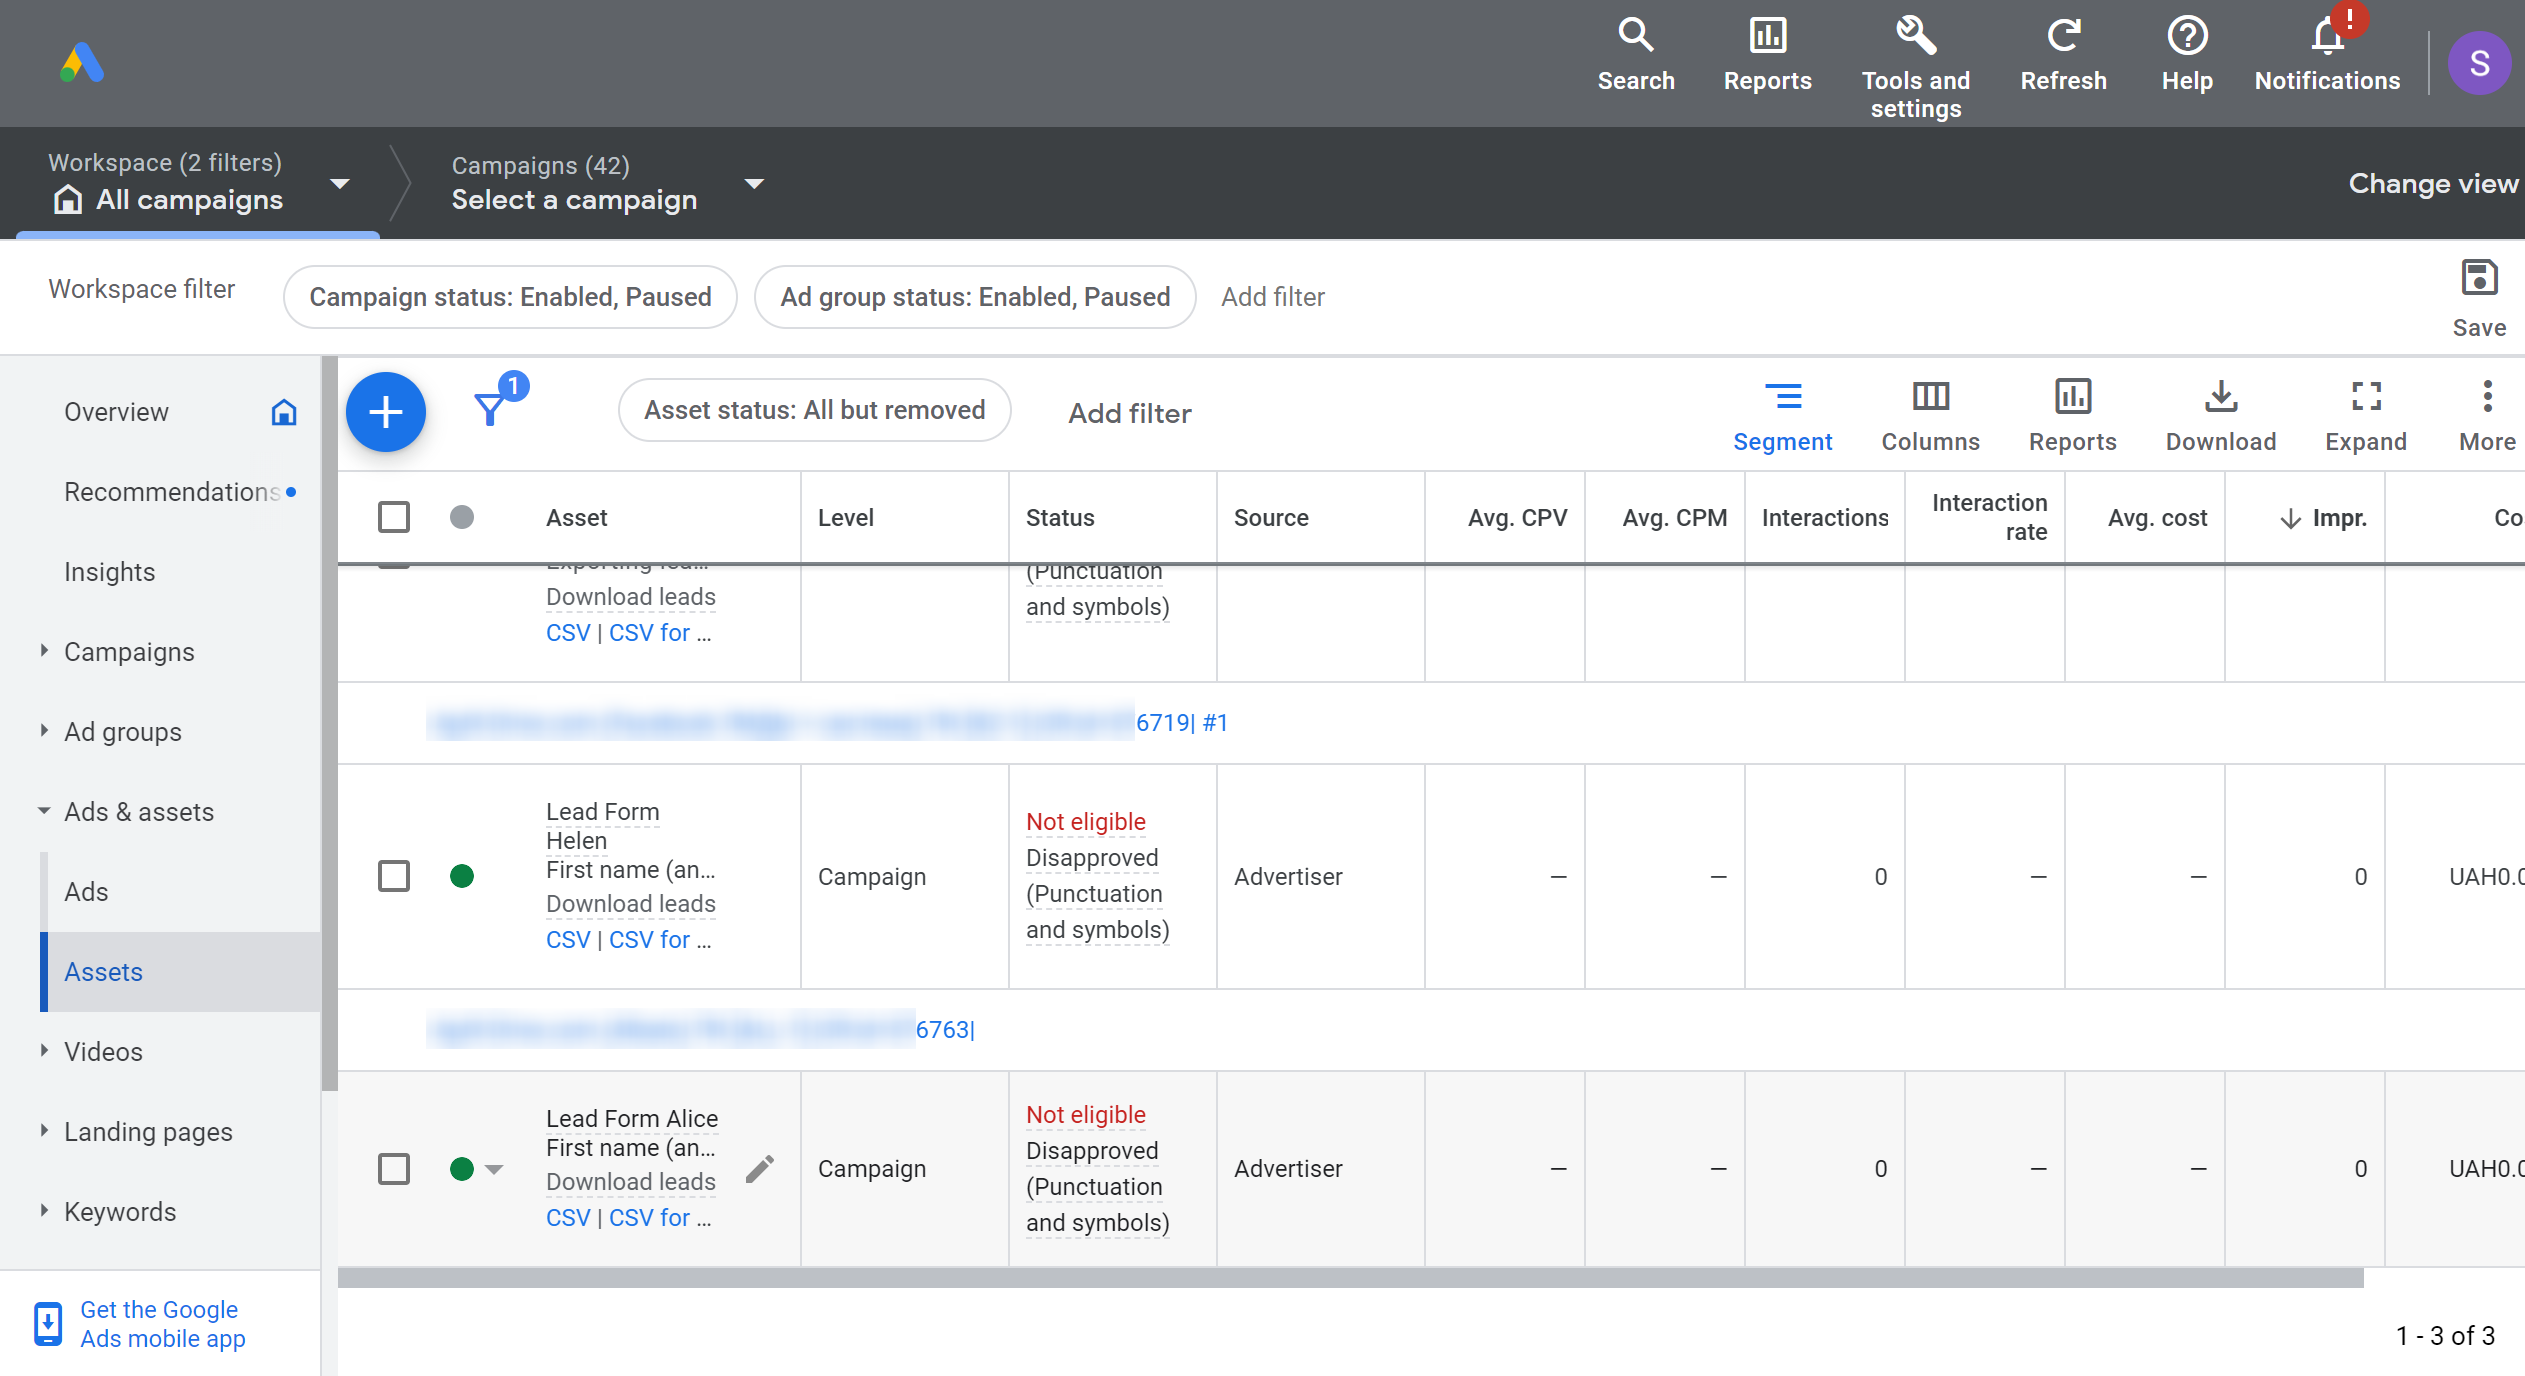
In the account, you need to select the lead form you need.
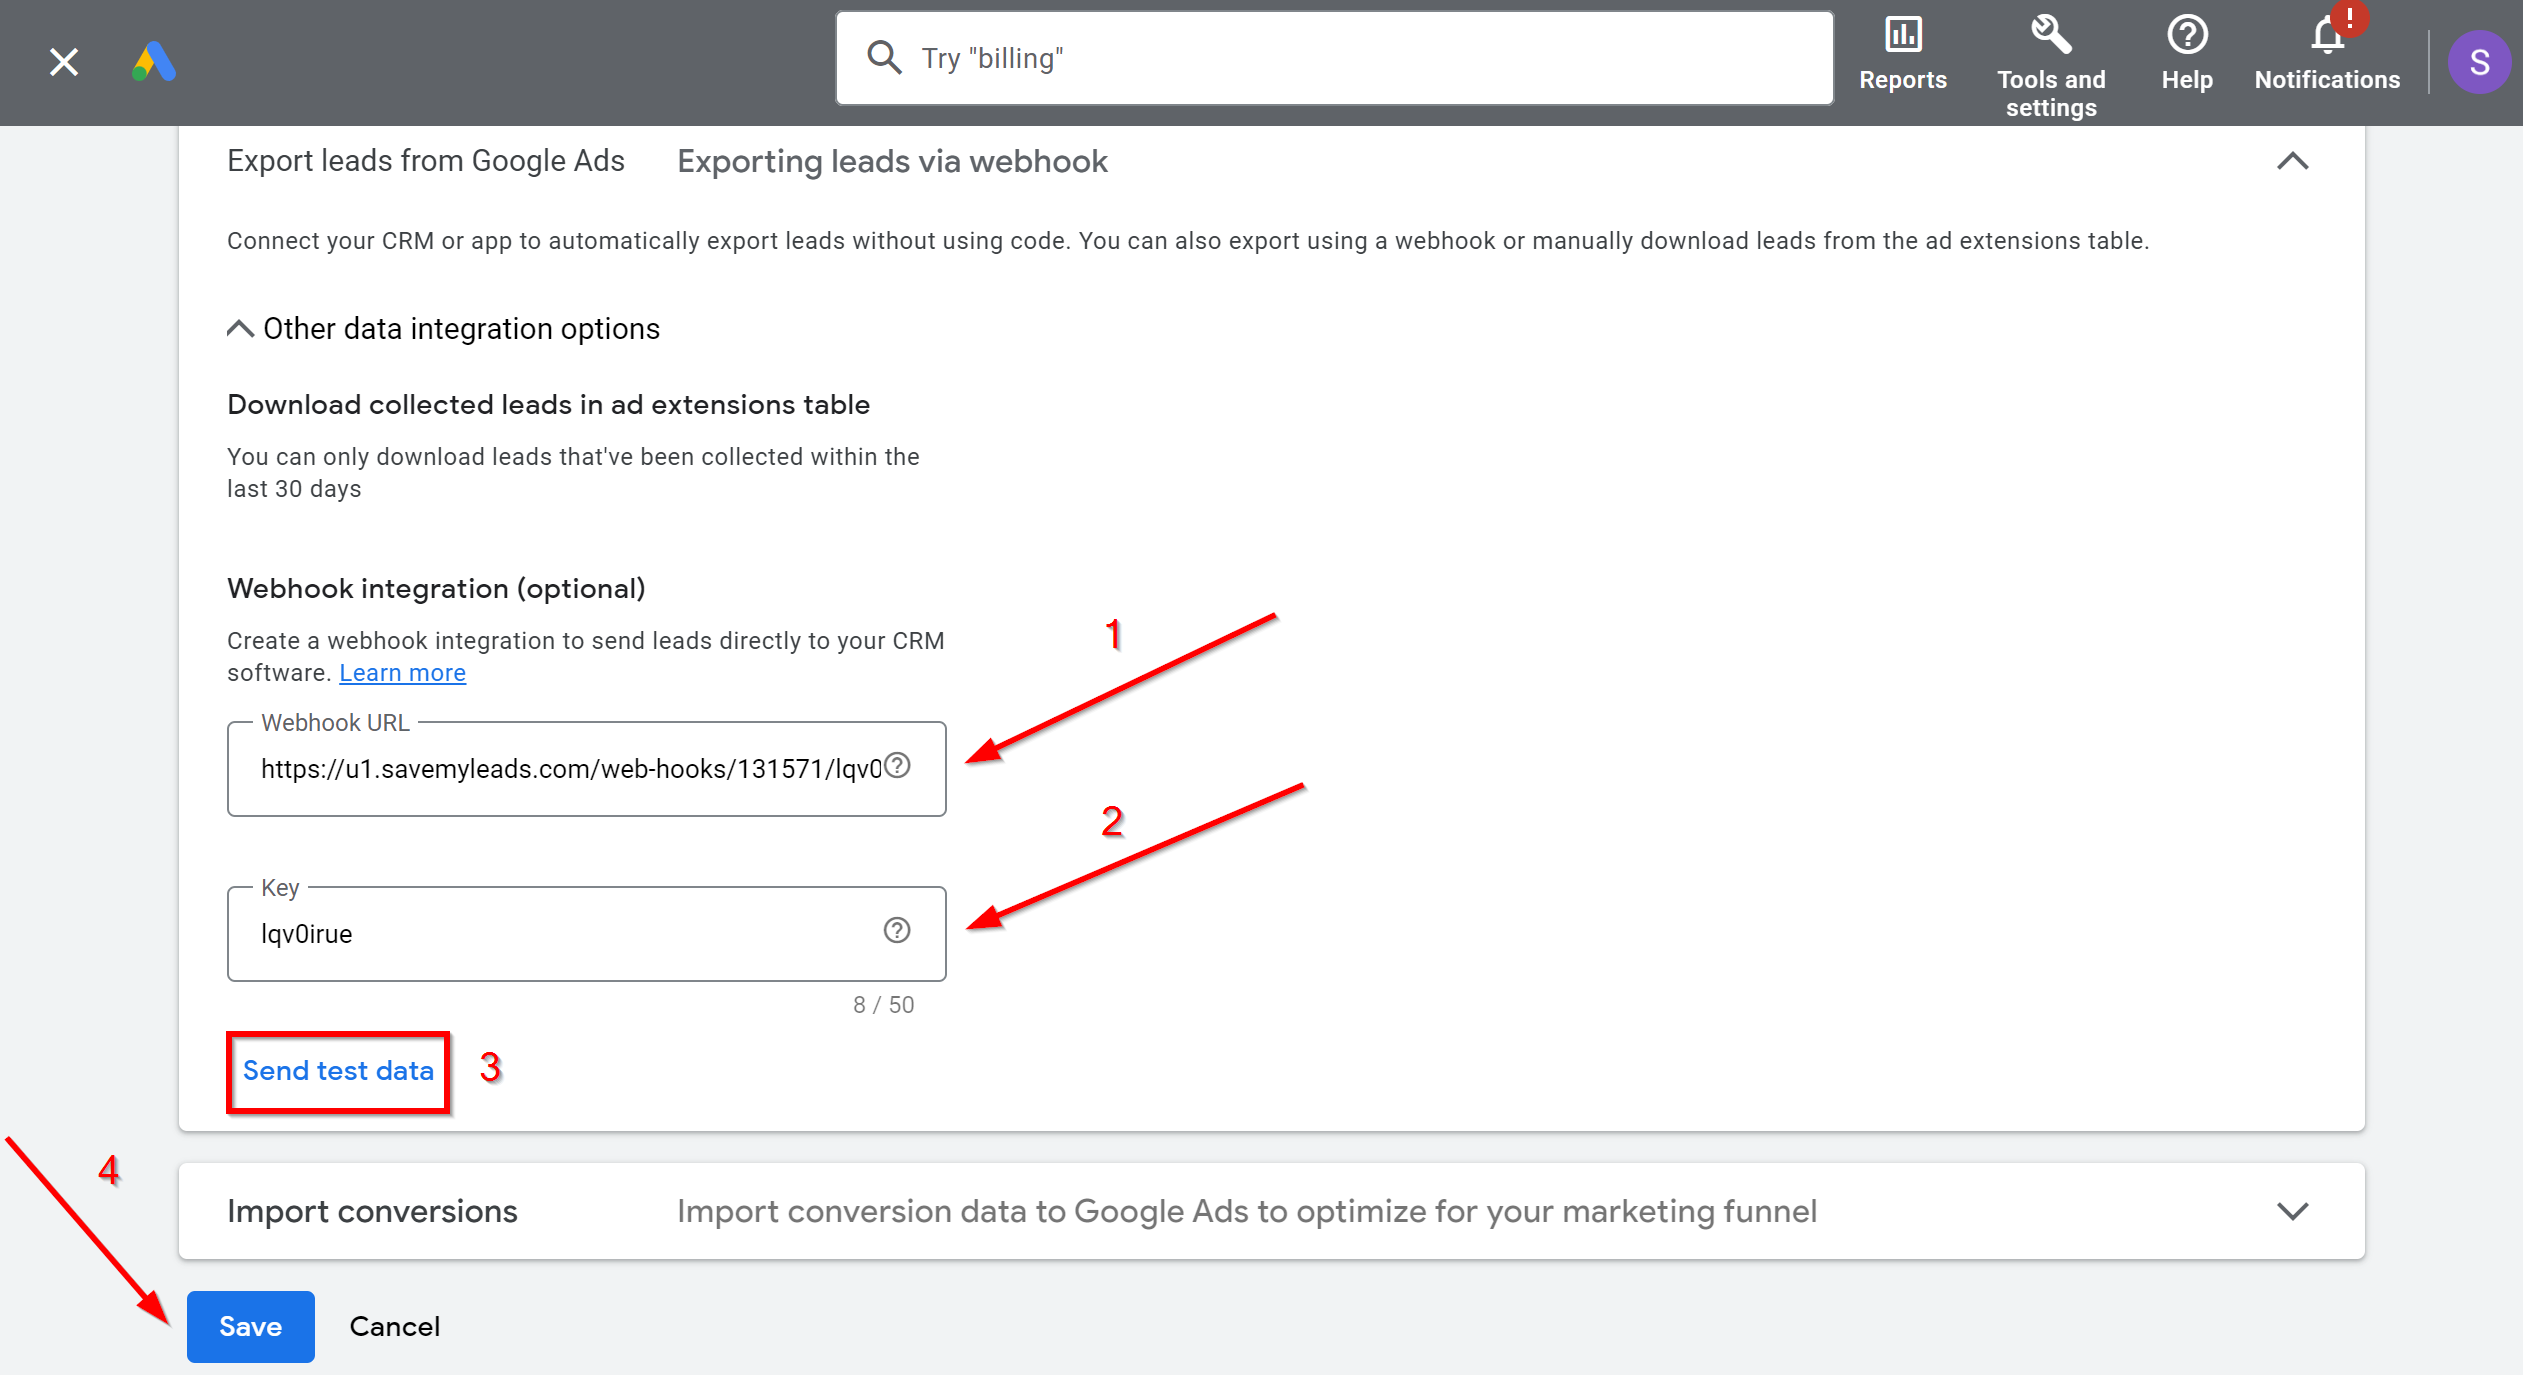
Now you need to do the following:
1 - paste the copied URL into the Webhook URL;
2 - insert the end of the URL link into the Key;
3 - click on the "Send test data";
4 - save changes.
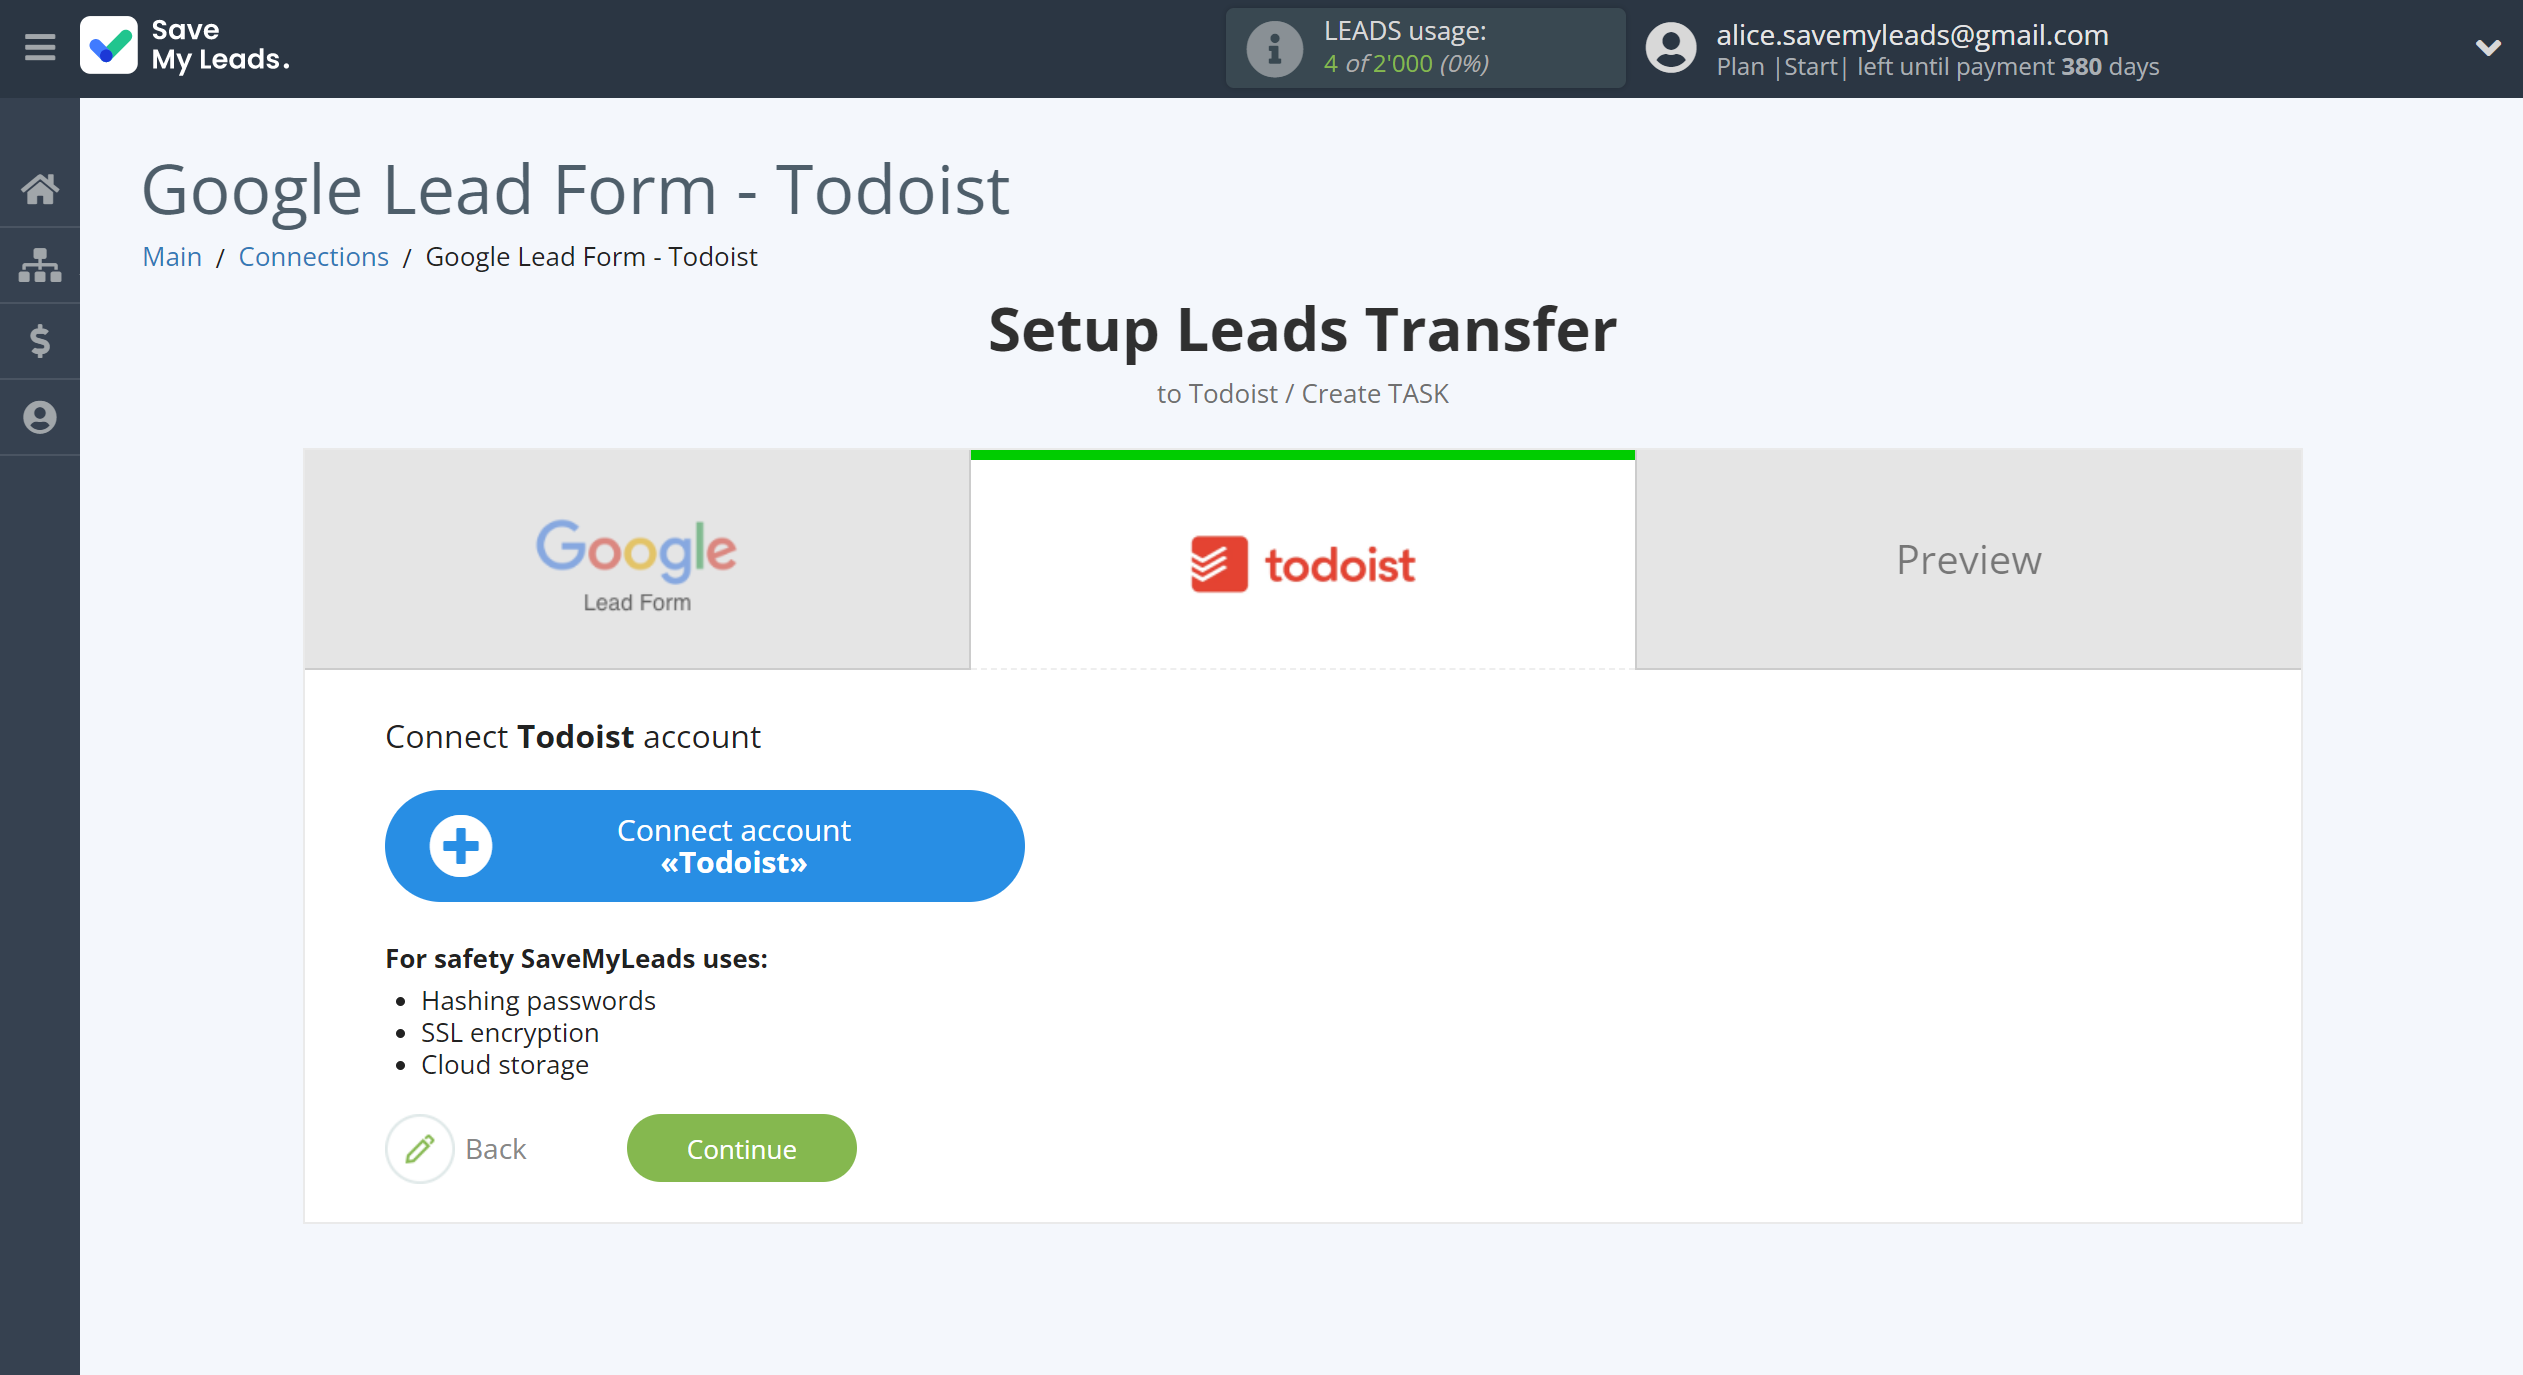
The next step is to select Todoist account to which leads will be sent.
If there are no accounts connected to the system, click "Connect account".
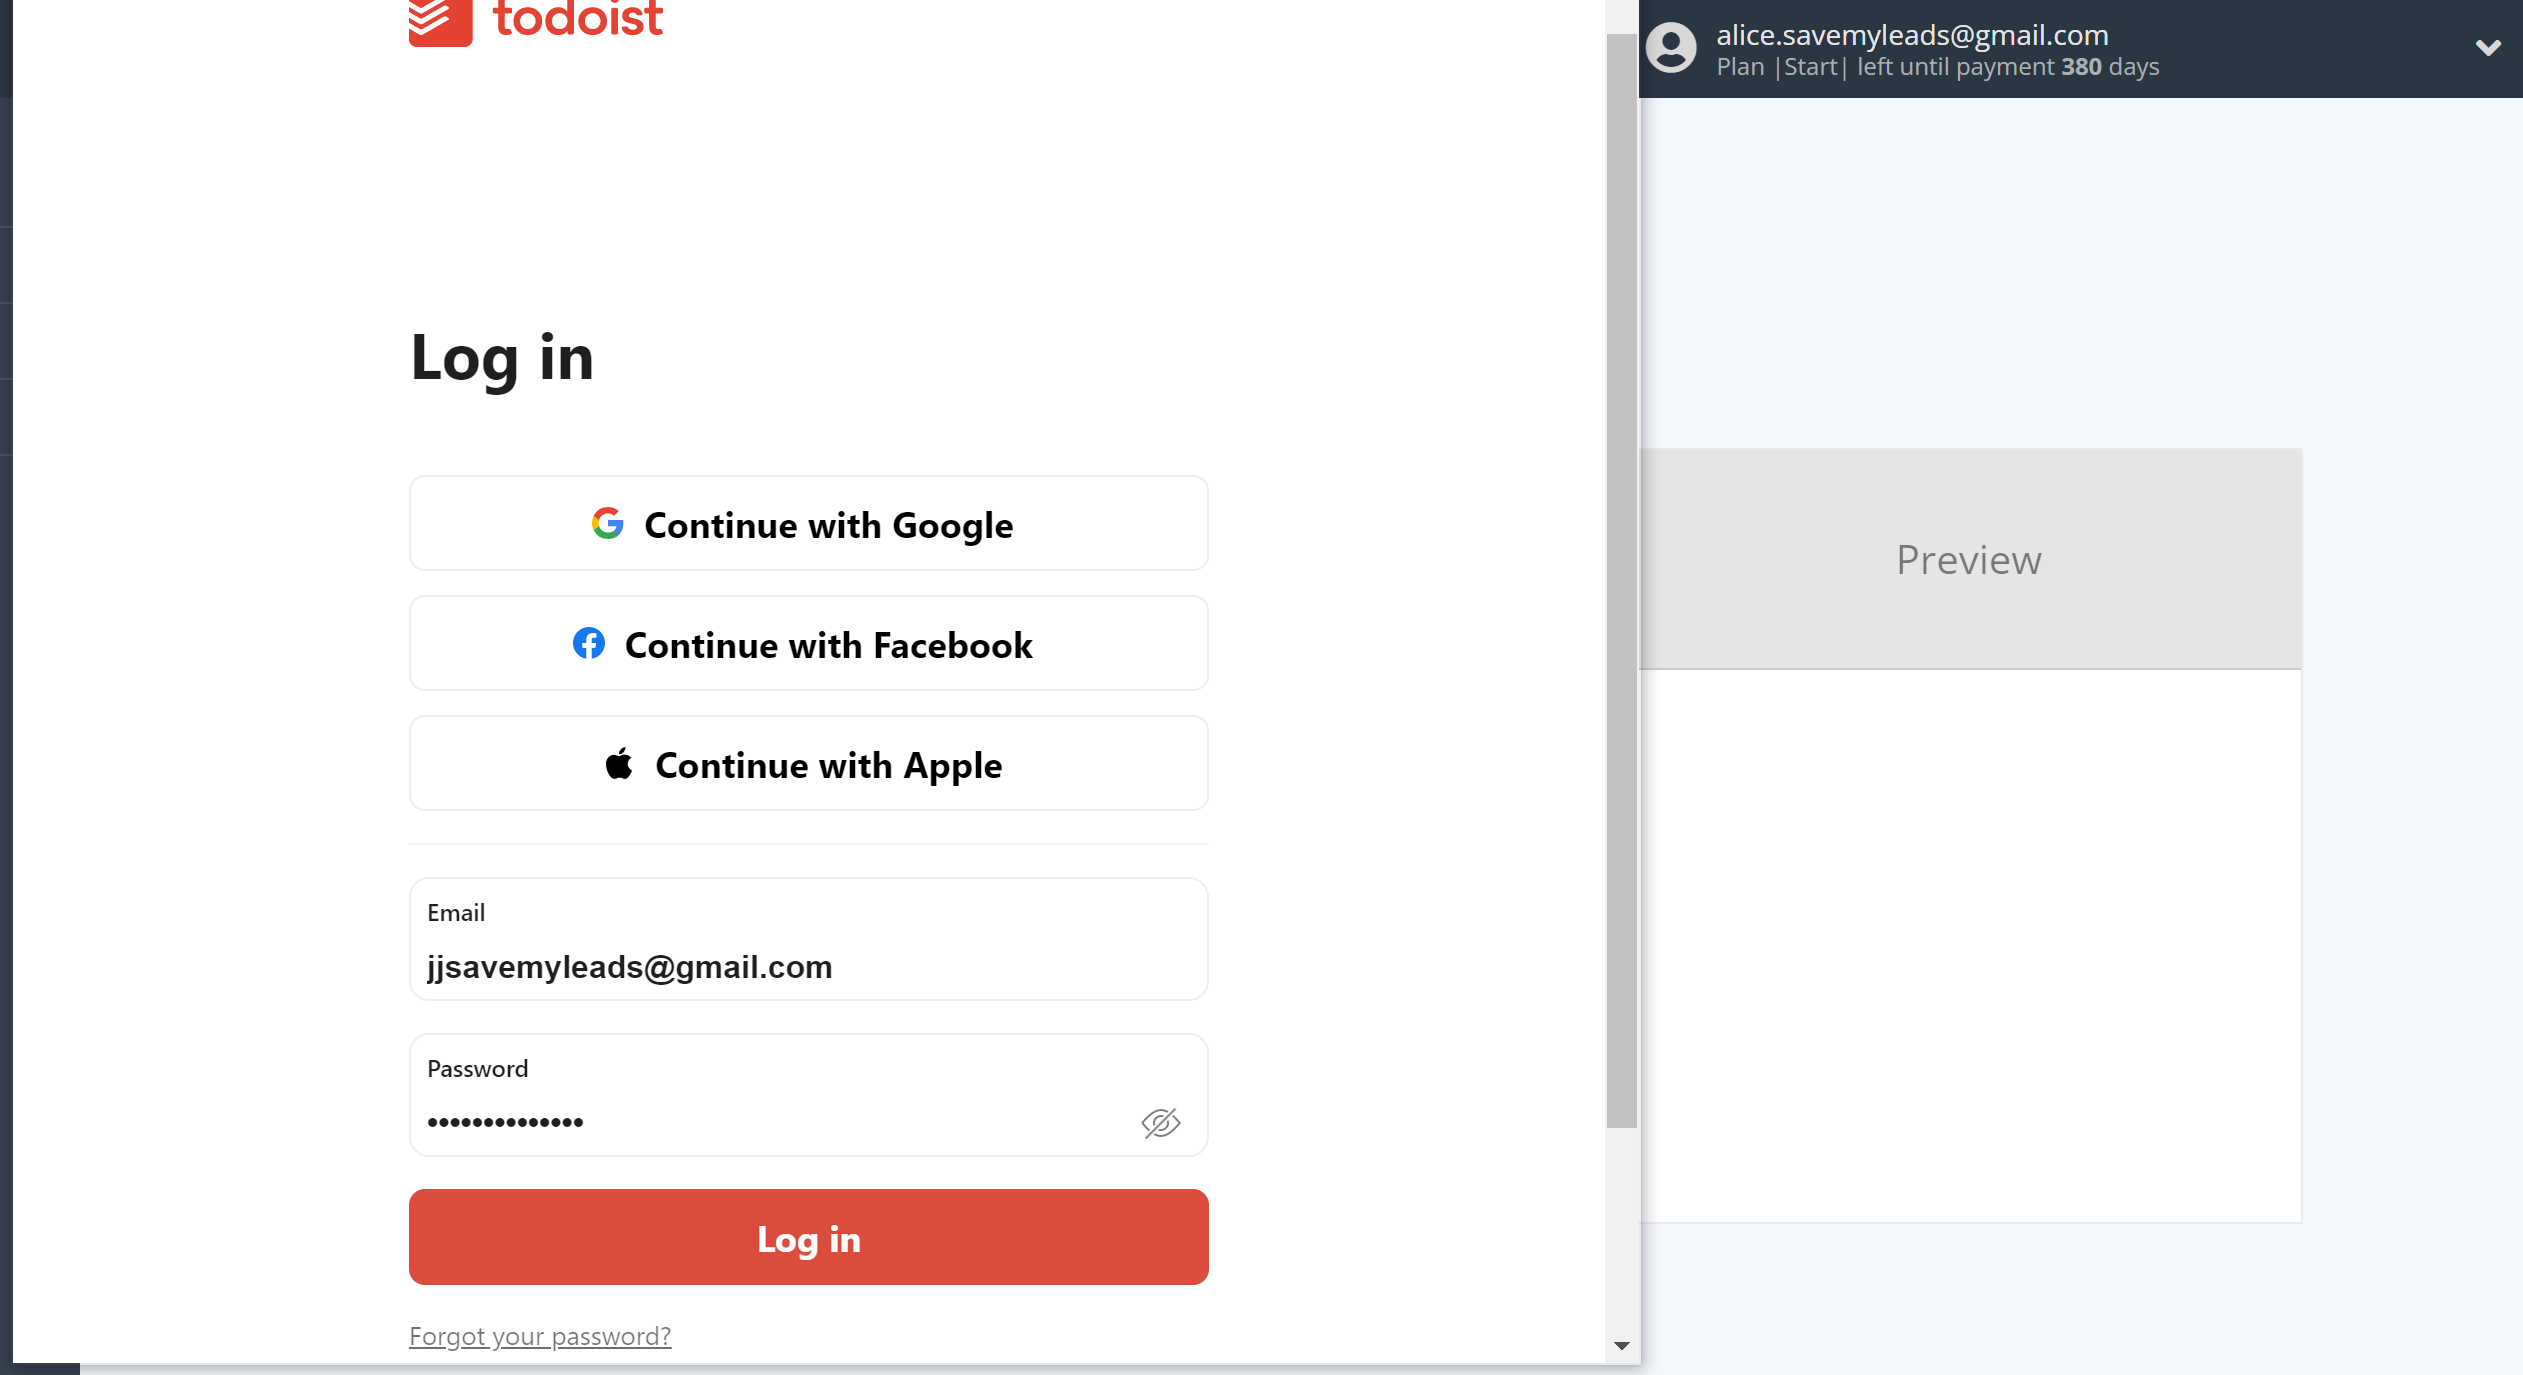
Specify your Email and Password from your Todoist personal account.
When the connected account is displayed in the "active accounts" list, select it for further work.
Attention! If your account is in the "inactive accounts" list, check your access to this account!
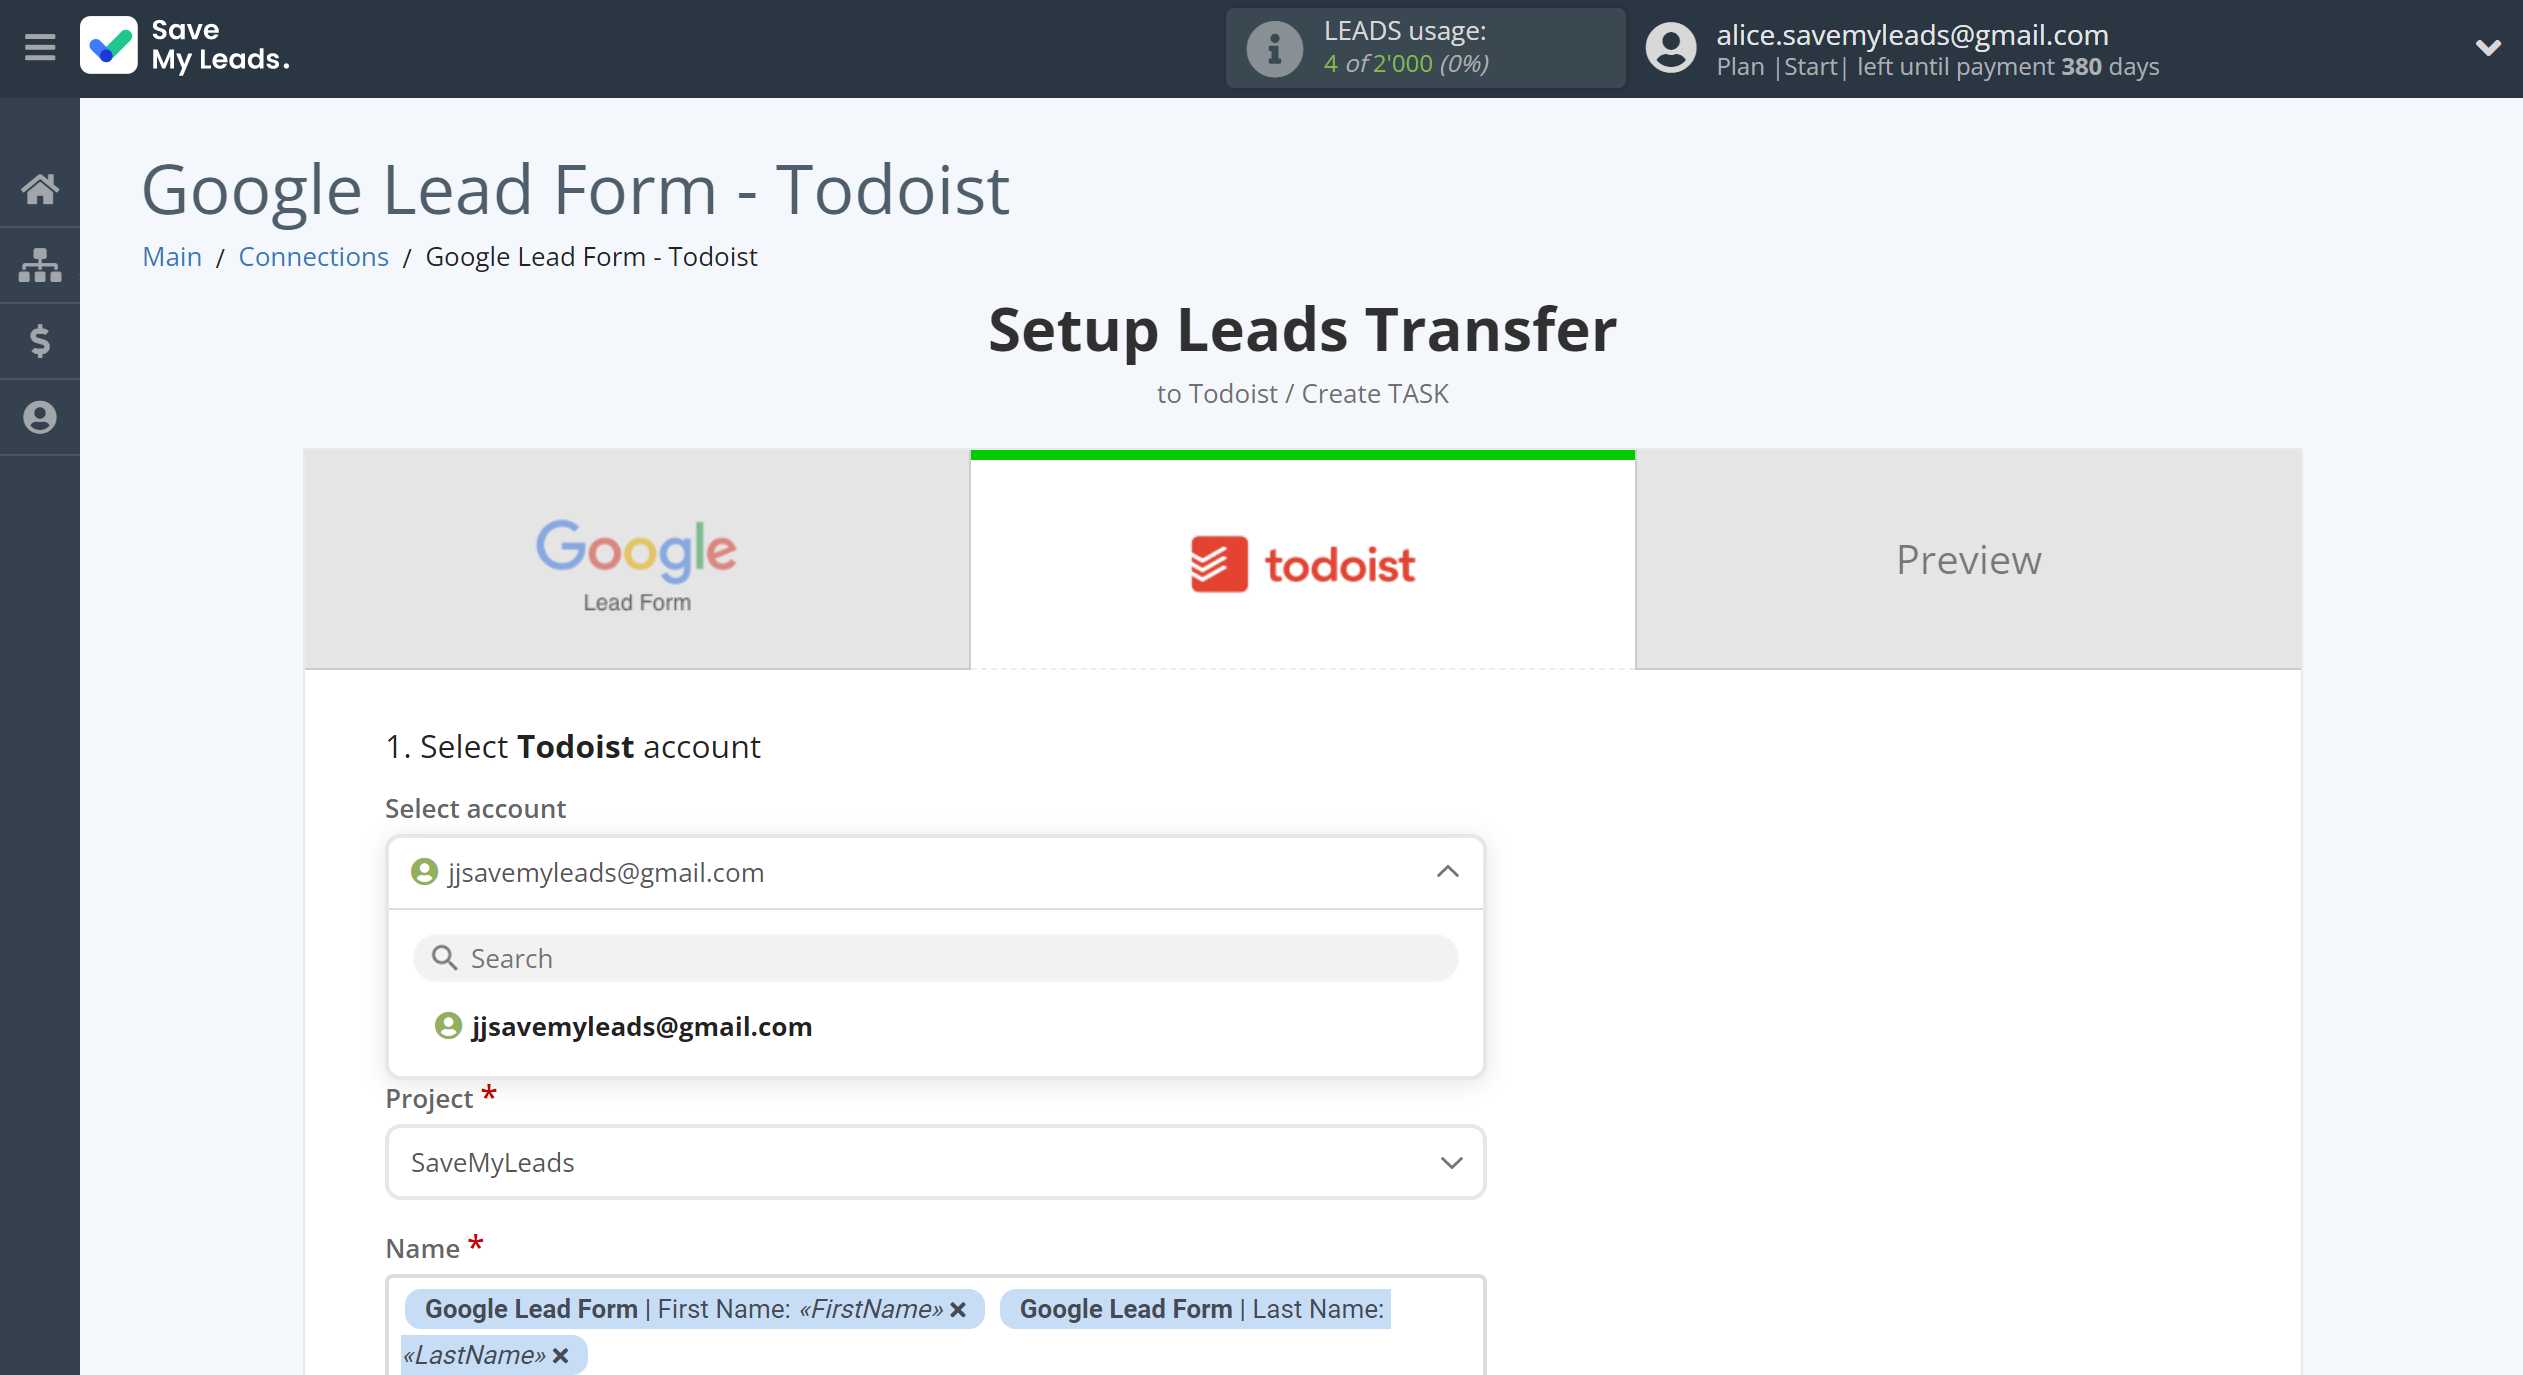
Now you need to assign variables to the required fields to send data to Todoist.
Select the required Google Lead Form data, click on the parameter and it will be assigned to the selected Todoist field.
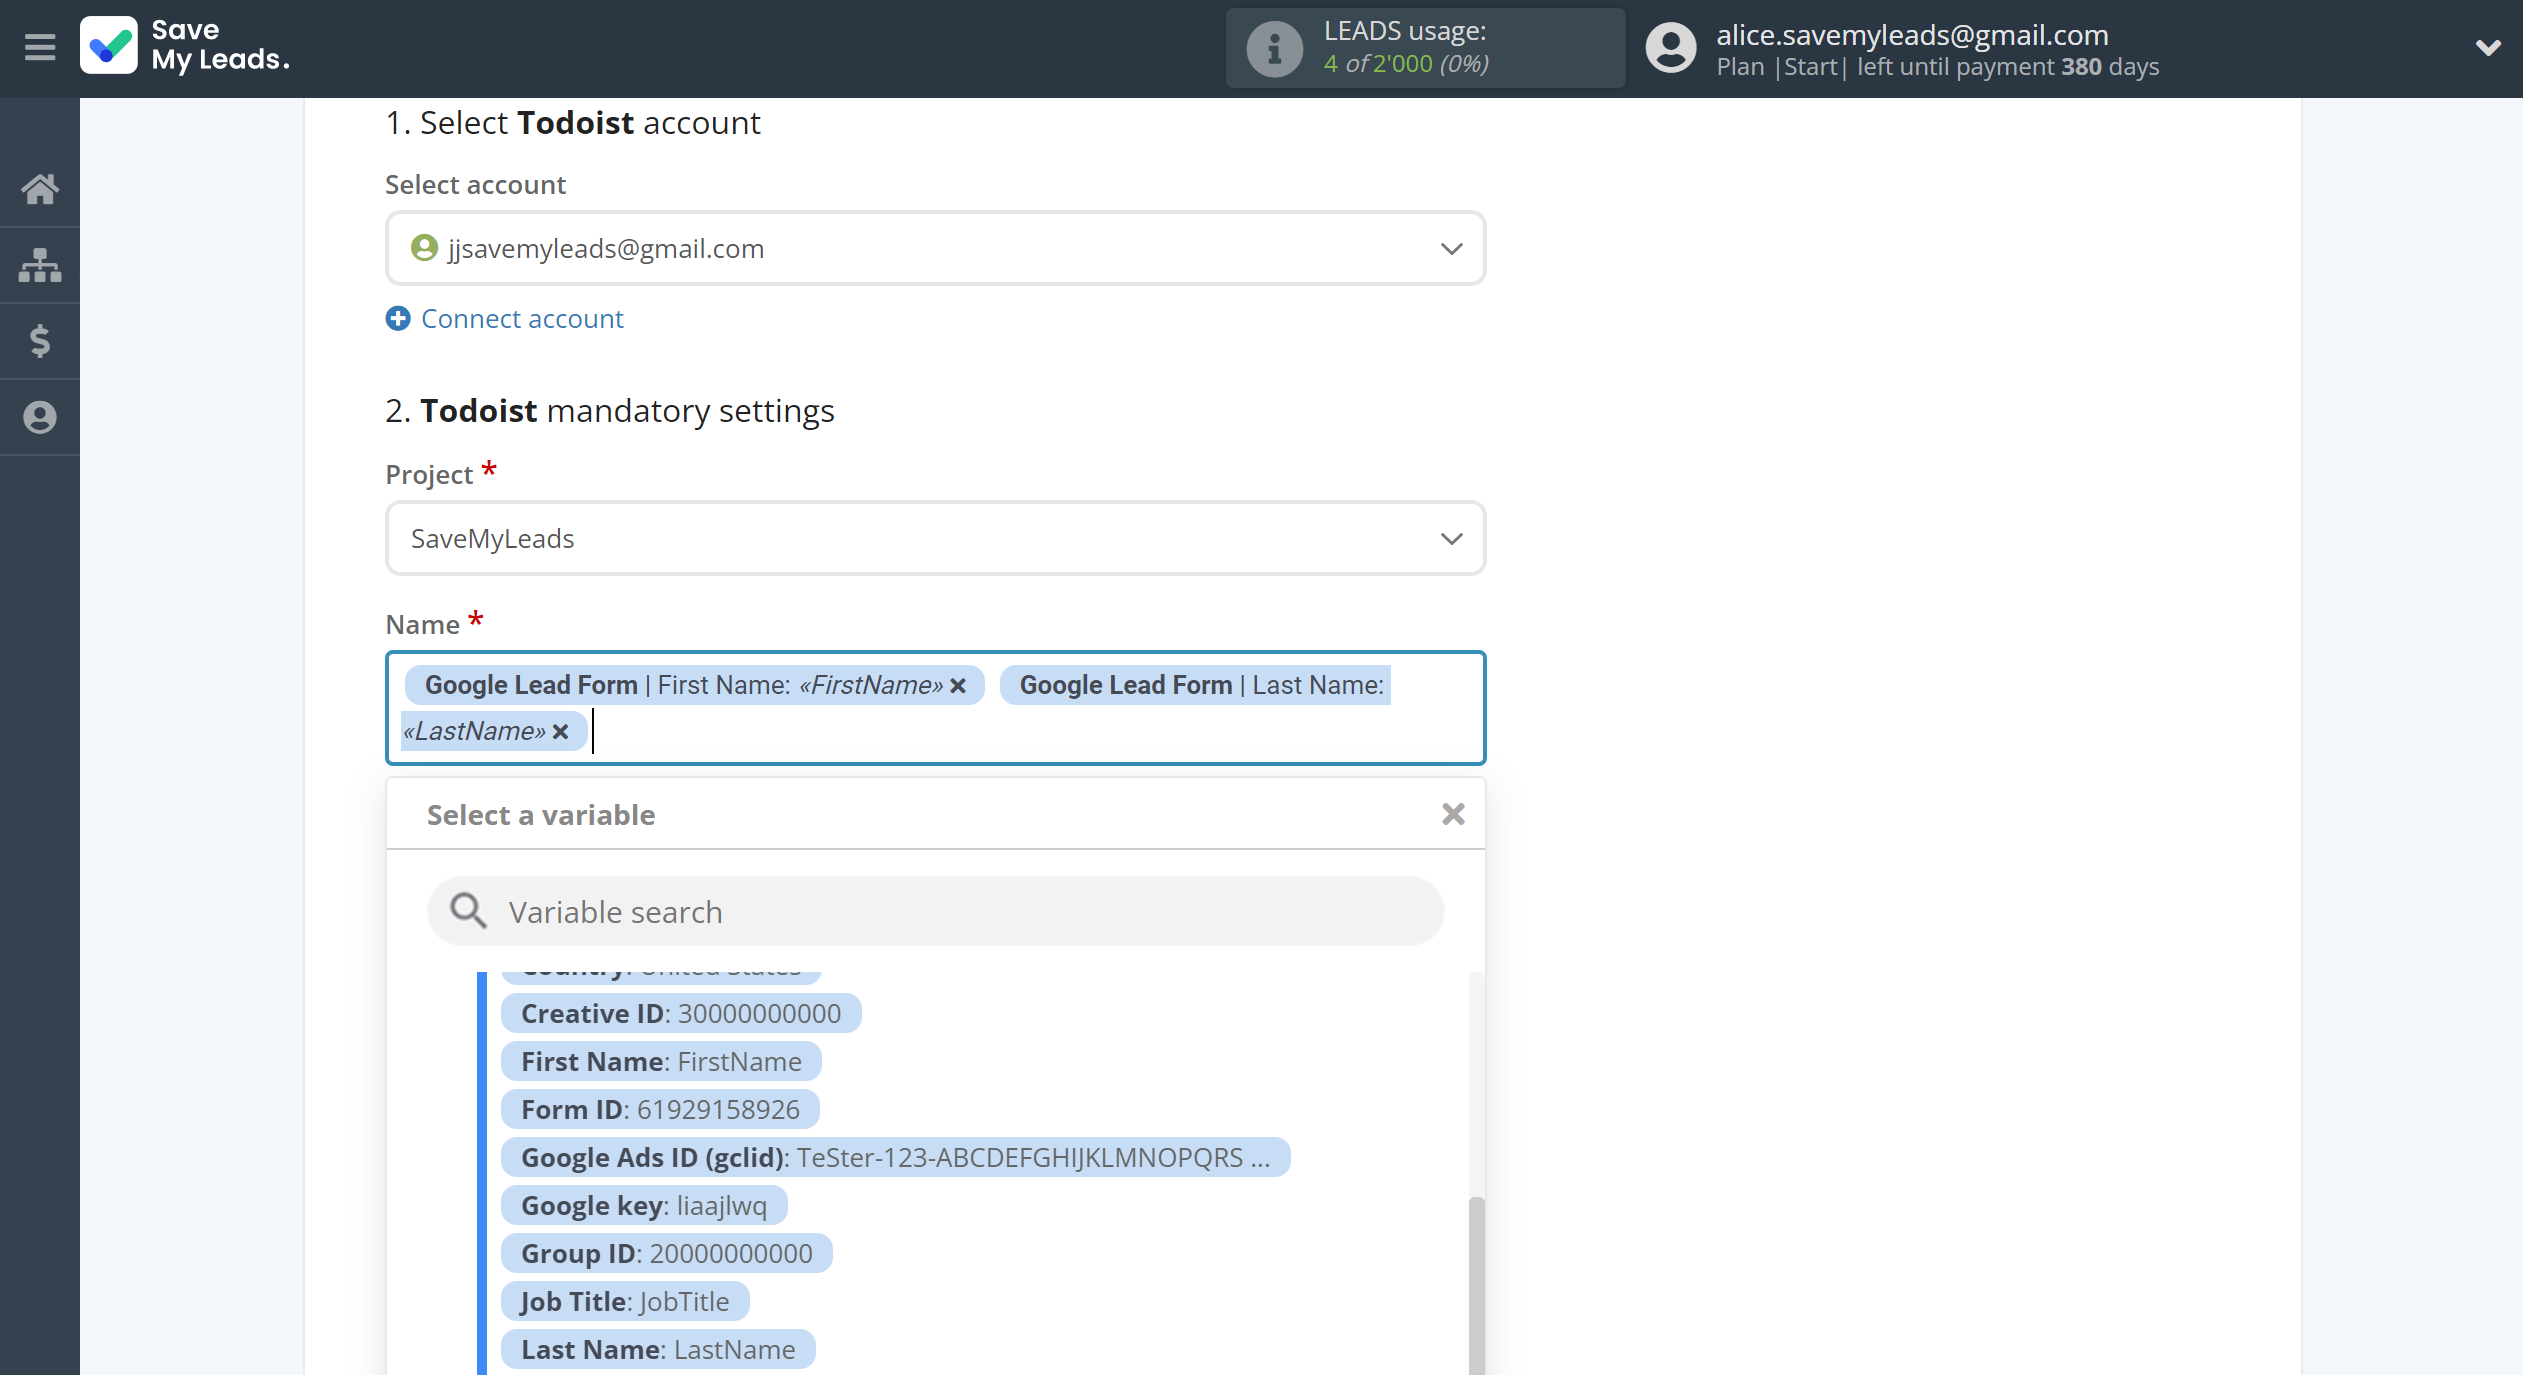
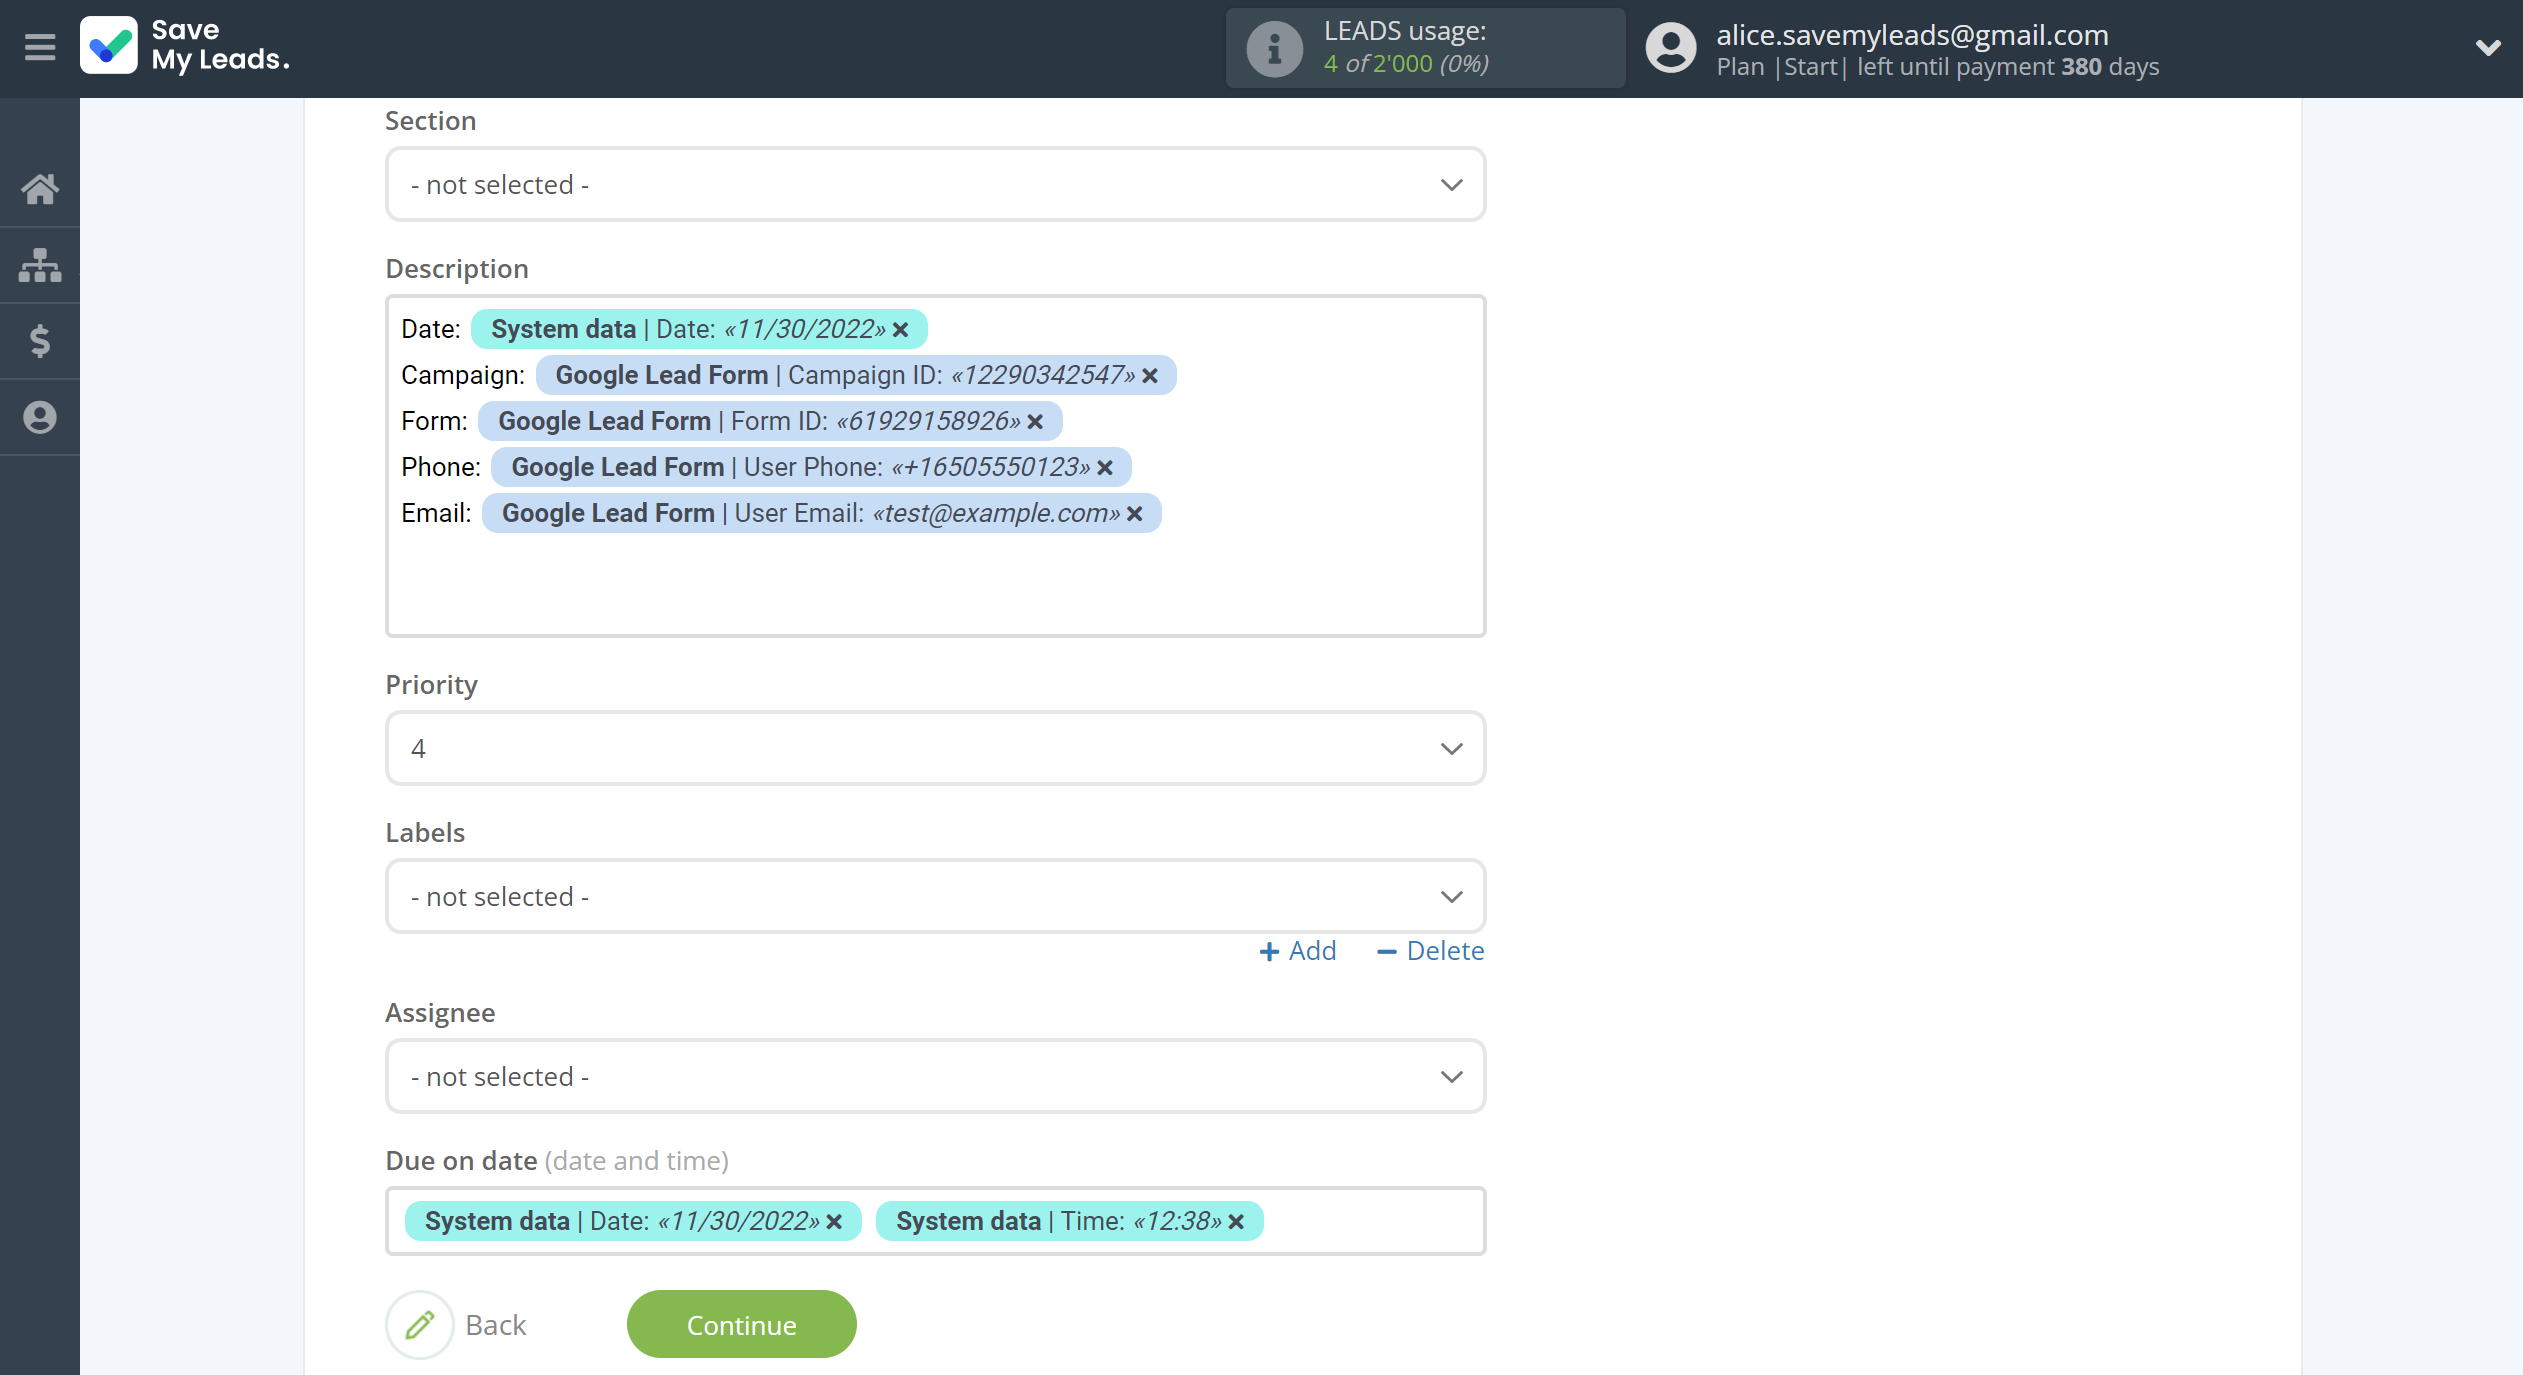
In this section, the fields will be assigned according to the template. You can completely change it or leave it as is.
Click "Continue" when you're done with assigning fields.
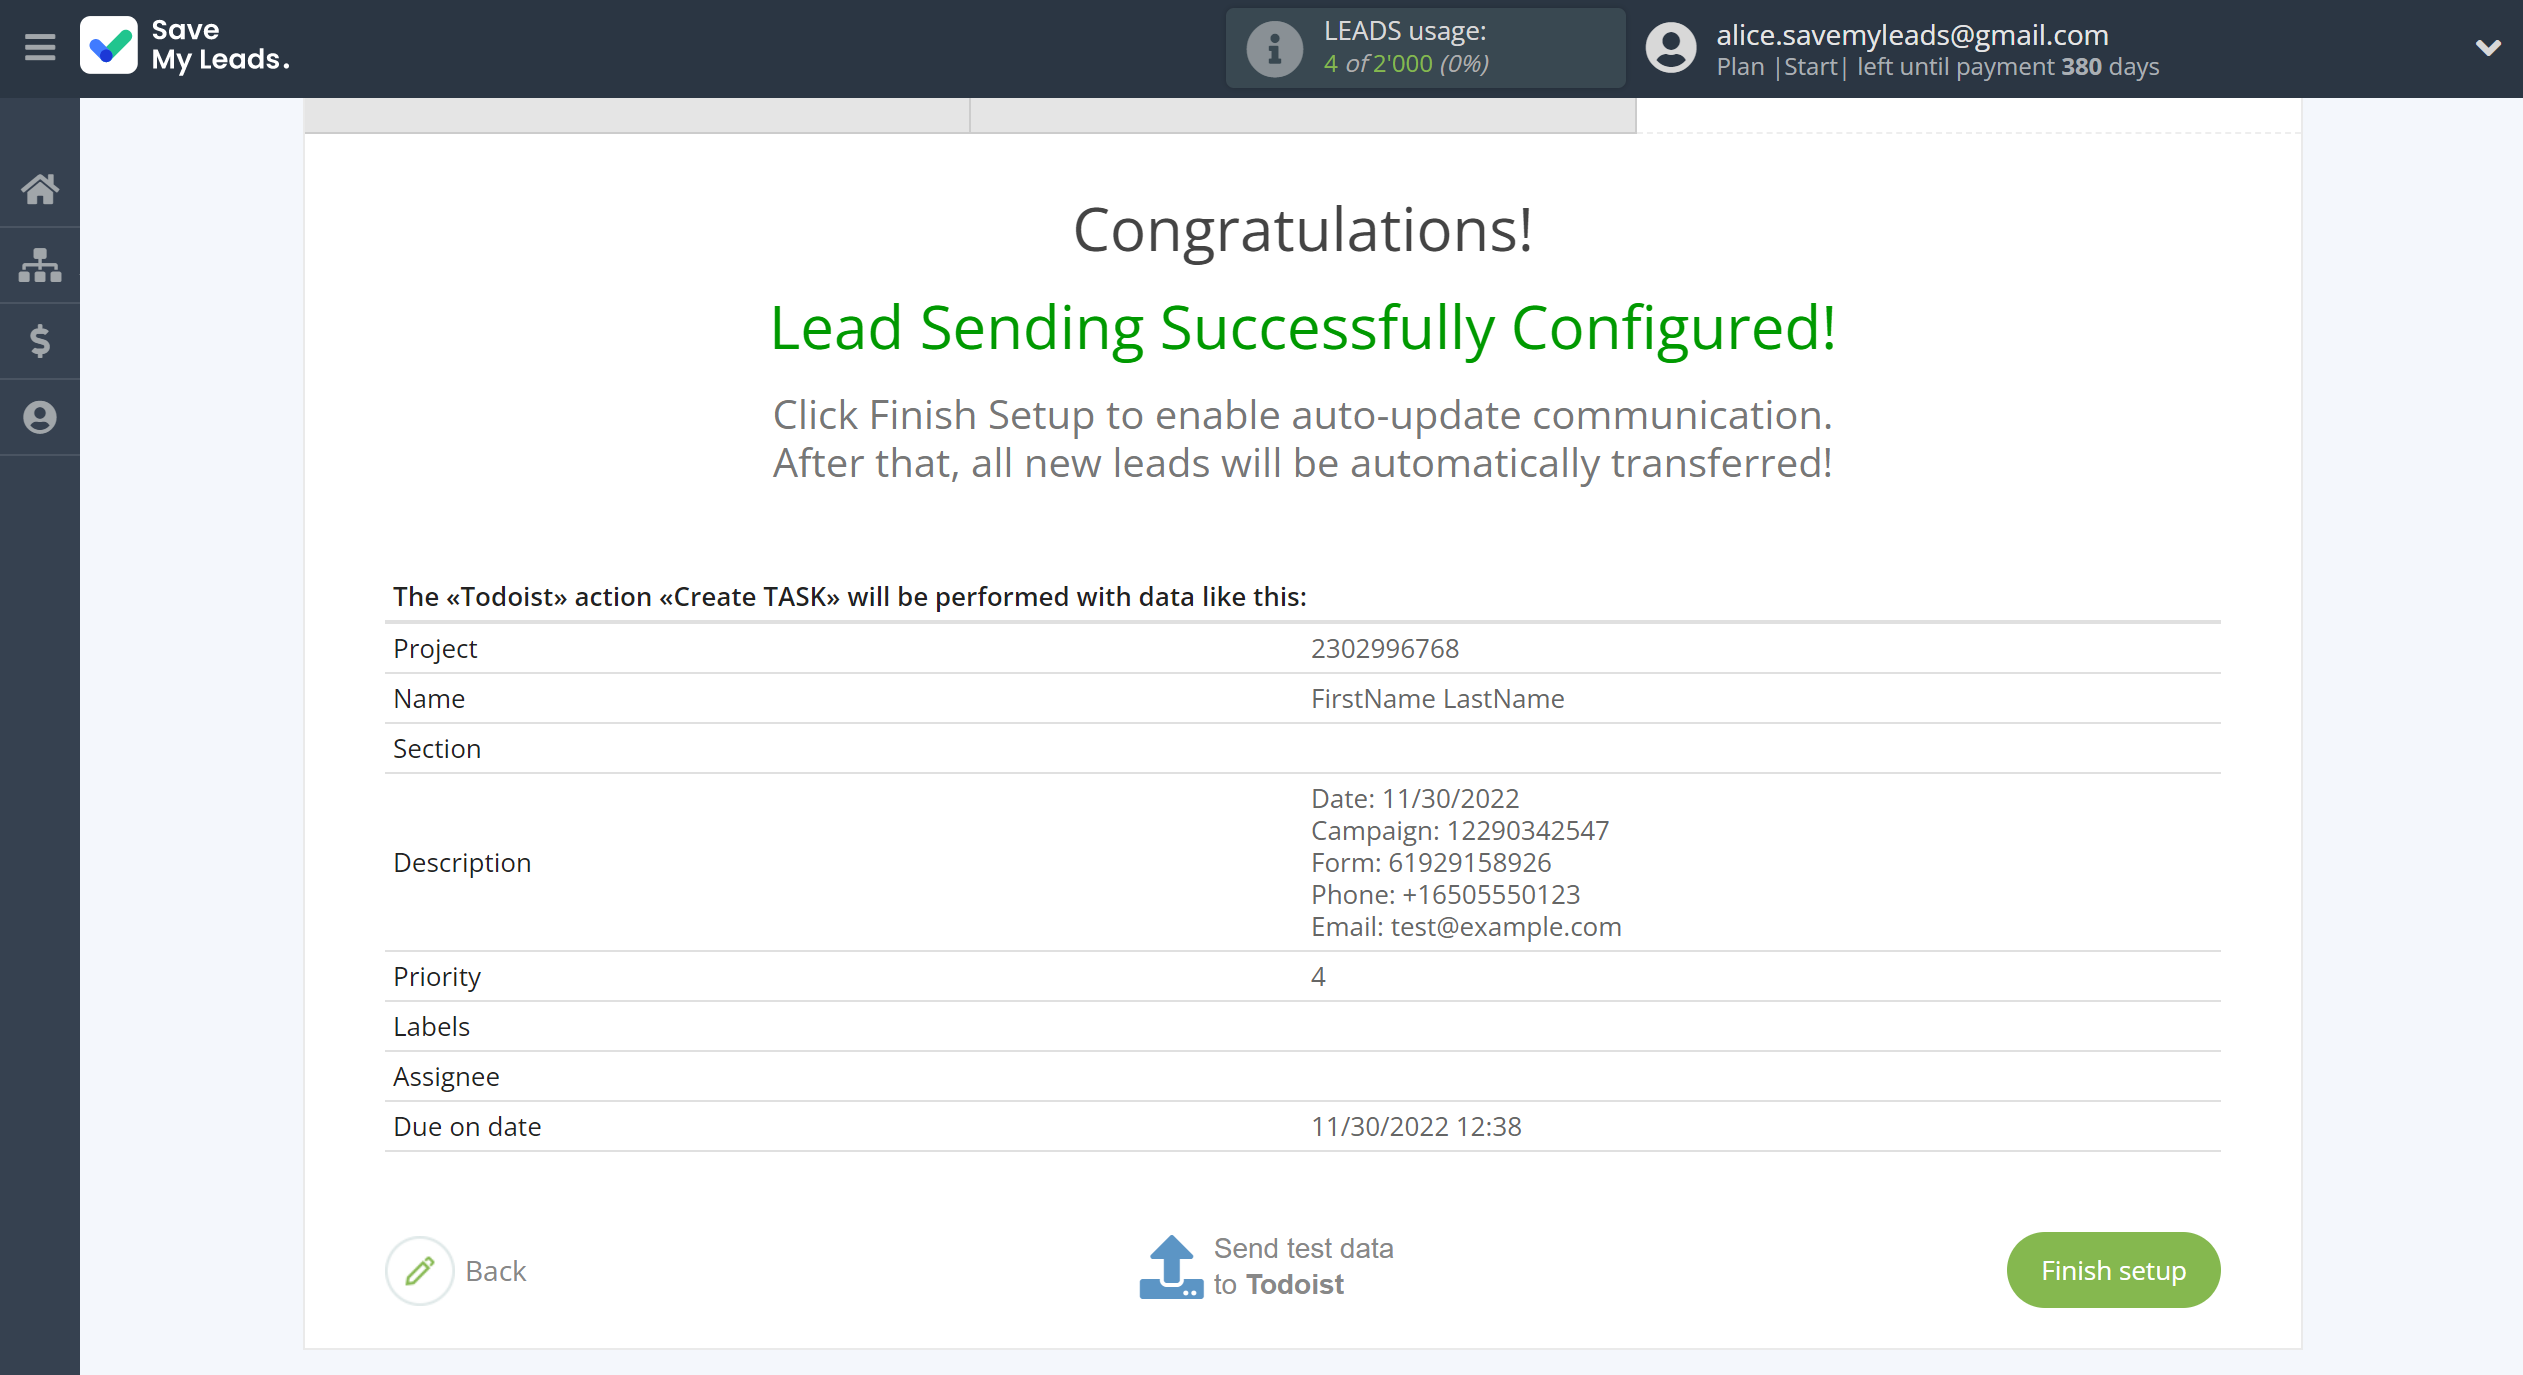
Now you can see Test data.
Click "Send test data to Todoist" and check your Todoist task.
If something does not suit you, click "Back" and go back one step.
In order for data from Google Lead Form to be transferred multi-venously to Todoist, click "Finish setup".
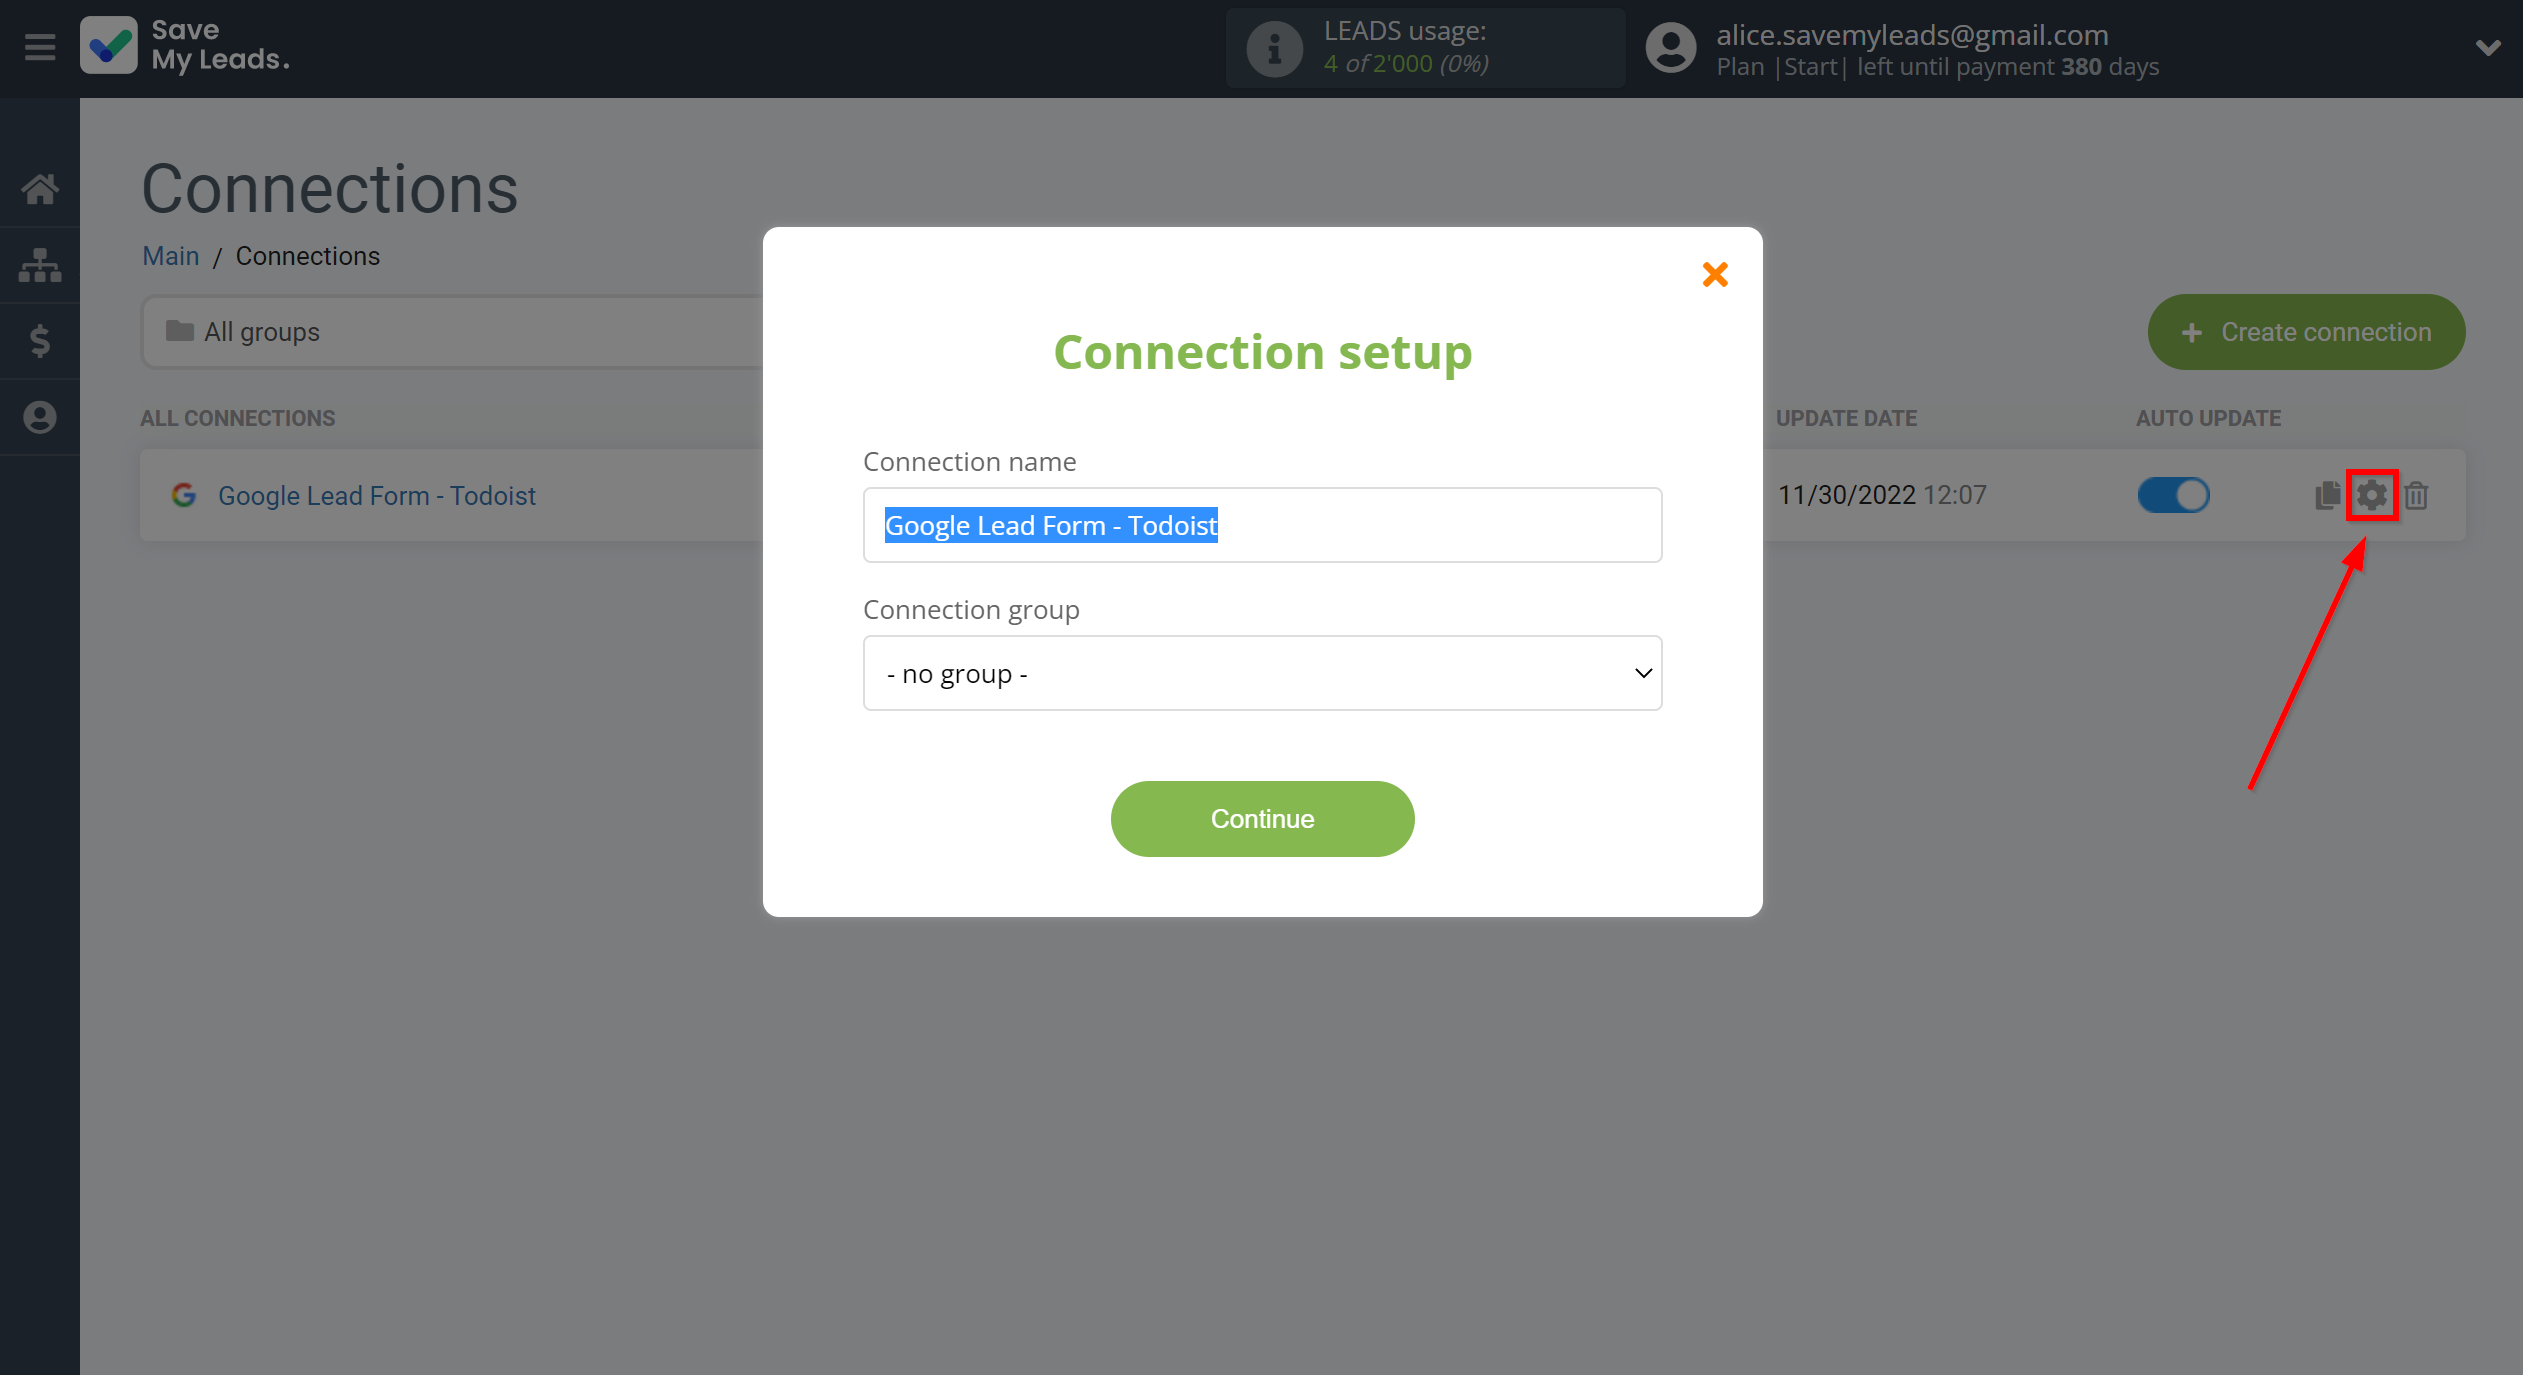
On the main screen, click on the gear icon to select name of the connection and select a group for it, if necessary.
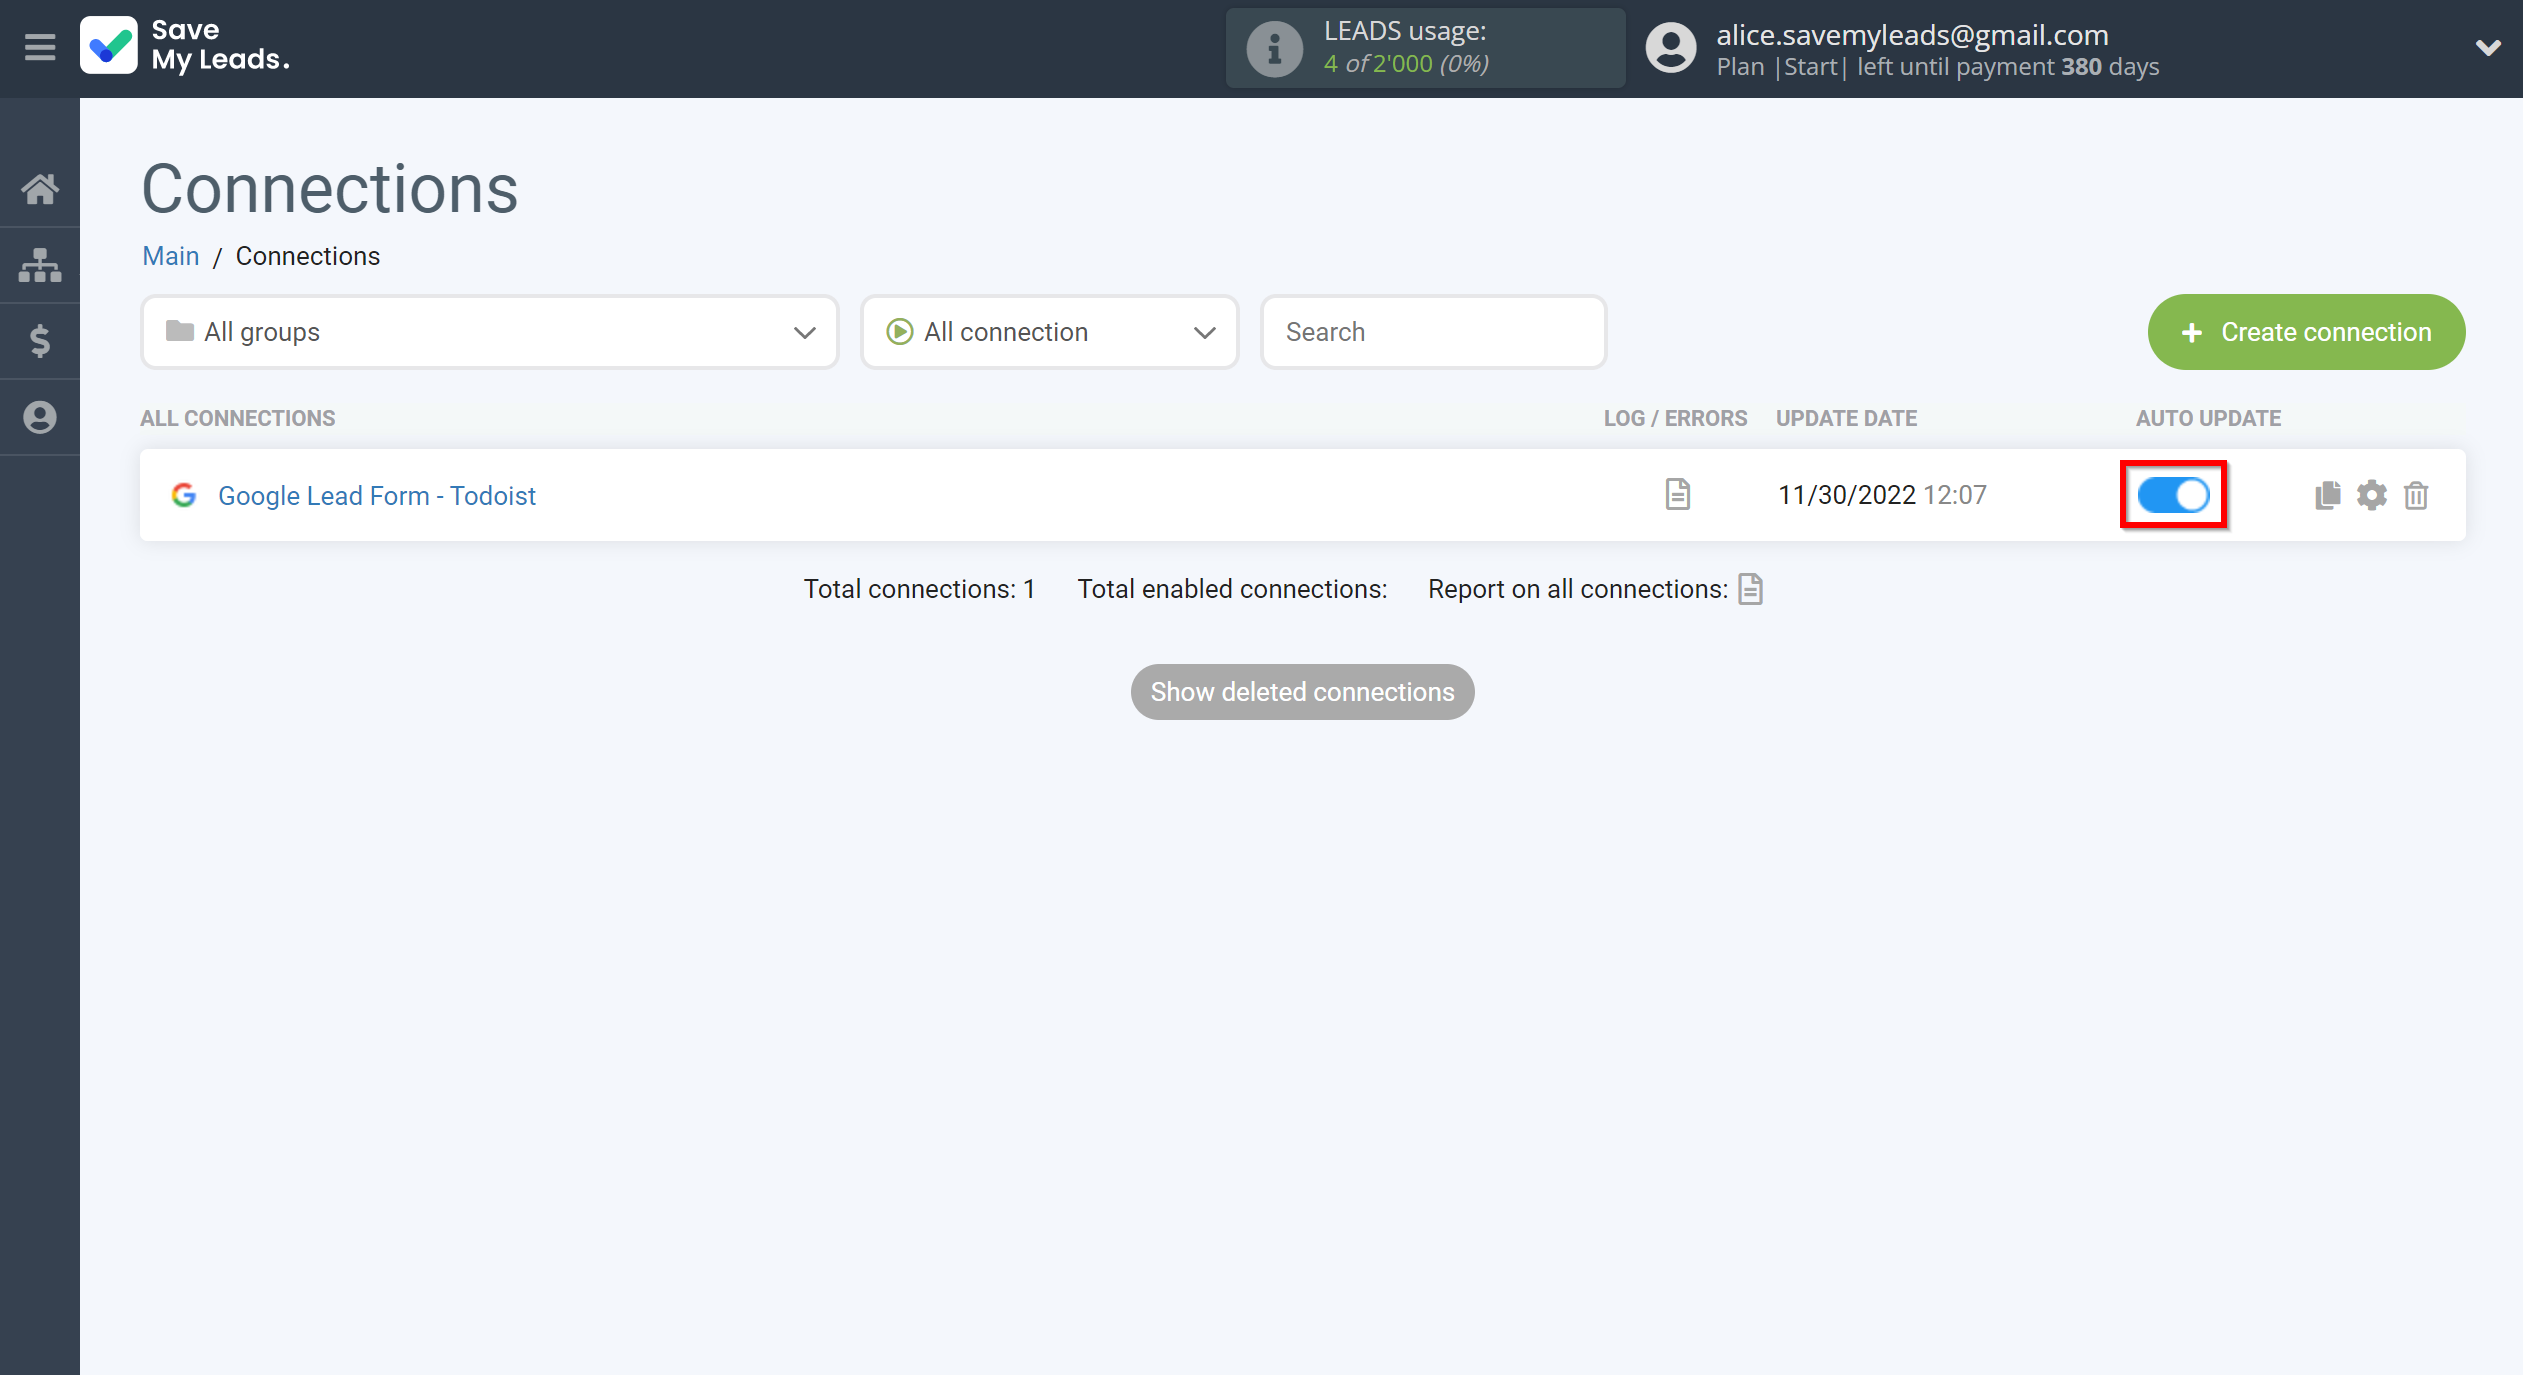
When the slider is in the position as shown in the picture - auto-update works. If you want to disable communication, click this slider.
This completes the integration setup between Google Lead Form and Todoist! See how easy it is!?
Now you don't have to worry, SaveMyLeads will do everything on its own!