How to Connect Webhooks with MailerLite Classic
The integration will allow you to get data from Webhooks and send it to MailerLite Classic to add subscriber. For example, you can add subscribers based on data from your website or landing page. This will allow you to efficiently automate your workflows and save a lot of time by eliminating the need to manually add or remove each subscriber.
Let's go through the entire Webhooks with MailerLite Classic setup steps together!
Navigation:
1. What will integration Webhooks with MailerLite Classic do?
2. How to connect your Webhooks account?
3. How to connect your MailerLite Classic account to?
4. How to setup data transfer to MailerLite Classic in the selected action?
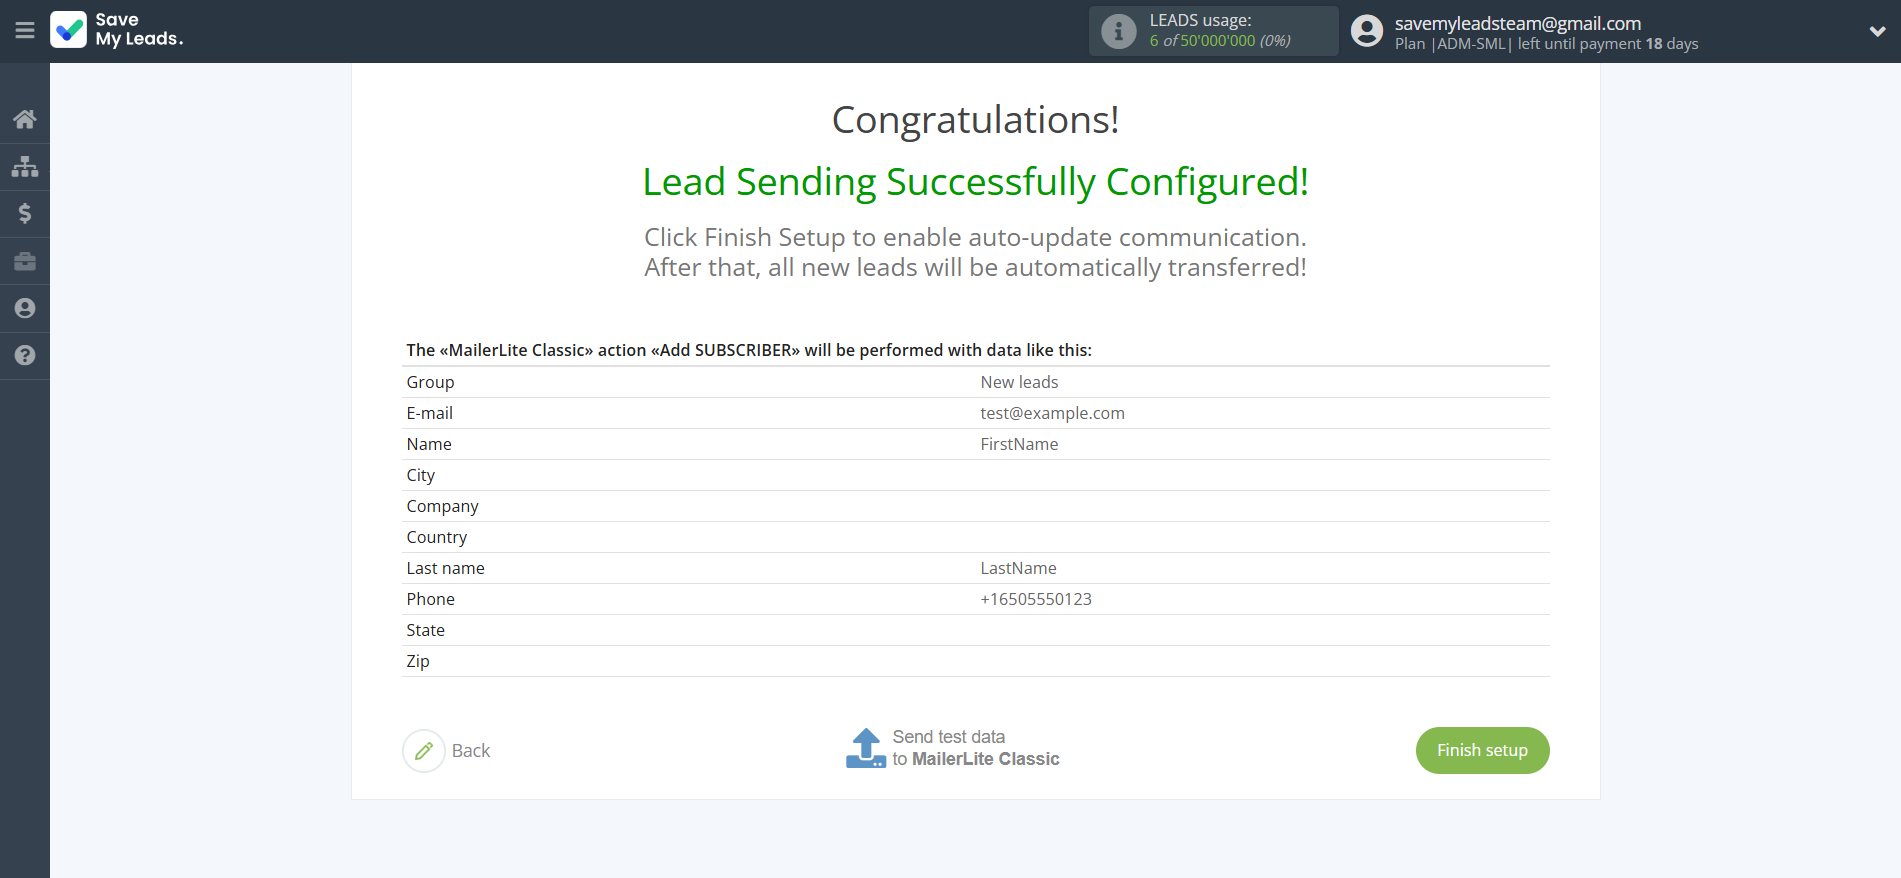
5. An example of the data that will be sent to your MailerLite Classic.
6. Auto-update.
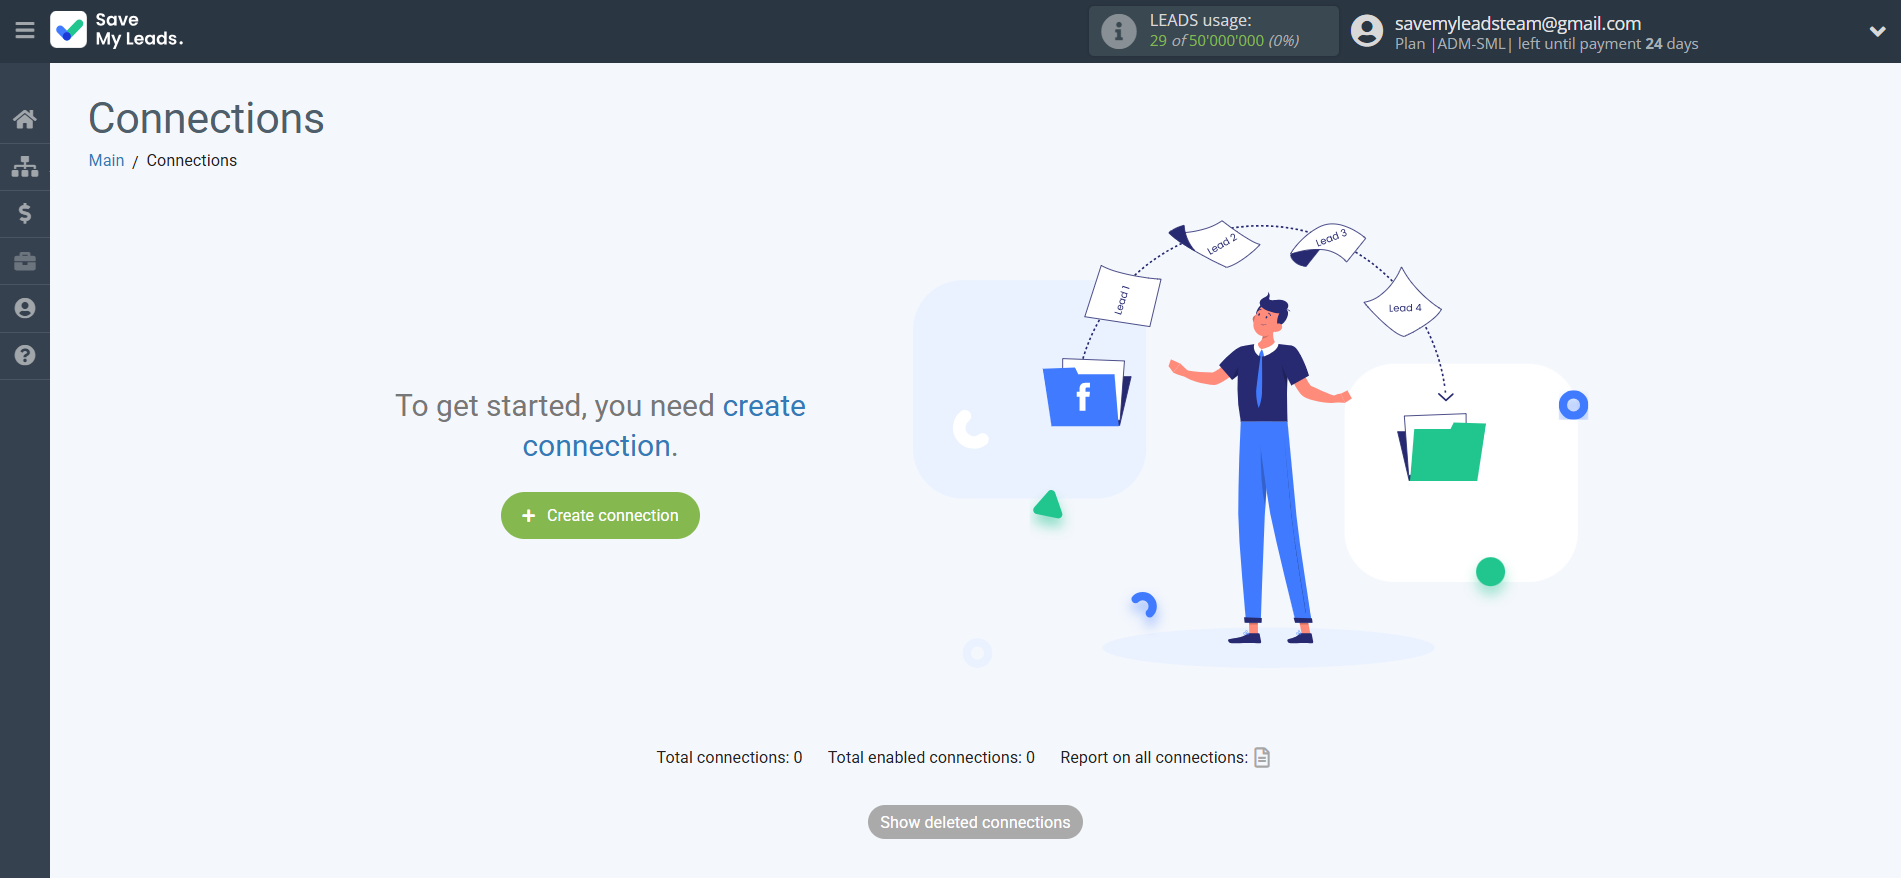
To start setup click "Create Connection".
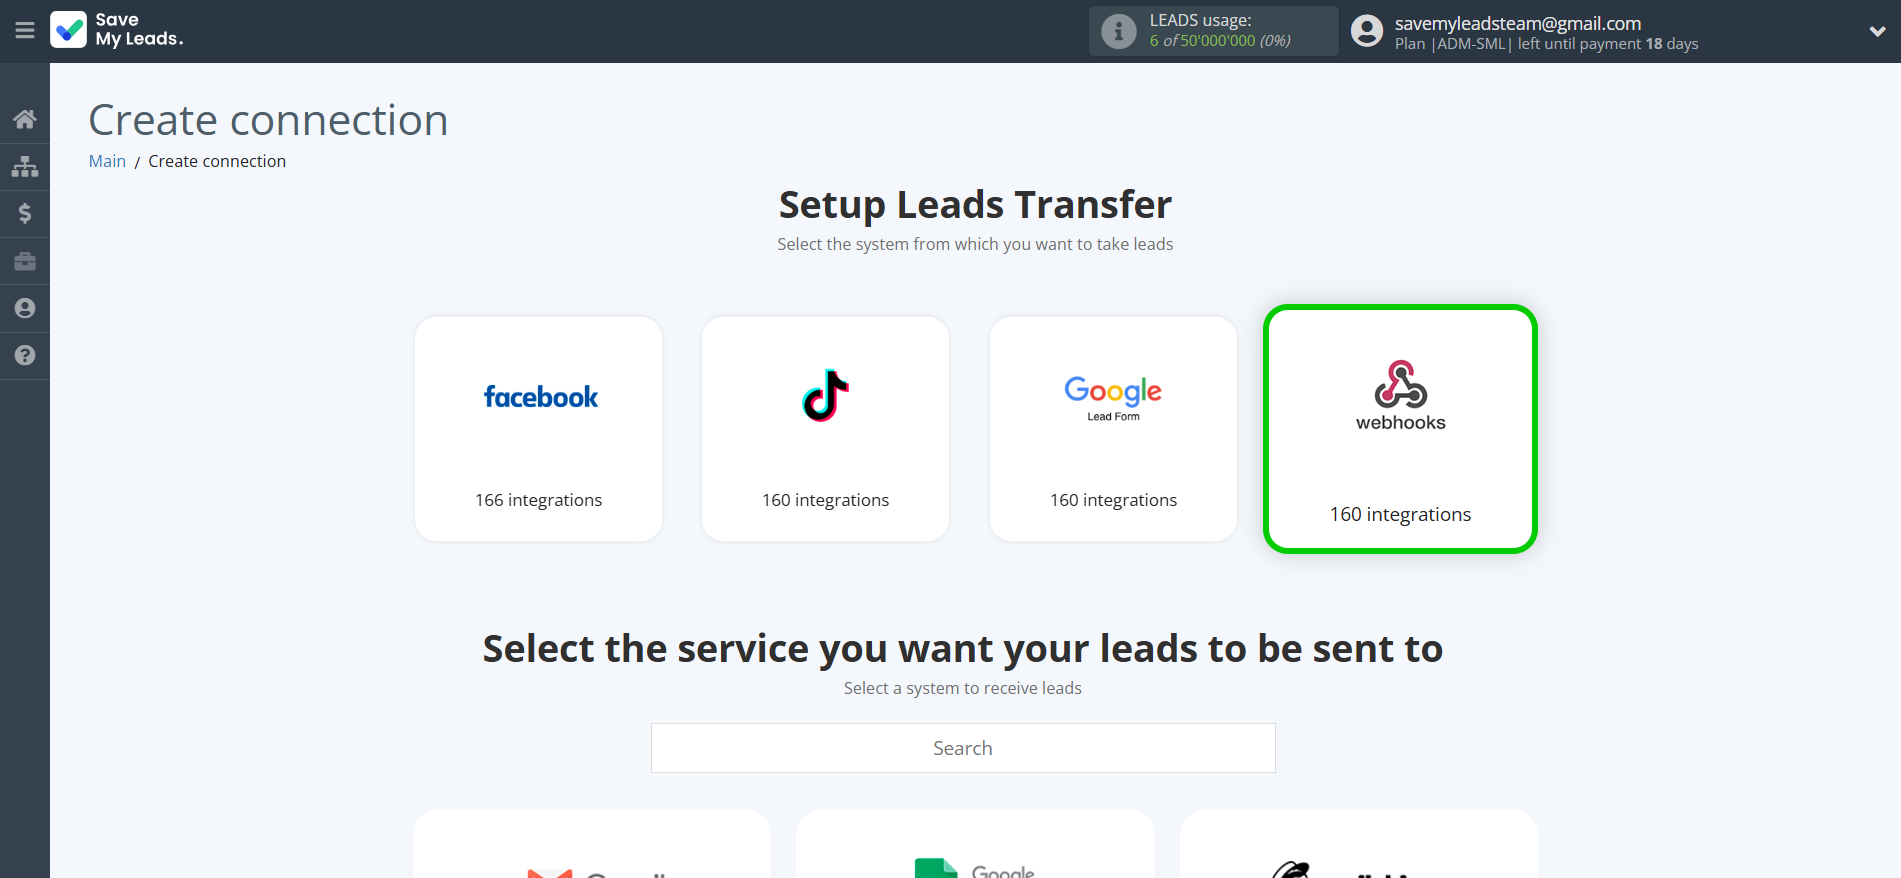
Select a system as the Data Source. In this case, you must specify the Webhooks.
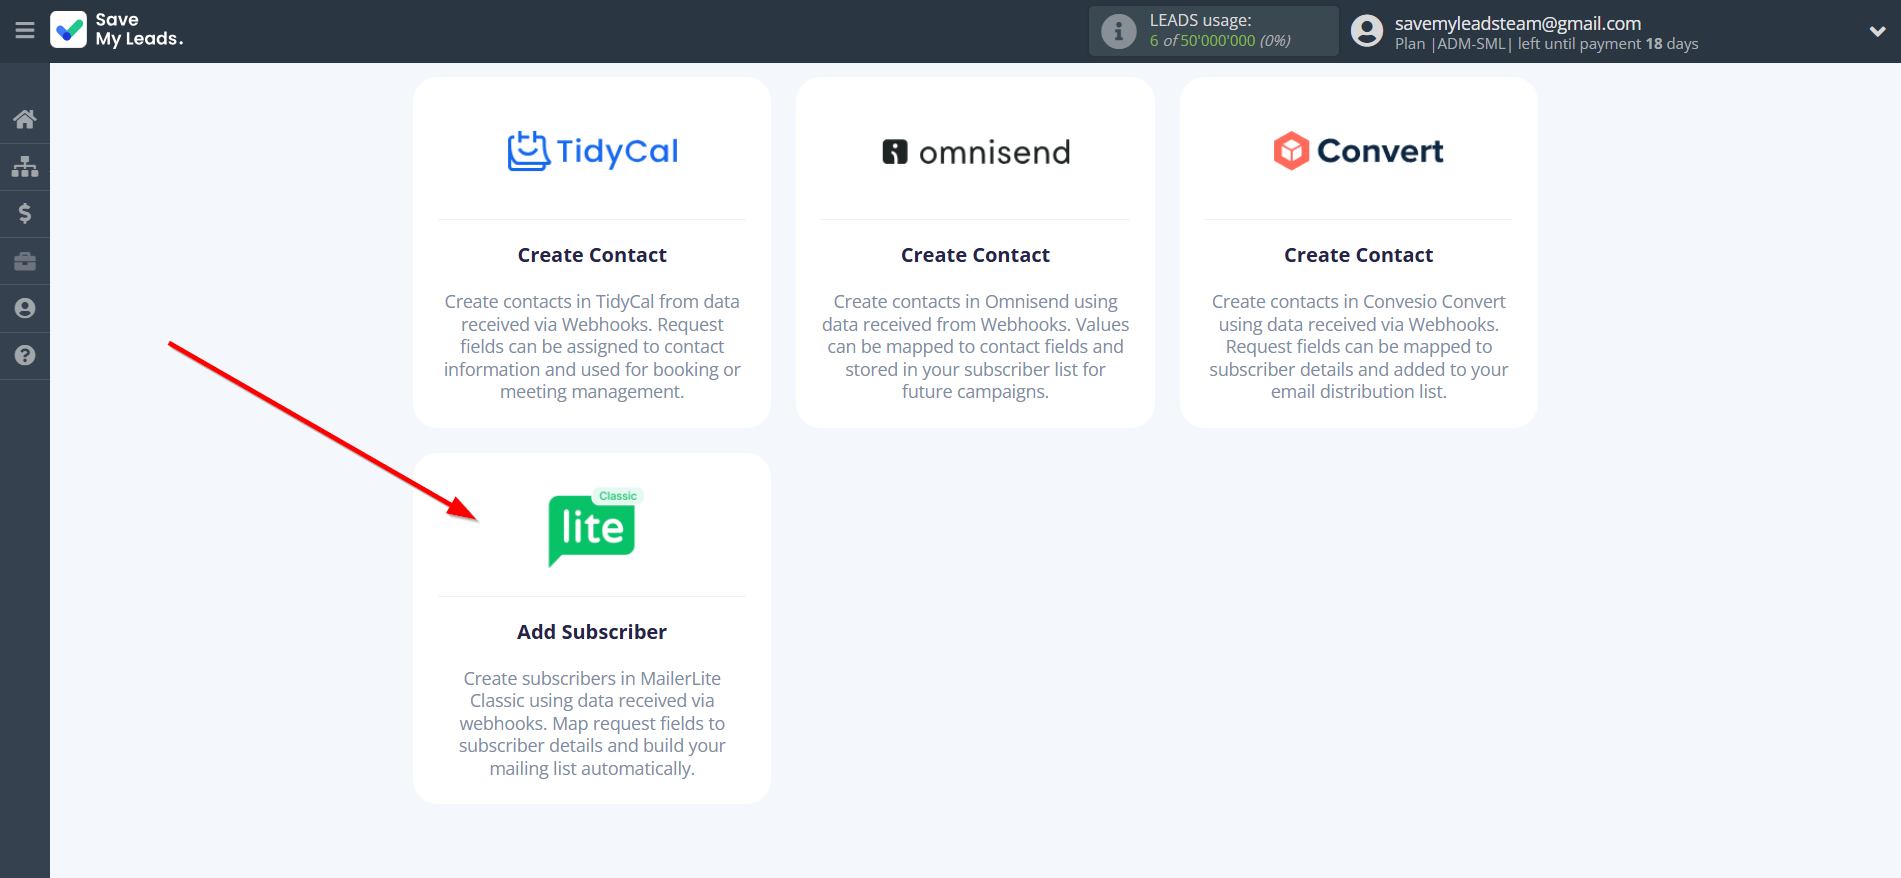
Next, you need to specify the system to which the data from the Webhooks will be transmitted. In this case, you must specify MailerLite Classic.
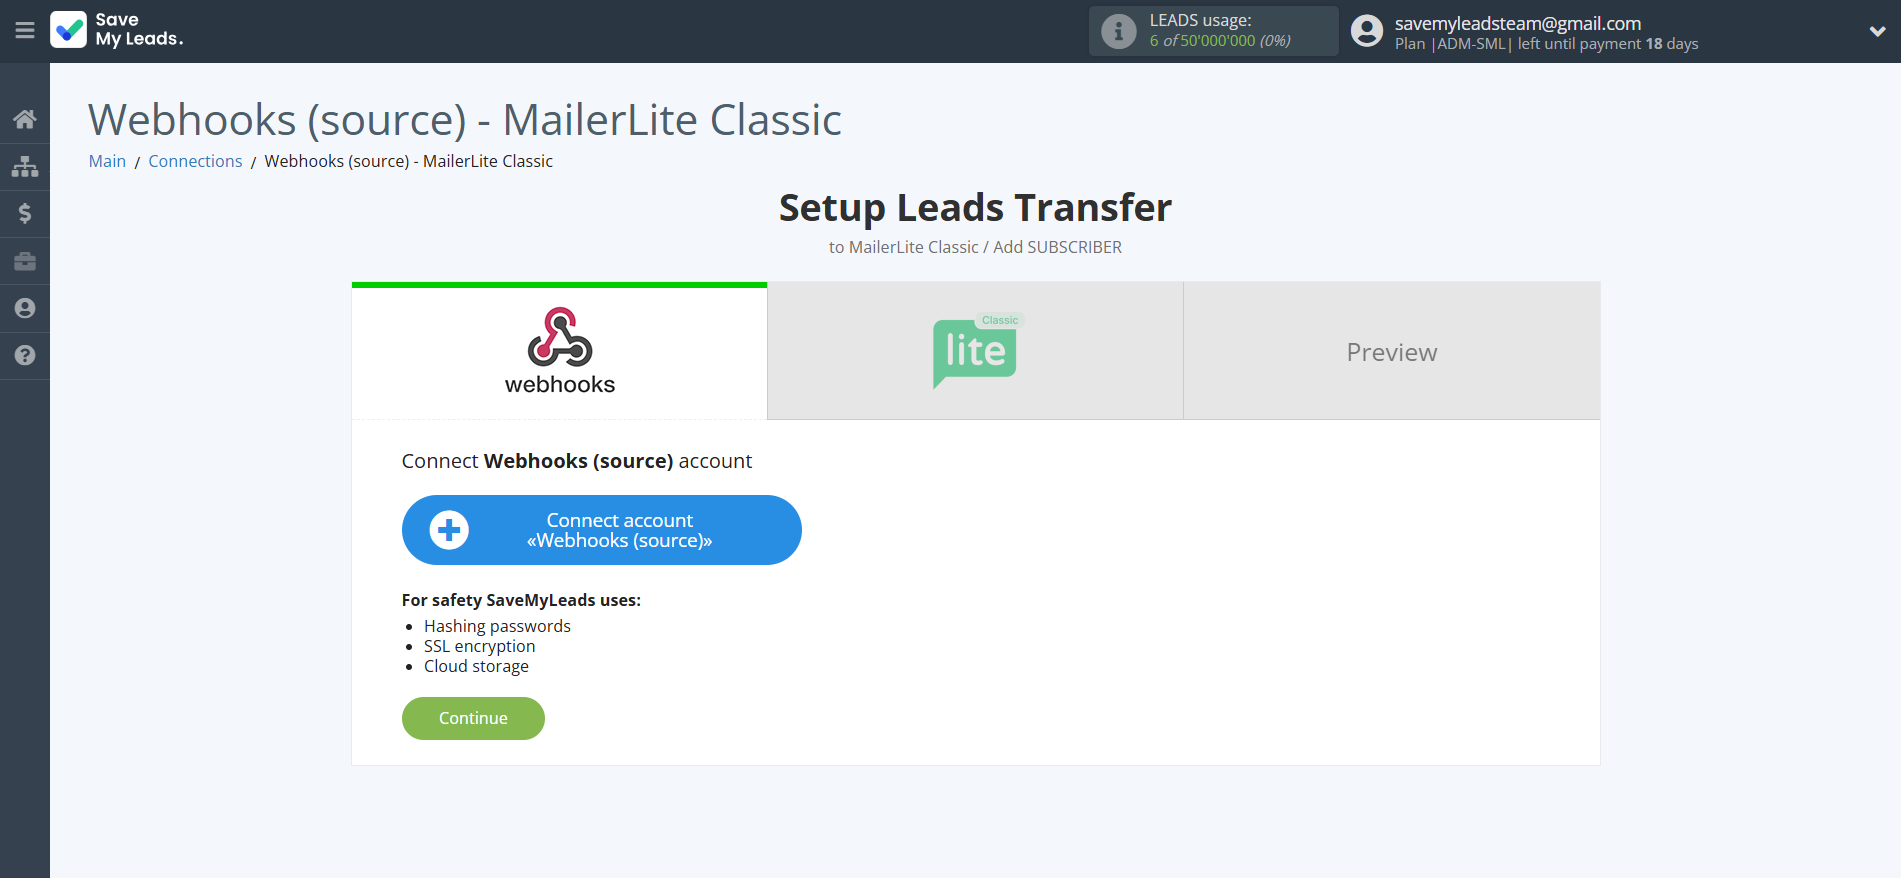
The next step is to select the Webhooks account from which SaveMyLeads will get the data.
If there are no account connected to the system, click "Connect account".
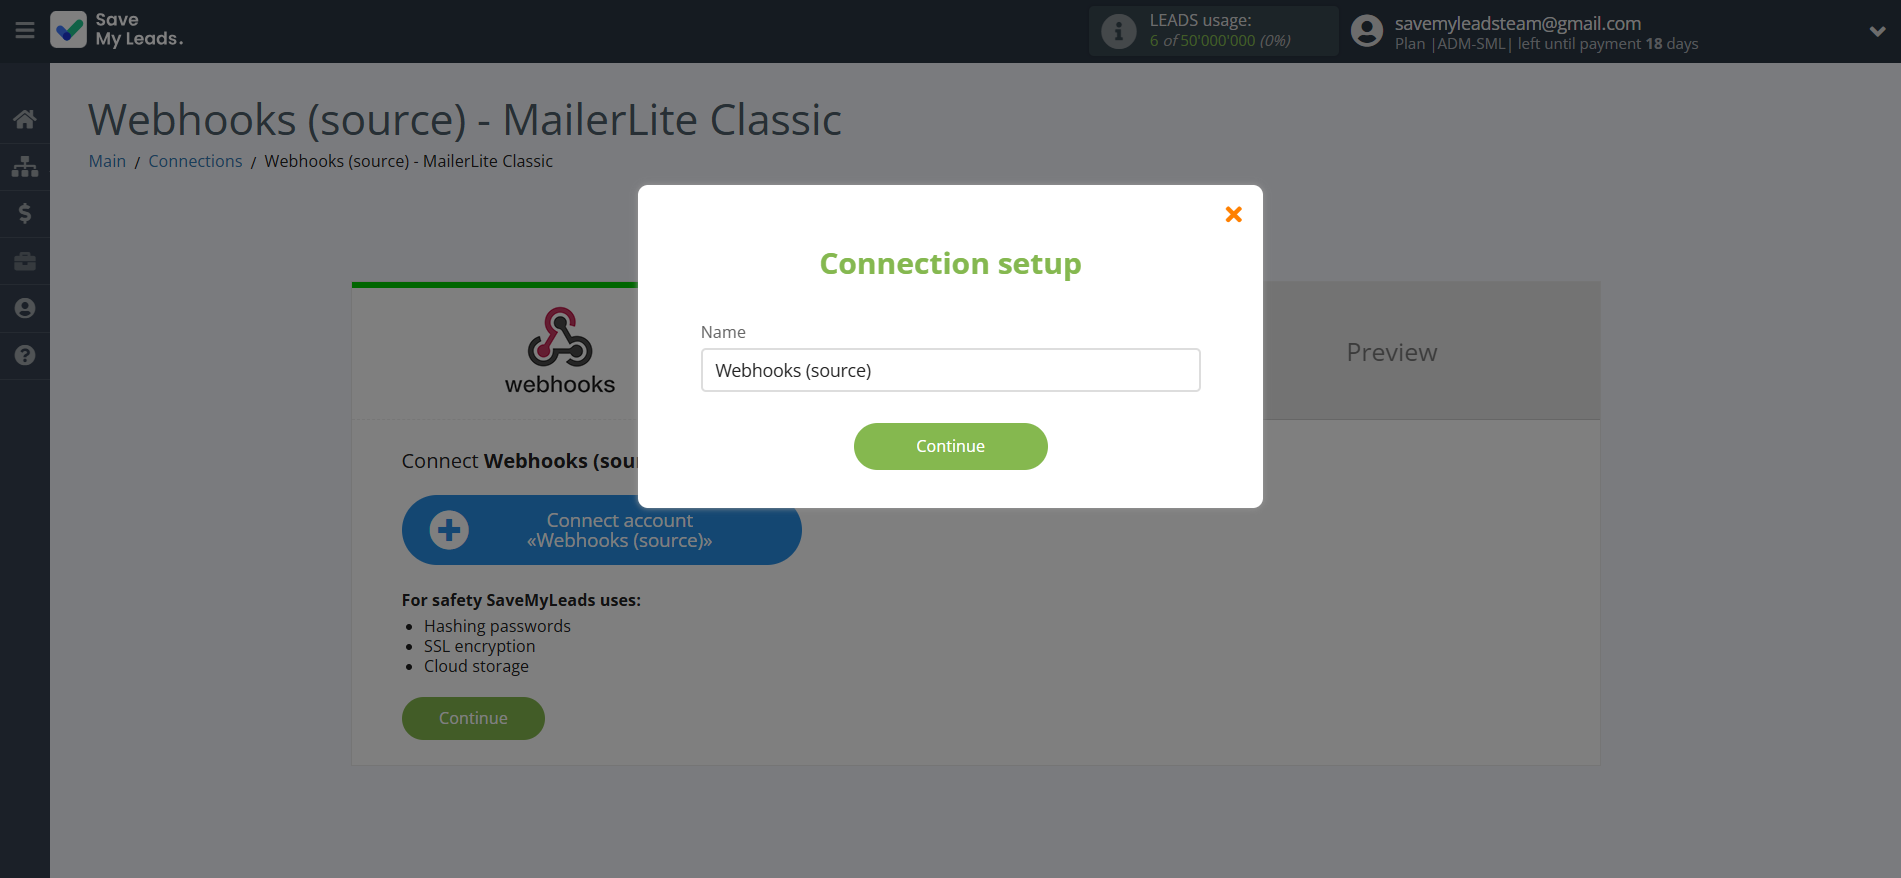
If desired, you can change its name or simply click "Continue".
When the connected account is displayed in the "active accounts" list, select it.
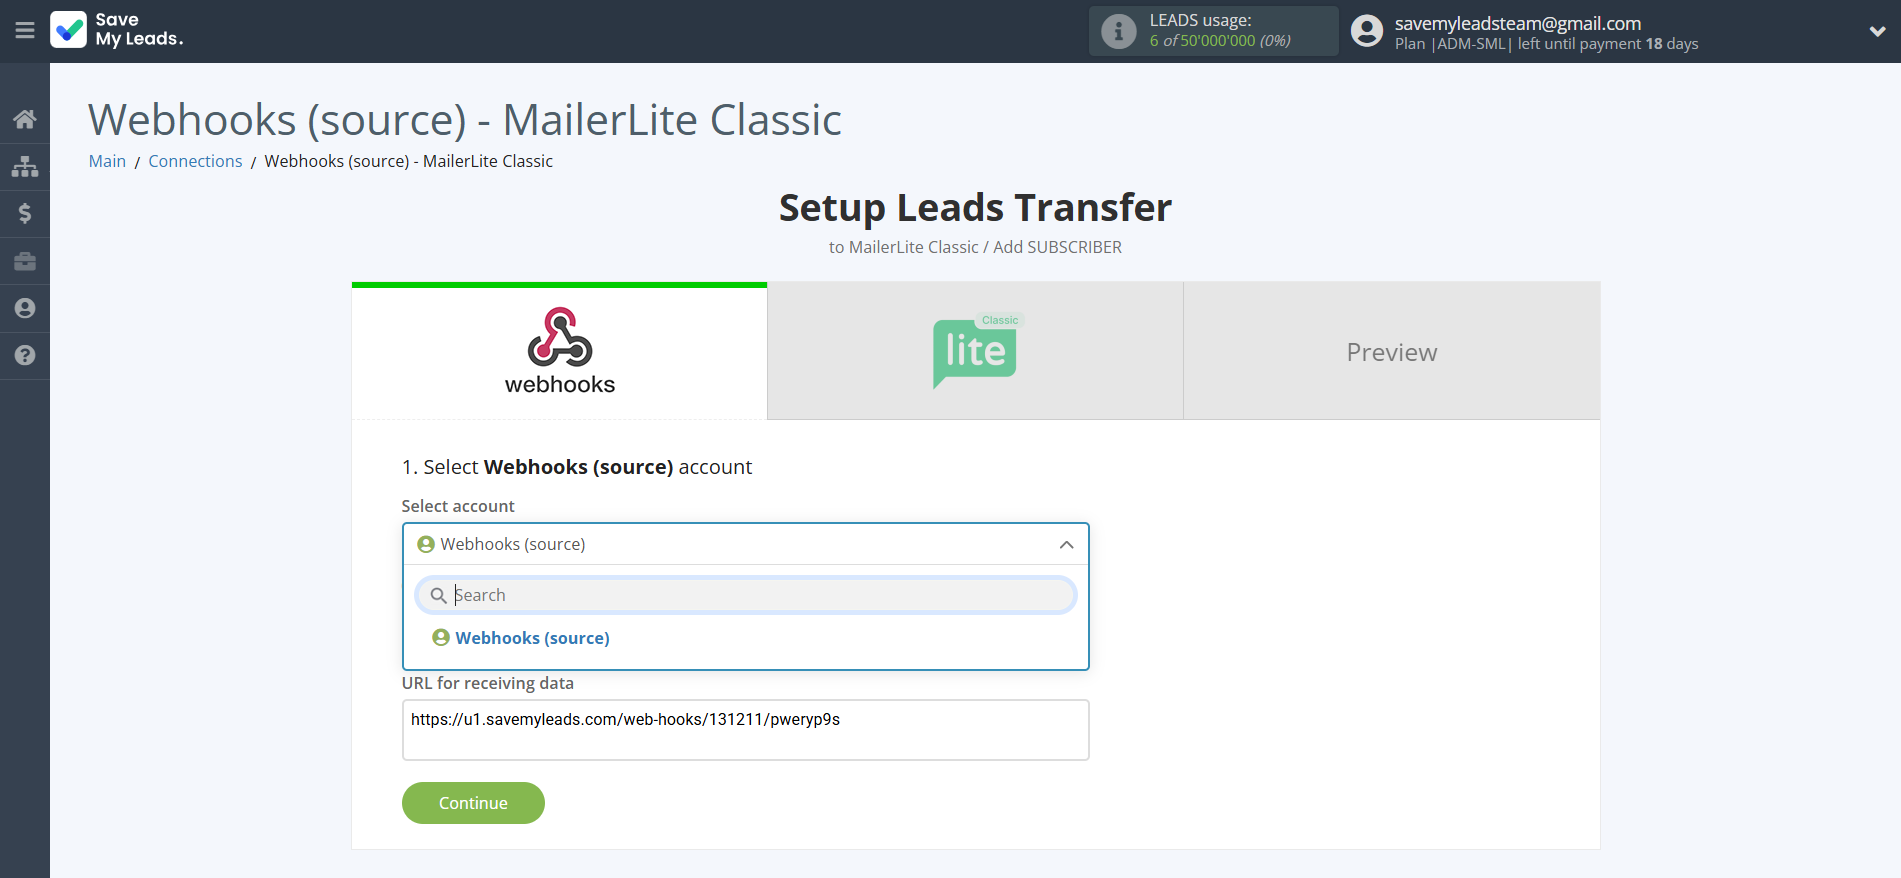
Next, you need to copy the "URL for receiving data", click "Continue" and go to your account, that supports data transfer via Webhooks.
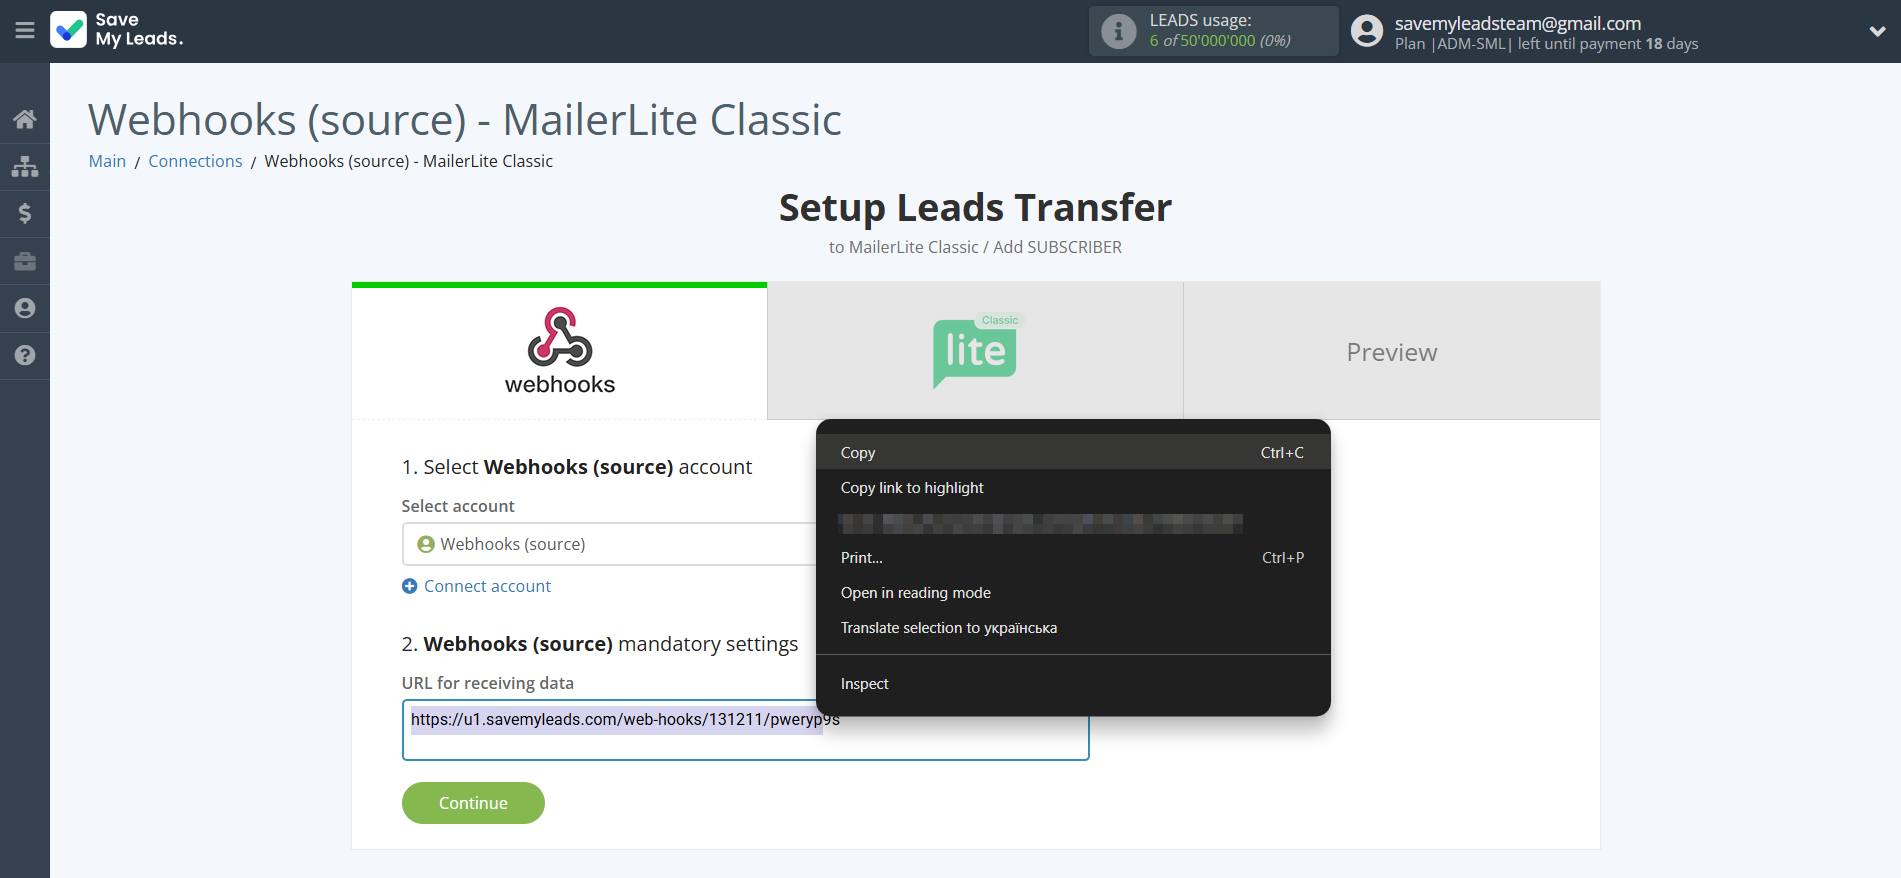
For the example work in this help, we will copy this link and go to the Kajabi account, setup an publication for transferring data via Webhooks.
You can do the same on any other system that supports Webhooks.
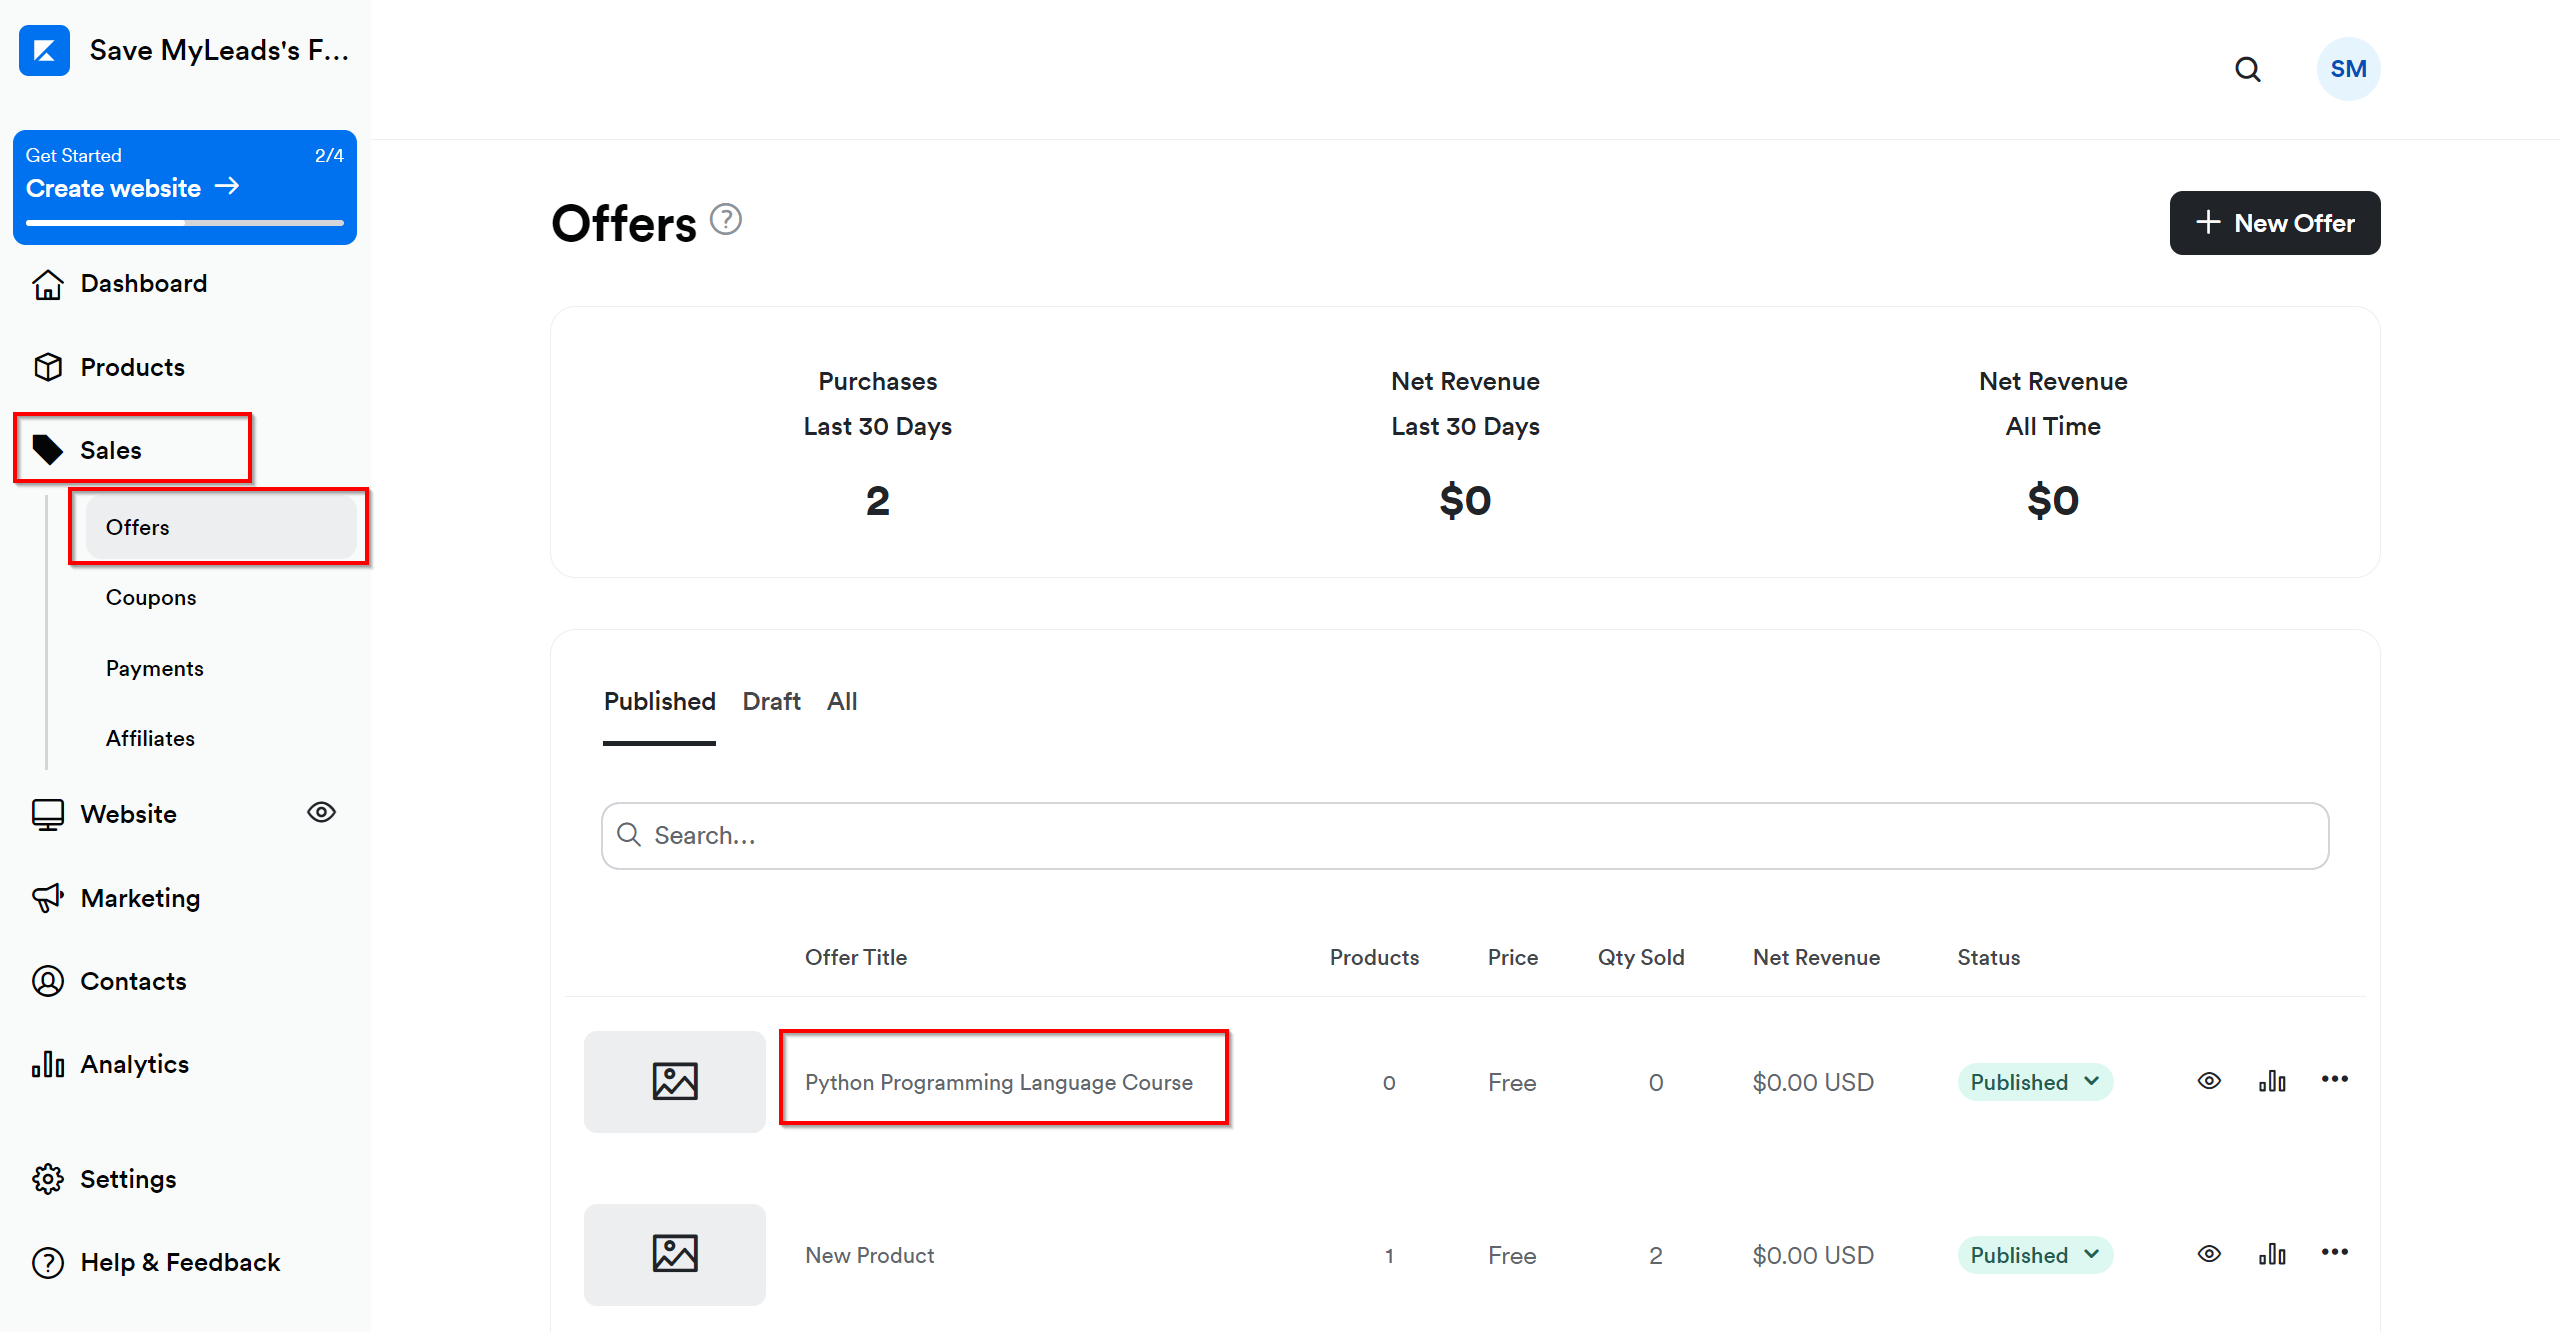
Go to the "Sales" - "Offers" tab, then select the publication from which you want to Data Destination.
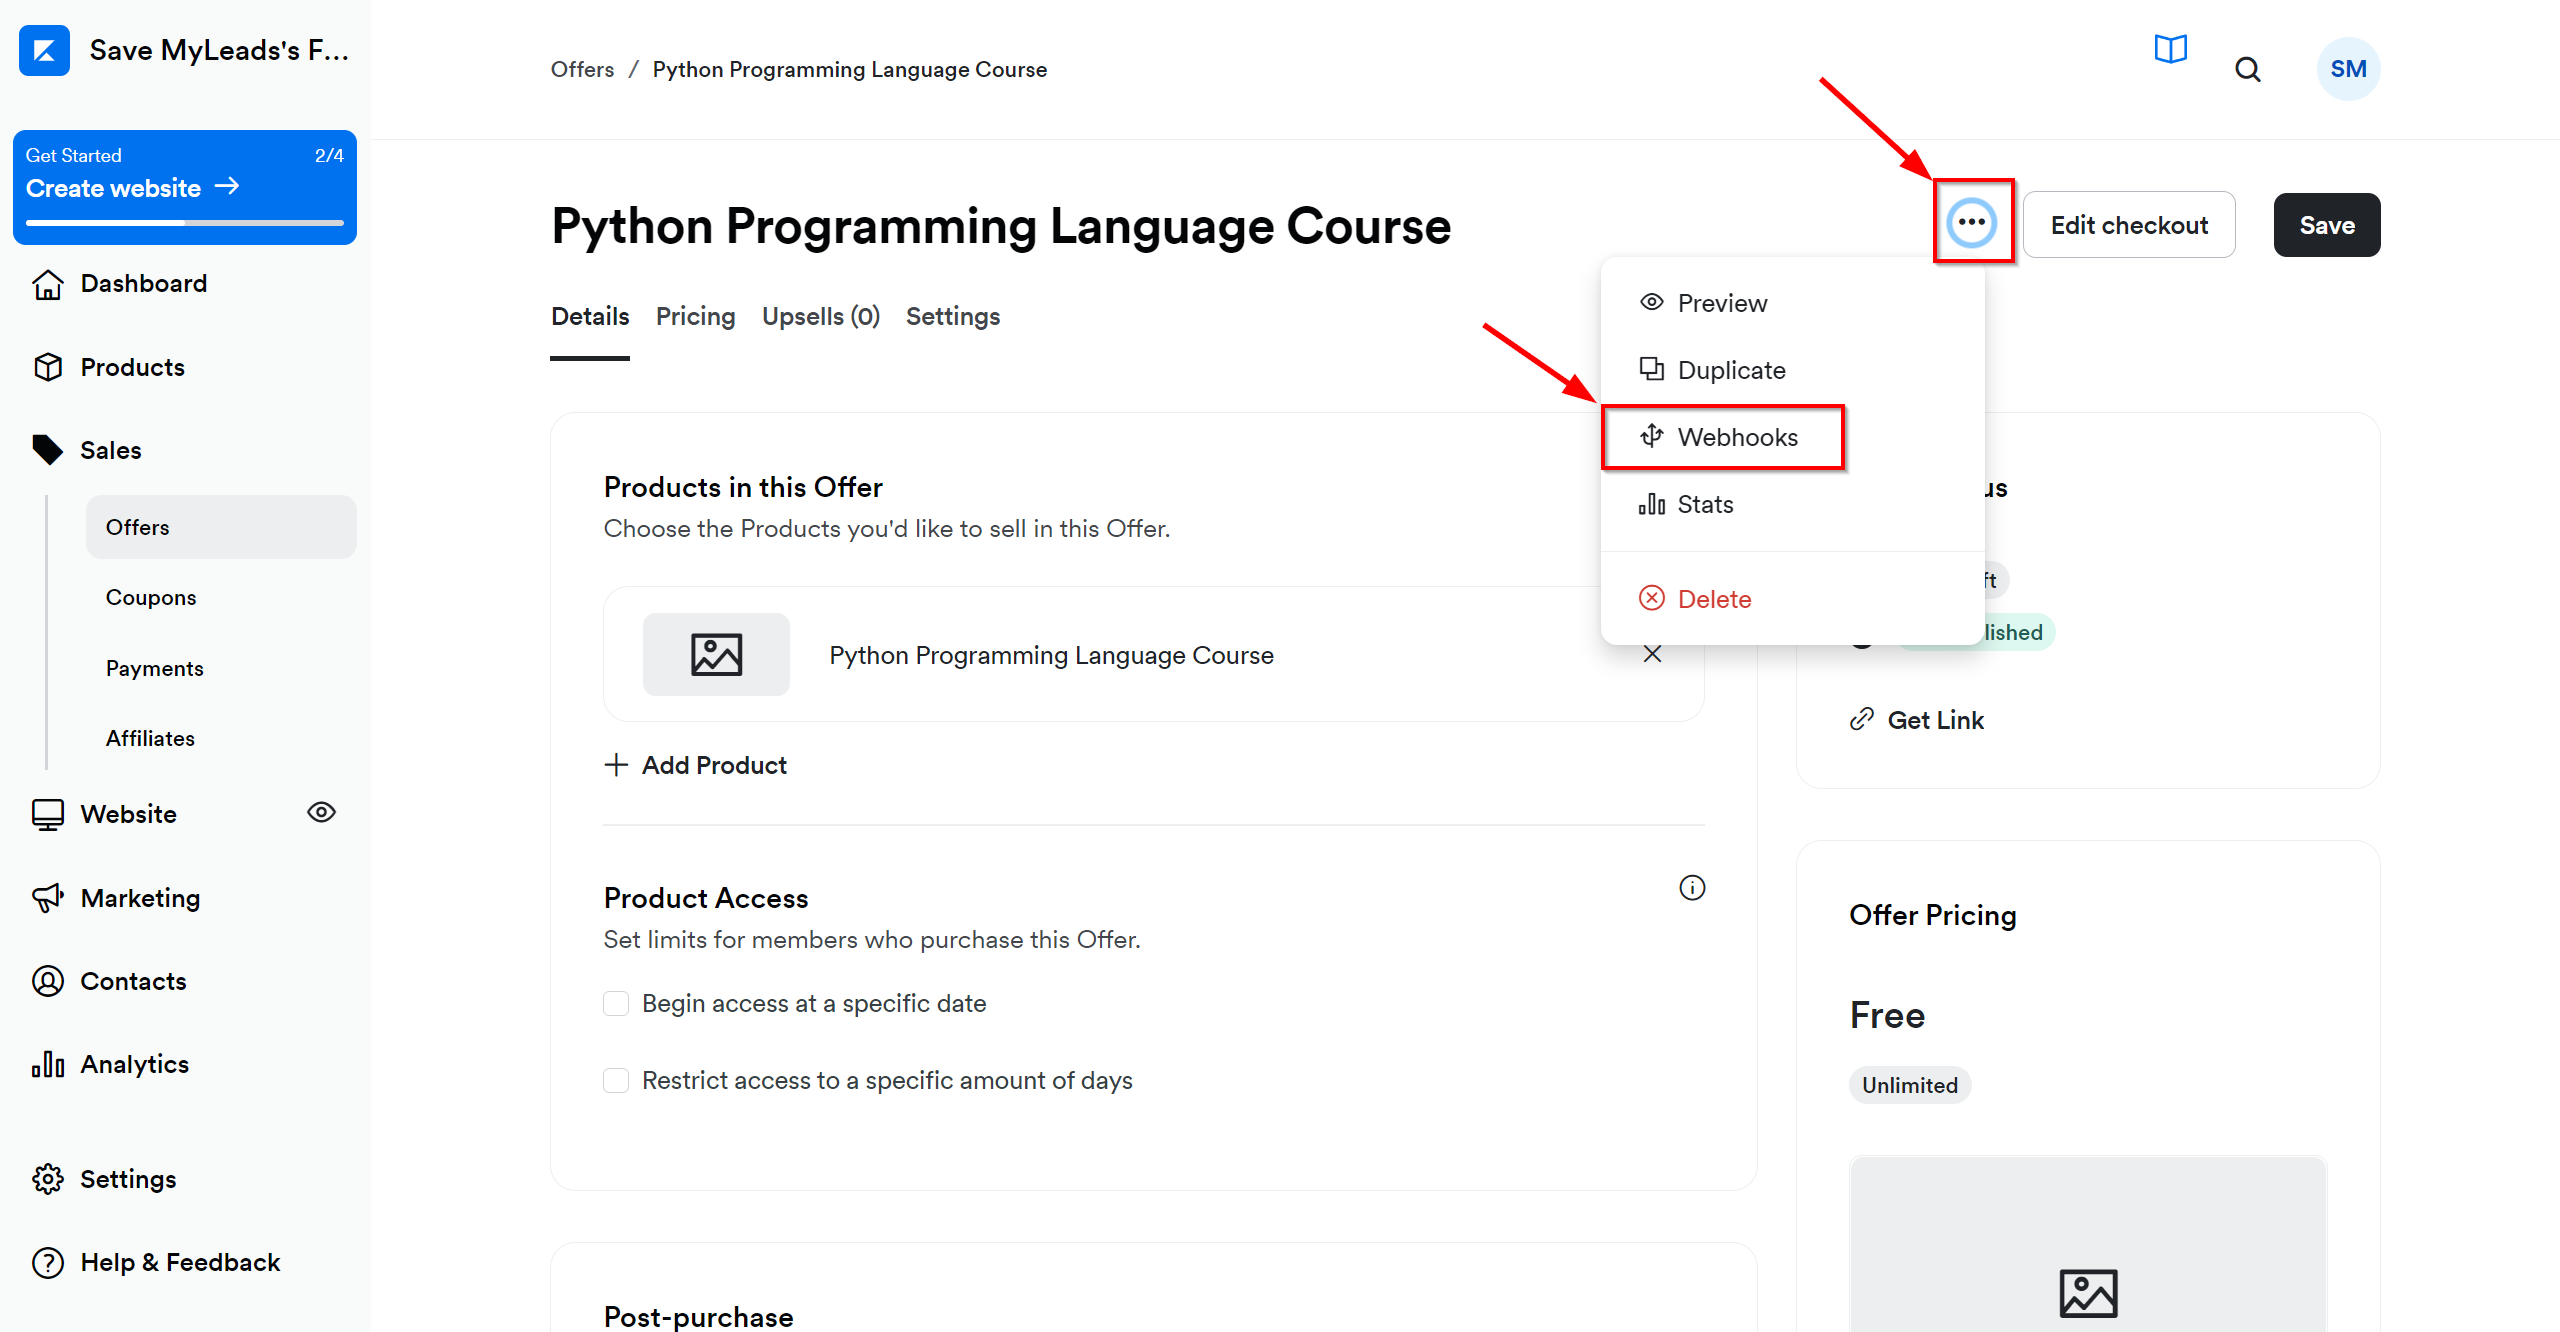
Click on three dots and select "Webhooks".
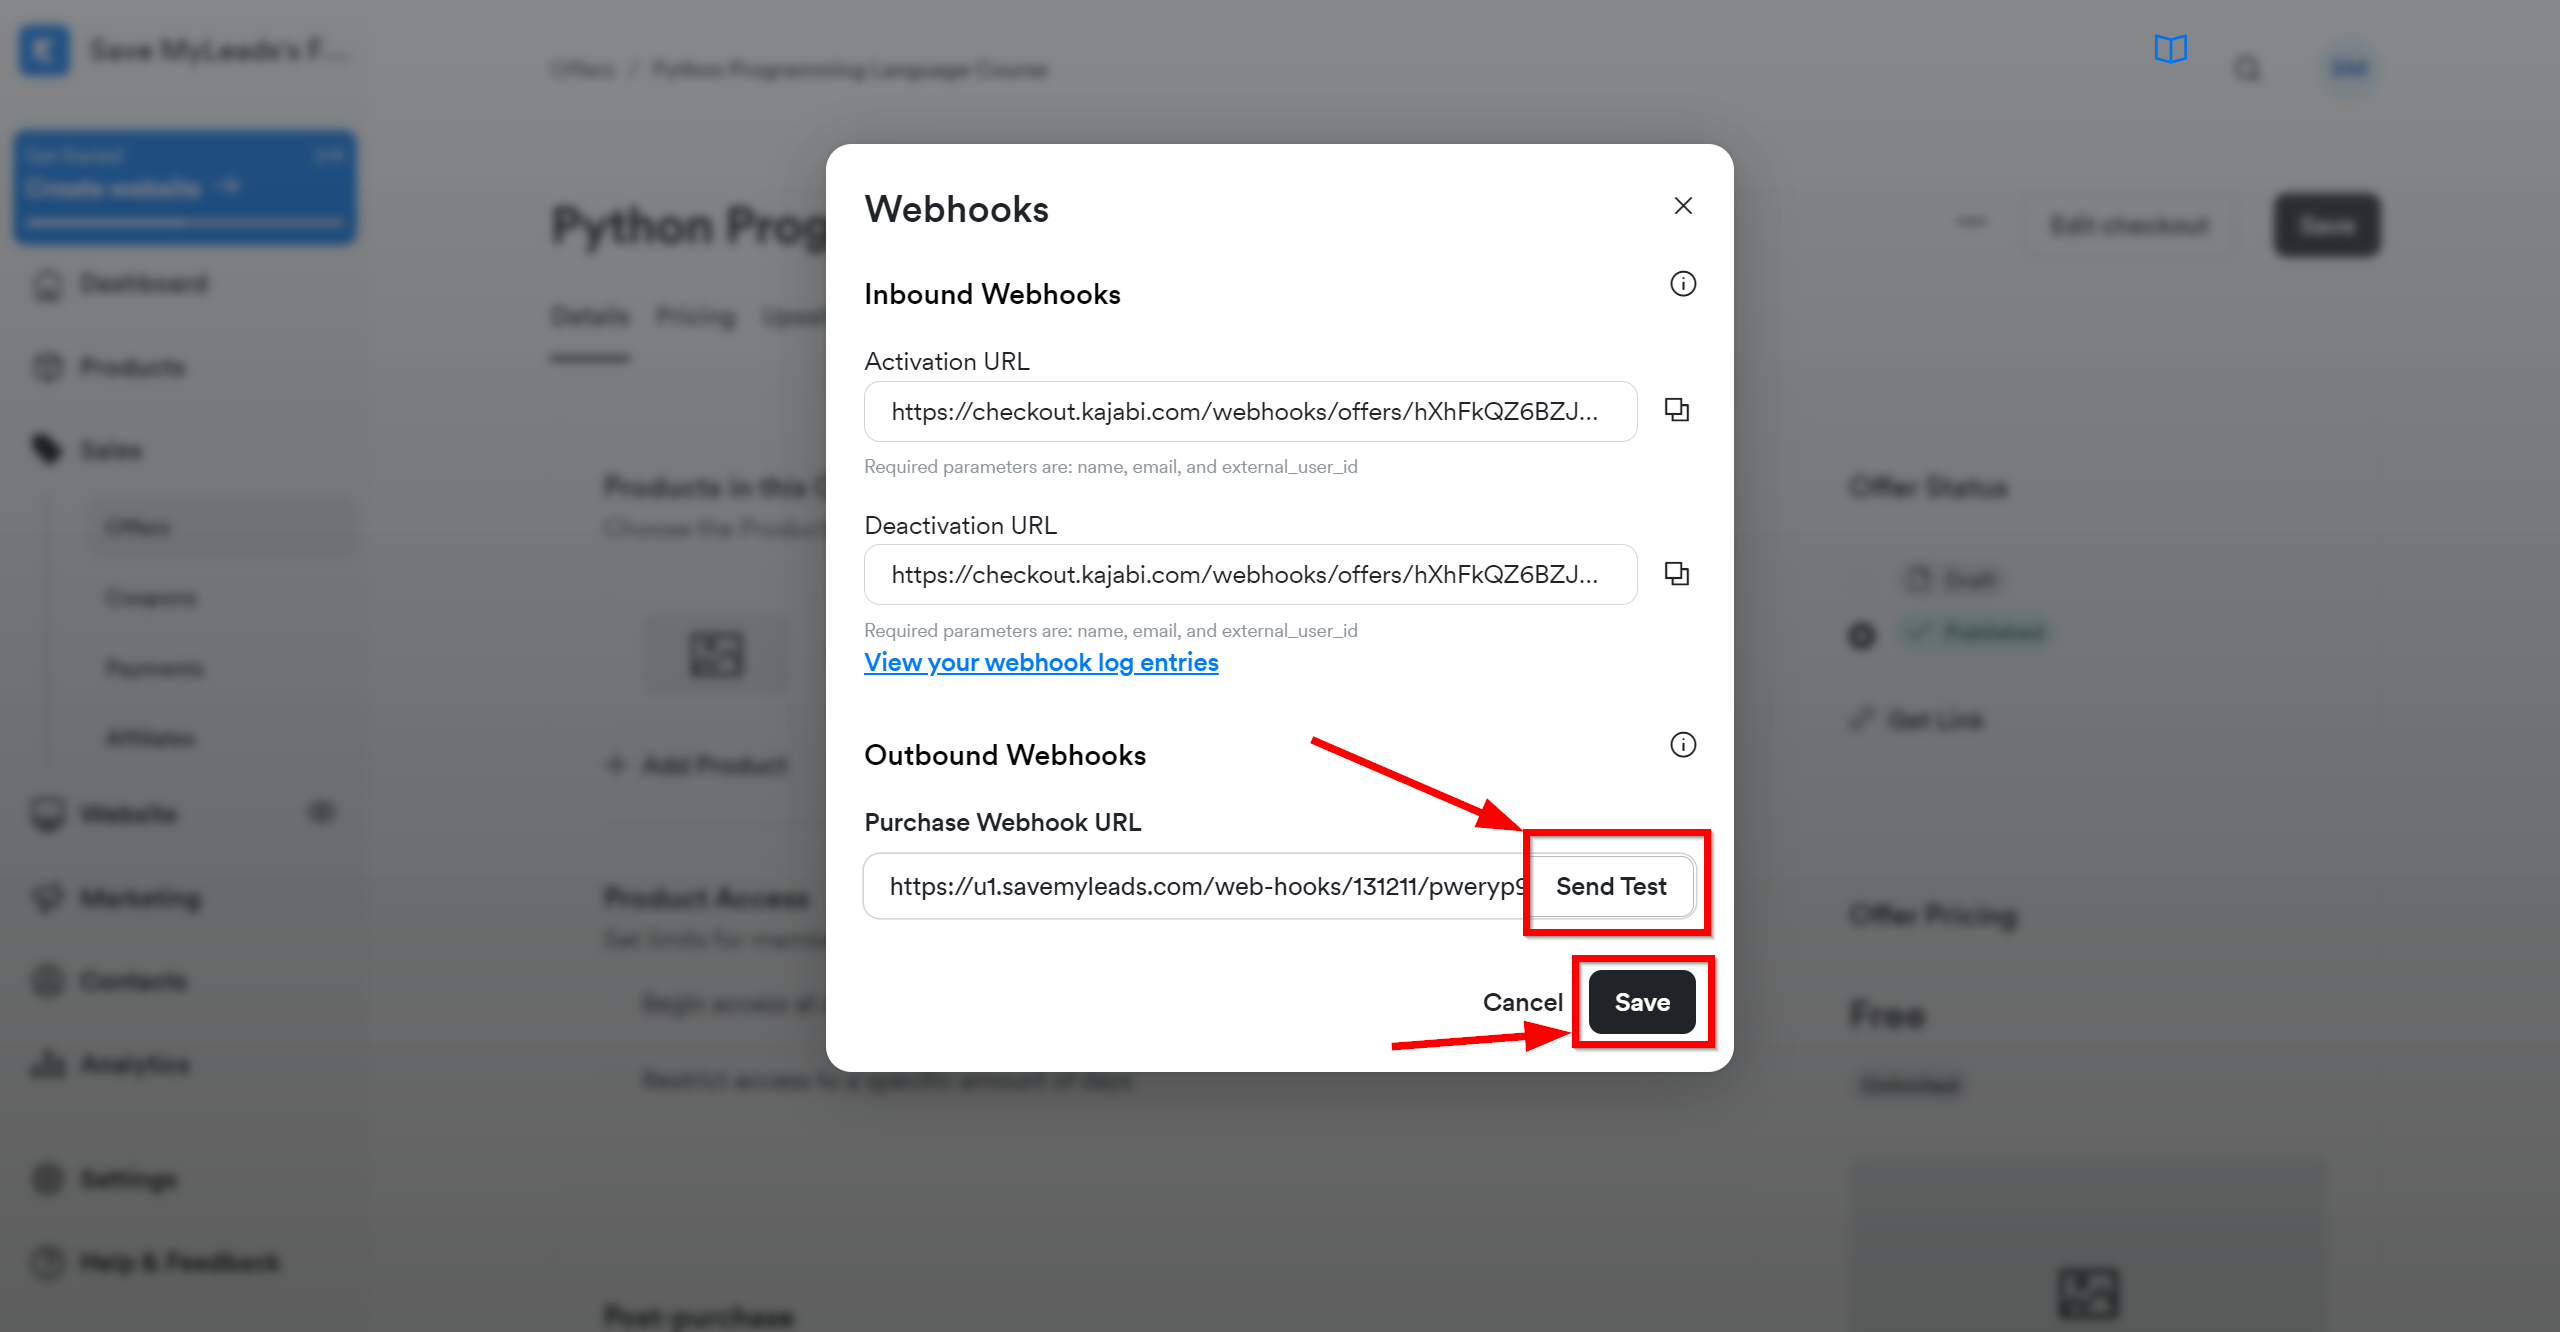
In the "Purchase Webhook URL" field, paste the link you copied earlier from the SaveMyLeads system. After that, click "Send Test" to create a test event in the Kajabi system.
If you don't see the "Send test" button, click "Save" and go to the "Webhooks" section again.
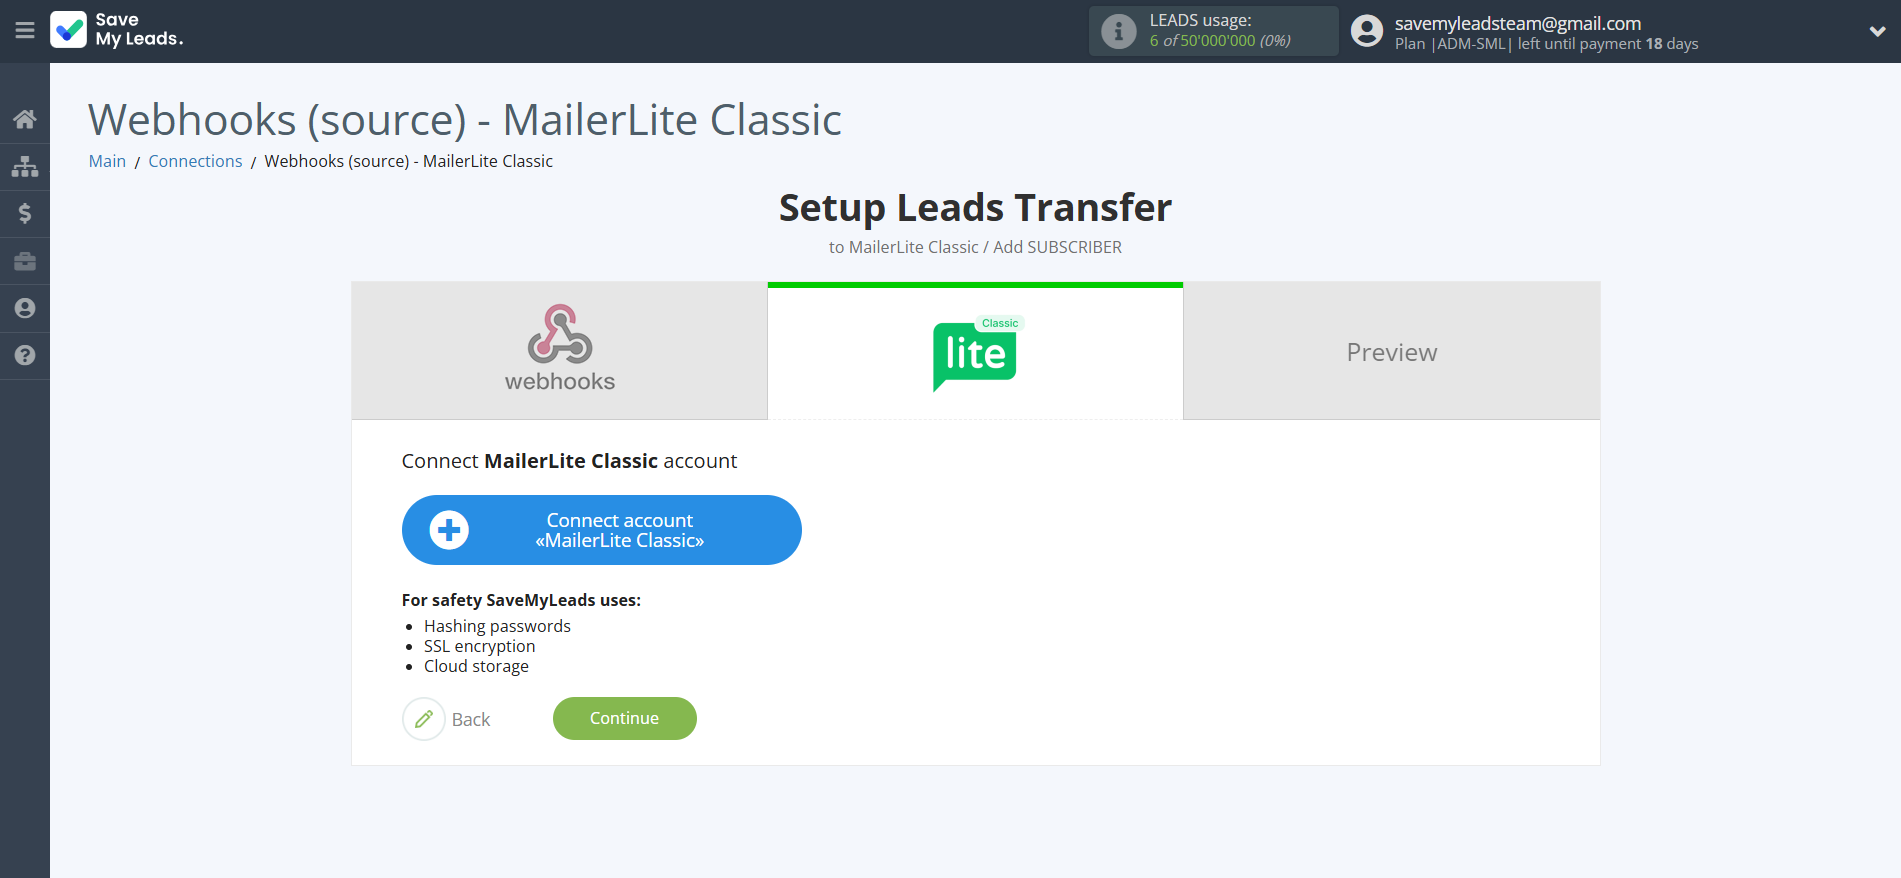
The next step is to select the MailerLite Classic account to which the data will be sent.
If there are no accounts connected to the SaveMyLeads system, click "Connect account".
In the window that opens, you must fill in the "API key" field.
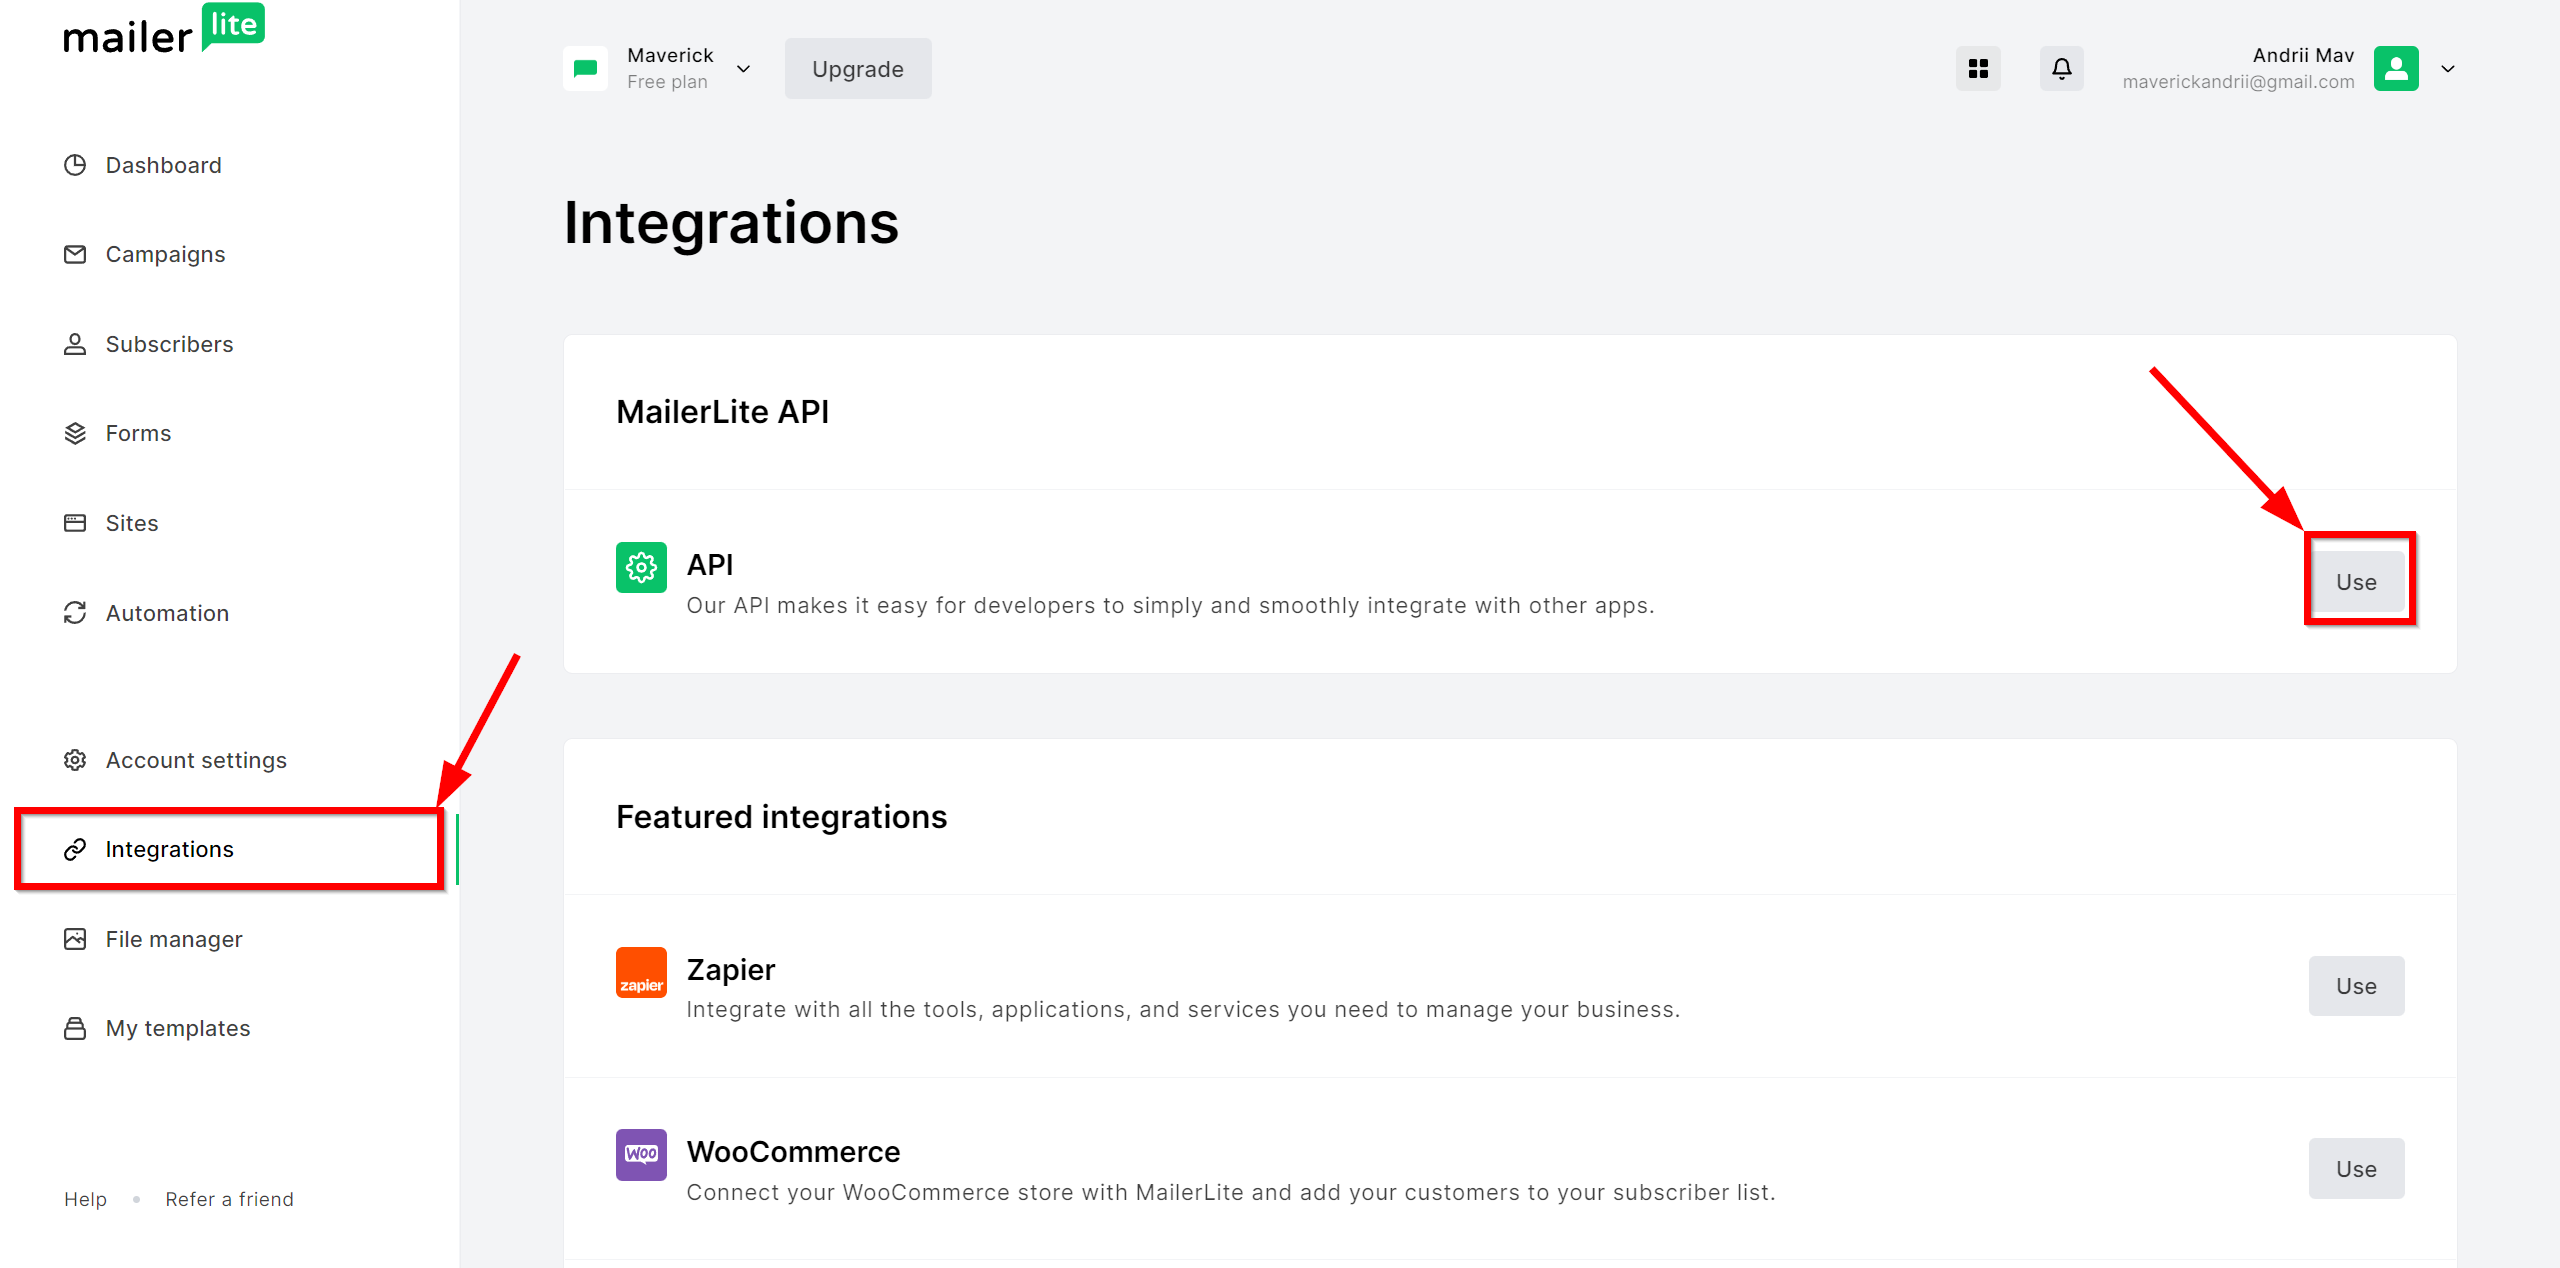
To do this, go to your MailerLite Classic personal account.
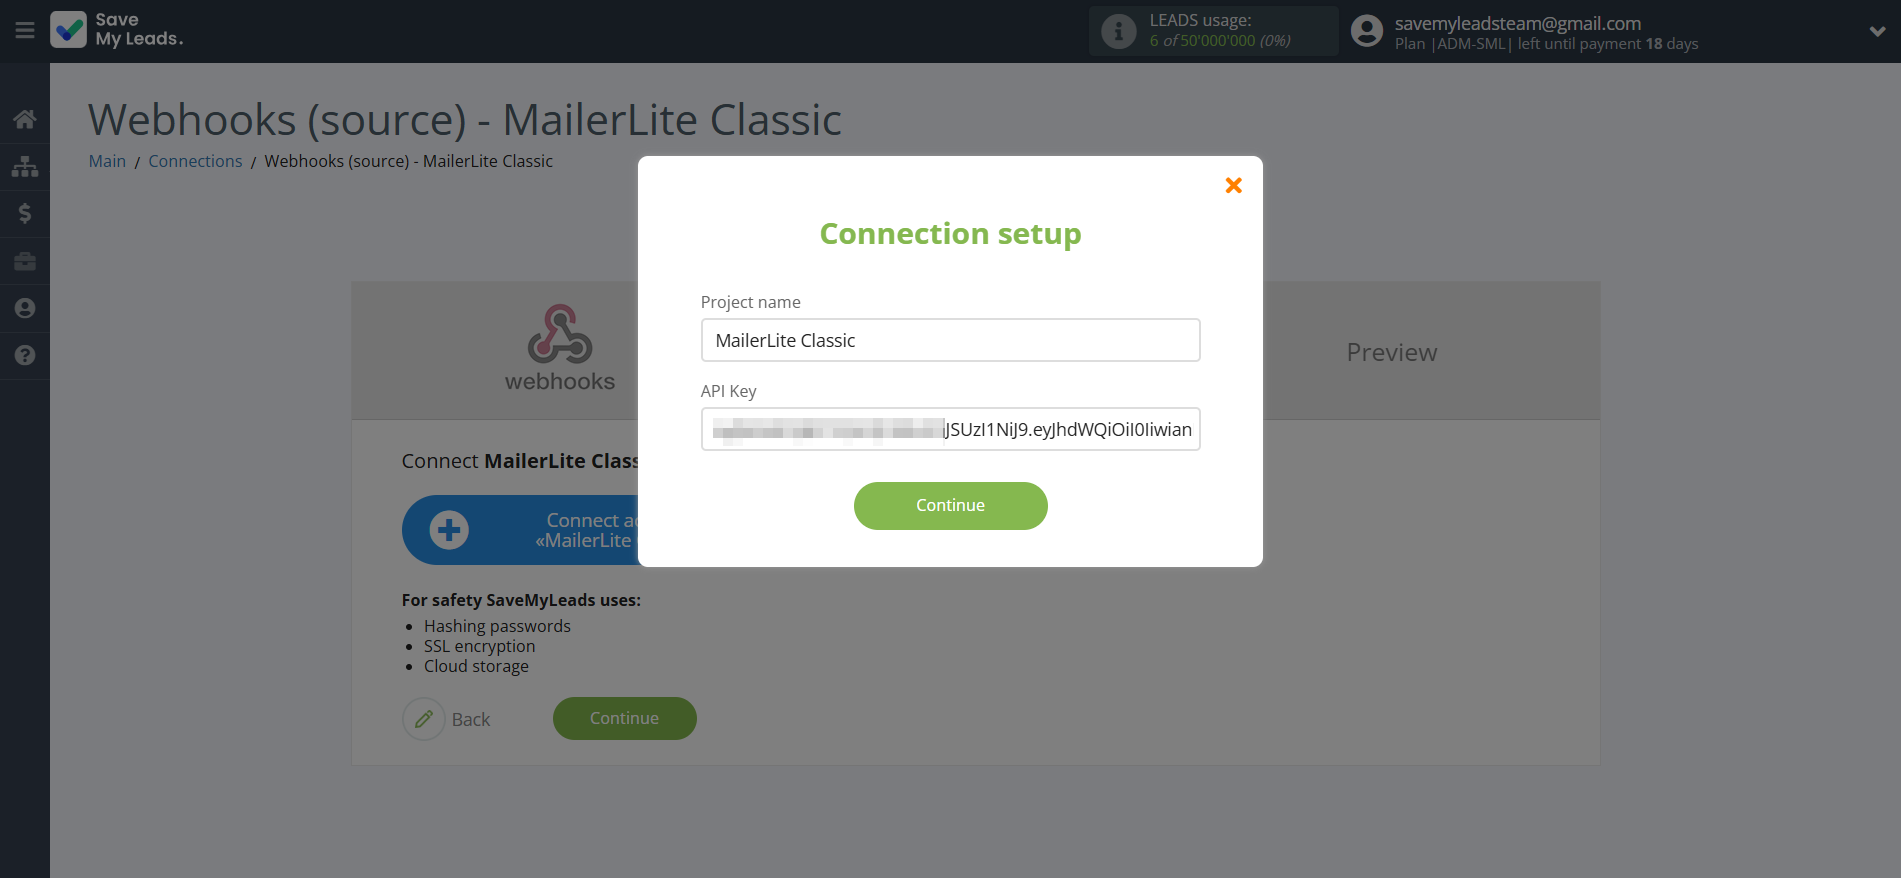
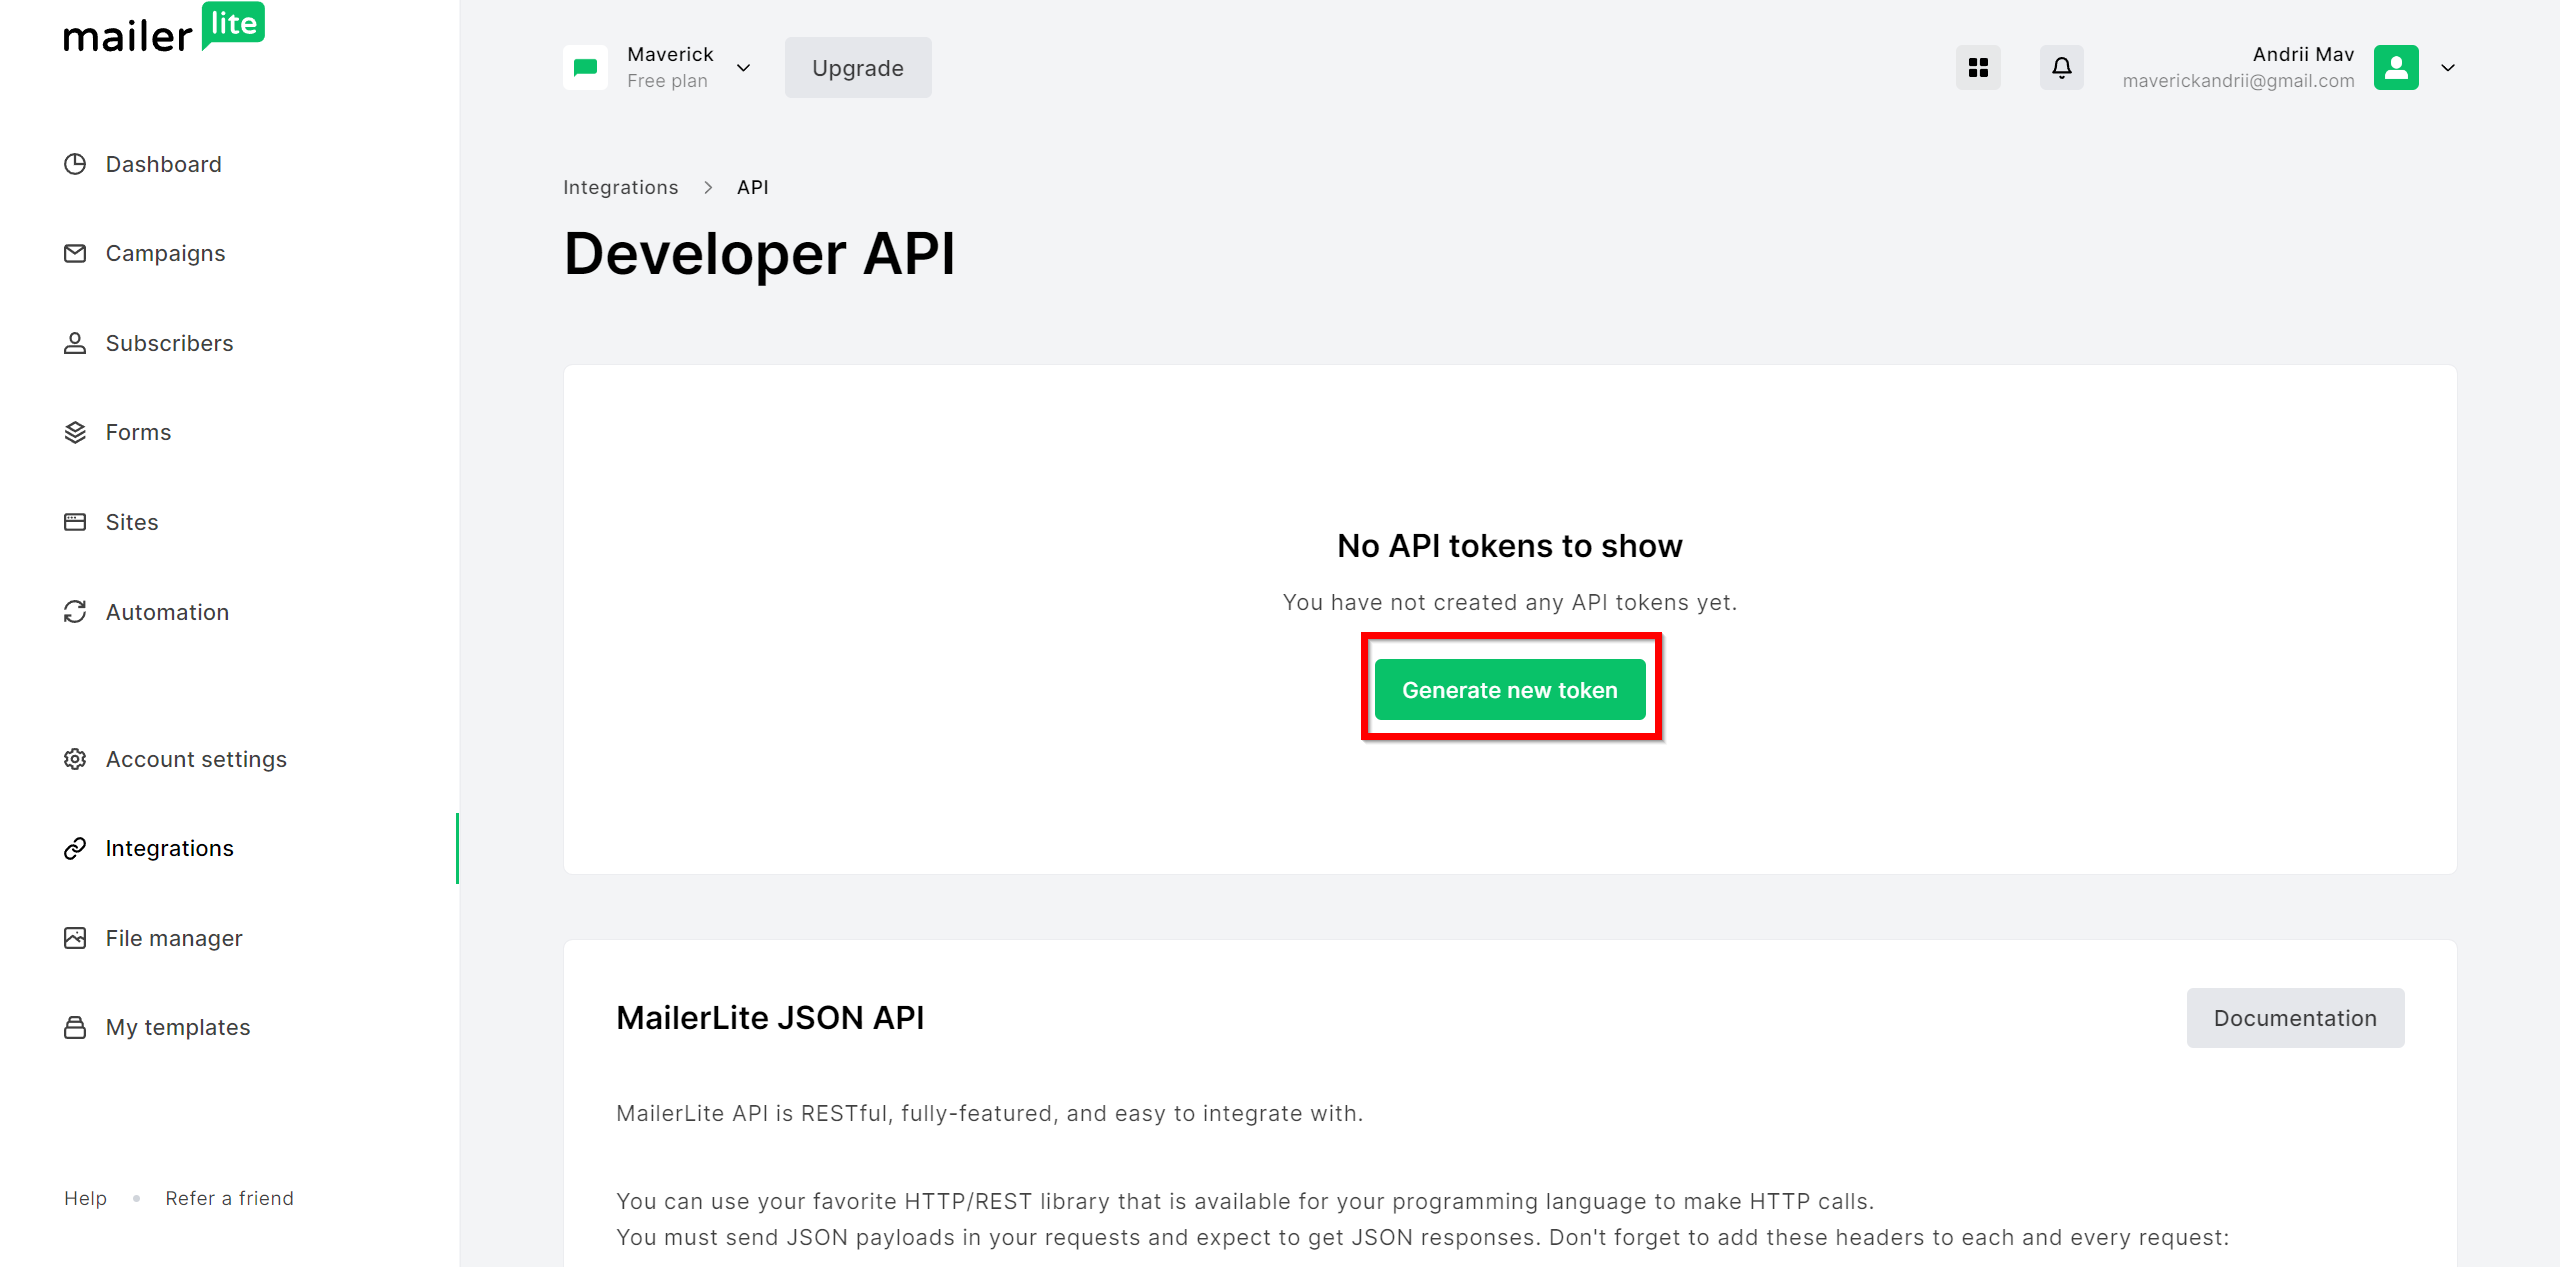
Go to the Integrations section, then to the API tab. Click Use and generate a new token.
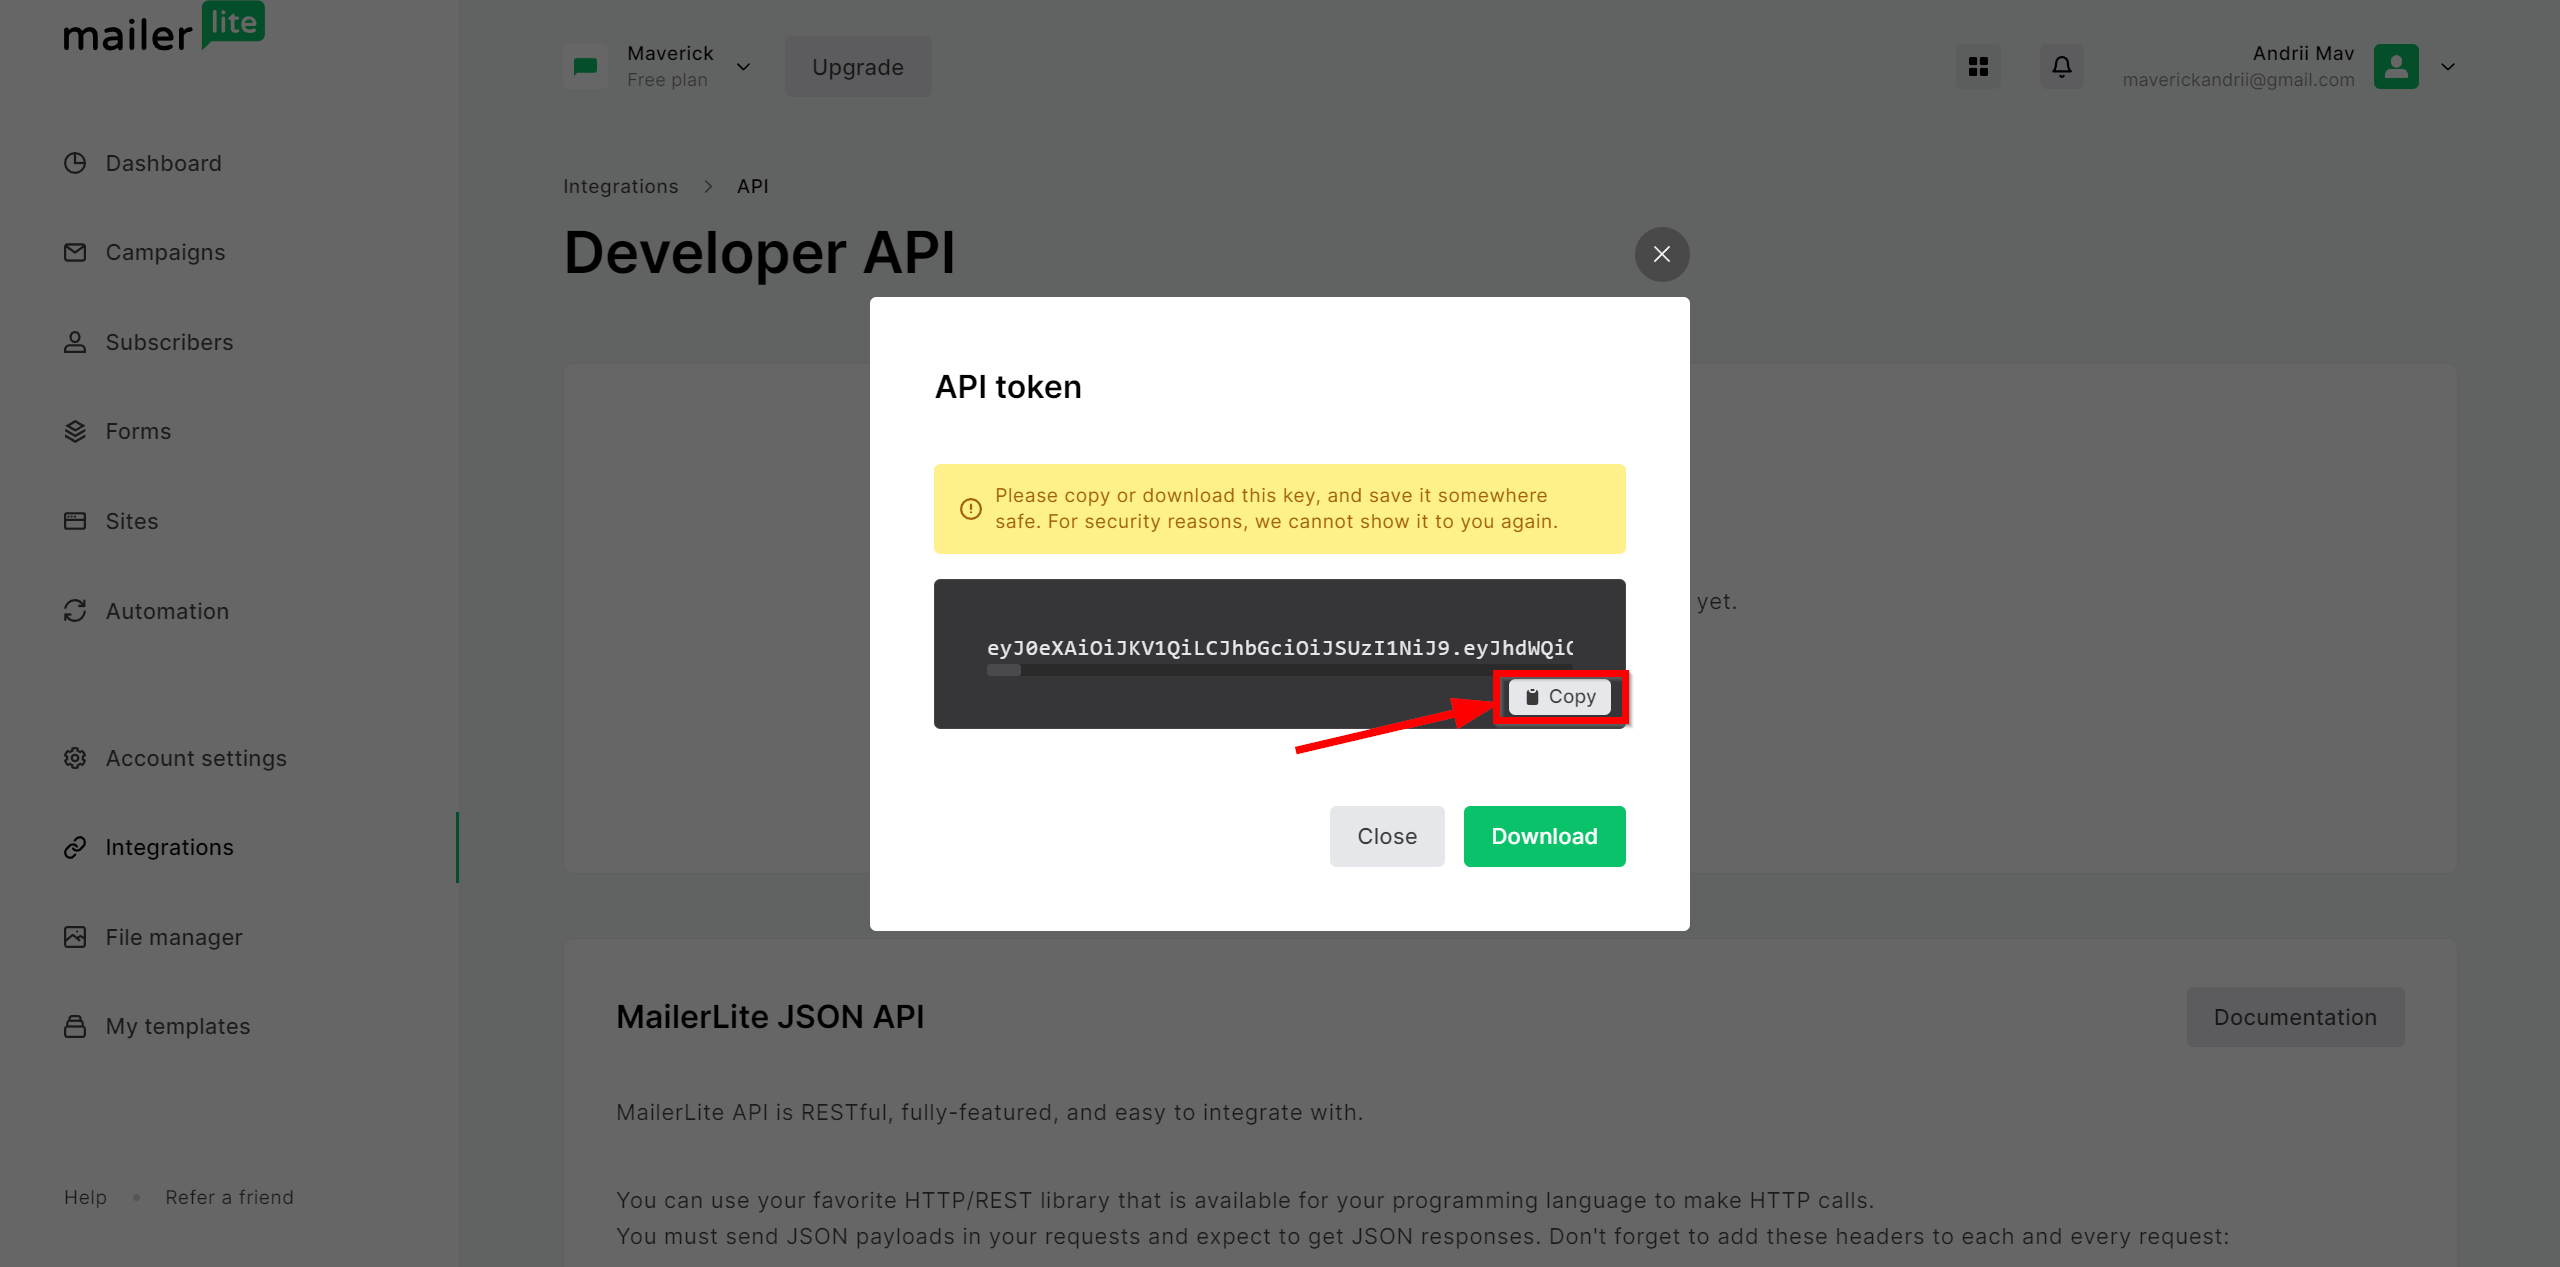
After that, copy and paste the API key into the corresponding field in the SaveMyLeads system.
When the connected account is displayed in the "active accounts" list, select it.
Attention! If your account is in the "inactive accounts" list, check your access to this account!
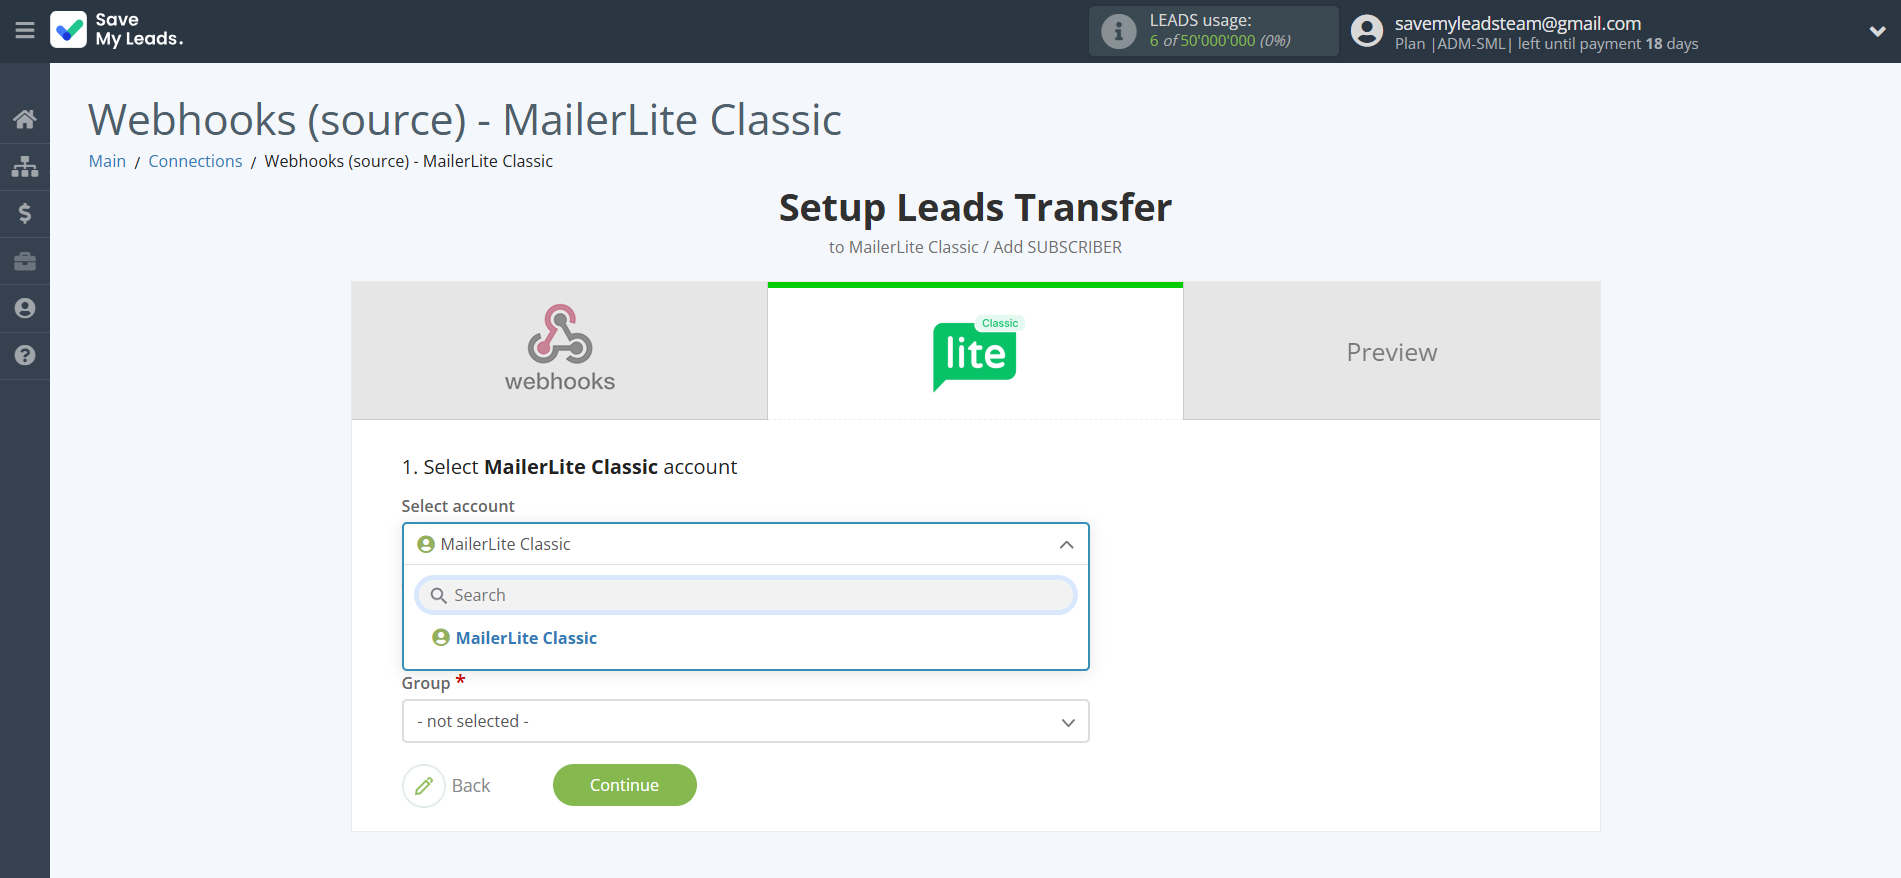
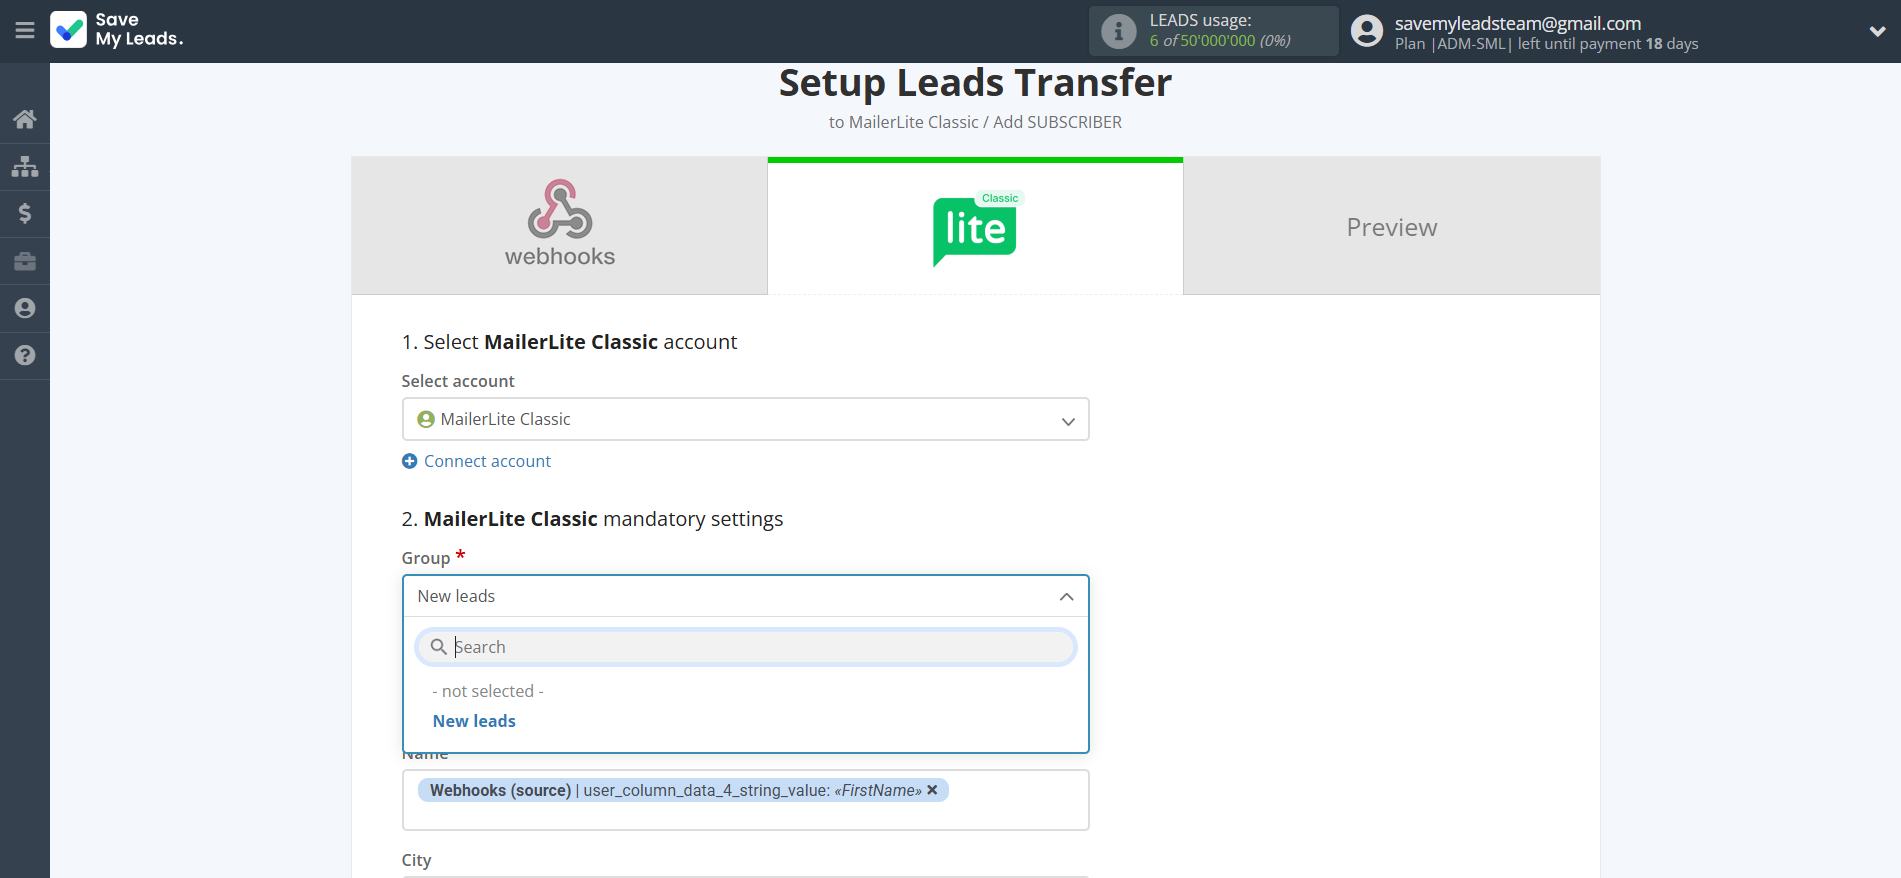
Now you need to specify the MailerLite Classic subscriber group to which the data from the source will be transferred.
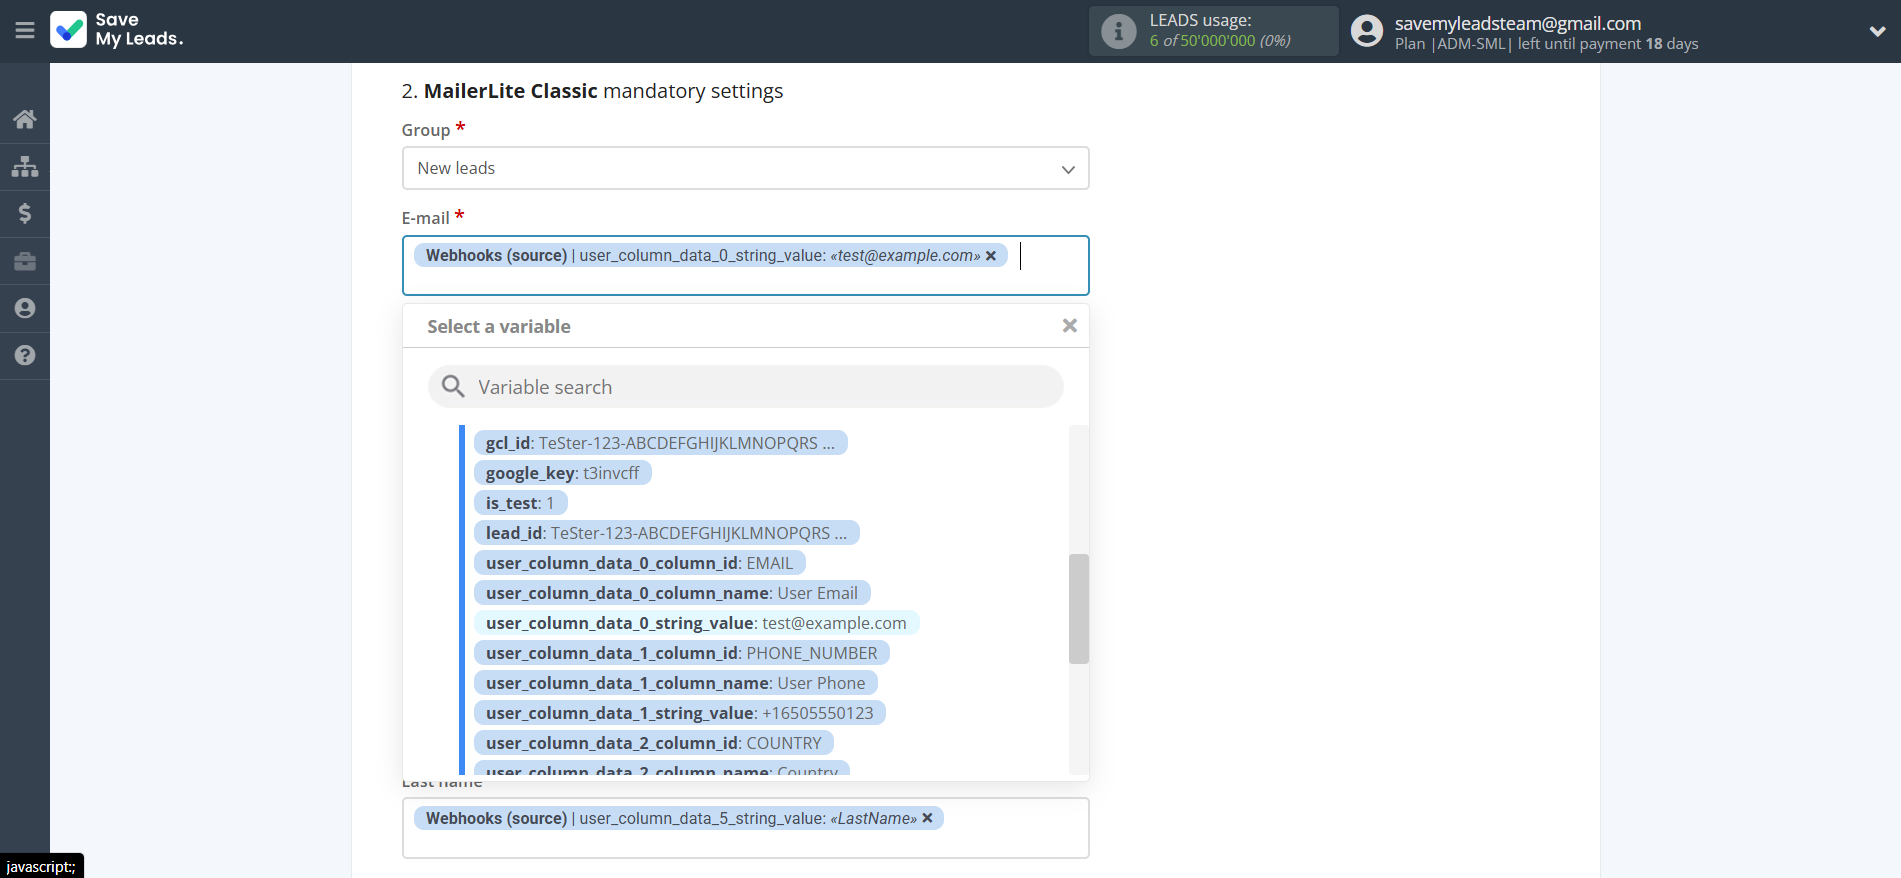
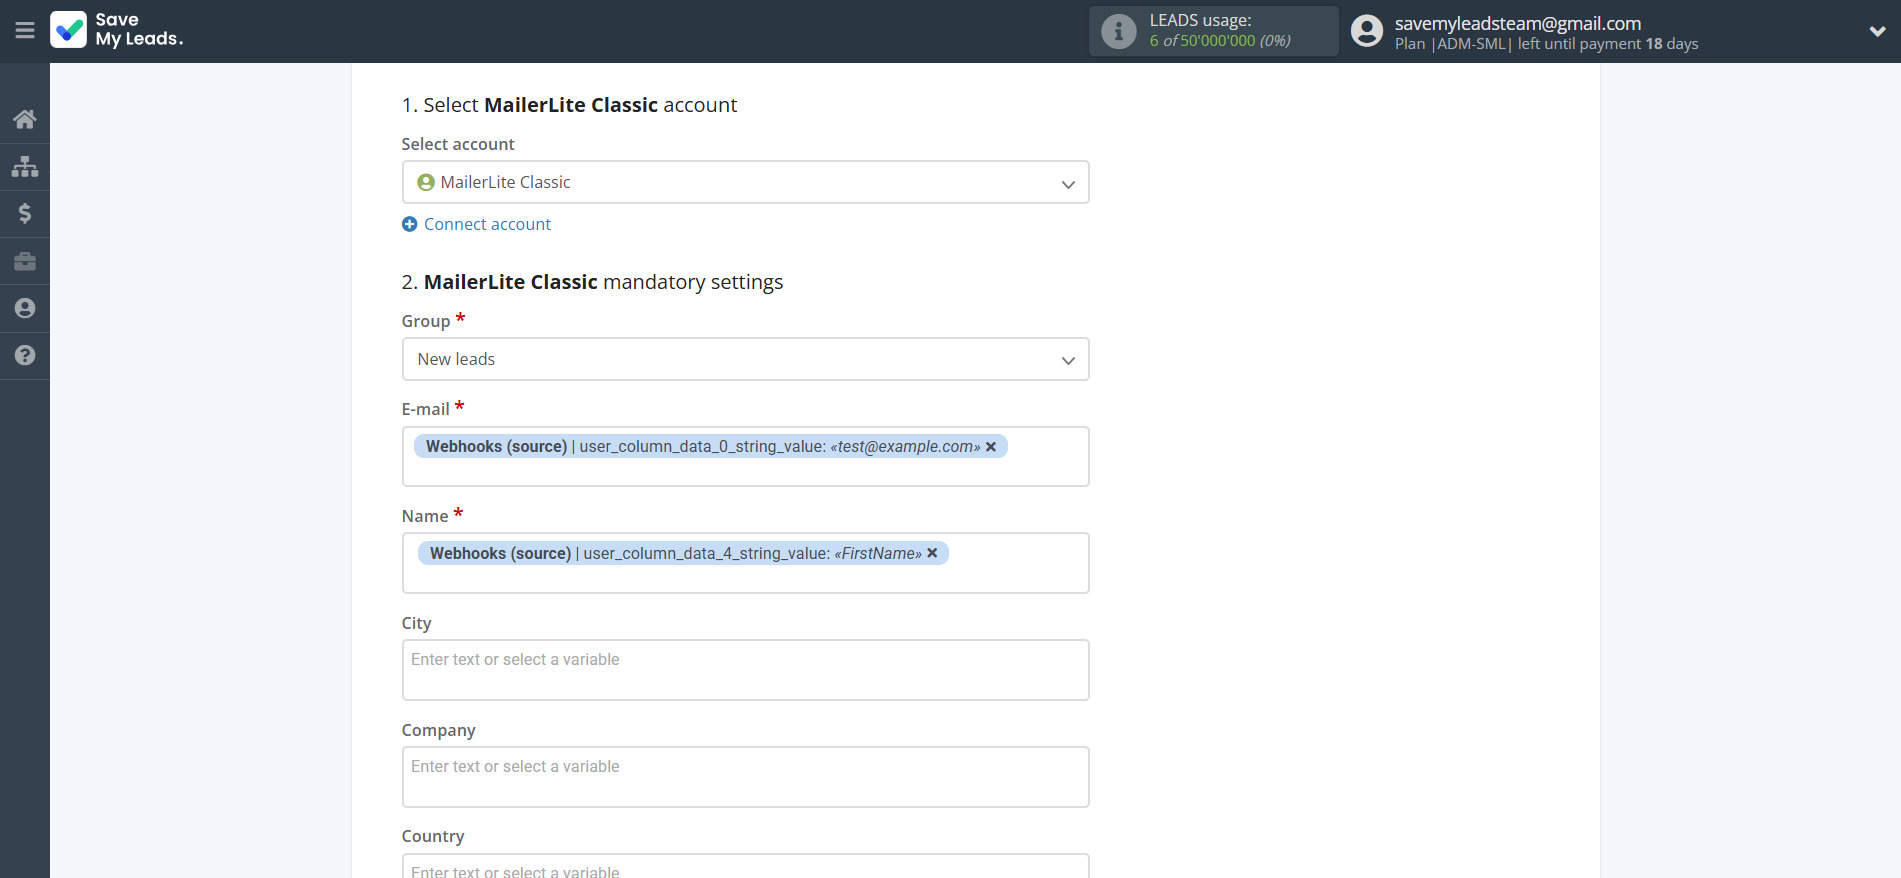
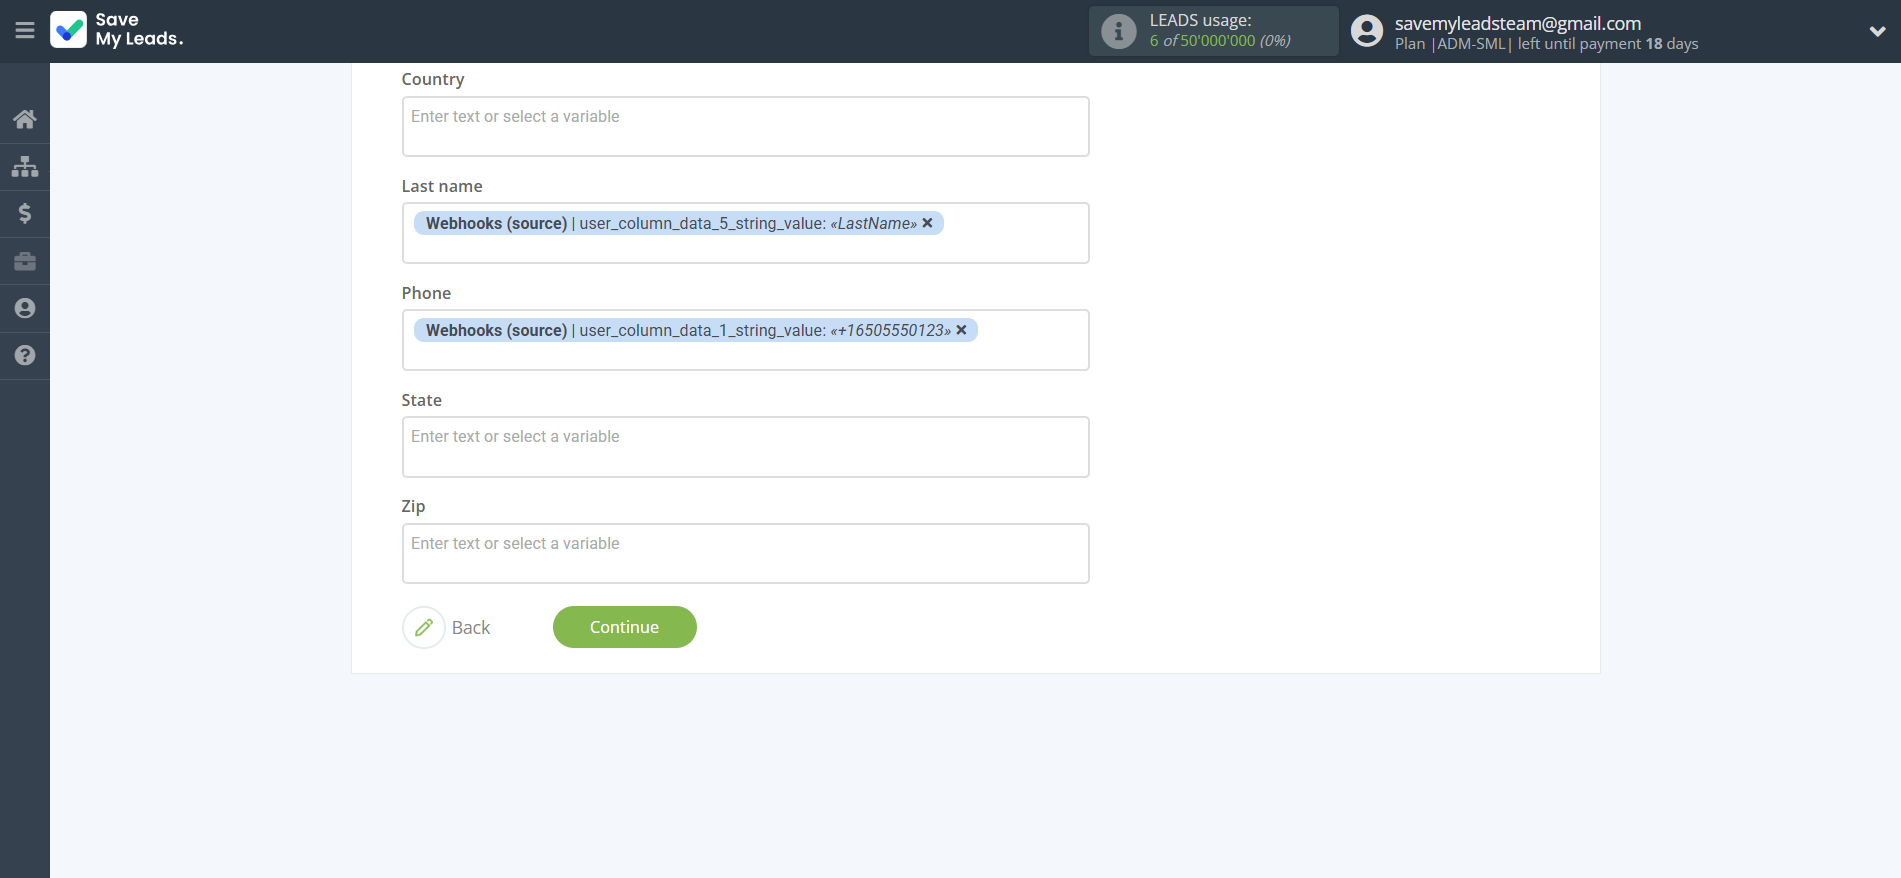
In this section, the fields will be assigned according to the template. You can completely change it or leave it as is.
Also, you must specify the source field from which SaveMyLeads will get the recipient's E-mail, his name and other parameters.
Note that you can pass not only variables from the source, but also combine them with system data such as date, time, month, year, and day, if necessary.
Now
see the test data that will be send to MailerLite Classic.
Click "Send test data to MailerLite Classic" and go to the MailerLite Classic to check the result.
If something does not suit you - click "Back" and go back one step.
If everything suits you, click "Finish setup" to continue the setup.
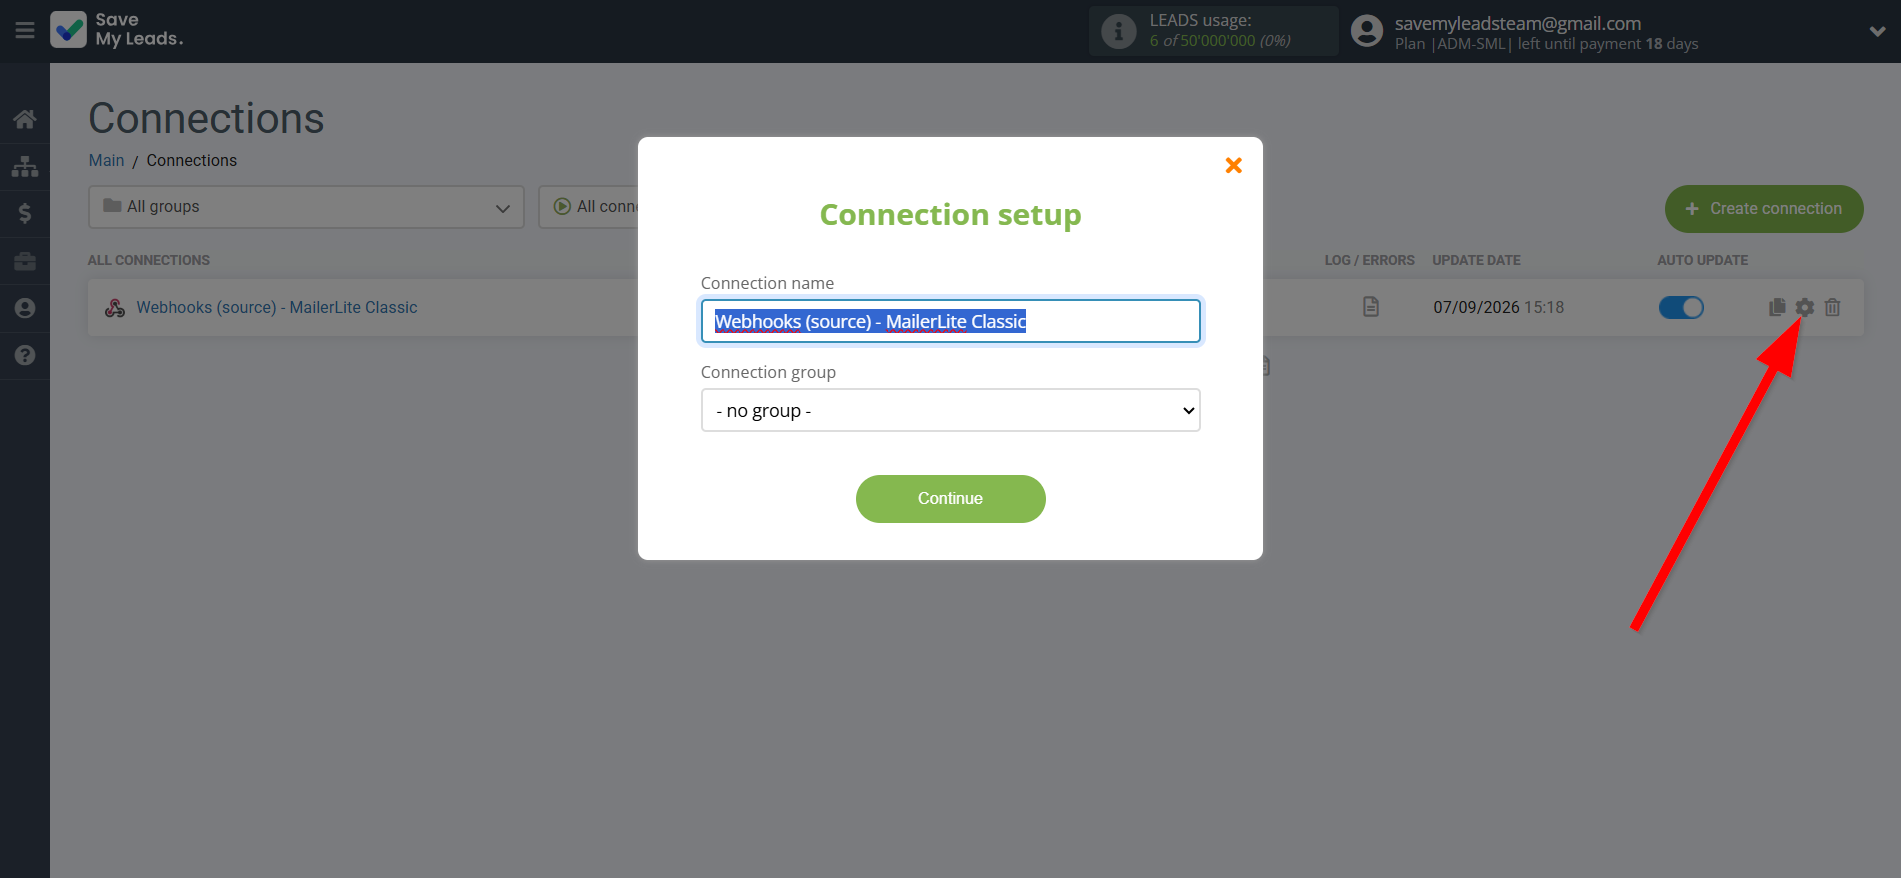
On the main screen, click on the gear icon to select name of the connection and select a group for it, if necessary.
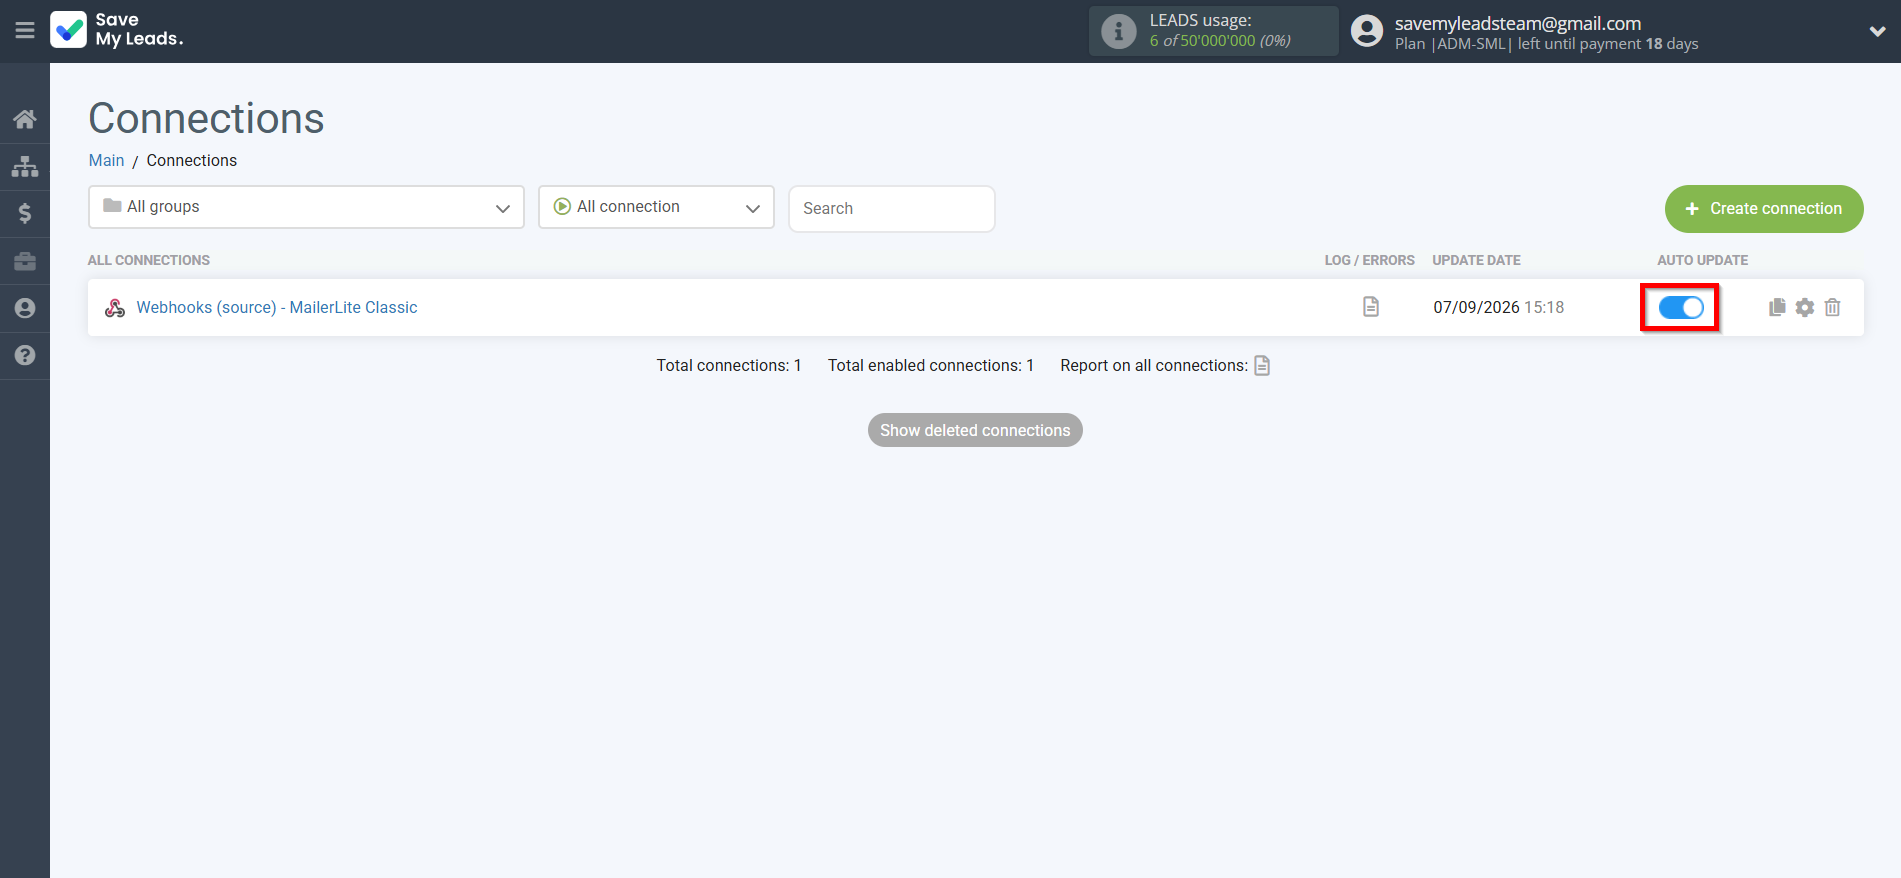
When the slider is in the position as shown in the picture - auto-update works. If you want to disable communication, click this slider.
This completes the integration setup between Webhooks with MailerLite Classic! See how easy it is!?
Now you don't have to worry, SaveMyLeads will do everything on its own!