Quick interaction with potential clients helps businesses compete effectively in their niche. The Lead Form extension for Google Ads was developed specifically for this purpose. It allows users to submit applications more quickly and conveniently. Gmail is the world's largest free email service. It is an ideal option for launching email campaigns. Would you like your leads to immediately receive welcome emails and order confirmations? This can be achieved by connecting tools through our SaveMyLeads online connector. Now we'll show you how to set up Google Ads Lead Form and Gmail integration using this service, automating the transfer of lead data from Lead Ads forms directly to the email application.
Automatically transferring lead data from Google Lead Form to Gmail provides businesses with three key benefits:
- Increased speed of communication with leads. Your buyers will receive responses faster, significantly reducing the risk of them changing their decision.
- Improved employee efficiency. Managers who were previously responsible for transferring lead data can be reassigned to focus on enhancing the quality of client interactions.
- Time savings. The number of daily tasks that require your direct involvement or that of your colleagues will be significantly reduced.
The results of Google Lead Form and Gmail integration will be apparent immediately after completing the setup via the SaveMyLeads connector. When users submit applications through the lead form, their contact information will be automatically forwarded to your email. If you used to manually transfer their names and email addresses between services, you can now abandon this outdated method. You can also set up an integration for automated email sending to customers. Automating data transfer not only simplifies your workflow, but also impresses leads with prompt feedback and a positive interaction experience, increasing the likelihood that they will become repeat customers. In turn, this will contribute to the growth and success of your business overall.
How to Set Up Google Lead Form and Gmail Integration
Setting up Gmail and Google Ads Lead Form integration via SaveMyLeads is simple — even those with minimal experience with software can handle it. By choosing this online connector for integrating Google forms and the email application, you won't need to rush to study API connection details or hire a specialist to do the job. The developers have made the process intuitive and hassle-free. It will take no more than 10 minutes, and if you already have experience with integrations, it will take even less time. Additionally, you can always rely on our step-by-step text and video instructions, which will help you avoid mistakes and set everything up correctly the first time.
The first step is to register a personal profile on savemyleads.com. To create an account, you'll need to enter your name, email address, and create a password. If you have Google or Facebook accounts, you can register through them. Ready? Then let's start setting up Gmail and Google Lead Form integration.
Setting Up the Data Source – Google Lead Form
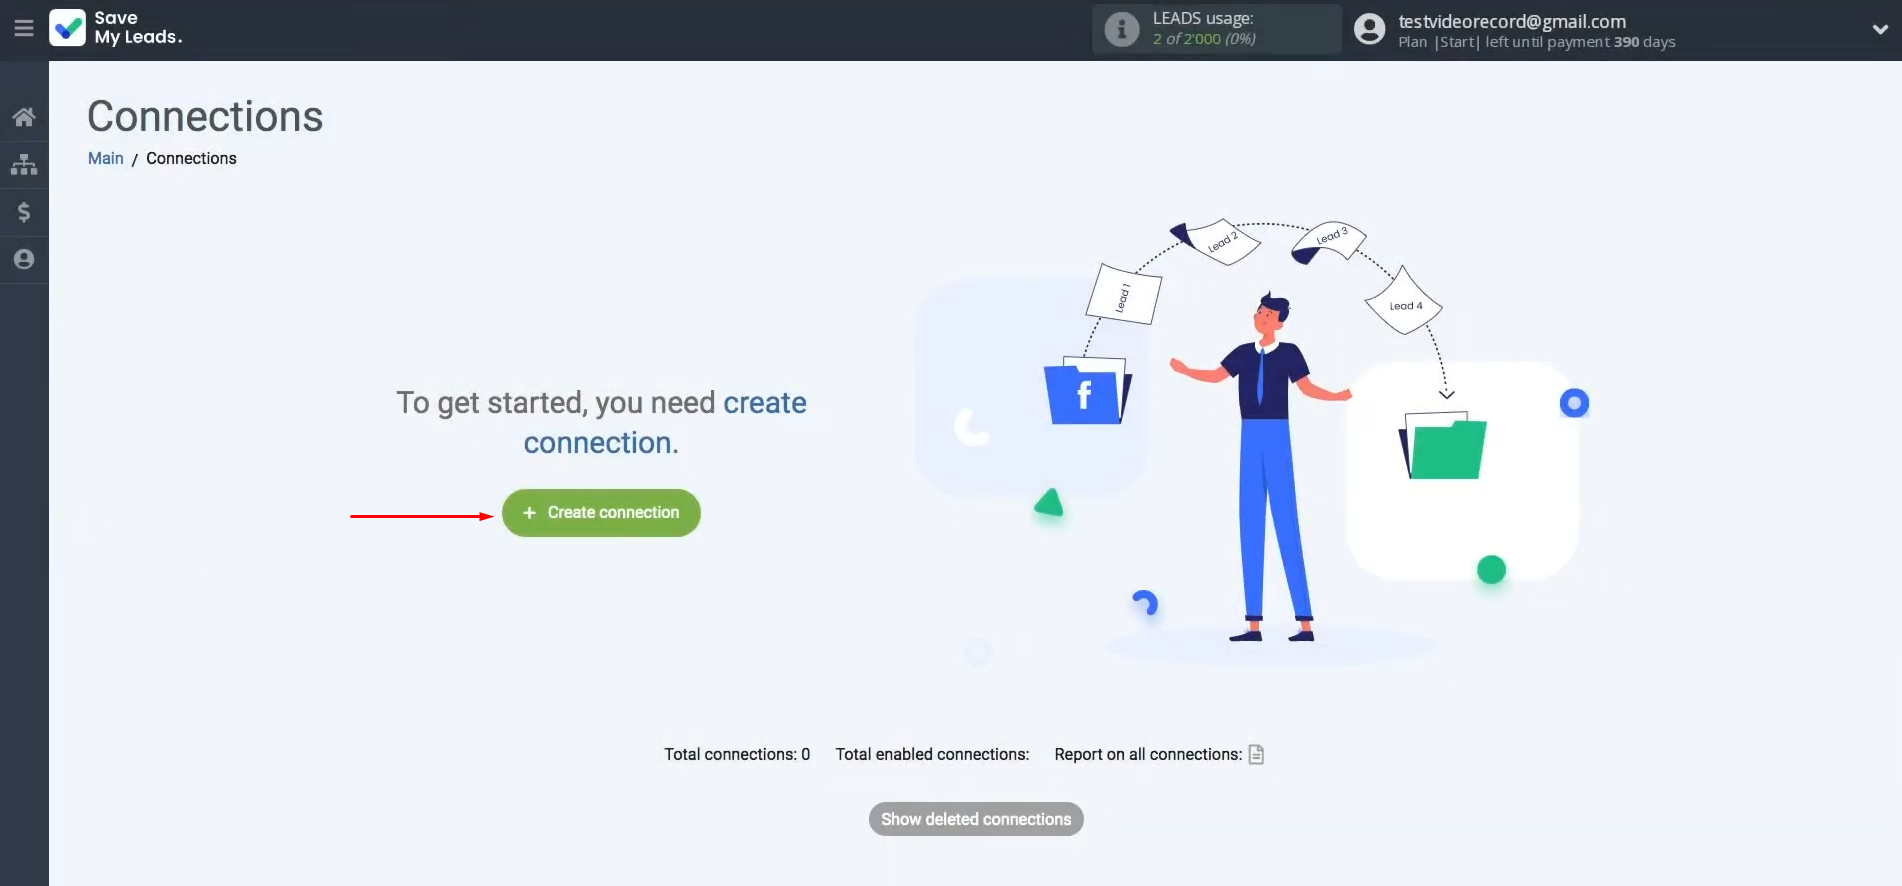
To set up Google Lead Form + Gmail integration, first, create a new connection.
Choose the system from which you want to transfer leads. In this case, select Google Lead Form.
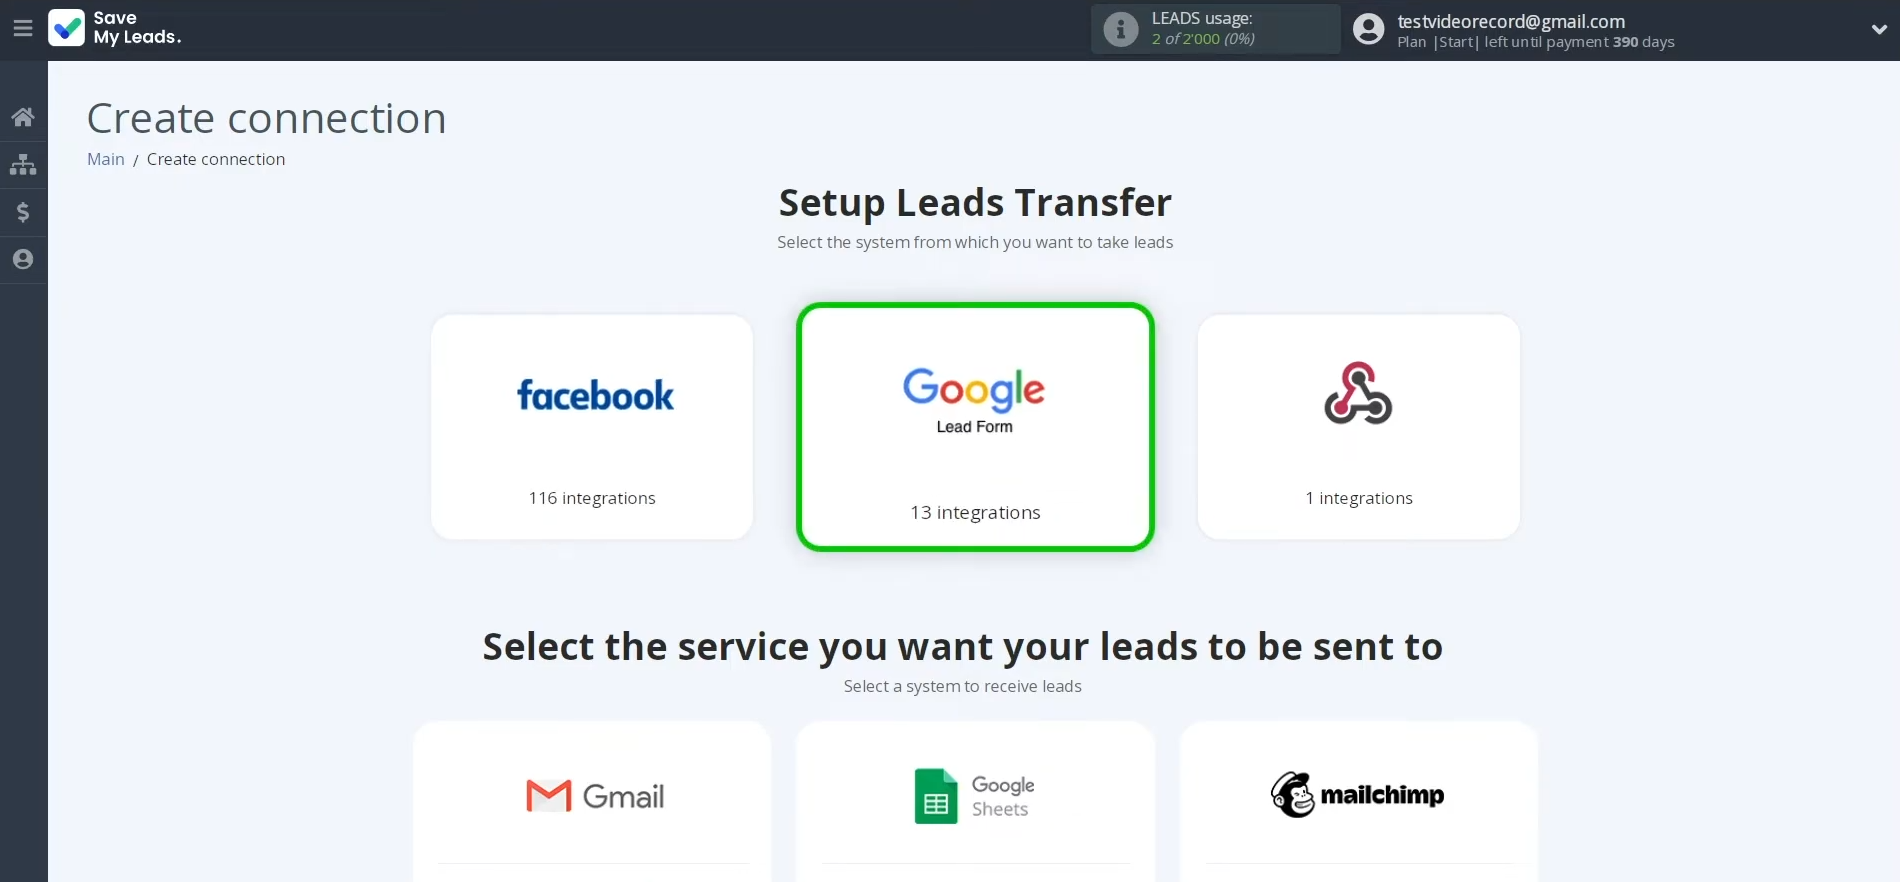
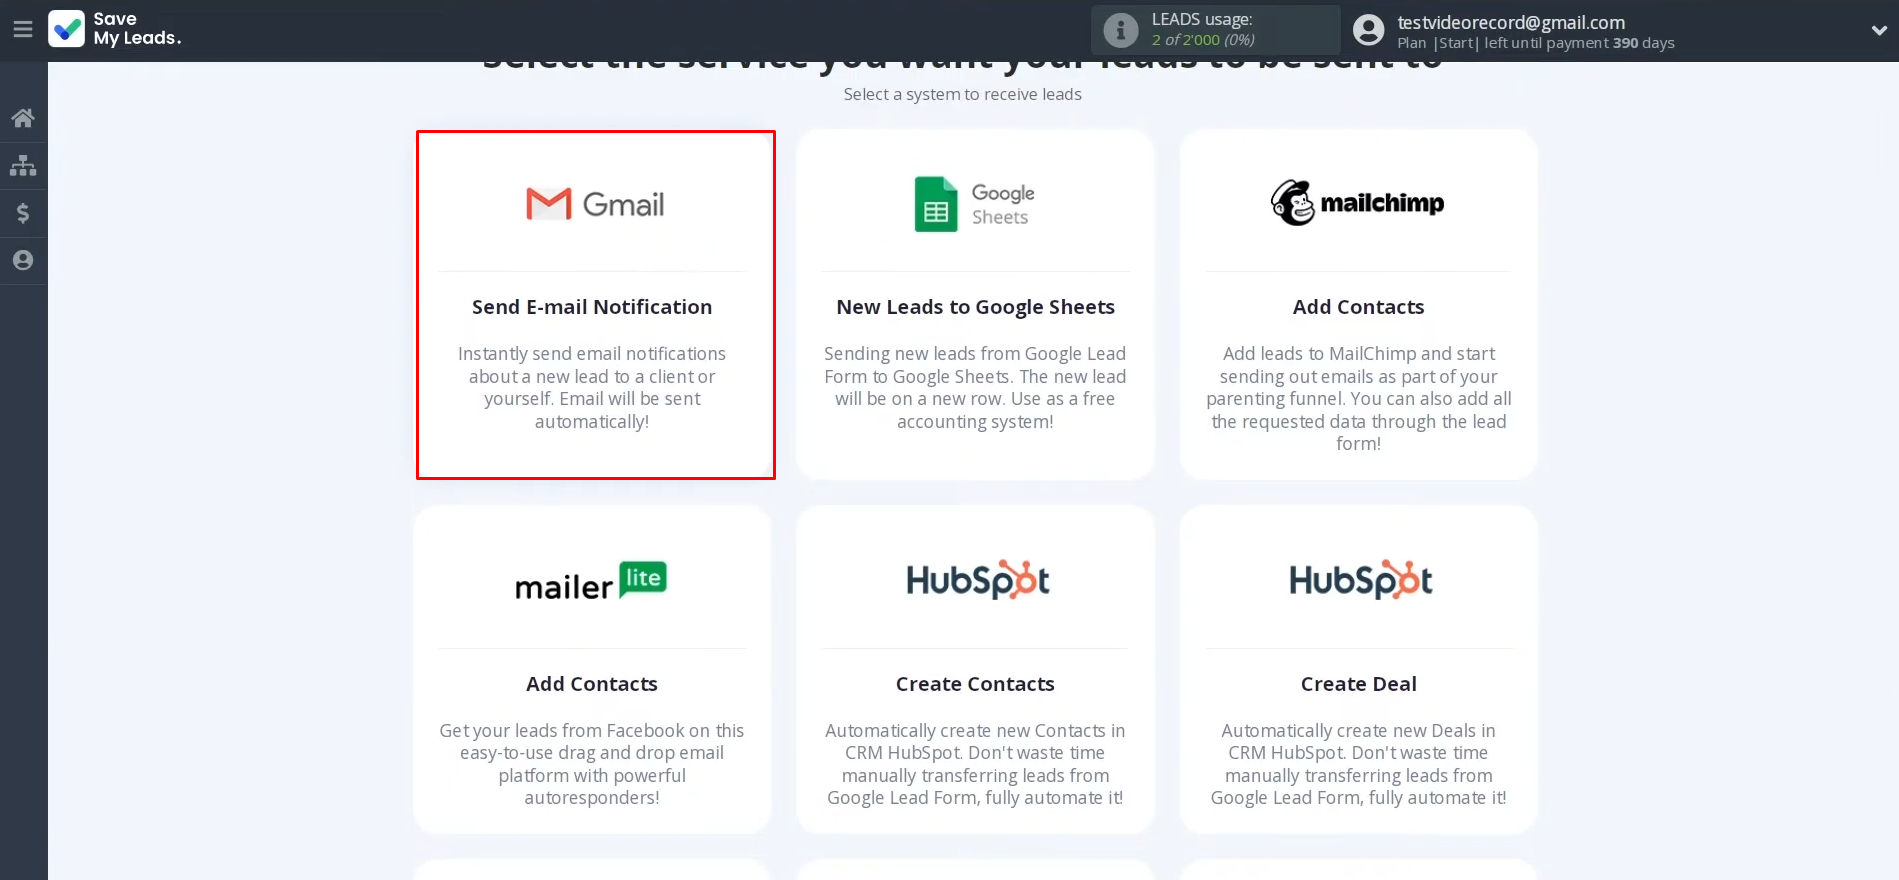
Select one of the ready-made templates where you want to send leads from Google Lead Form. You need "Gmail (Send E-mail Notification)".
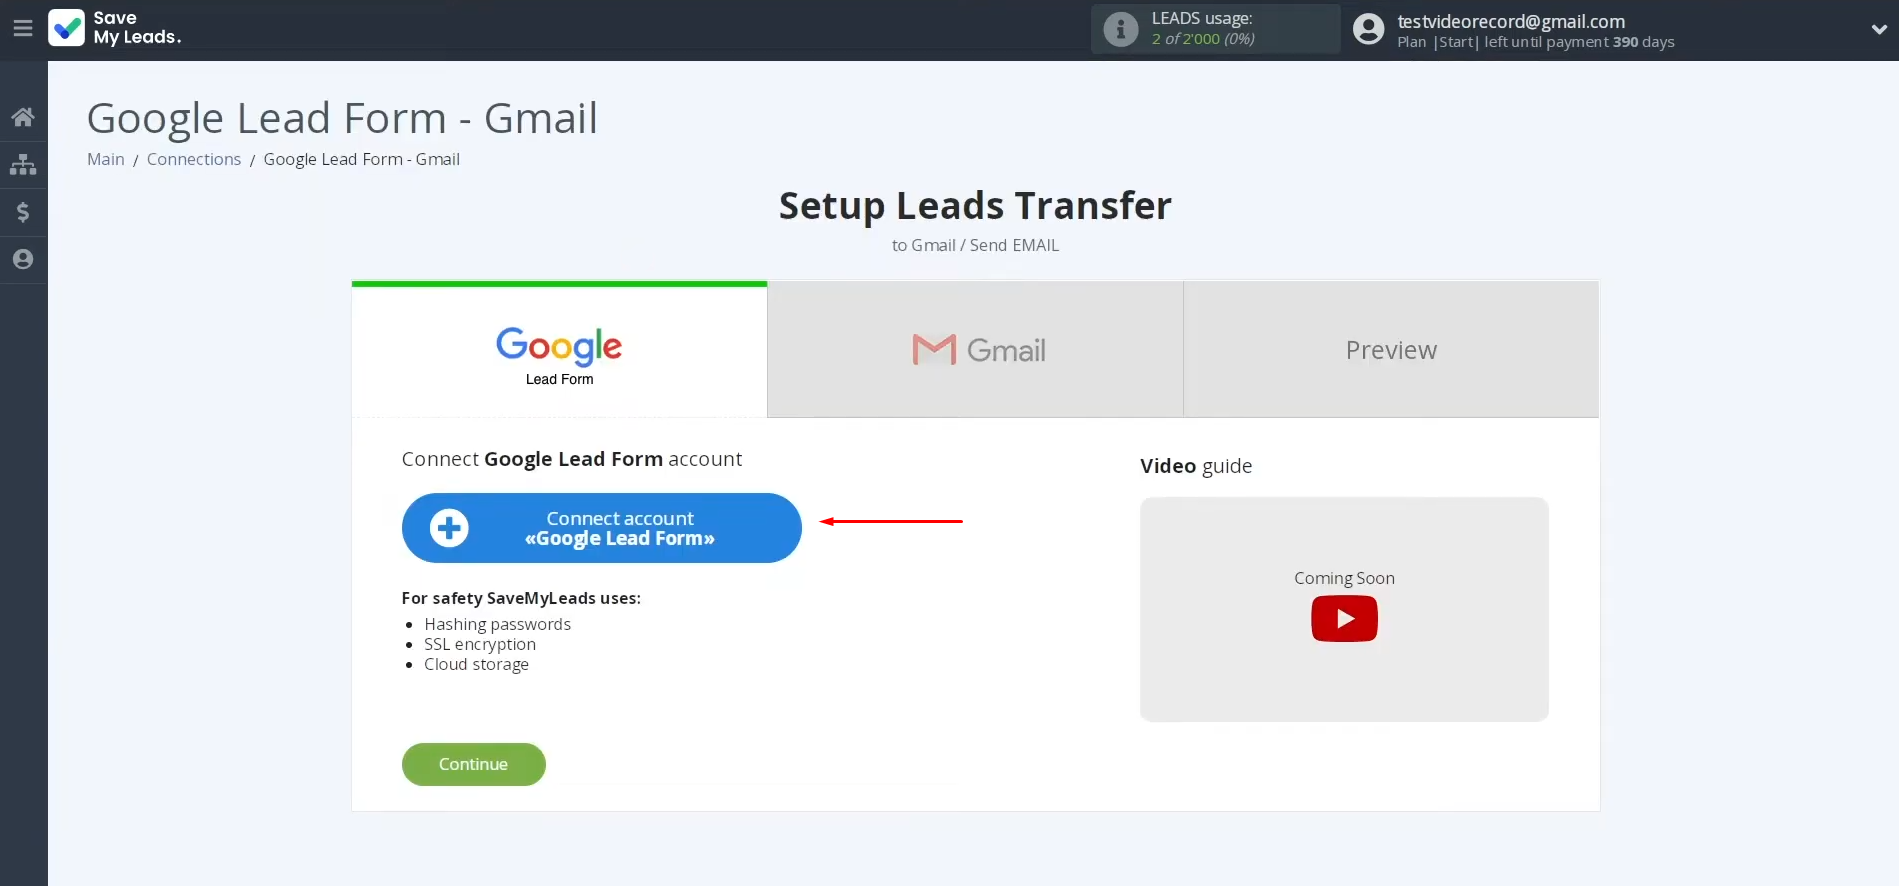
Connect your Google Lead Form account to SaveMyLeads.
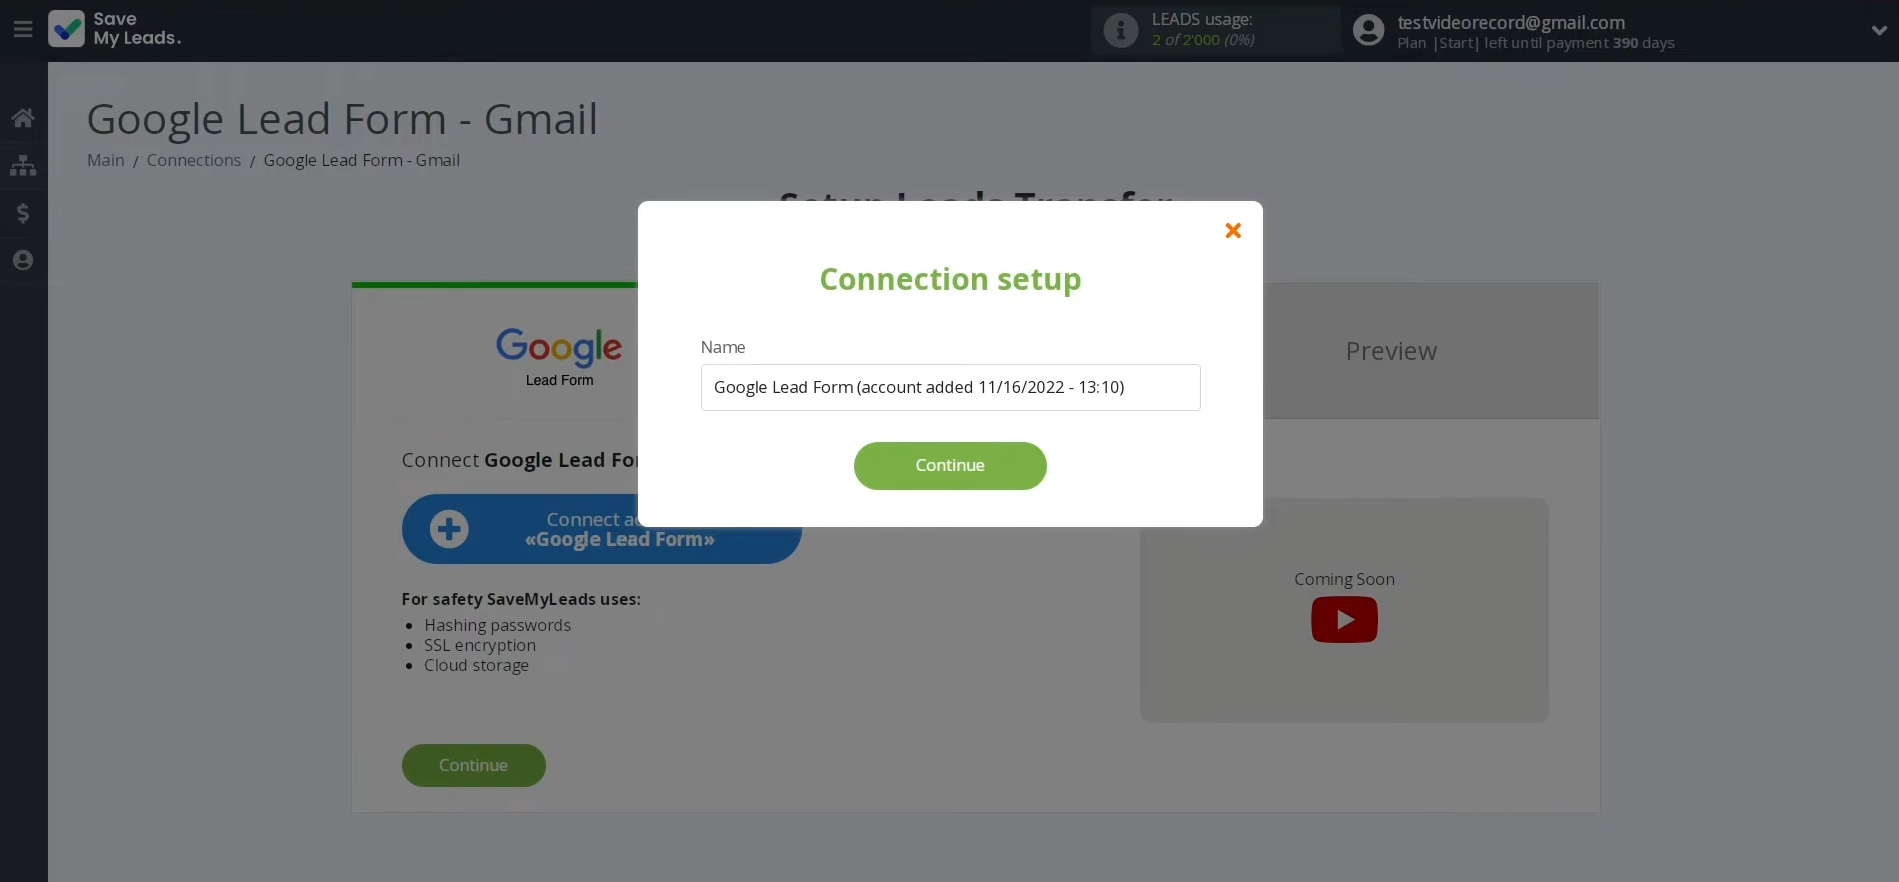
Name this connection, or simply click "Continue".
Once the created account is displayed in the list, select it.
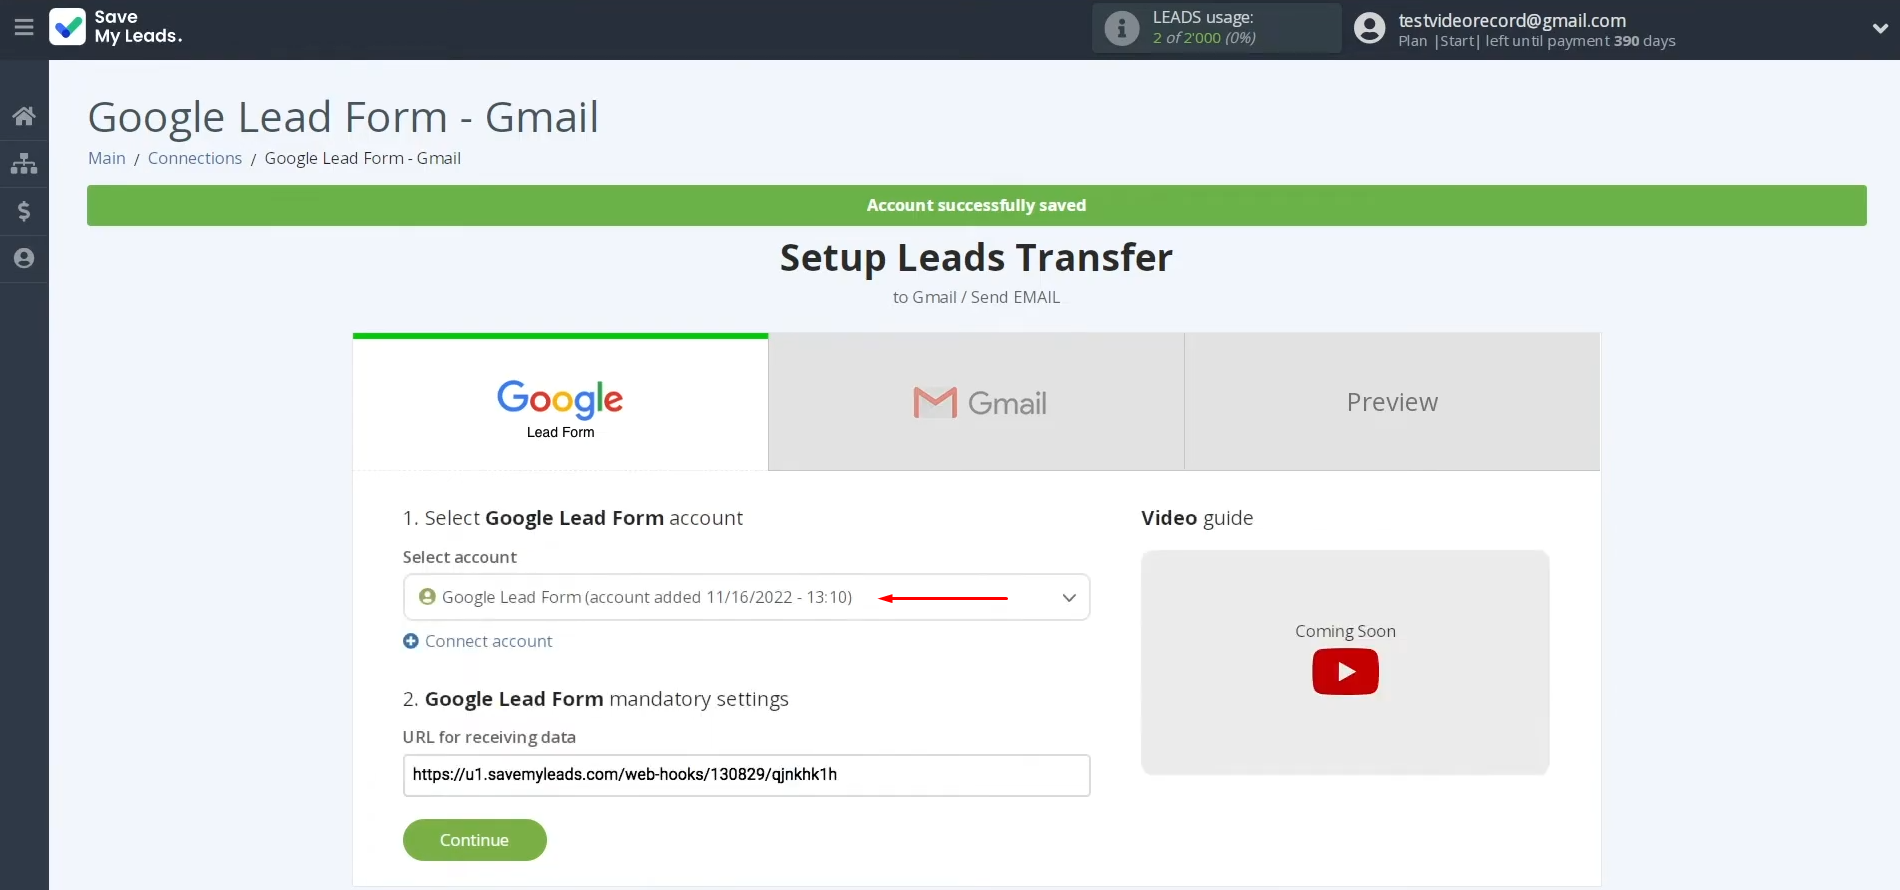
Here, you will see the URL for receiving data. This link will receive new data from Google Lead Form. Copy it.
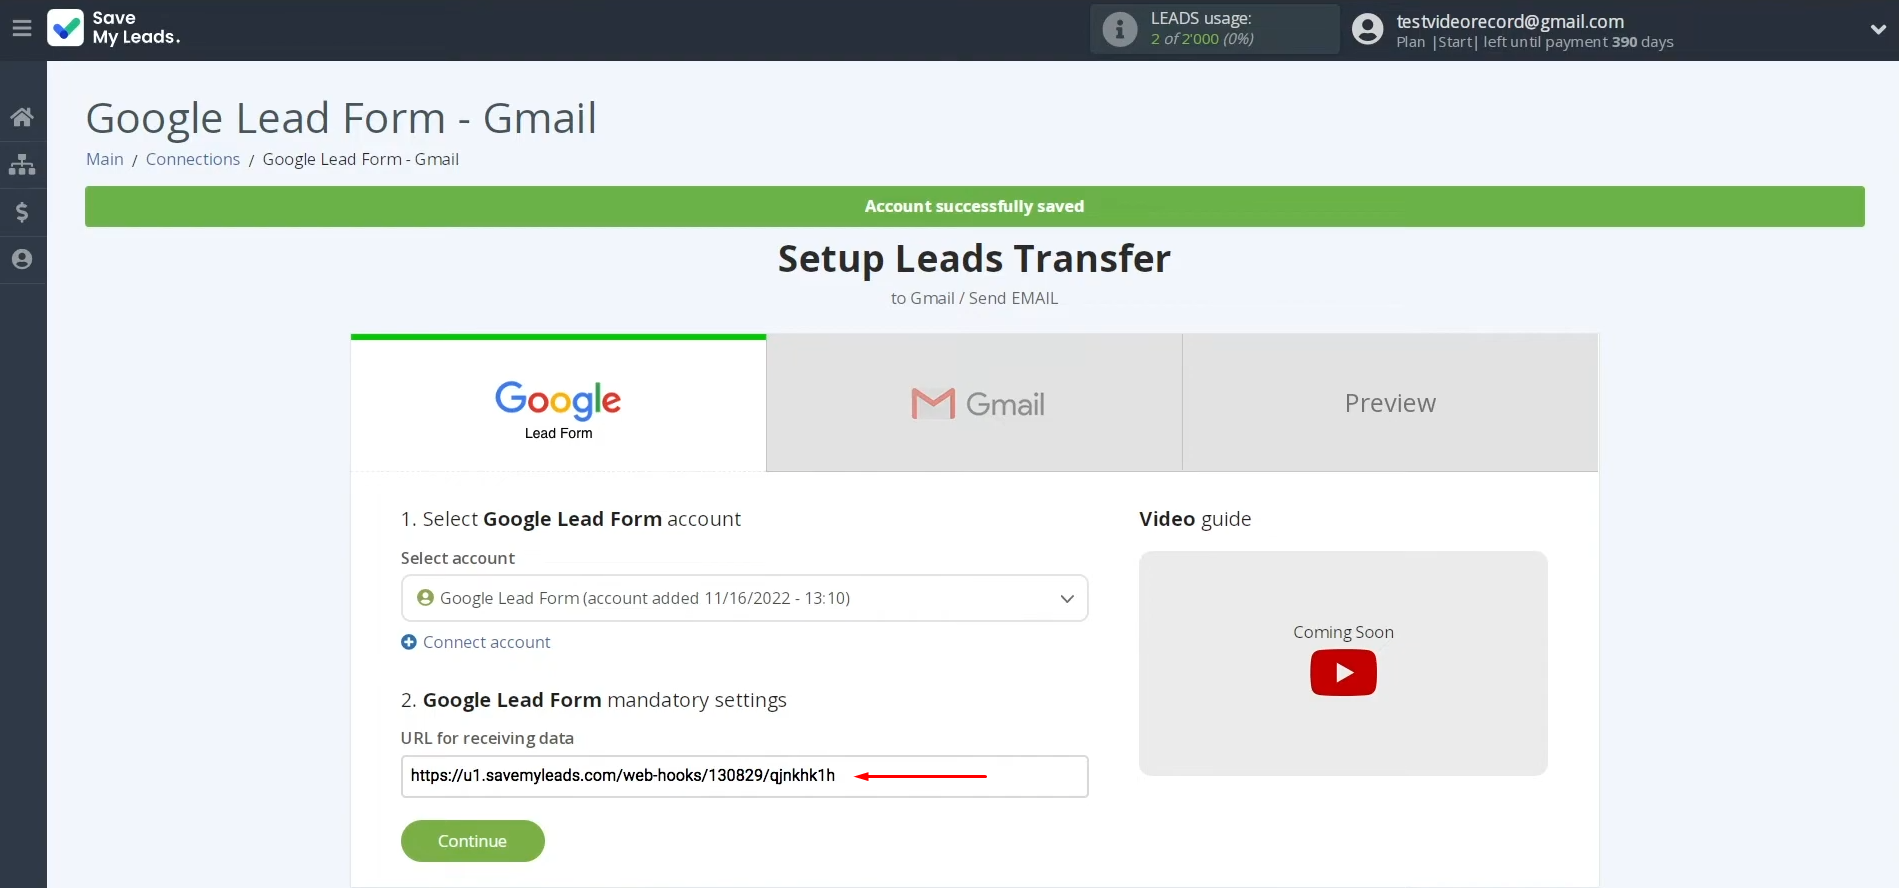
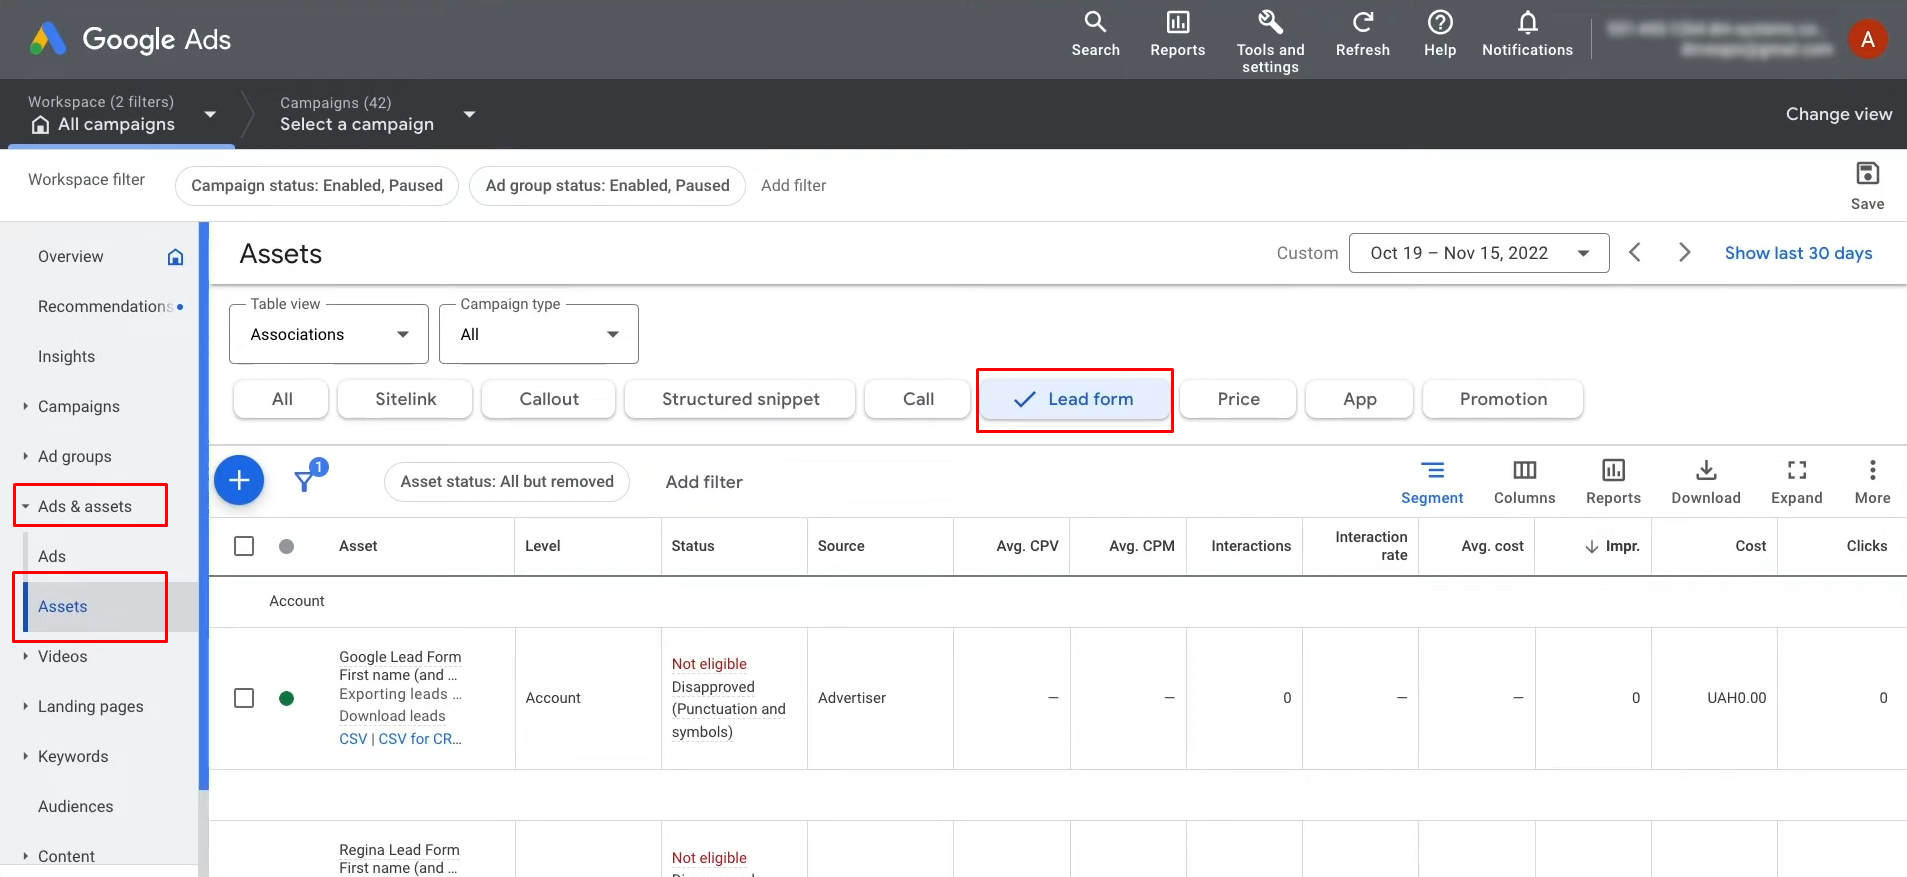
Go to the "Ads and Assets" section in your personal Google Lead Form account. You need the "Assets" tab. Ensure that the Lead Forms tab is checked.
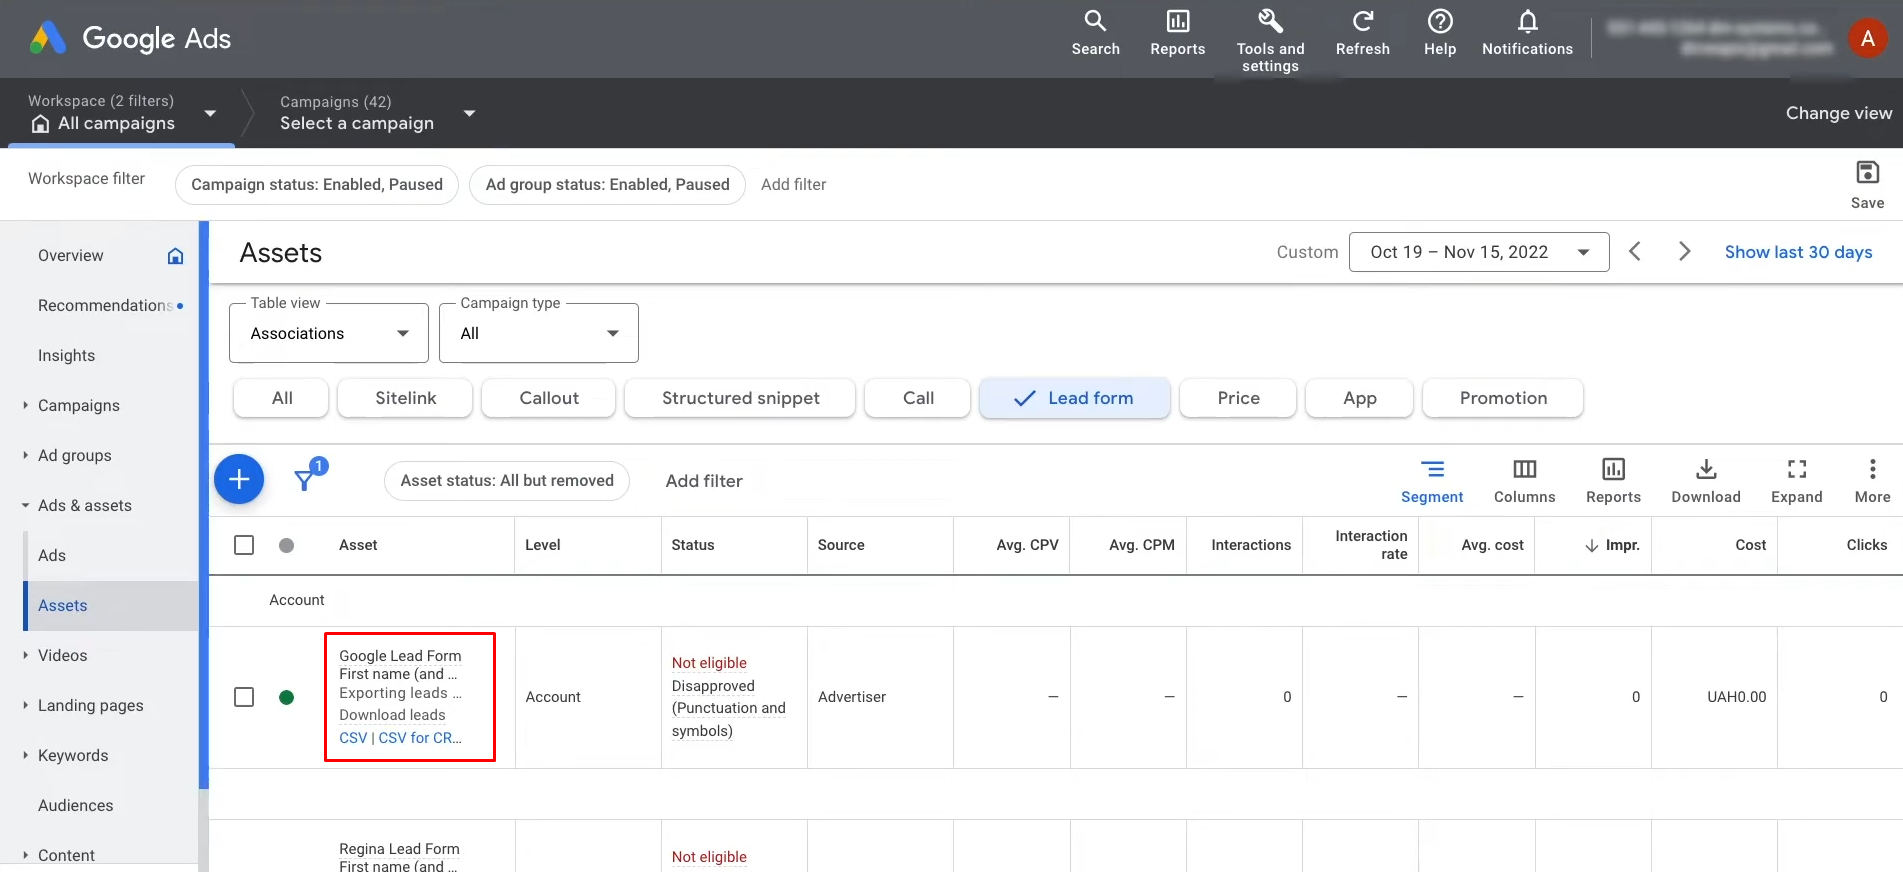
Go to the form from which you want to receive data.
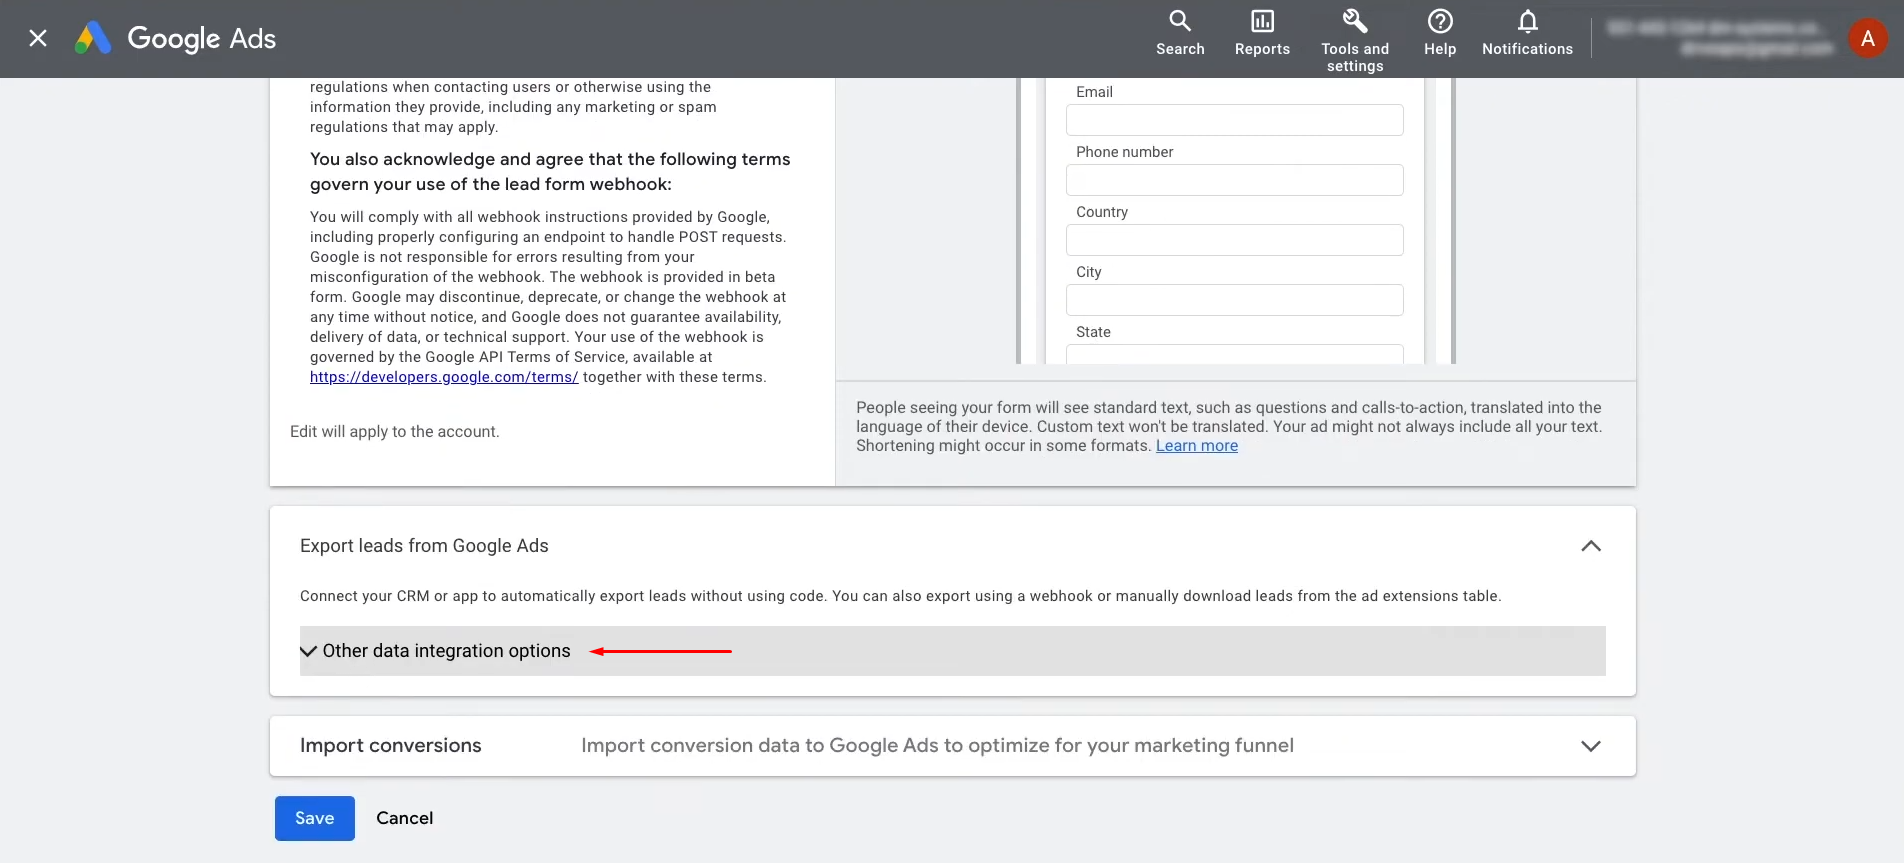
Find the section "Other Data Integration Options".
Paste the copied link from SaveMyLeads into the appropriate field.
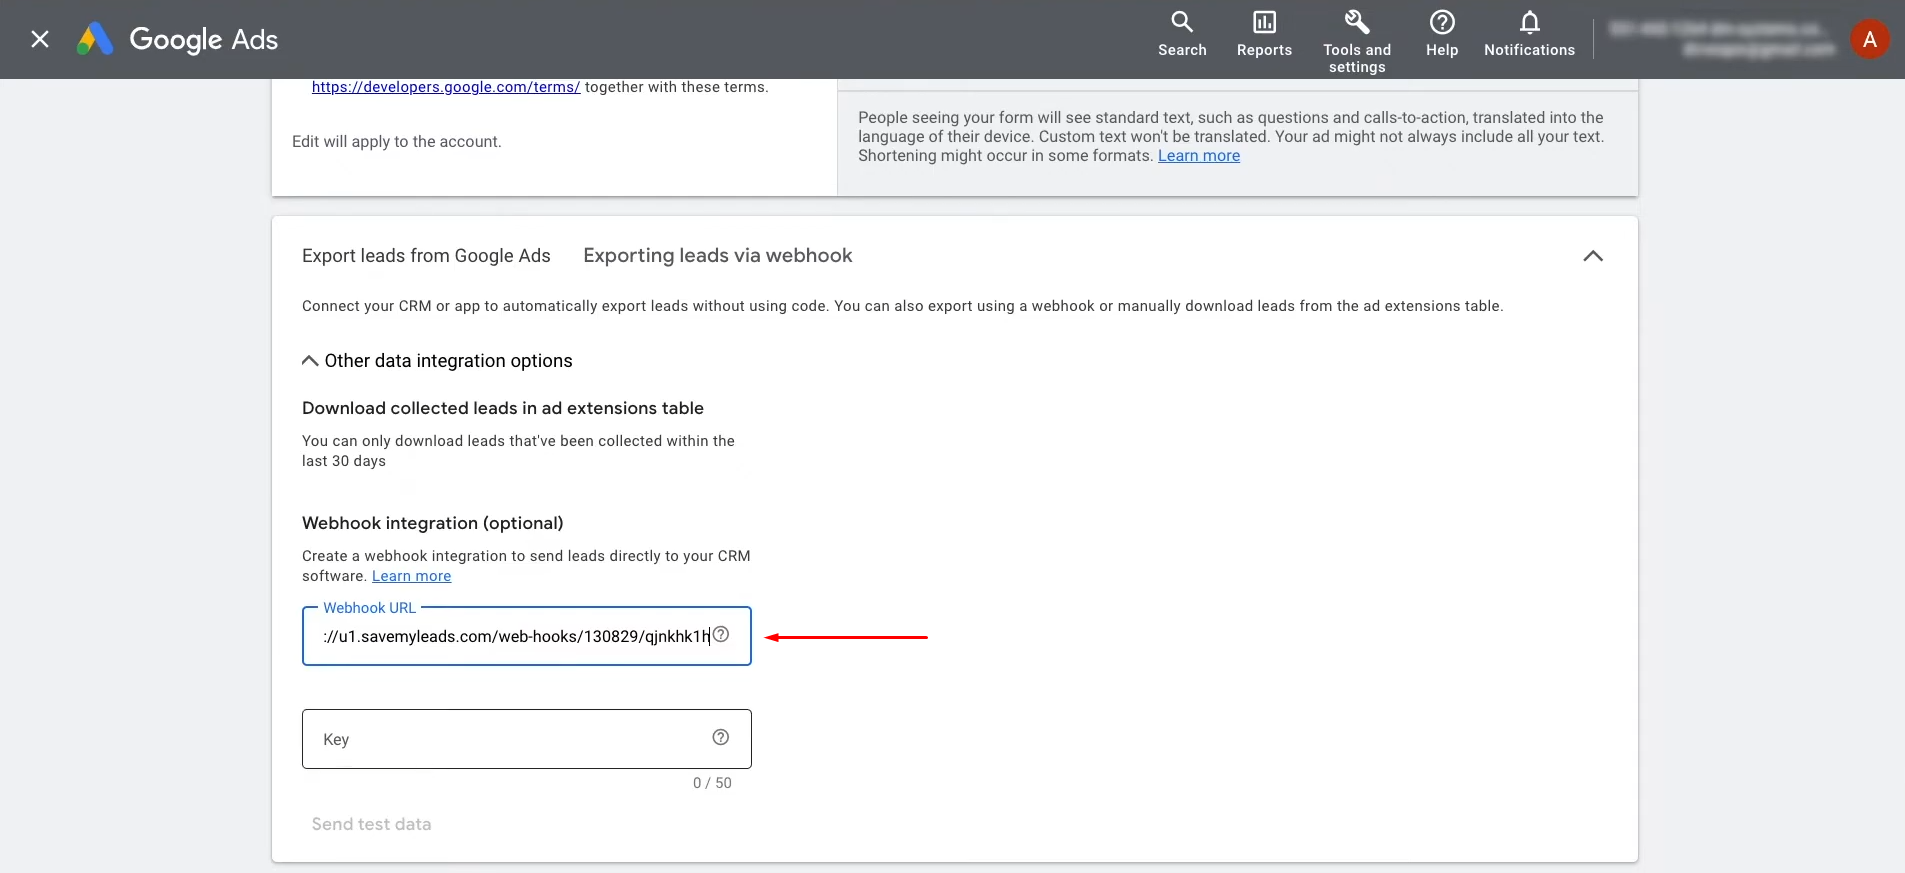
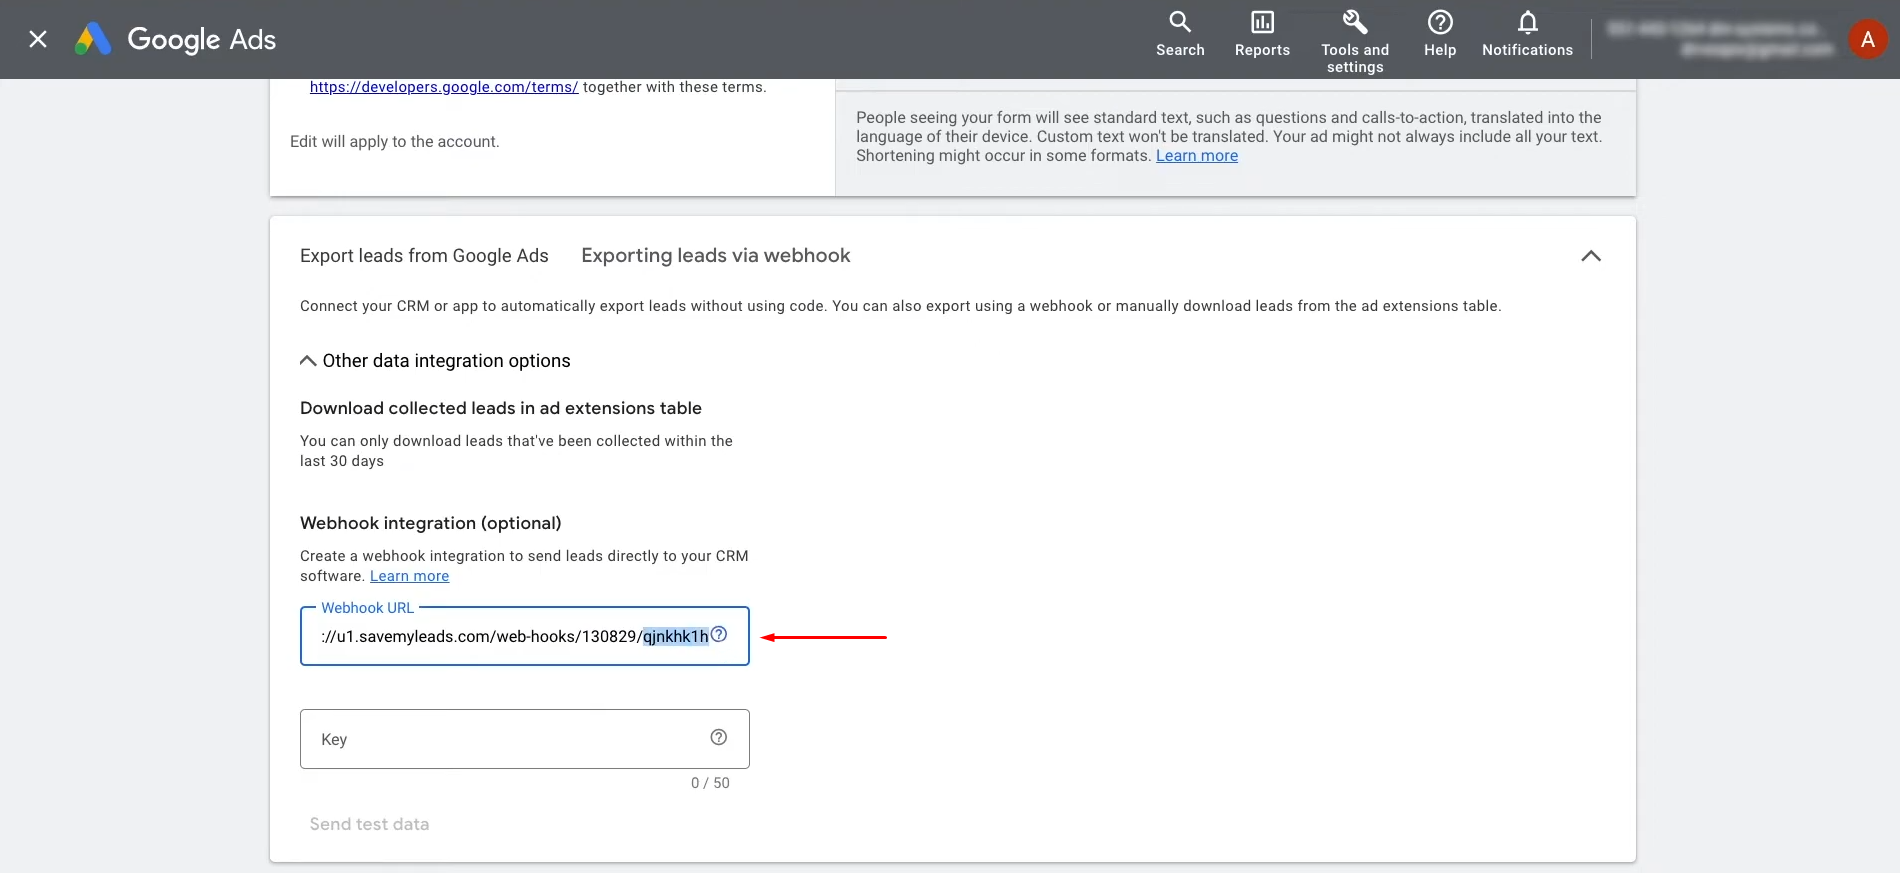
Next, as the key, specify the last part of the URL.
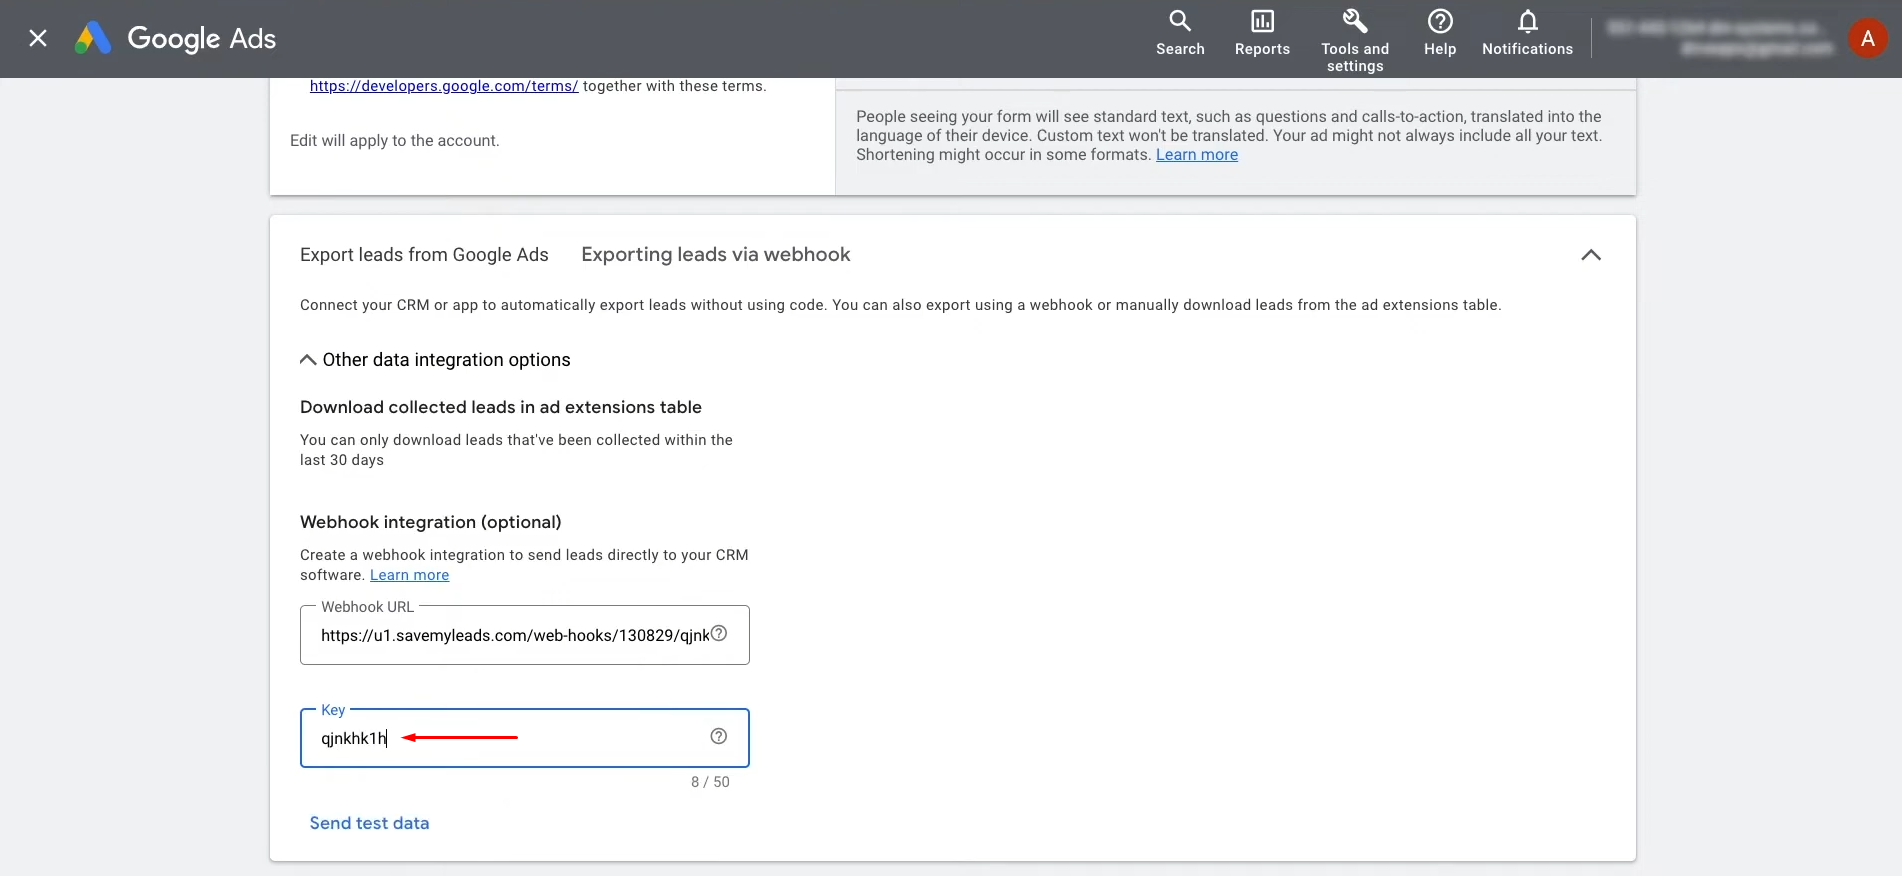
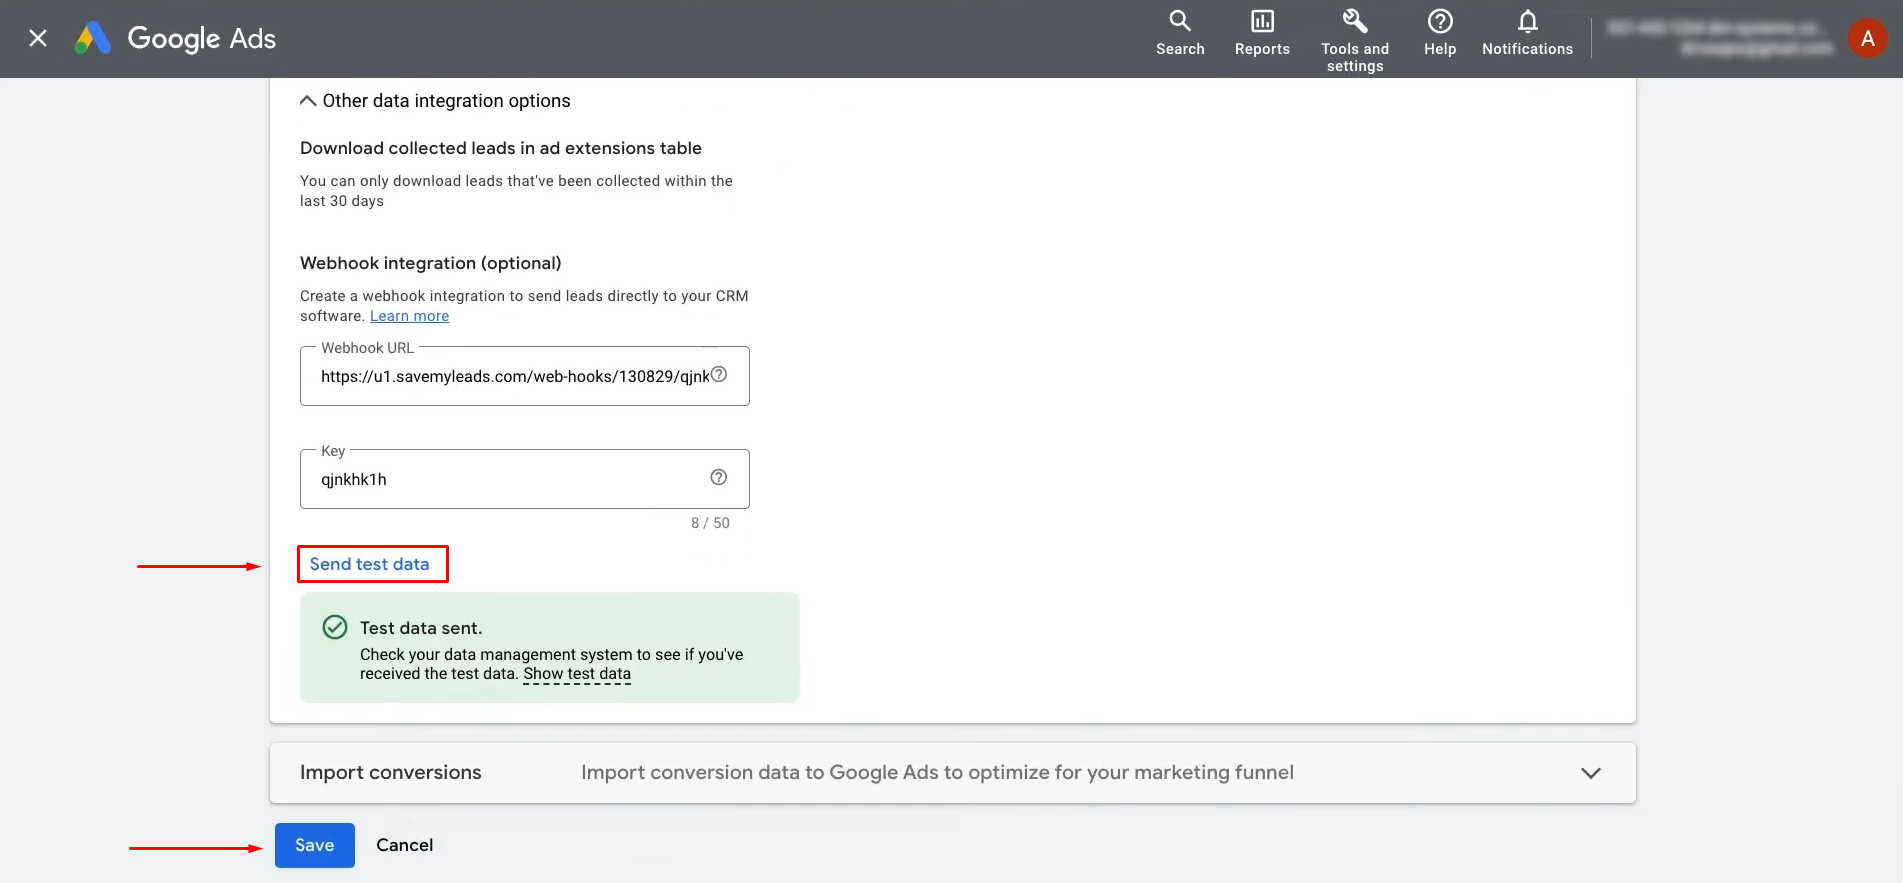
To continue the setup, you need to generate test data. Therefore, click "Send Test Data". Don’t forget to save the changes.
Return to SaveMyLeads and continue setting up.
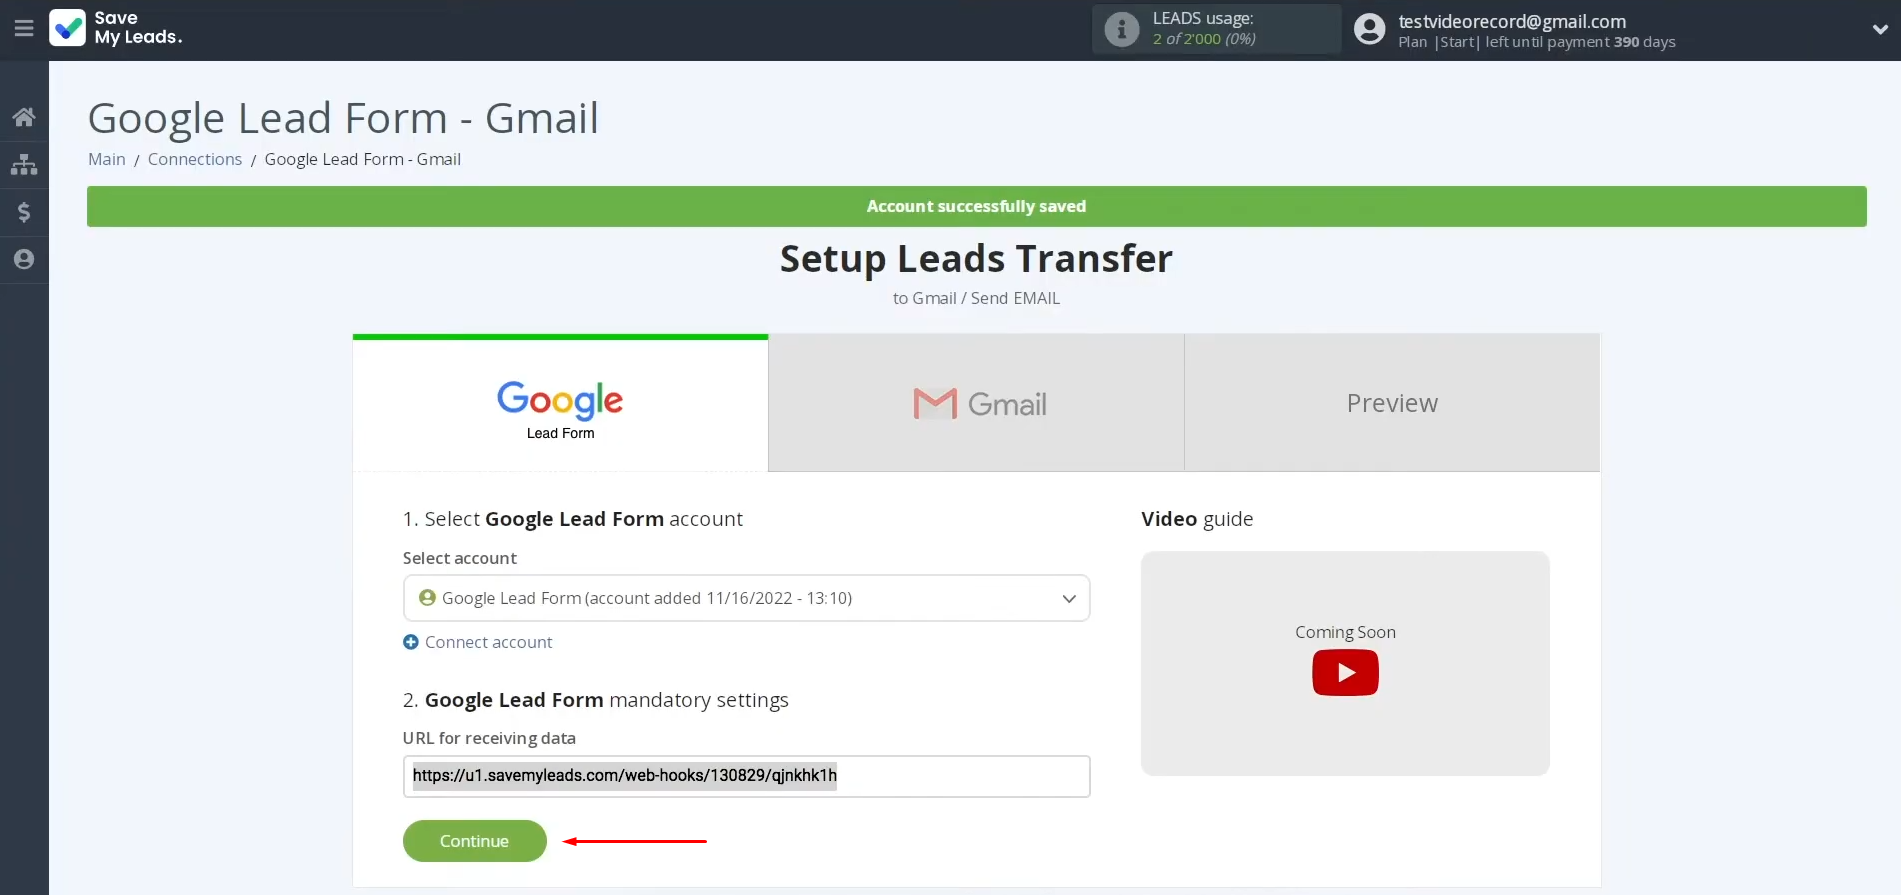
Setting Up the Data Receiver – Gmail
To set up Gmail + Google Ads Lead Form integration, connect your Gmail account to SaveMyLeads.
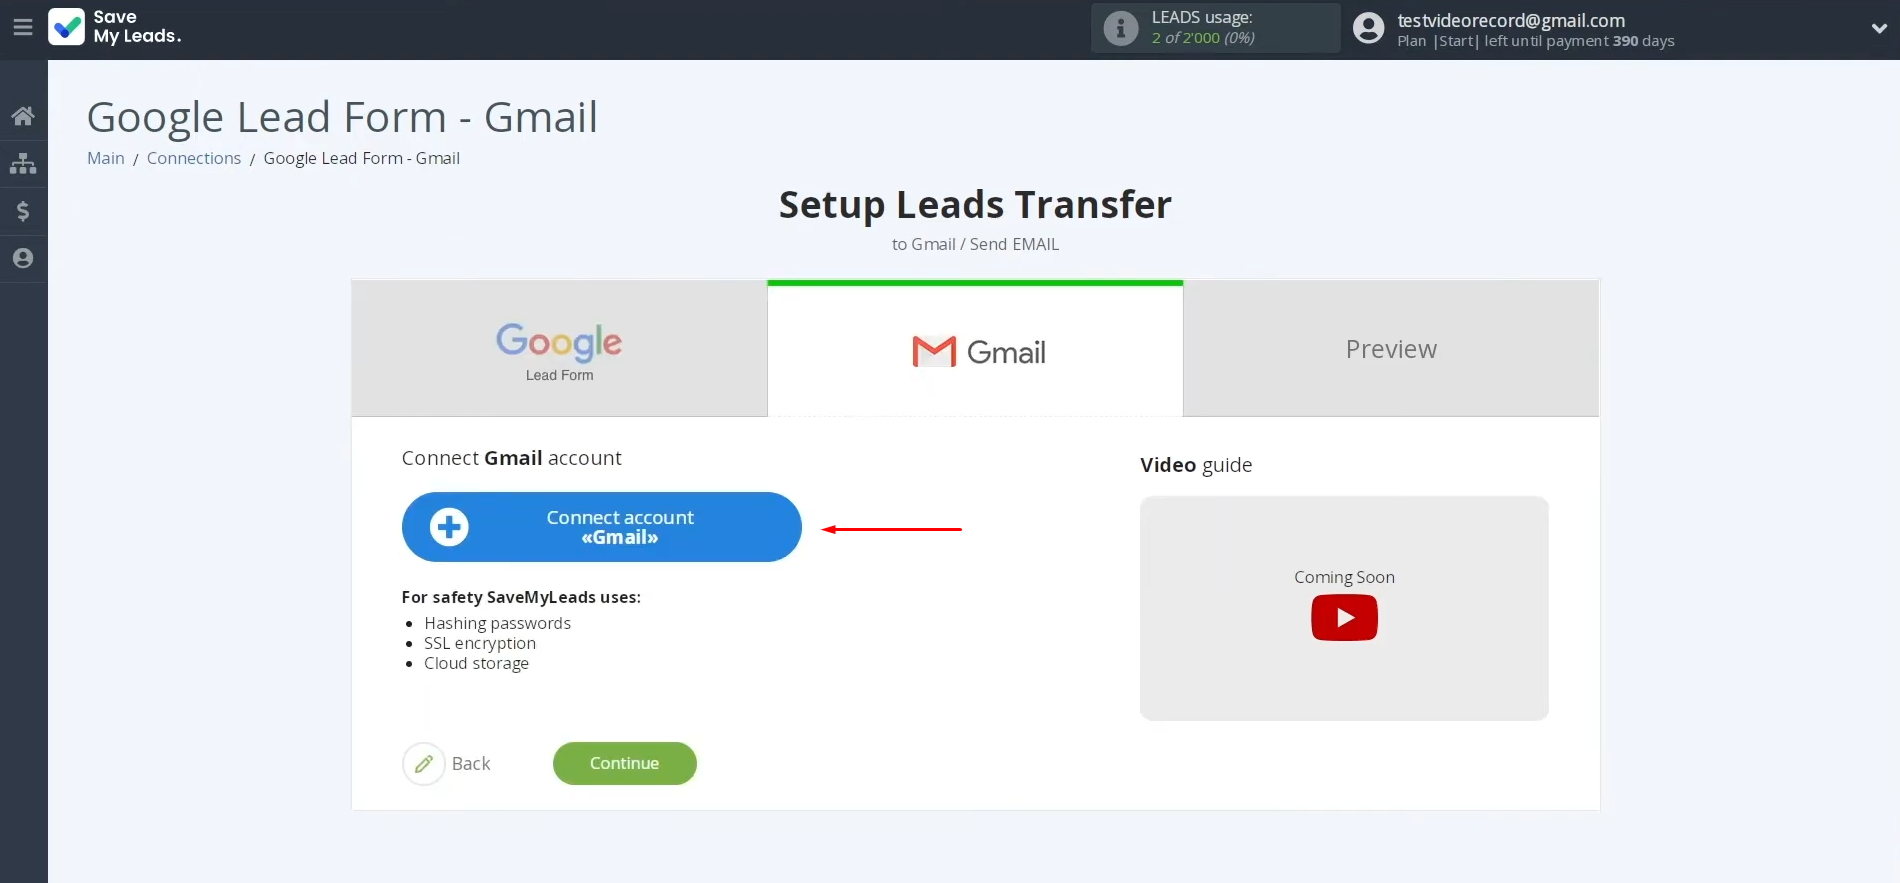
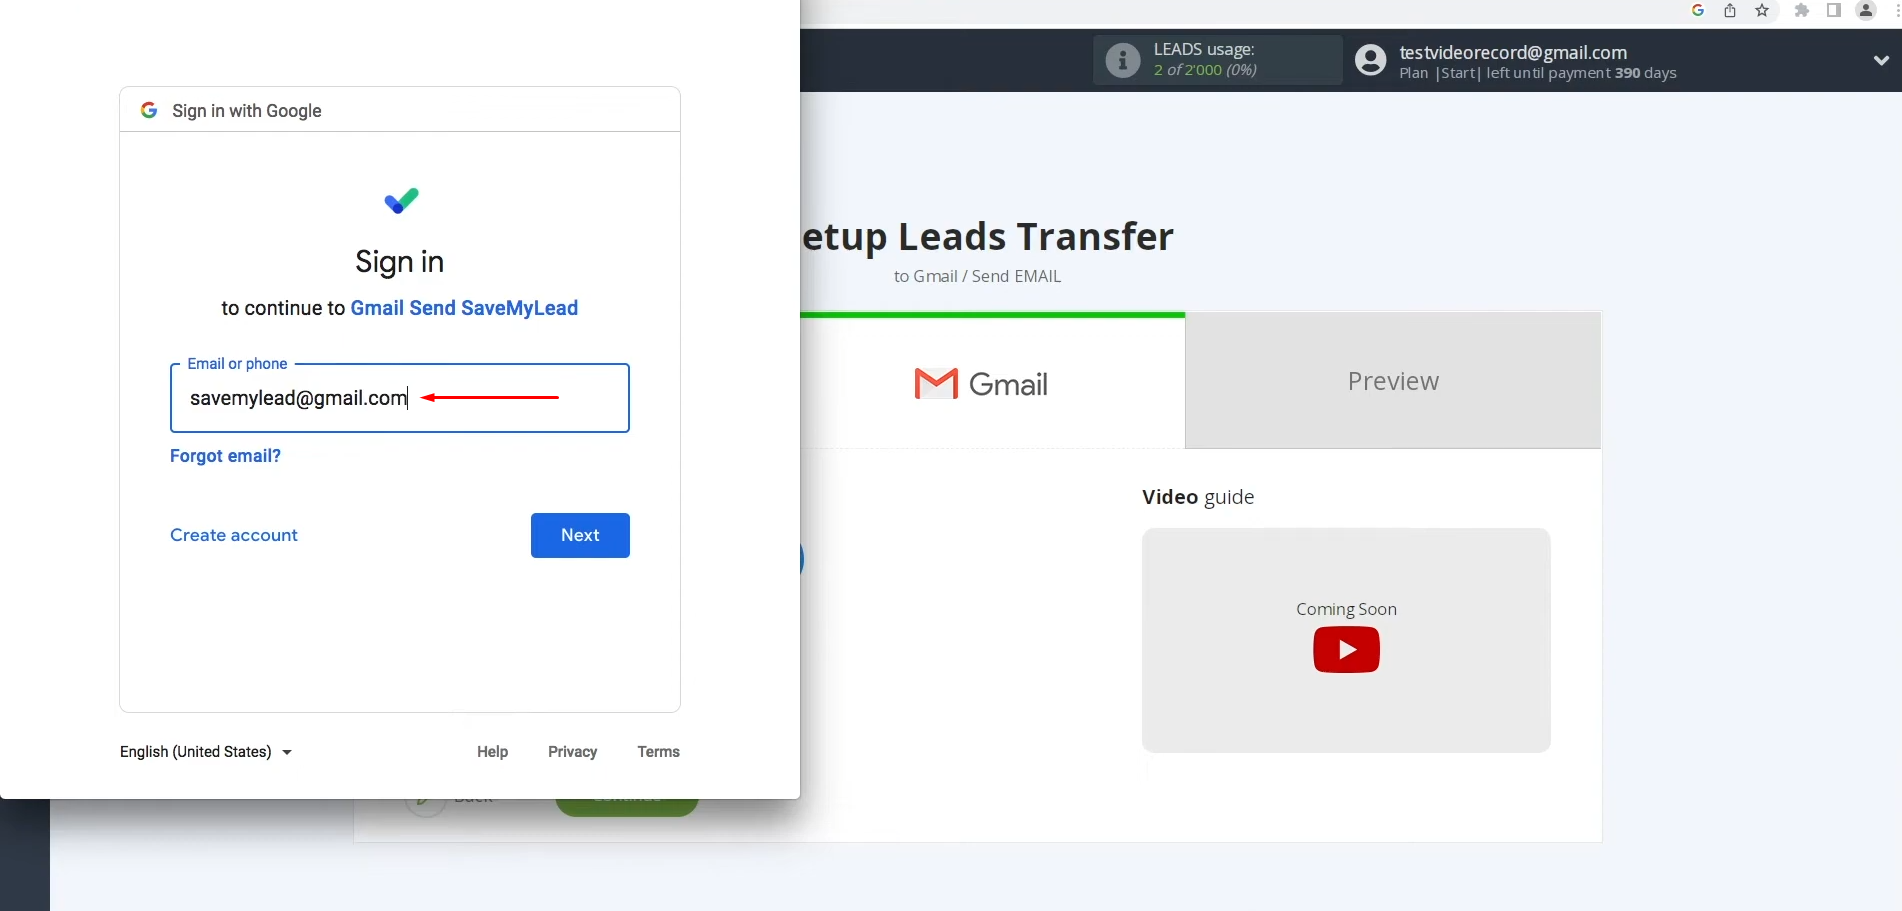
Enter the login for your Gmail account and click “Next”.
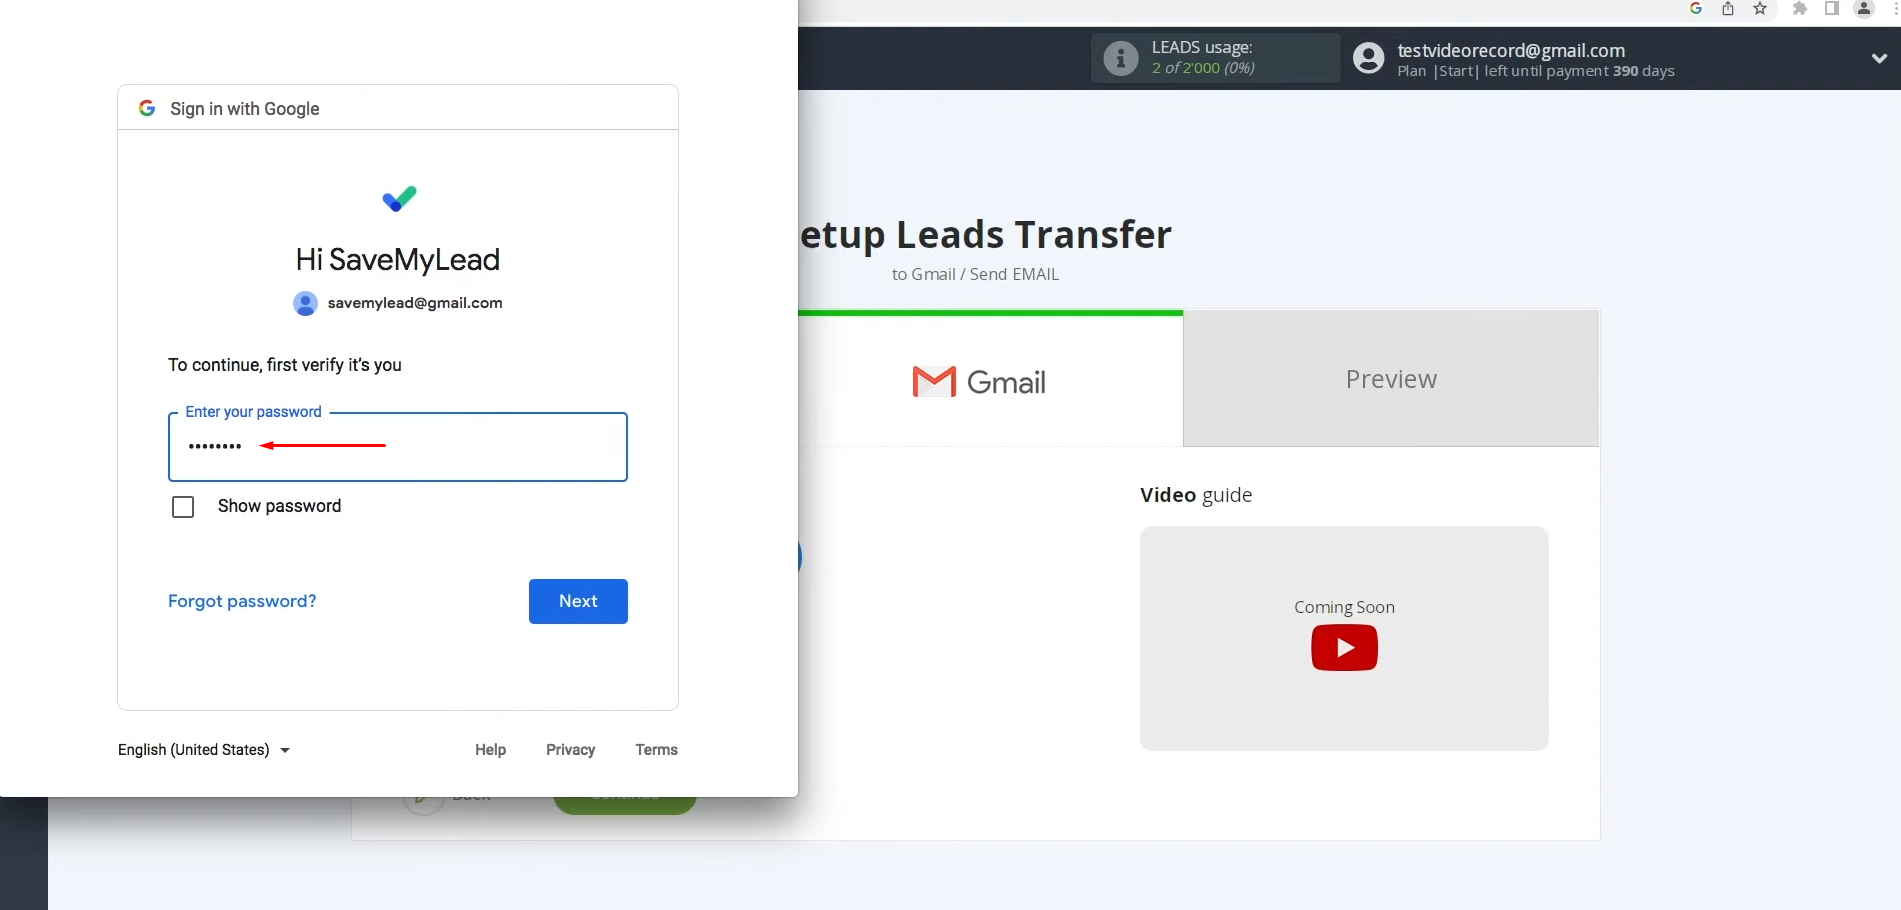
Enter the password for your Gmail account and click “Next”.
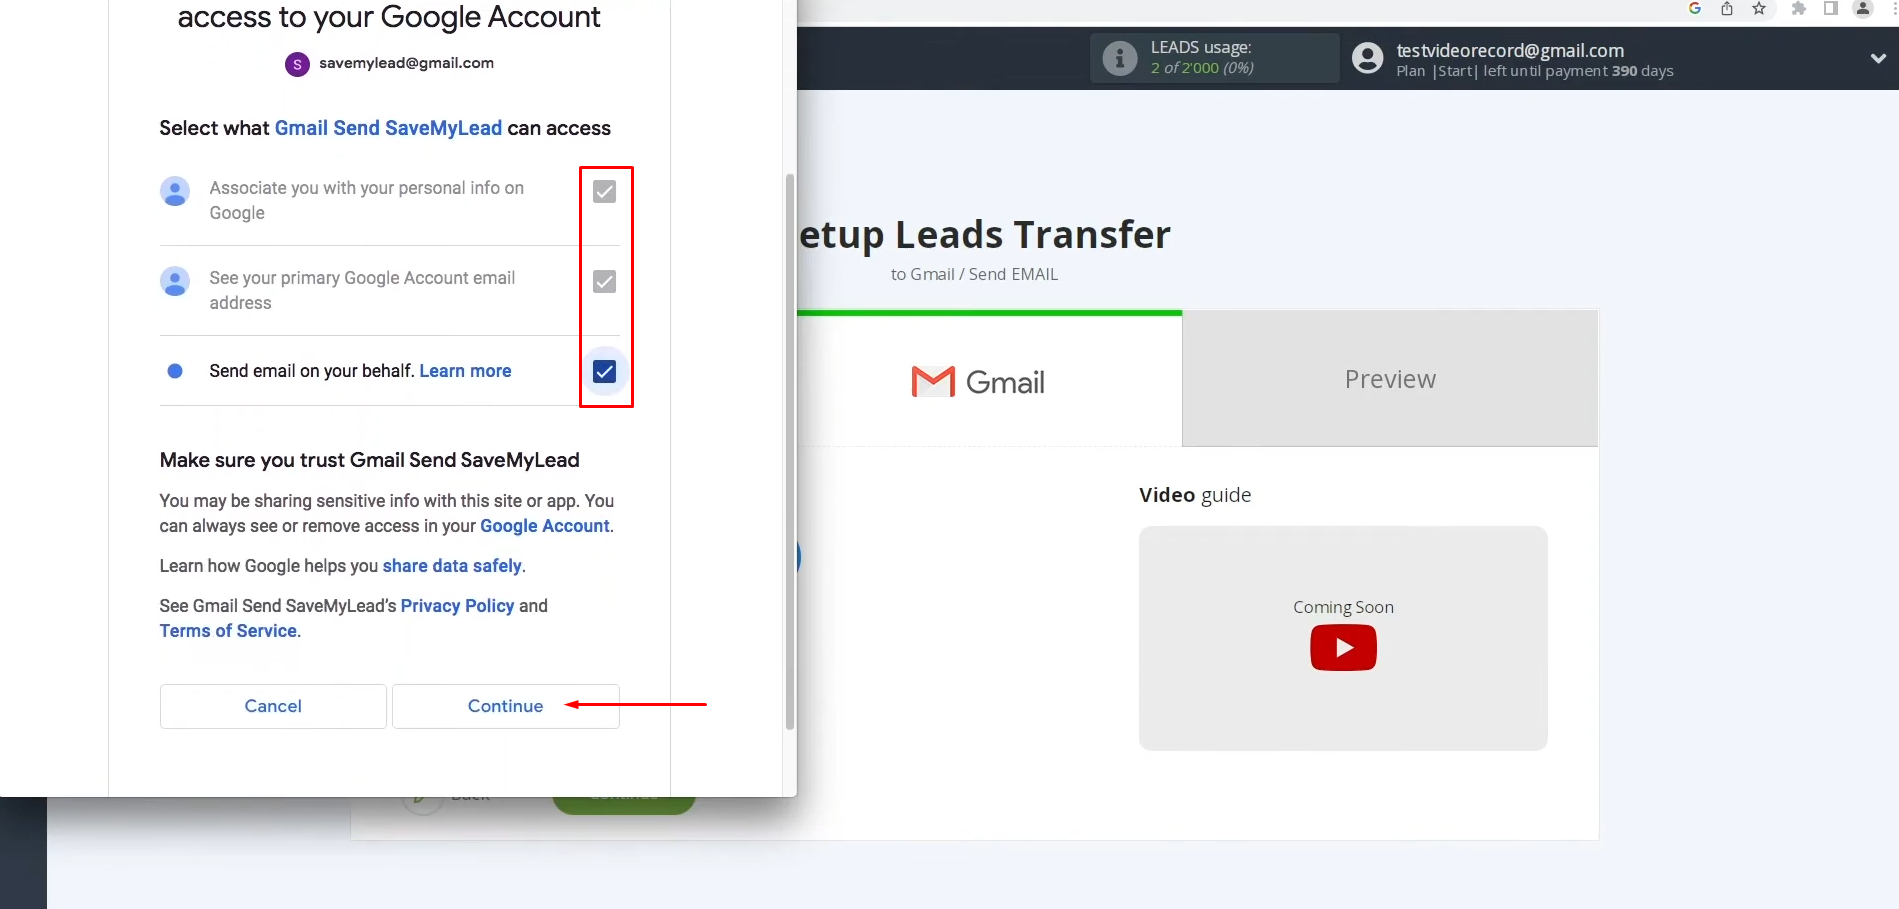
Give SaveMyLeads permission to work with your account by checking all the required boxes. Click “Continue”.
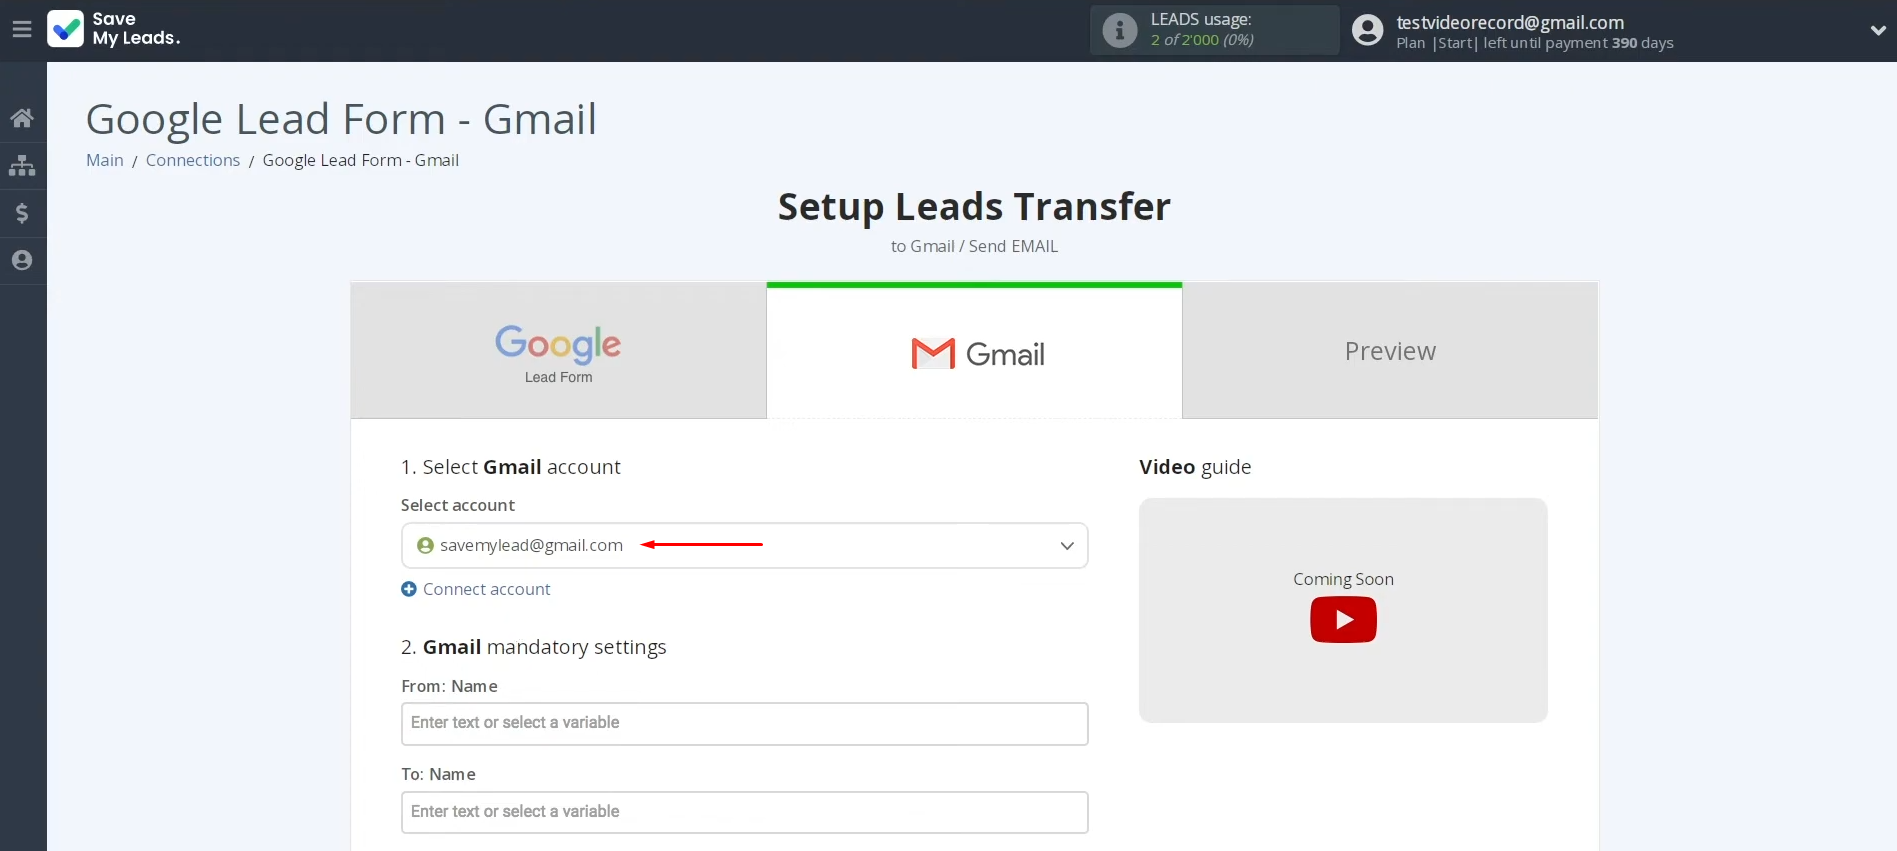
Once the connected account appears in the list, select it.
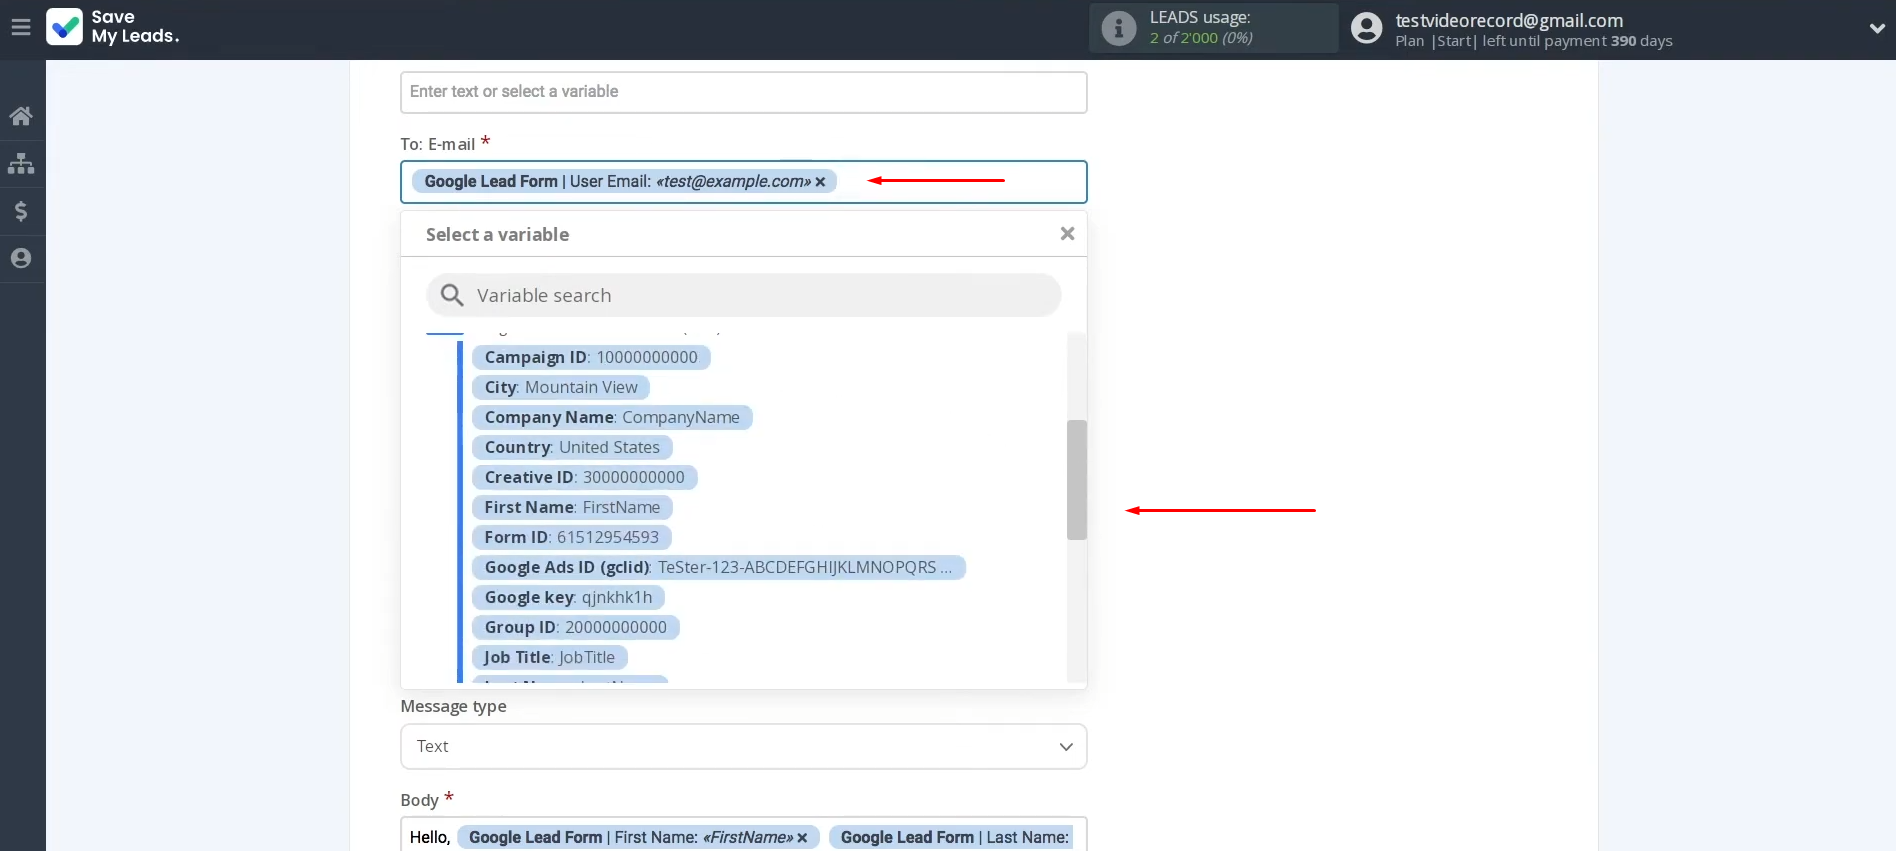
Here, you'll see the Gmail fields where you can assign variables from the Google Lead Form. This already be done, but if you want to make changes, you can select variables from the drop-down list.
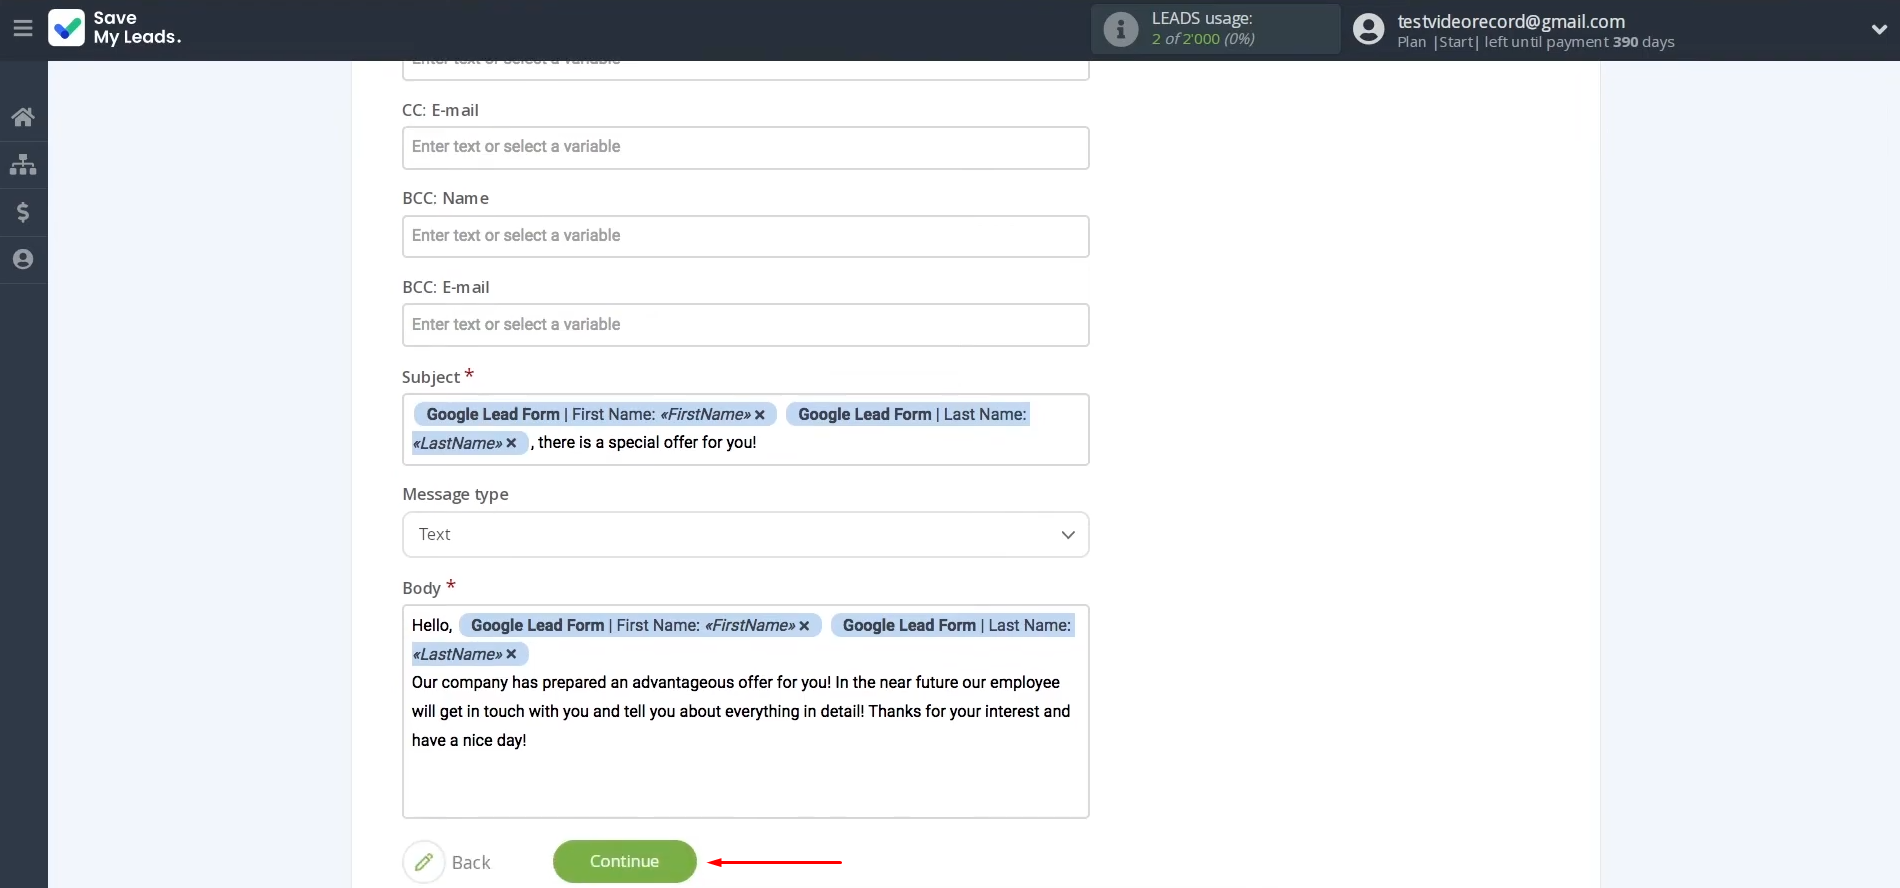
It is important to note that in addition to using variables, you can add your text. When all the necessary data is assigned, scroll down to the bottom of the page and click "Continue".
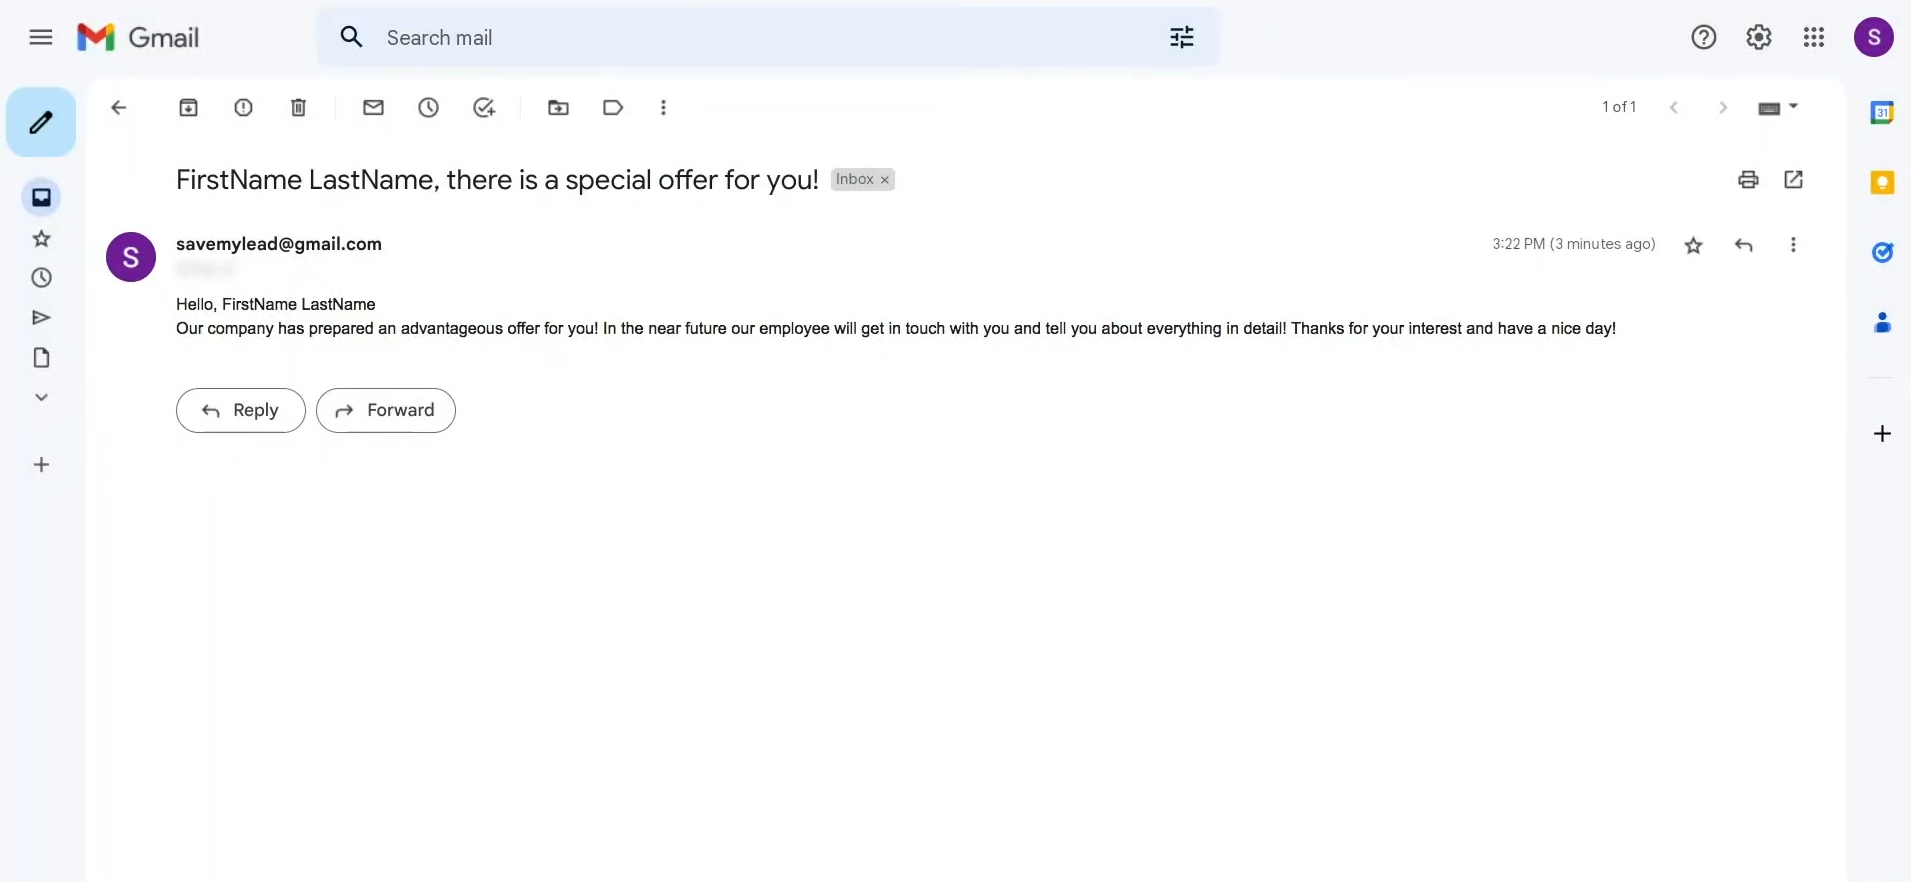
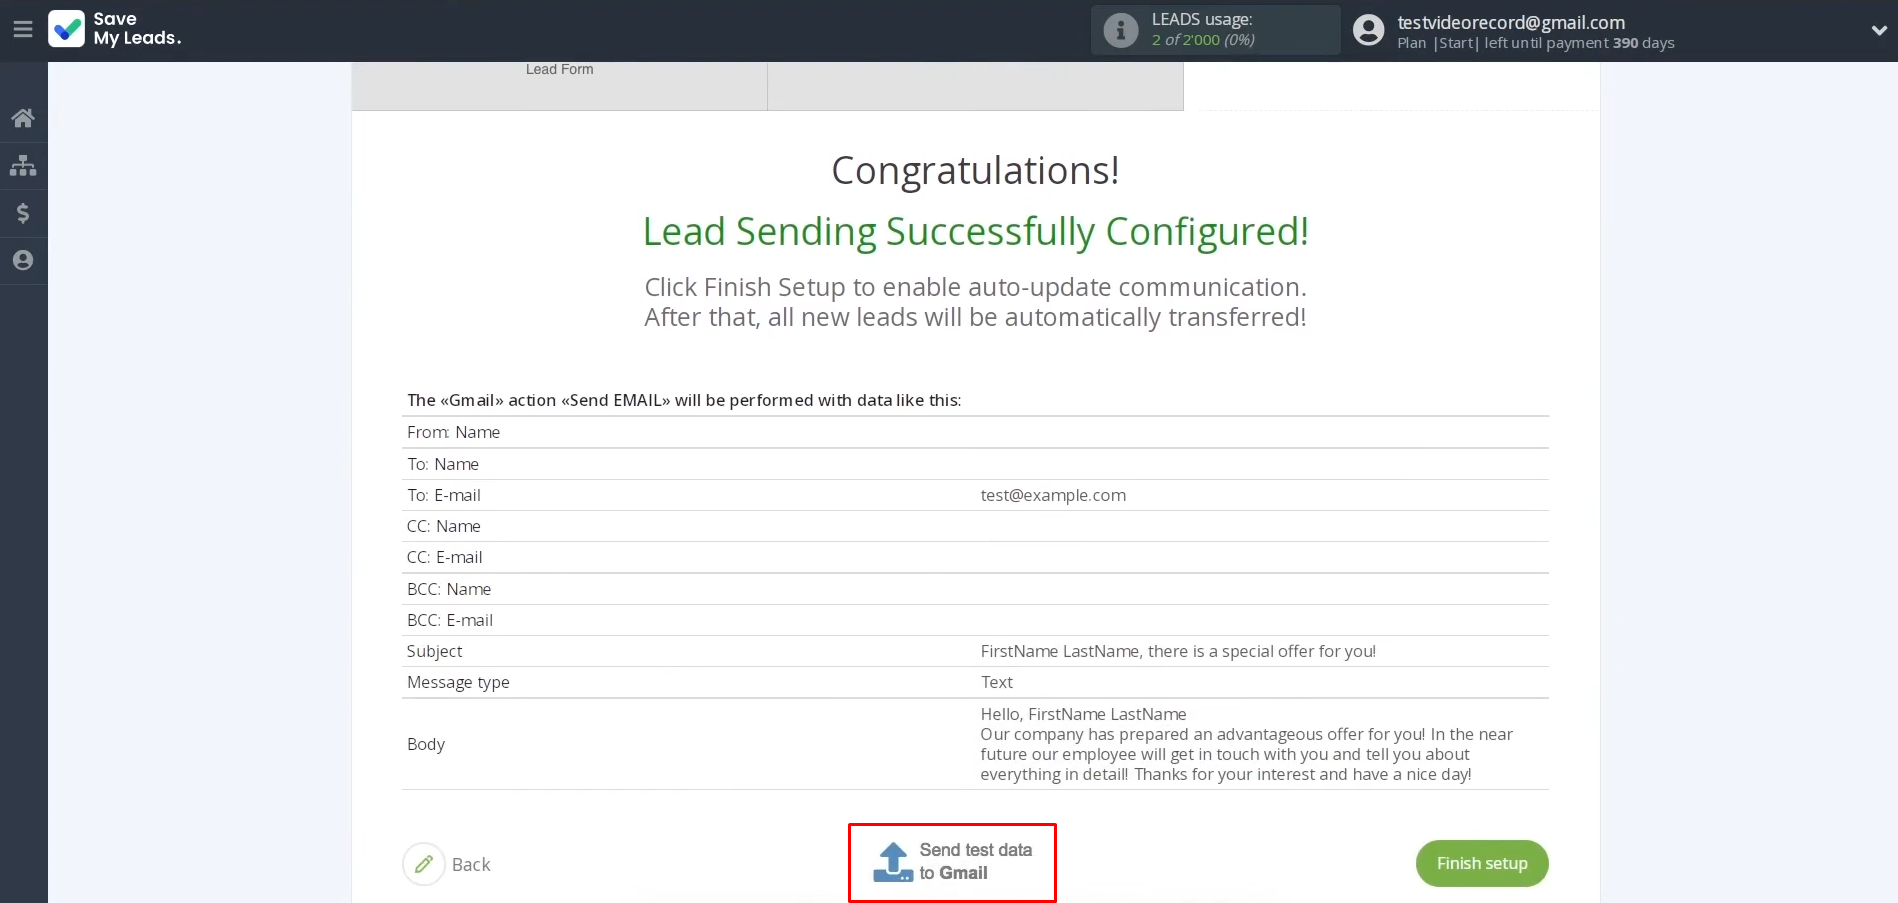
Now, you'll see an example of the data that will be sent to Gmail with each new lead from the Google Lead Form. Click "Send Test Data to Gmail" to check if the settings are correct.
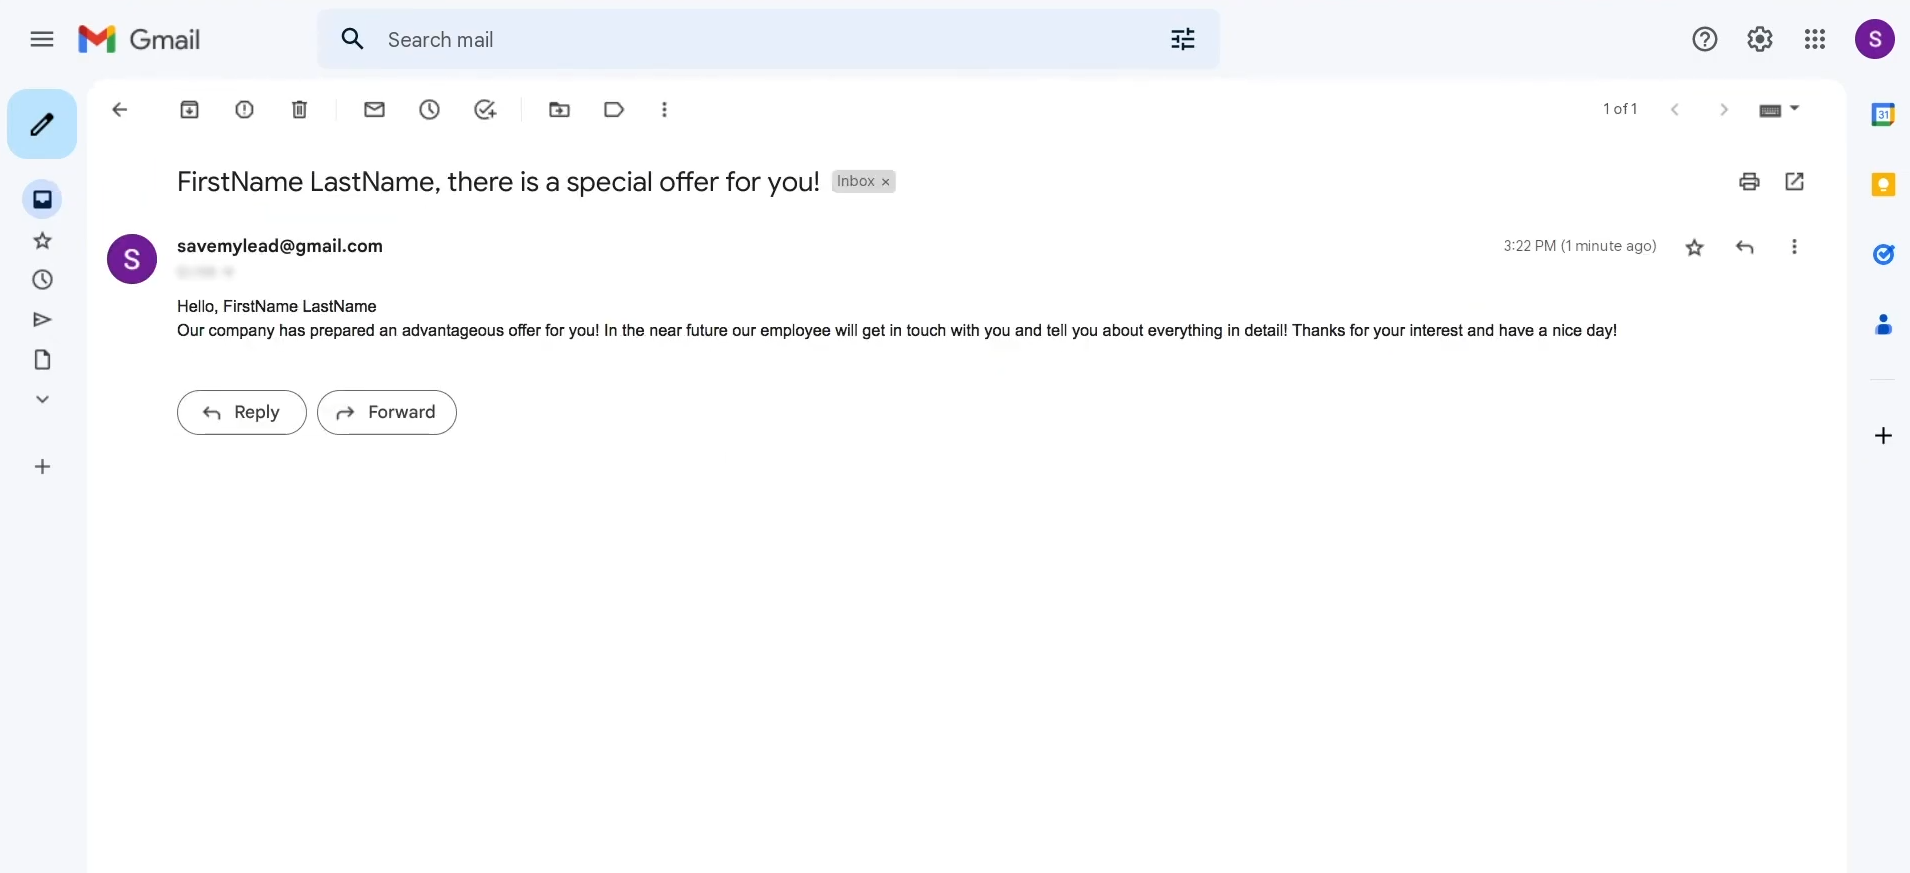
To check the
result, go to Gmail.
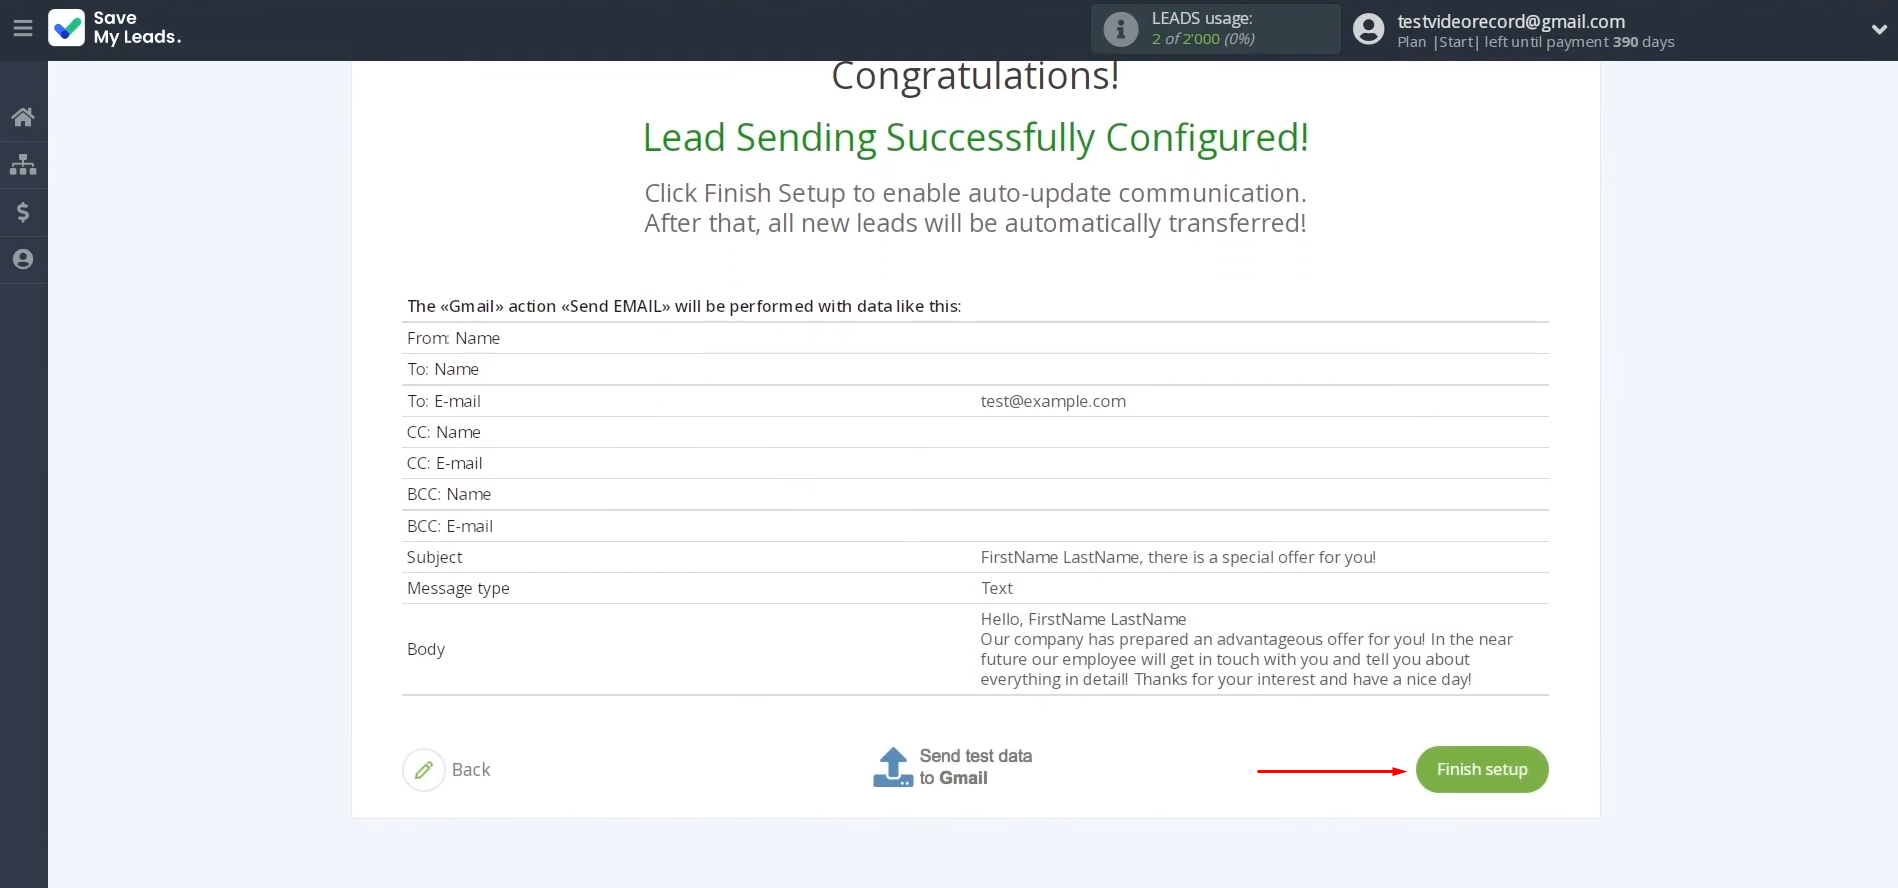
Currently, return to SaveMyLeads and continue the setup.


Setting Up Auto-Update
Click “Finish setup” to enable the auto-update of the connection. This will ensure that all new leads from Google Lead Form are instantly transferred to Gmail, sending an email to everyone interested in your offer.
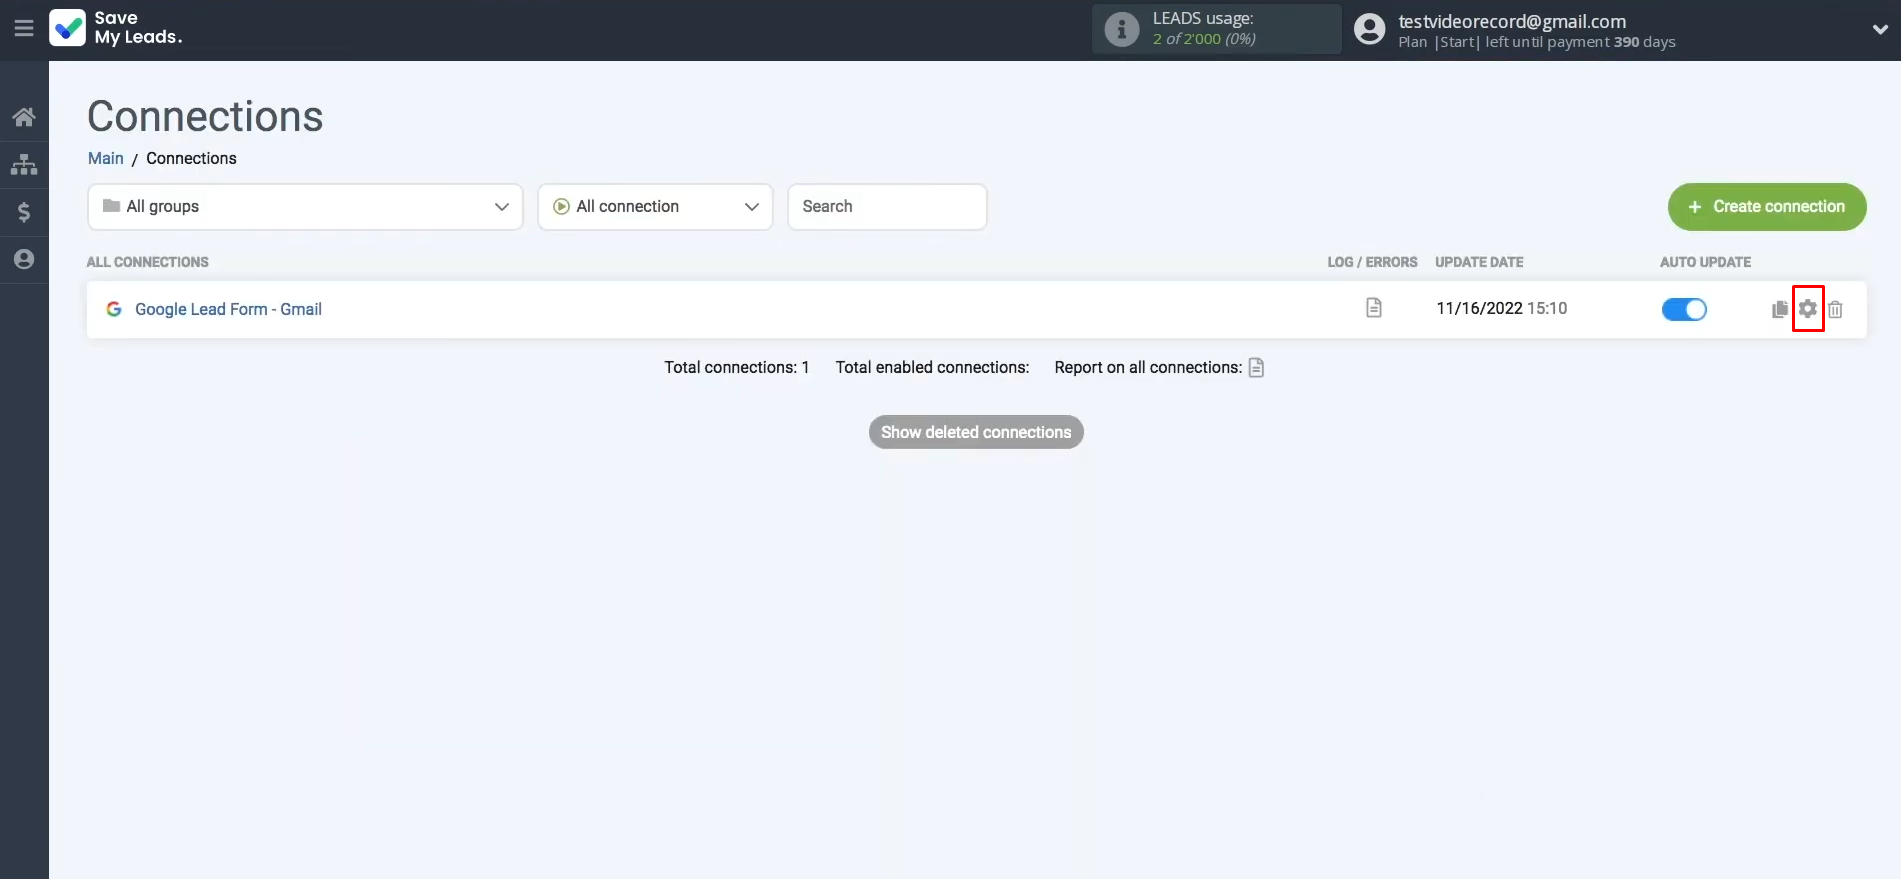
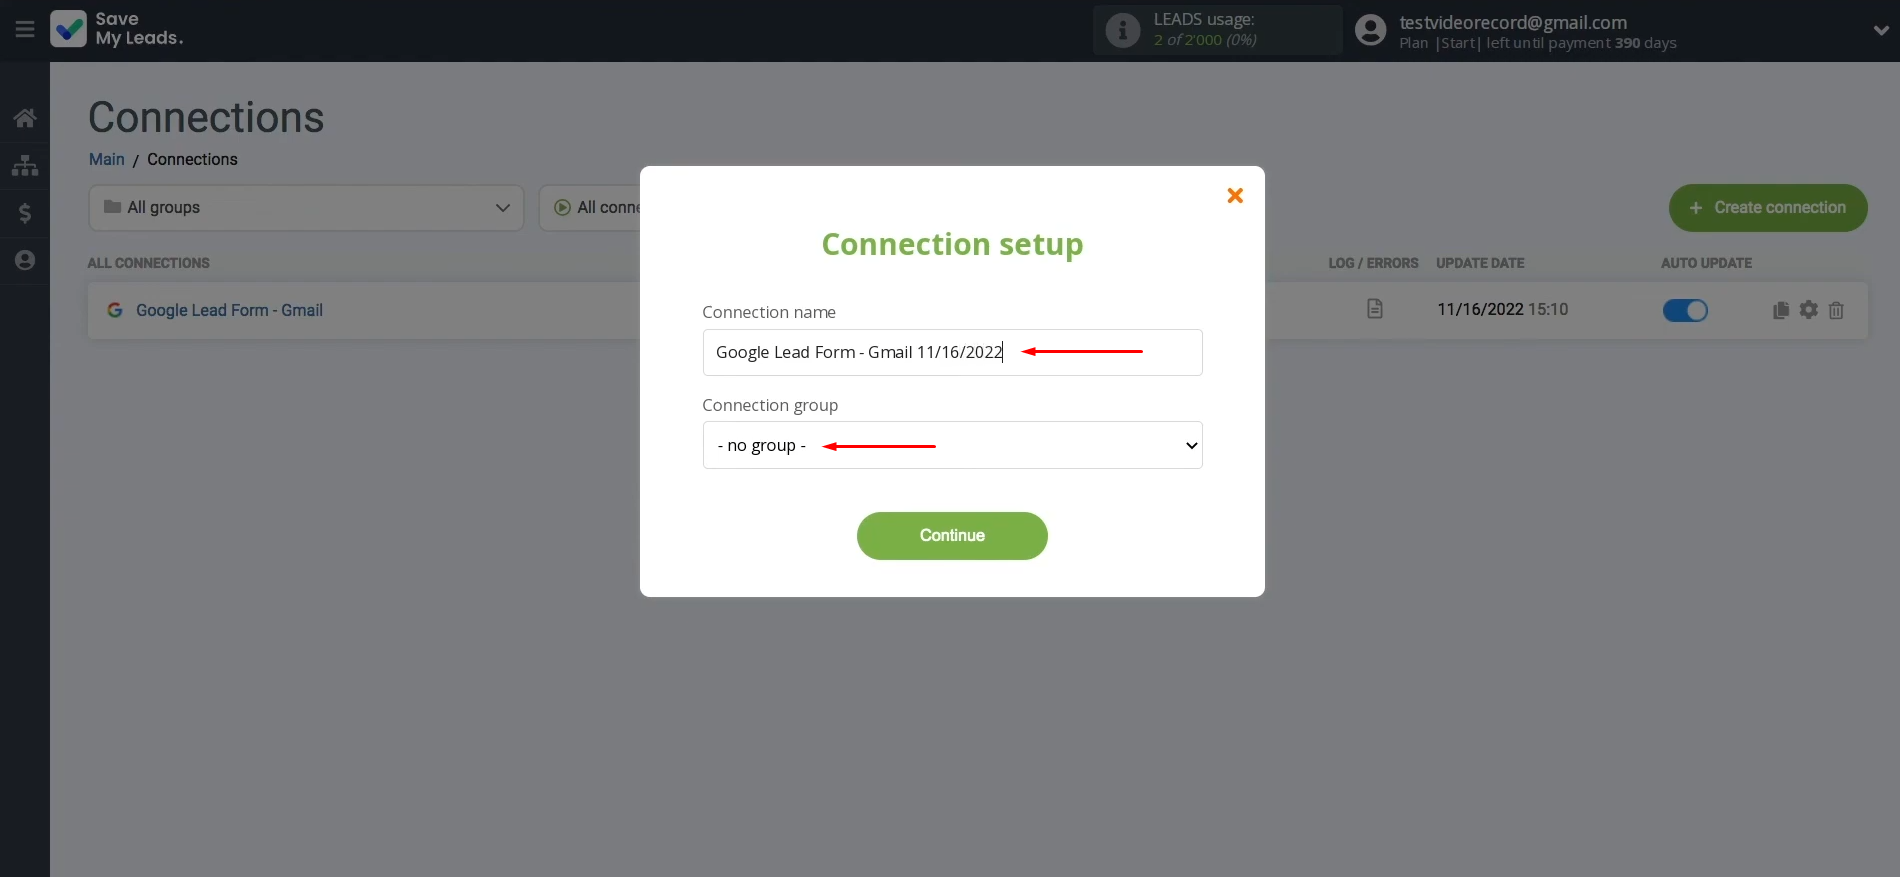
If you want to change the connection name, you can do this in the settings. Click on the gear icon.
Here, you can change the connection name and add your connection to a group. After that, click “Continue”.
That's it! Google Ads Lead Form + Gmail integration has been successfully completed.
The Core Highlights
By following our step-by-step instructions, you have likely already set up the integration and experienced its benefits — the automatic transfer of lead data. If you monitor the system’s performance closely, you’ll see that the connection between the platforms is truly reliable and functions without any issues.
Gmail + Google Lead Form integration will relieve you from one of the most tedious manual tasks by automating it. While the SaveMyLeads connector handles the routine work, you'll be free to focus on other important tasks. Now, you'll have more time to enhance communication with clients, develop new marketing strategies, or work on other crucial aspects of your business. Workflow automation will not only modernize your operations but will also help elevate your business to a new level.
Step-by-Step Guides for Setting Up Integrations:
- Google Lead Form and Slack Integration: Automatically Sending Channel Notifications
- How To Connect Google Lead Form to Airtable
- How to Send Slack Channel Notifications from New Facebook Leads
- How To Connect Google Lead Form Ads to Mailchimp
- Google Lead Form and Trello Integration: Automatic Lead Transfer
