To send SMS to your leads from Facebook, integrate it with the Infobip service in 5 minutes without the help of programmers and knowledge in development, API requests using the SaveMyLeads online service and system connector.
Content:
1. How to set up Facebook and Infobip integration
2. Connect Facebook Leads Ads
3. Connect Infobip
4. Automate data update
5. Conclusion
The need to quickly send messages to your potential buyers arises in different types of business. In online trading, this is a very important stage, on which it largely depends whether your lead client becomes a client or goes to competitors. Network users need a quick, almost instantaneous response to their requests. And we are talking not only about orders, but also about the questions they ask.
If this is not happening, the lead quickly burns out. Most online shopping is done on an emotional high. And if, immediately after contacting you, the client receives the message “Your request is already being processed”, “We have received your question and will respond within an hour”, this will significantly increase the chances that the lead will become your buyer. To realize these opportunities, you need to connect (integrate) the work of the Facebook advertising account with the SMS service, for example, Infobip.
How to set up Facebook and Infobip integration
To connect the work of these systems via API, you need to be able to send API requests and work with the API protocol, so a programmer can handle this task. If you do not have such a specialist in the state, then you can hire him for outsourcing.
This, on the one hand, additional costs of both time and money, and on the other hand, makes the business dependent on the services of a programmer: if you need to configure the integration, make a new one, you will have to contact this or another specialist every time.
To avoid all these problems, use the SaveMyLeads online connector. Using this platform, you can easily link the work of the systems you need on your own or entrust it to any employee.
Connect Facebook Leads Ads
First you need to create a new connection
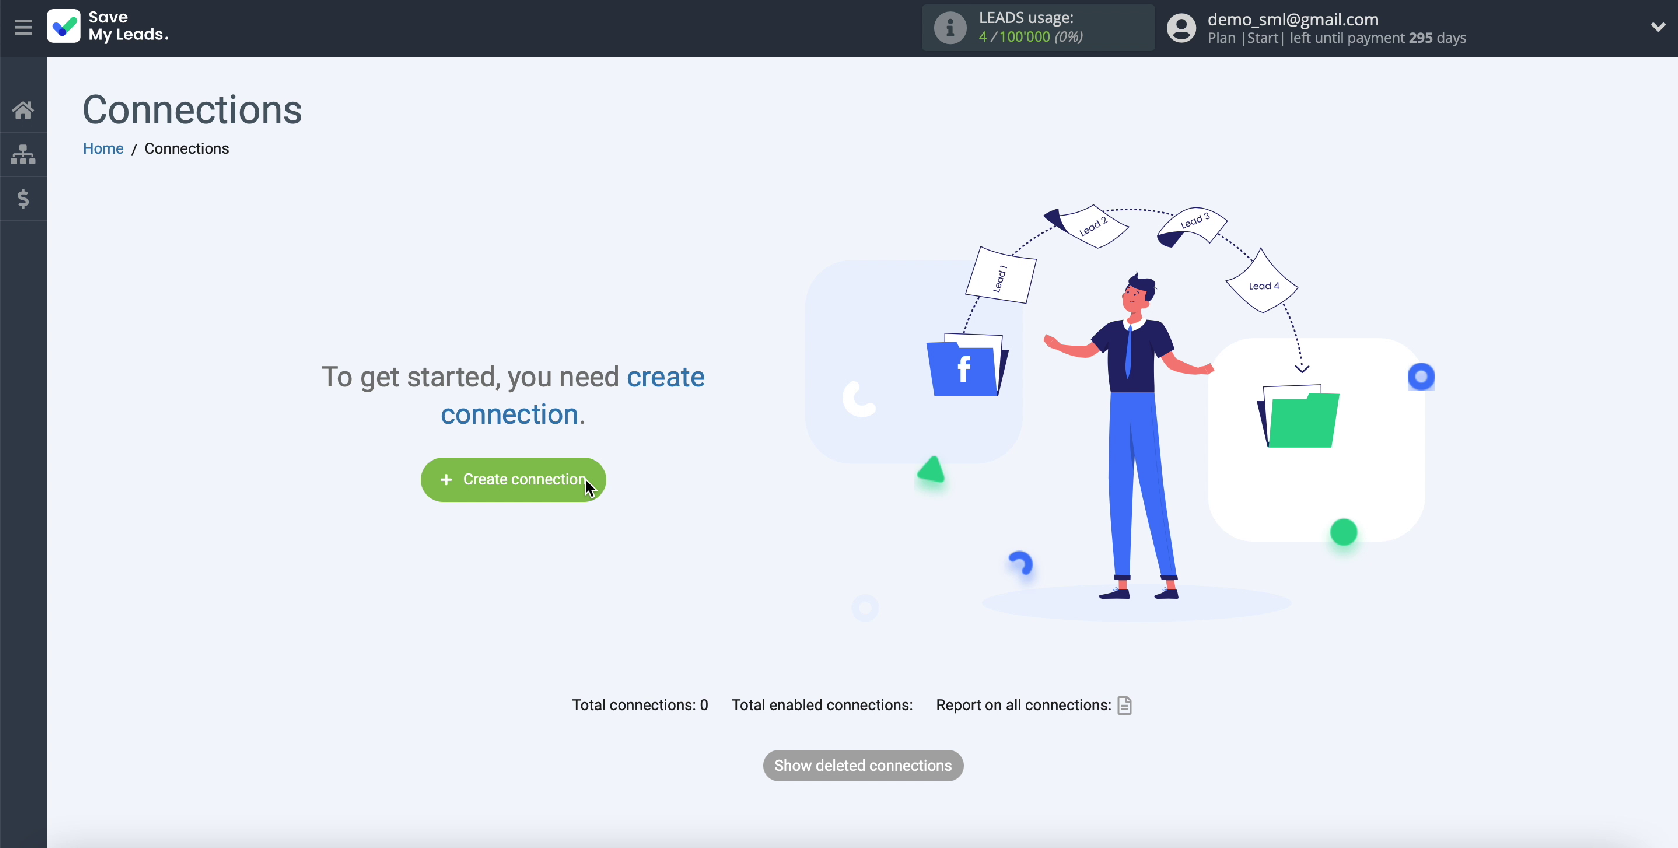
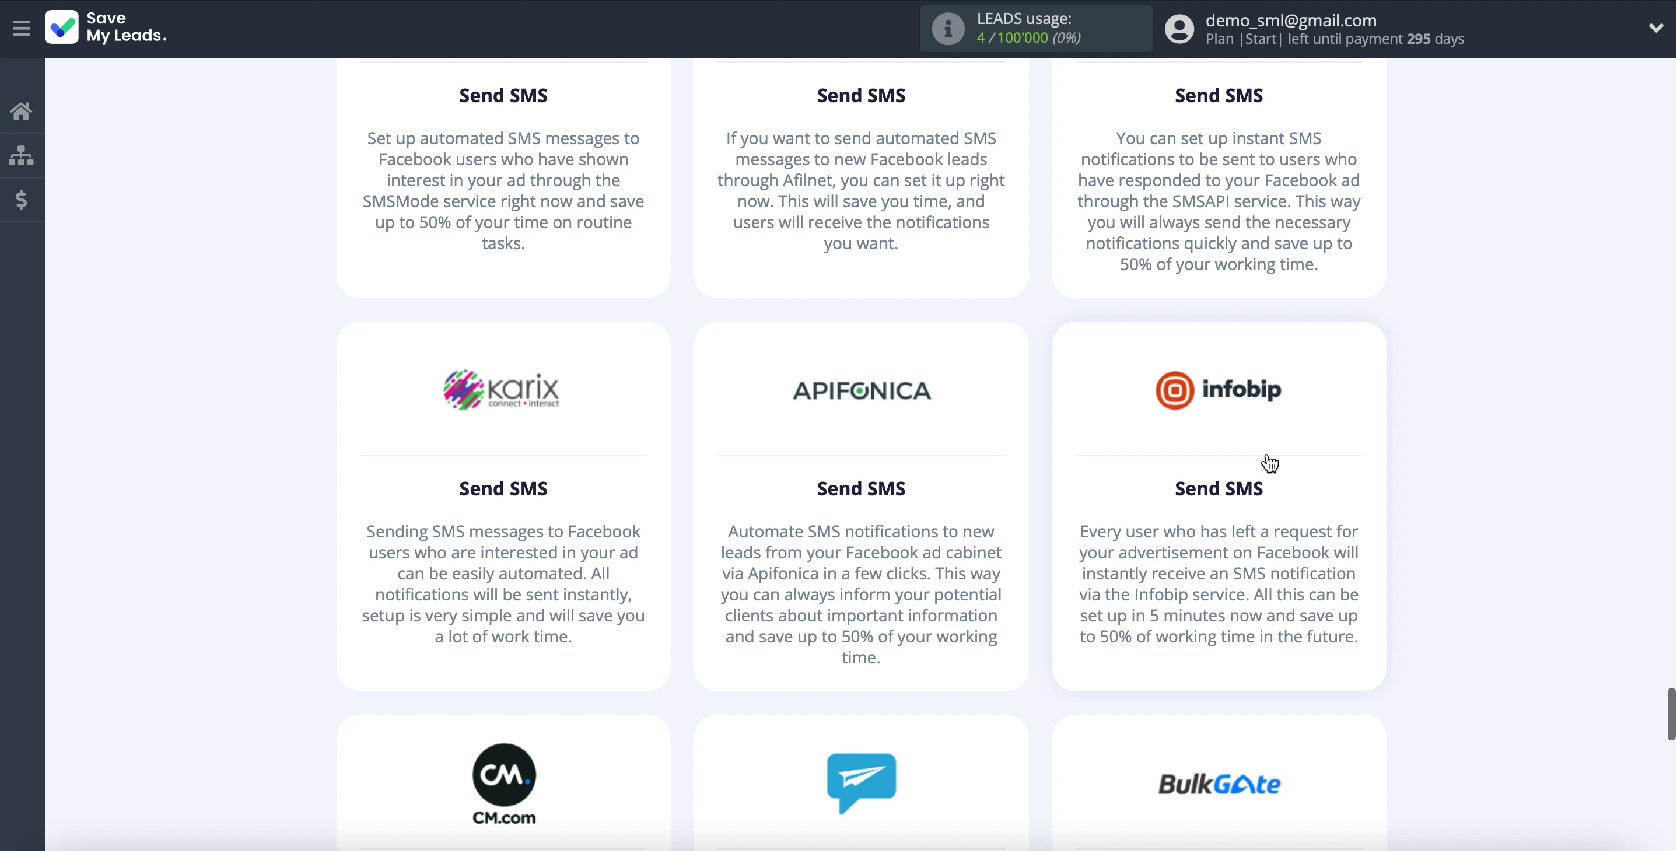
Use one of the ready-made templates for systems to which you can transfer data. Choose an Infobip system template
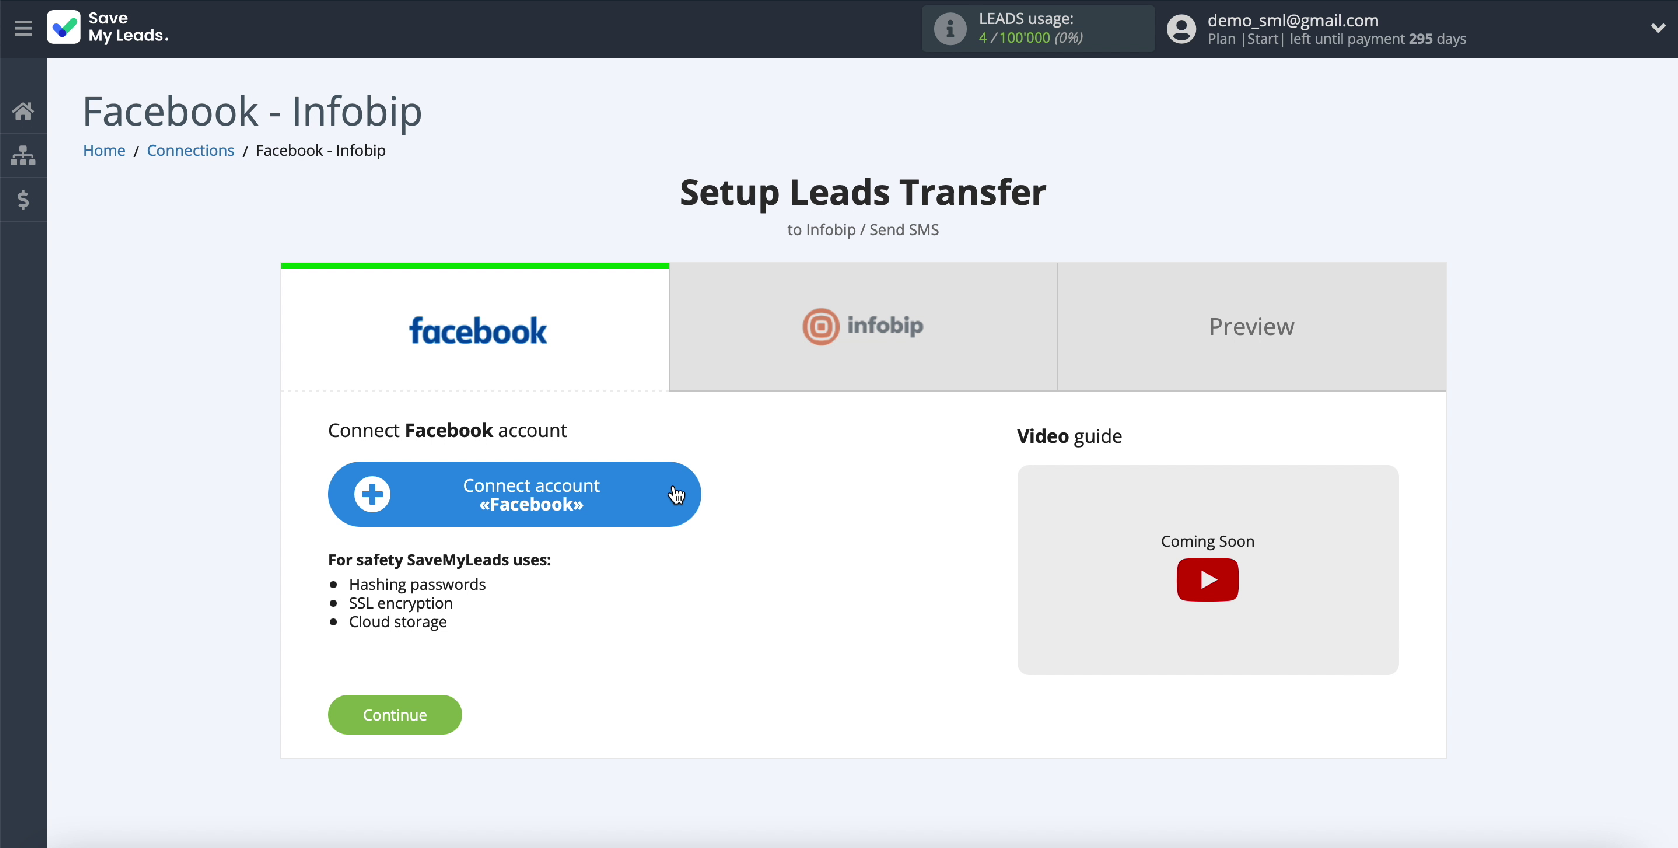
Connect your Facebook account to SaveMyLeads
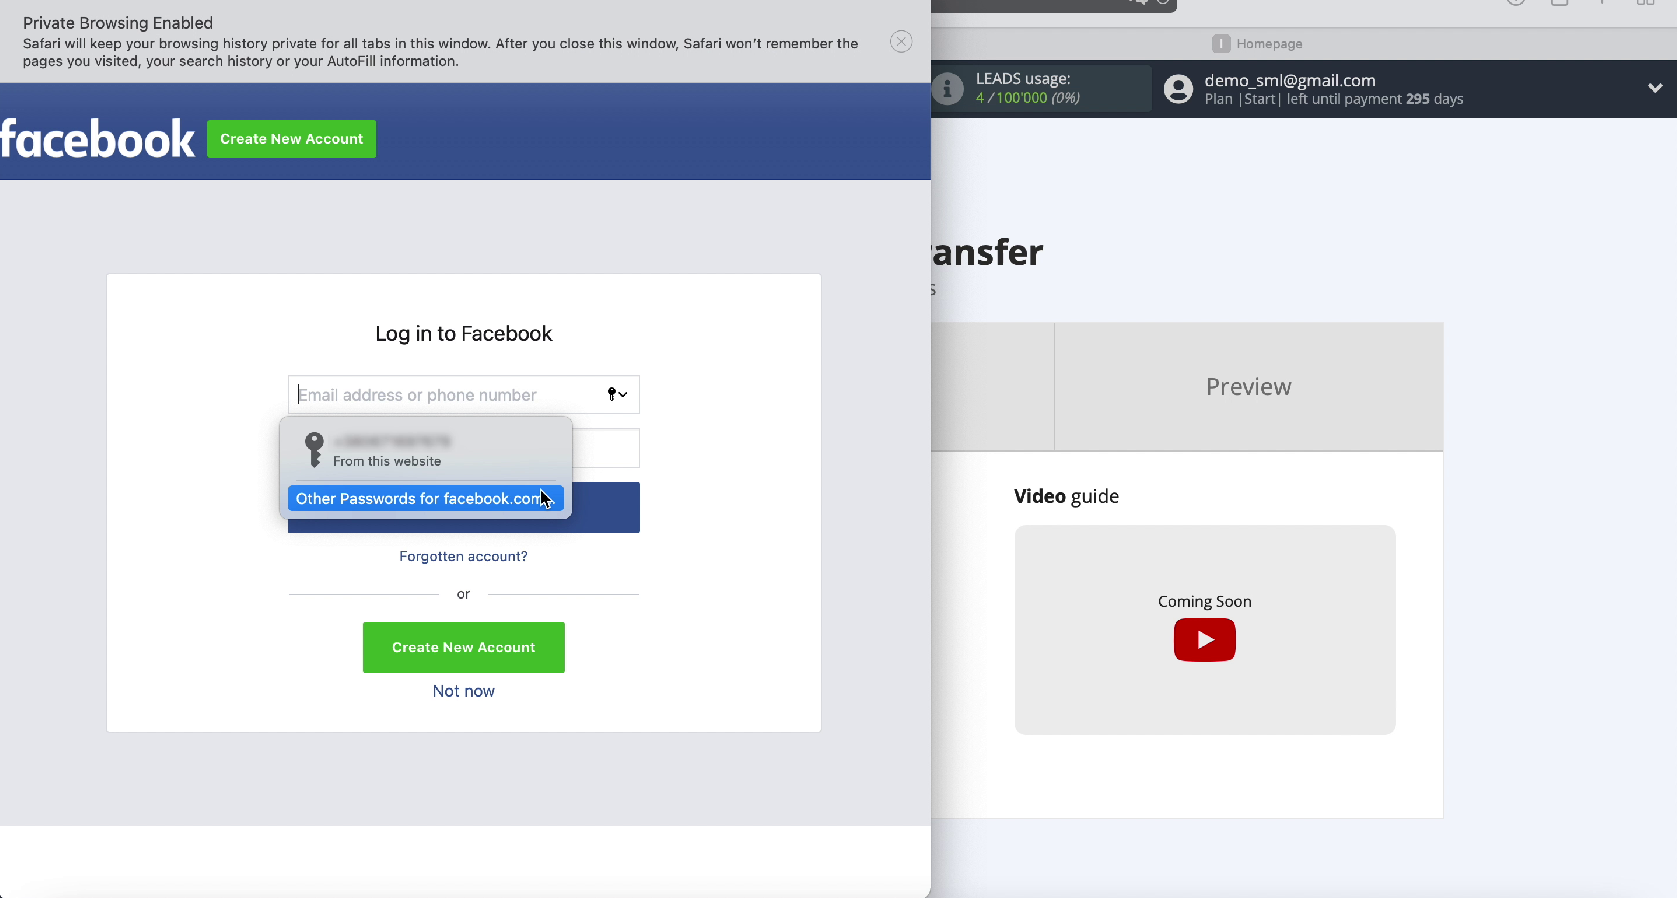
Enter your Facebook username and password
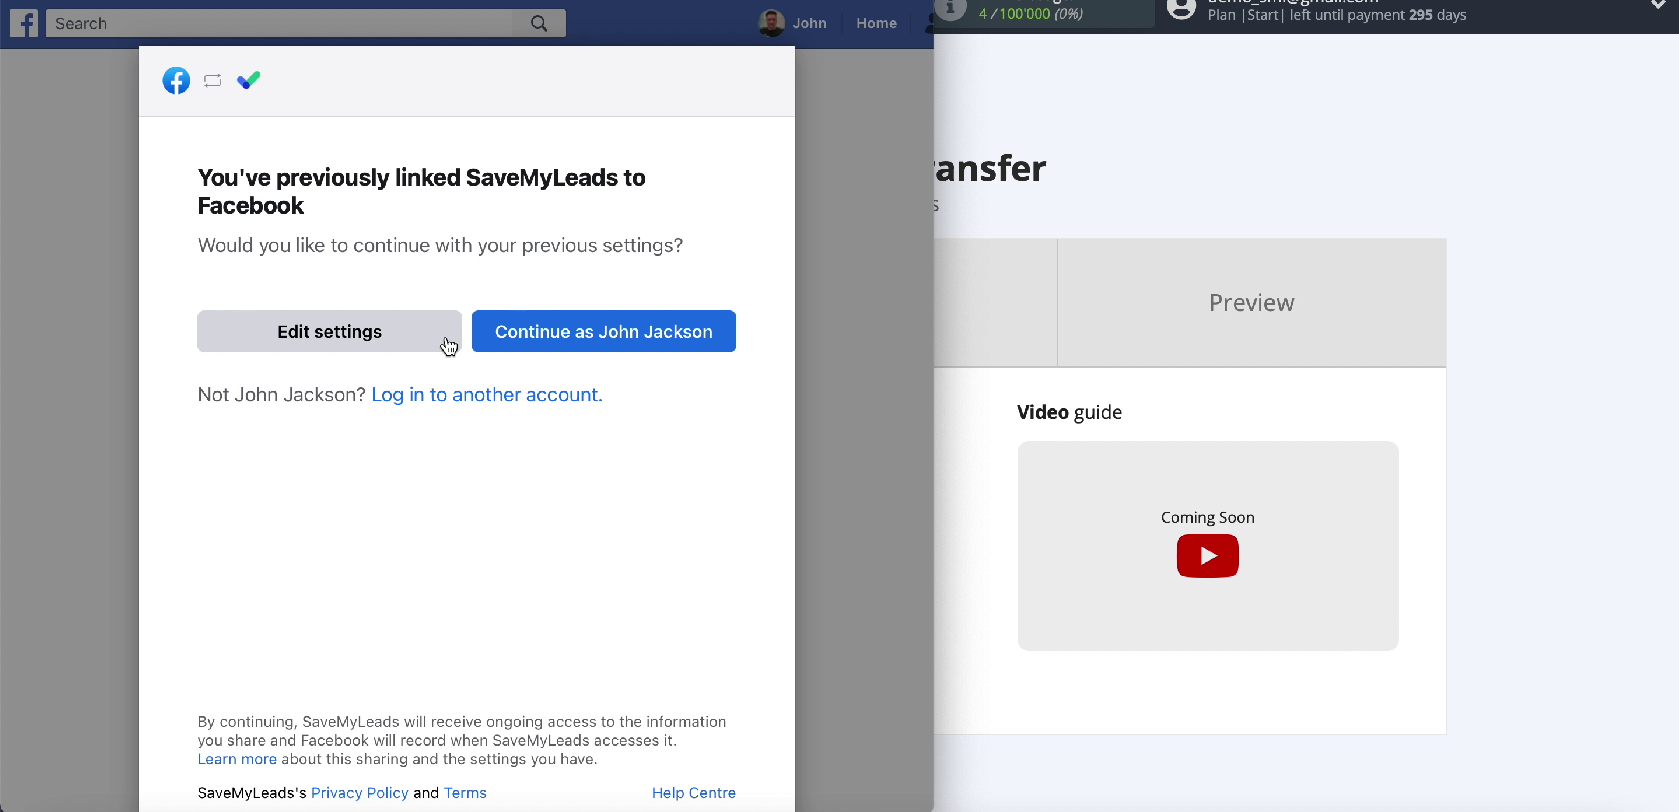
Click Edit settings
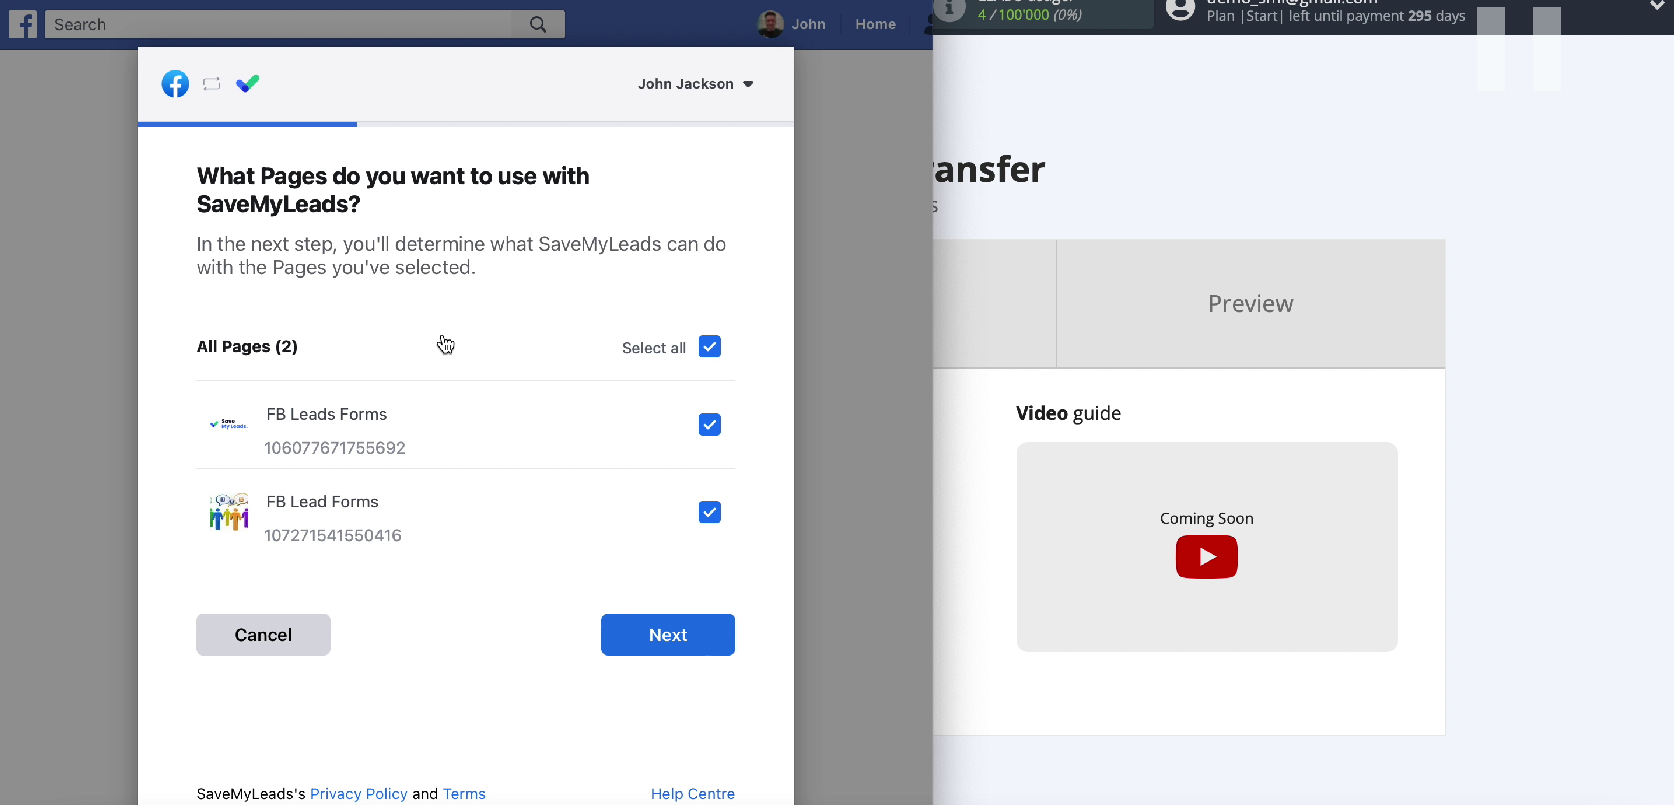
Tick all the advertising pages that you have access to in order to be able to work with them in the future
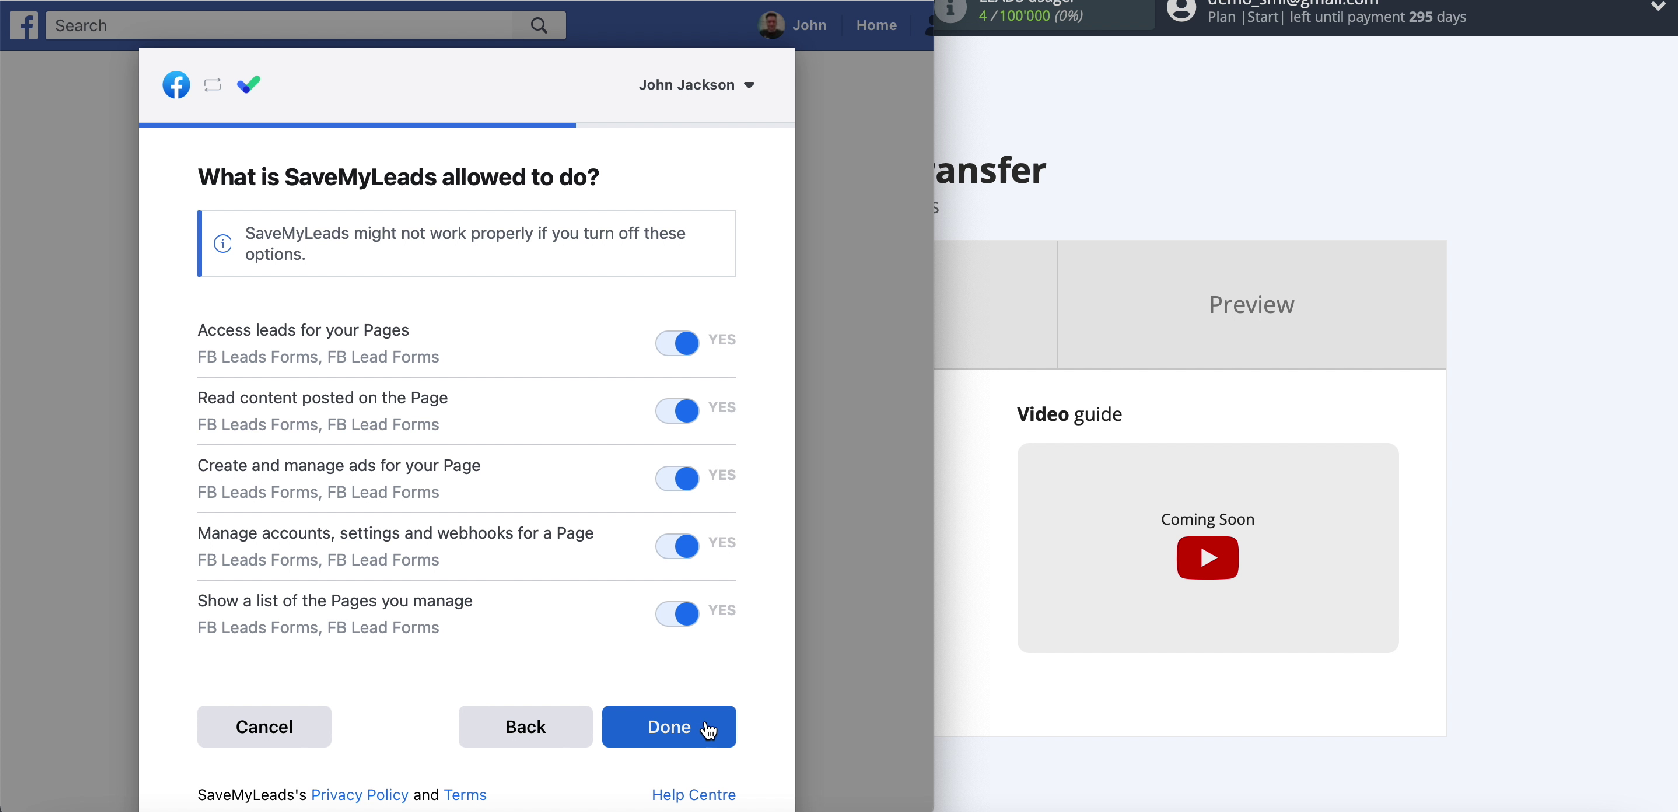
Leave all checkboxes enabled
When the connected account is displayed in the list, select it
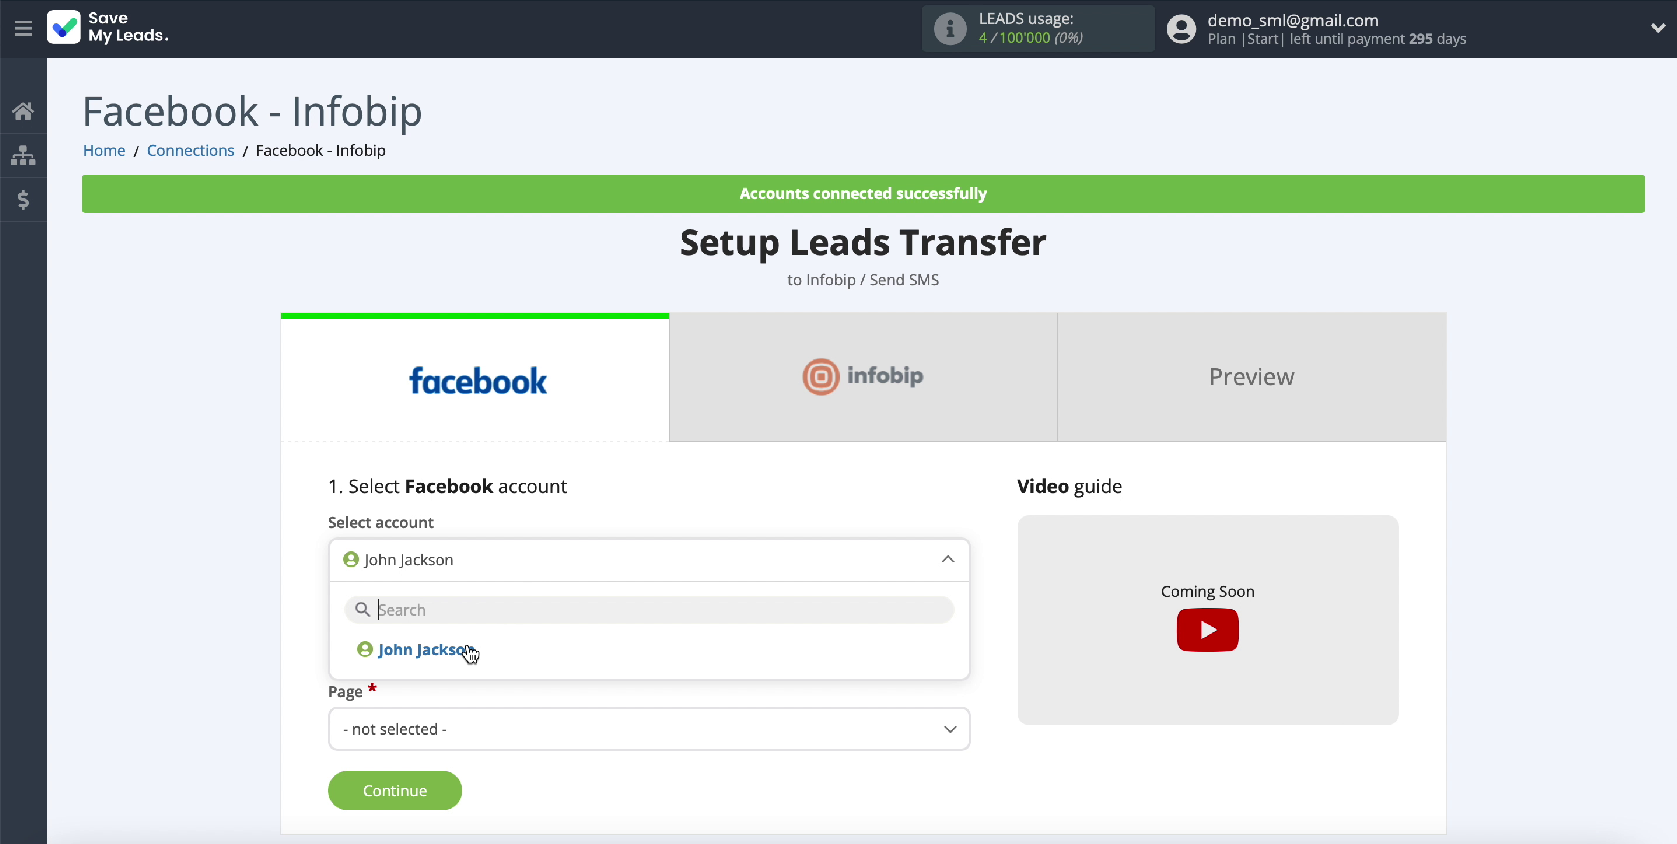
Select the ad page you want to send leads to
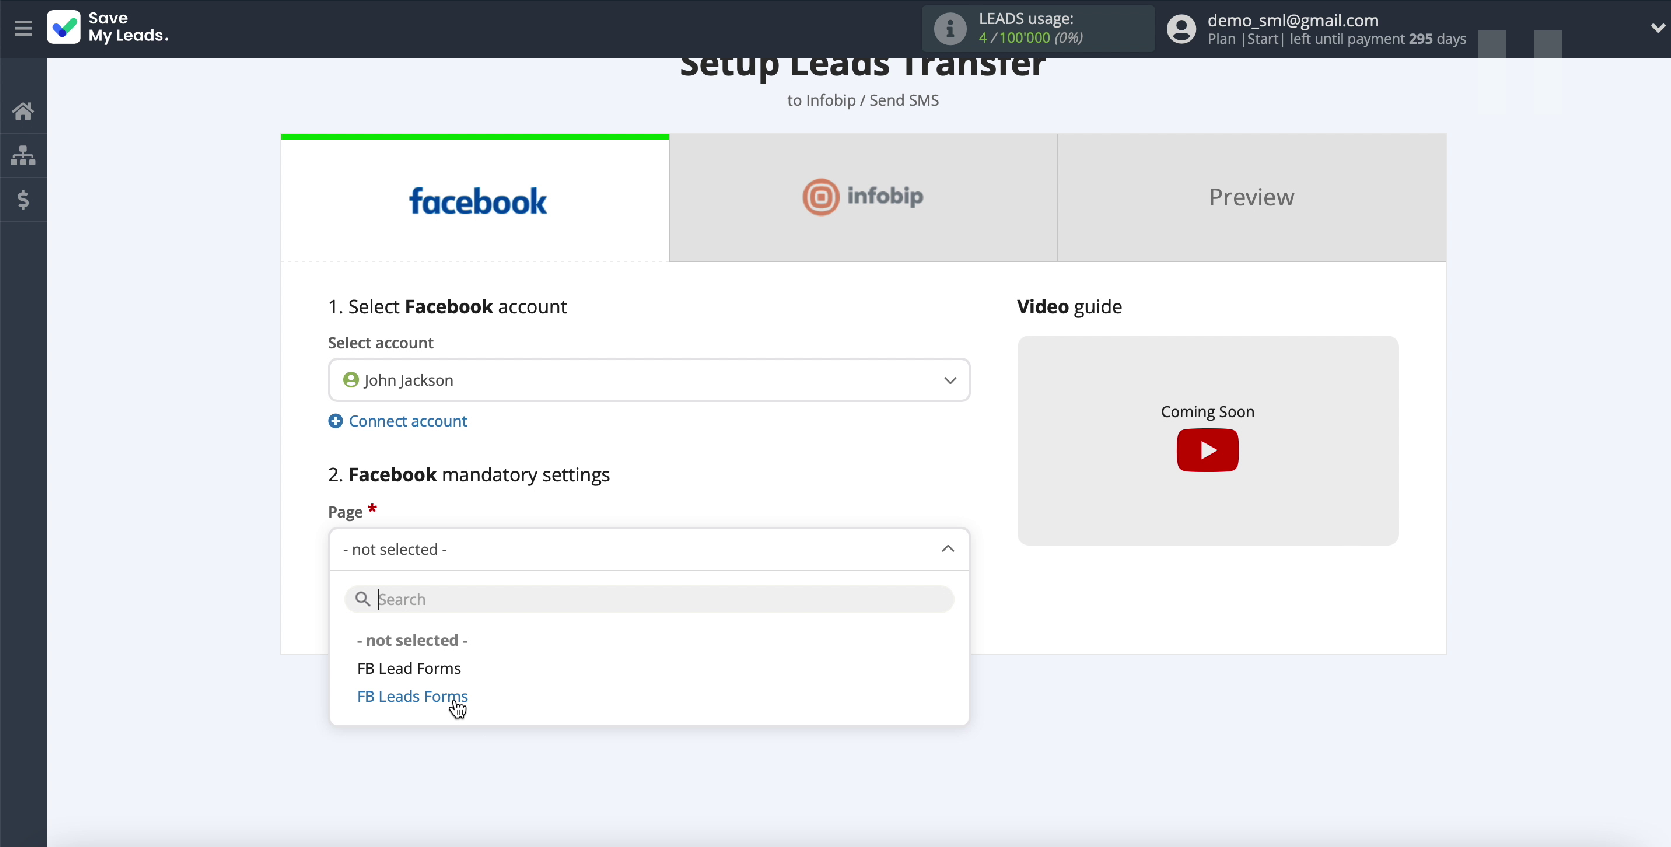
Specify the forms by which the data will be uploaded
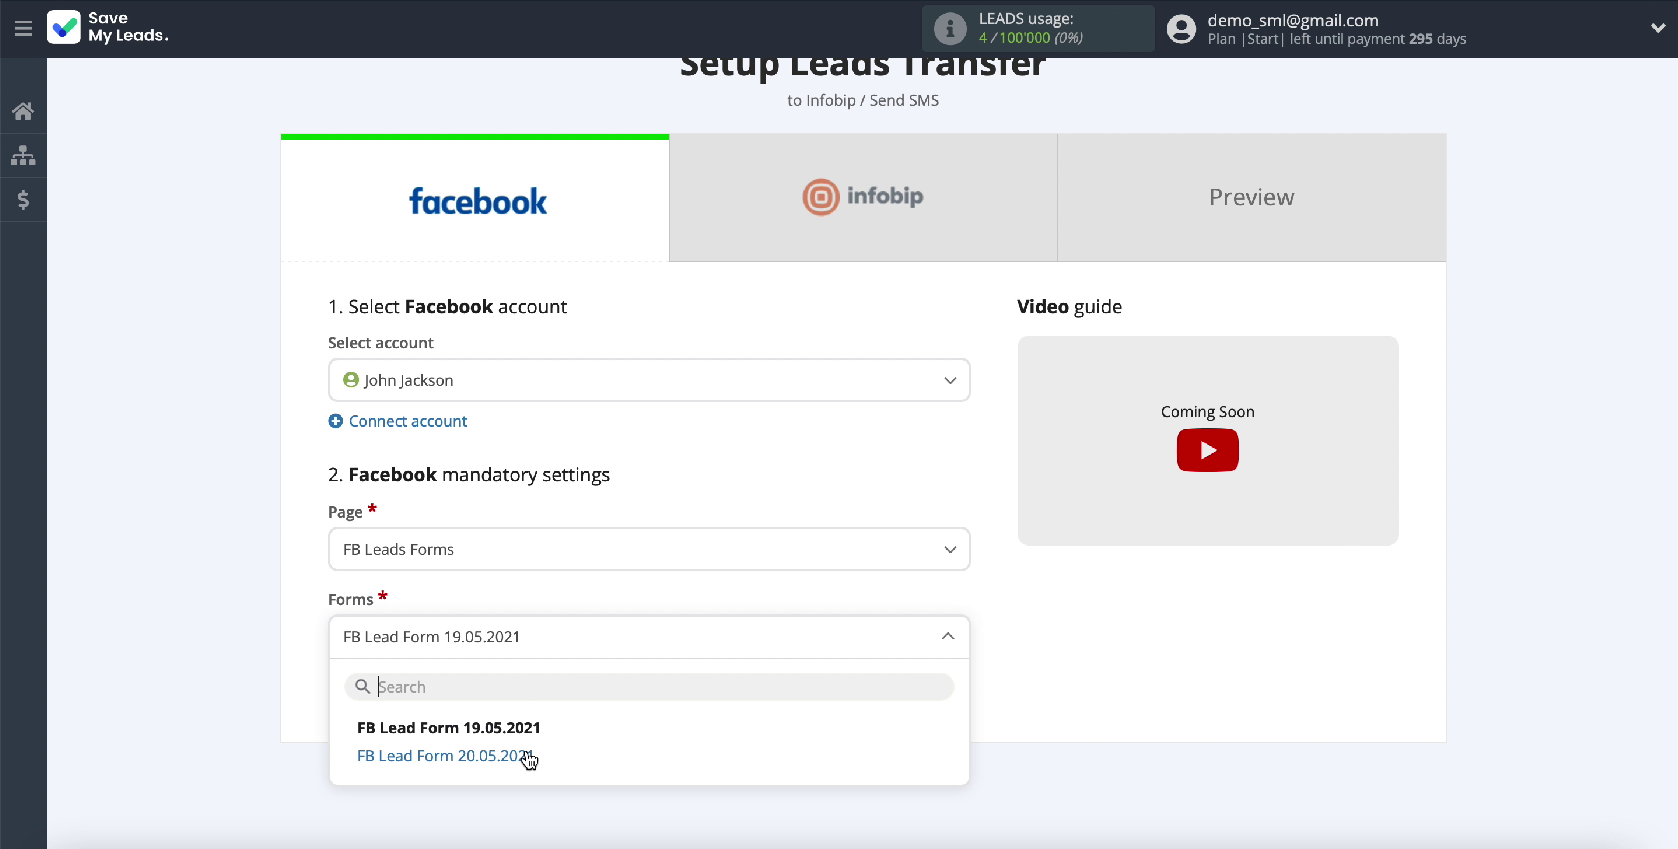
If you have several forms, you need to create a connection for each of them. Pay attention, in just a few clicks you have done half the work. In exactly the same way, you can set up a data source for any other receiving system if you want to automate the transfer of information from different systems.


This completes the Facebook data setup successfully. Let's move on to setting up the system that will accept them, in our case, this is Infobip.
Connect Infobip
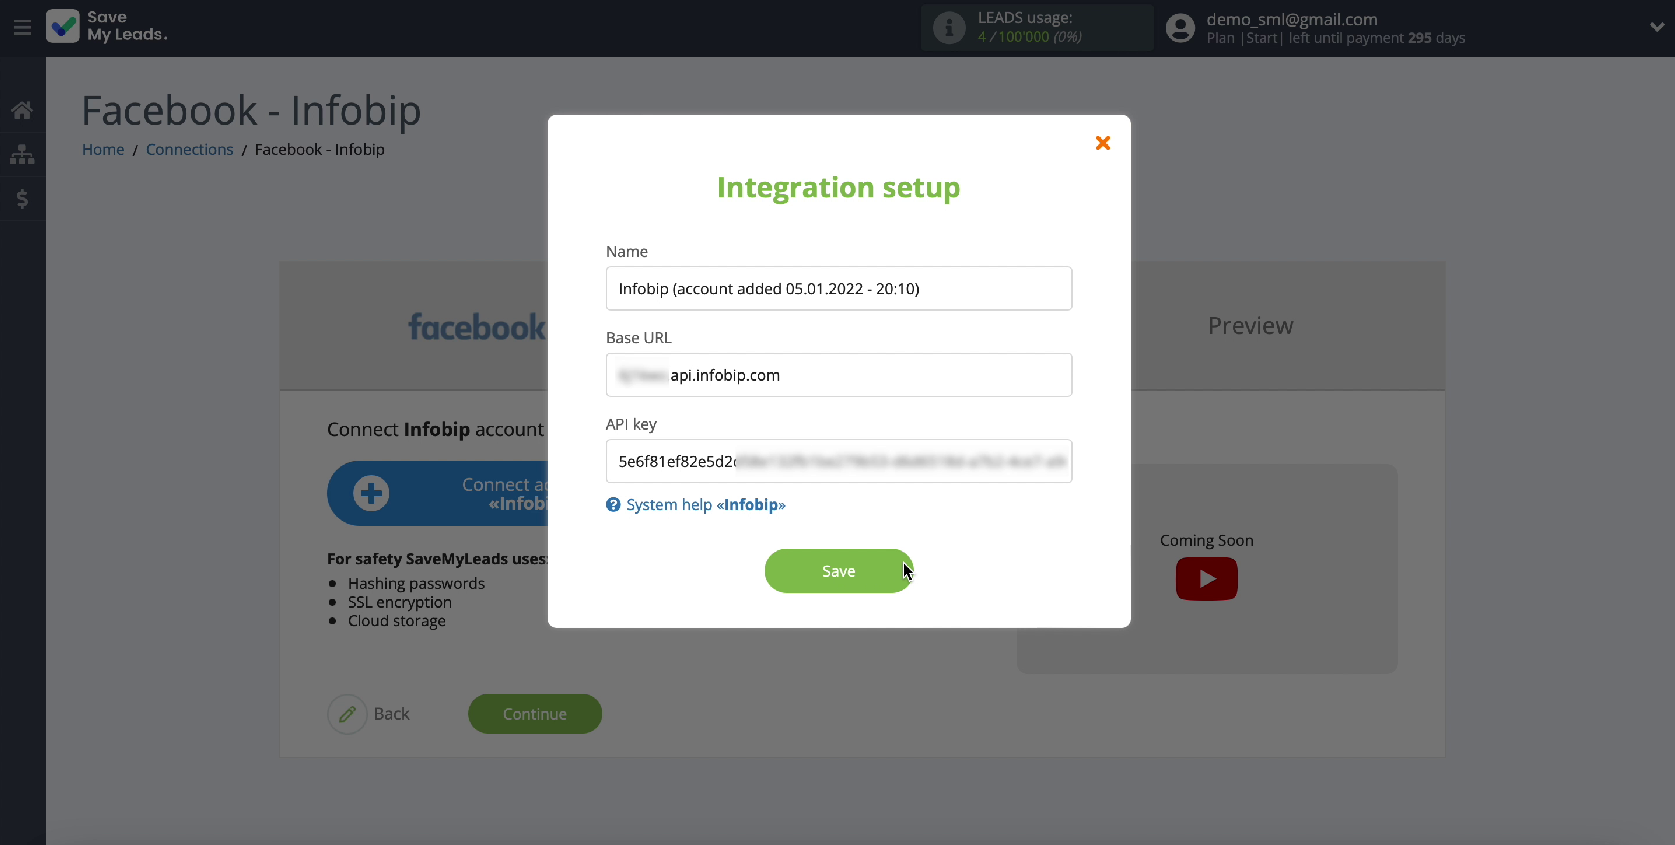
Connect your Infobip account to the SaveMyLeads service
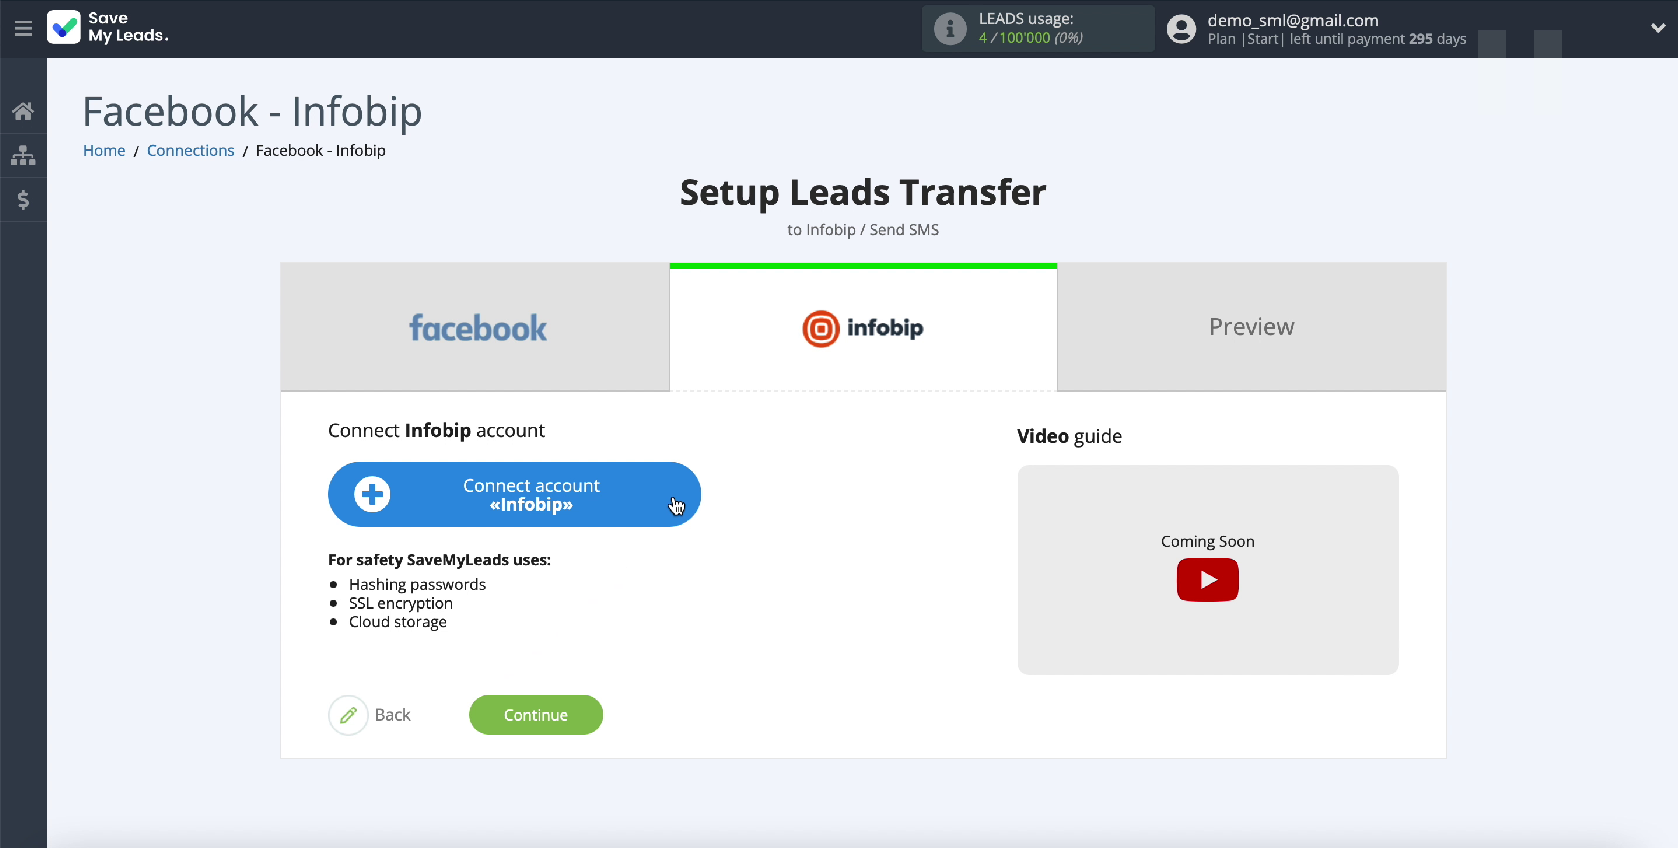
To do this, specify the URL and API Key. To get this data, go to your personal Infobip account
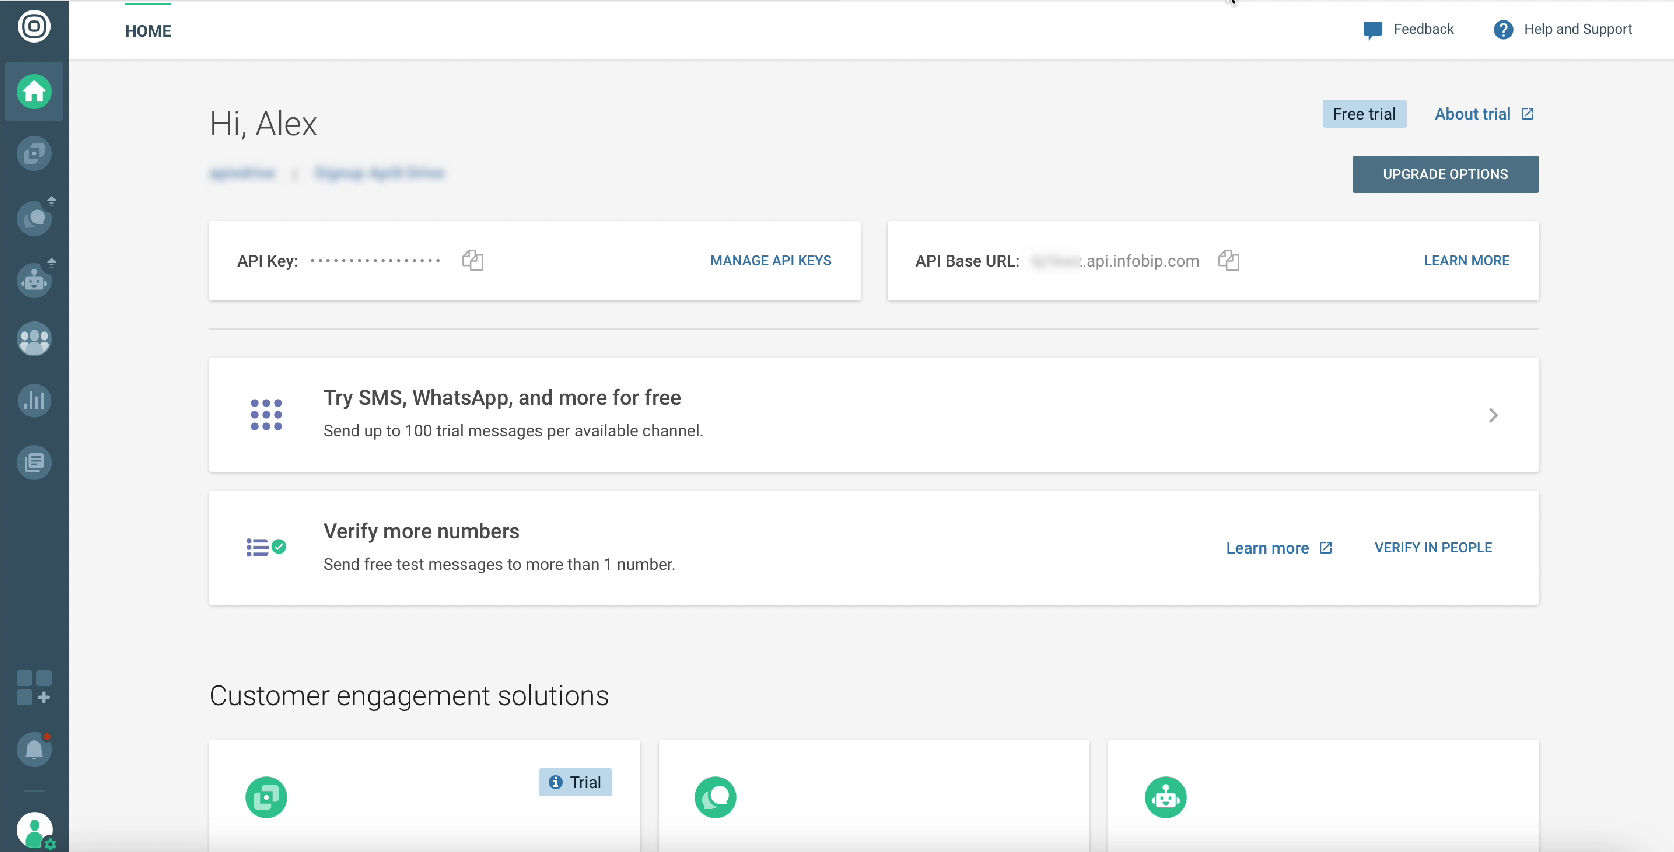
Copy the URL and paste it into the required field in the SaveMyLeads service
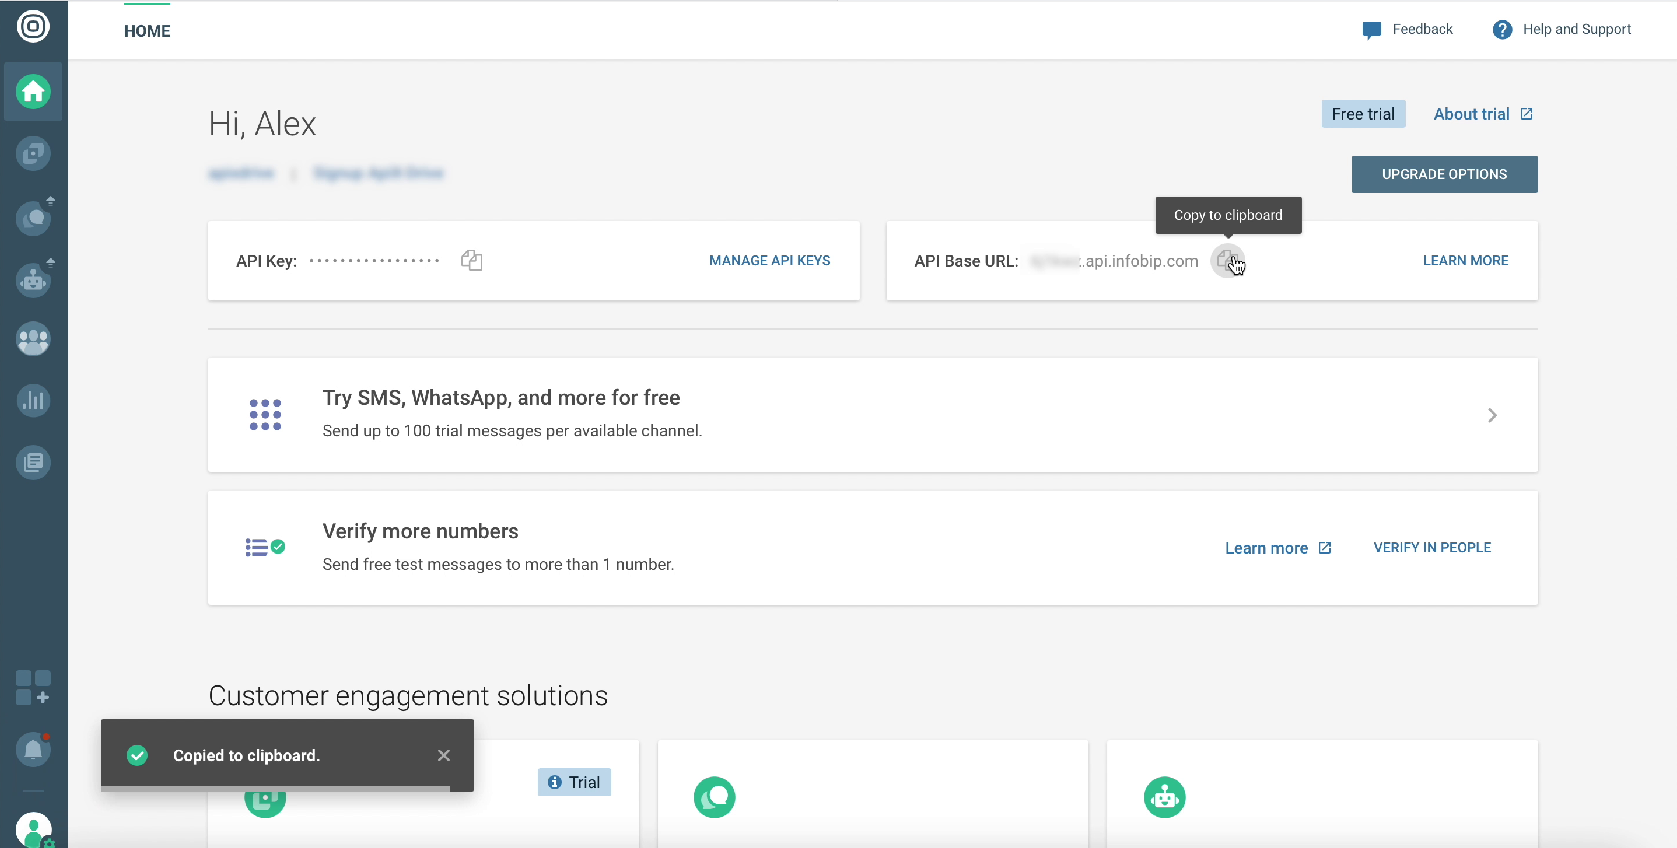
Go to API Keys Manager
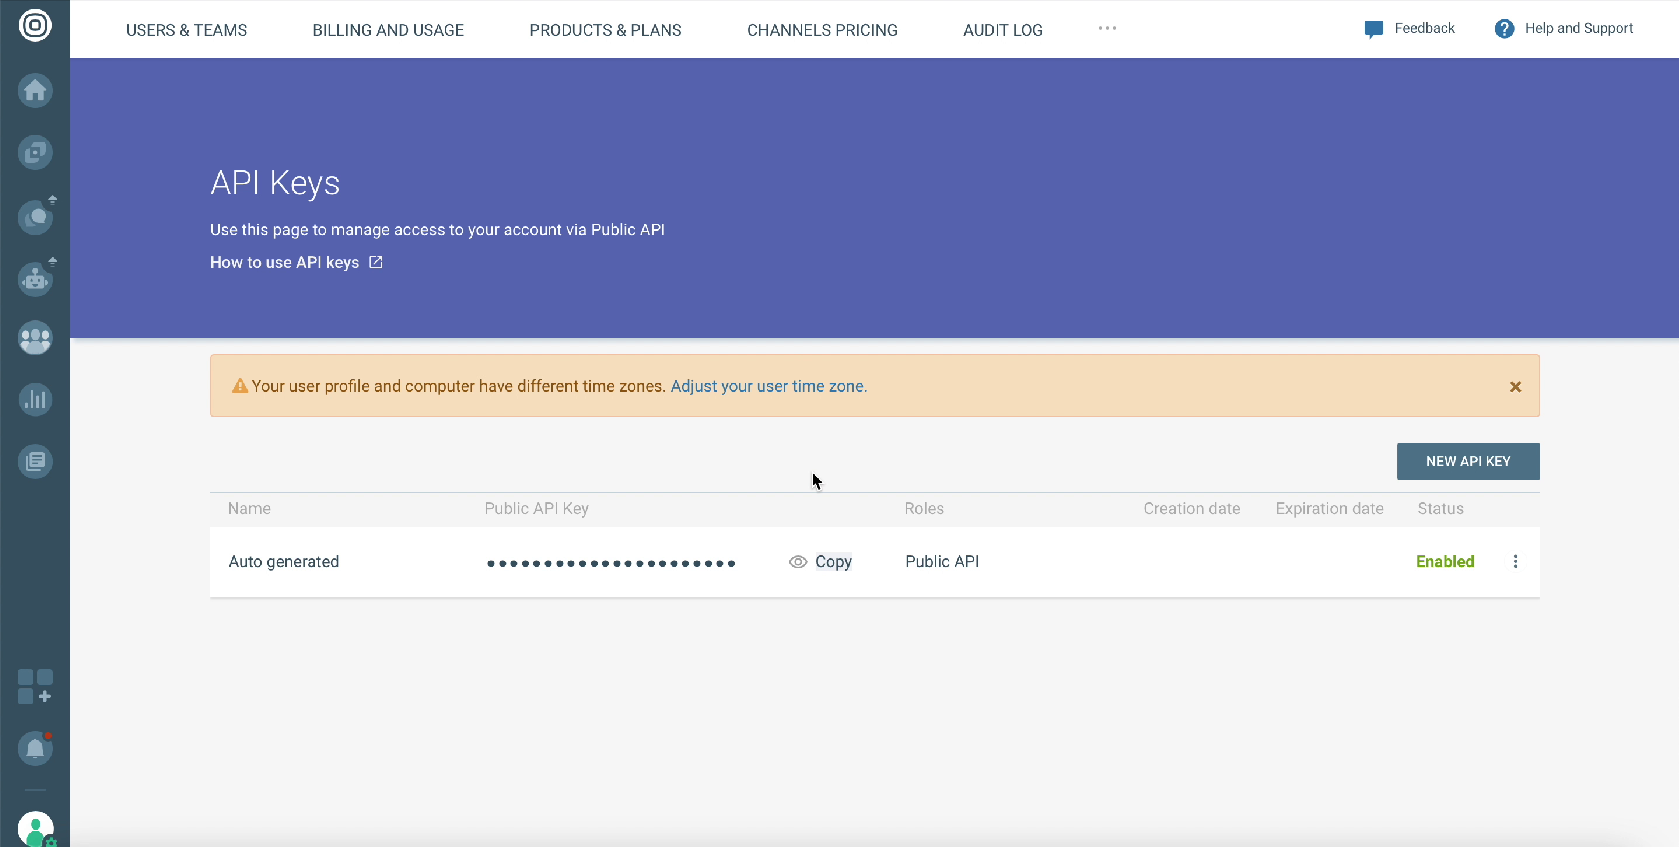
Click "Show Public API Key"
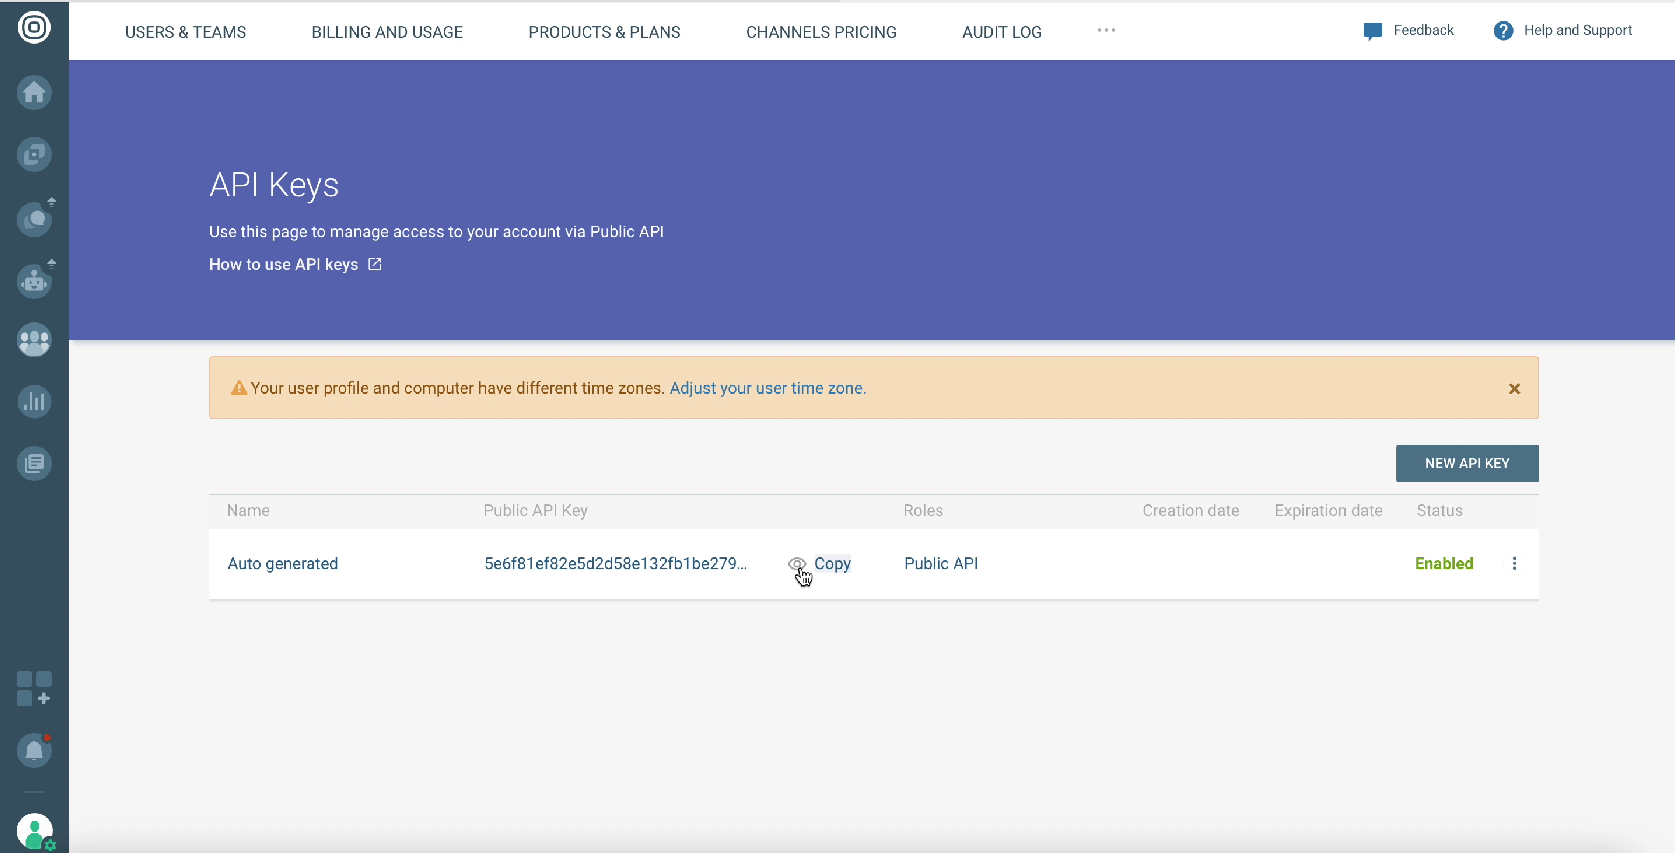
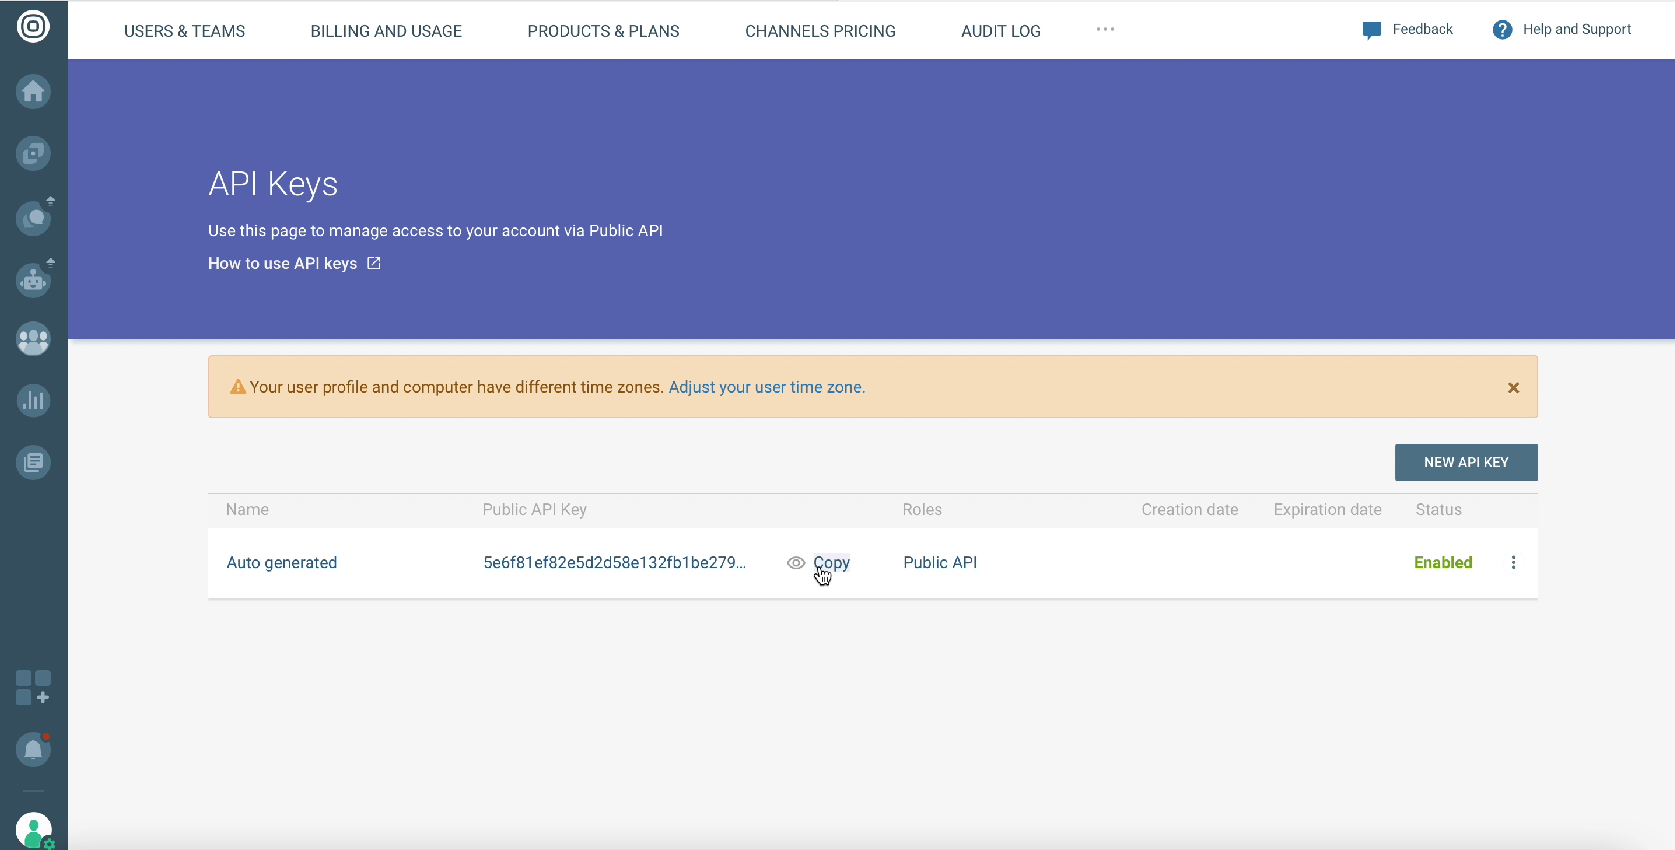
Copy this key and paste it into the required field in the SaveMyLeads service
After filling in all the fields, click Save
When the connected account is displayed in the list, select it
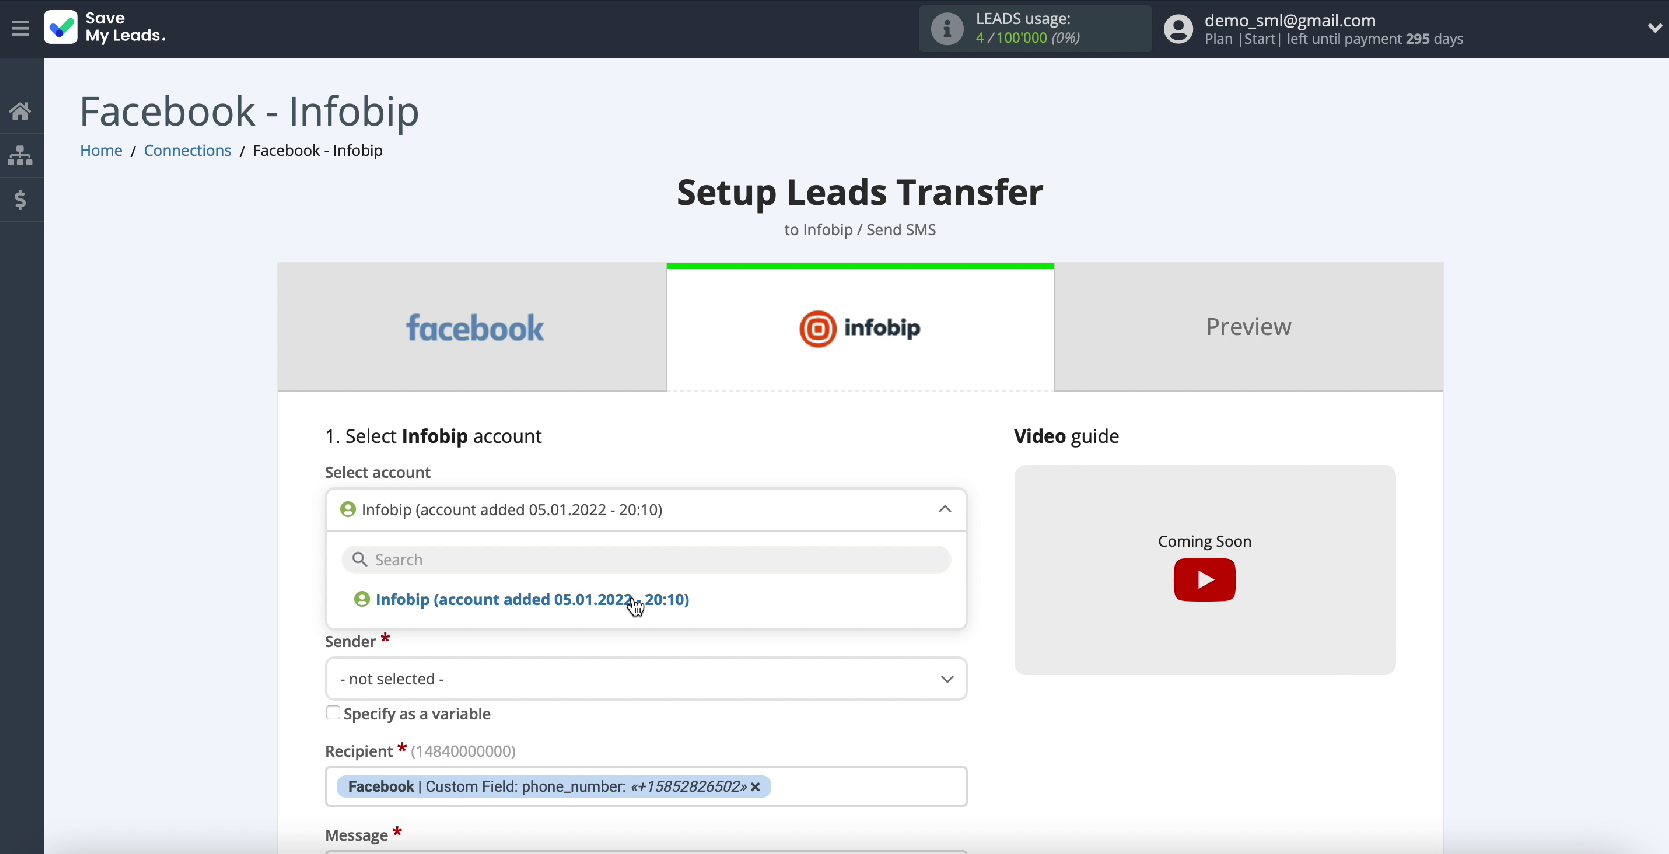
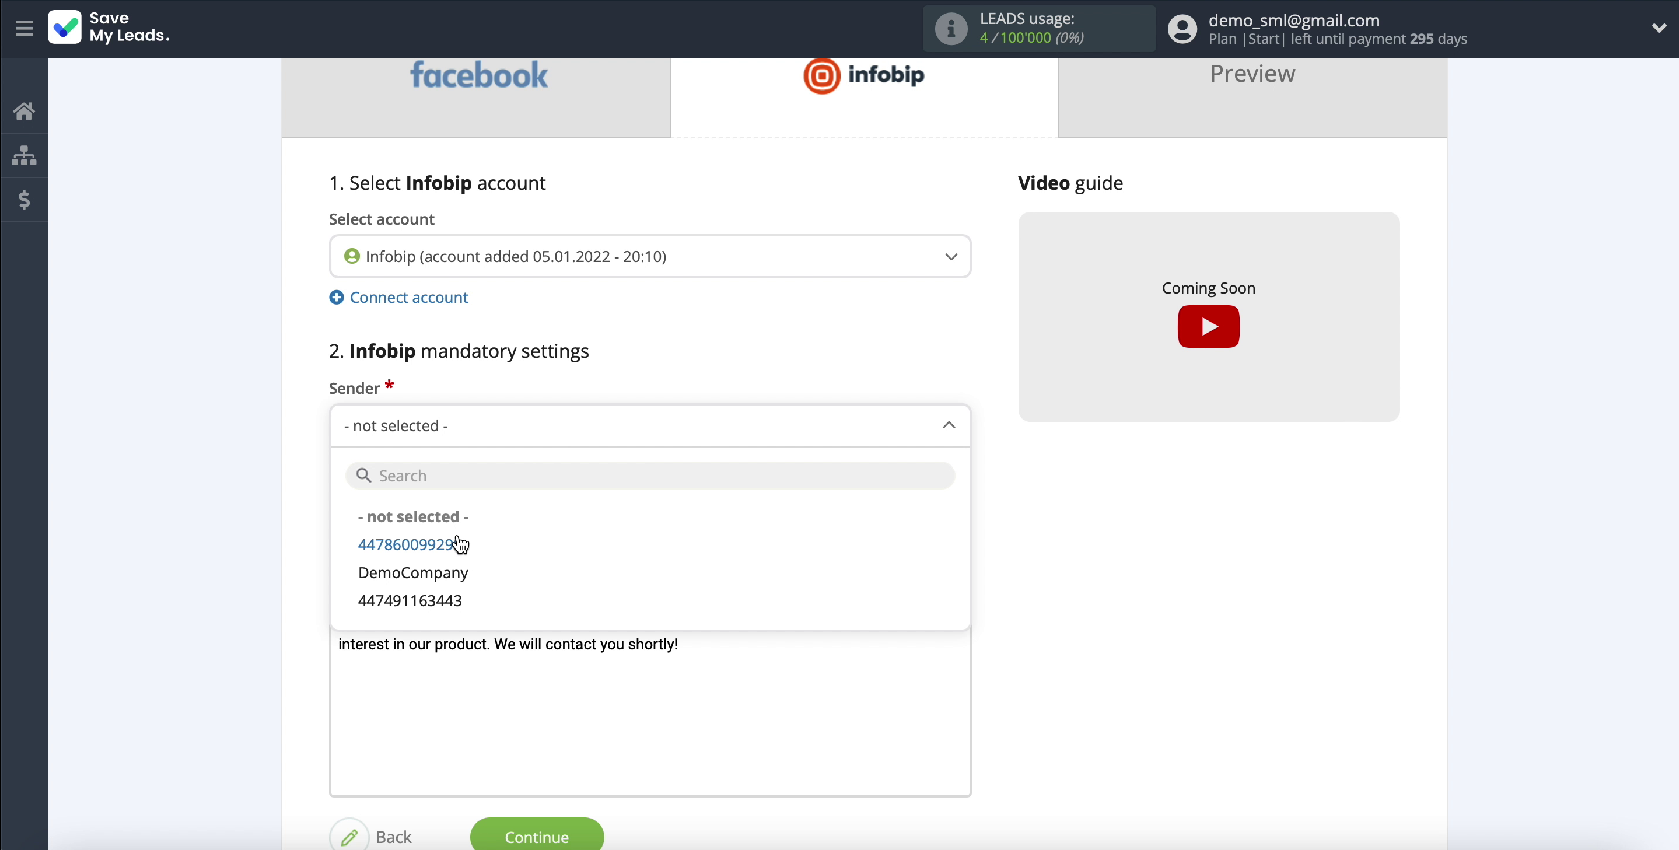
In the next window, you will see the fields that you need to fill in to send an SMS message. In the Sender field, select the sender that you previously registered in the Infobip service.
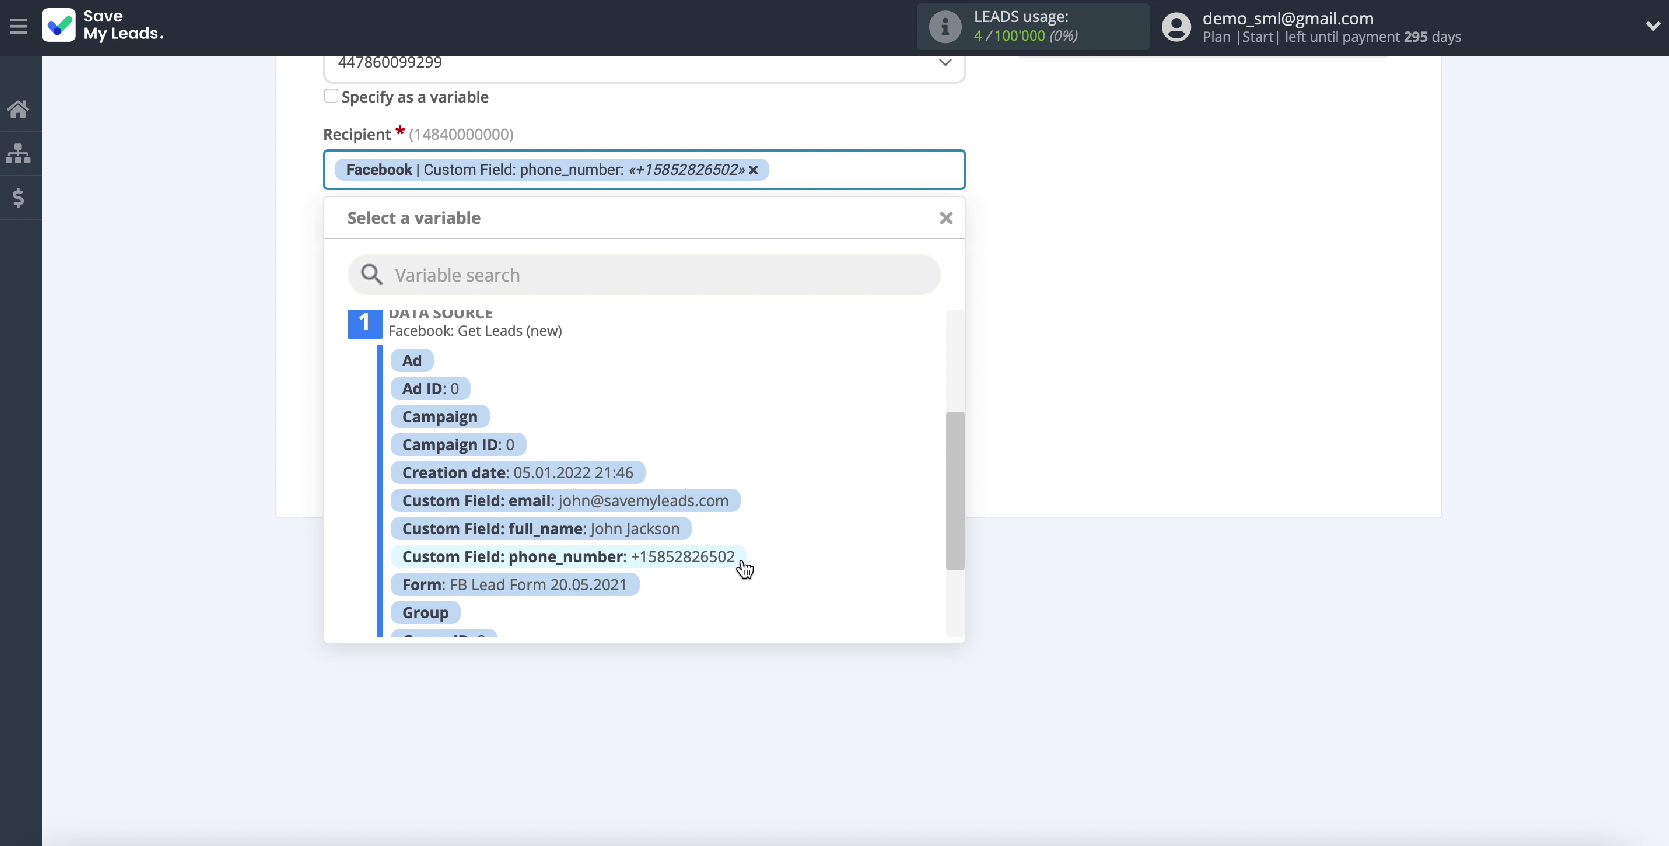
In the Recipient field, you need to assign a variable from Facebook that contains a phone number. To add a variable, click in an empty field and select it from the dropdown list.
In the Message field, write the text of the SMS message using a variable from Facebook, for example, the client's name. You can optionally write the text by hand or use variables. In this form, the SMS message will be sent to leads from Facebook who will show interest in your advertisement.
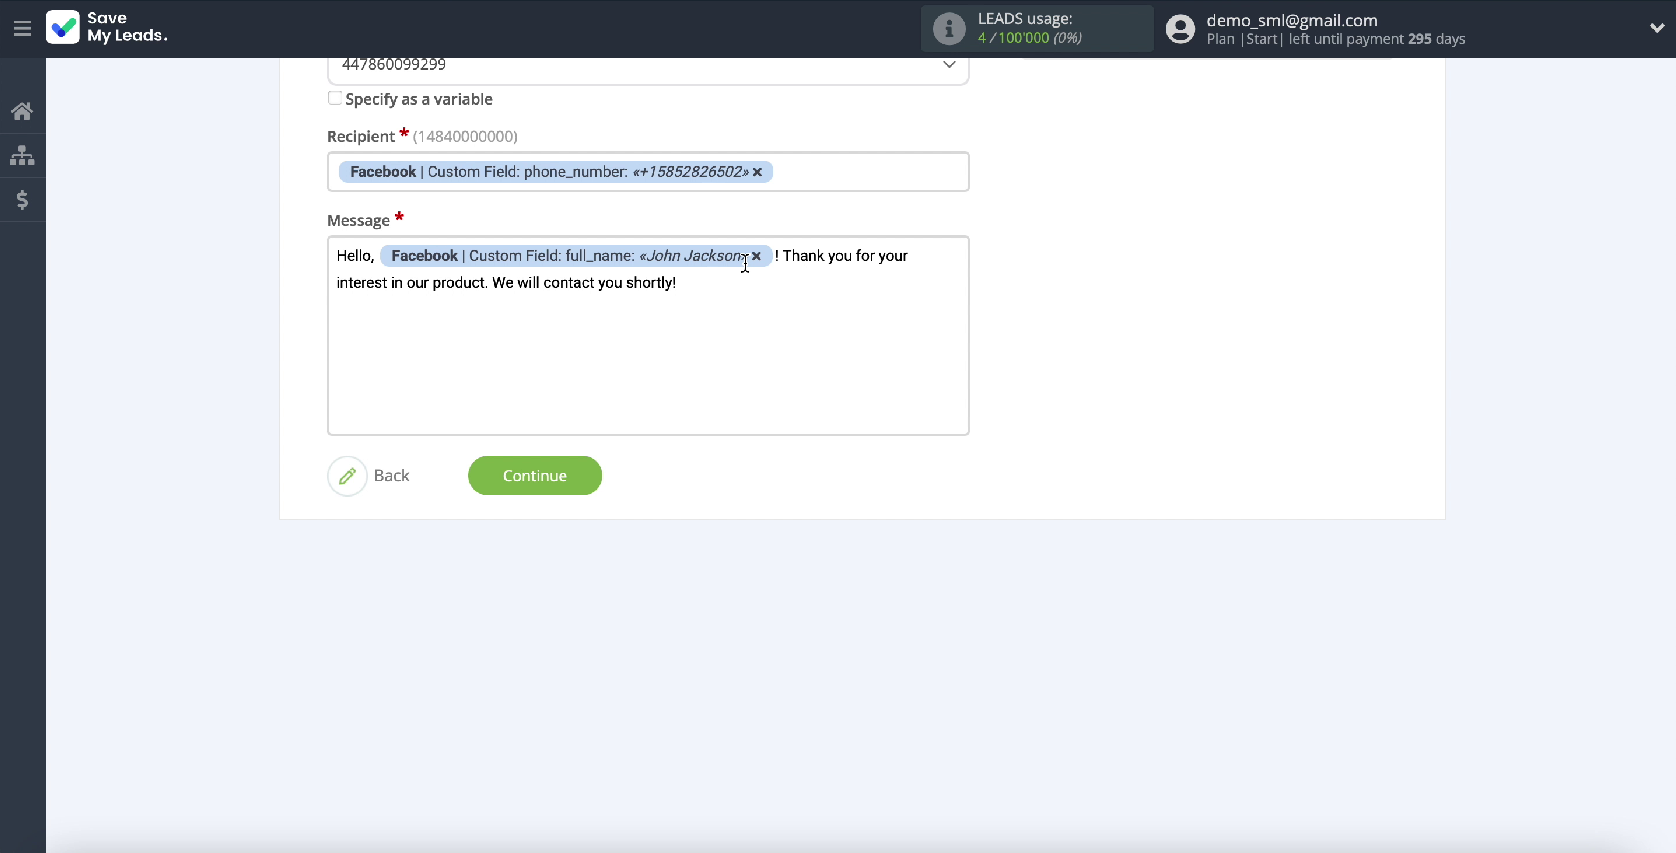
It also happens that the default settings are suitable, in which case you can leave them unchanged.
When all required fields are filled in, click Continue
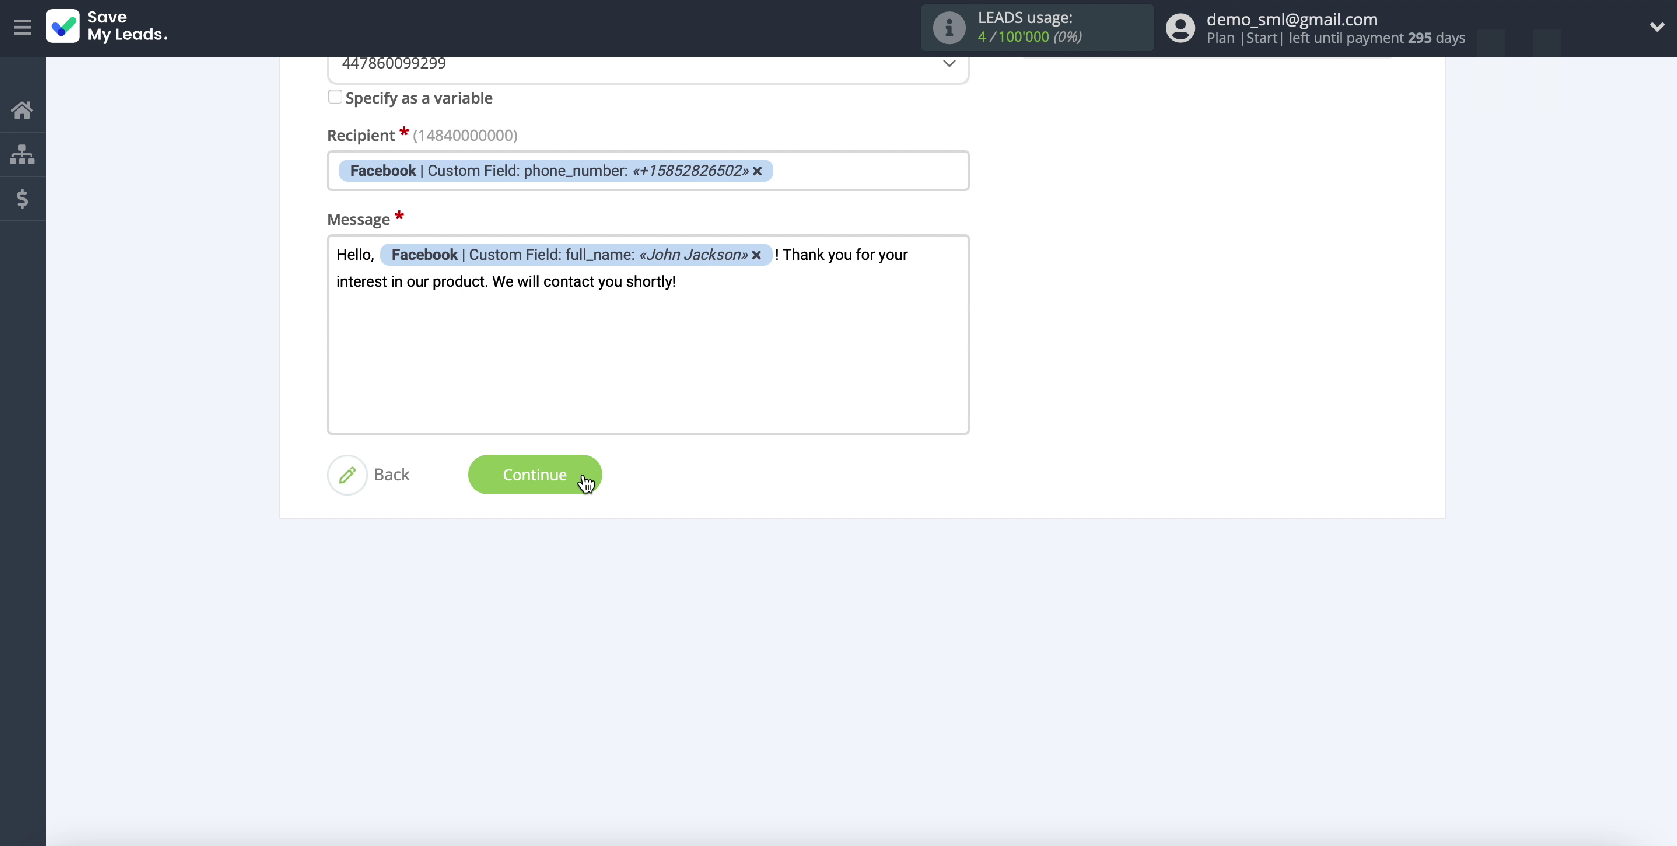
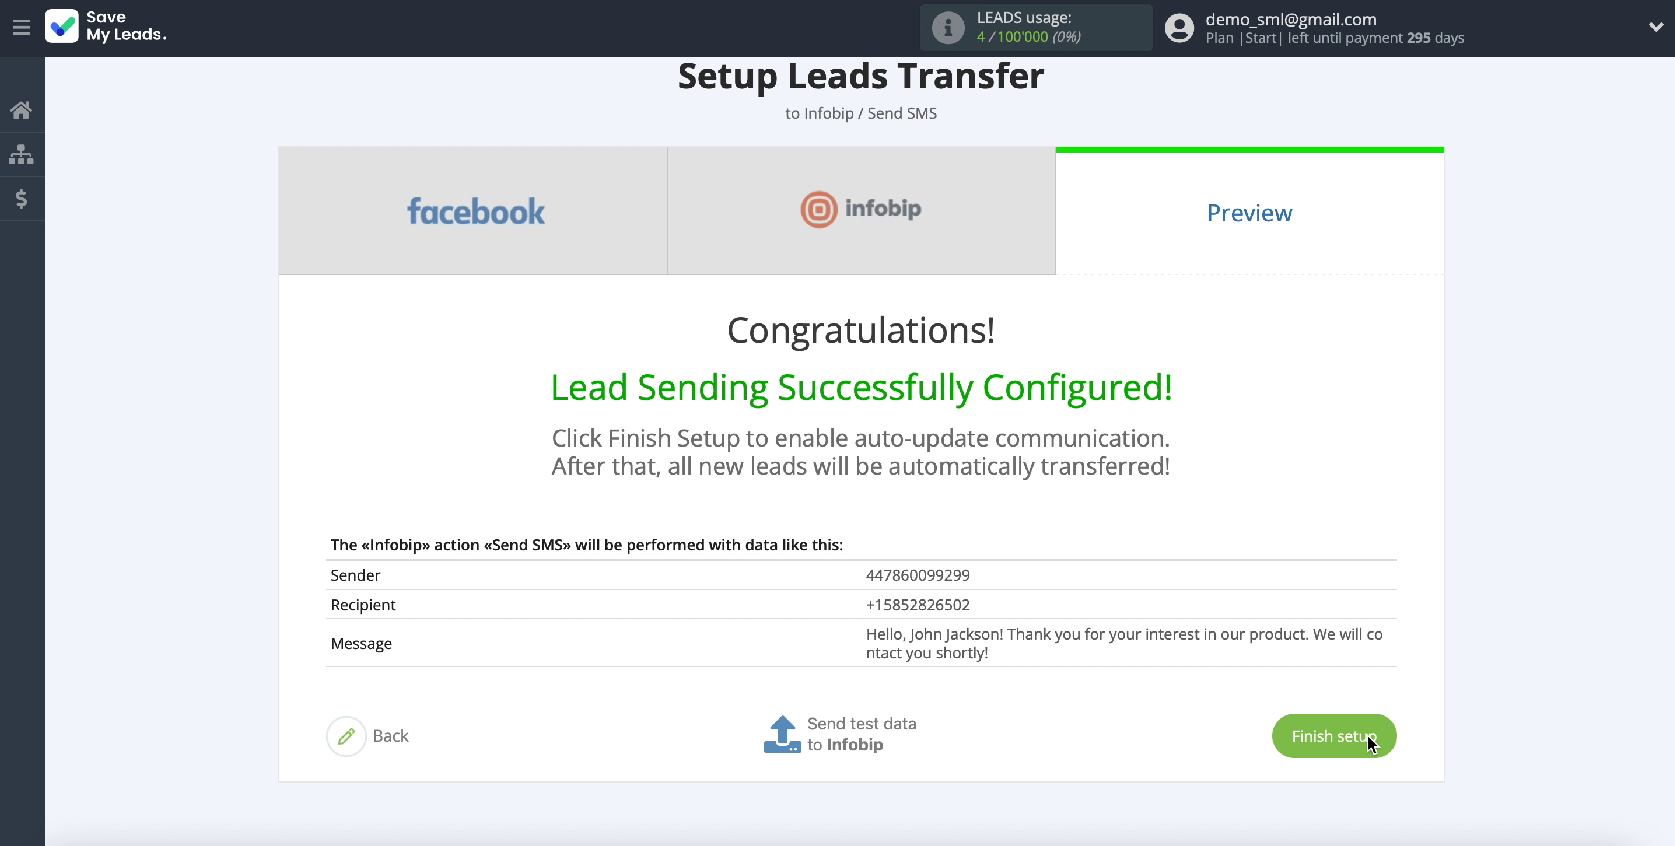
Now you see an example of an SMS message that will be sent to each new lead from Facebook through the Infobip SMS service. To check if the integration settings are correct, click Send Test Data to Infobip.
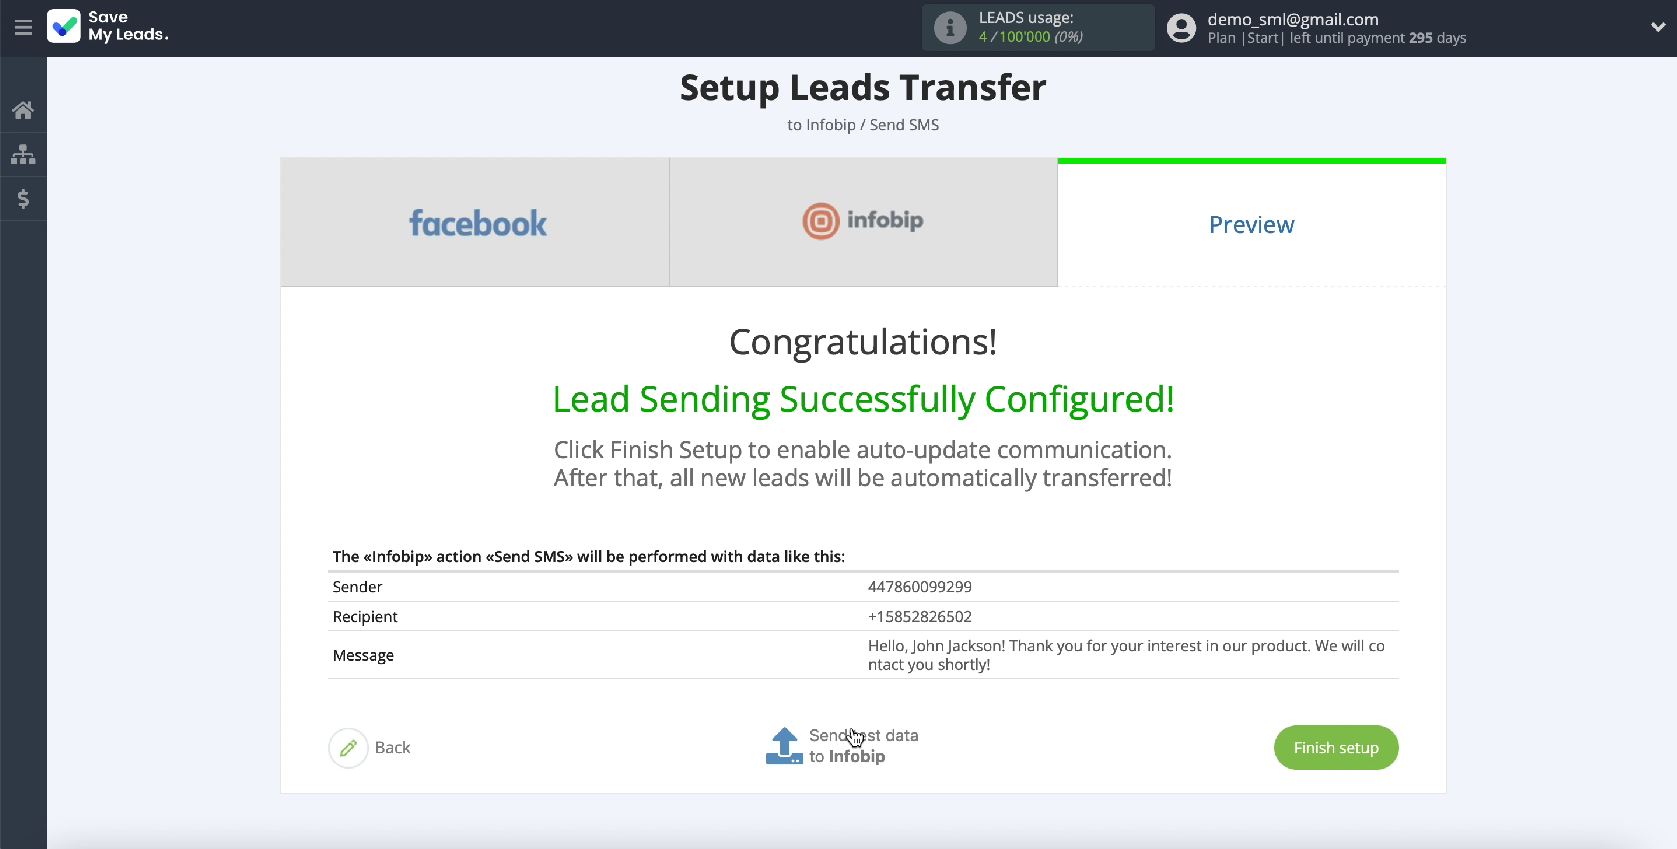
After successful submission, go to your Infobip account and check the result.
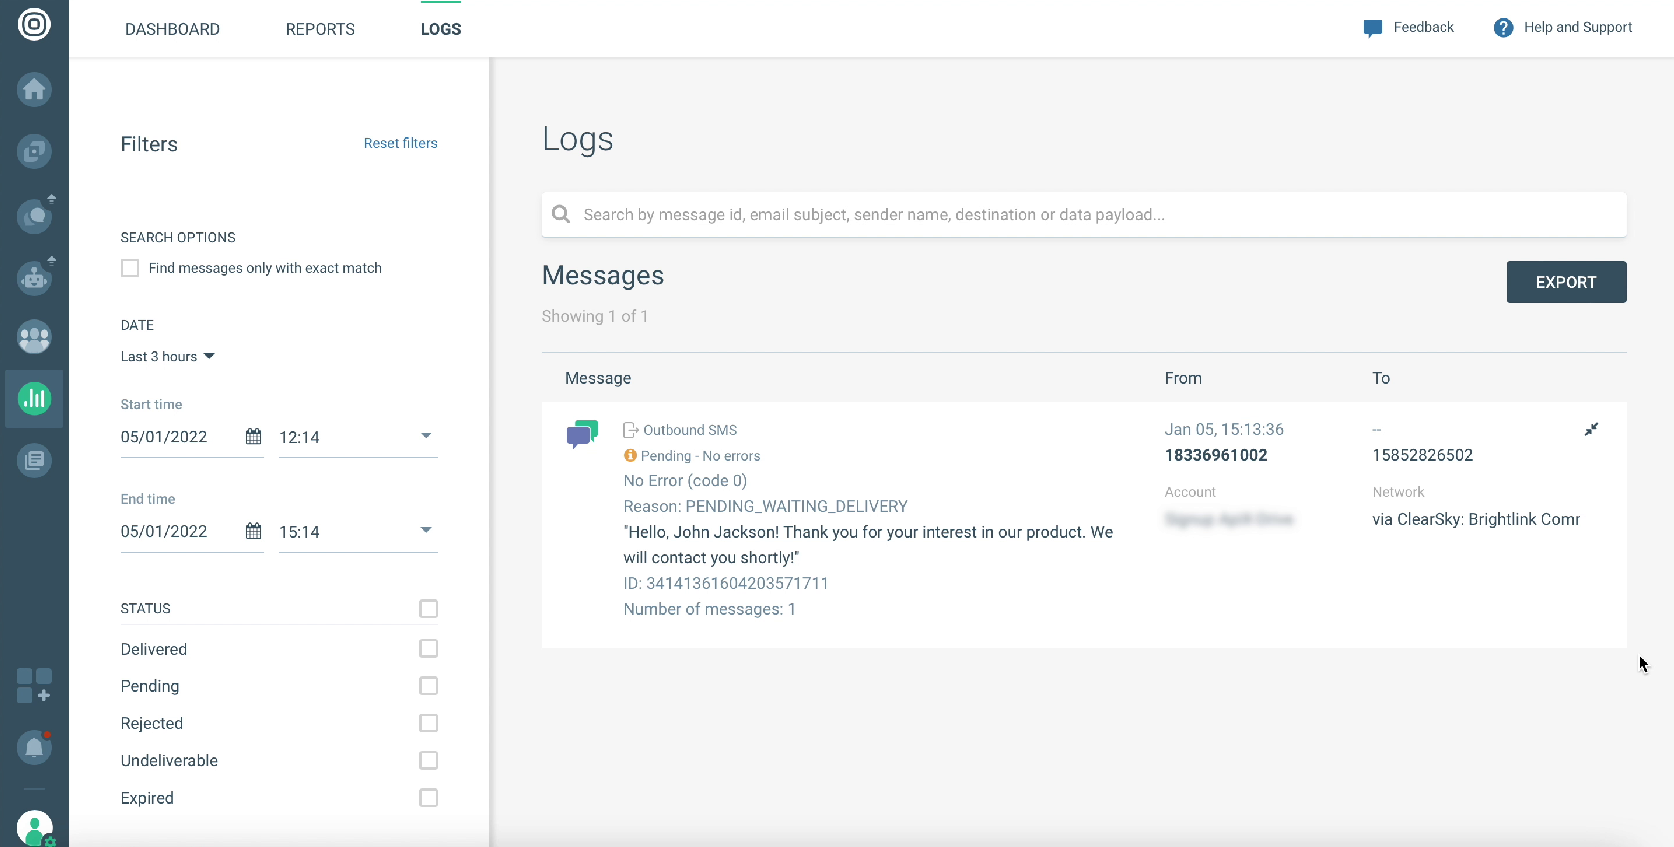
If everything suits you, return to the SaveMyLeads service and continue setting up.
Automate data update
In order for new SMS messages to be sent through the Infobip service instantly for each new lead from Facebook, you must enable auto-update, to do this, click Finish Setup.
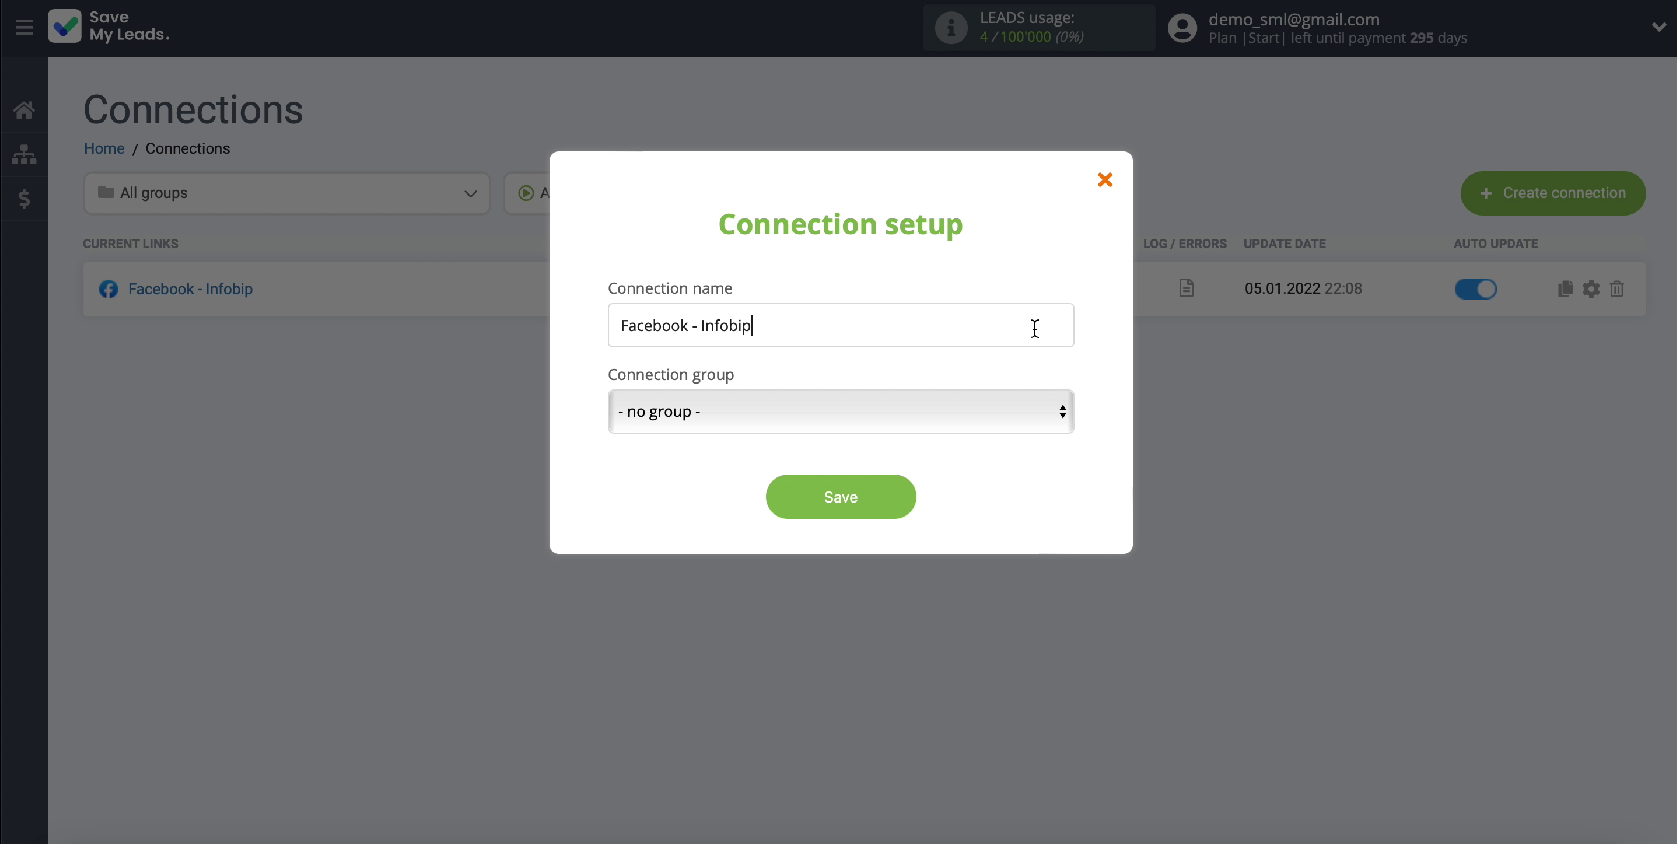
If you want to change the name of the connection, you can do this in the settings.
Conclusion
To set up the integration, you do not need the help of programmers. Thanks to SaveMyLead intuitive interface, you'll be able to handle this task yourself. The whole process will take no more than 5 minutes.
In the future, by analogy, it will be possible to integrate the work of Facebook and other services. If you encounter any difficulties while working with the connector, you can contact the service specialists for help.
