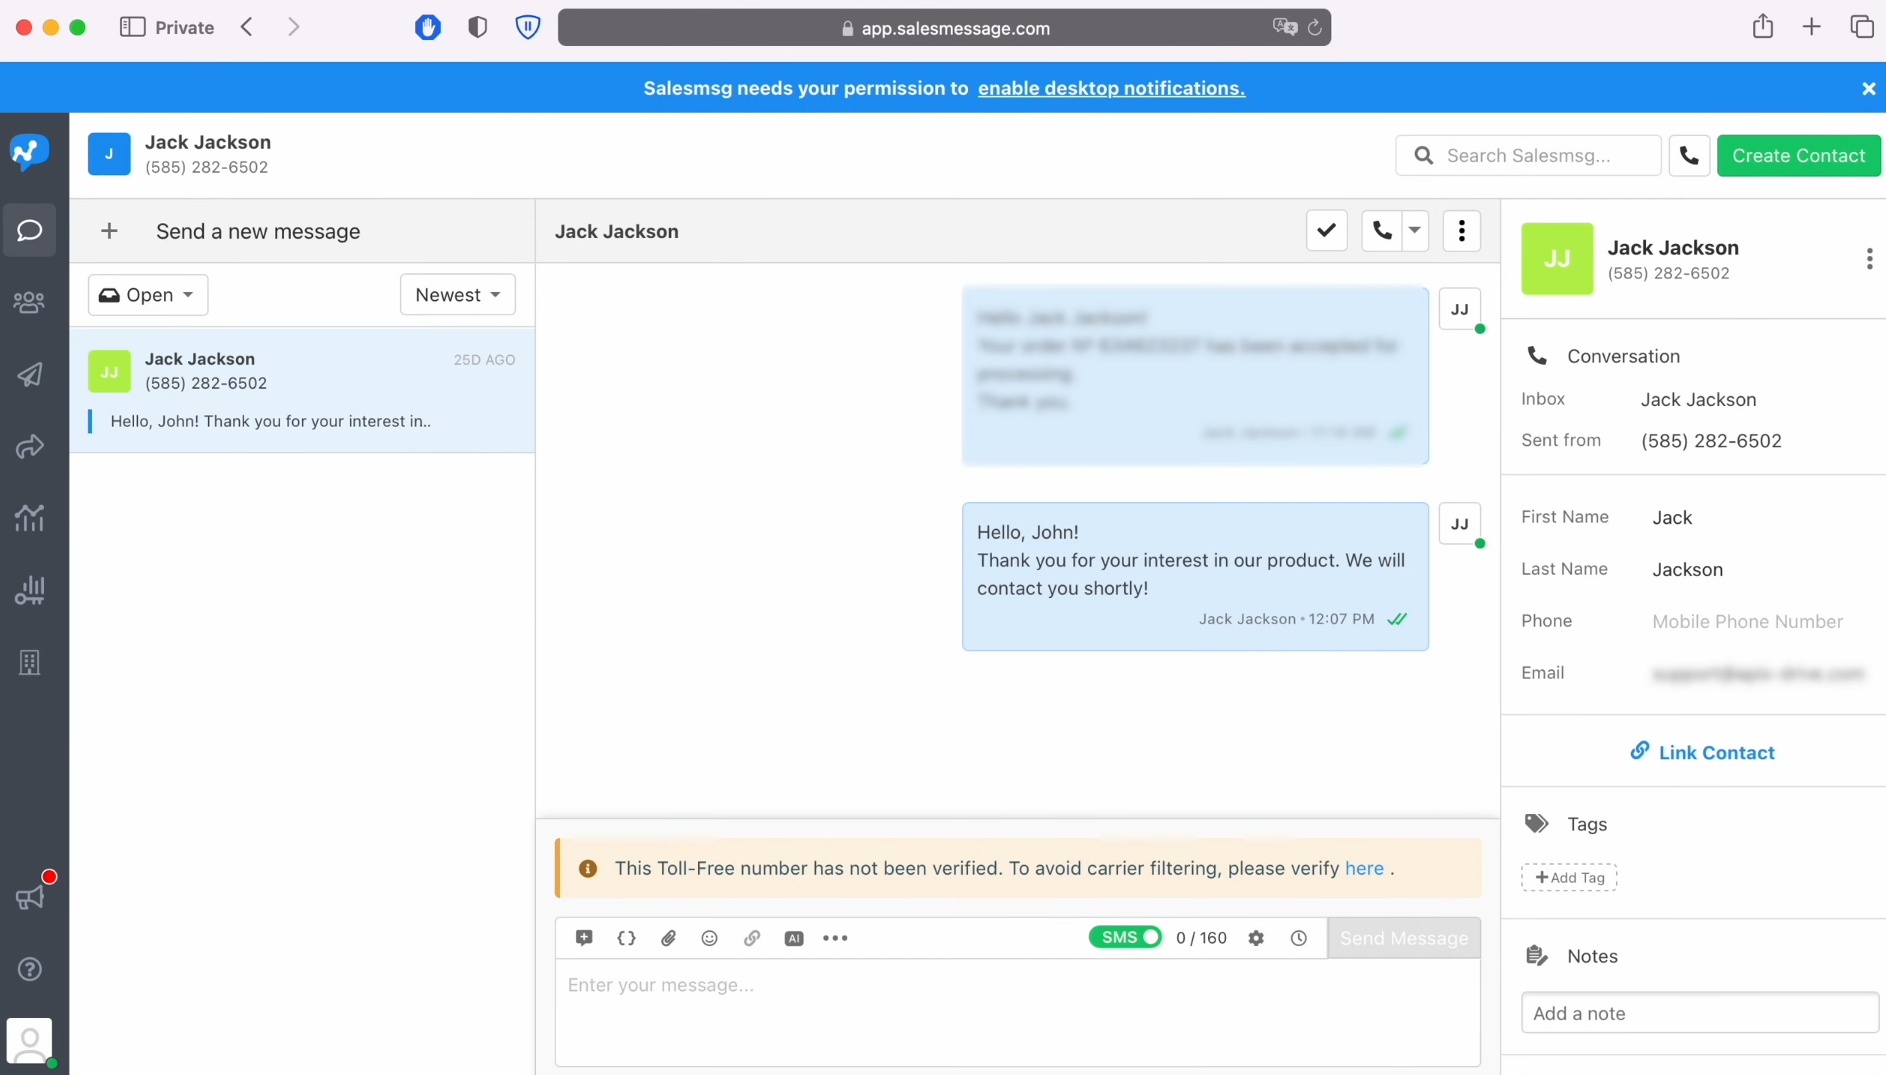
Salesmsg is an all-in-one cloud platform for B2B marketing communications. With its help, an entrepreneur or company can send SMS messages from different types of numbers (local, short, and toll-free), process incoming messages and manage these processes within a single interface. The service helps marketing and sales departments, customer support services and teams interacting with buyers or customers effectively communicate with potential and existing clients. In our article, you will learn how to set up Salesmsg and Facebook integration to automate the transfer of leads from a social network to the database of this platform for subsequent SMS distribution.
Facebook Lead Ads are a tool that improves lead generation. In essence, this is a classic lead form in which social network users signal their intention to buy a product or order a service. In this case, the selling company usually uses SMS messaging for feedback. Today, the service of sending messages is provided by many platforms. One of them is Salesmsg. To set up communication with clients using it, you first need to transfer all new leads from Facebook to its database. If you plan to do the transfer manually, keep in mind that this will take quite a lot of time, and you may also have to distract managers from solving current problems. In addition, errors may occur with this upload method. It’s all due to a banal human factor: due to inattention or haste, you can miss a lead or copy their contact details incorrectly.
Manual transfer is also associated with the need to constantly monitor the emergence of new potential clients, which means additional costs in terms of time and human resources. To automate this process, you need to integrate your commercial Facebook account with the Salesmsg service. Then every new lead from the social network will immediately enter your database on the Salesmsg platform, completely without your participation. Our online connector, SaveMyLeads, will help you do this.
How to Set up Facebook and Salesmsg Integration
The SaveMyLeads connector quickly, stably and, most importantly, accurately transfers data between different programs and services, including between Facebook and Salesmsg you need. Once a connection is established between them, the current settings will be maintained by the system.
Among the main advantages of the SaveMyLeads online connector are:
- Quick setup. Even a completely inexperienced users can set up integration between the services they need on their own without anyone’s help, spending literally up to 10 minutes on it.
- High level of usability. An intuitive interface greatly simplifies and speeds up working with the service.
- Flexibility. SaveMyLeads allows you to provide connections between various online services and apps.
- Economy. The integrations have already been created by the developers of the online connector. They just need to be configured. Since this procedure is completely uncomplicated, the users can easily do it themselves without involving specialists and, accordingly, save on paying for their services.
We invite you to experience all these benefits right now. Moreover, you won’t have to pay anything right away since the service provides a free 14-day trial period. So, let's start setting up the Facebook Lead Ads Salesmsg integration.
Setting up the Data Source – Facebook
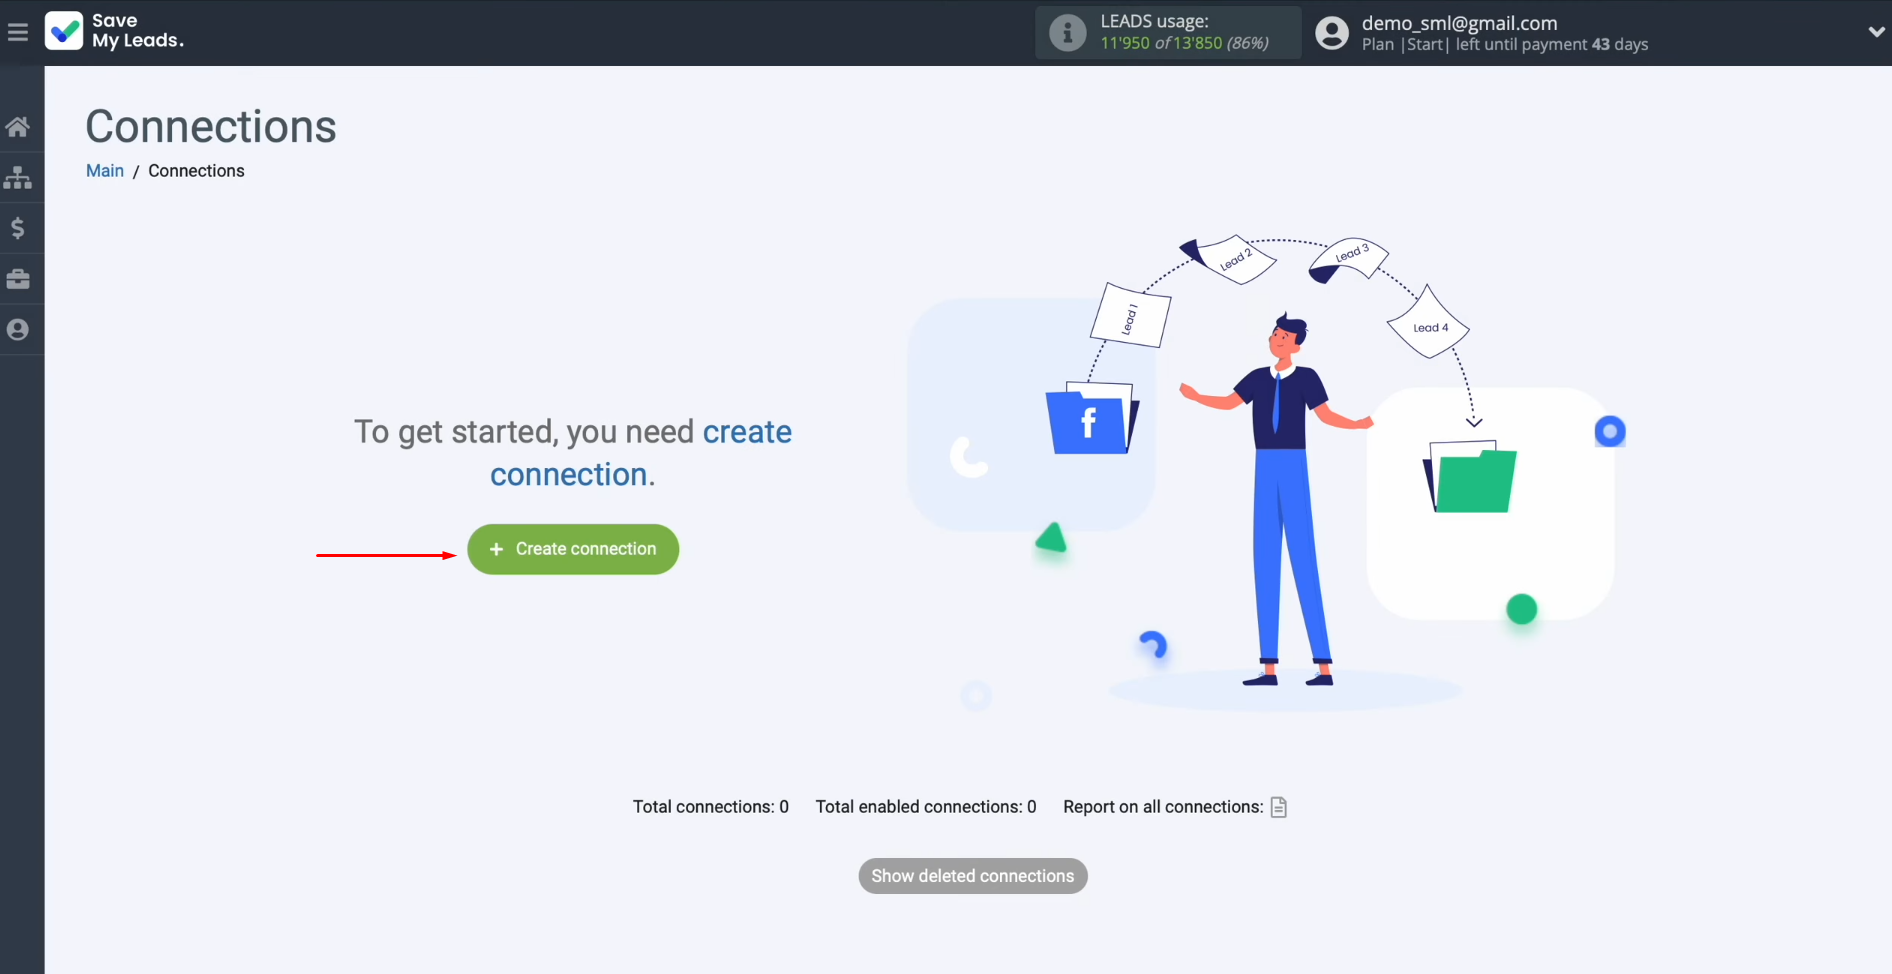
To set up Facebook integration with Salesmsg, you have to create a new connection. Click on the green button.
Now, you must select the
data source system. In this case, it is Facebook.
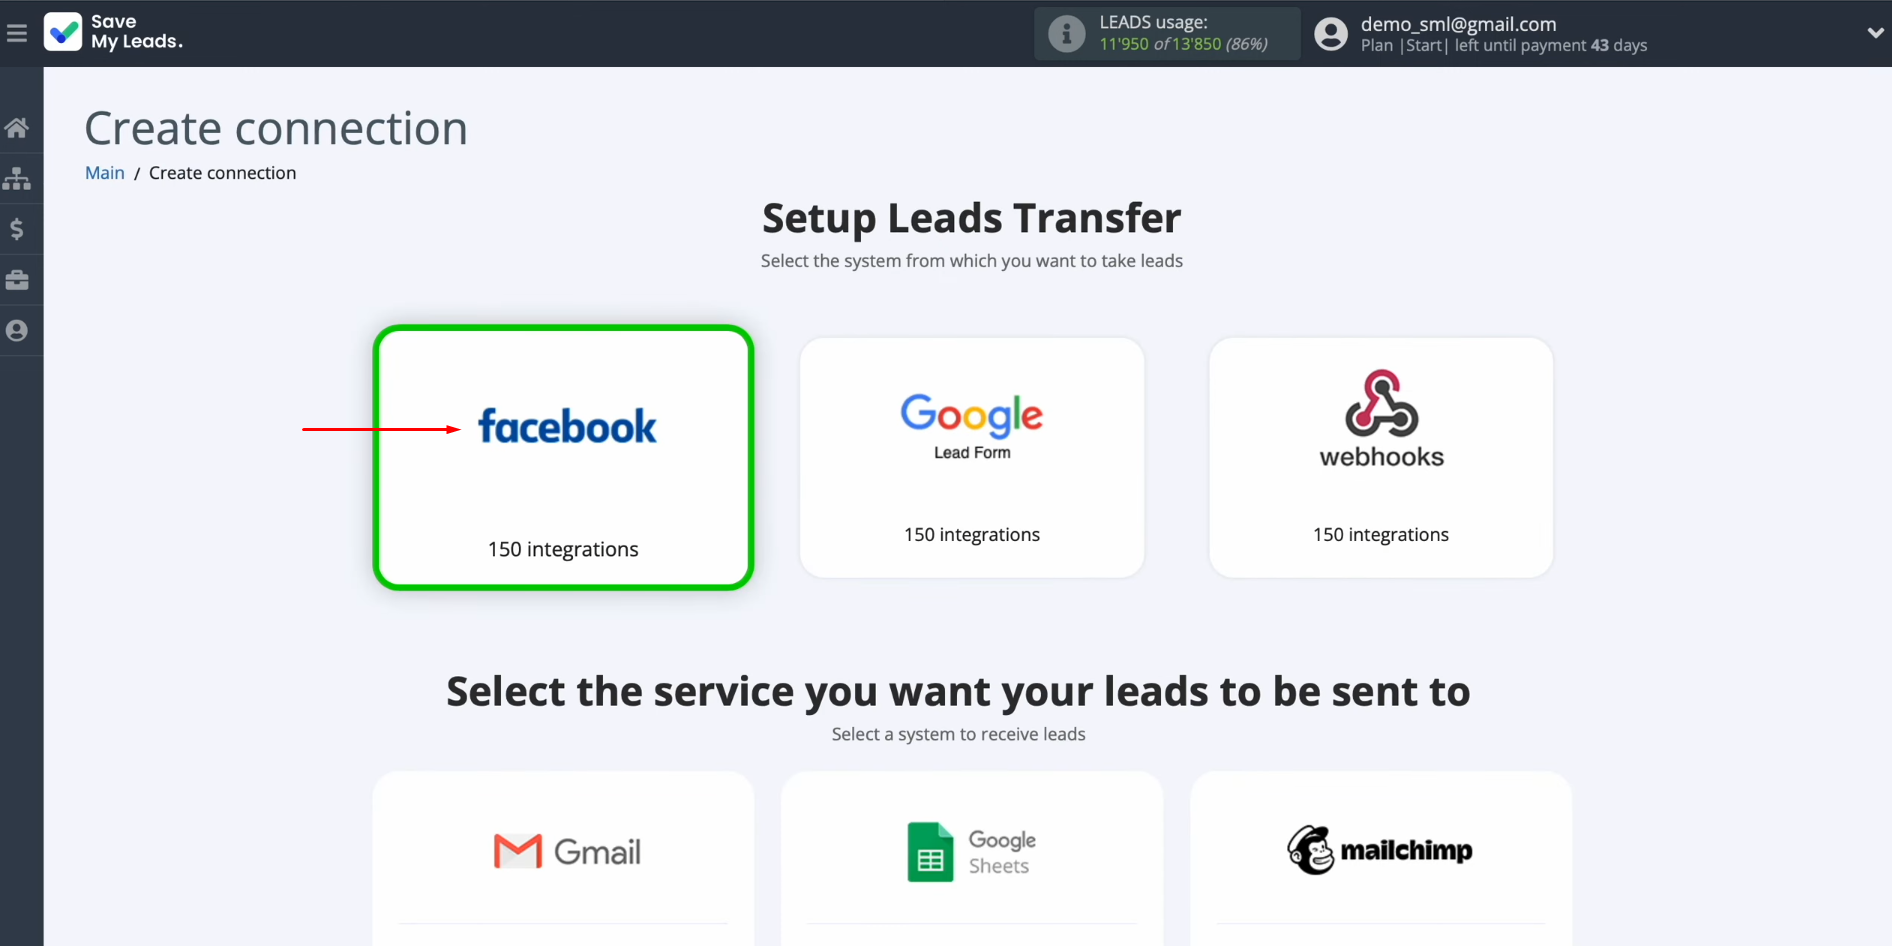
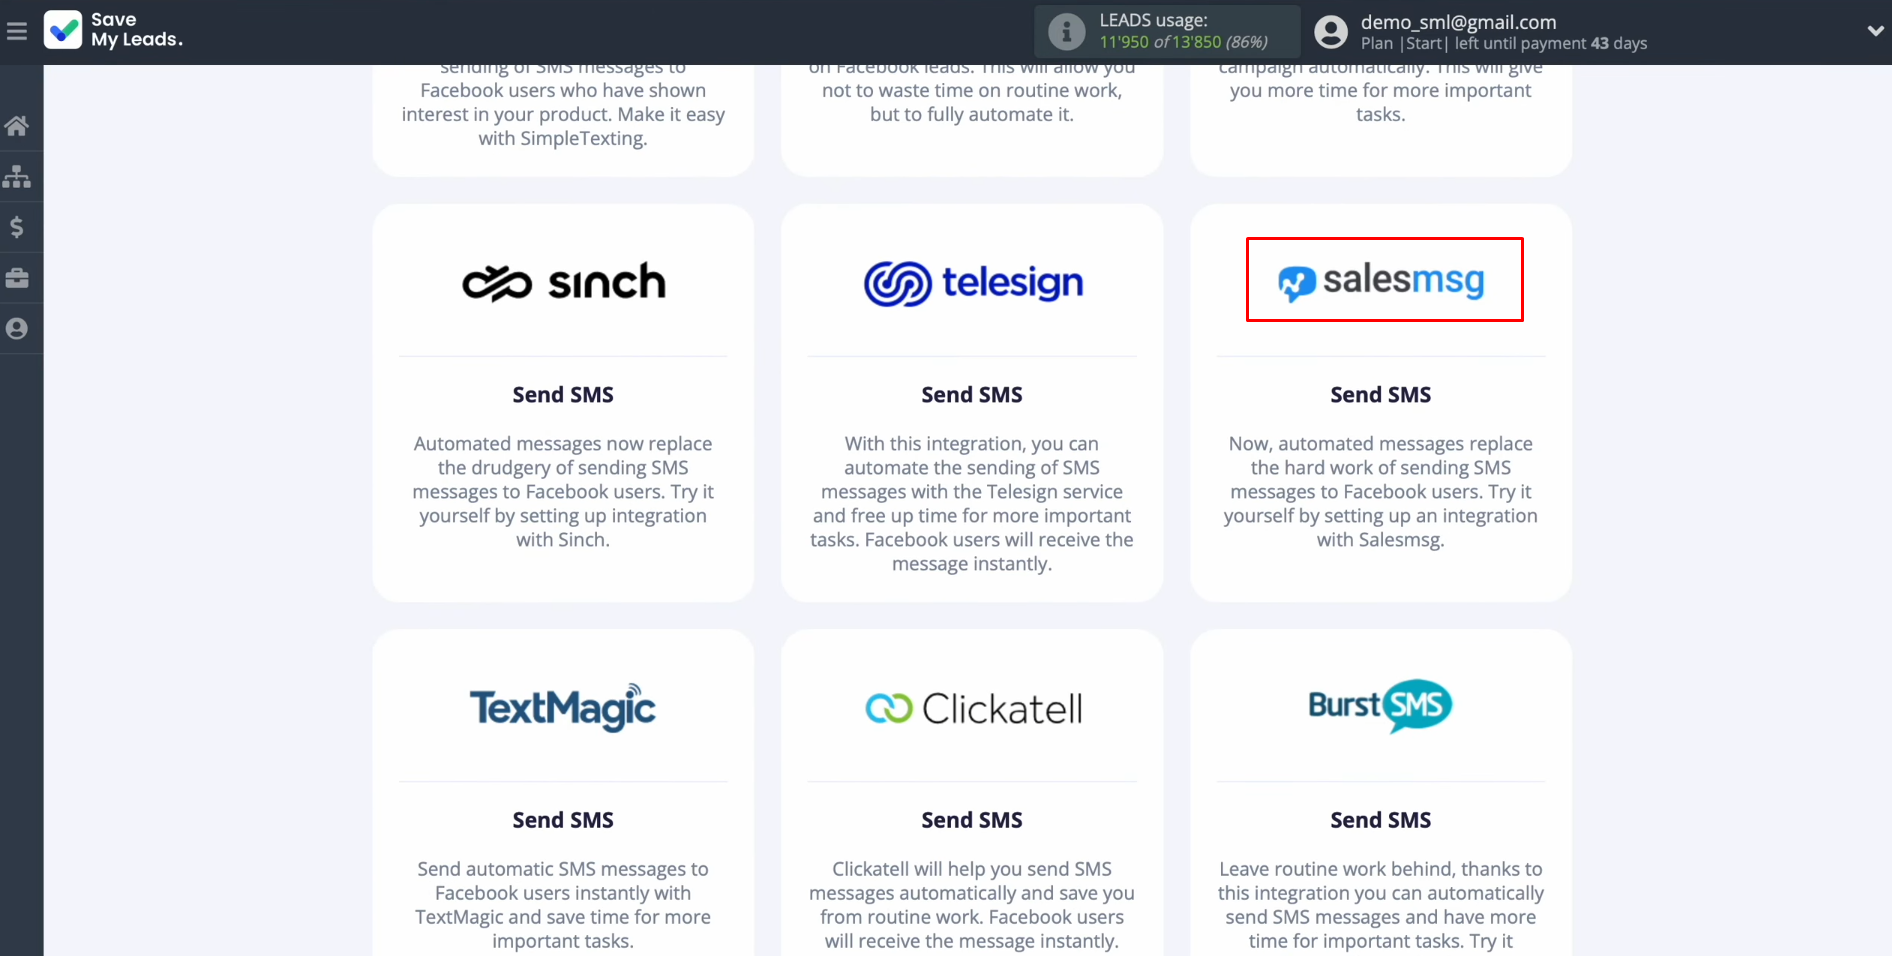
Select the system where you want to
transfer new leads from Facebook. In this case, it is Salesmsg.
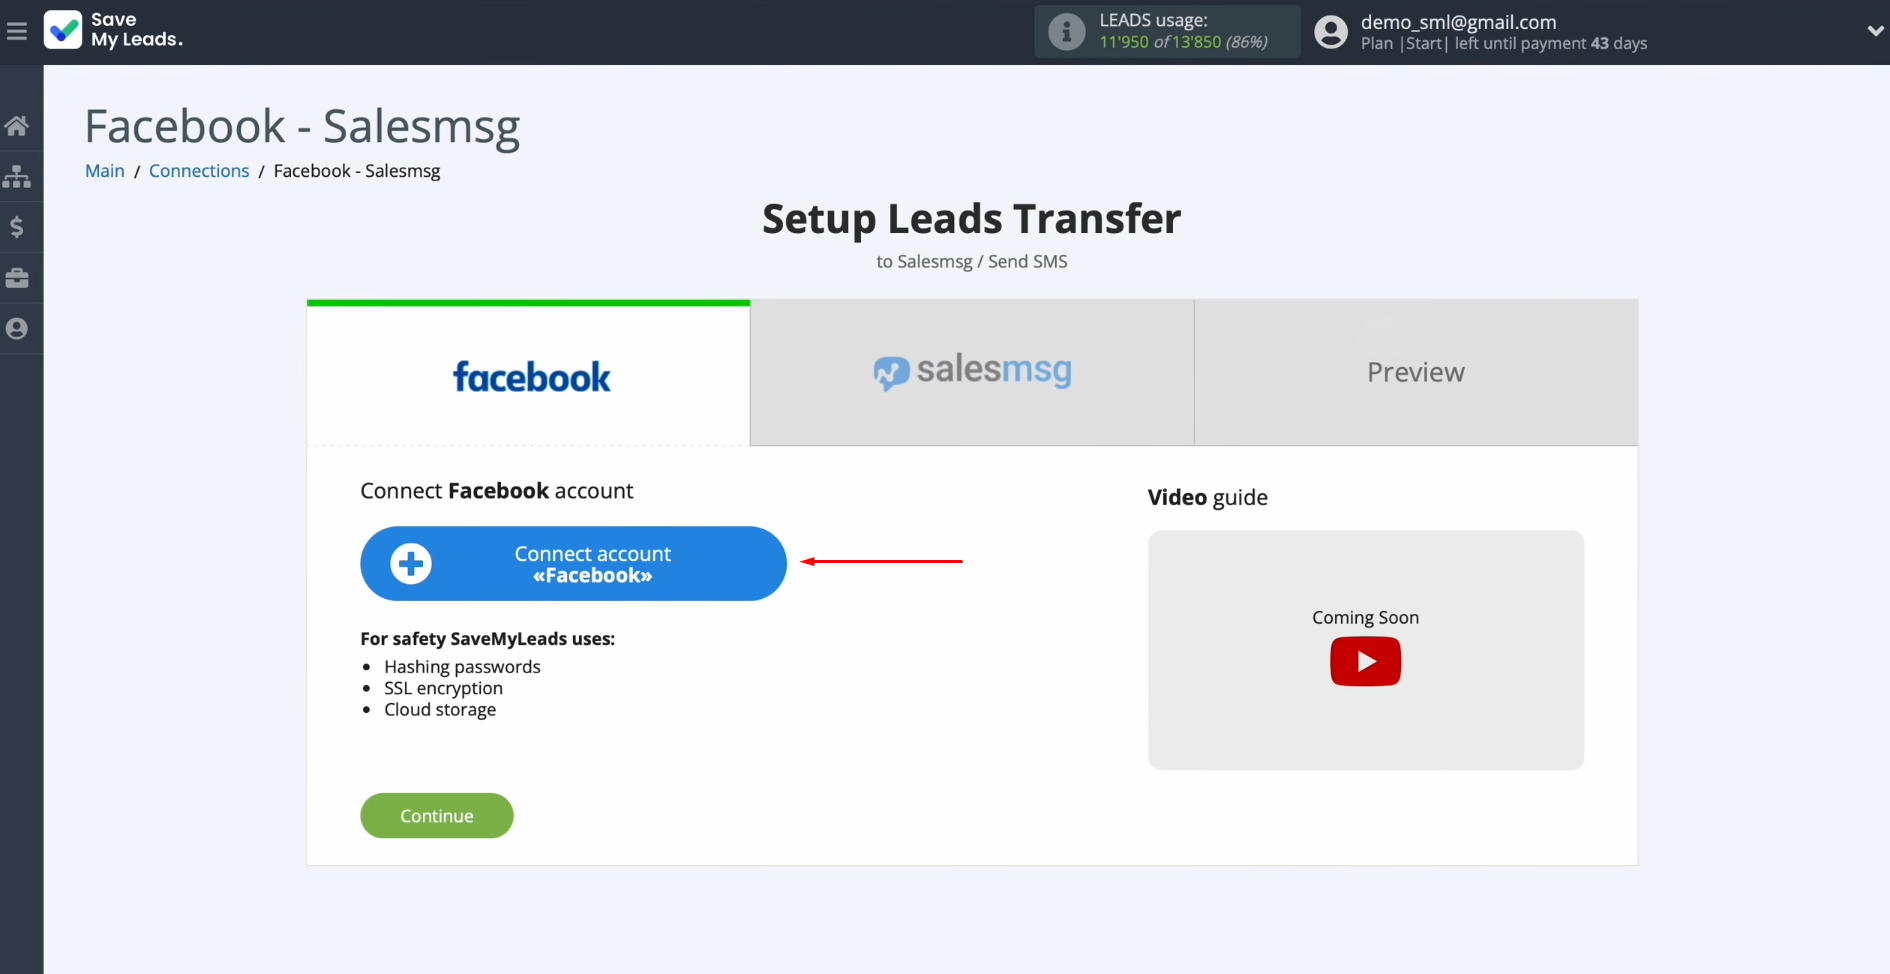
At this stage, you have to connect your Facebook account to SaveMyLeads. Click on the blue button.
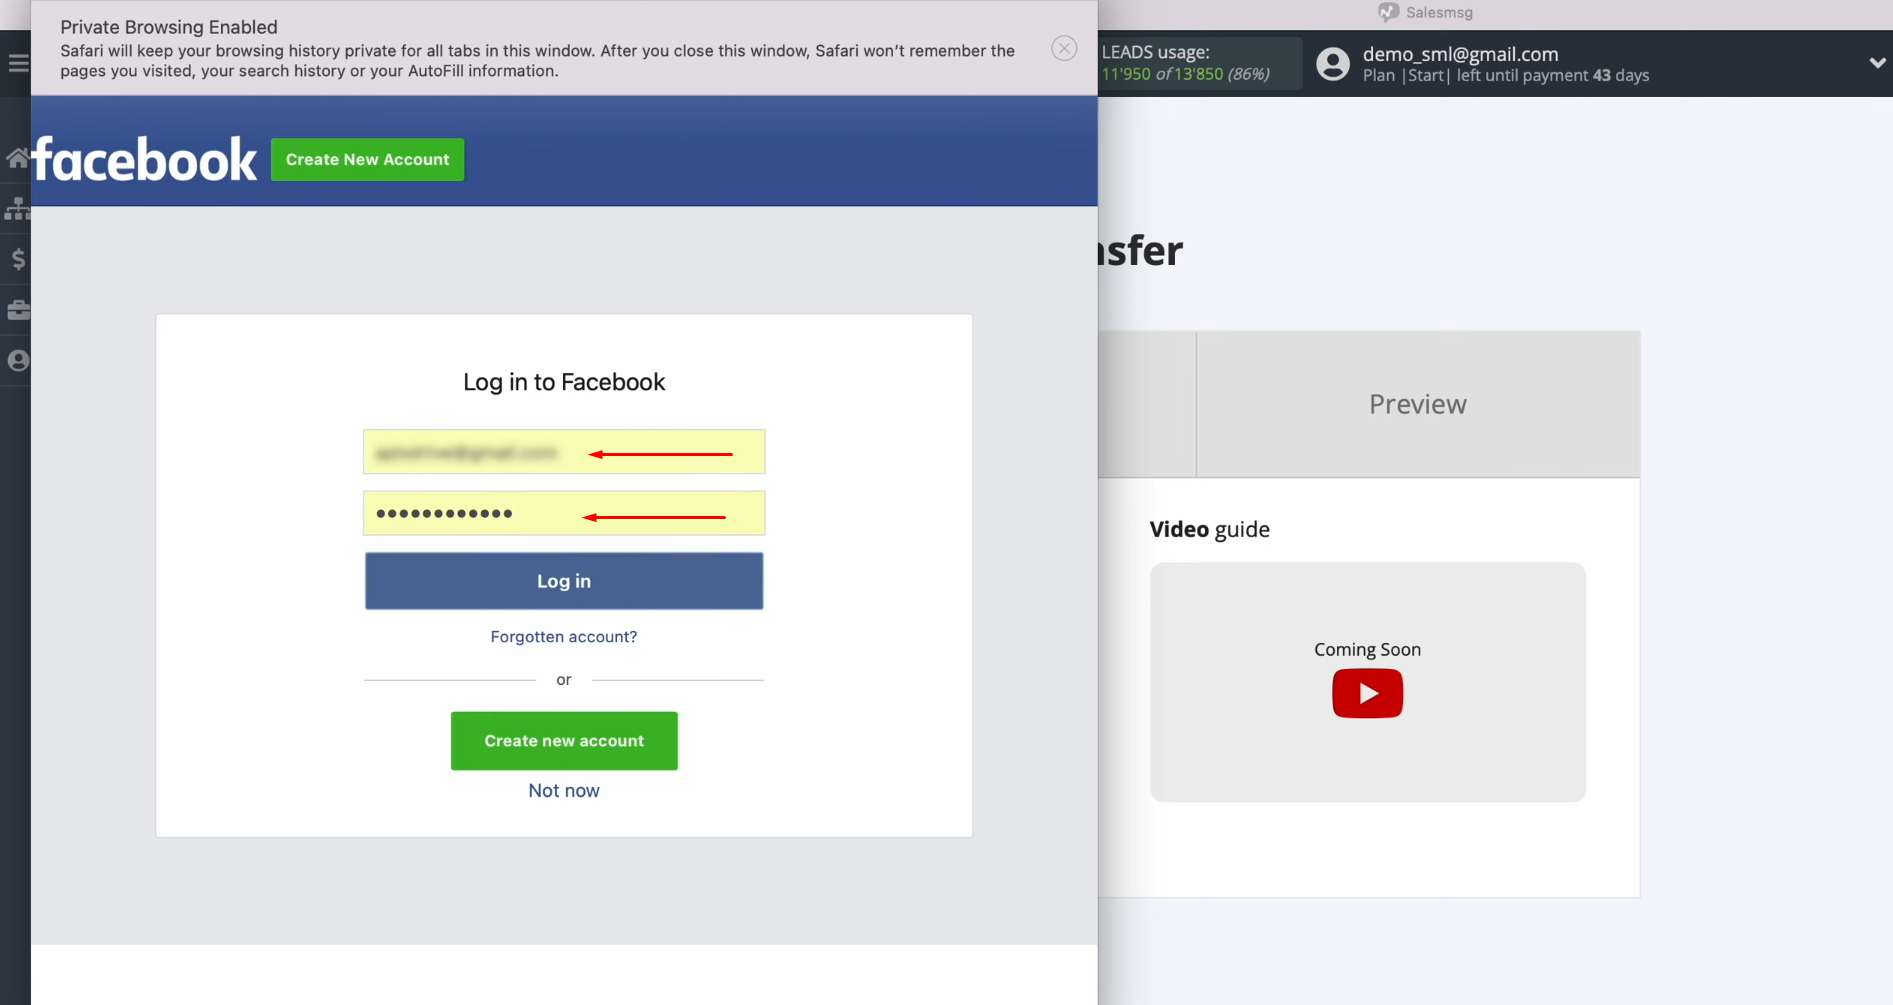
In this window, you must specify the login and password of your
Facebook personal account. Click
“Log in”.
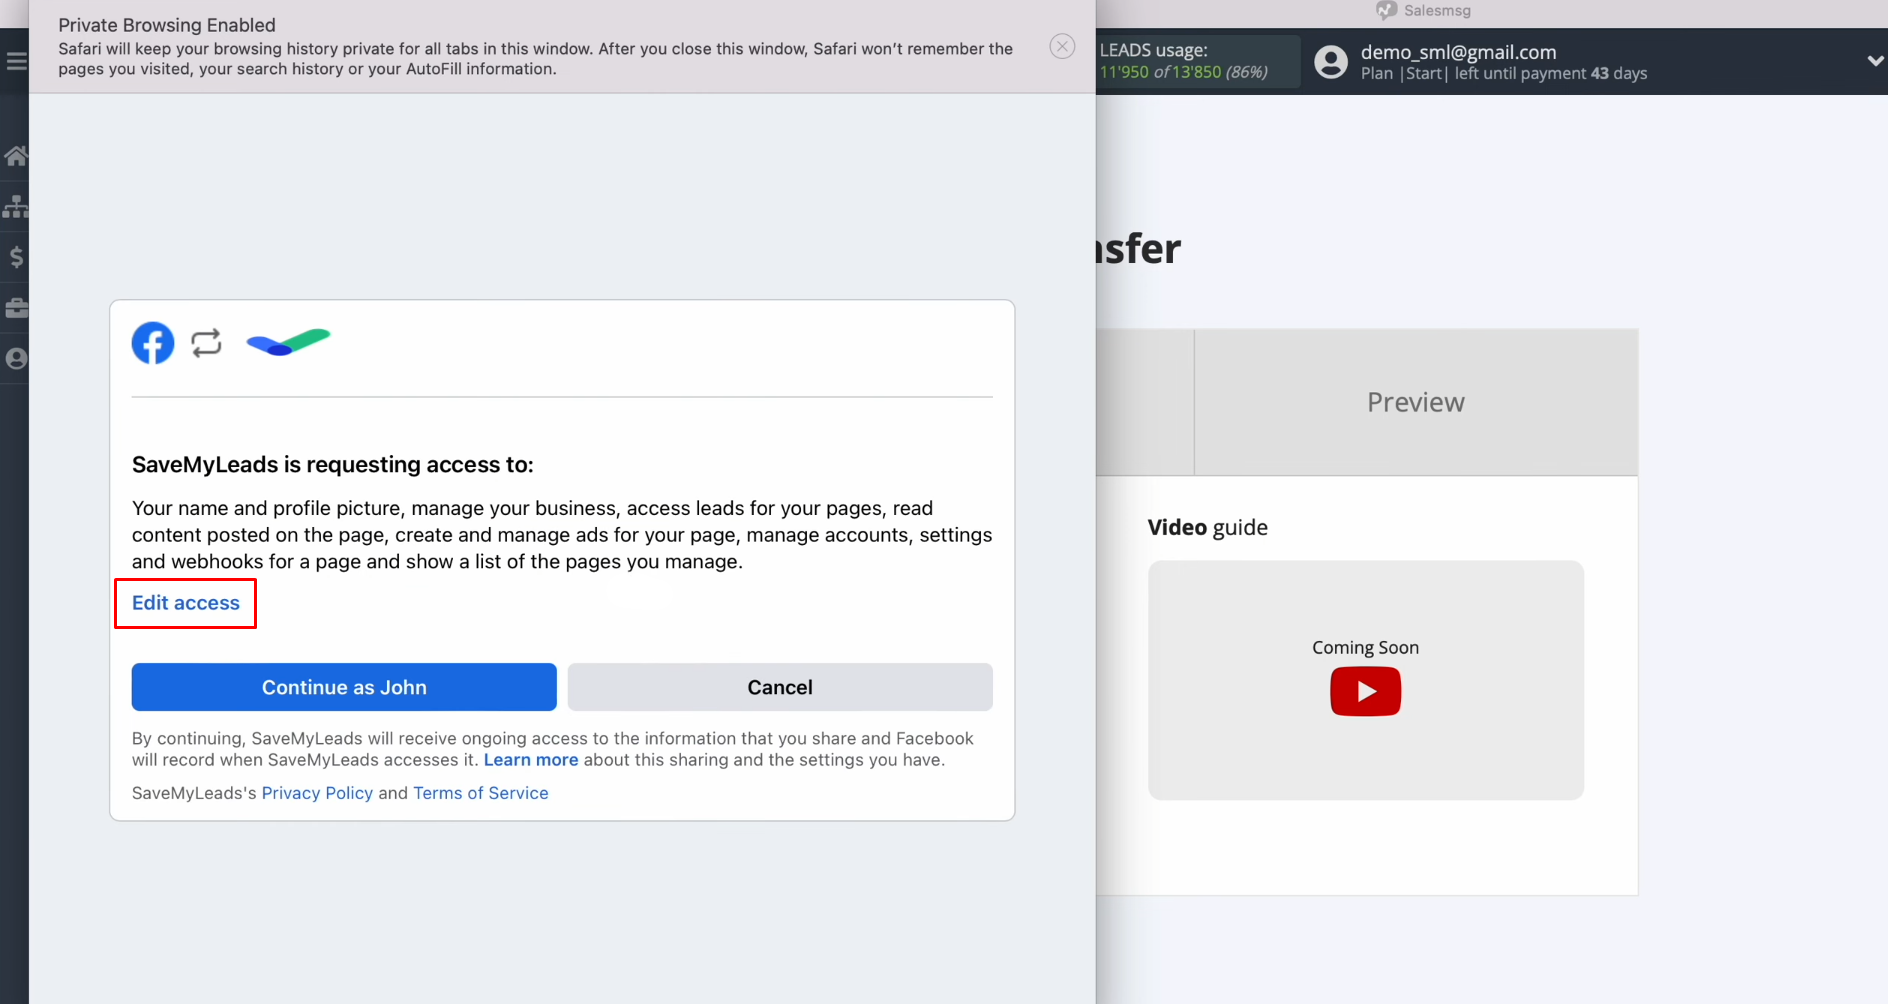
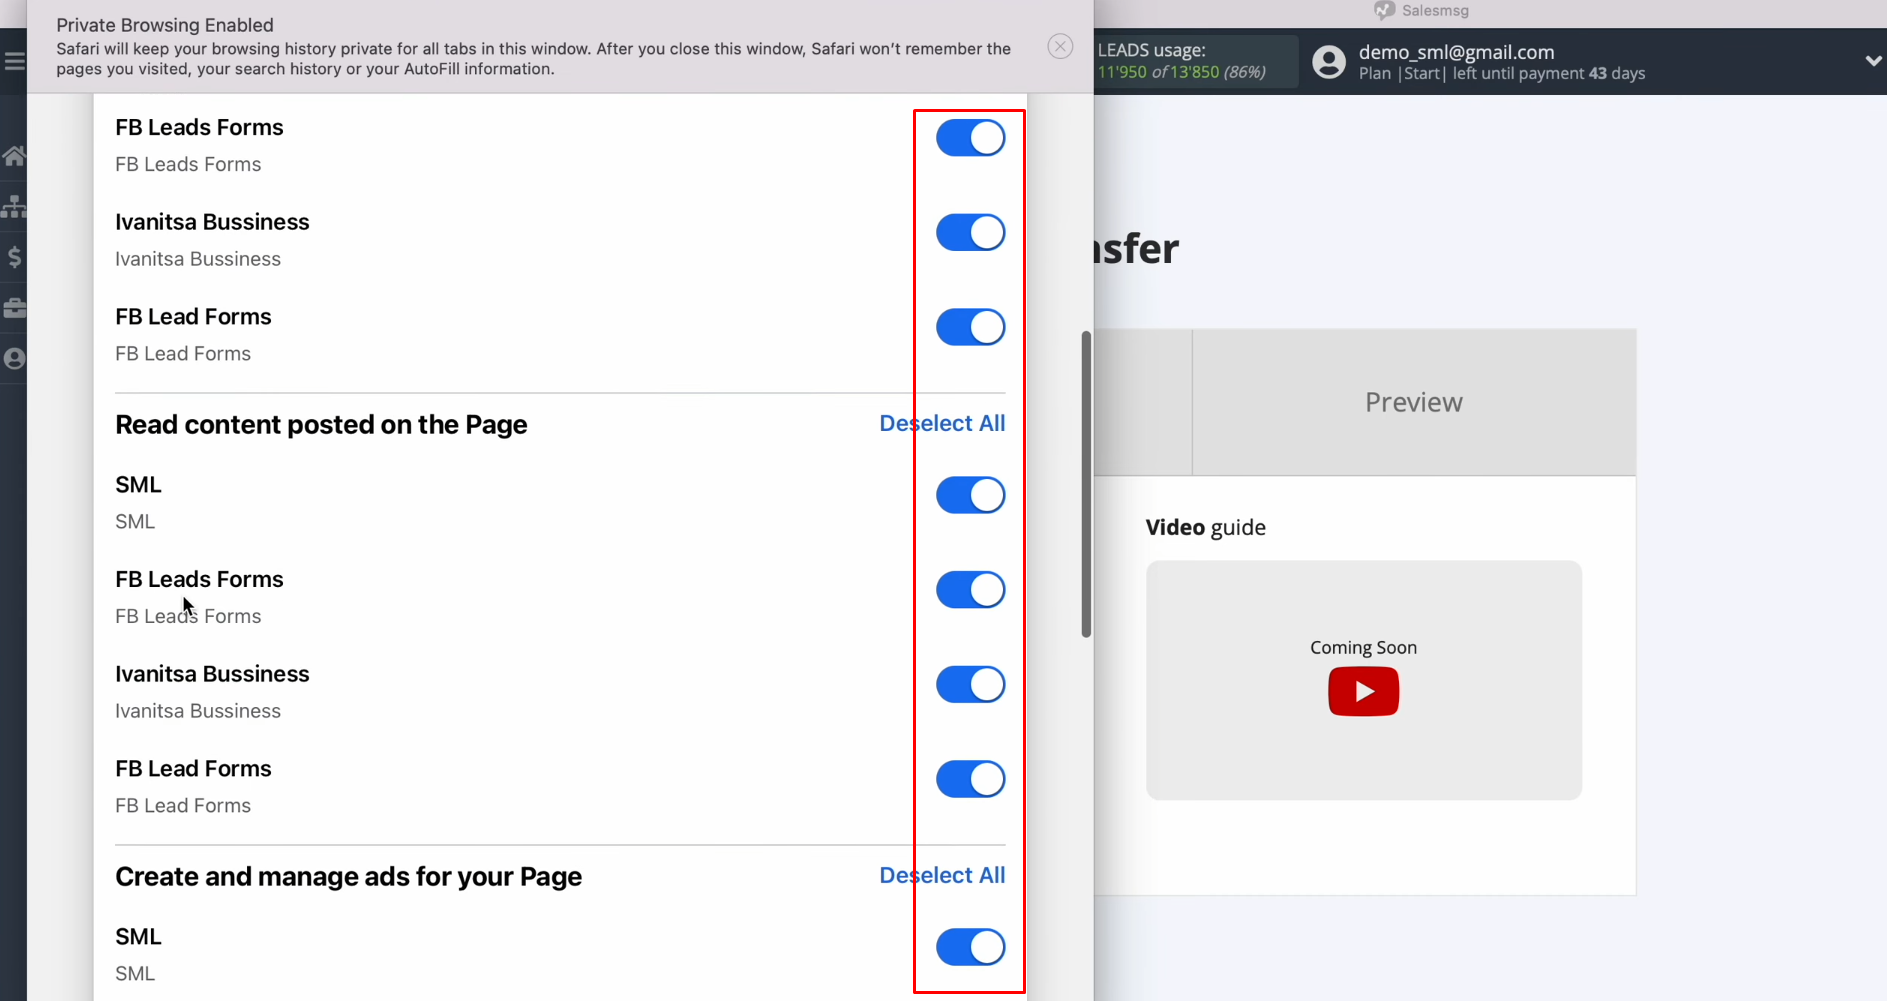
Then go to settings. Click “Edit access”.
Make sure all
access checkboxes are left enabled.
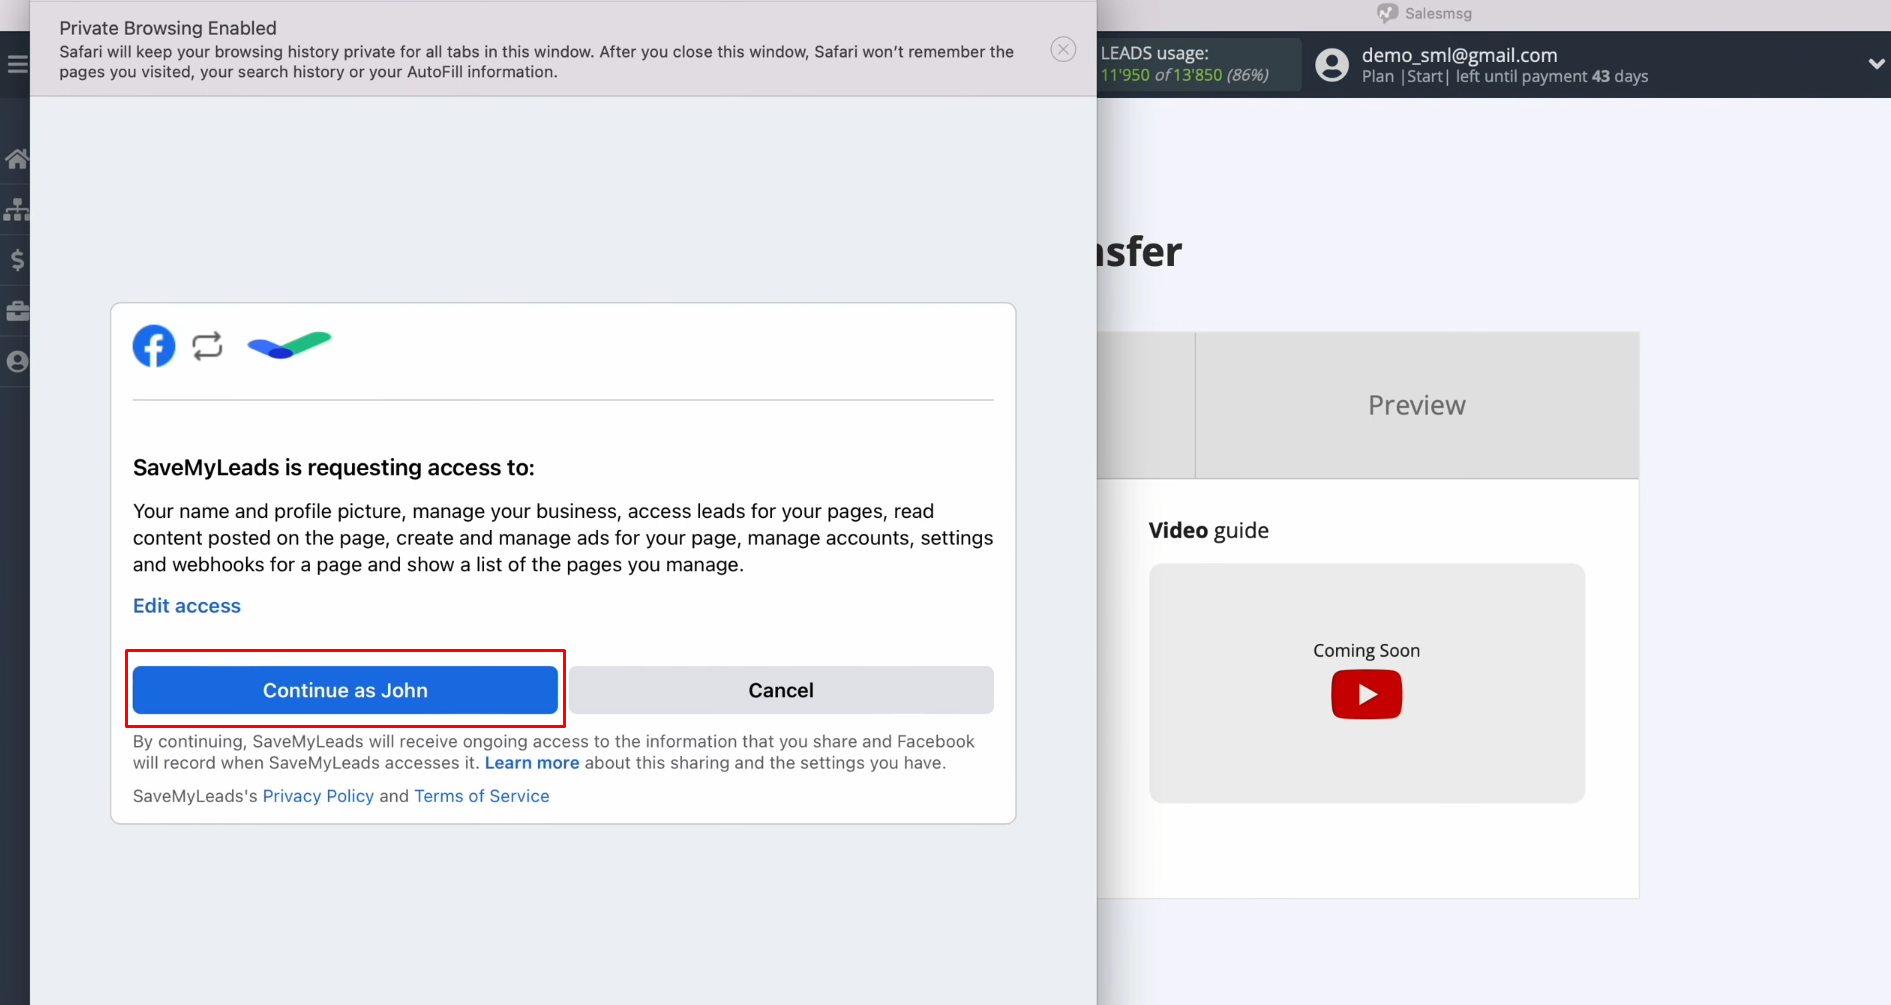
Click “Continue as…”.
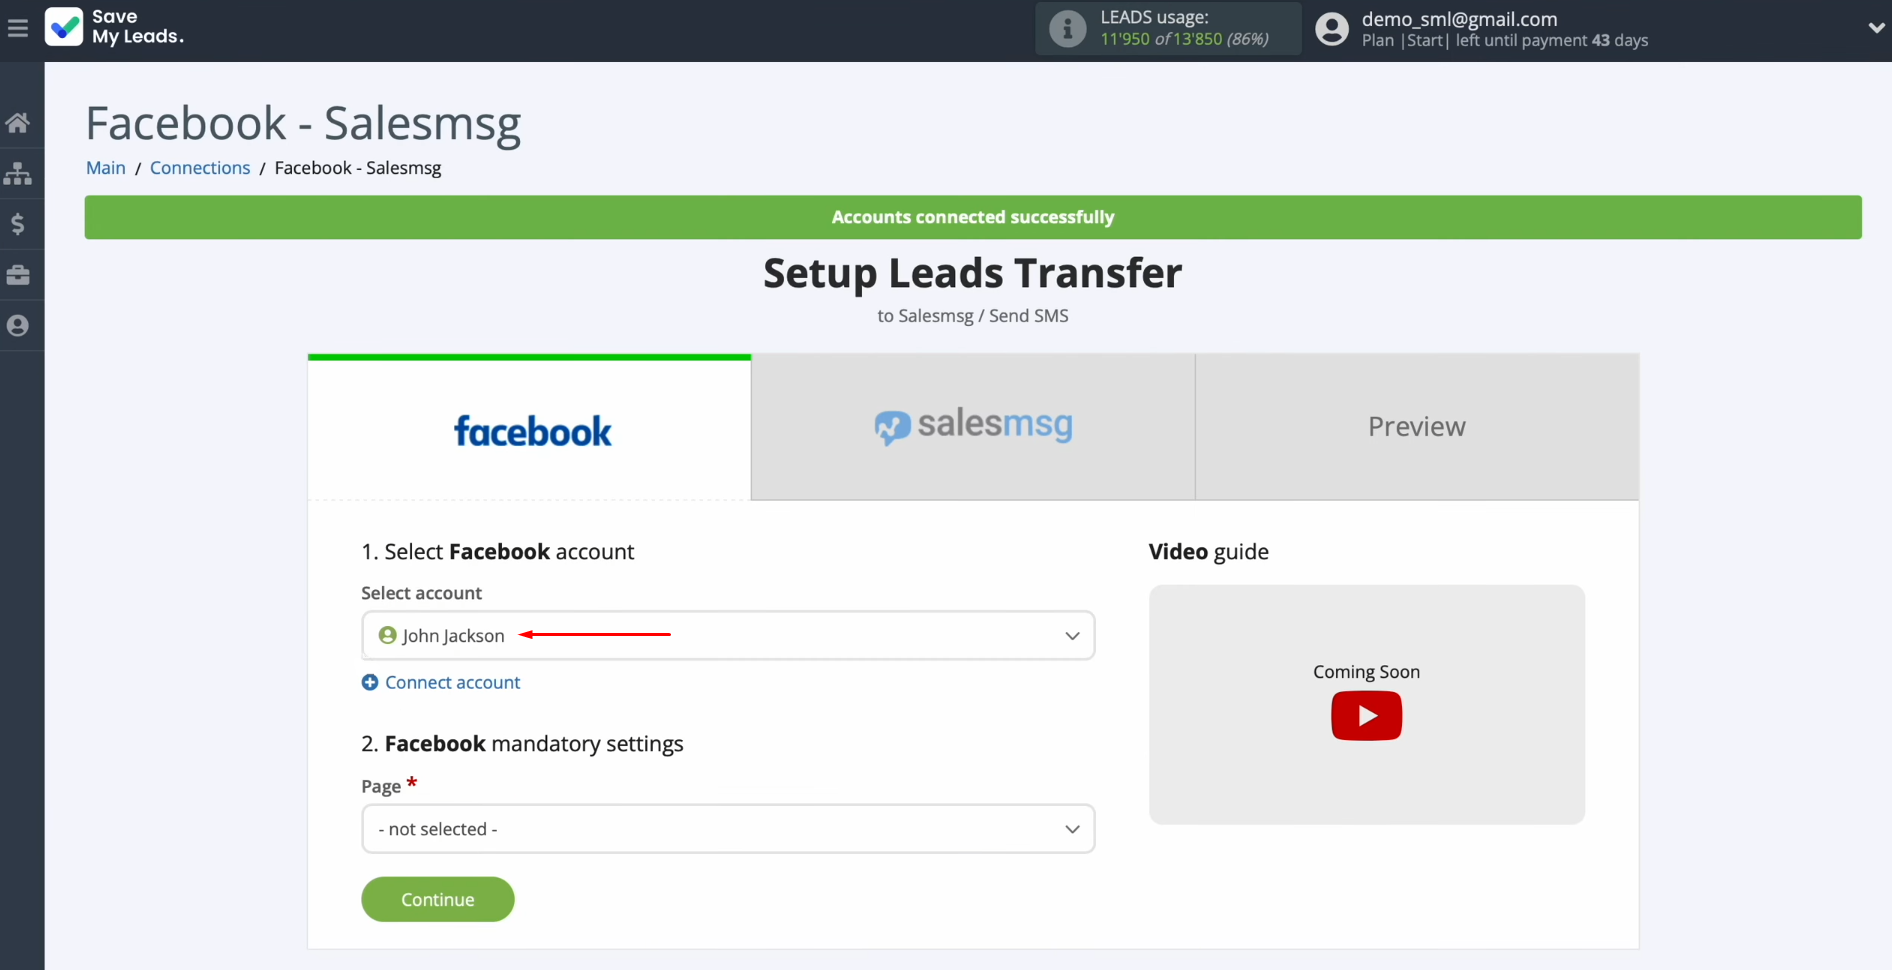
When the connected
account appears in the list, select it.
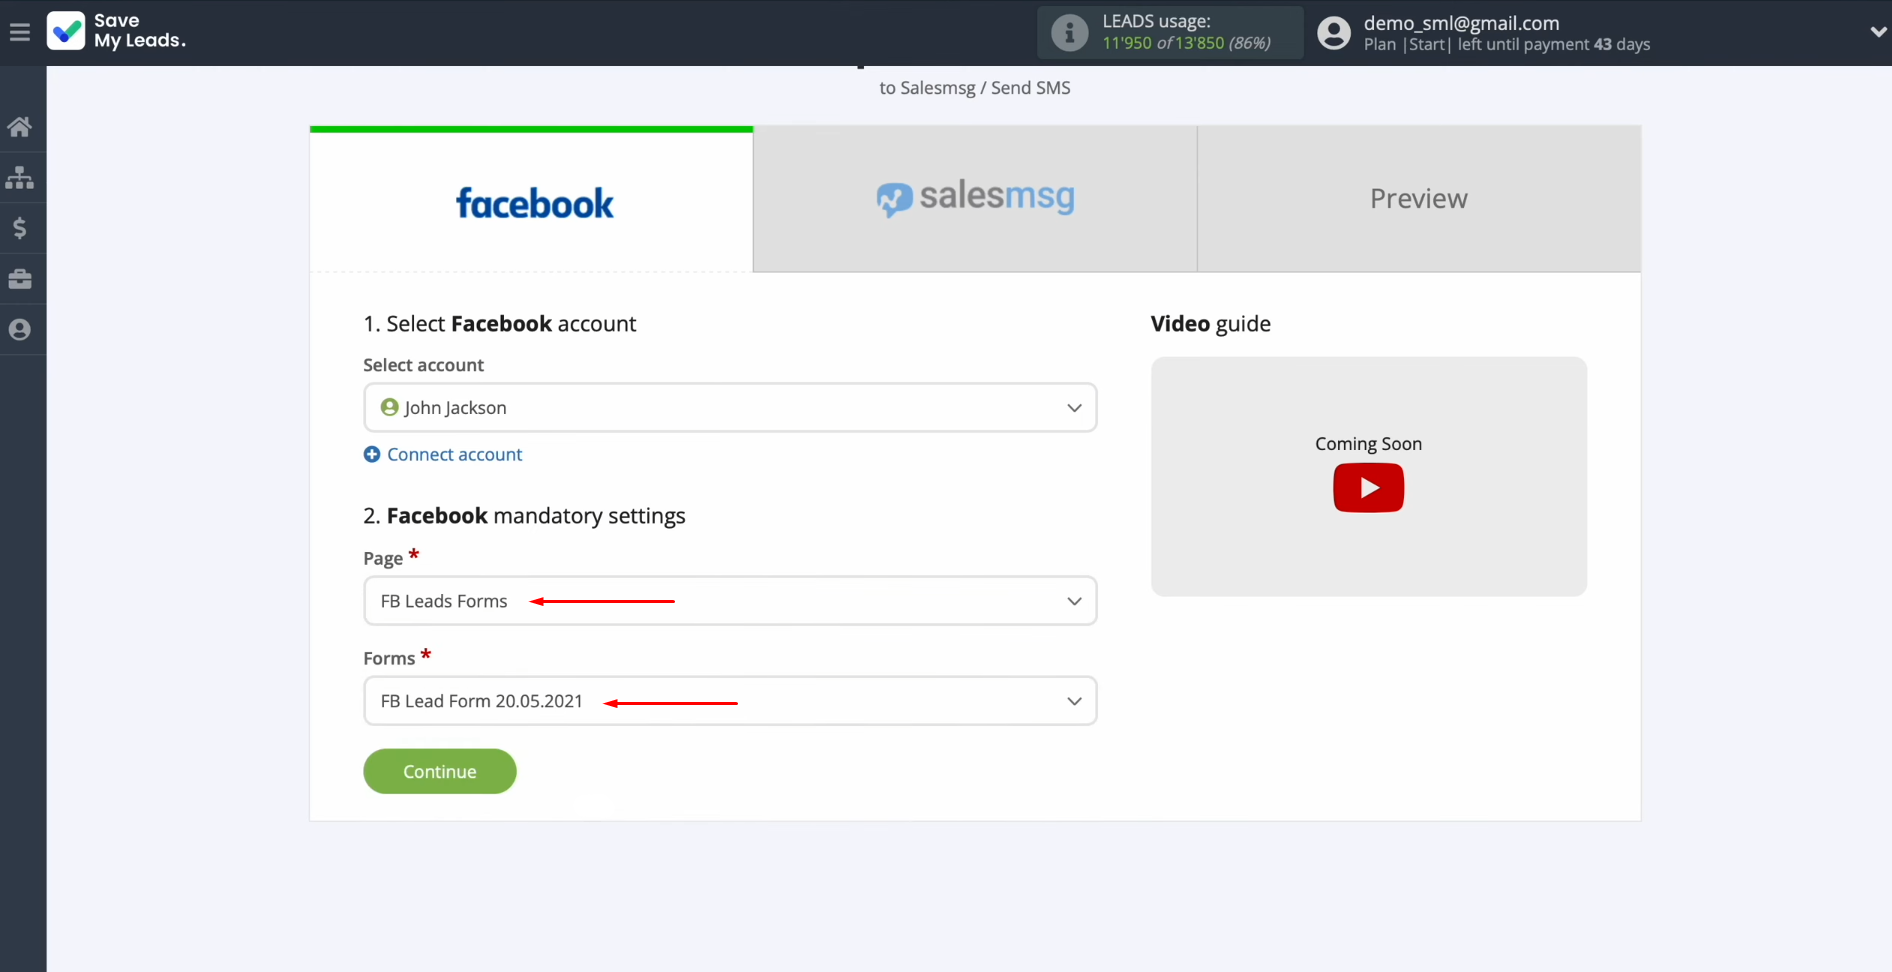
Next, you must select the advertising page and
form through which you want to receive new leads from Facebook. Click
“Continue”.
Data source setup is complete.
Setting up the Data Receiver – Salesmsg
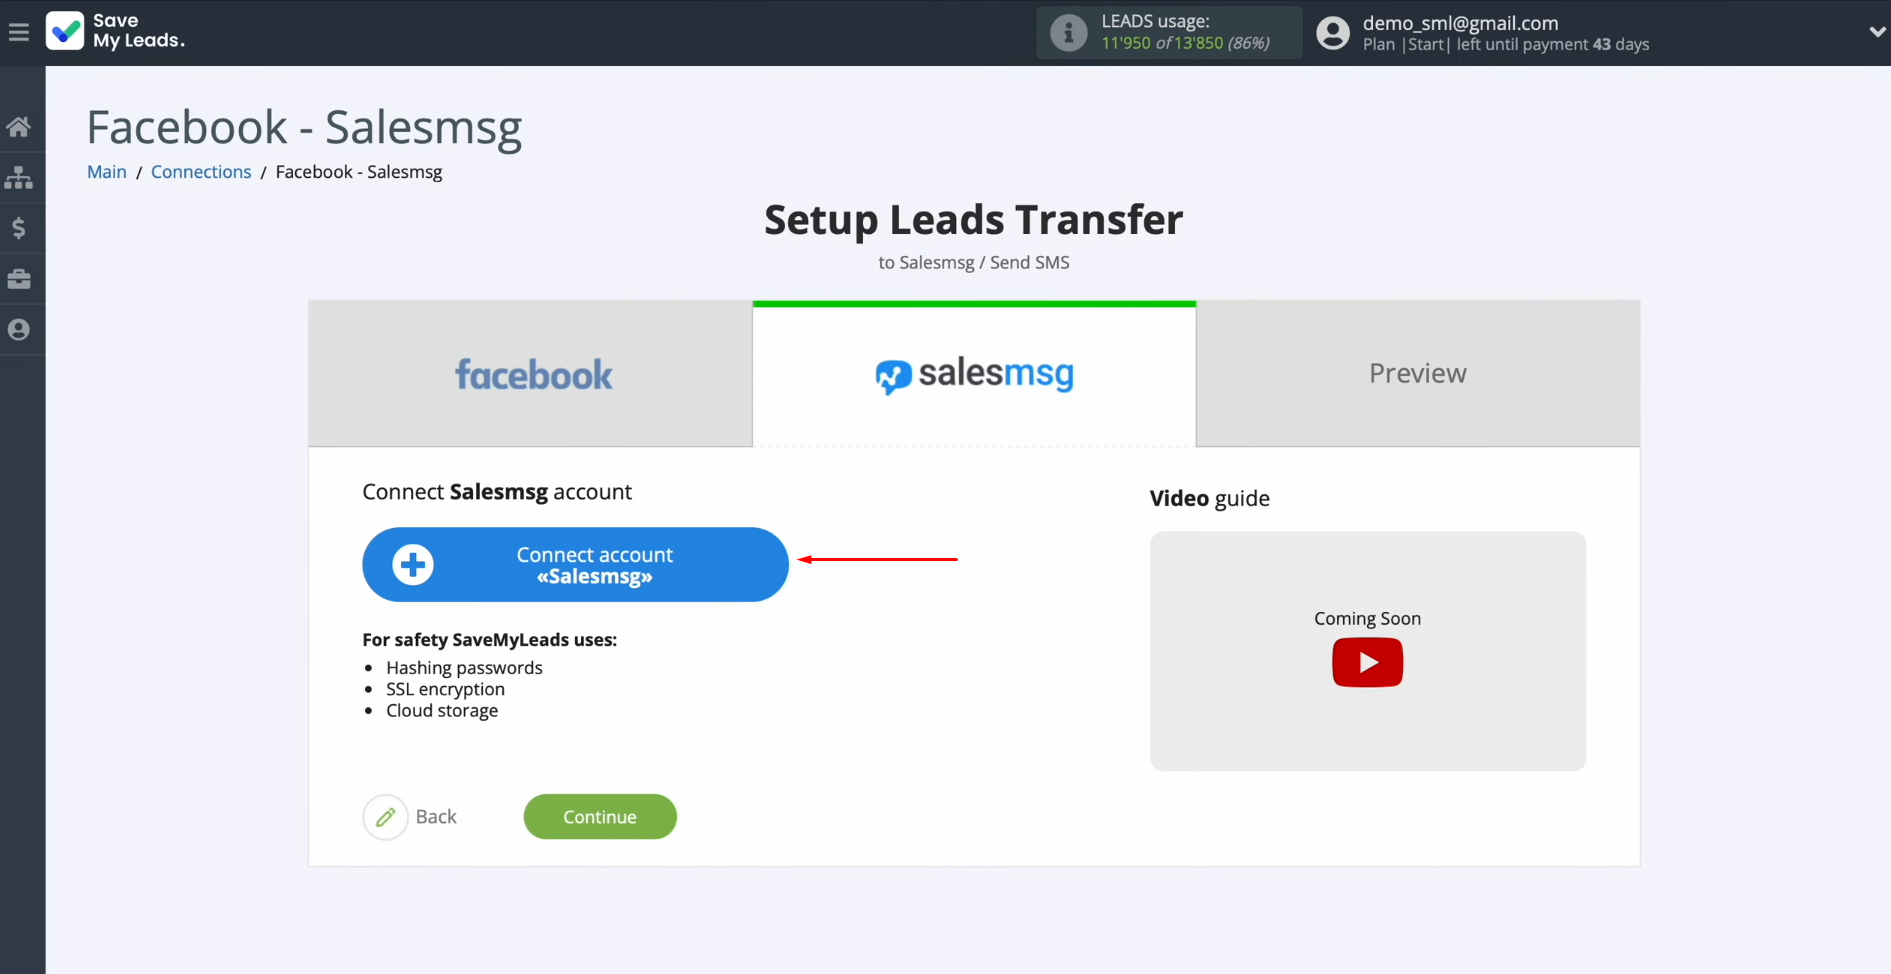
To set up Salesmsg integration with Facebook, you have to connect your Salesmsg account to SaveMyLeads. Click on the blue button.
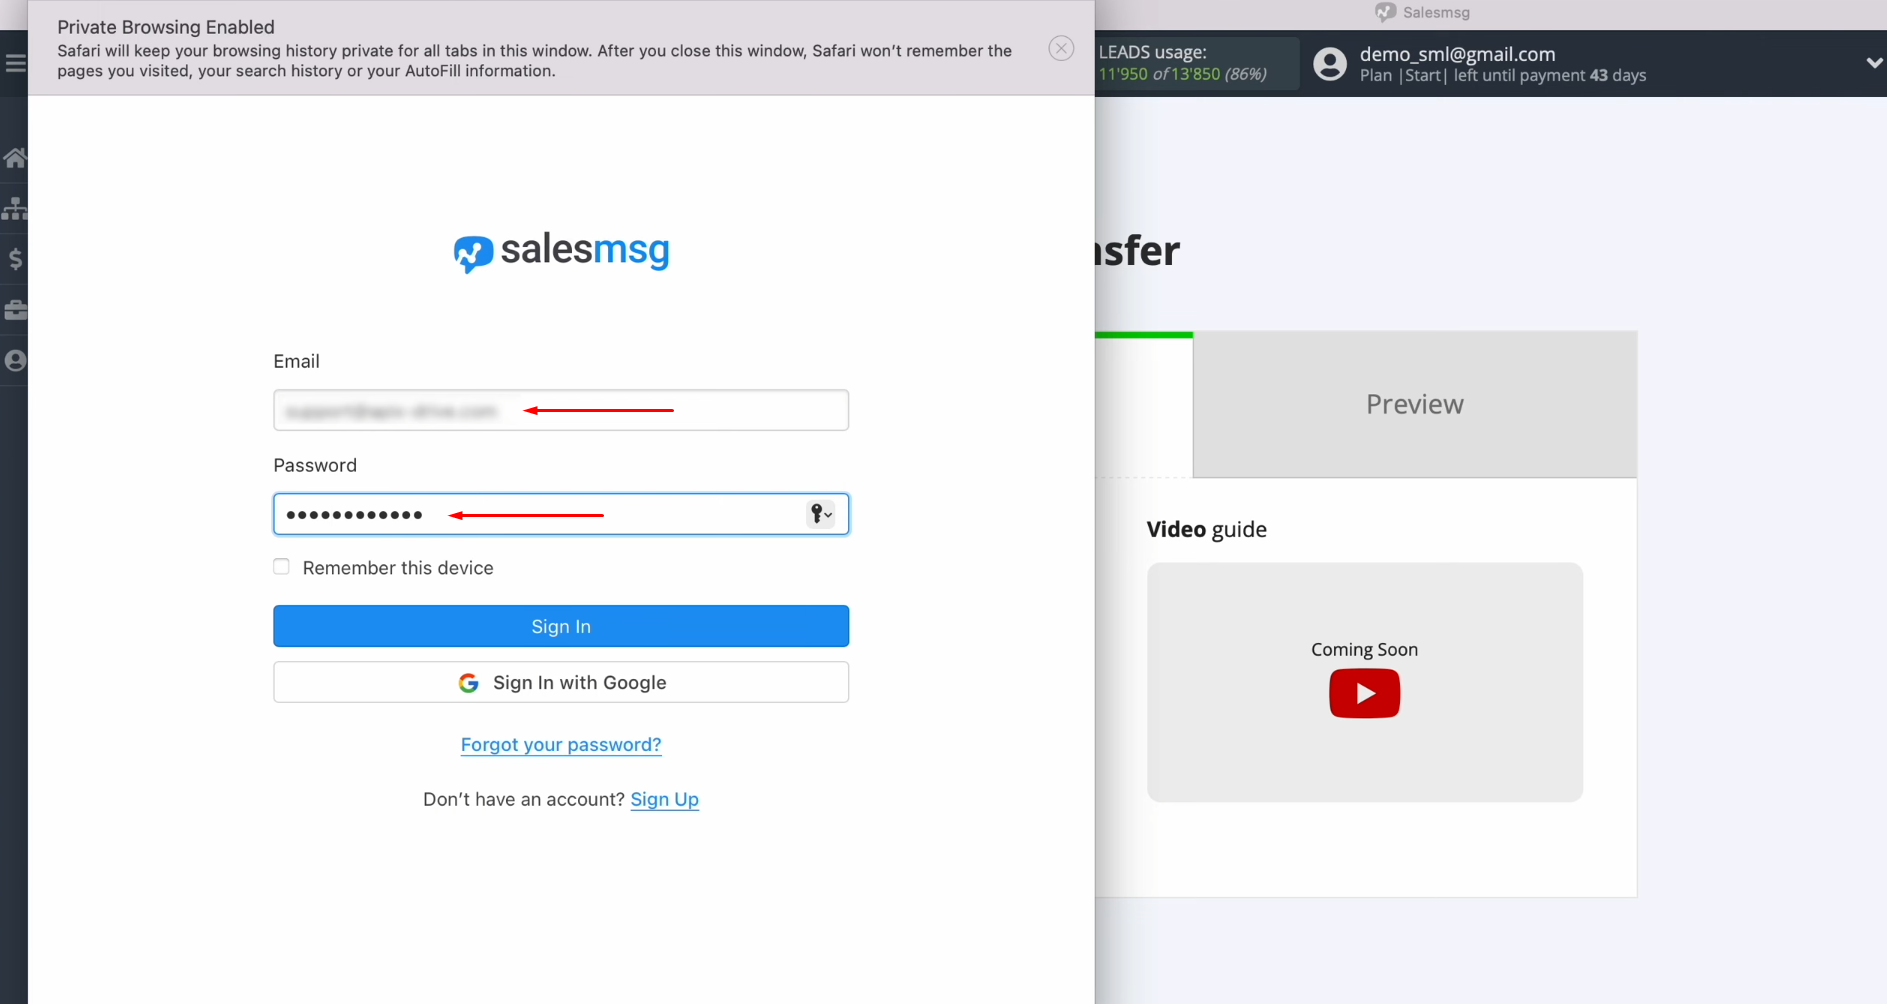
At
this stage,
you must specify the login and password for your Salesmsg personal account. Click “Sign in”.
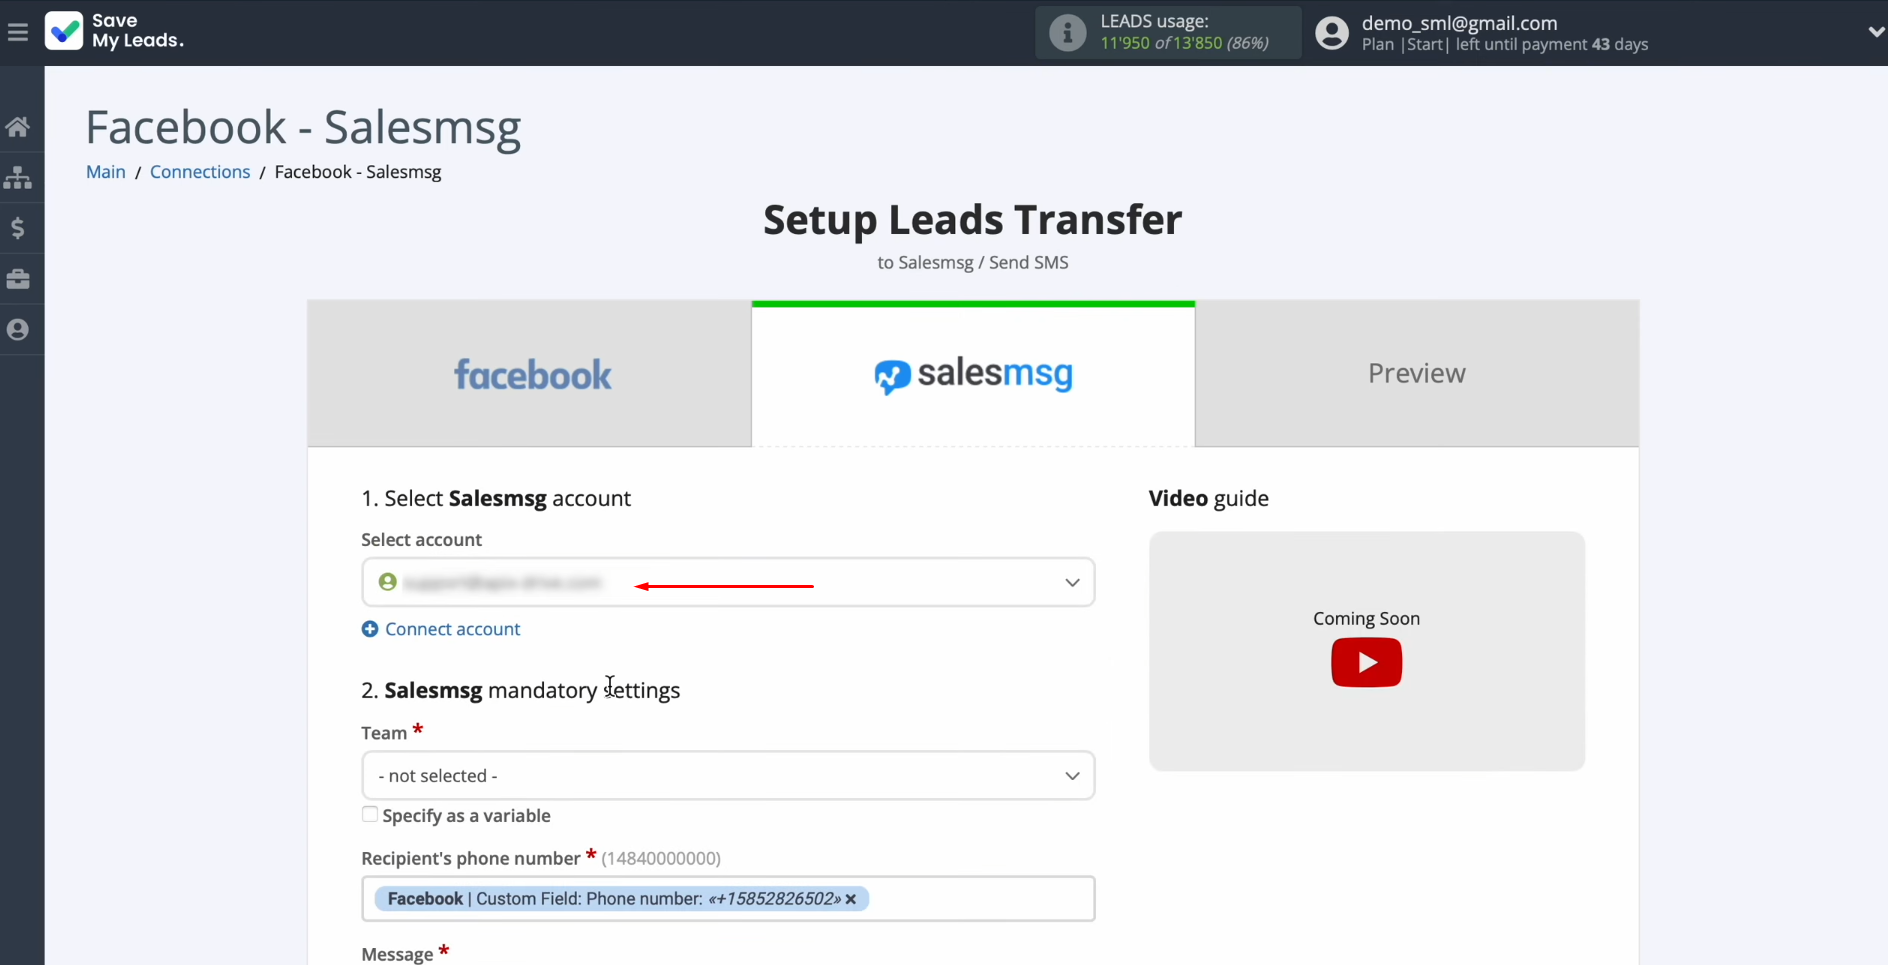
When
the connected account appears in the list, select it.
Now, you see the Salesmsg fields for sending SMS messages. First, select the team, which must first
be created in your Salesmsg
personal account.
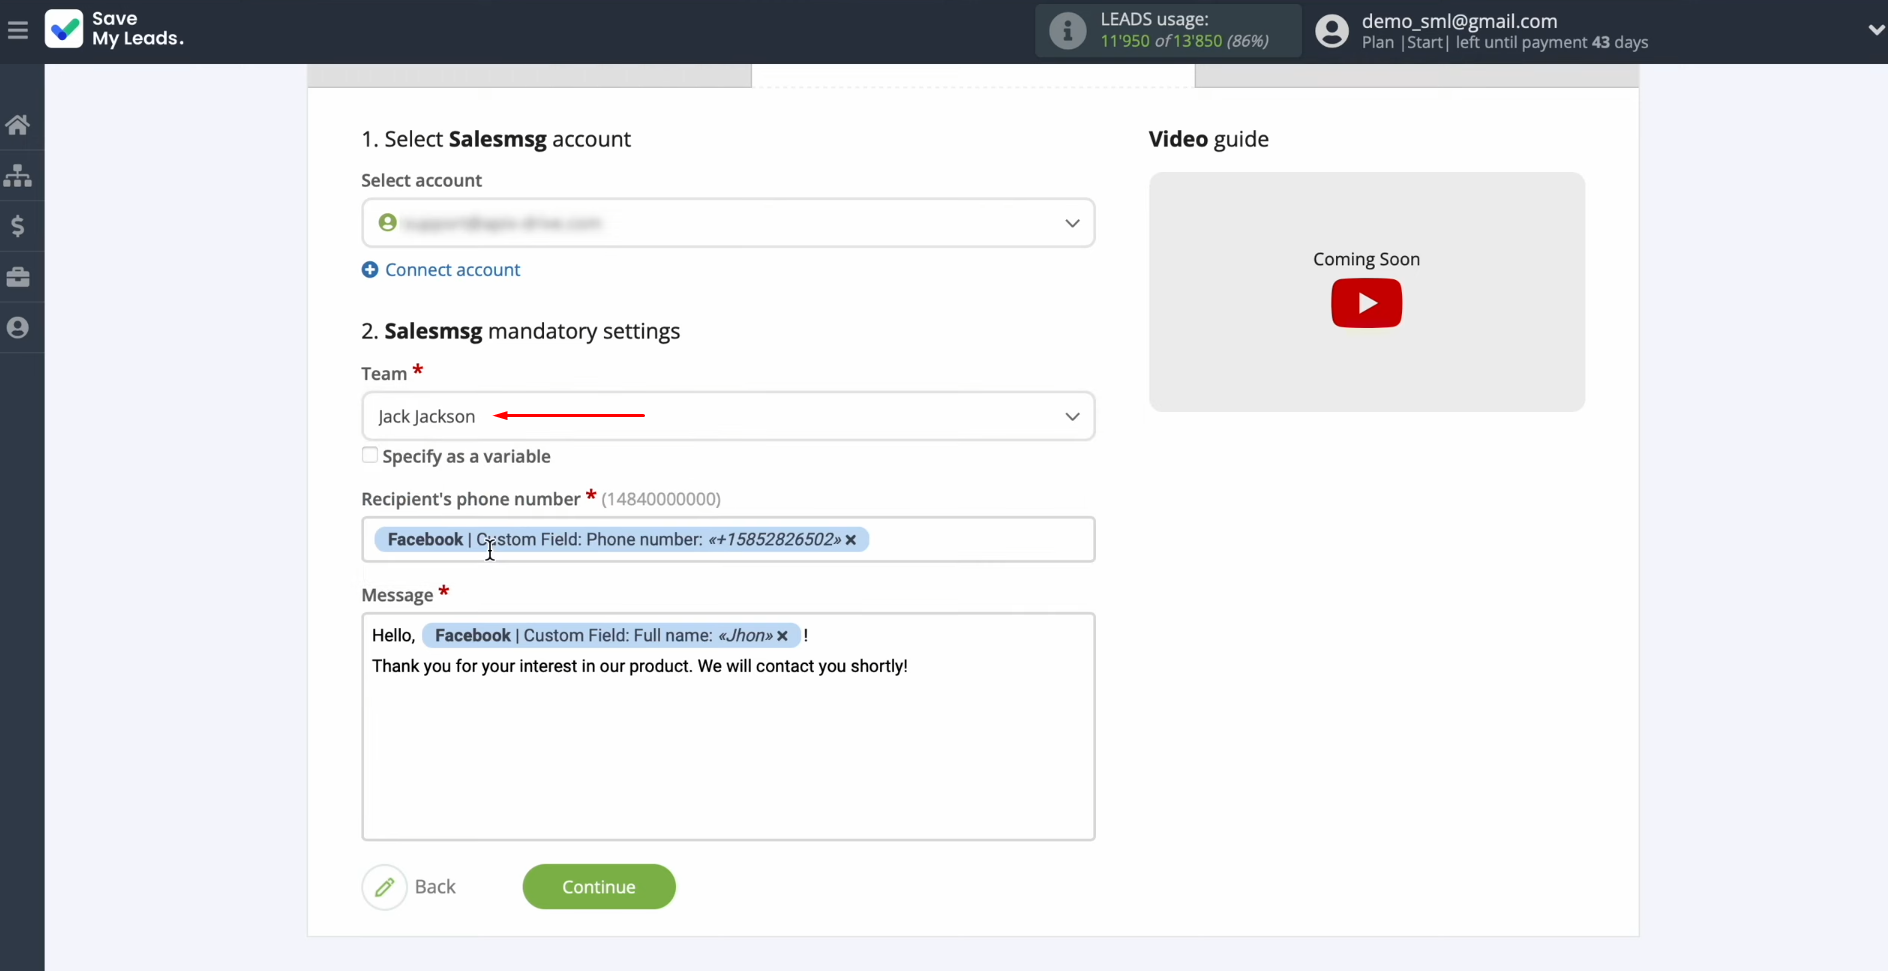
Next, you have to assign a variable from
Facebook with the phone number in the recipient's phone
number field. To achieve
this, click in the field and select a variable from the drop-down list.
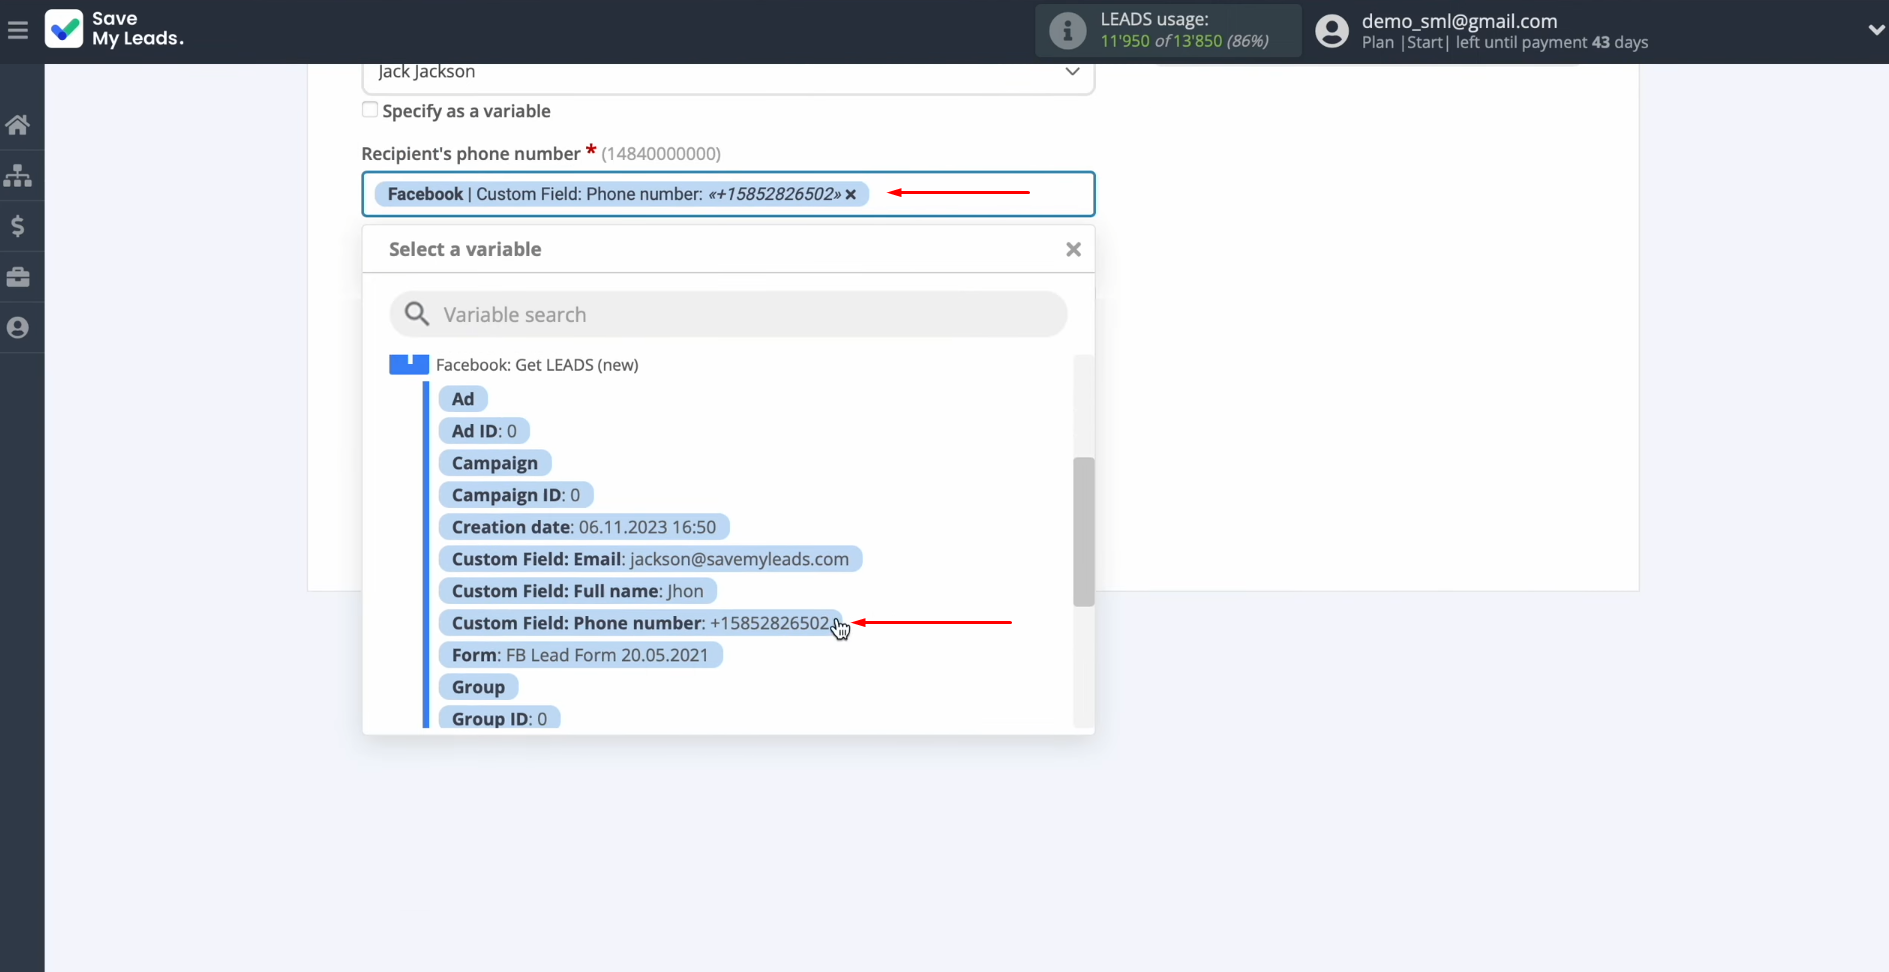
In the
message field, you can enter the text of the message that will be sent to
each lead from Facebook. Please note
that you can use not only variables from the drop-down list but also enter
data manually.
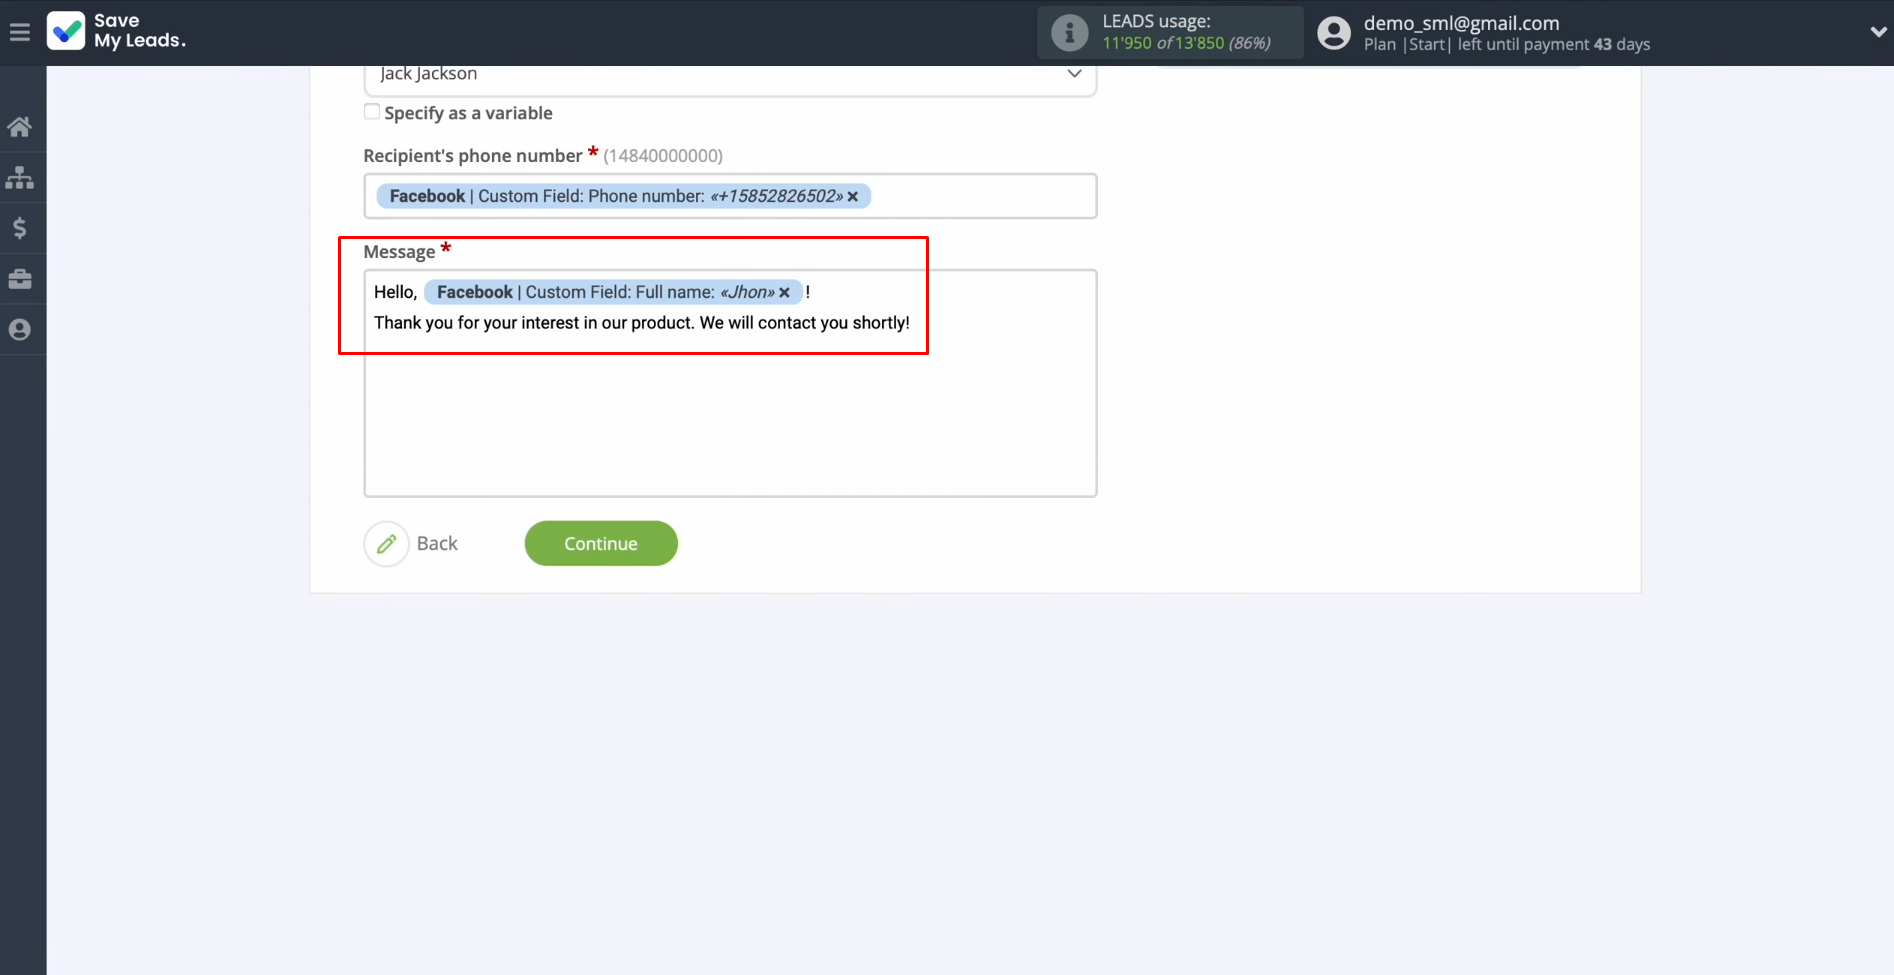
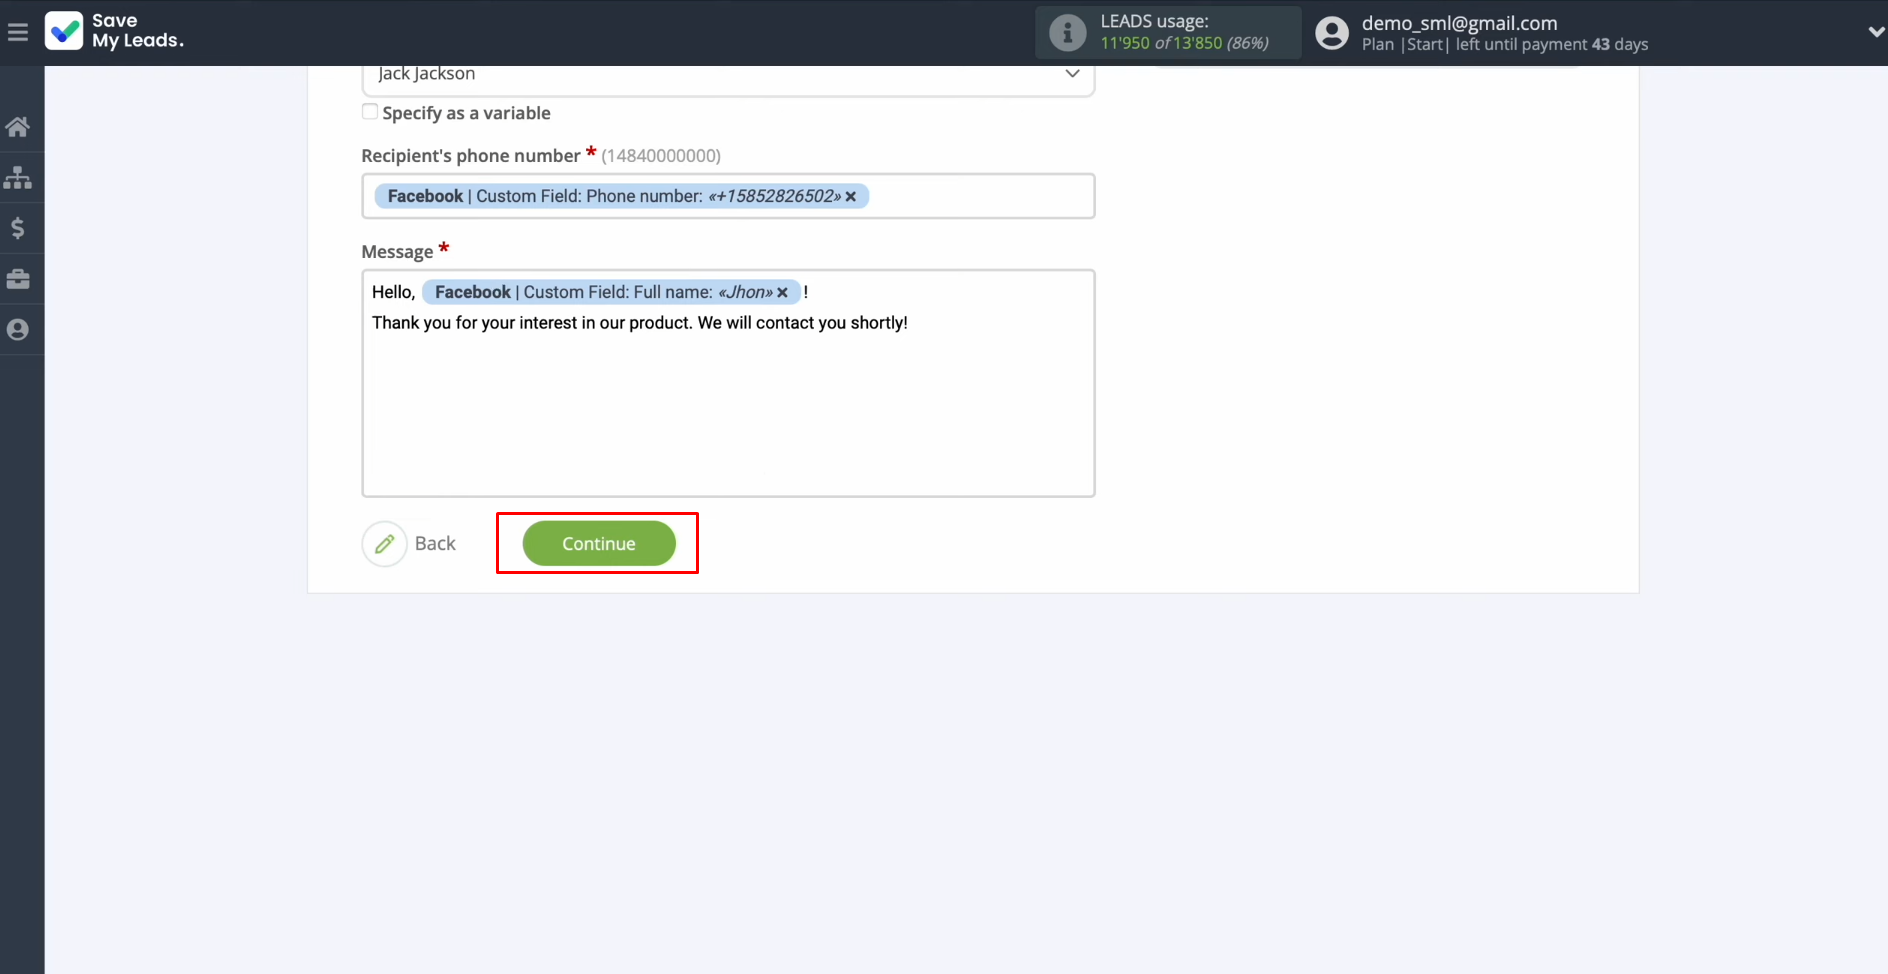
When all required fields are filled in, click "Continue".
Here you see an
example of an SMS message that will be sent through the Salesmsg service to each lead from Facebook. If you are not
satisfied with something, click back, and you will go back a step. To
check the correctness of the settings, click "Send
test data to Salesmsg".
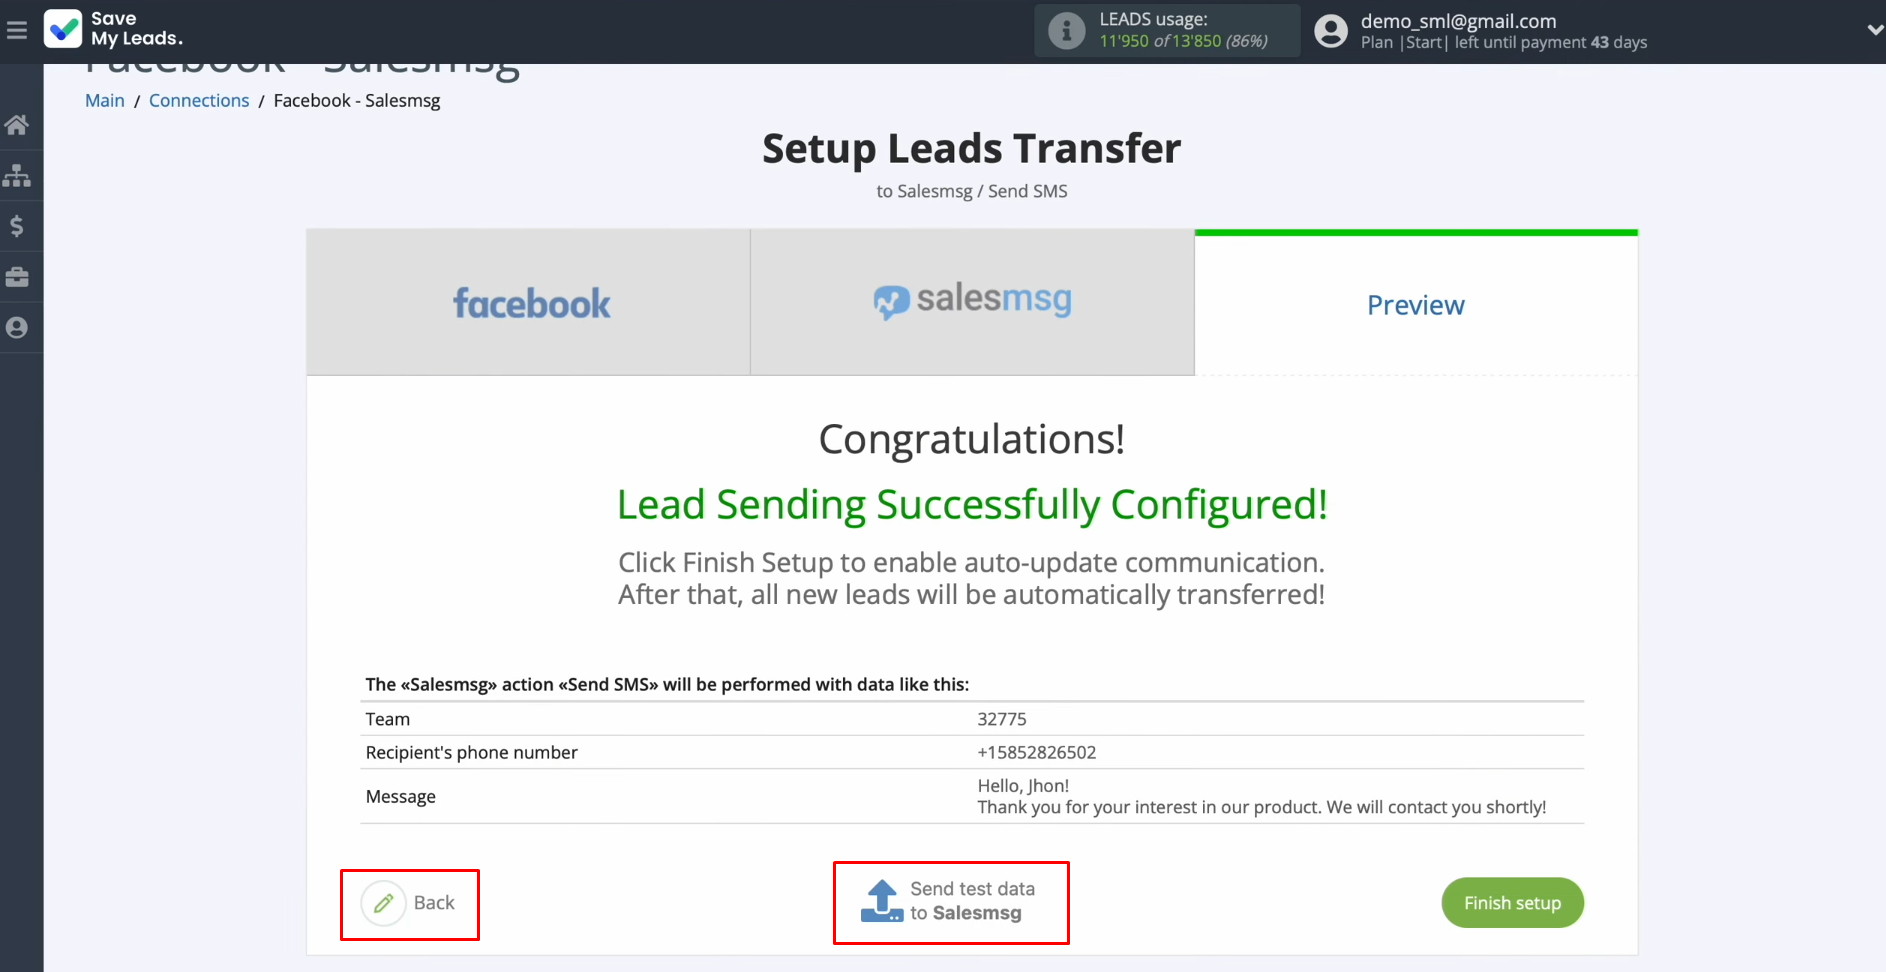
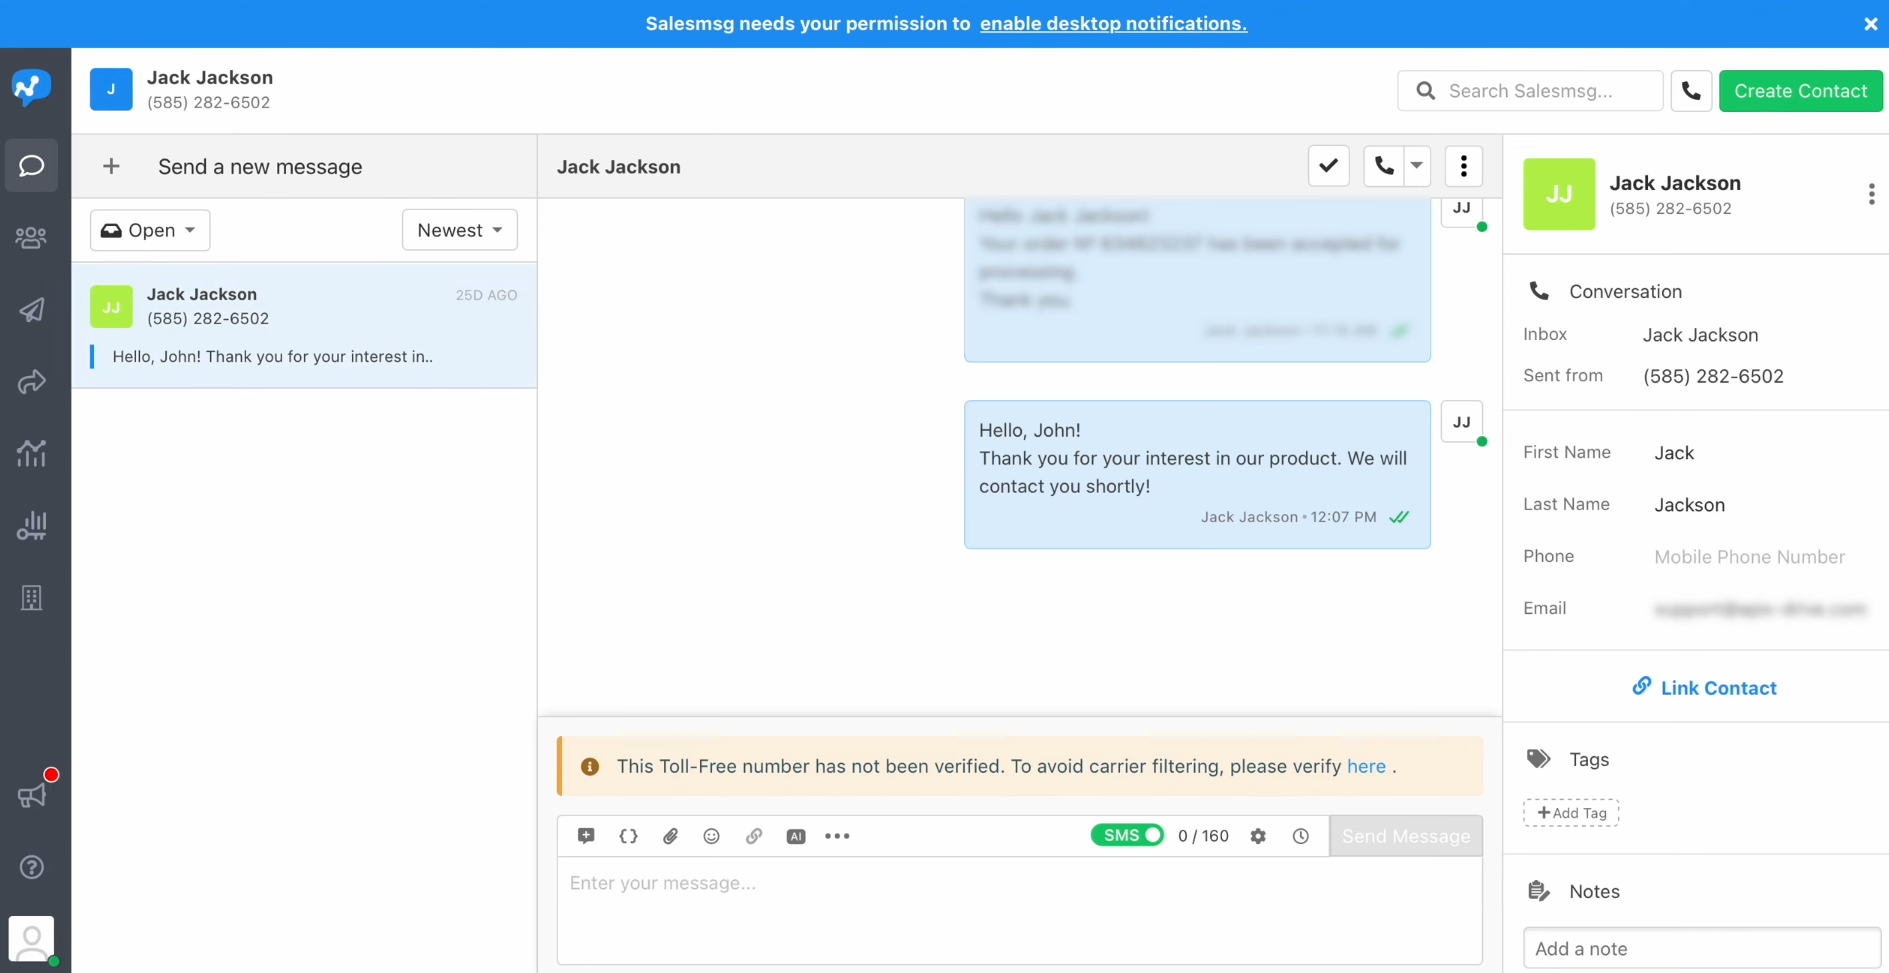
After successful sending, go to Salesmsg
and check the result. If you are satisfied with everything, return to SaveMyLeads and continue setting it up.
Setting up Auto-update
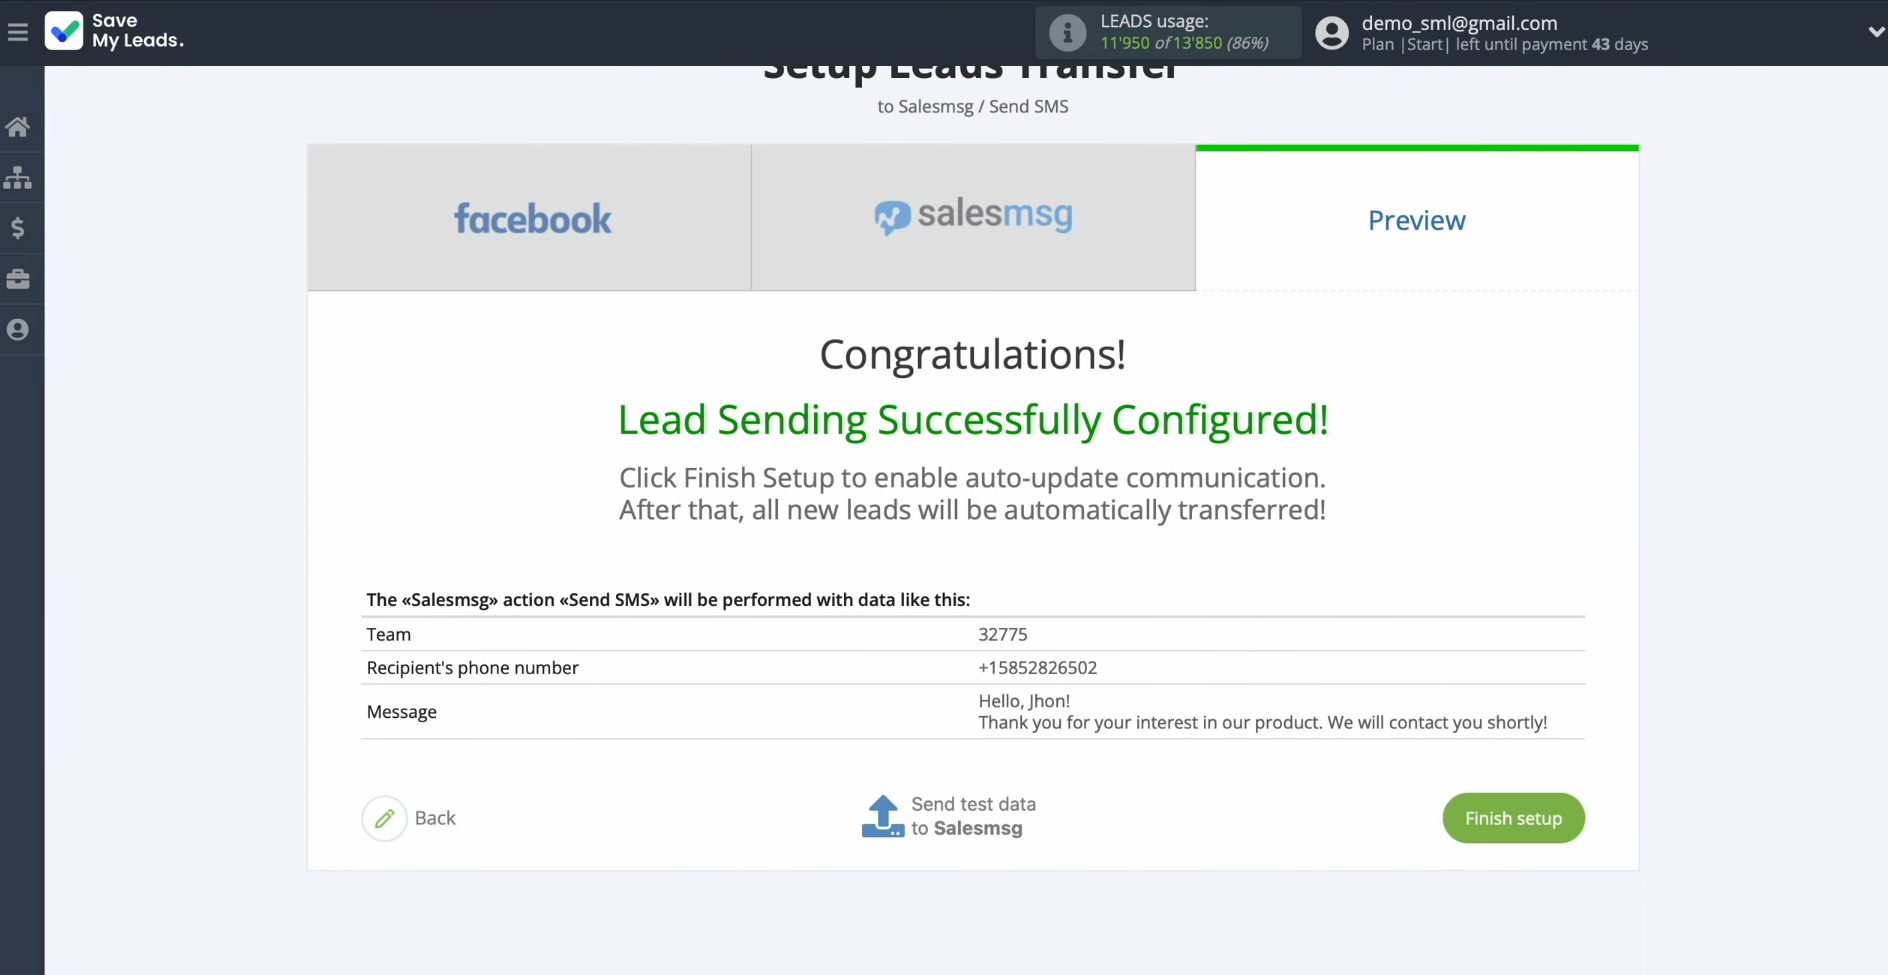
In order for each new lead from Facebook to instantly receive an SMS message via the Salesmsg you have to enable auto-update. To achieve this, click “Finish setup”.
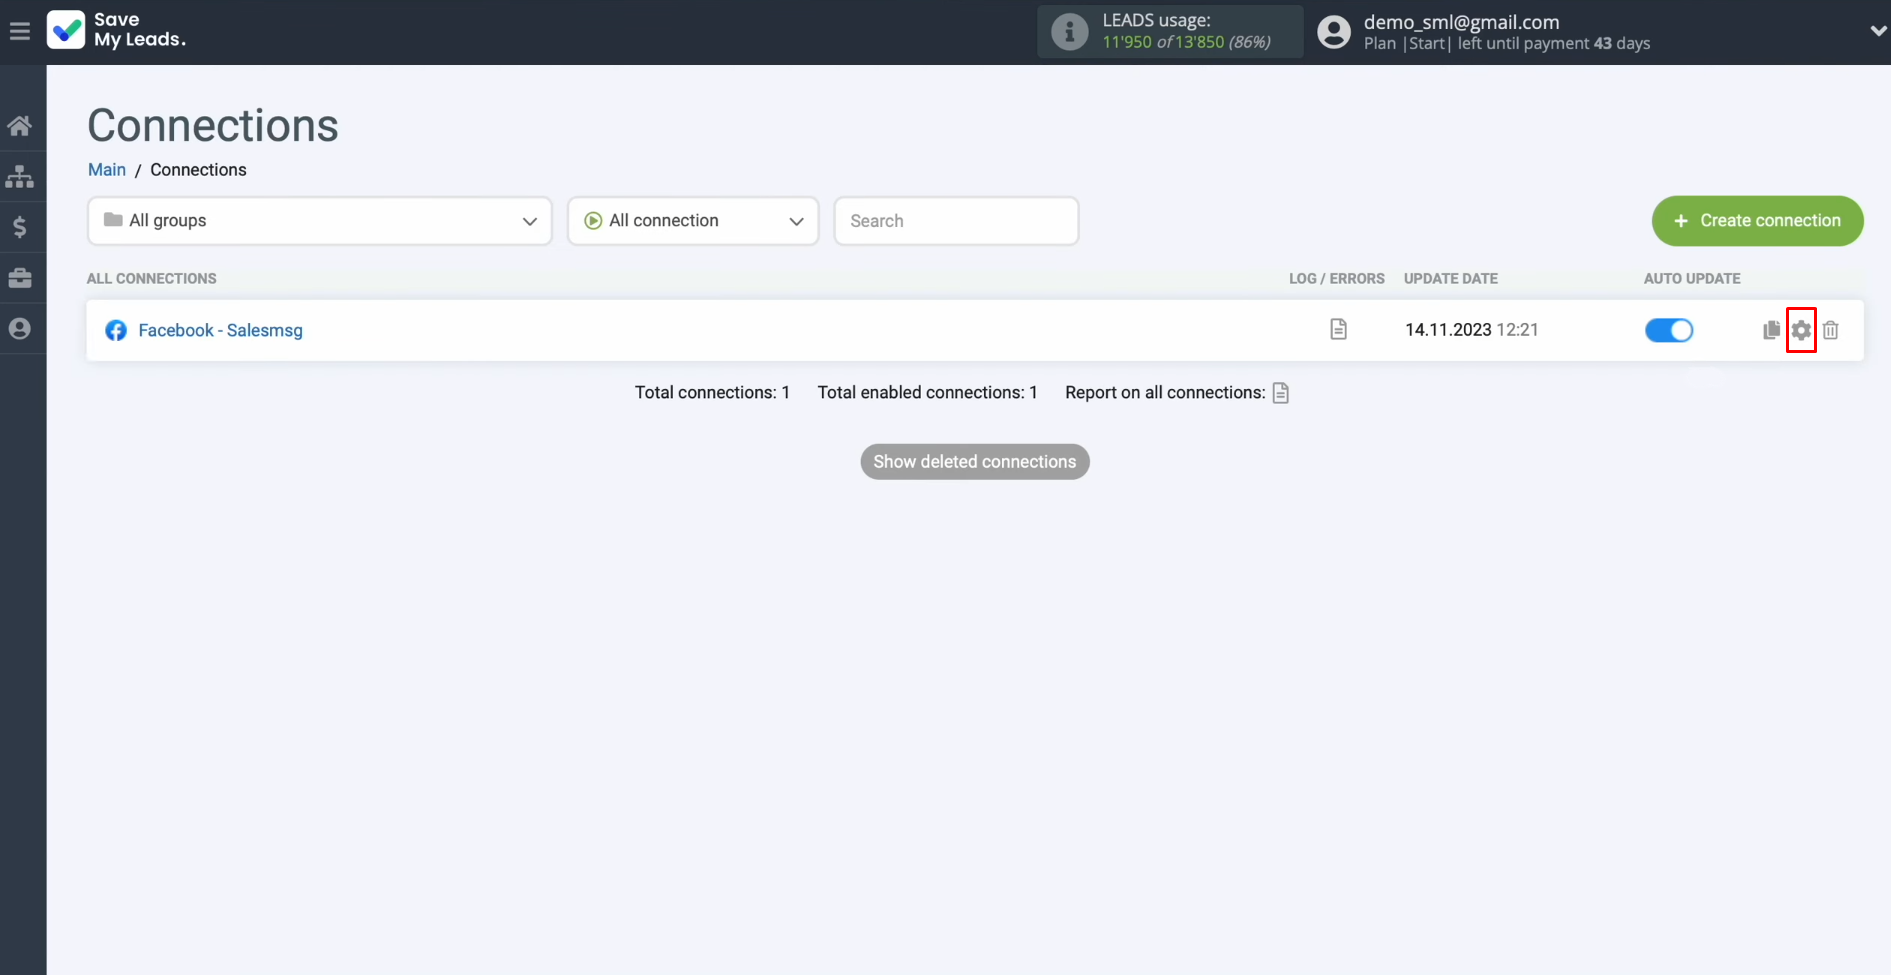
If you want to change the connection name, you can do this in its
settings. For this, click on the gear icon.
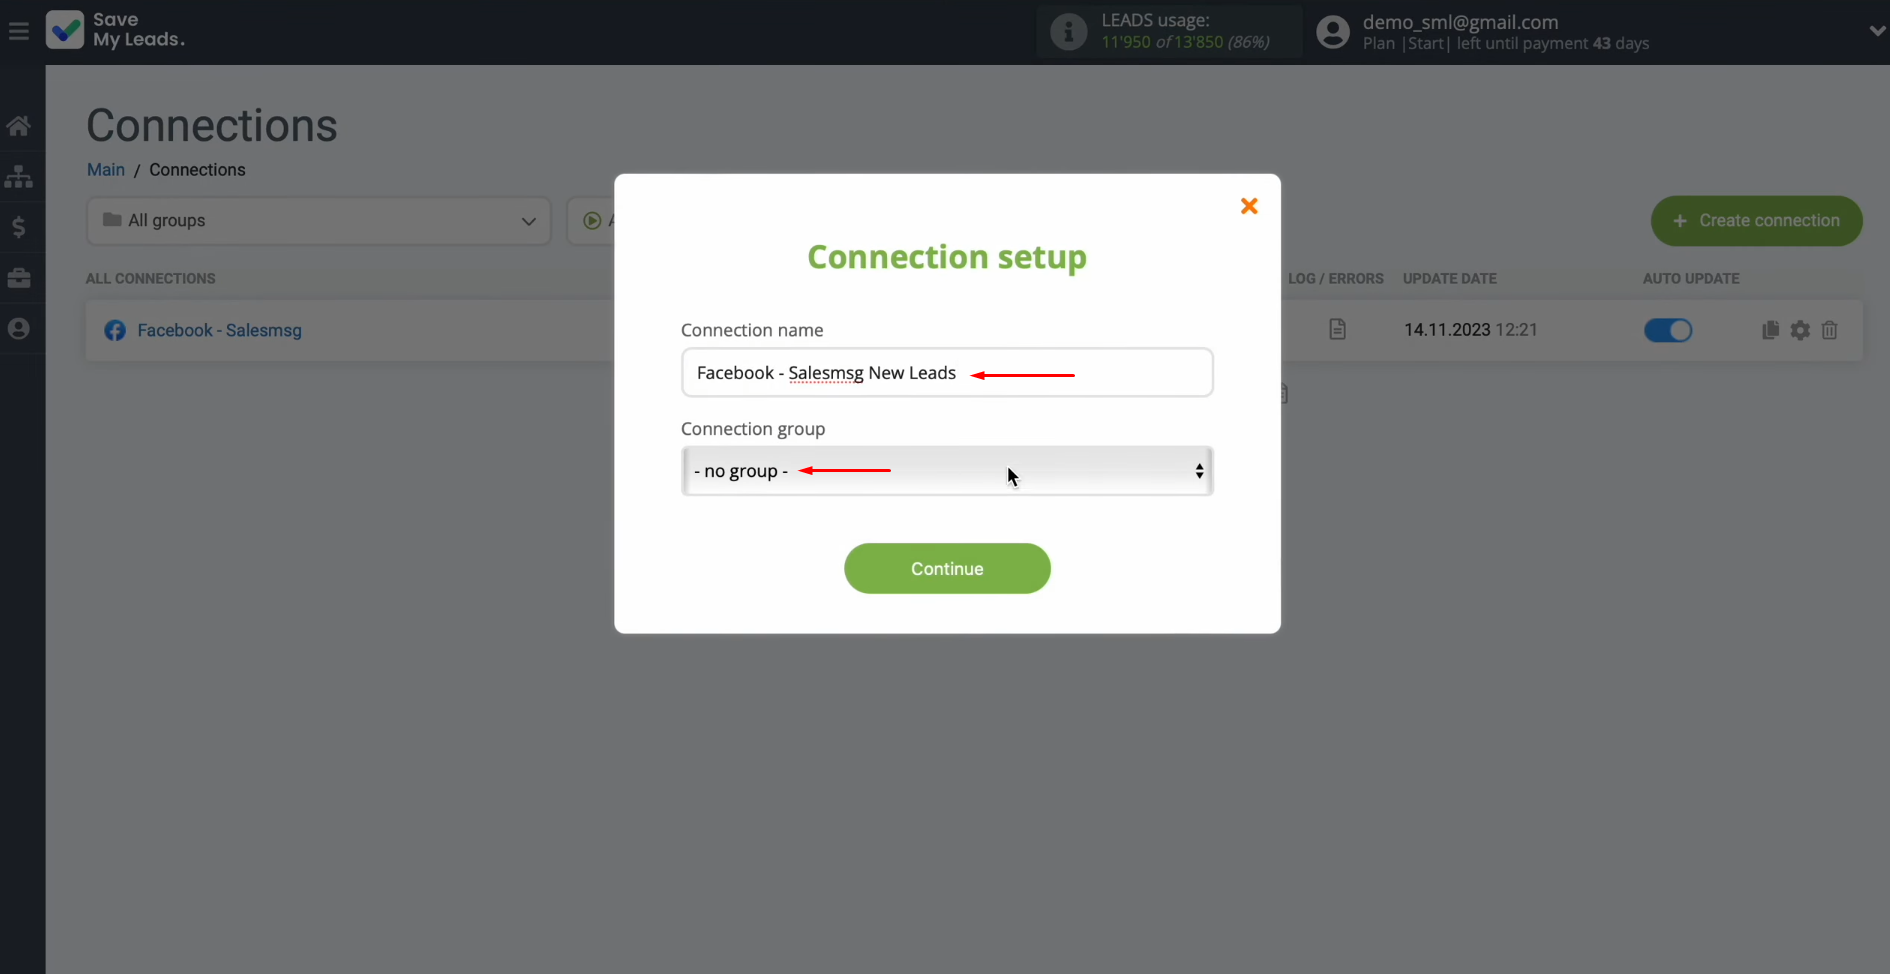
Change the connection name and add your
connection to the group. After that, click “Continue”.
That's
all. Salesmsg Facebook integration was completed.
Result of Facebook-Leads and Salesmsg Integration
As you have probably already seen, to integrate a commercial account on Facebook with the Salesmsg communication platform, you do not need any programming skills or the help of in-house or third-party IT specialists. The SaveMyLeads developers have already taken care of everything. Using this online connector, you can set up Facebook Salesmsg integration yourself without any problems, and our step-by-step instructions will help you accelerate this process and avoid mistakes. We wish you success!
Don't waste another minute manually transferring leads from Facebook to other systems. SaveMyLeads is a simple and effective tool that will allow you to automate this process so that you don't have to spend time on the routine. Try SaveMyLeads features, make sure that this tool will relieve your employees and after 5 minutes of settings your business will start working faster.
