This guide will show you how to set up the upload of leads from your Facebook ad account to the Mailgun email marketing service using the SaveMyLeads online connector.
Contents:
1. How to set up Facebook and Mailgun integration
2. Connect Facebook Leads Ads
3. Connect Mailgun
4. Automate data update
5. Finish the setup
Facebook is widely used as a social network for successful business and an additional source of lead generation. Using it business owners can significantly expand their client base, promote their products and services among a multi-million audience.
As the business grows and develops on this social network, the client base will expand, which is not convenient to work with directly on Facebook. For example, it is much more convenient to send email newsletters from a special service that has wide functionality for this, in contrast to social networks. In addition, the integration of Facebook with the email newsletter service will help automate mailing to the customer base.
One of these services is Mailgun. It is very popular due to its wide functionality even in the free version. This SaaS solution has a user interface designed specifically for those who want to customize their mailing list for their business needs. In addition, there are various tools for monitoring the effectiveness of mailing, the ability to segment the audience into groups and other tools.
By uploading leads from your Facebook ad account to Mailgun, you can add contacts to your mailing list and work with them in the future. To set up lead uploading, you need to integrate the work of these services.
How to set up Facebook and Mailgun integration
To set up the integration of Facebook and the Mailgun email newsletter service, you will need programming knowledge or the help of IT specialists who understand APIs and can work with codes and requests. But, if the company's staff does not have a programmer and you are not versed in IT development, the SaveMyLeads online connector will help you set up the integration. The connector has an intuitive interface.
Thanks to its simplicity, you can independently integrate the work of different services and applications. You don’t need the help of specialists, you don’t have to learn the intricacies of the API interface. And if you have any difficulties when working with the SaveMyLeads service, you can use step-by-step instructions or training videos.
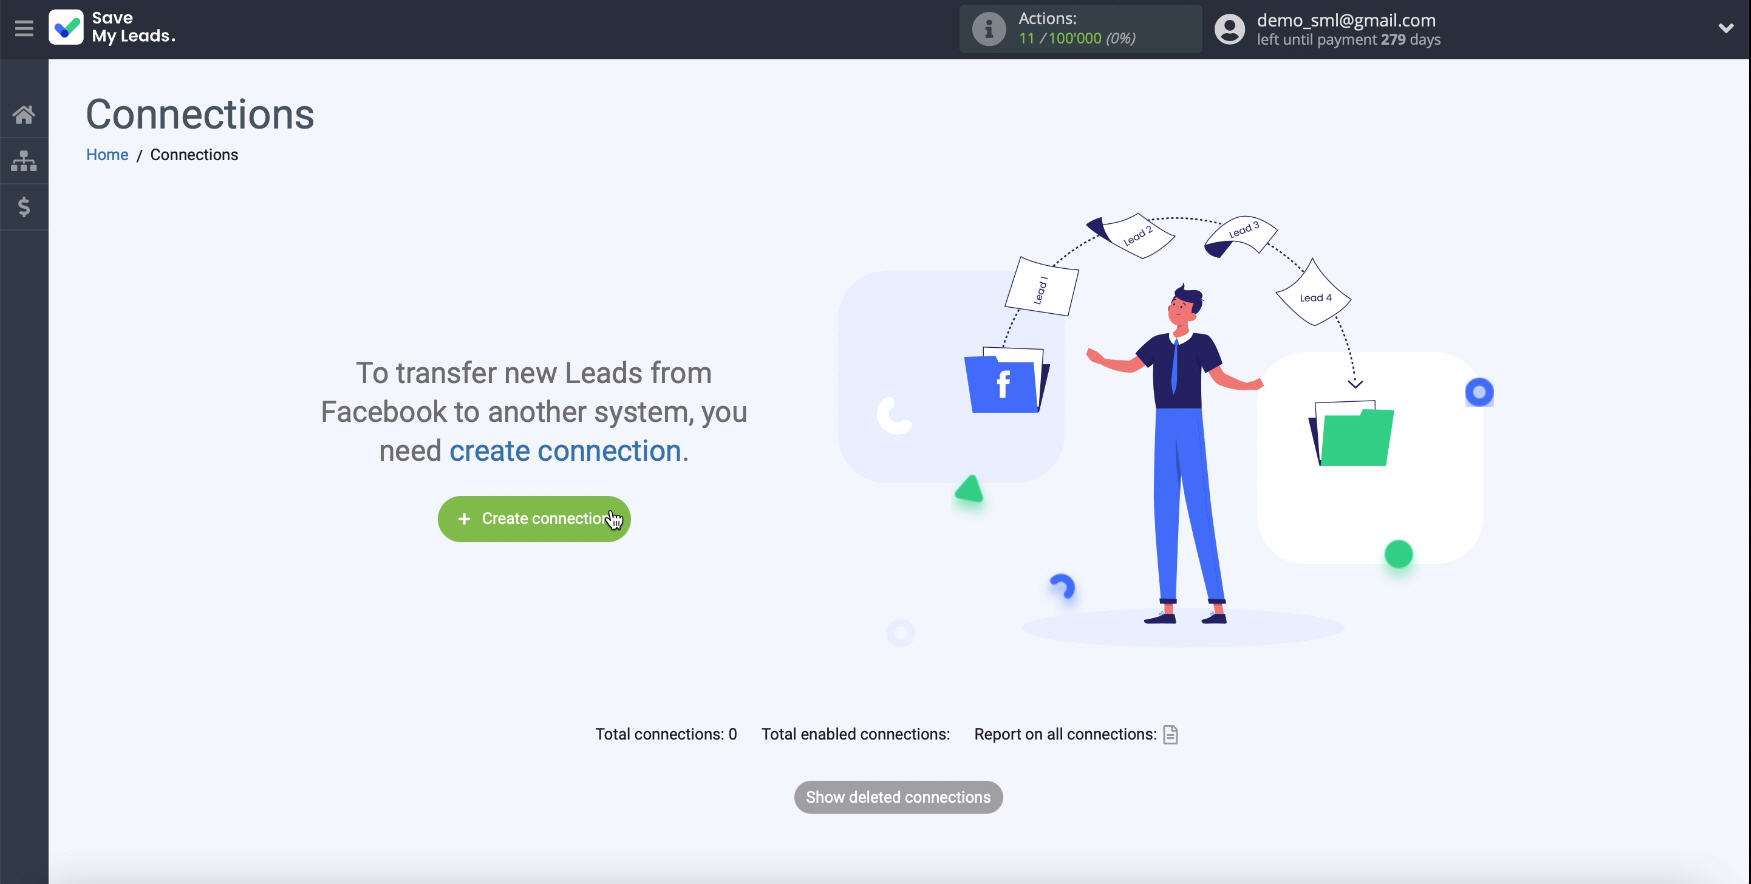
Before setting up the connection, you need to go through a simple registration on the SaveMyLeads website. To do this, you need to enter your email and come up with a password for your personal account. After that, go to your personal account and click "Create connection".
Connect Facebook Leads Ads
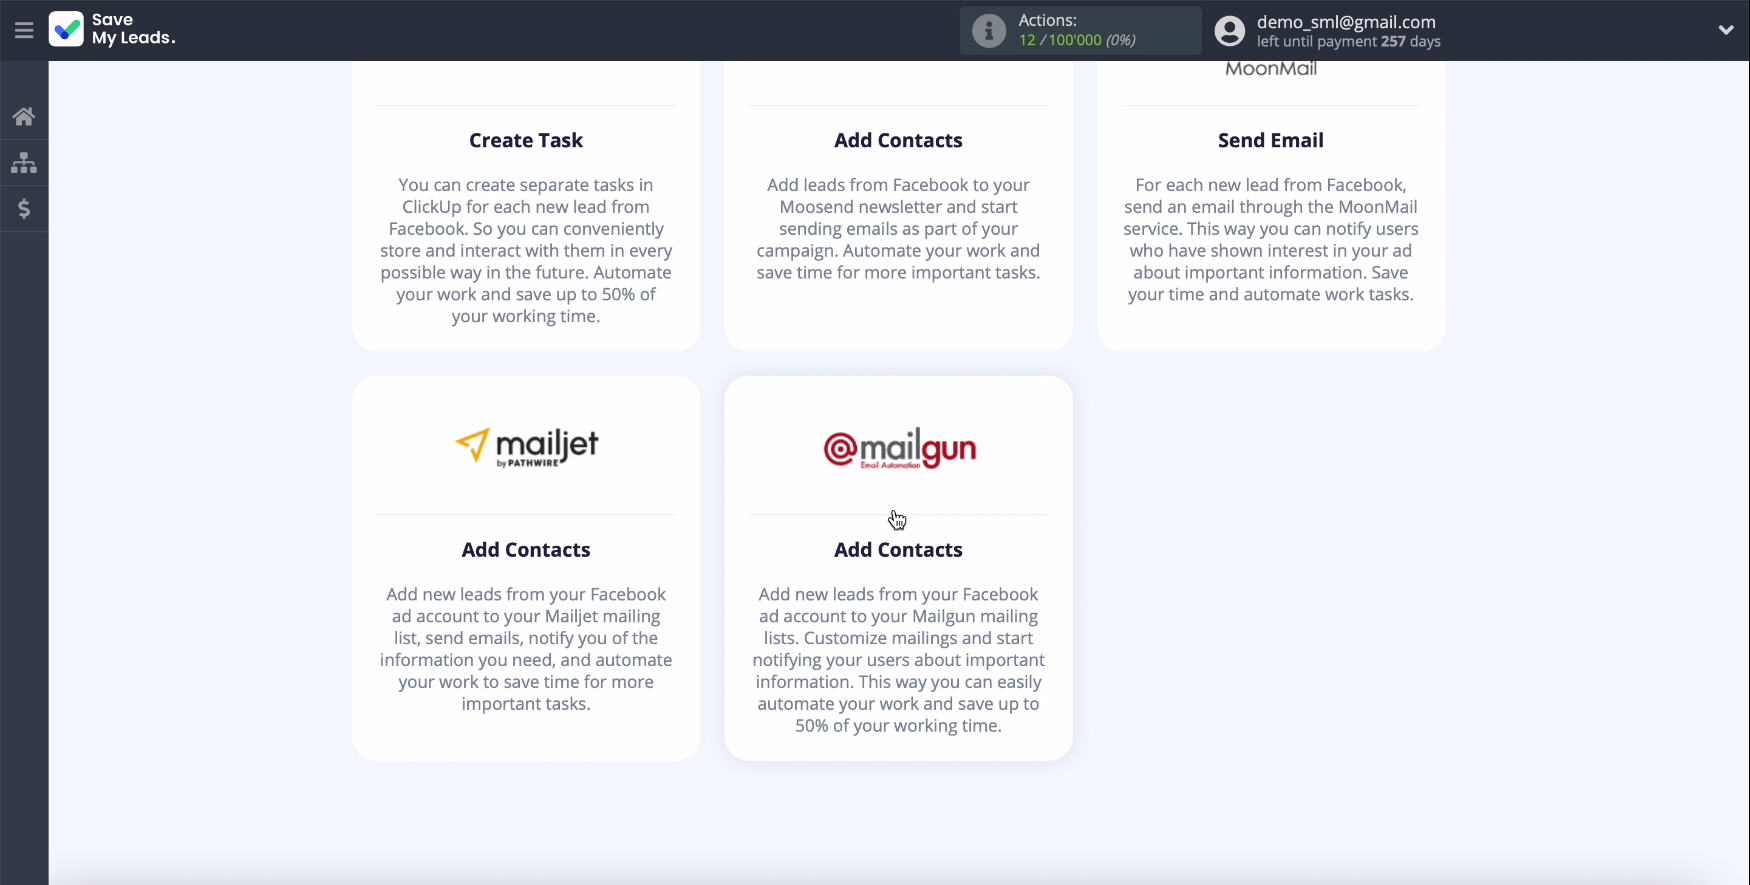
First, select a ready-made system template to which data will be transferred, in our case - Mailgun.
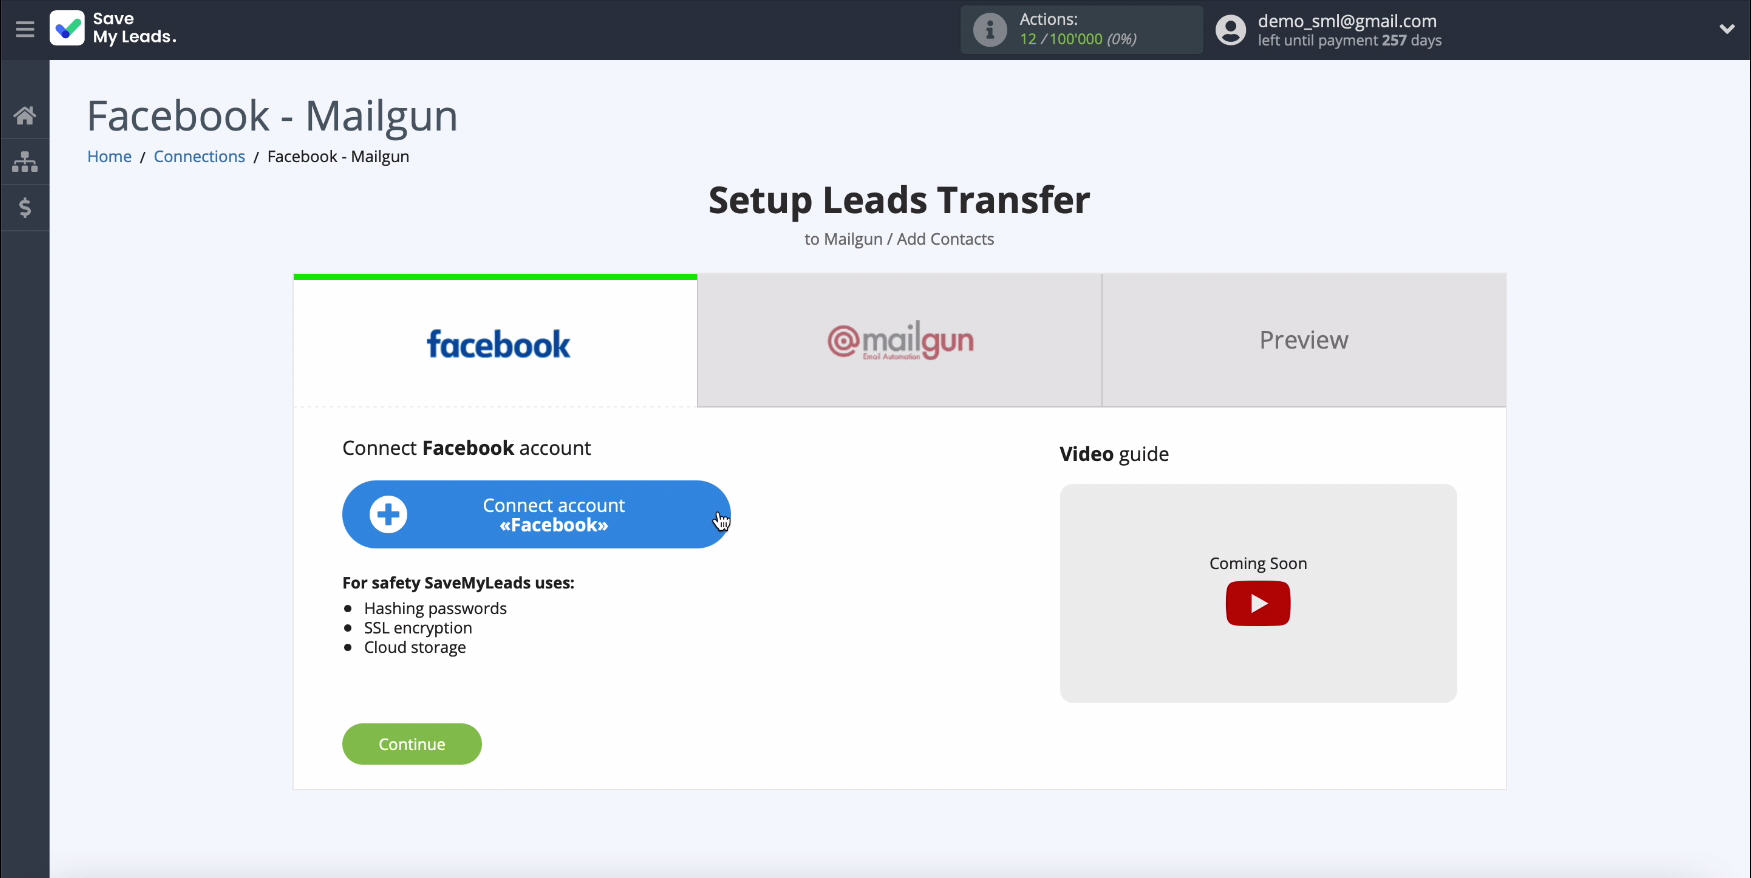
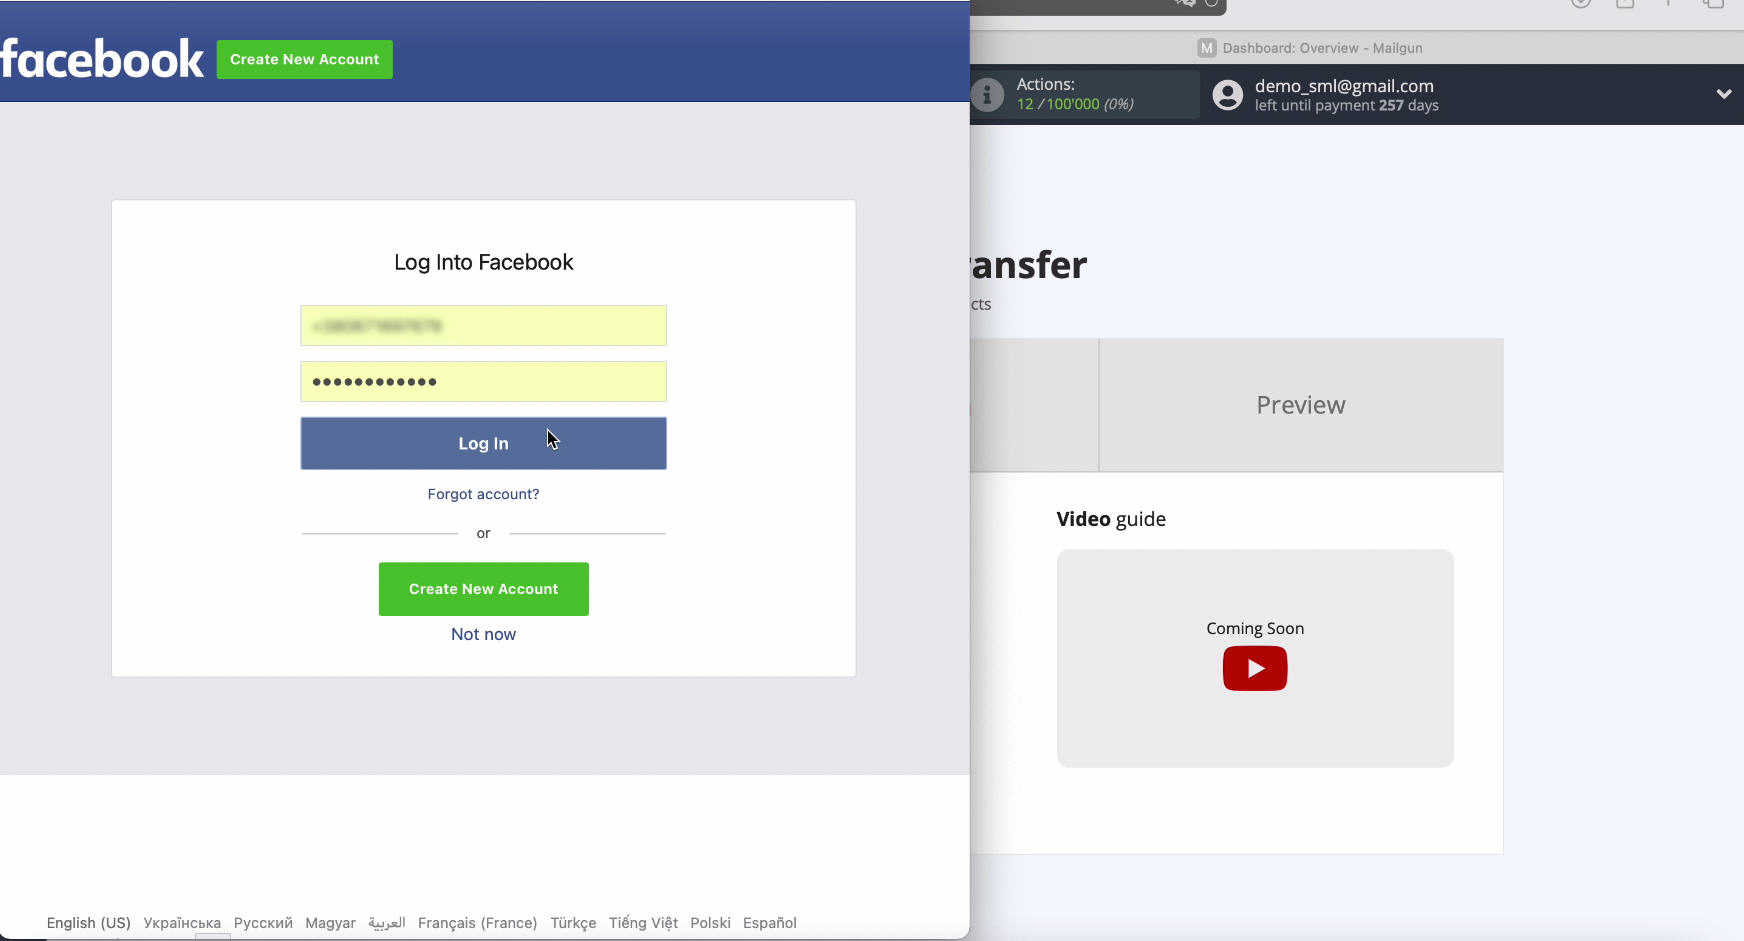
Connect your Facebook account to the SaveMyLeads service. Enter your username and password from your personal account.
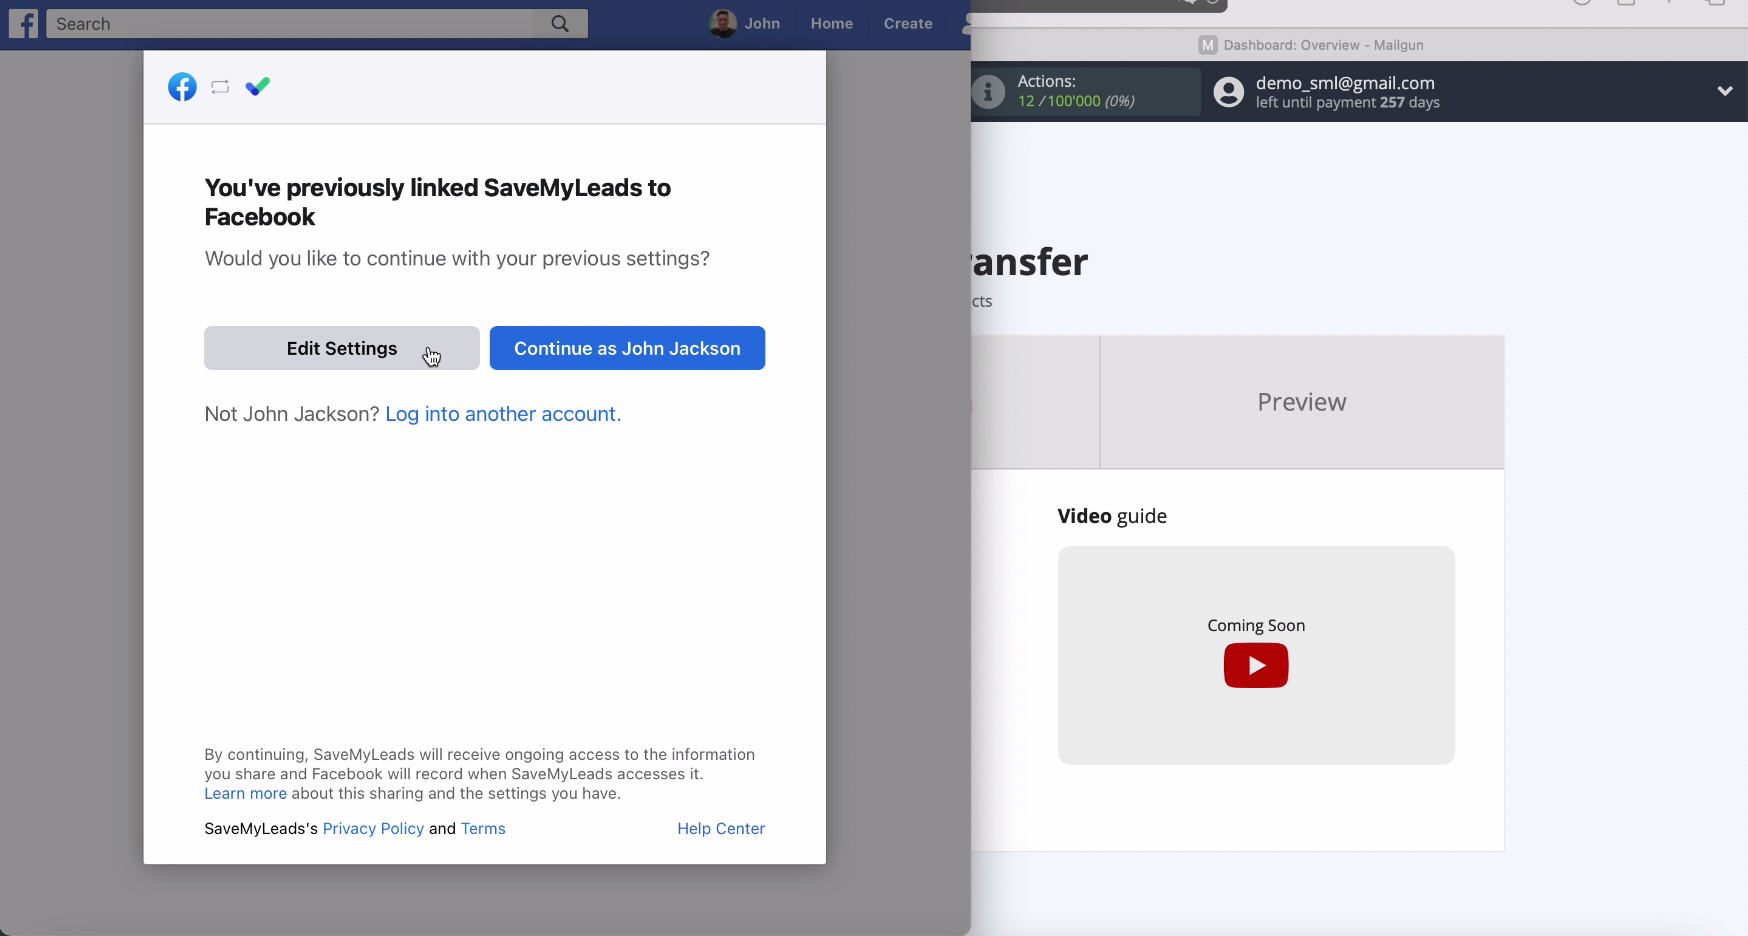
Click Edit settings to continue setting
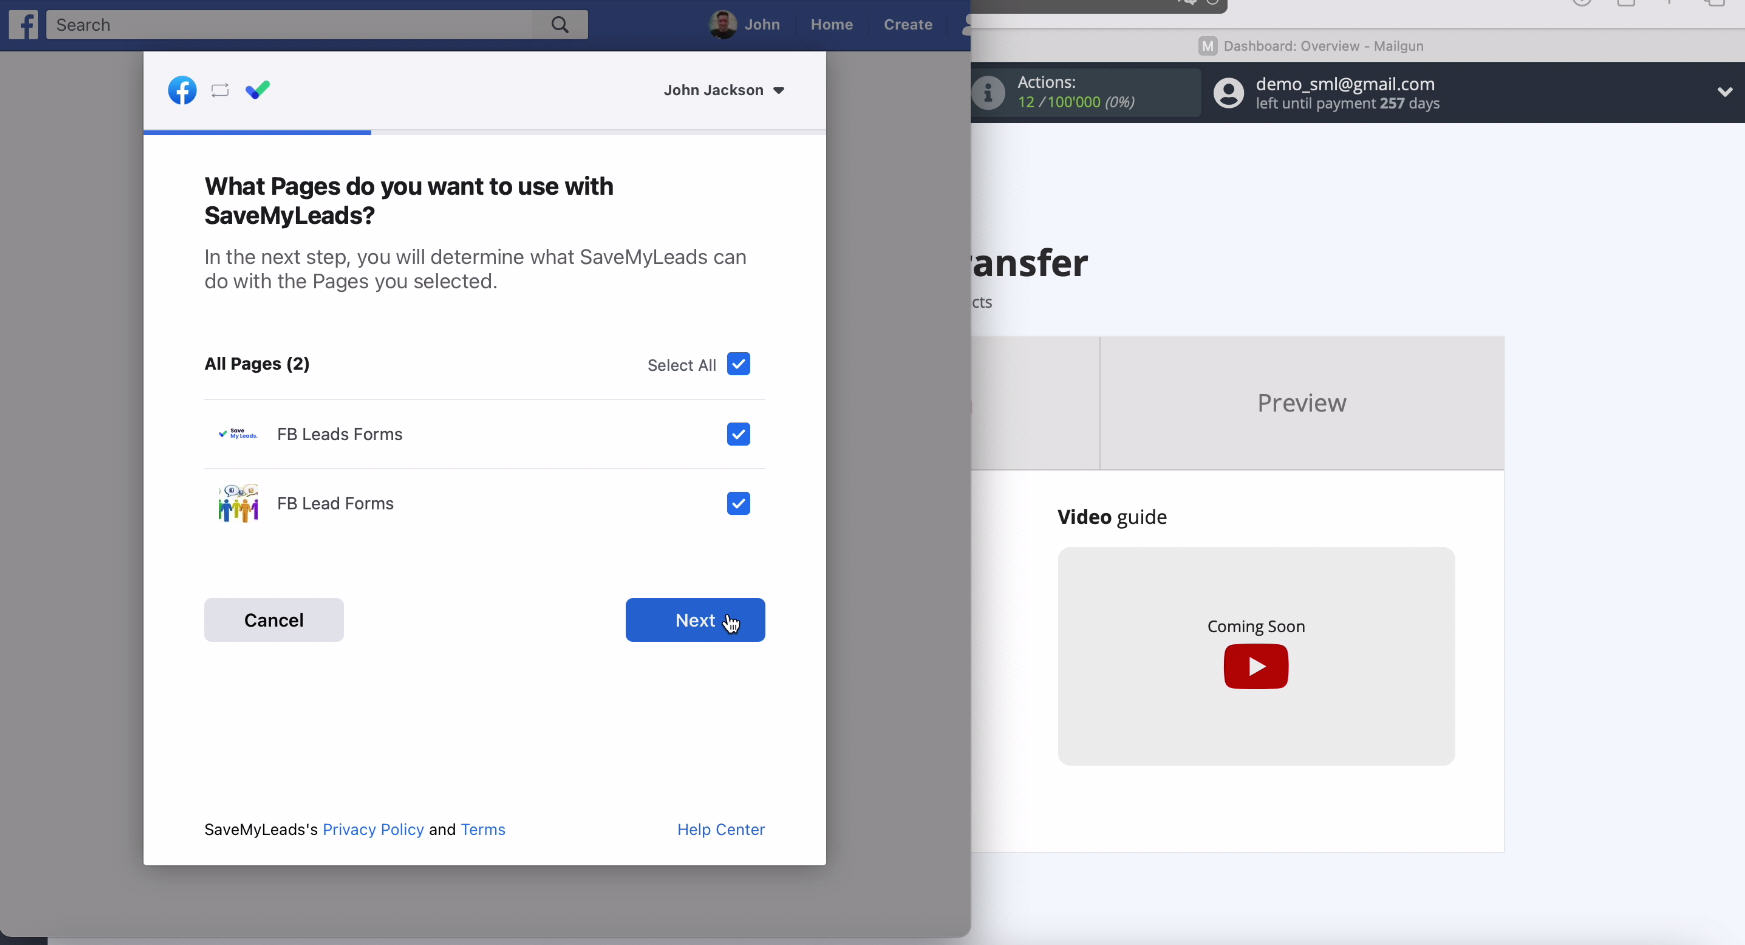
At this stage you can see the advertising pages to which you have access. Check them all and in the future, if necessary, you will be able to work with them.
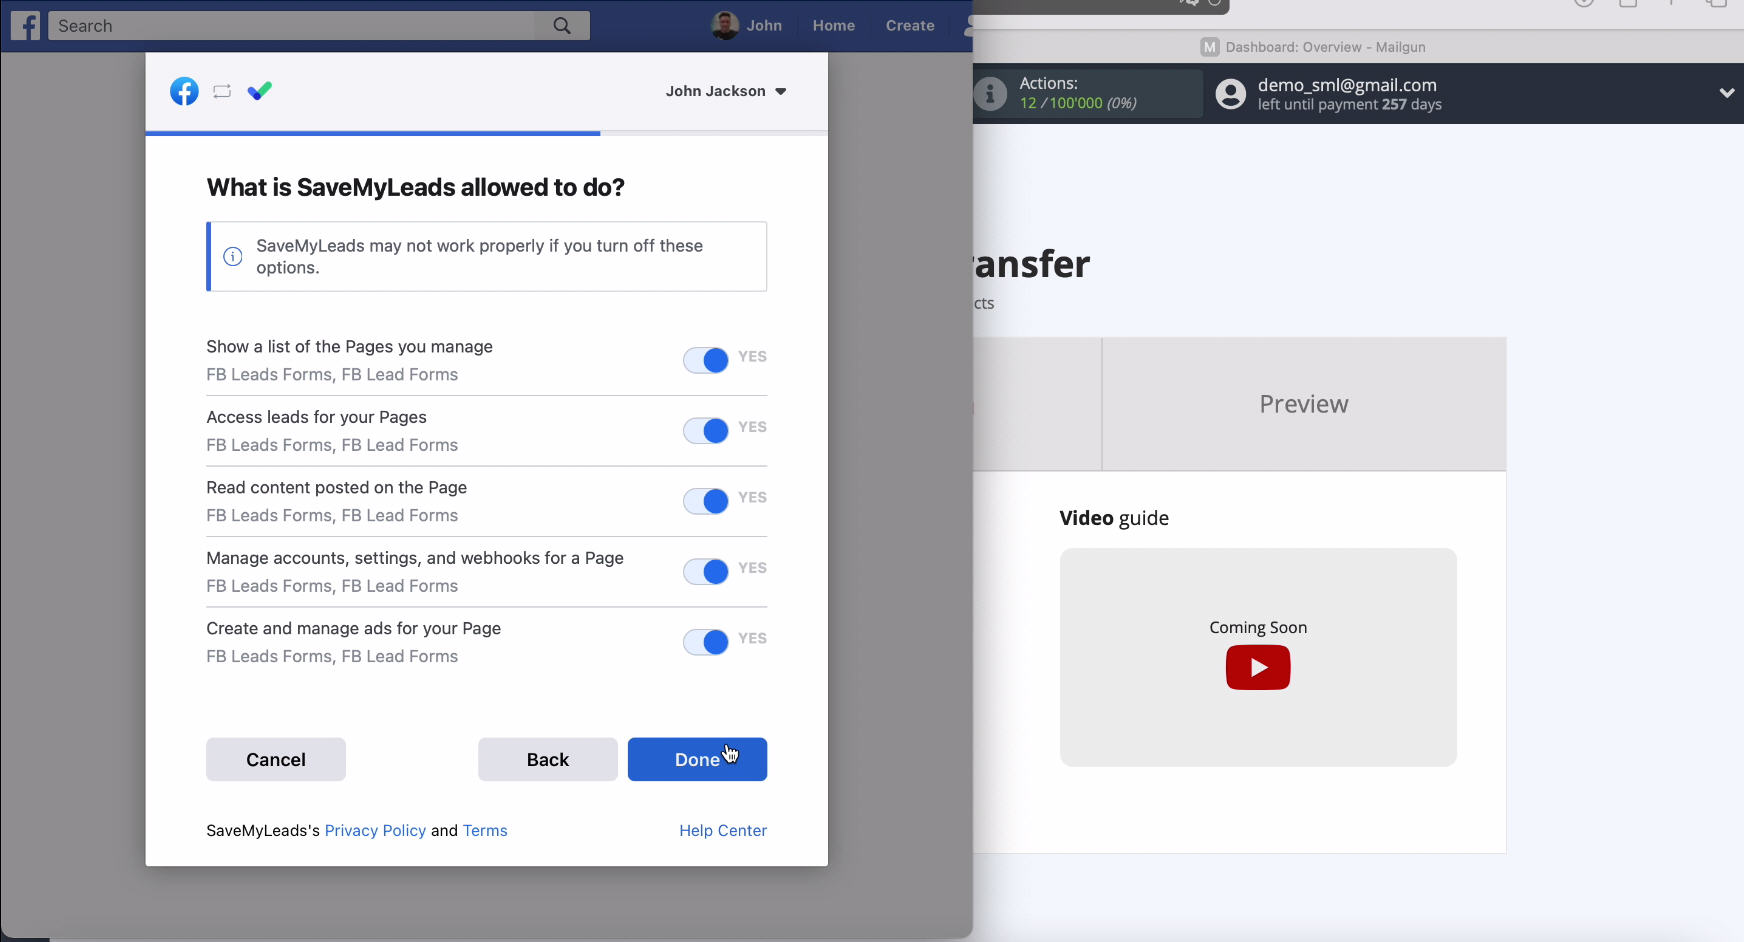
The next step is to configure access, to do this, leave all the checkboxes enabled.
At this stage, select yours in the list of connected accounts.
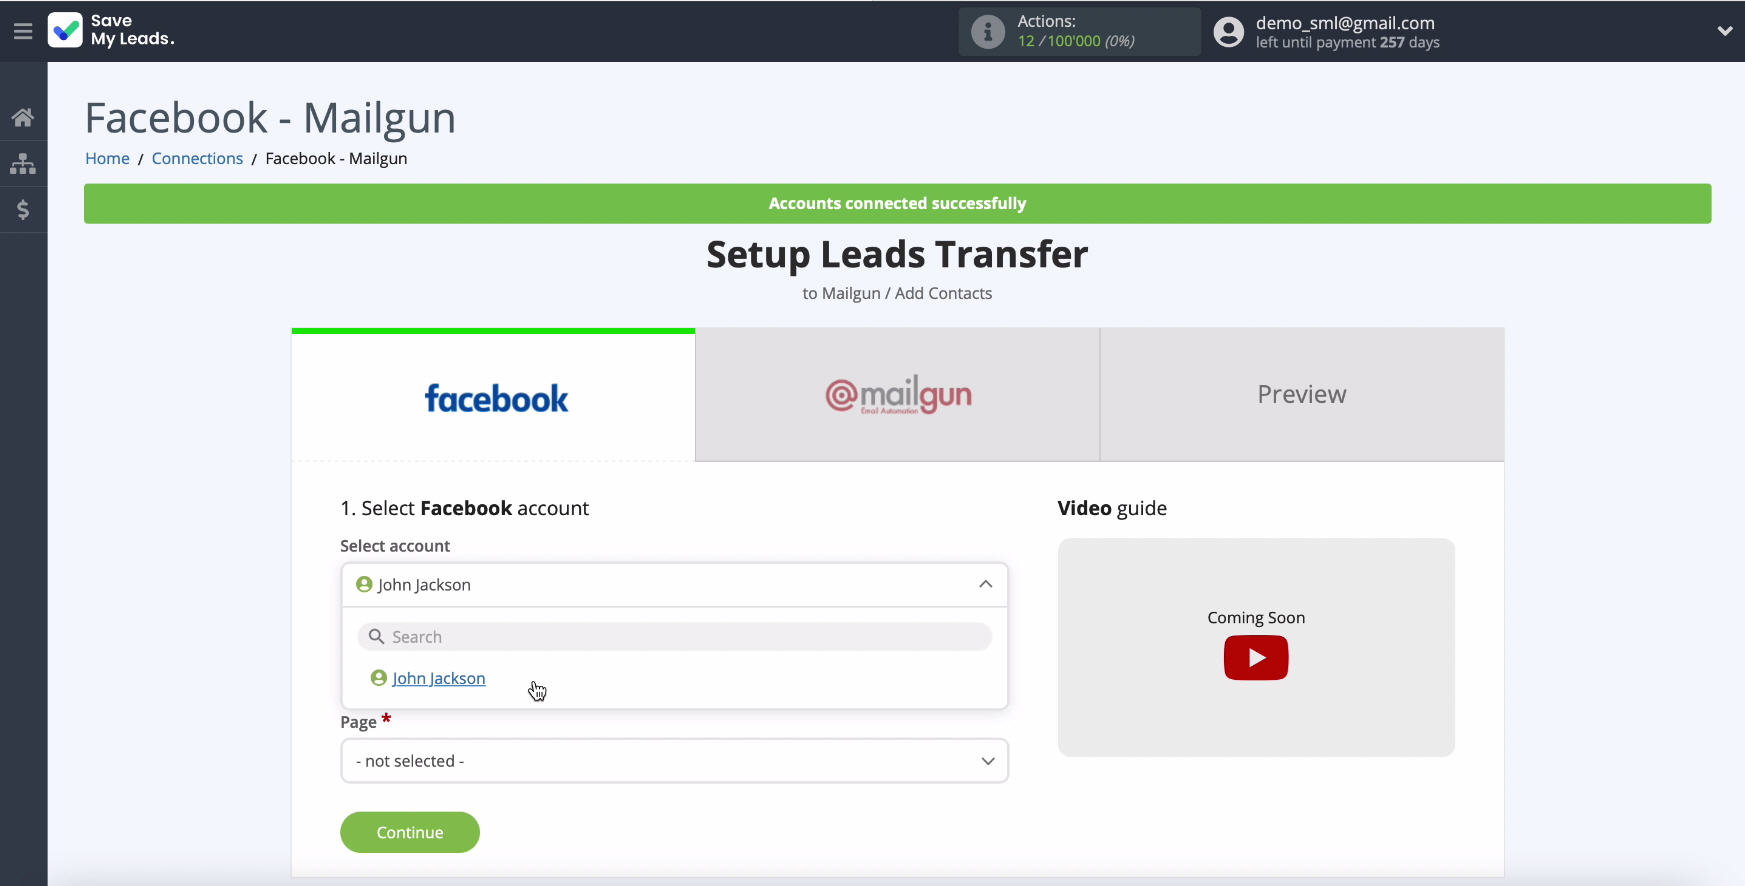
Select the ad page where you want to send leads.
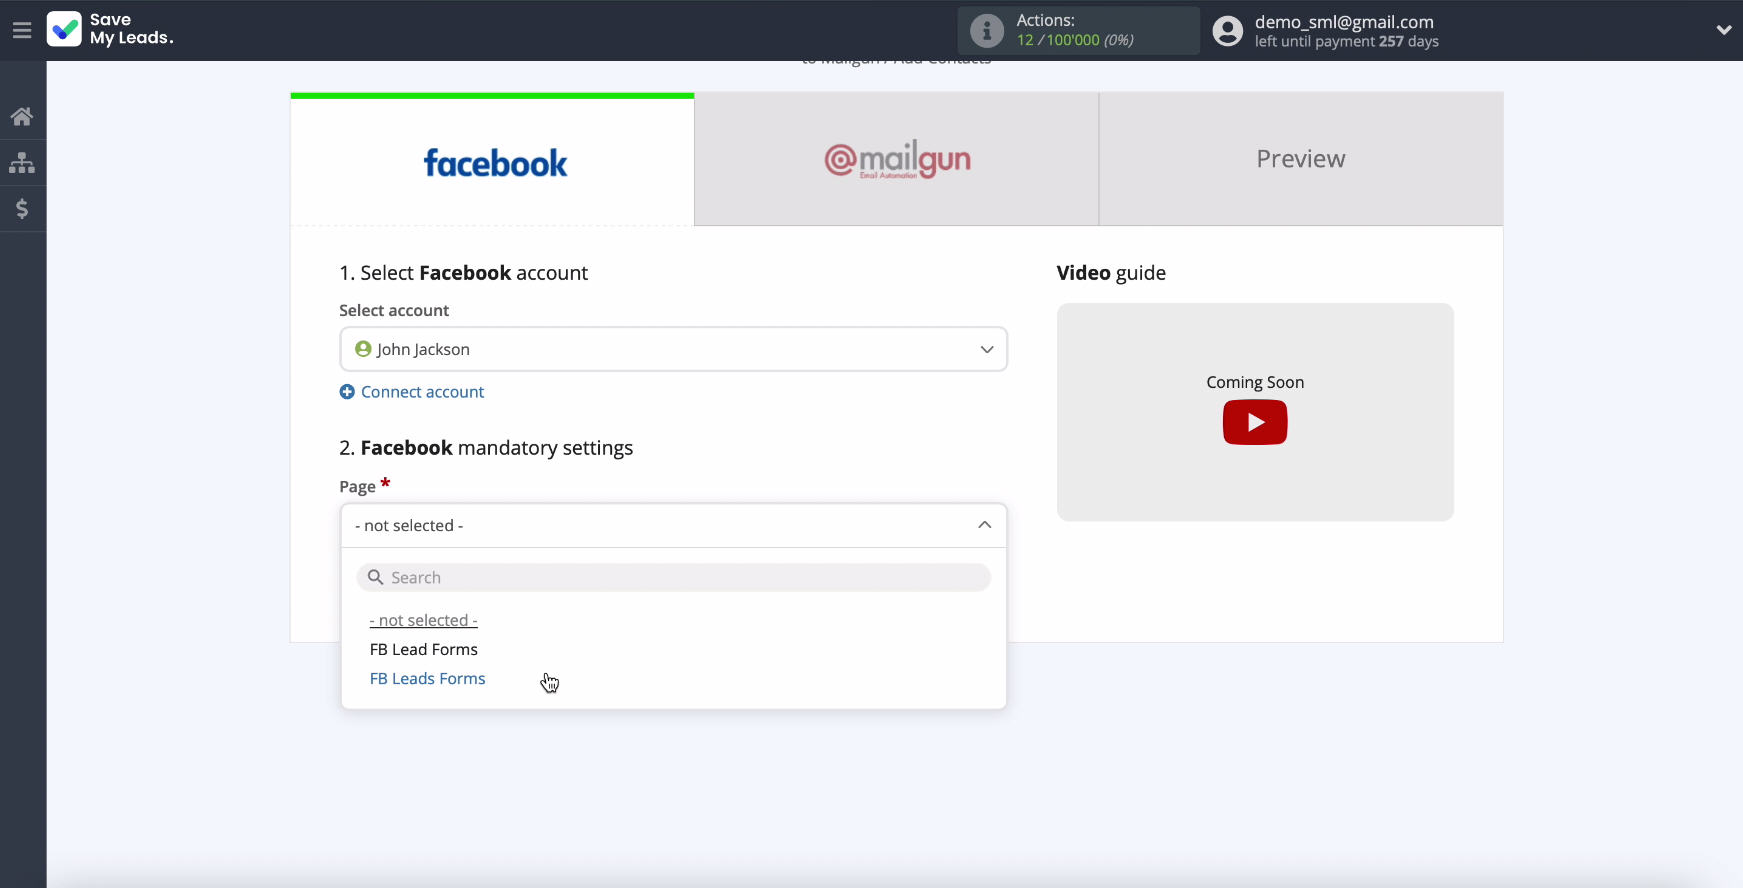
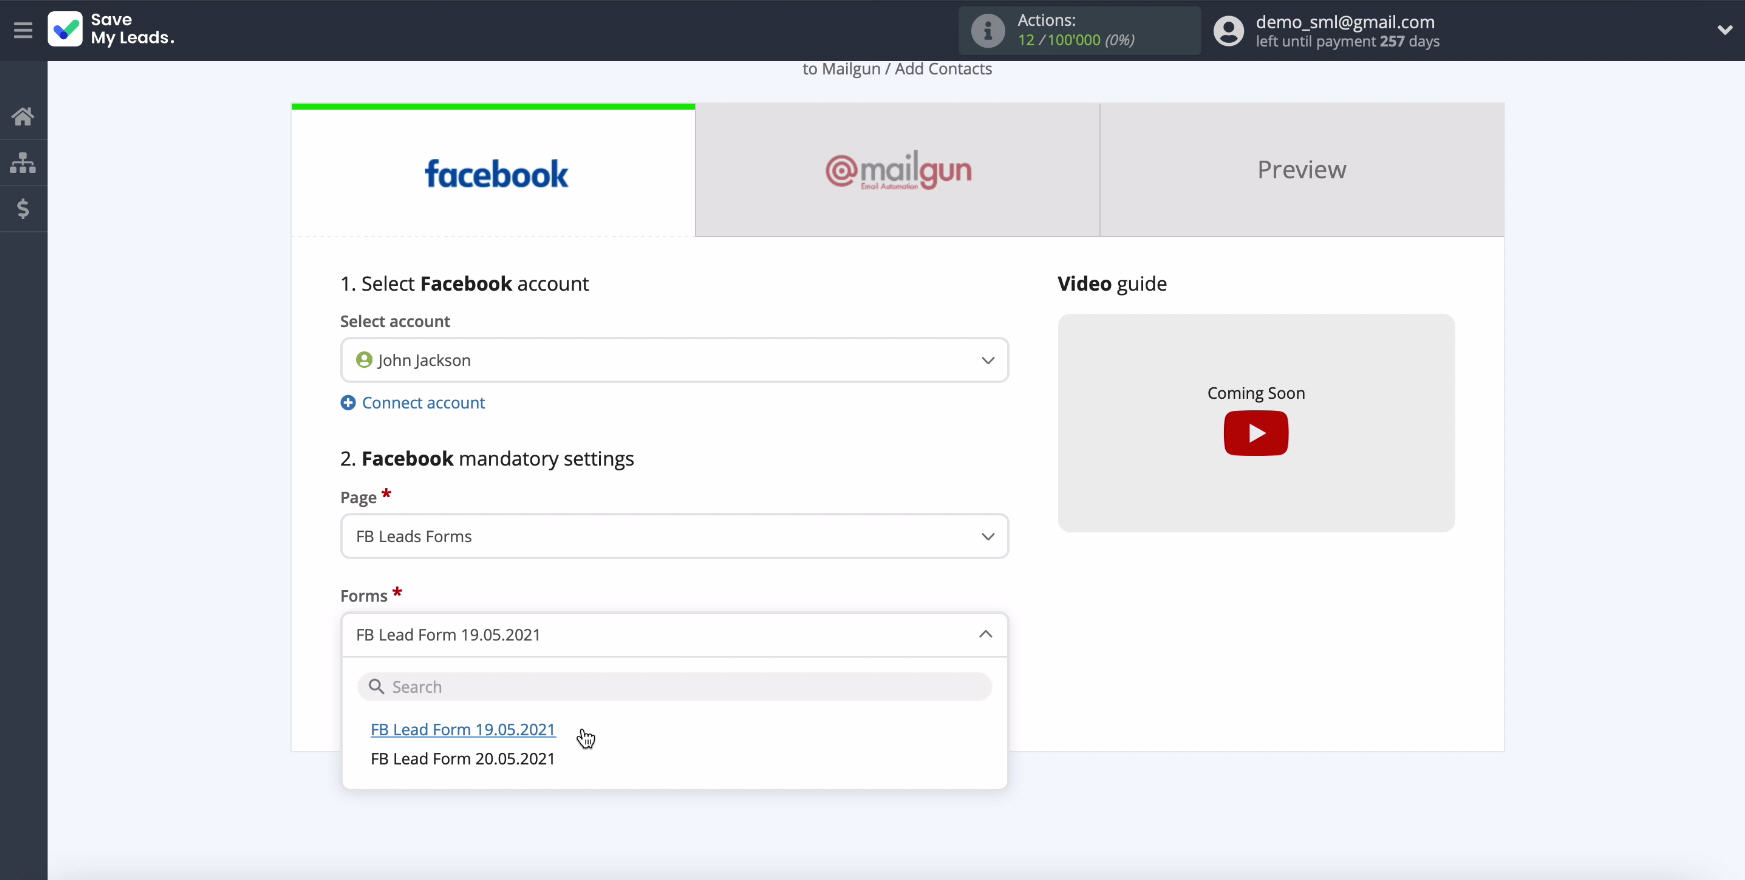
On the same page, in the next step, specify the forms by which you will upload data. If you have multiple forms, you will need to create a separate connection for each of them.
Connect Mailgun
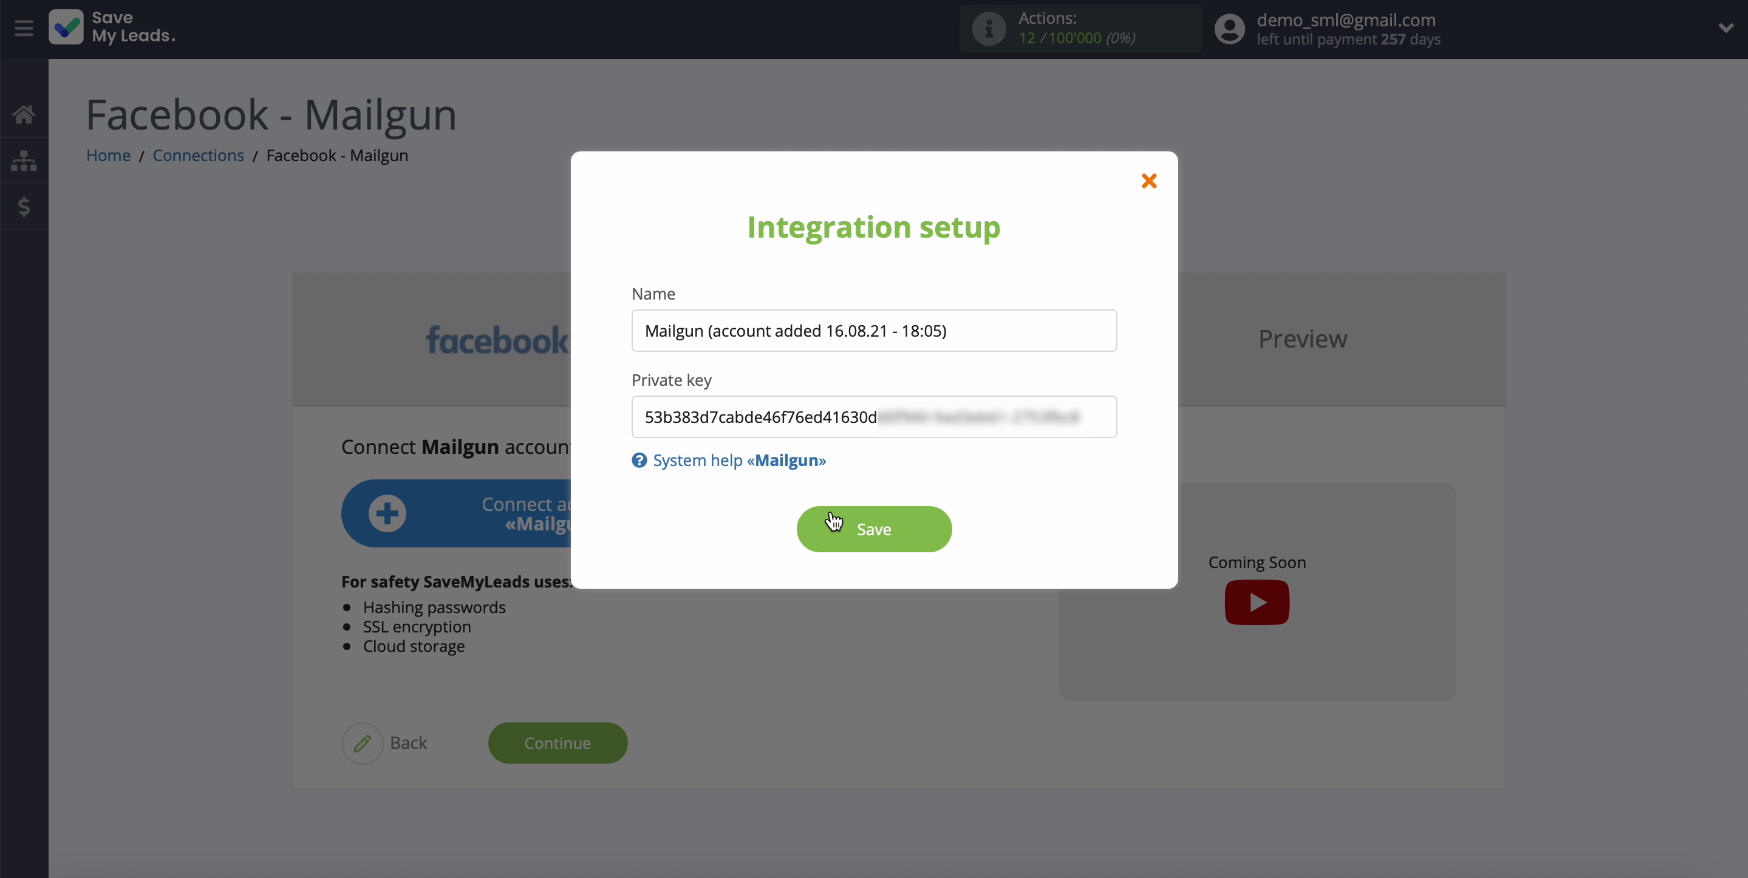
To configure Mailgun, connect your account on this service to the SaveMyLeads system.
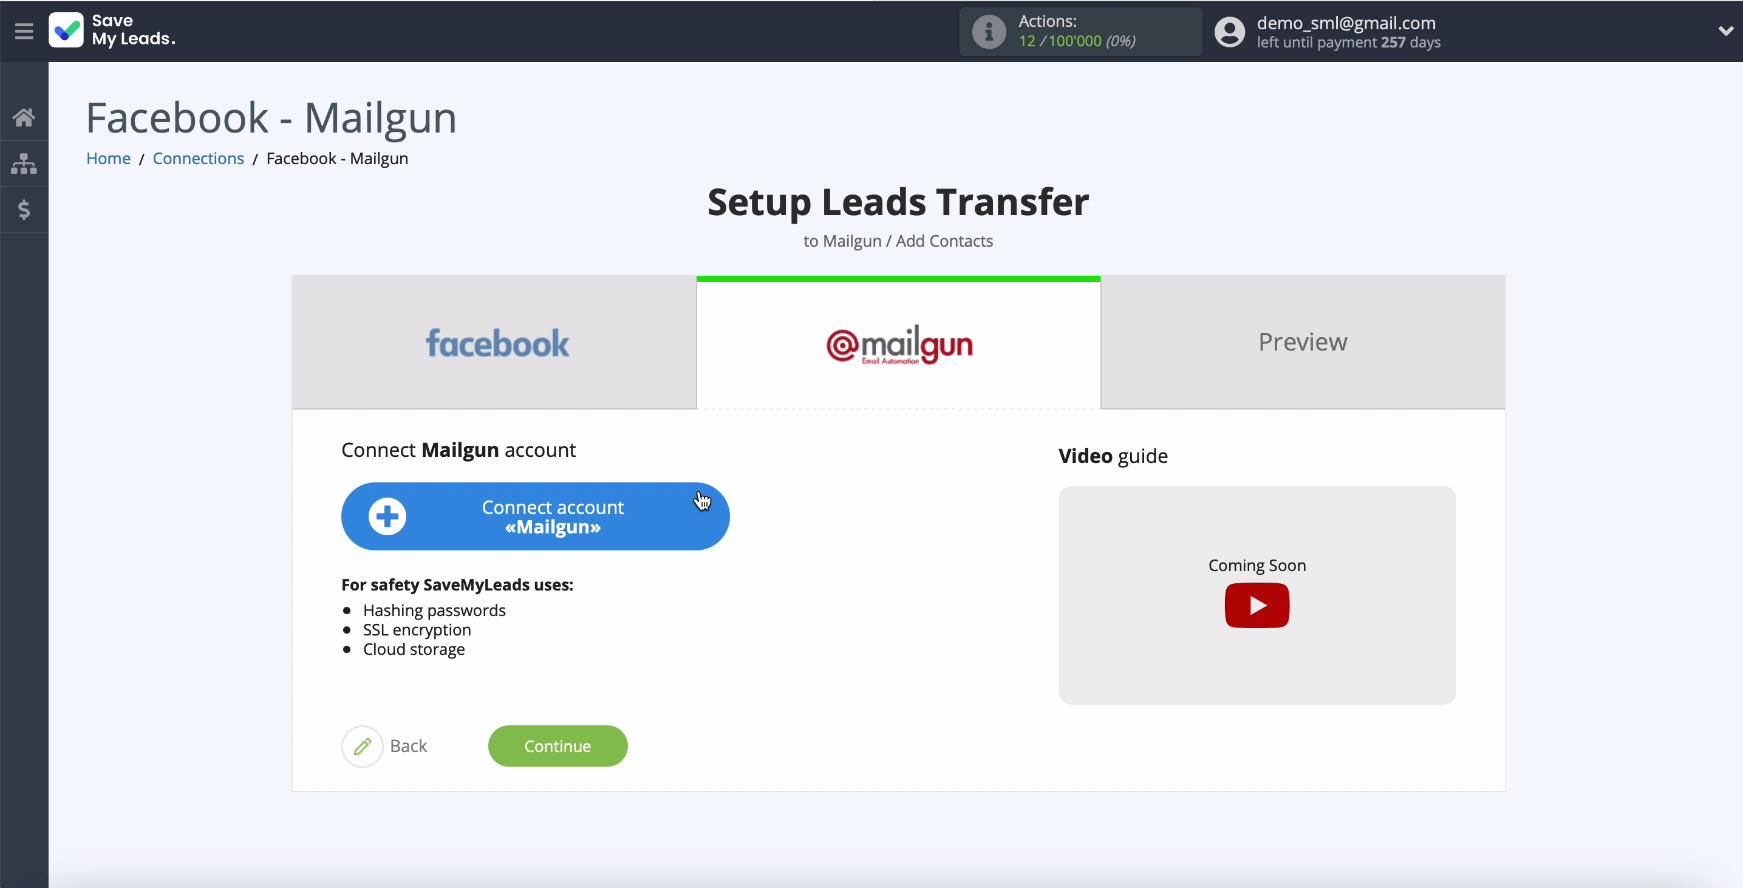
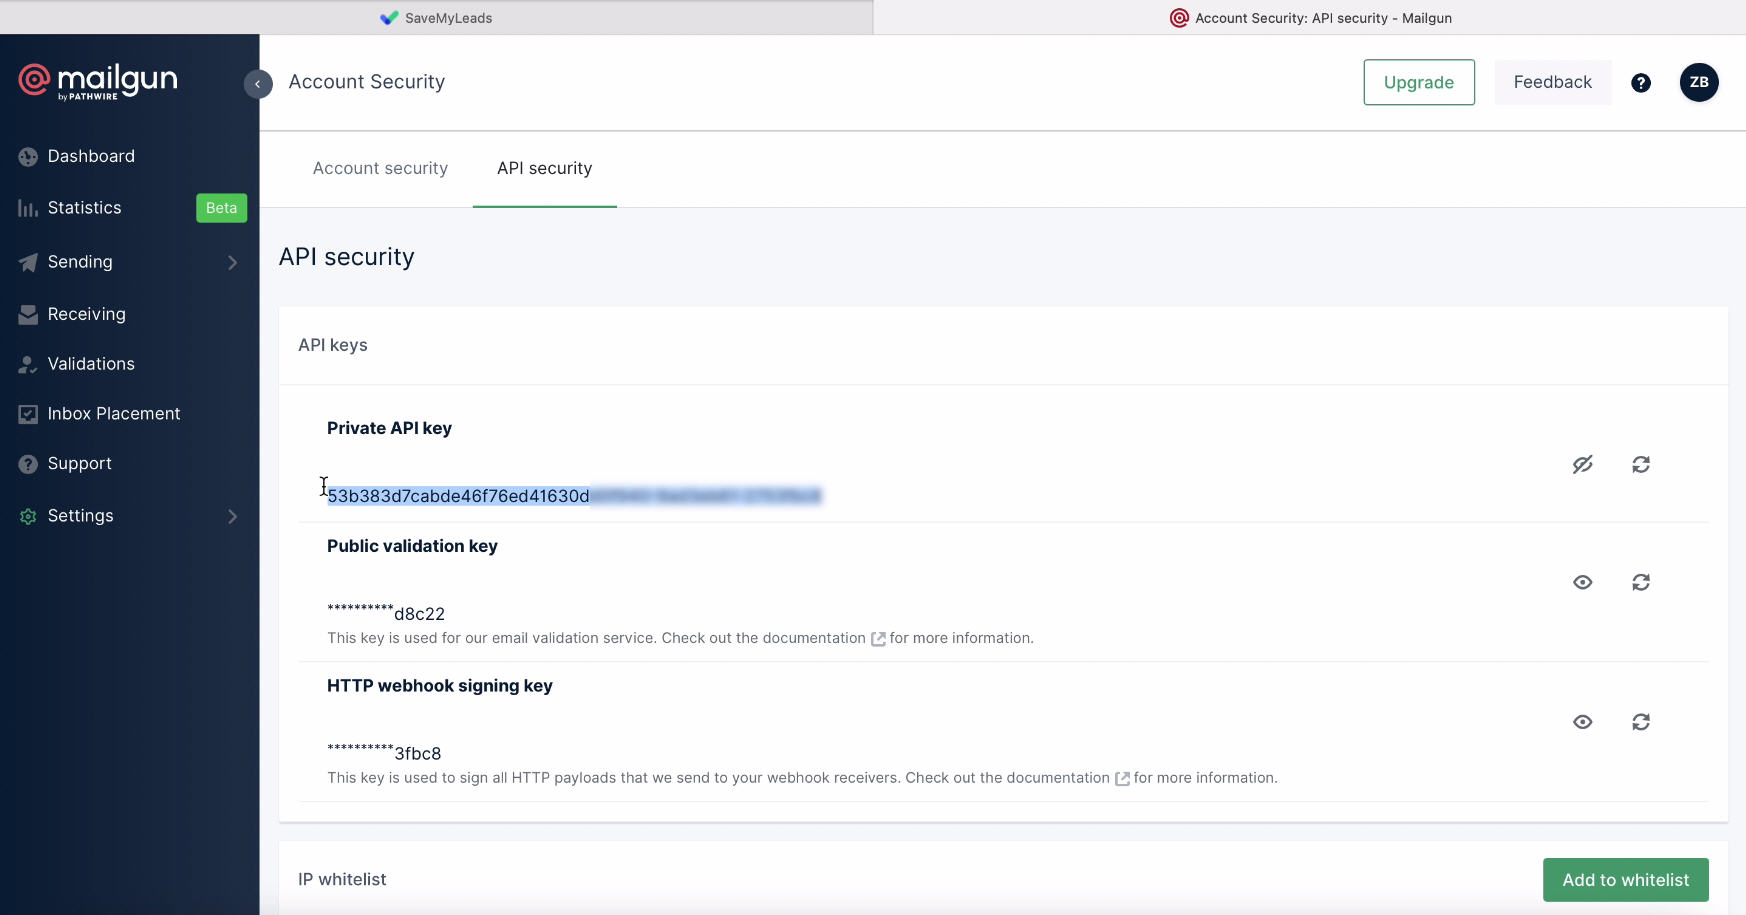
In a new window, specify your login and Private Key.
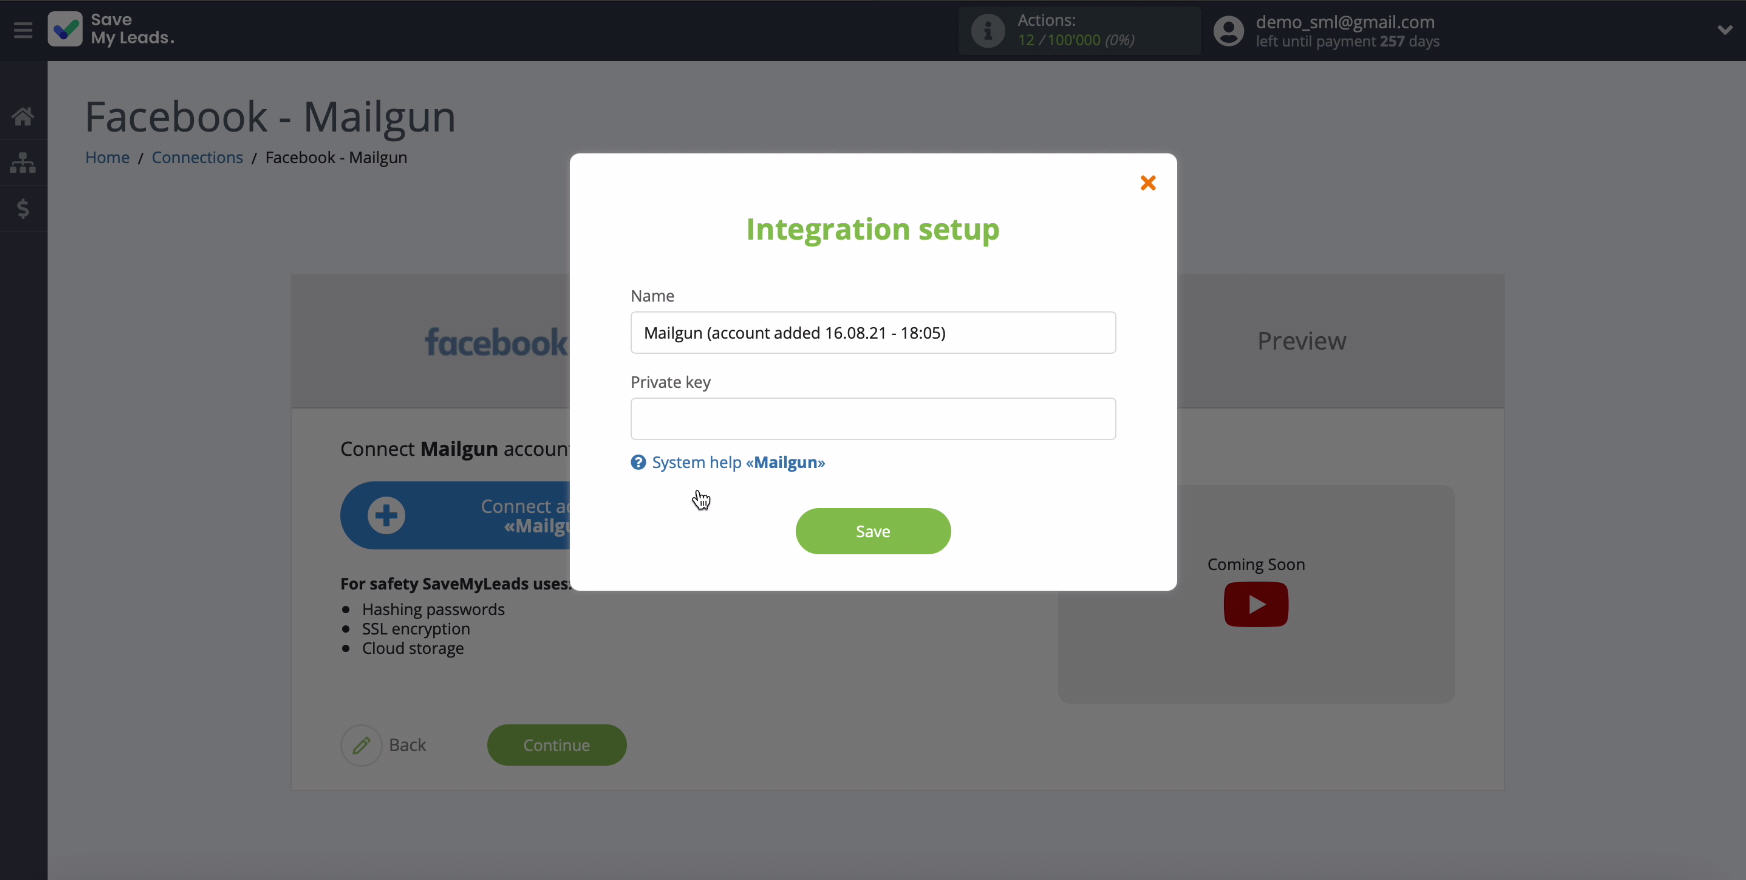
To obtain a Private Key, go to your Mailgun account, API Keys section.
- Automate the work with leads from the Facebook advertising account
- Empower with integrations and instant transfer of leads
- Don't spend money on developers or integrators
- Save time by automating routine tasks
Select "View Private API Key" in this section.
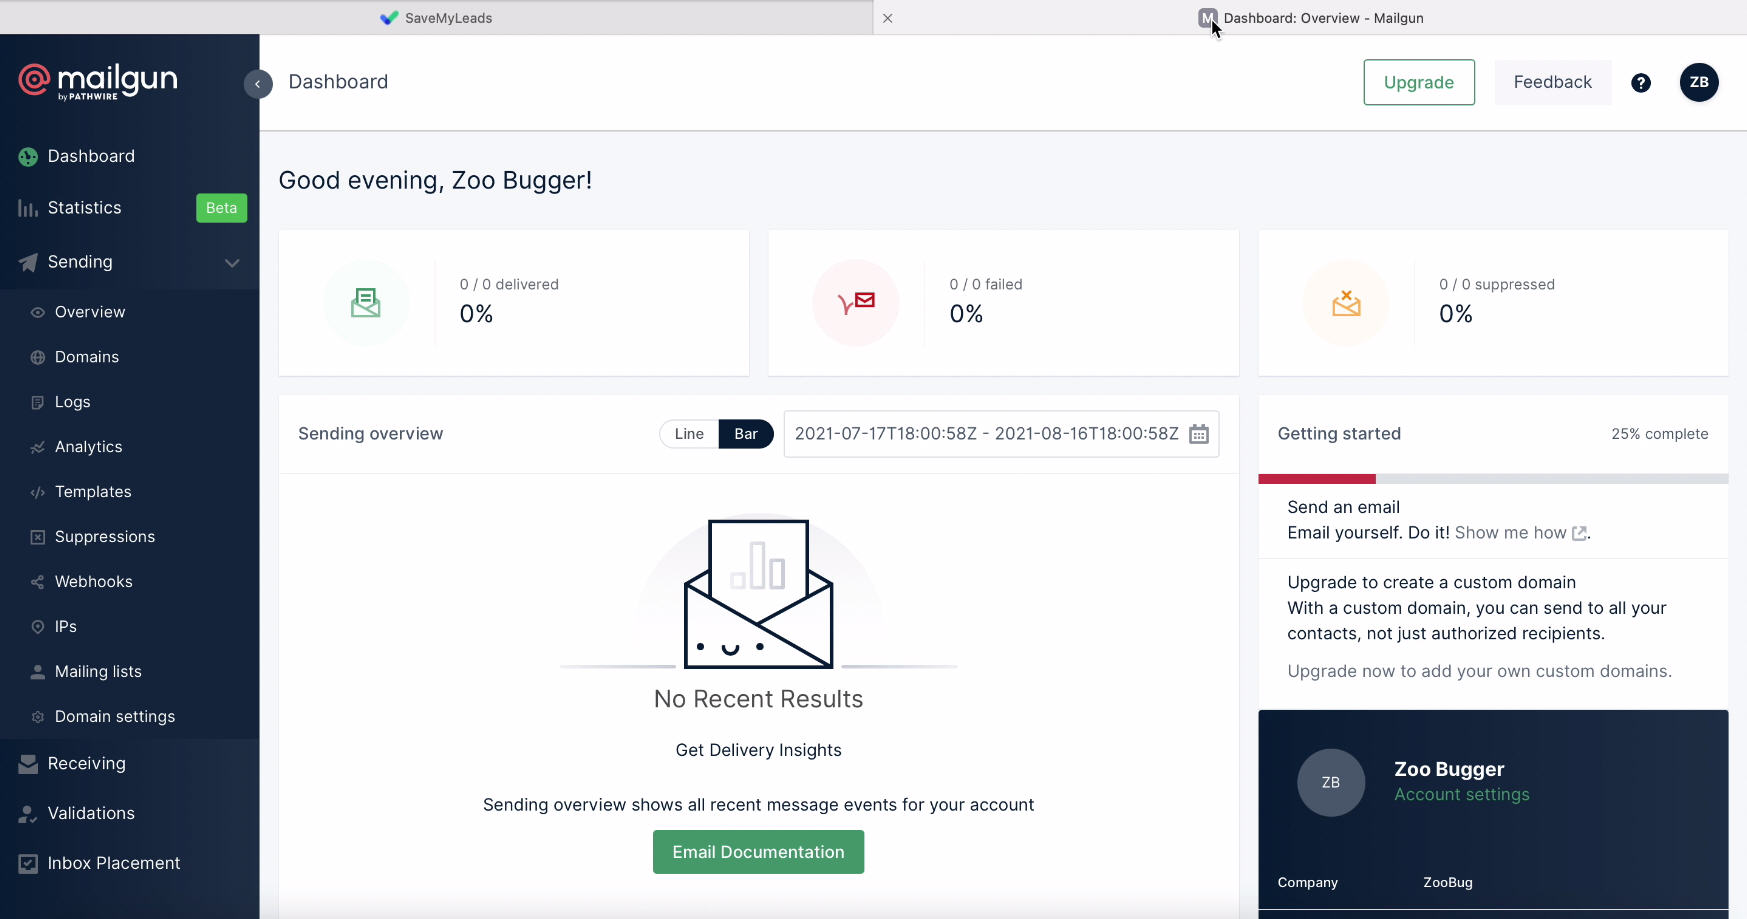
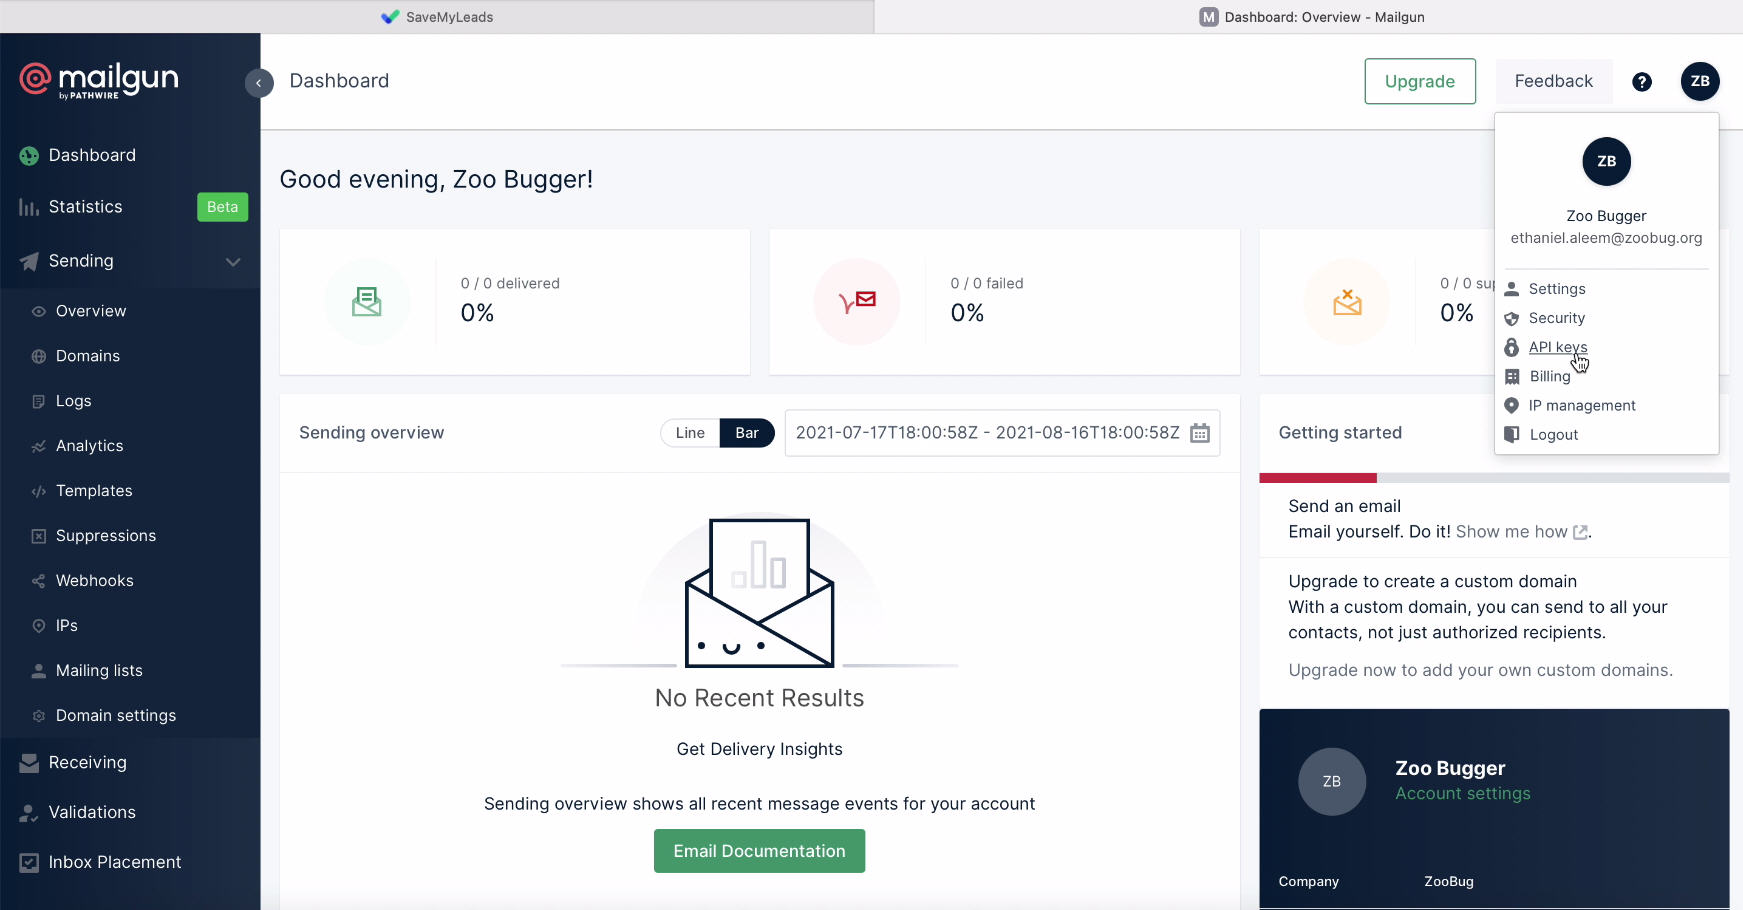
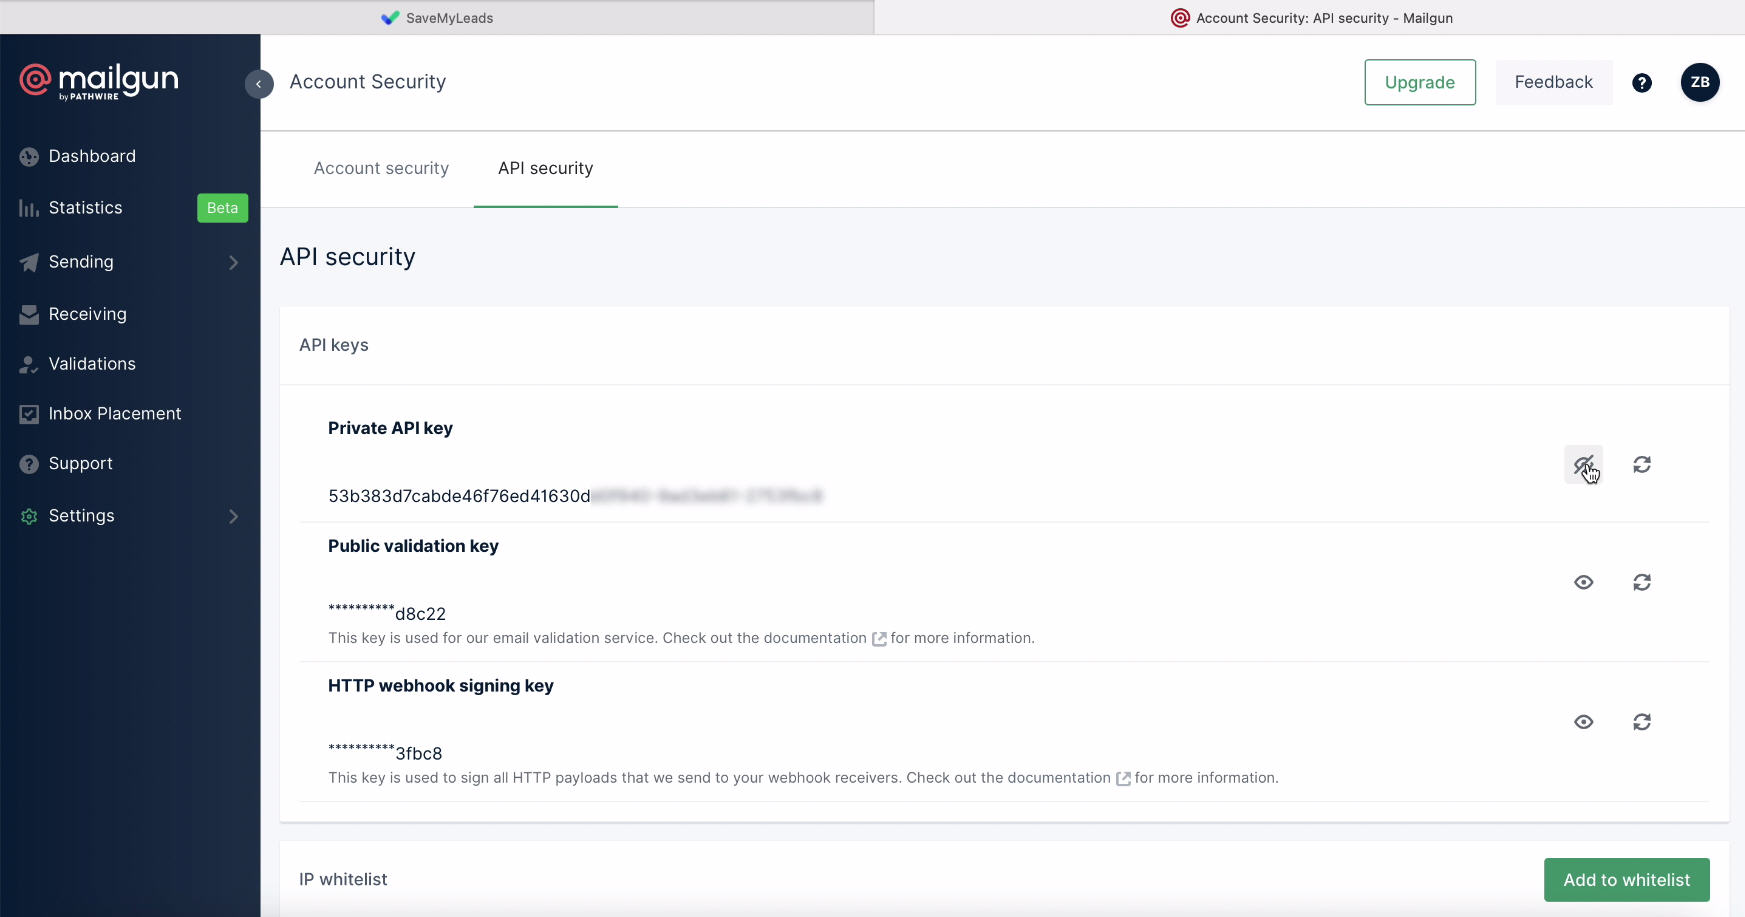
Copy the API Key, return to the service SaveMyLeads tab, paste it in the corresponding field and click Save to continue setting.
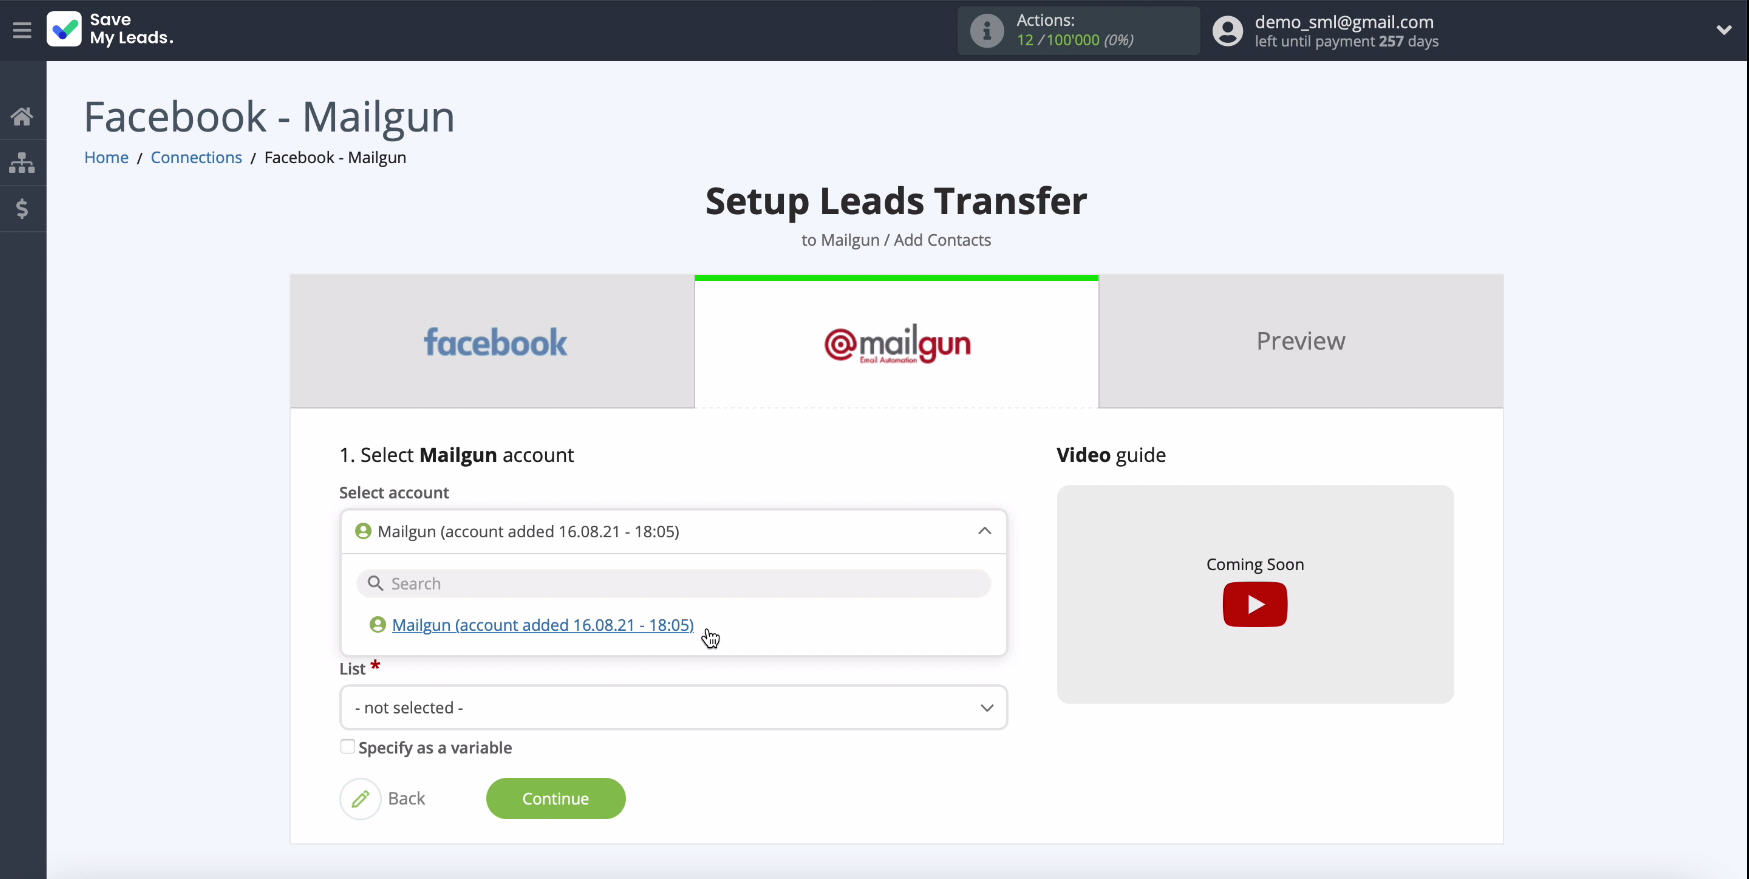
In a new window in the list of connected accounts your login should be displayed, select it.
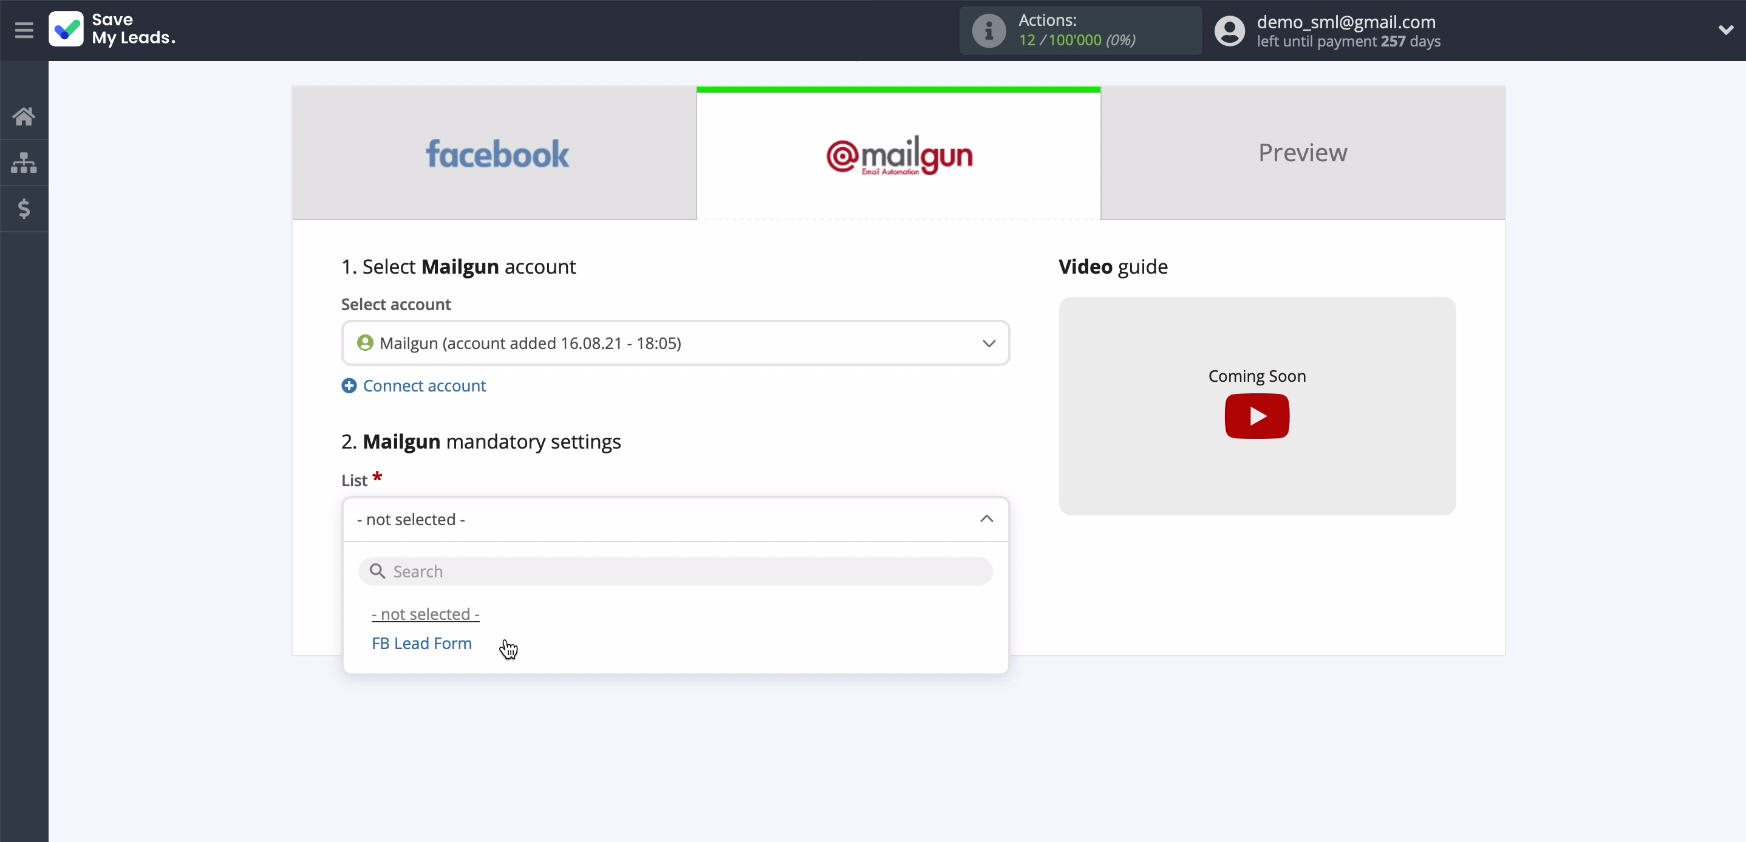
Next, select a List to add new contacts from Facebook.
After selecting List, you need to proceed to filling in the fields to create a contact. You can transfer data from Facebook to these fields.
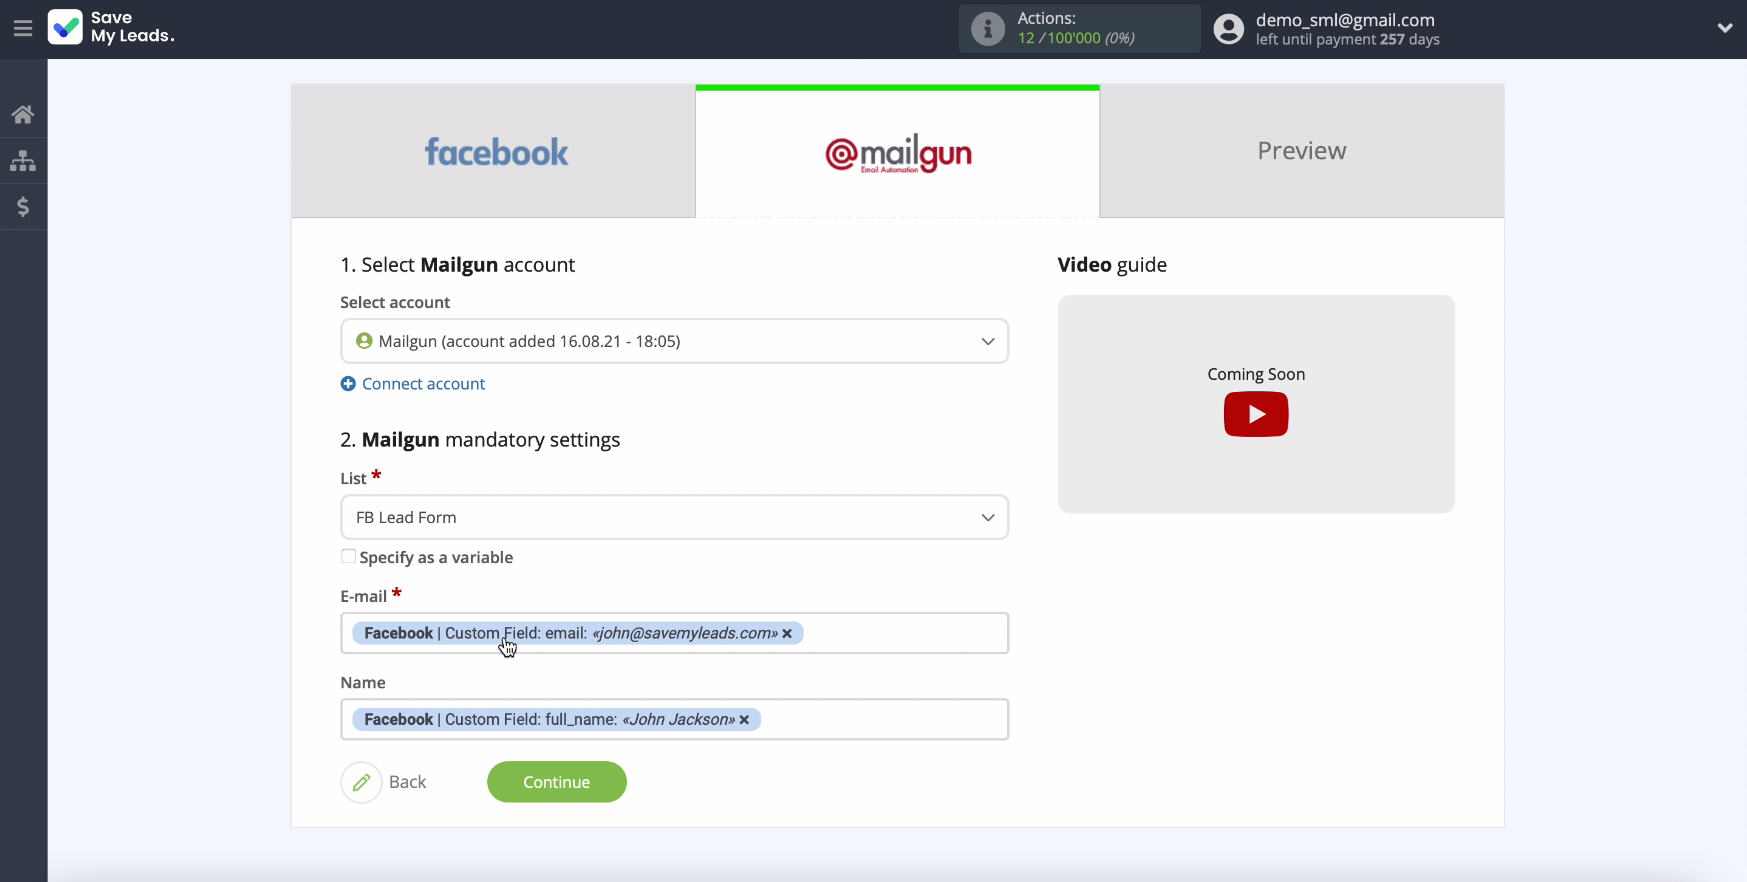
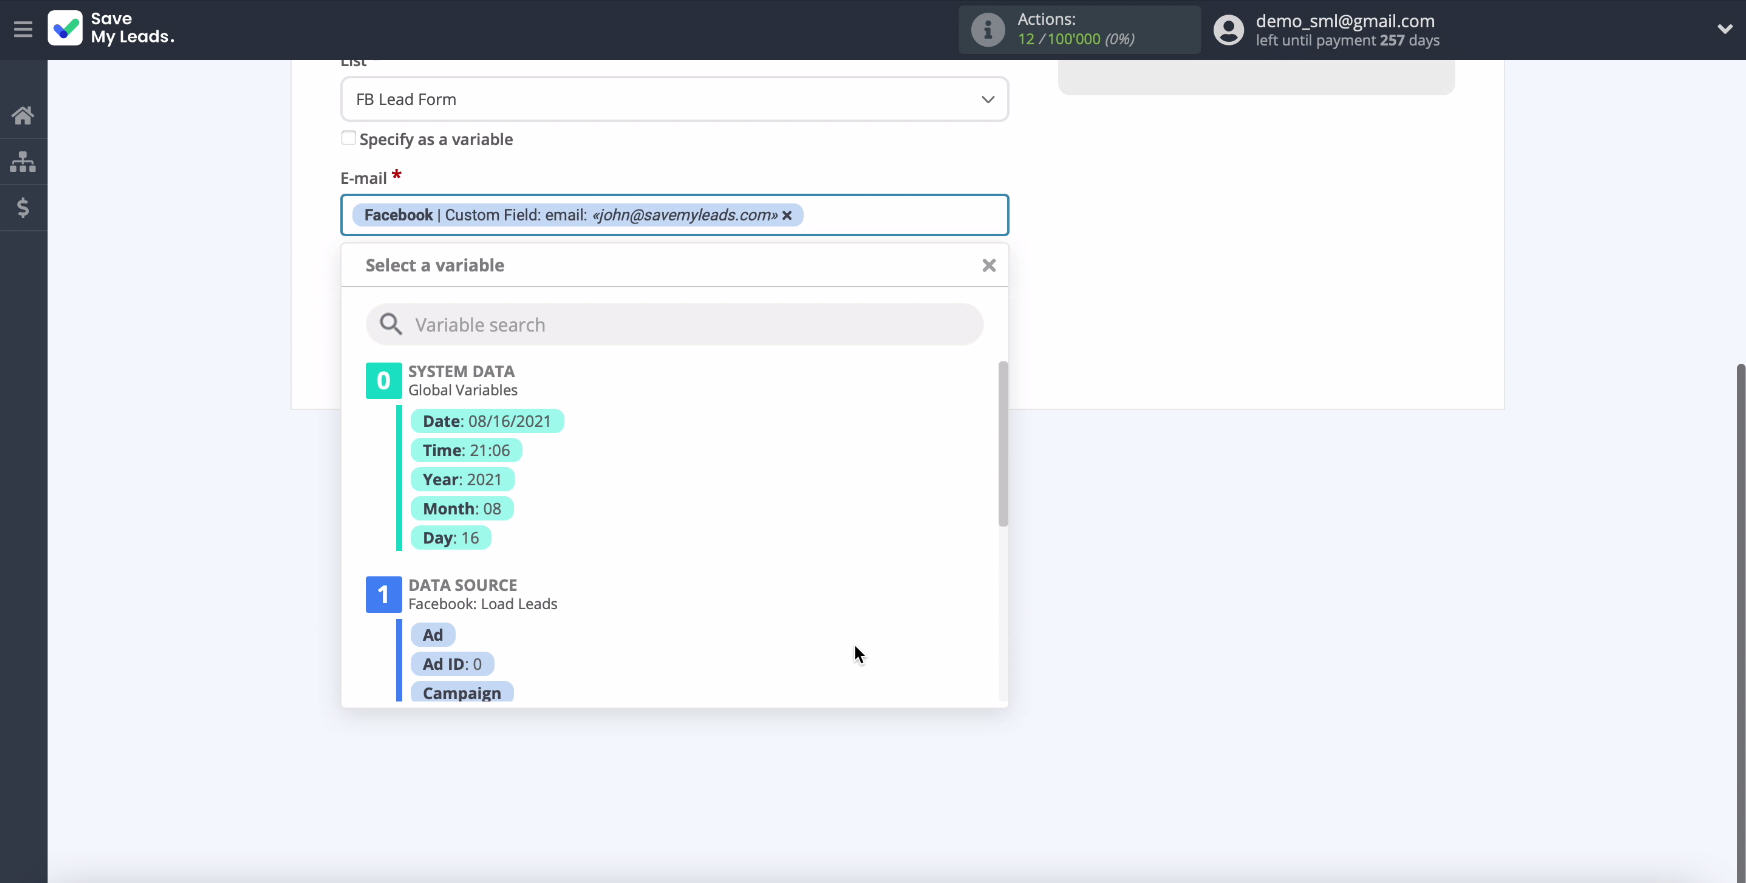
To add a variable, click in the corresponding field and select the variable from the drop-down list. By default, all fields already contain variables, if they suit you, you can leave everything unchanged and continue setting.
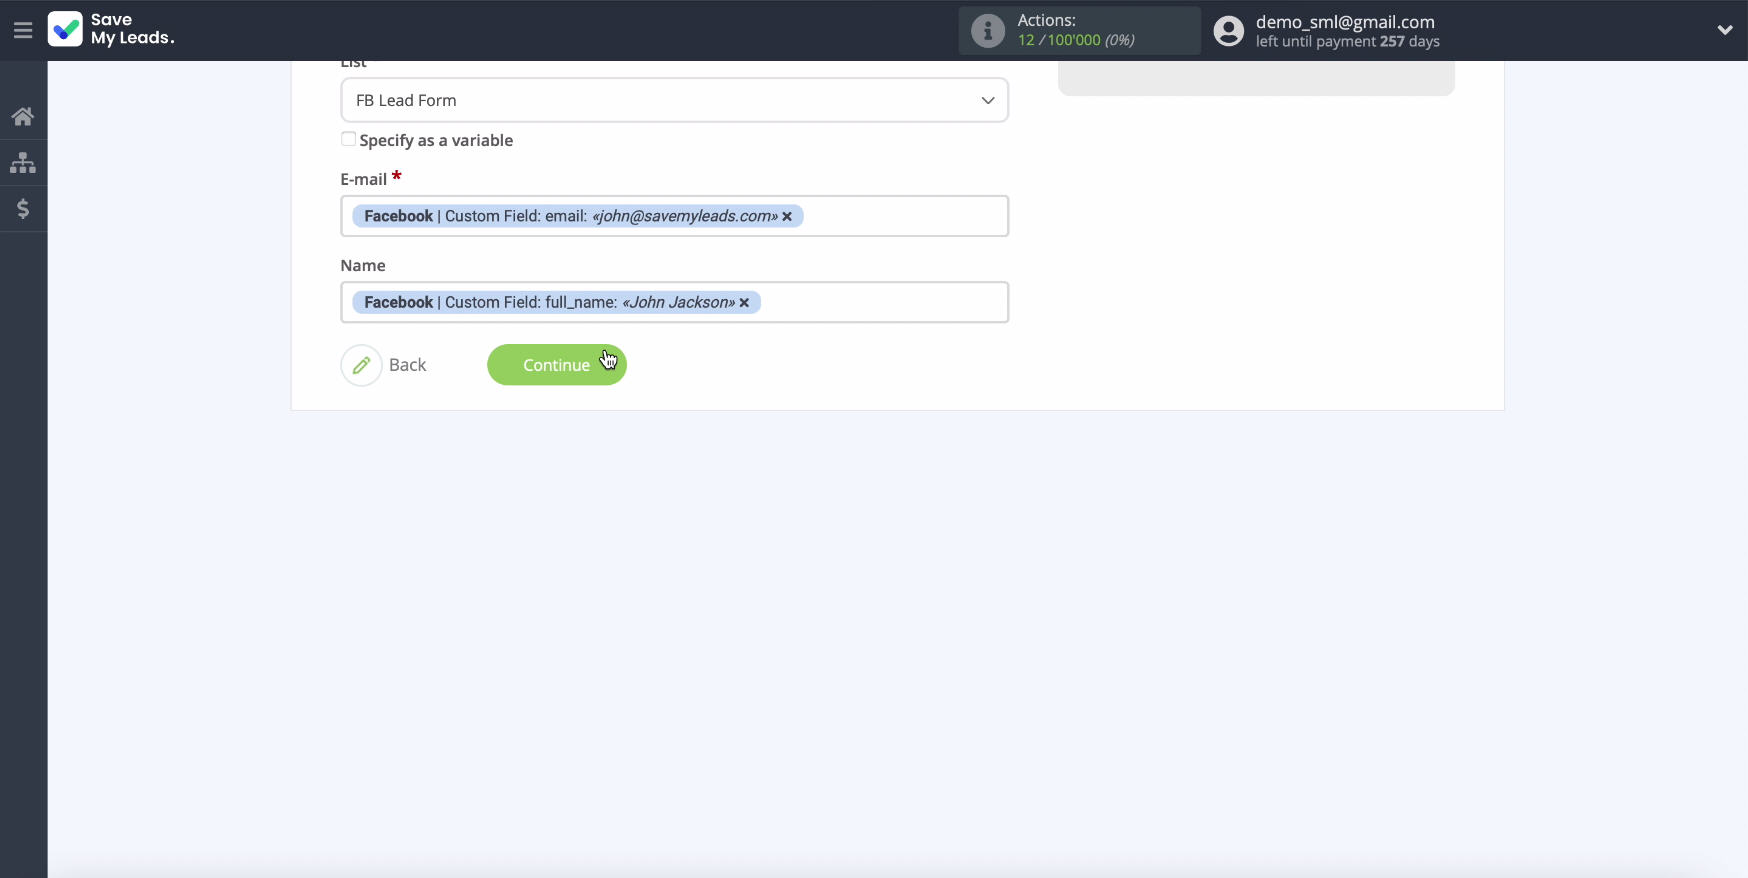
In a new window you will see an example of filling in the data to create a new contact.
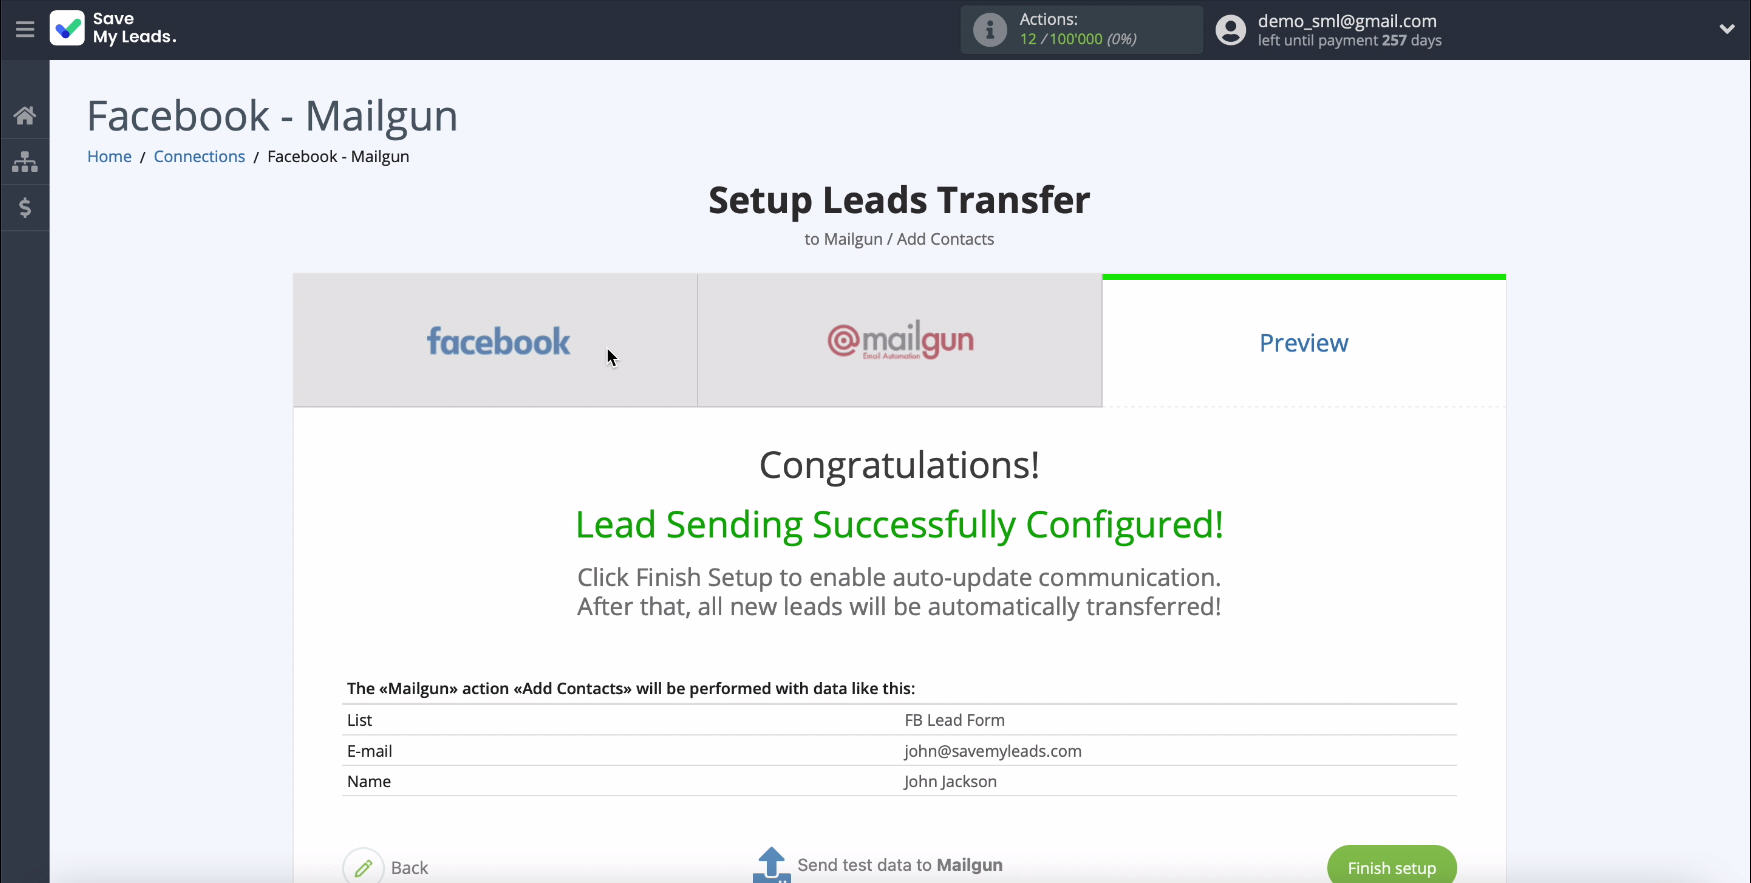
If you want to check the correctness of the settings, at the bottom of the page, click Send test data to Mailgun.
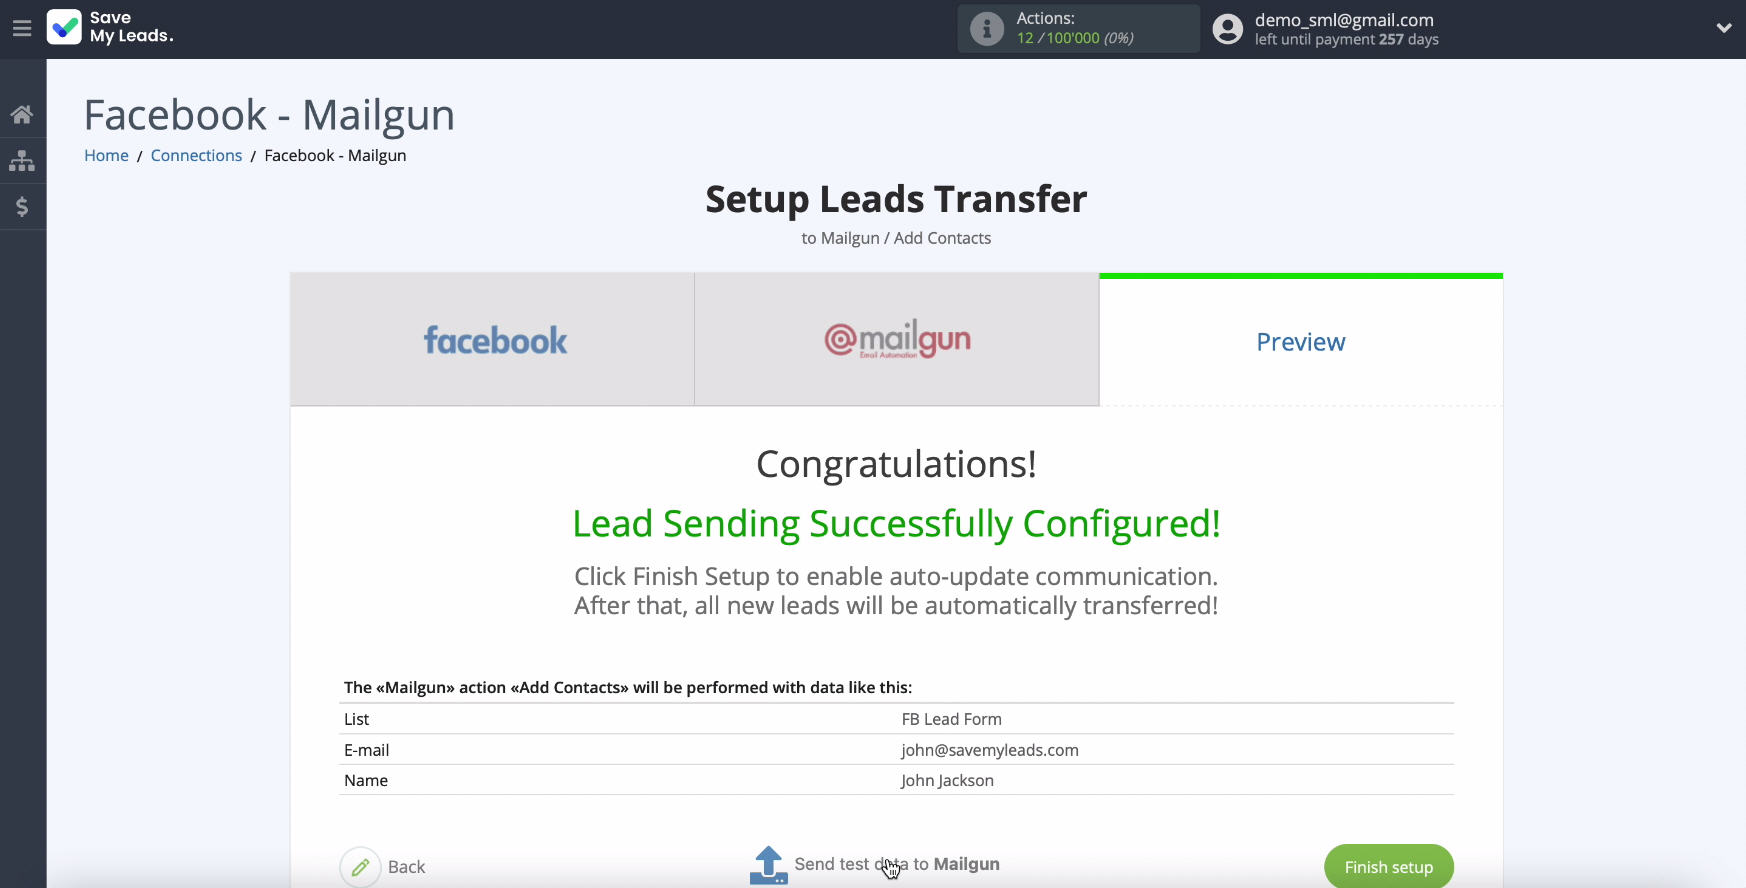
To check the result, go to your Mailgun account.
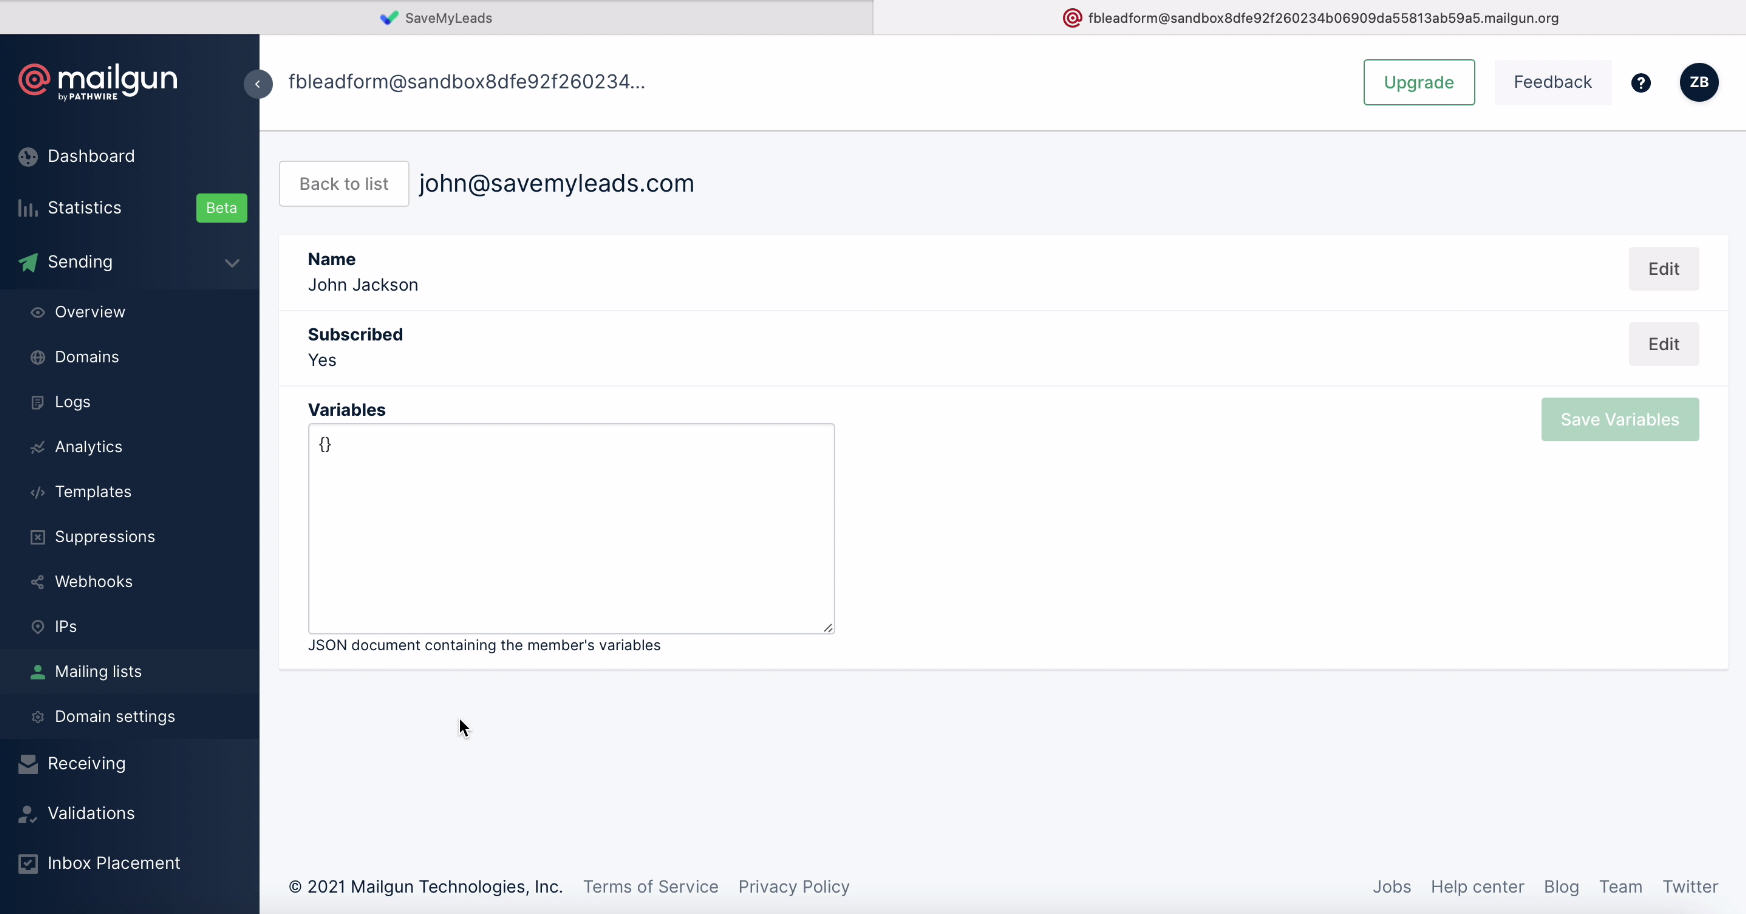
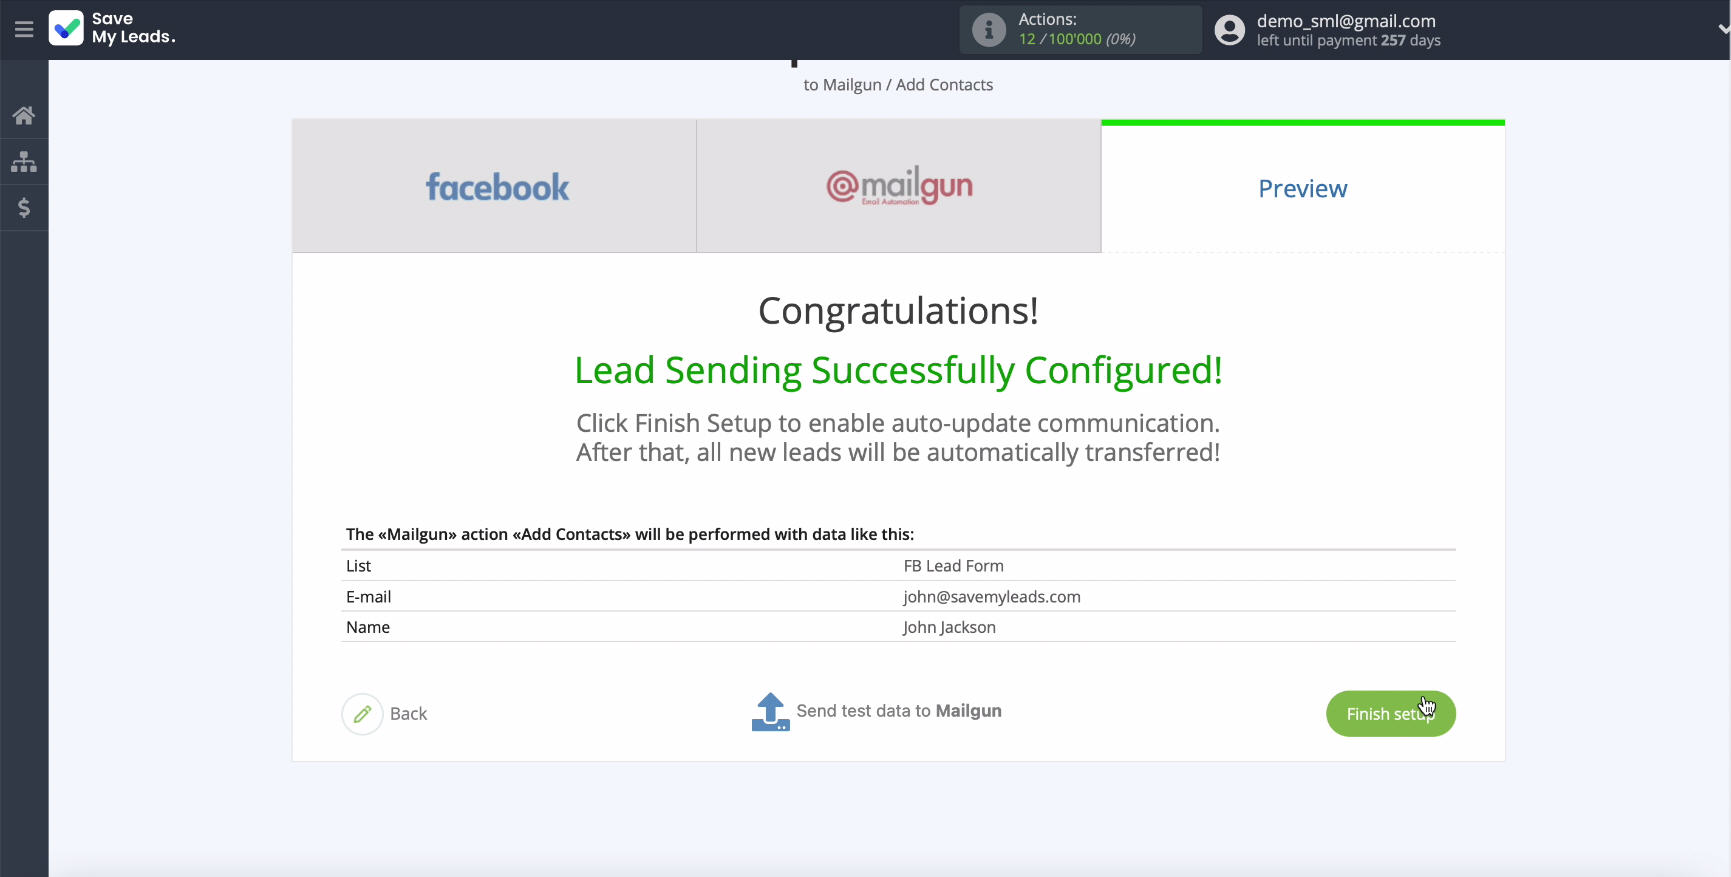
If you are satisfied with the result, return to theservice
SaveMyLeadstab and complete the setup by clicking Finish.
Automate data update
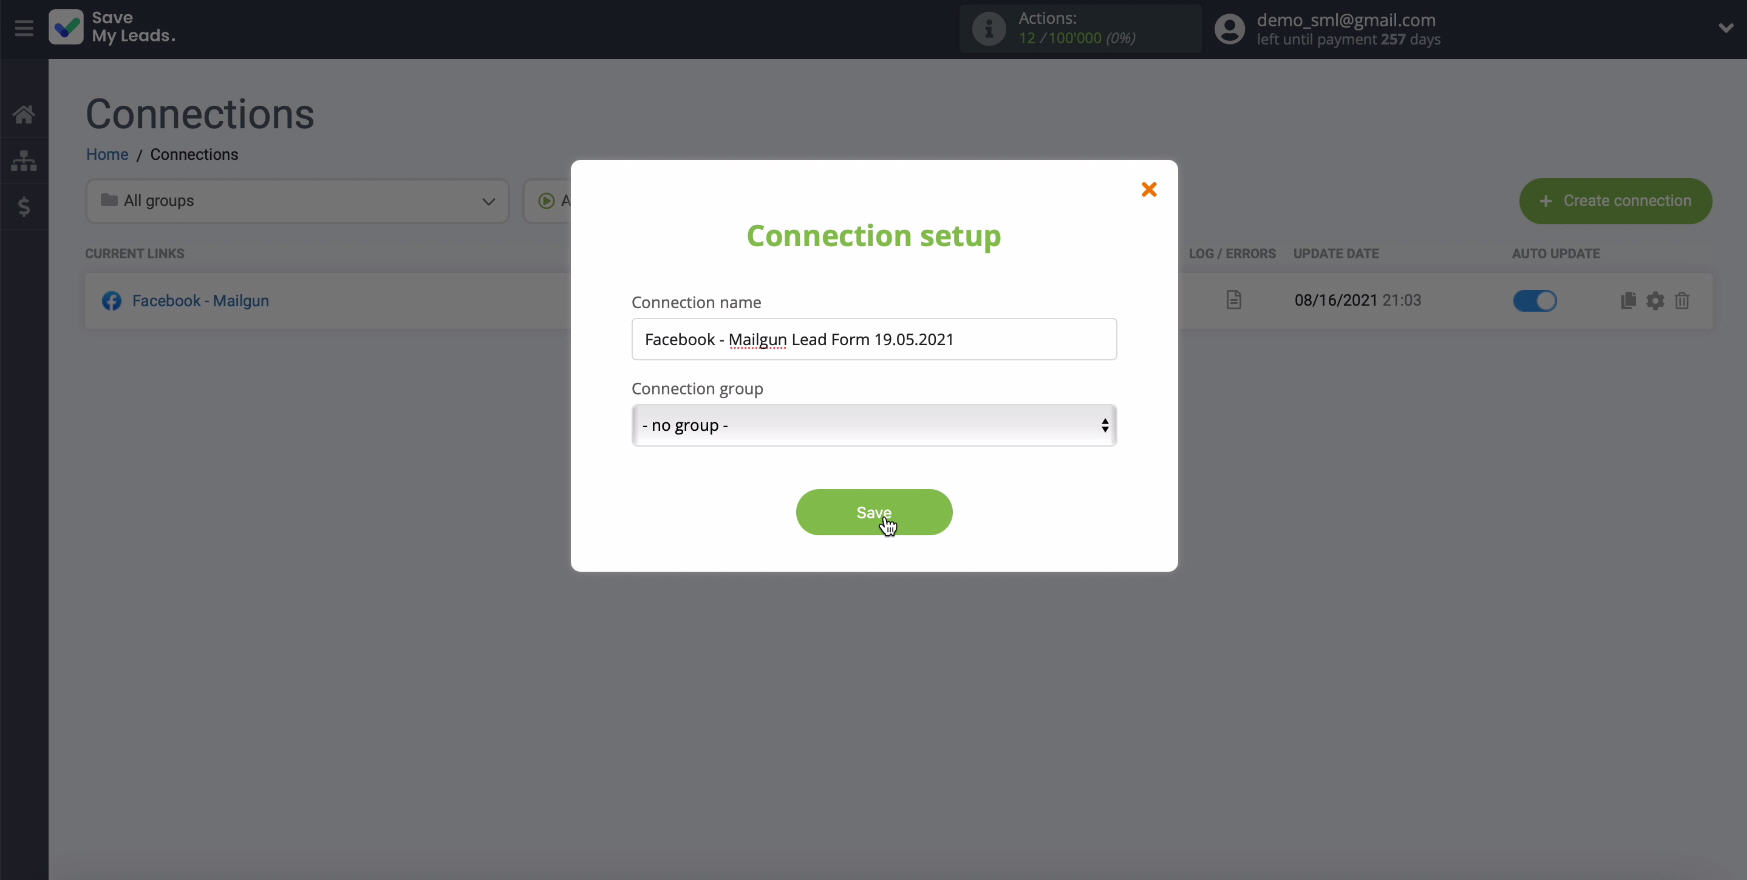
To instantly add new contacts to your Mailgun mailing list based on new Facebook leads, turn on auto refresh. You can change the name of the link if necessary. To do this, click the gear and in the window that appears, change the name of the link. Click Save for the settings to take effect. This completes the integration.
Finish the setup
To set up the integration with an online connector SaveMyLeads is very simple. You can easily independently link the work of Facebook and the Mailgun email service. Thanks to the integration, you will be able to upload leads as new contacts to Mailgun and conveniently work with them.
The entire setup process will take no more than 5 minutes. At the same time, you do not have to ask programmers for help. In the future, in the same way, you can connect Facebook with other services and systems. Thanks to the connector, you will significantly save time and money, and automate routine processes.
