In this tutorial, we will tell you how to set up the upload of leads from your ad Facebook new contacts to the Sendinblue email service without programming skills using the SaveMyLeads online connector.
Contents:
1. How to set up Facebook and Sendinblue integration
2. Connect Facebook Leads Ads
3. Connect Sendinblue
4. Automate data update
5. Finish the setup
Facebook is one of the most promising social networks for doing business thanks to its multimillion audience. By creating advertising accounts, users can not only promote their products or services, but significantly expand their client base.
As a rule, customers do not come from a single source, but from several simultaneously: website, social networking, advertising, and with them the need to continue to work, for example, send email-distribution, audience segmentation, etc. in different systems. In addition, some services do not have enough functionality to work with leads conveniently.
It is much easier to work with clients in one interface, where you can collect all leads from various sources, including from an advertising account on Facebook. You need to adjust the unloading of leads in the form of new contacts in the email-distribution service, for example, Sendinblue. Thanks to the integration of your Facebook ad account and Sendinblue, you will not miss a single client, as all requests will be received automatically. Also, with the help of Sendinblue, you can create a full-fledged customer base with which in the future it will be convenient to work: segment by various criteria, send email newsletters, both mass and personalized, or by separate groups.
To configure the unloading of leads from an advertising account on Facebook as new contacts in Sendinblue, you need to integrate these services.
How to set up Facebook and Sendinblue integration
To integrate Facebook and Sendinblue, use the online connector SaveMyLeads. Thanks to its intuitive interface and ease of use, you do not need to seek help from IT specialists and do not need any programming knowledge. You will be able to configure the connection, spending no more than 5 minutes of your time.
Before starting to work with the SaveMyLeads service, you need to go through a simple registration on the site: enter your email and come up with a password for your personal account.
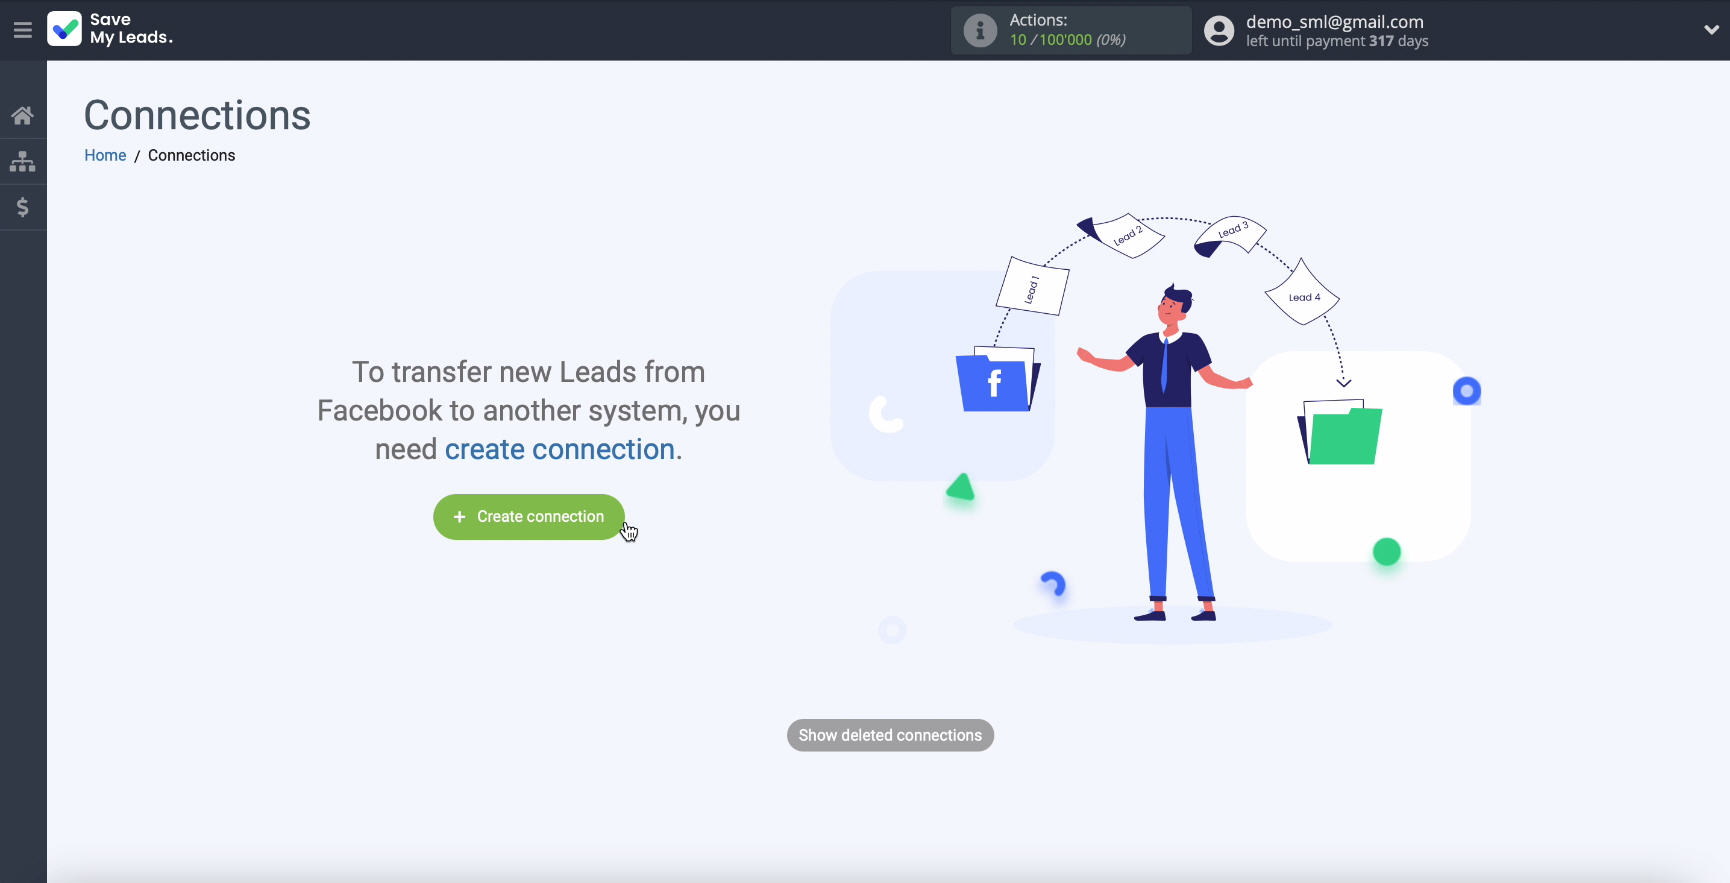
To start setting up the integration, you need to go to your personal account and click "Create connection".
Connect Facebook Leads Ads
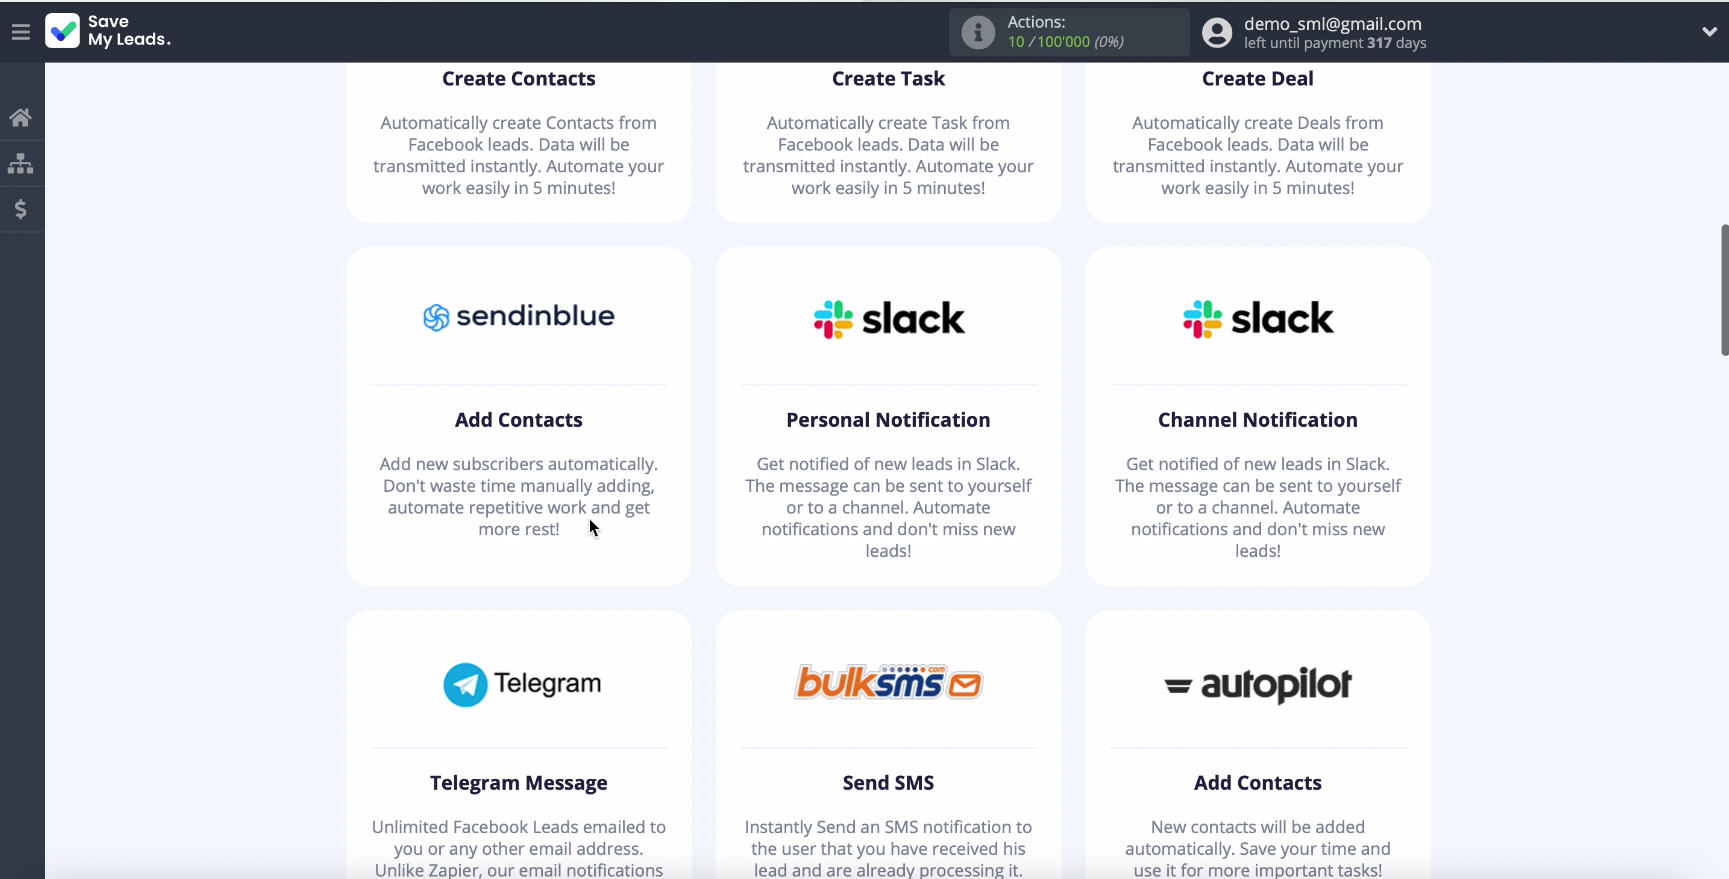
In the list of ready-made templates for systems to which you can send data, select Sendinblue.
Connect your Facebook account to the SaveMyLeads system. To do this, enter your username and password from your personal account on Facebook.
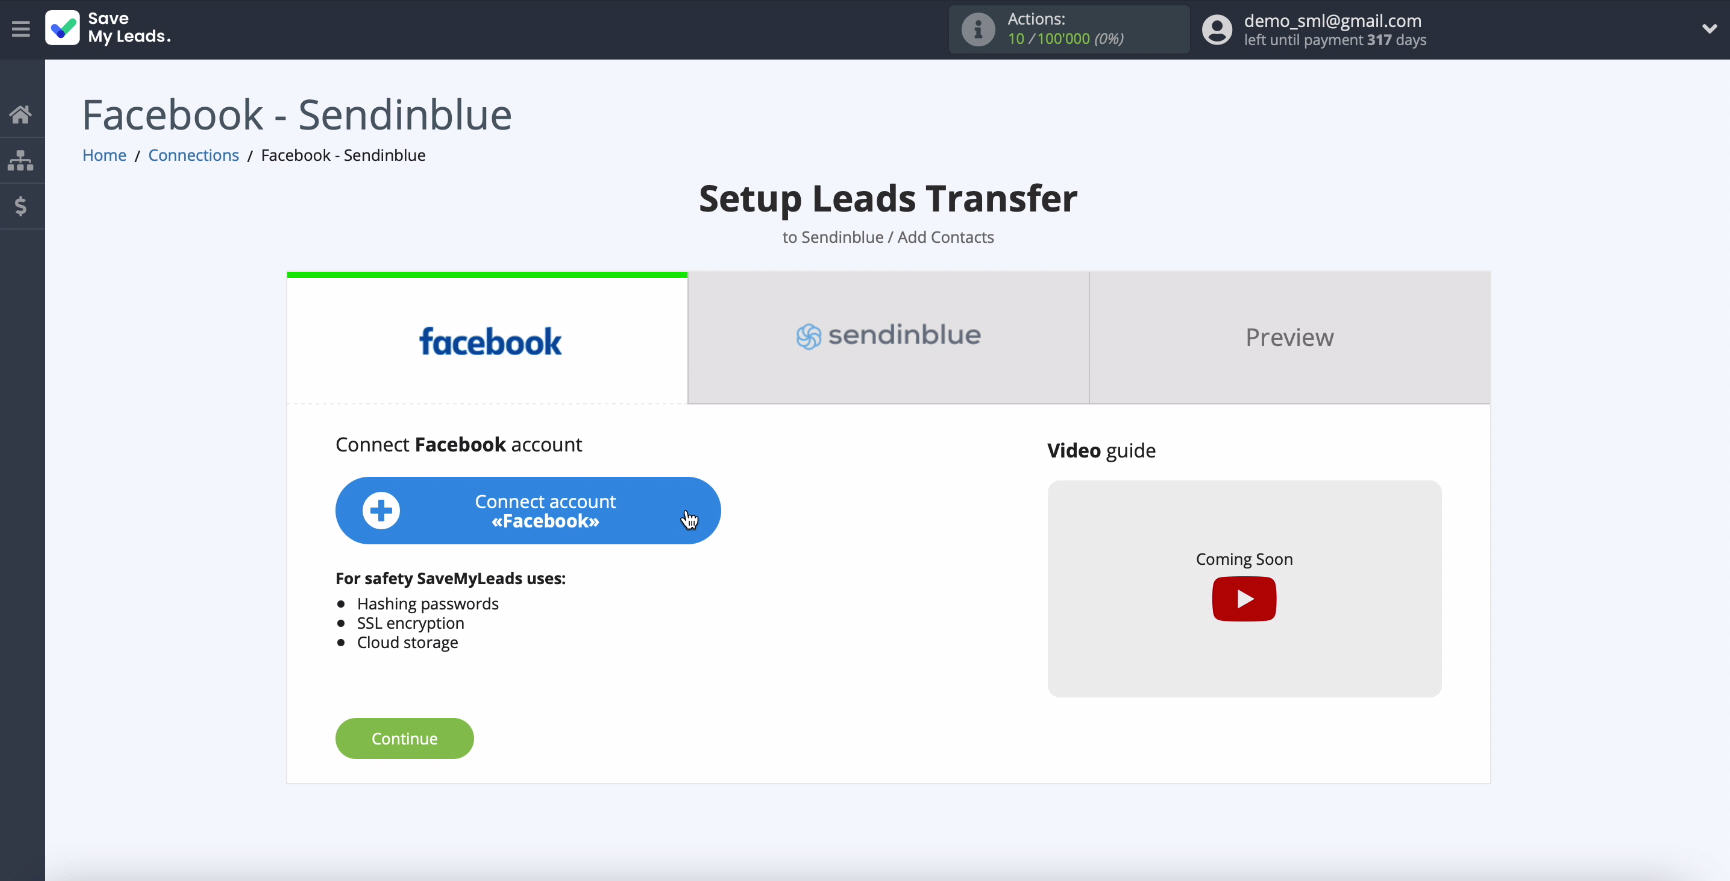
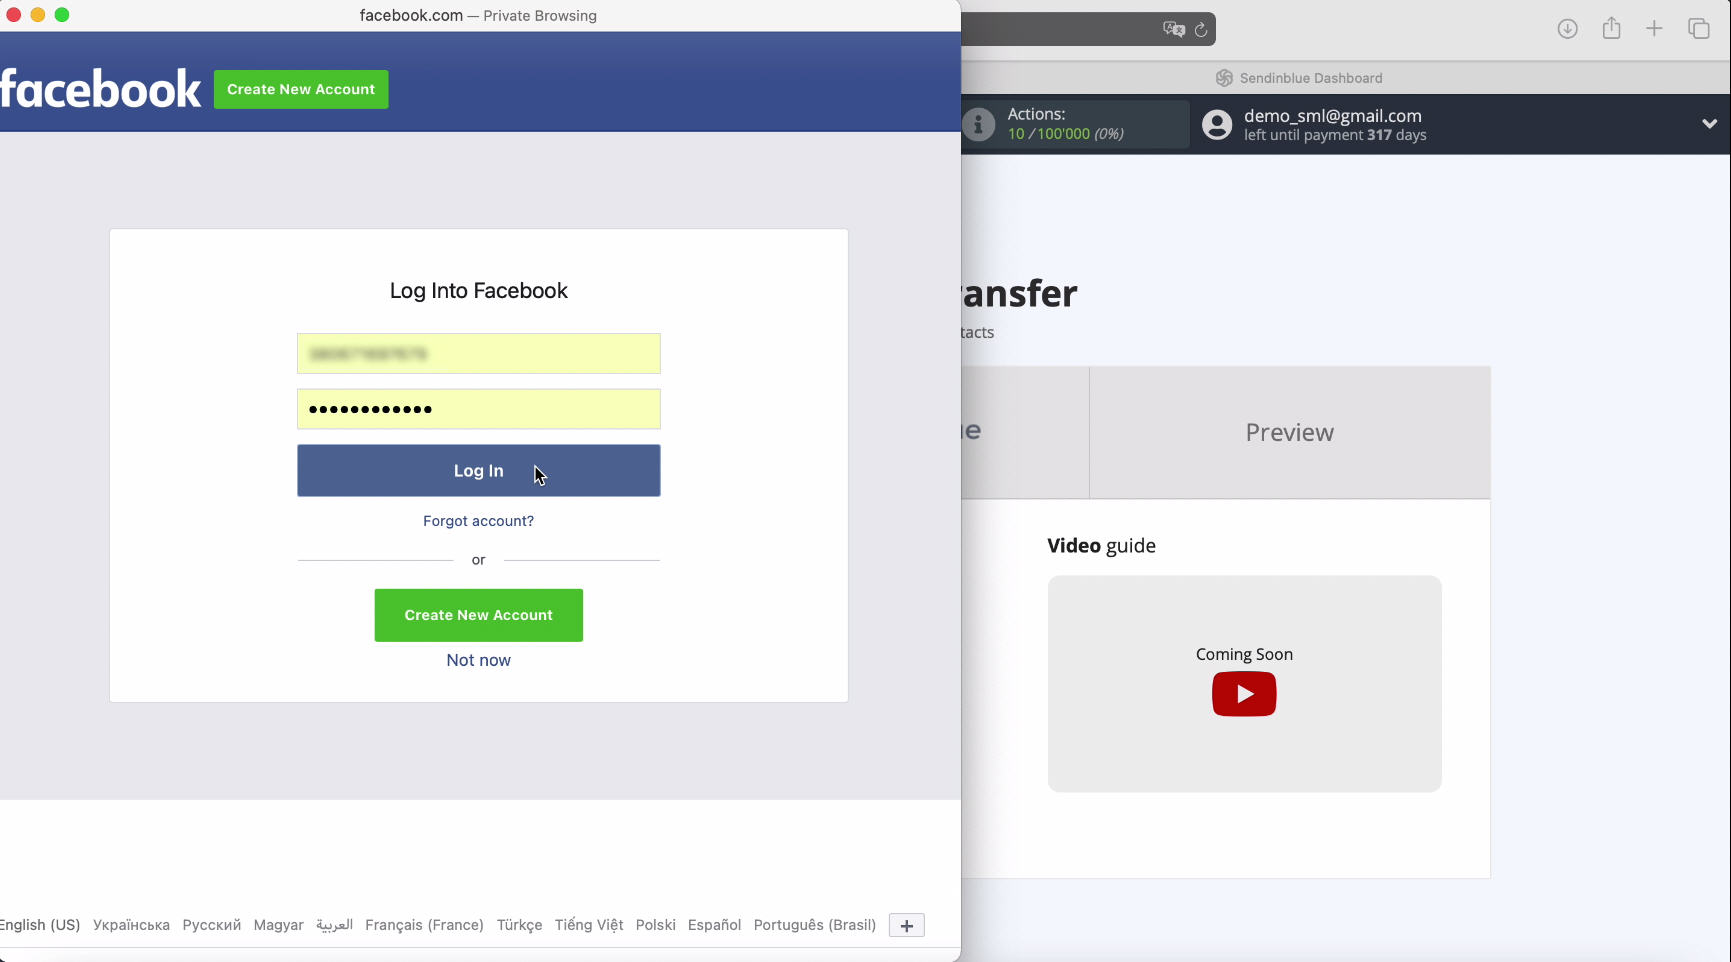
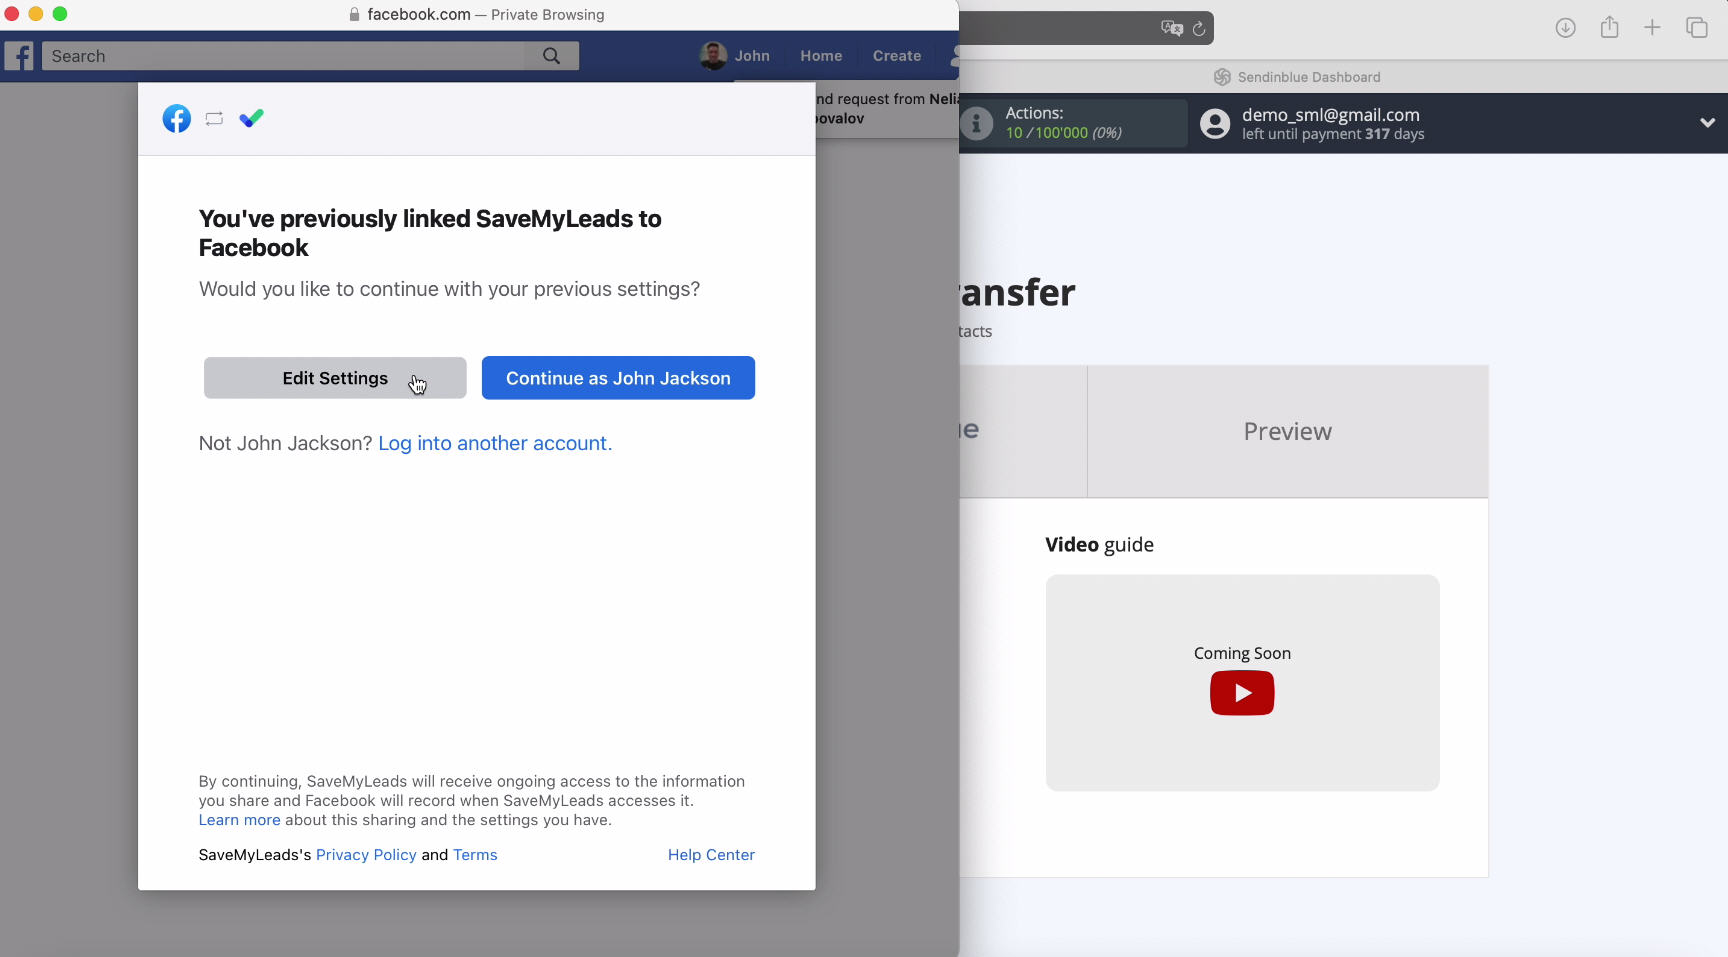
Continue setting by clicking Edit settings
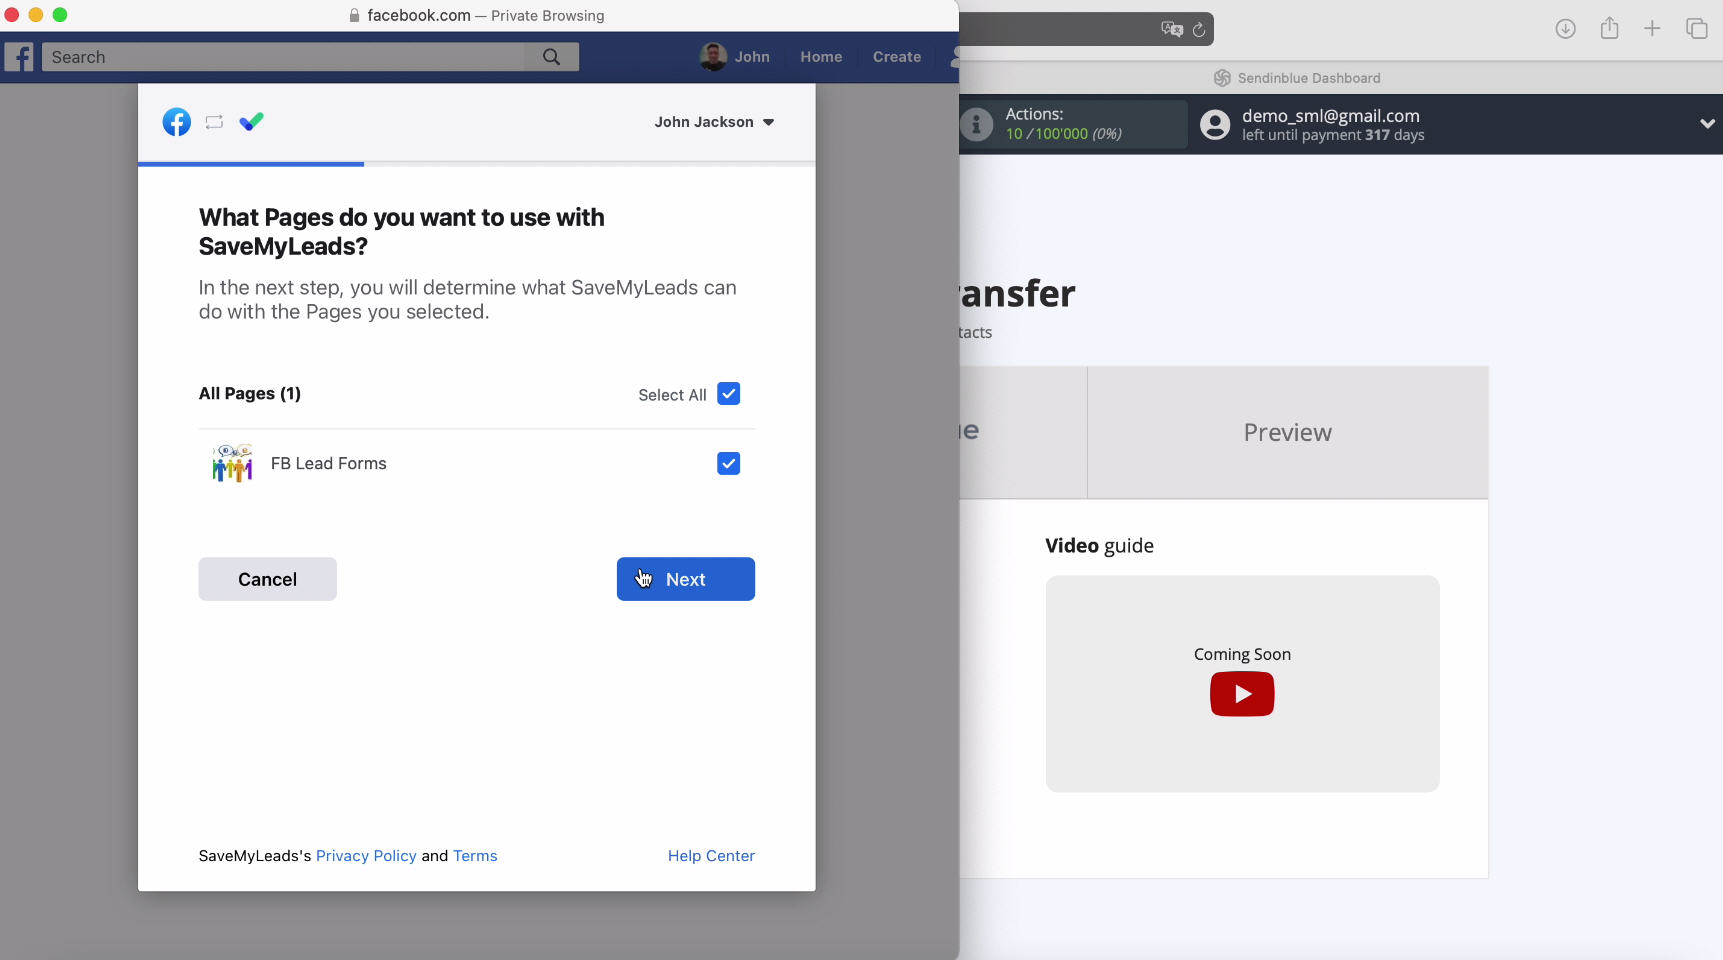
Now you can see all the advertising pages available to you. It necessary to check all the boxes, even those that you are not using yet. Thanks to this, you will be able to work with them in the future.
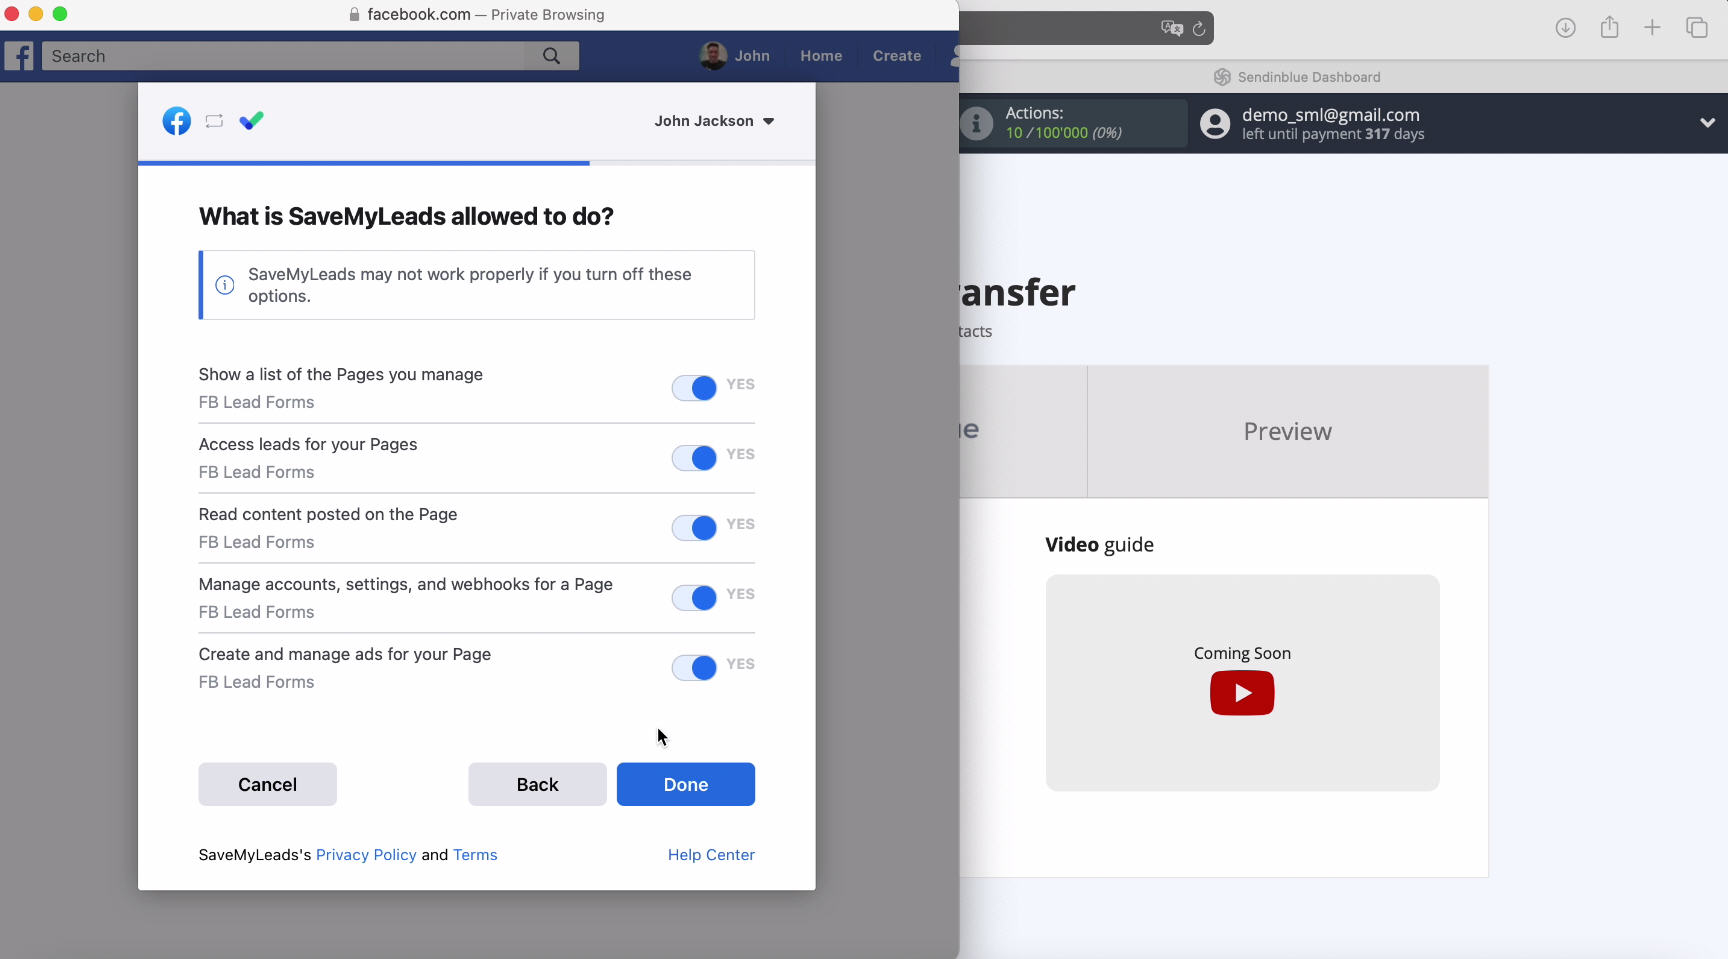
Leave all checkboxes active to configure access.
At this stage, yours should be displayed in the list of connected accounts, select it.
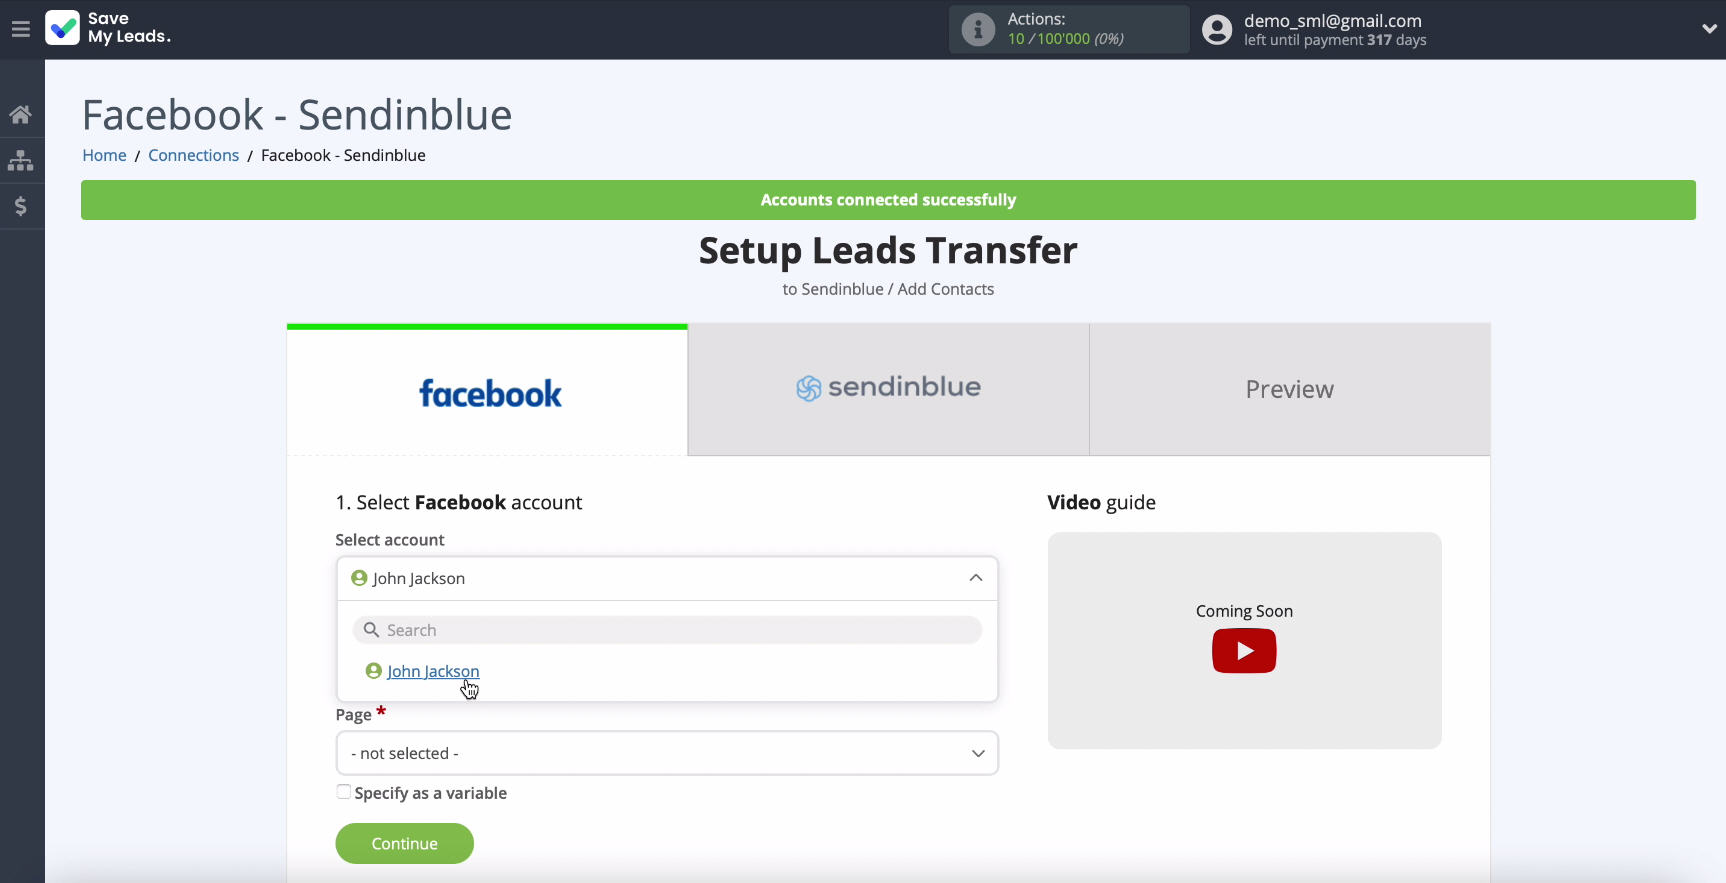
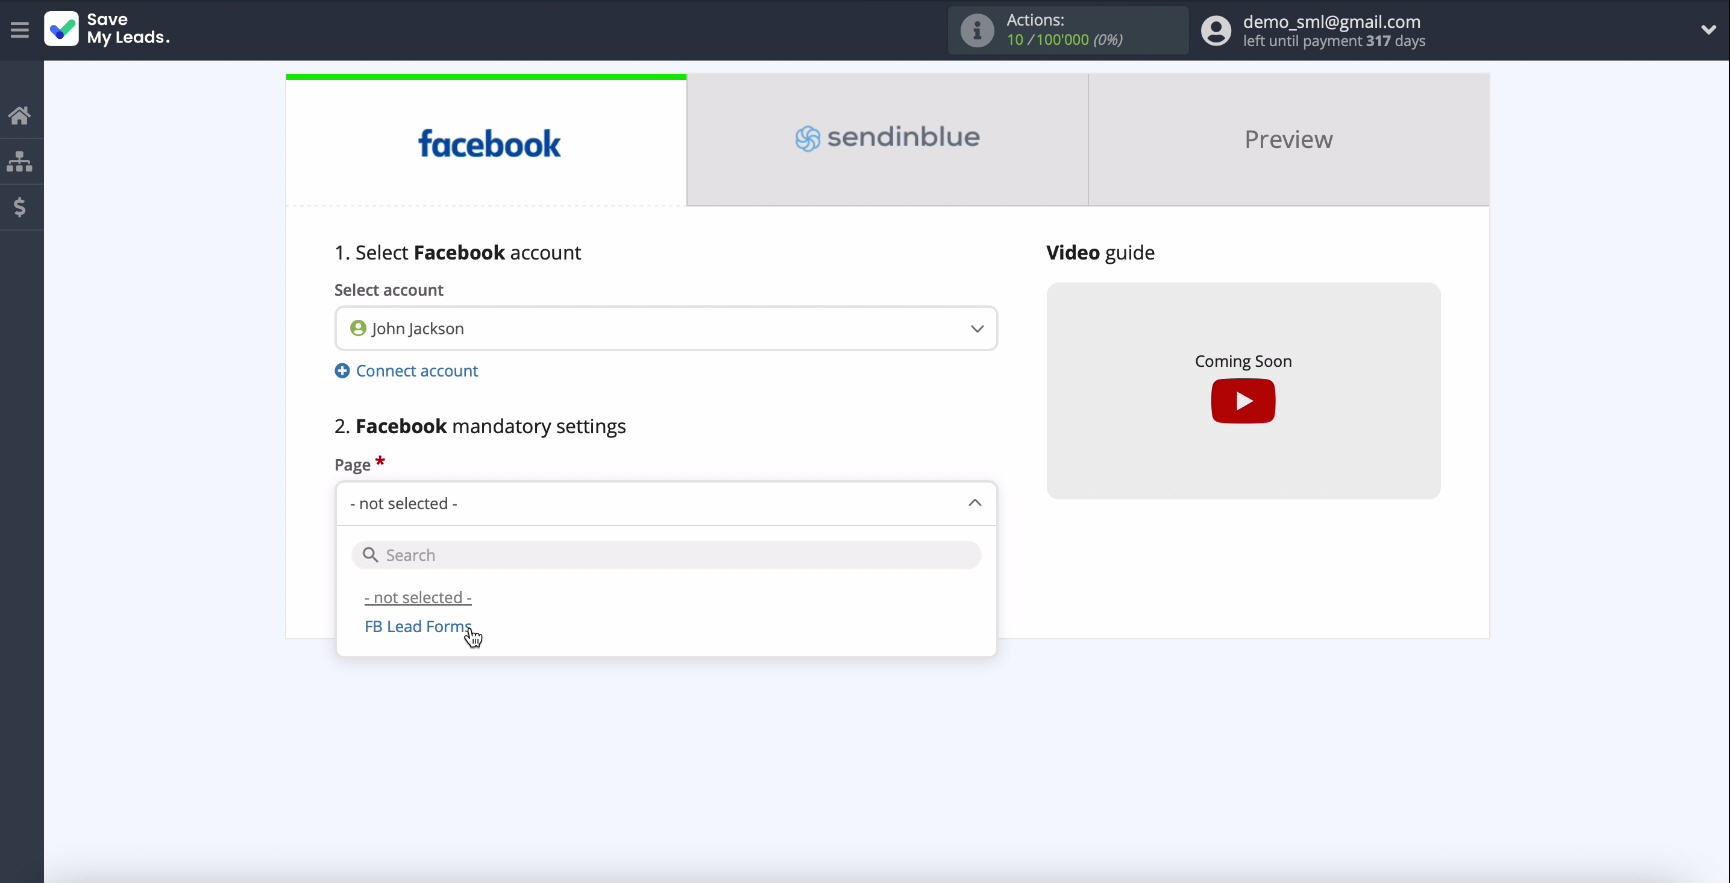
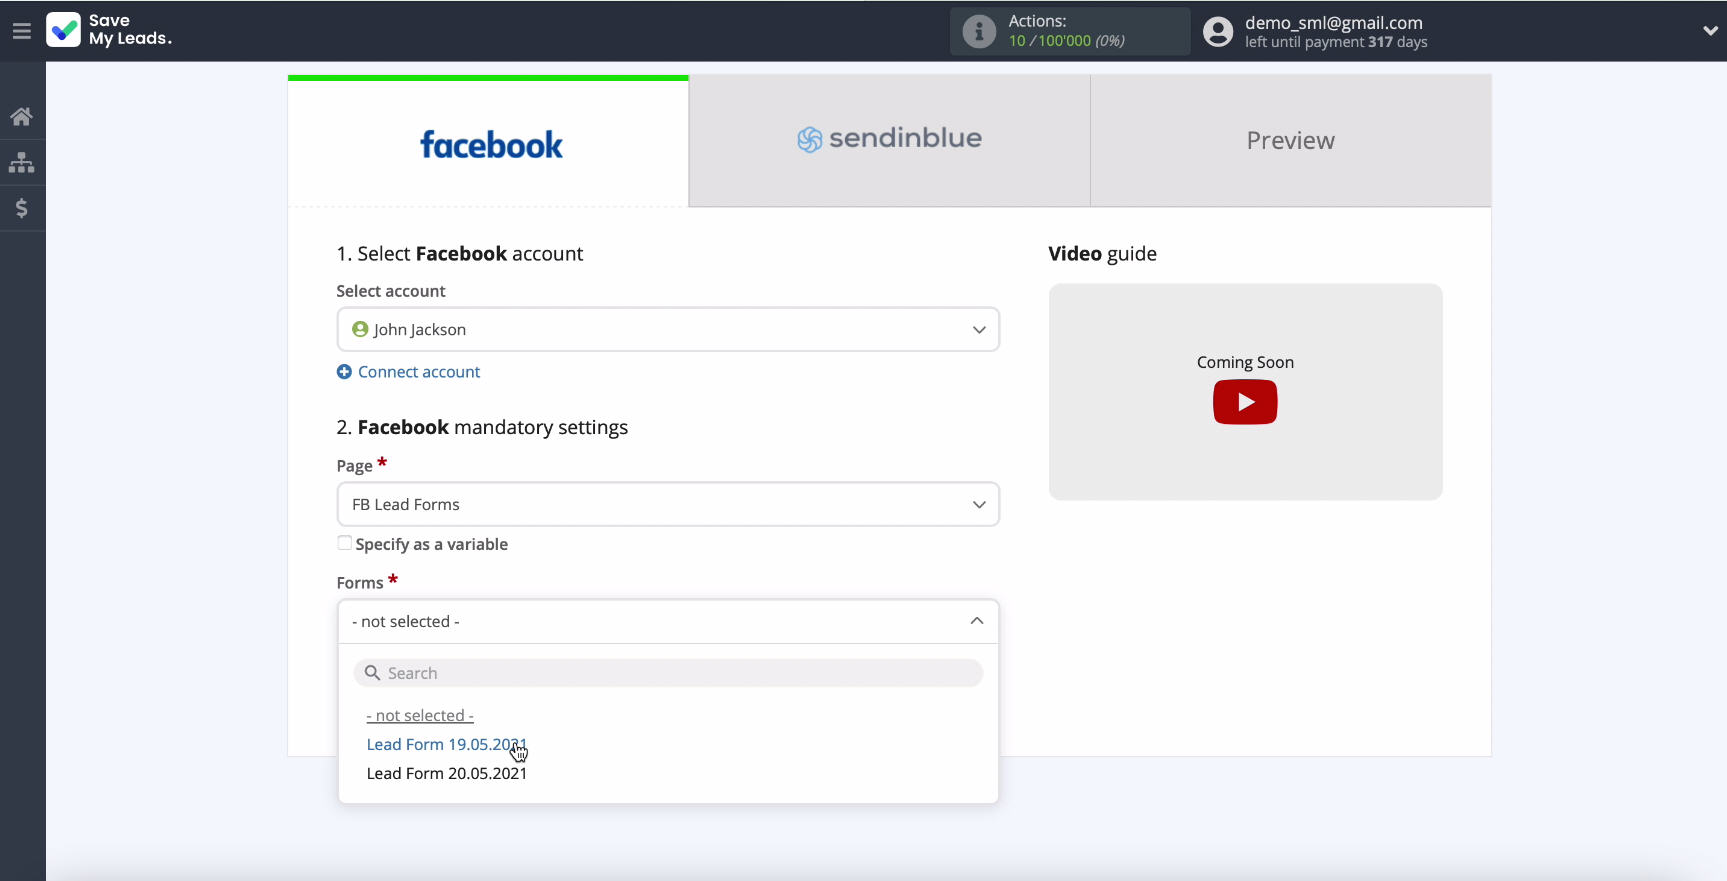
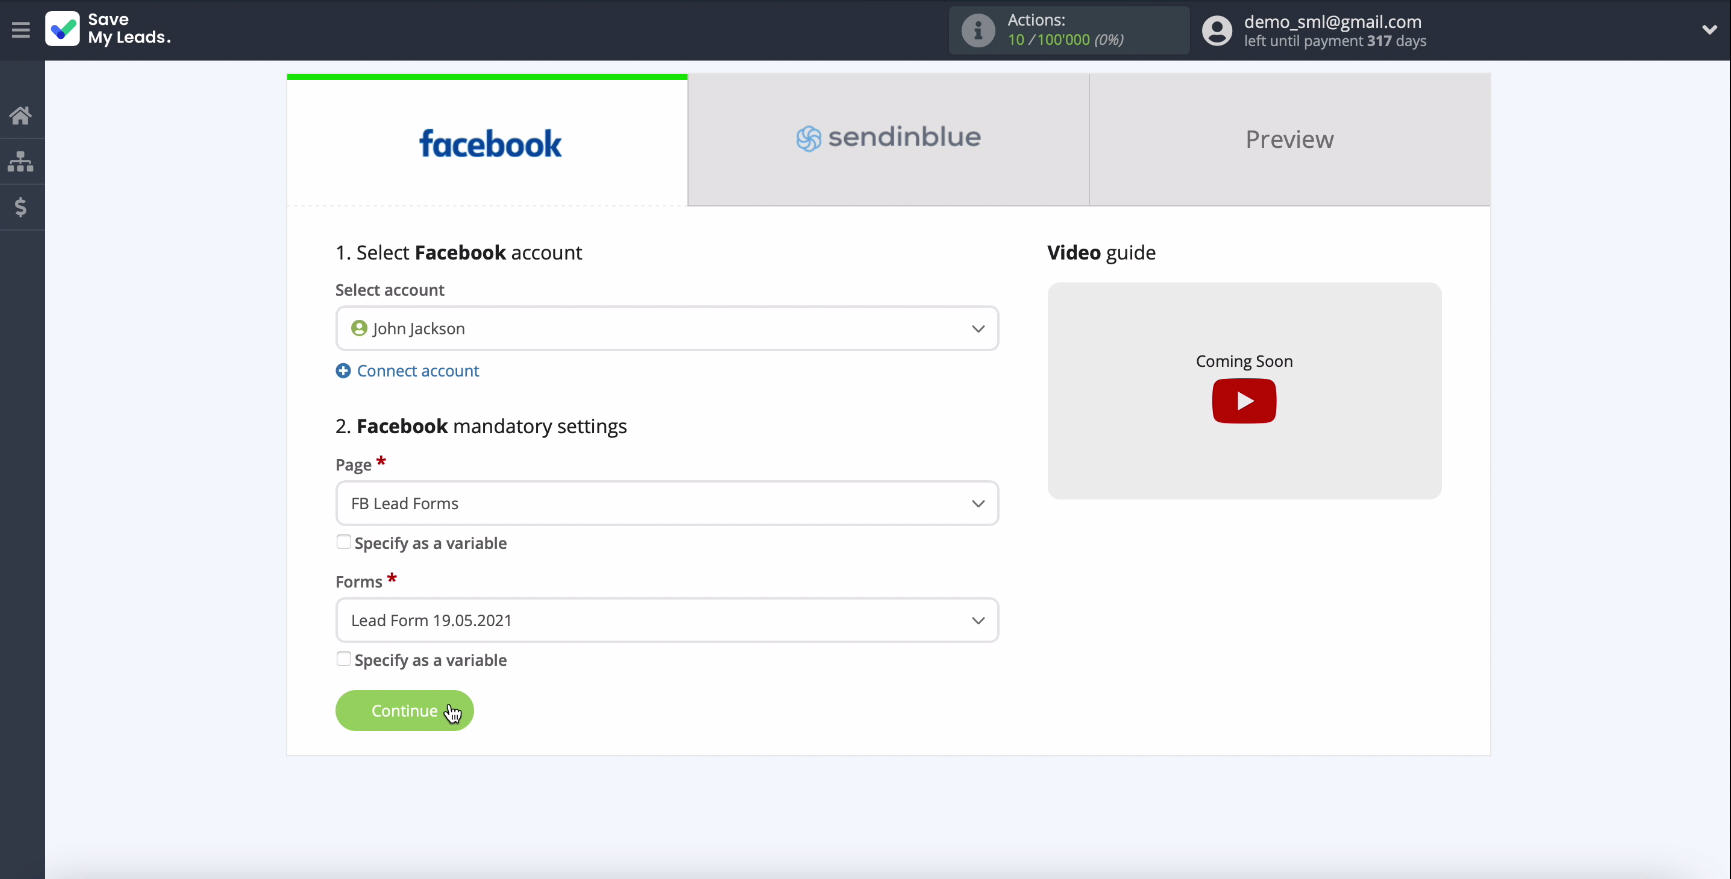
In the same window, select the advertising page for which you want to send leads, and then specify the forms by which the data will be uploaded. If you have several forms, then for each of them you will need to create a separate connection.
Press the Continue button.
Connect Sendinblue
Connect your account to SaveMyLeads.
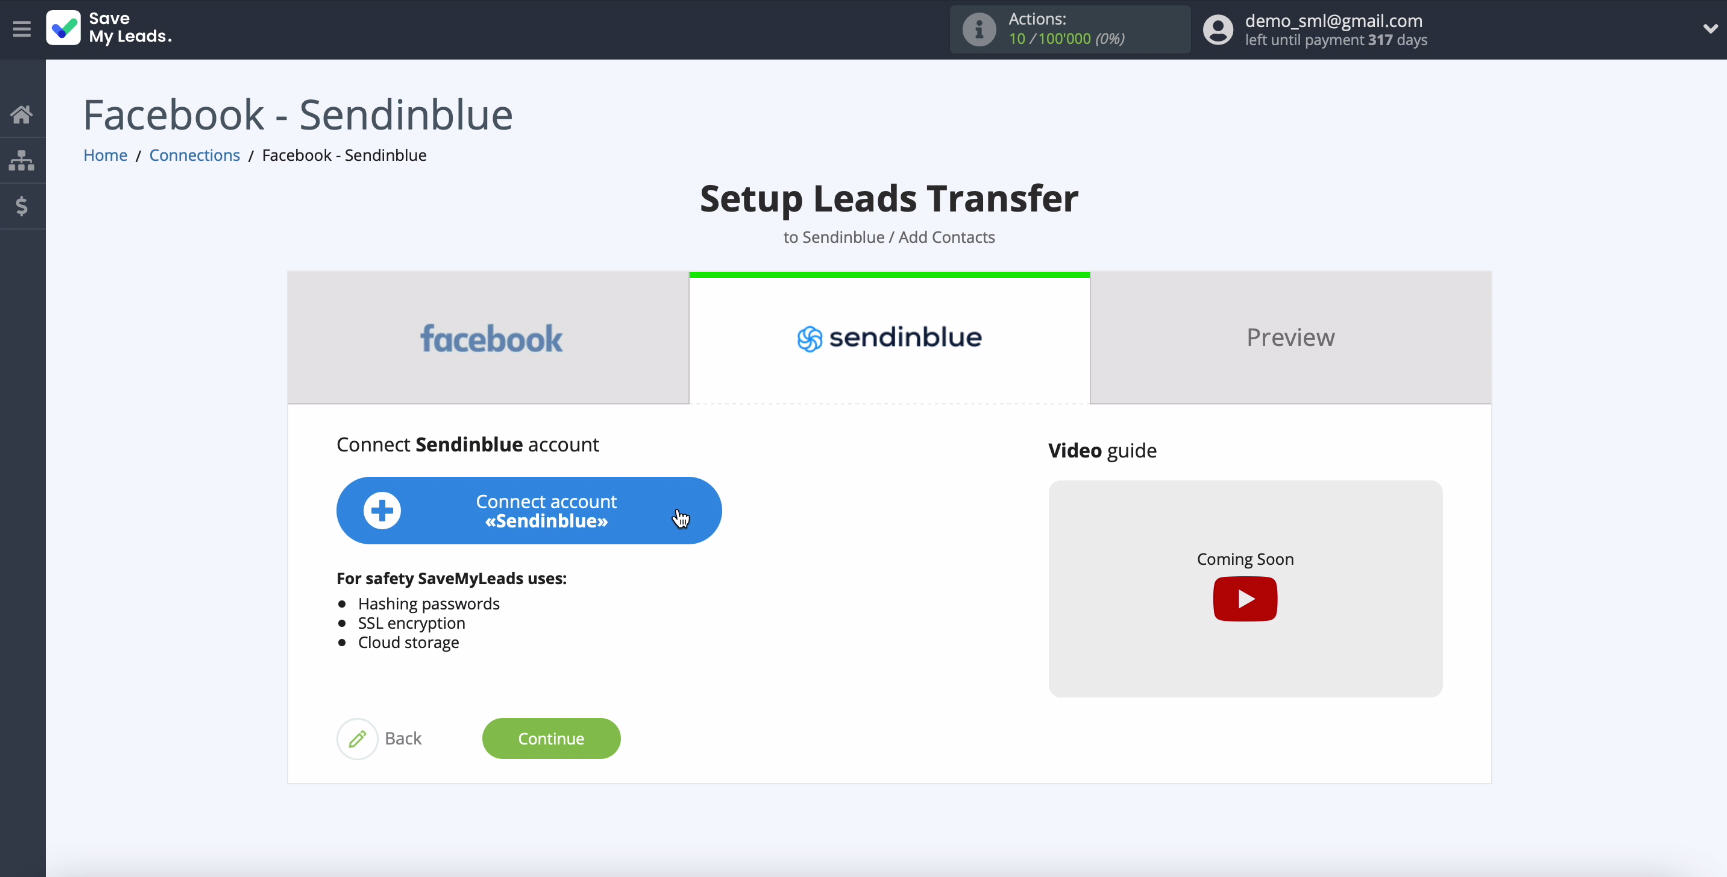
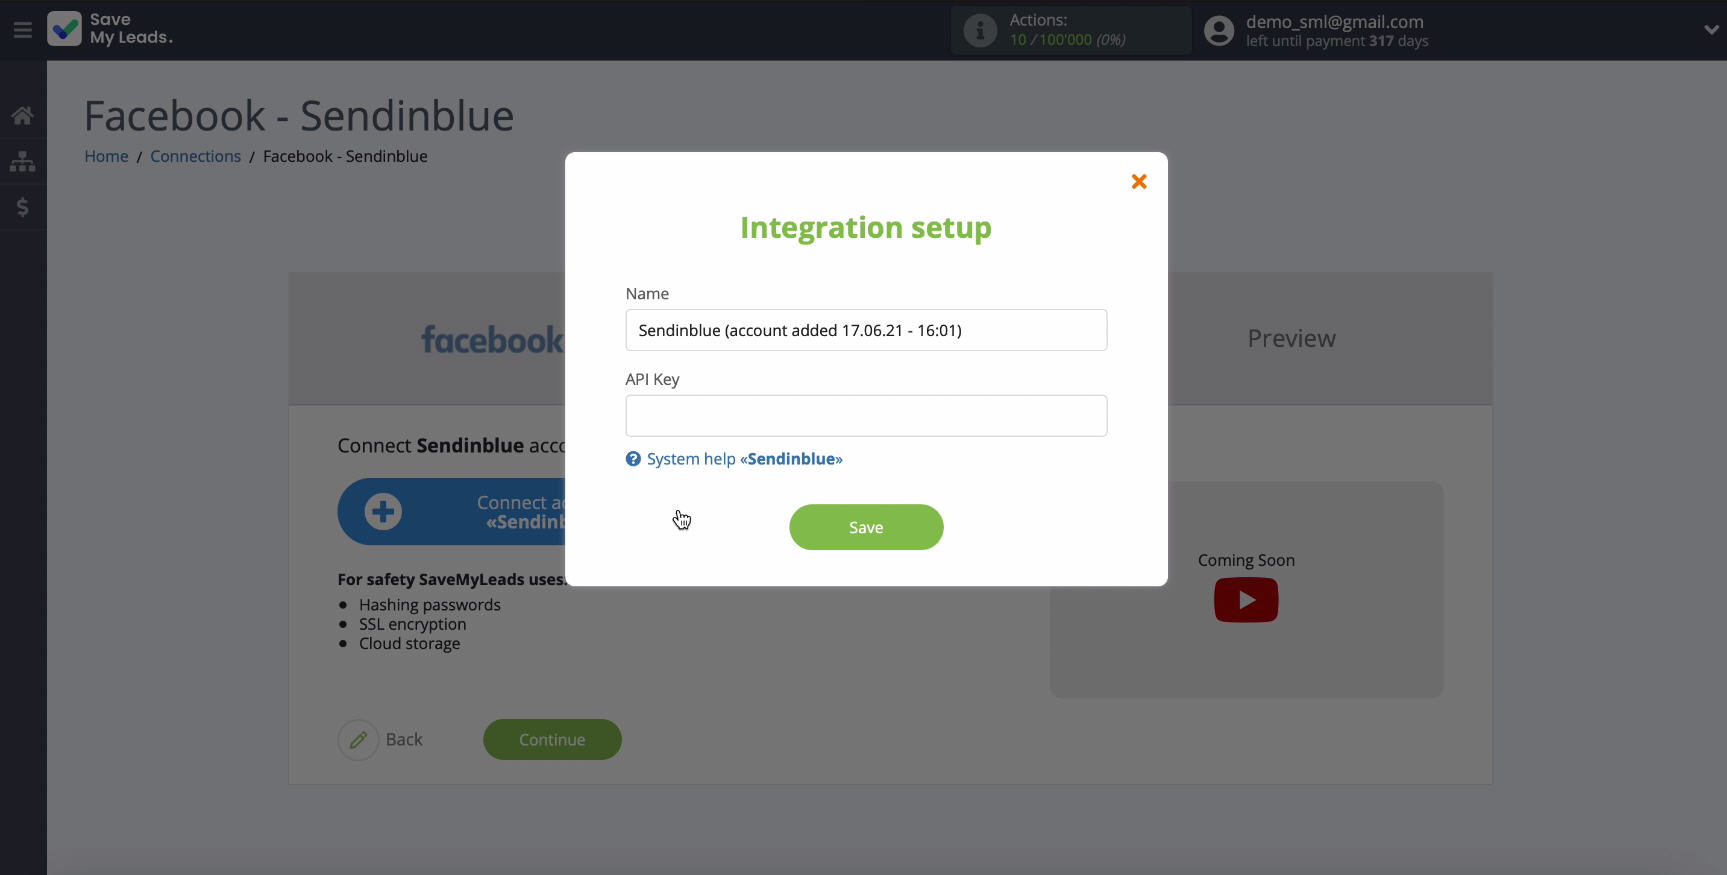
To proceed with the configuration, you need to specify the API key.
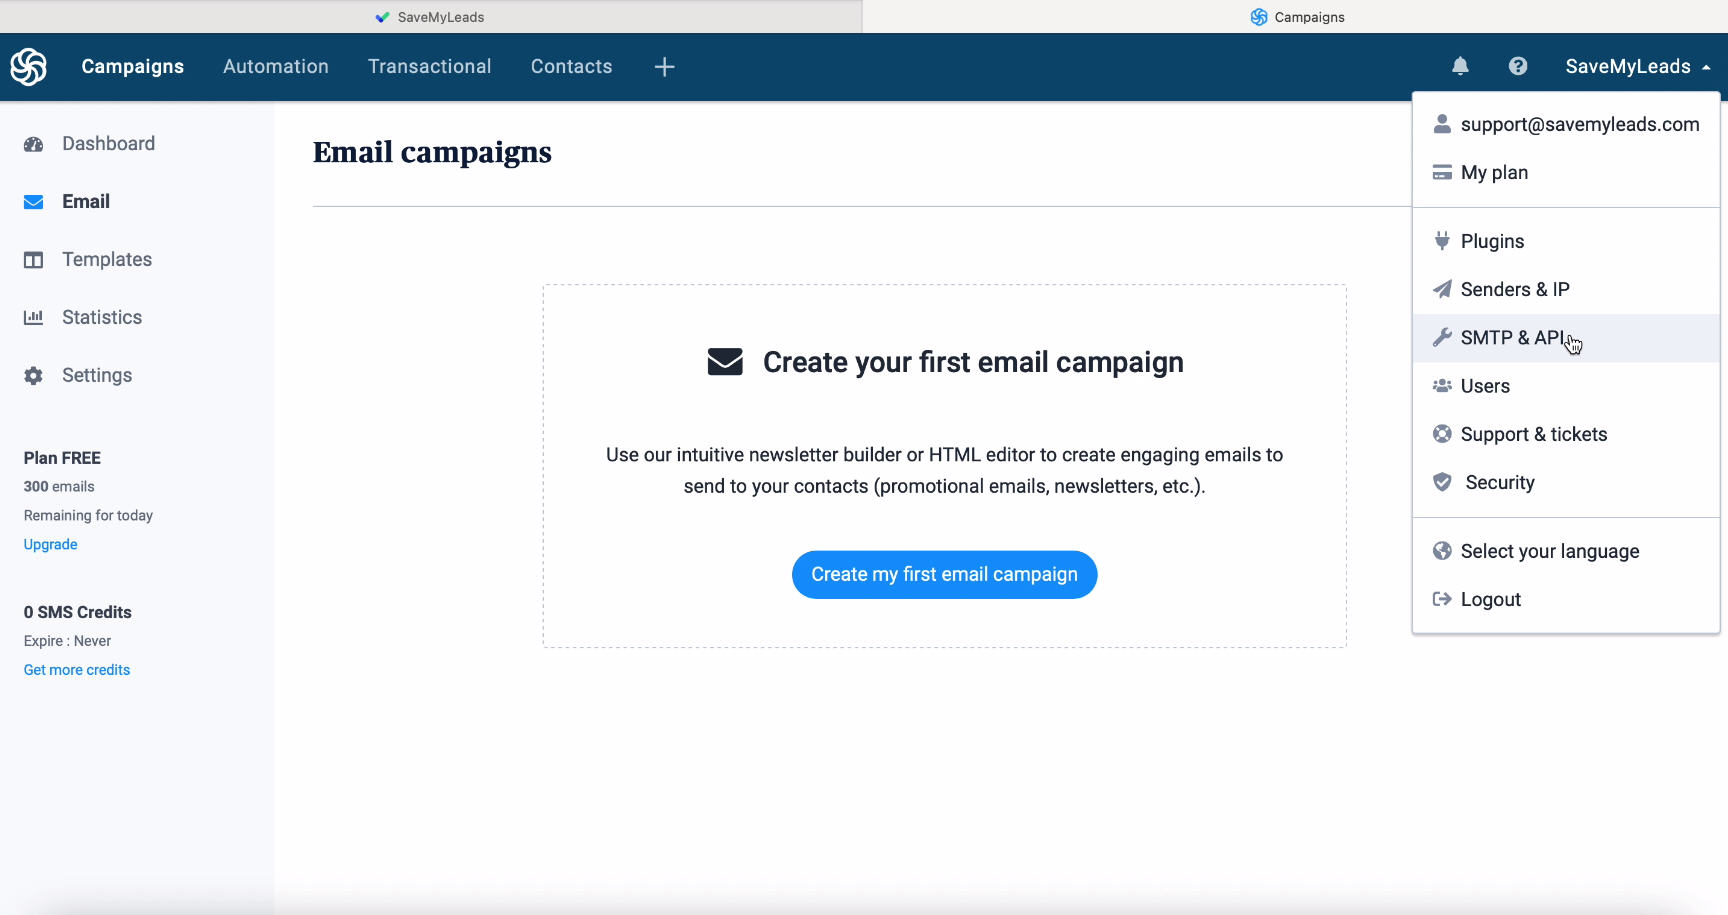
To get an API key, go to your account Sendinblue and then to the SMTP & API profile section.
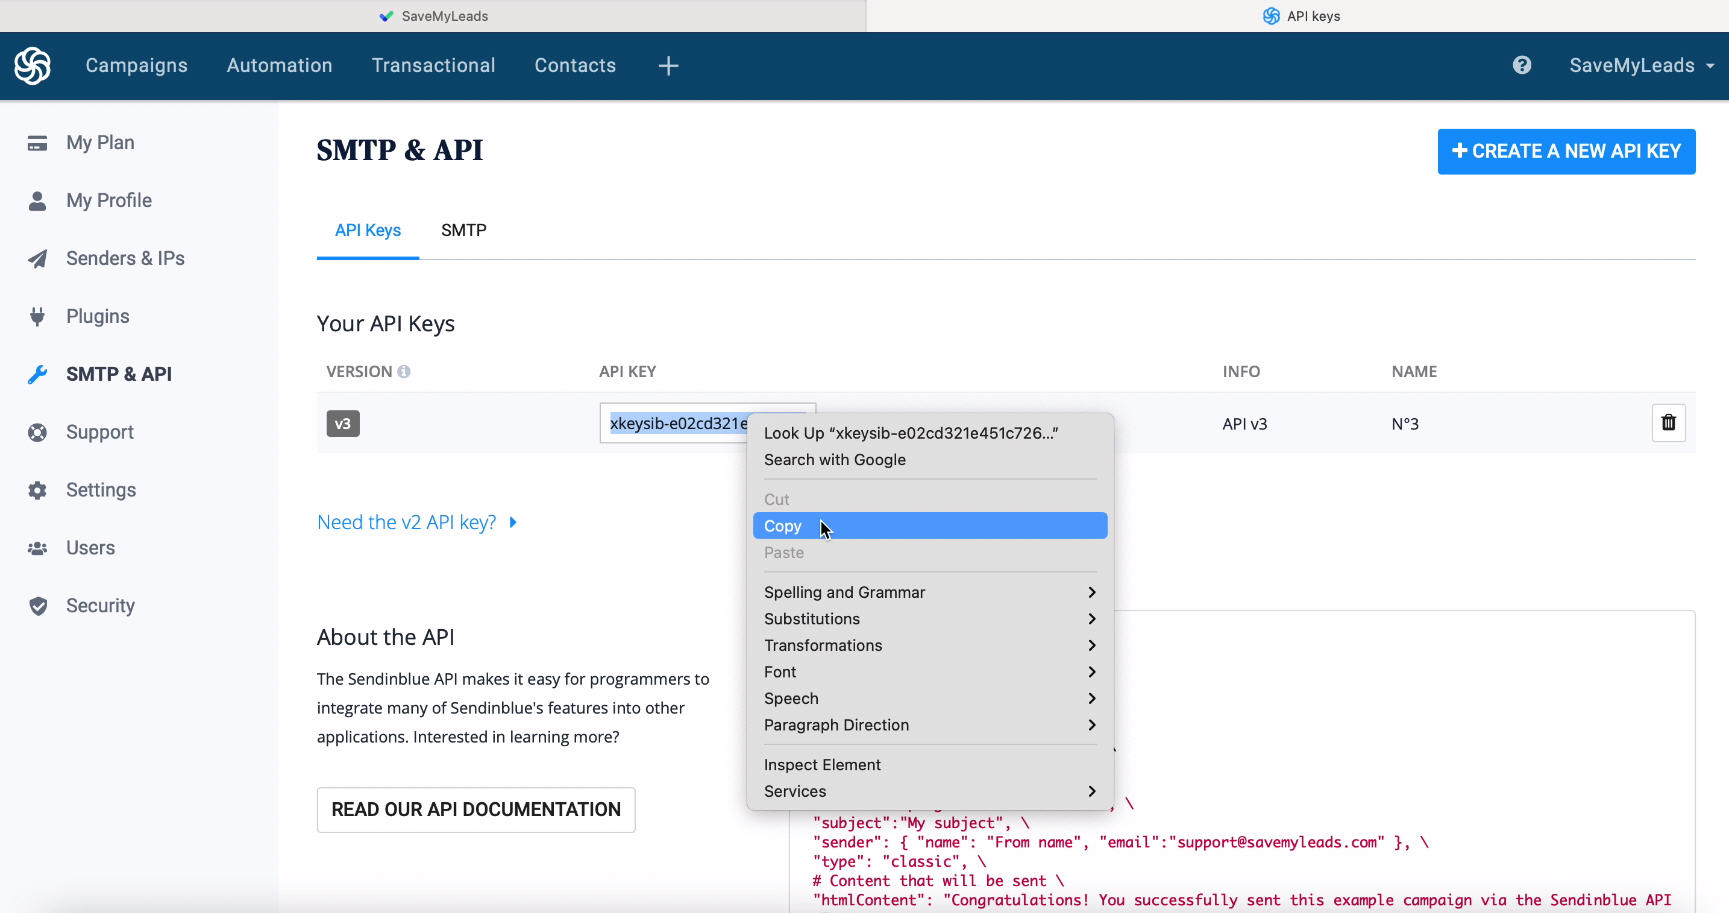
Section in the SMTP & API section, copy the APIkey.
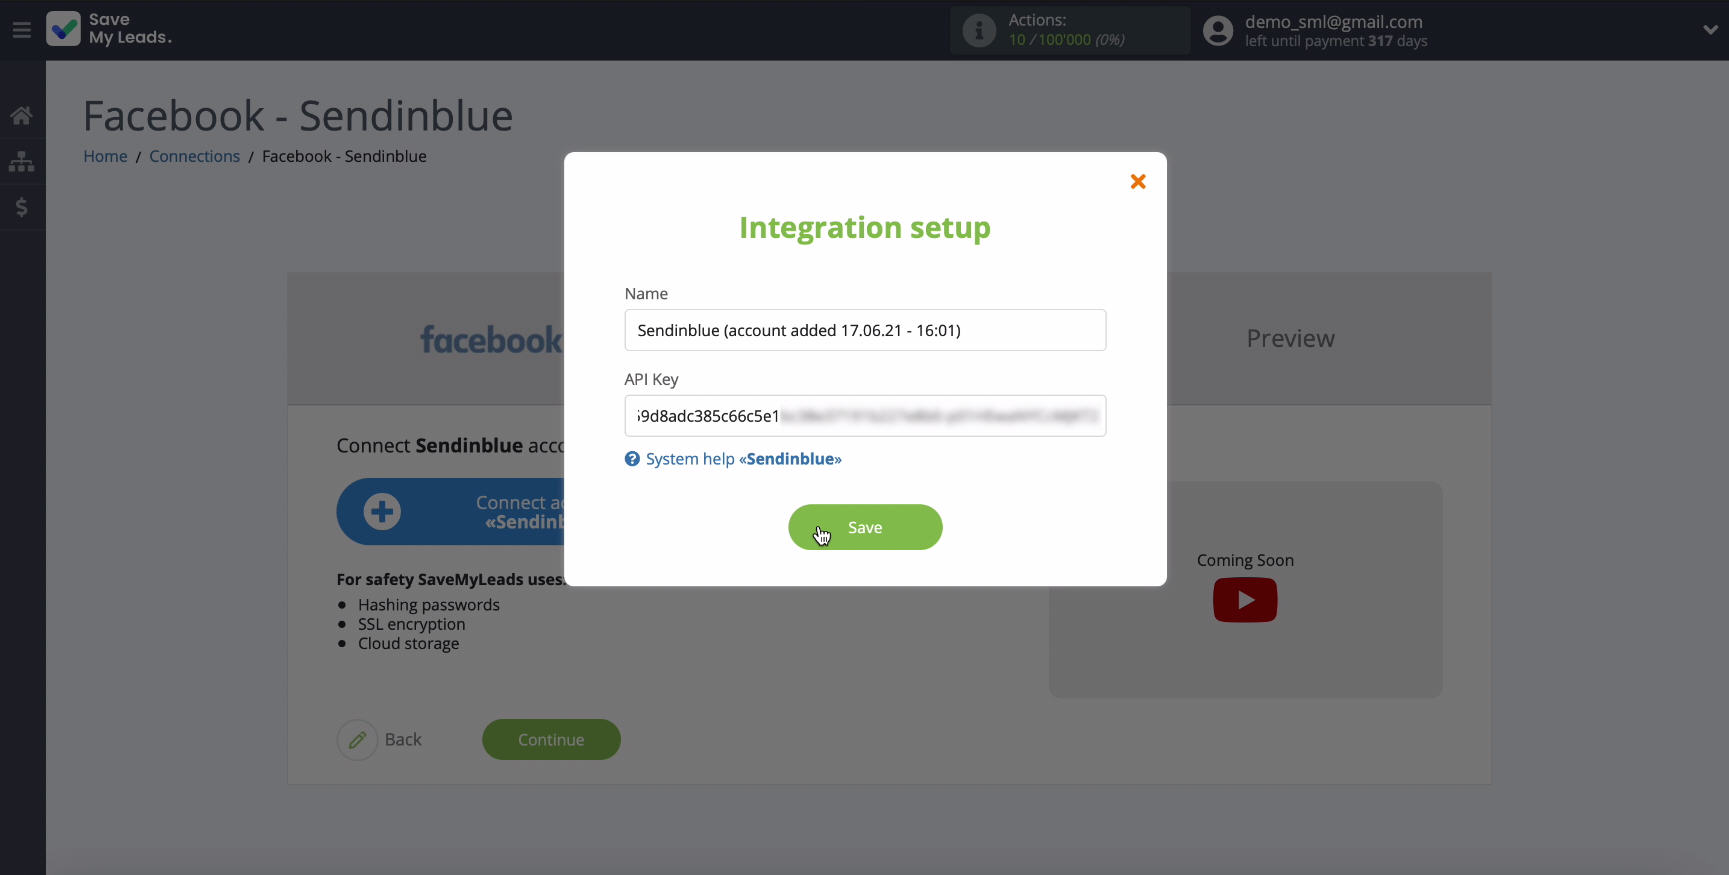
Return to the SaveMyLeads service tab, paste the copied key in the corresponding field and click Save to continue configuring.
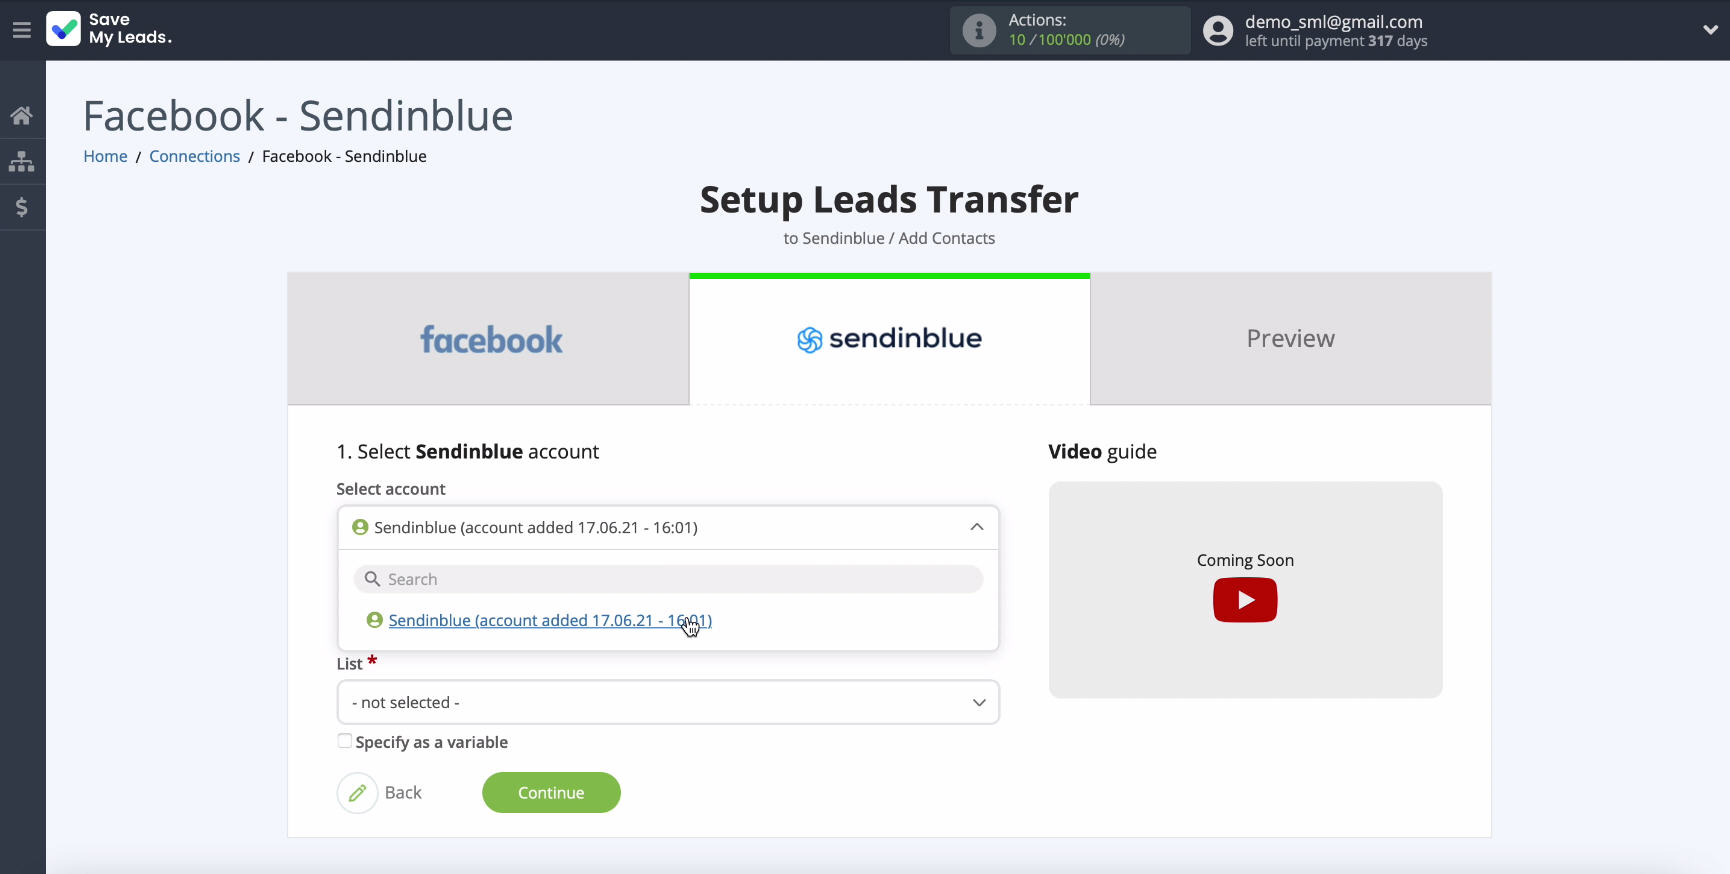
At this stage, select yours from the list of connected accounts.
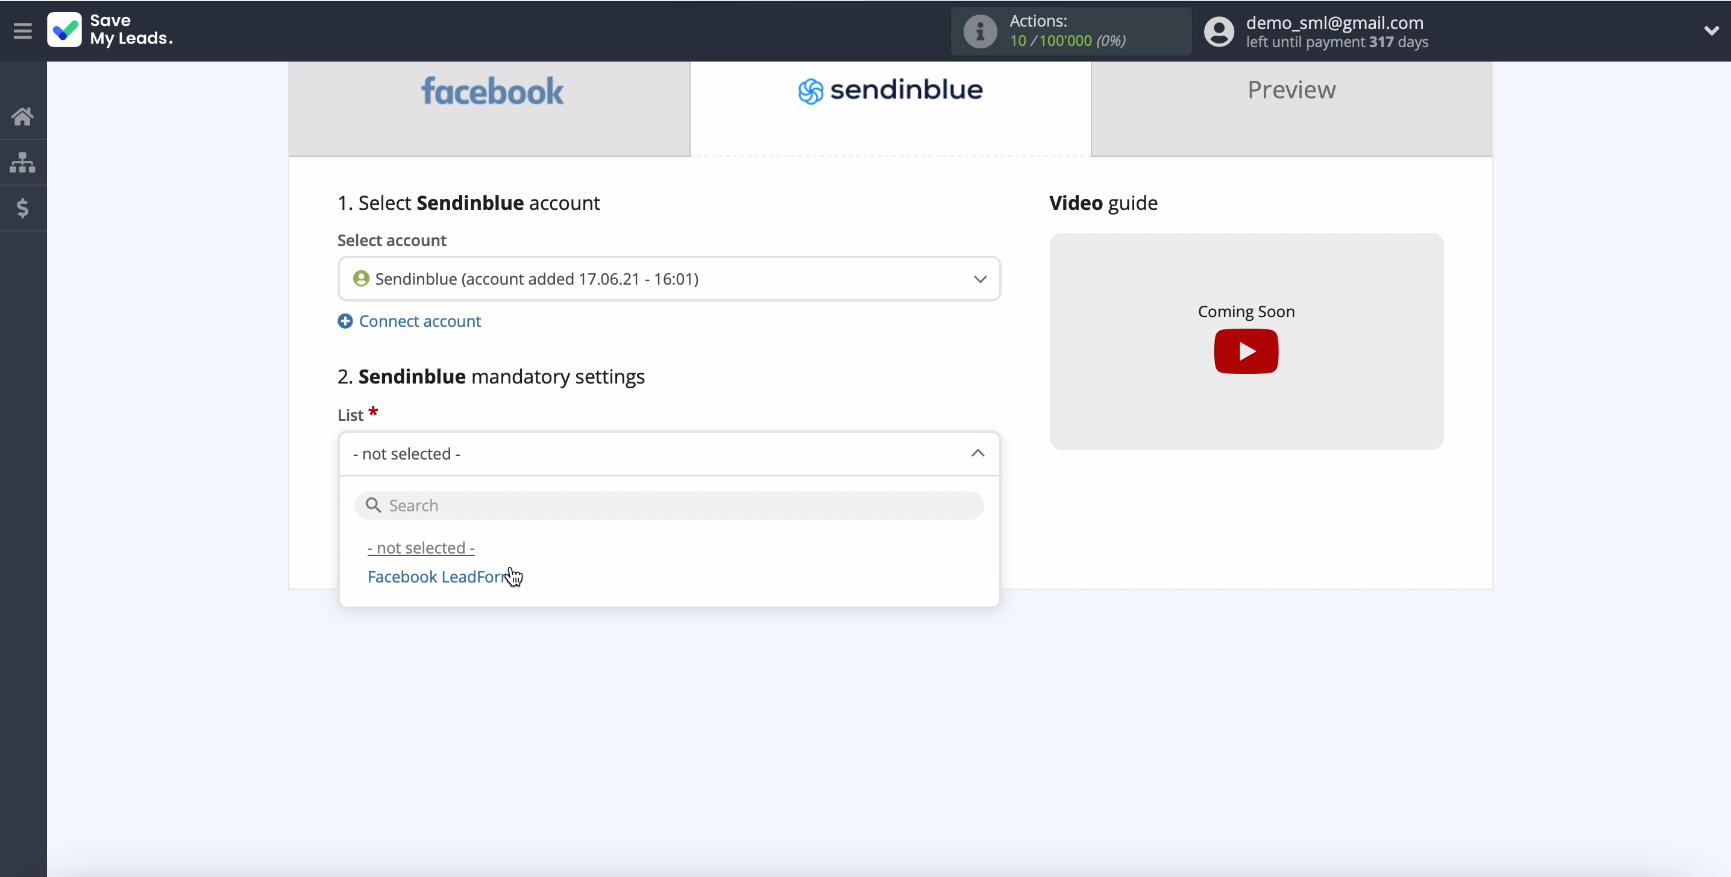
In the same window, specify the List where new leads from Facebook will be added.
From the drop-down lists, assign variables from Facebook by clicking in the corresponding field.
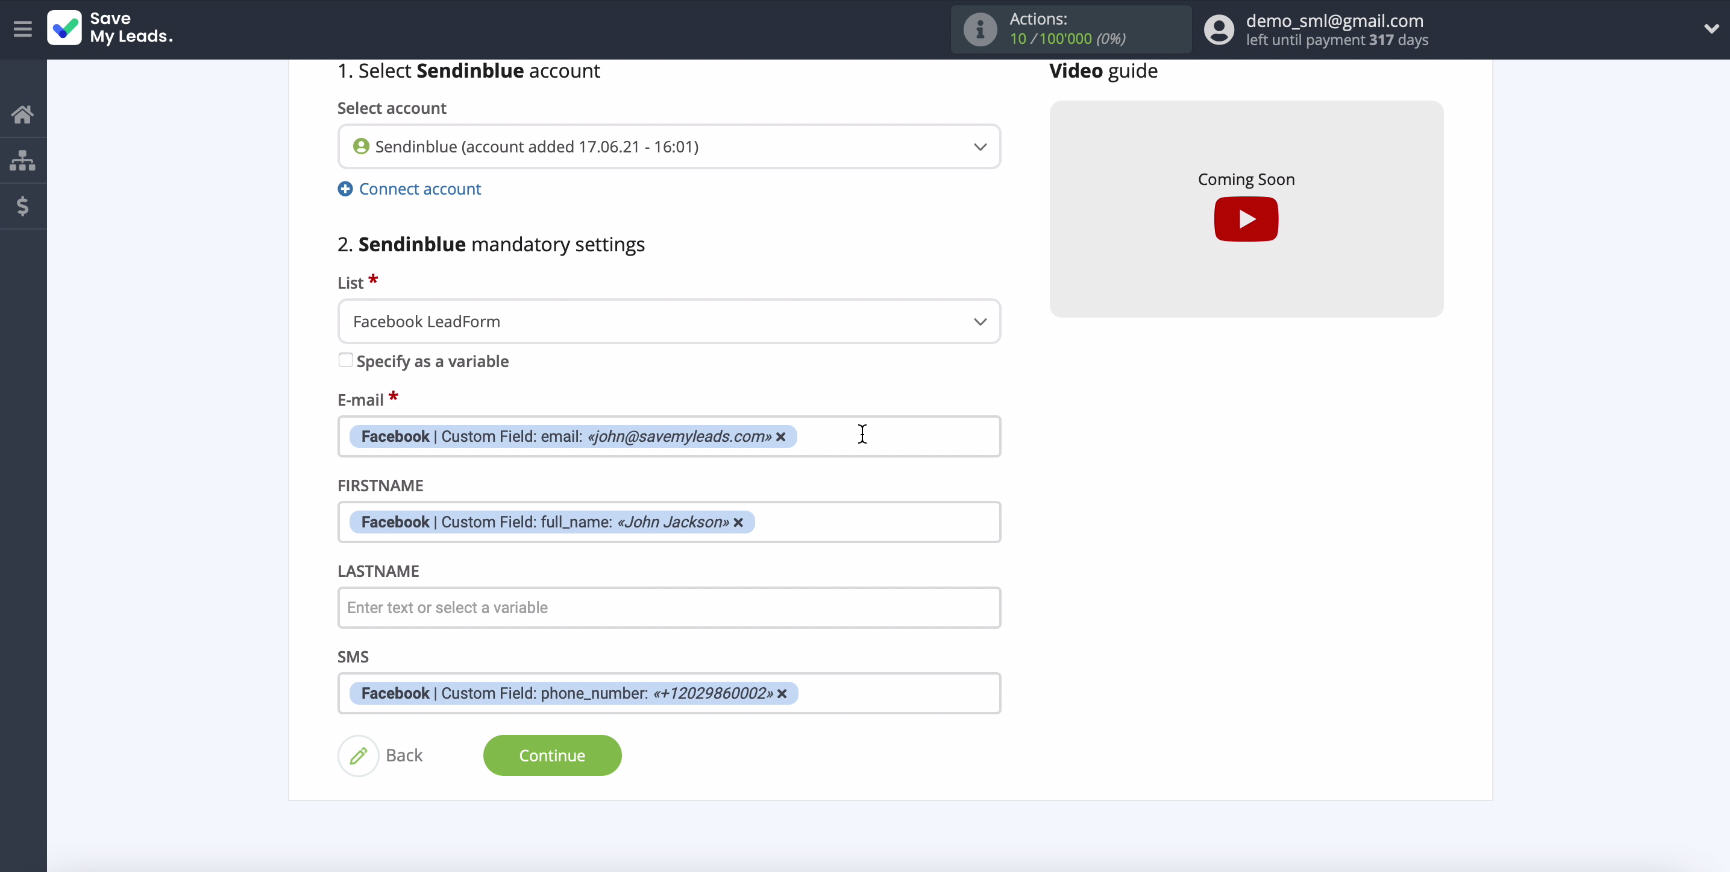
To proceed with the setup click Continue
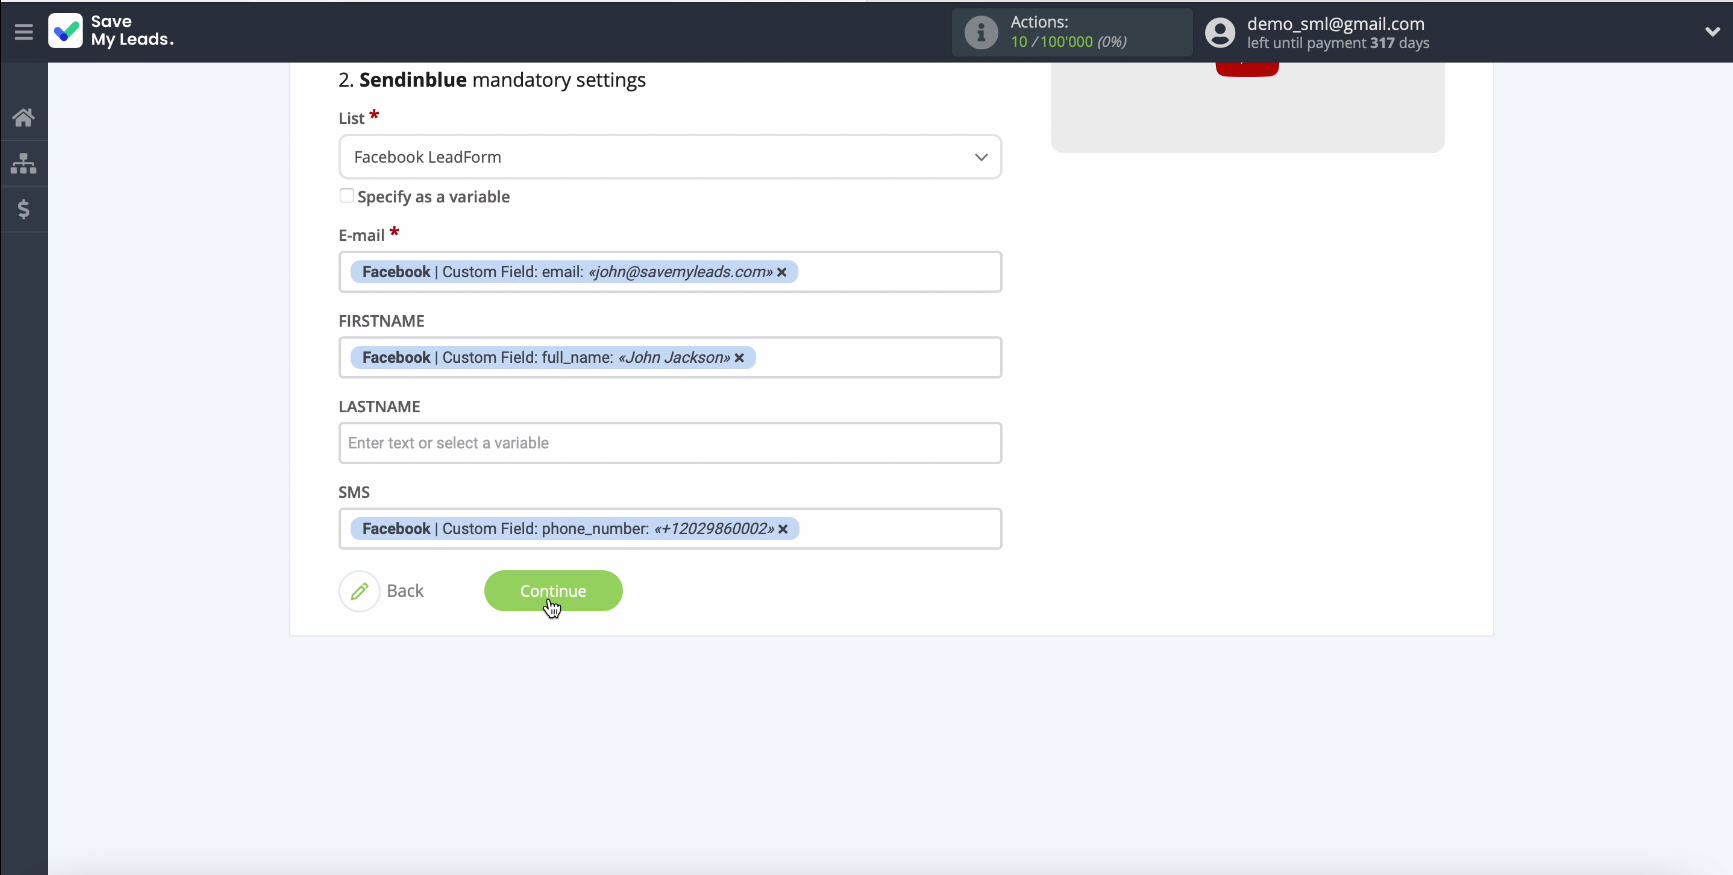
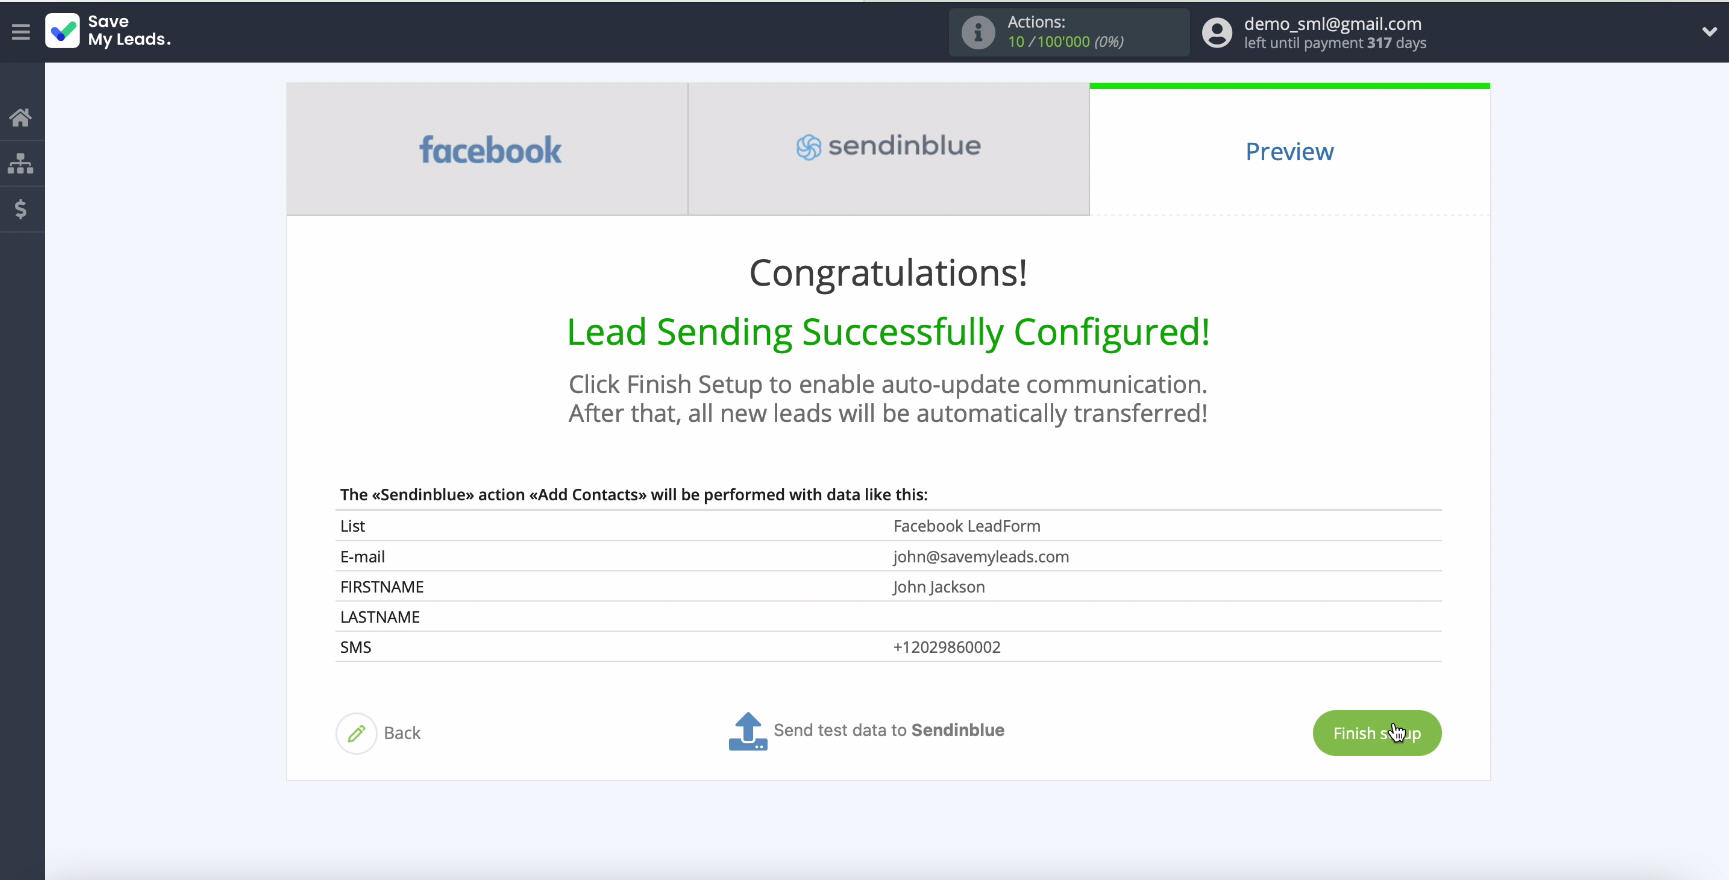
In a new window, you will see an example of the data that will be sent to Sendinblue for every new lead received from Facebook.
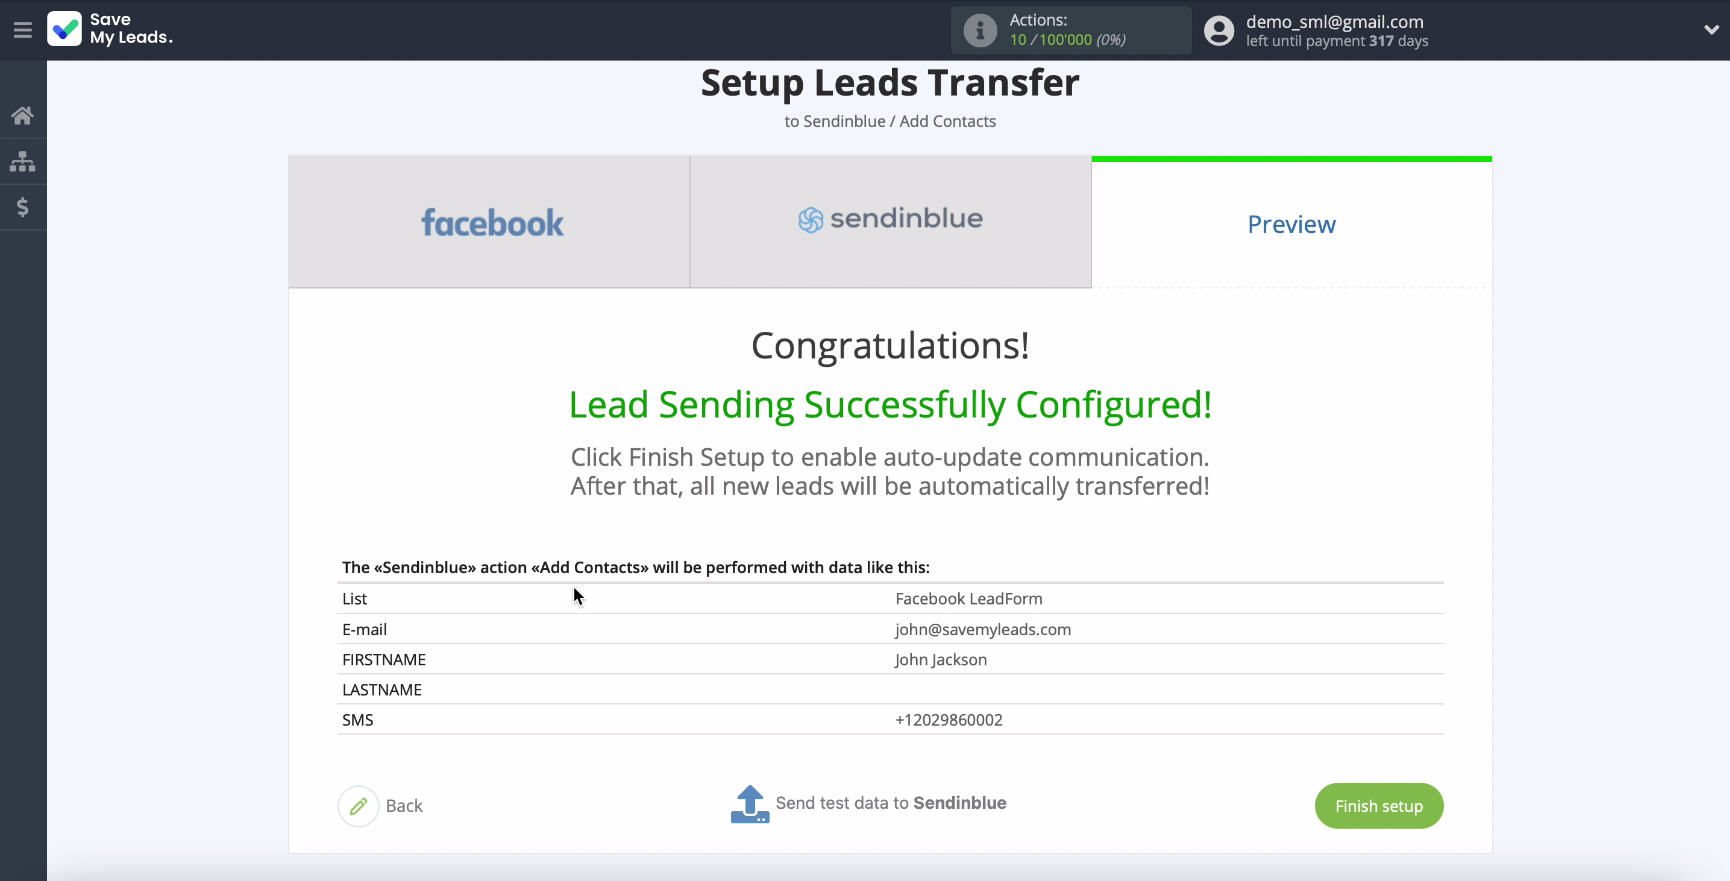
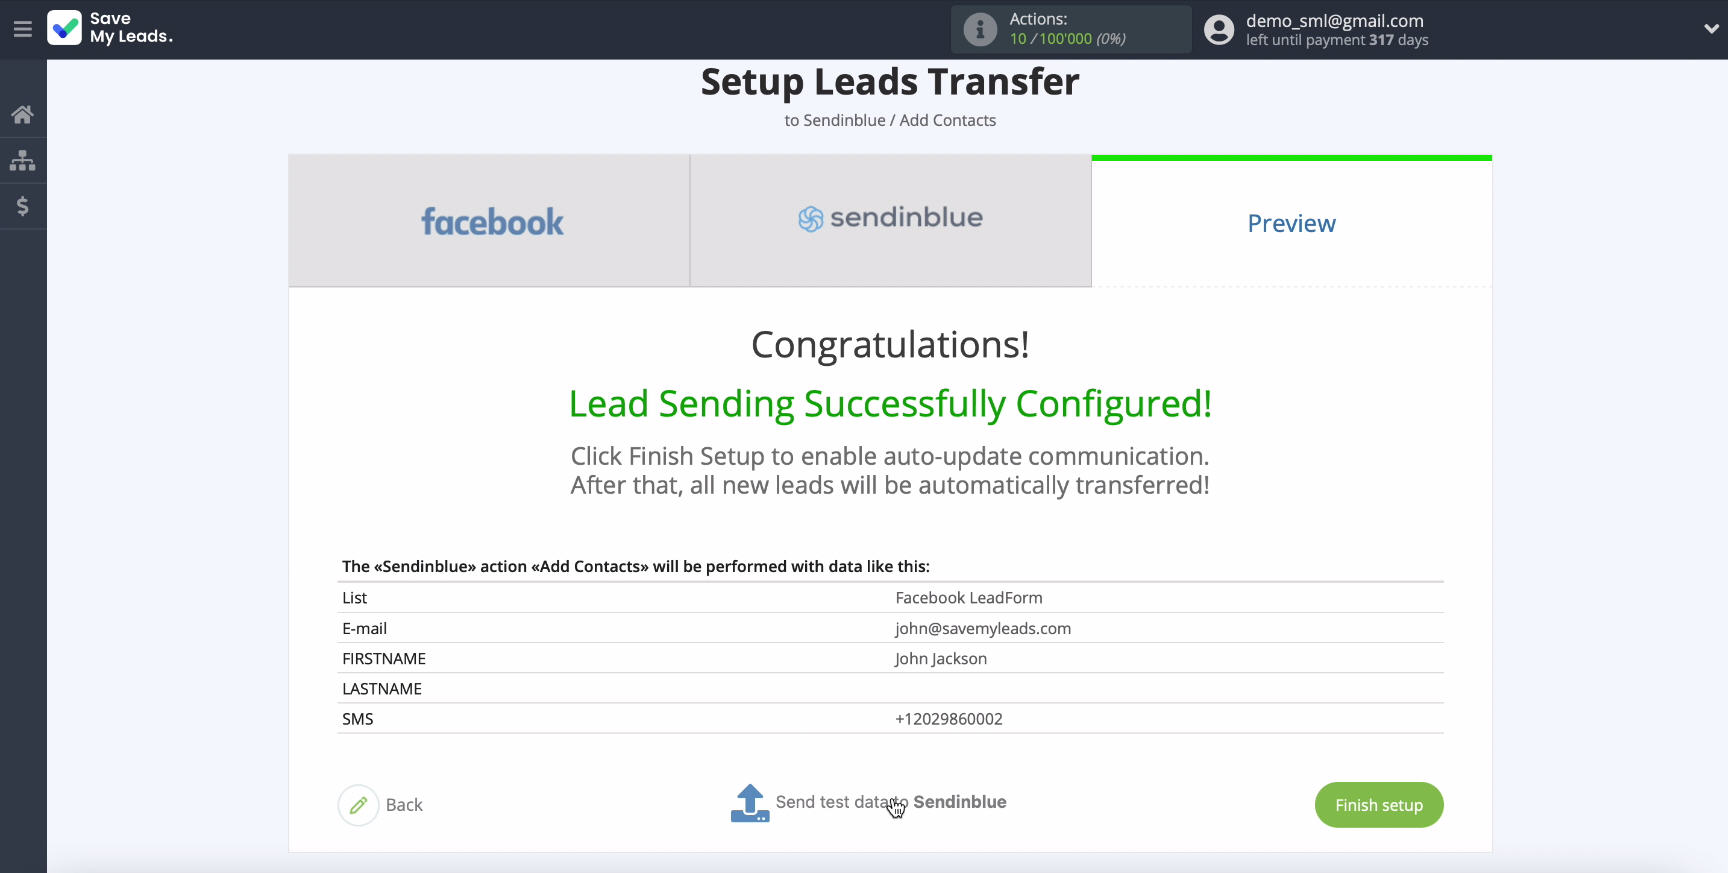
Proverte correct attitudefor pressing send test data to Sendinblue.
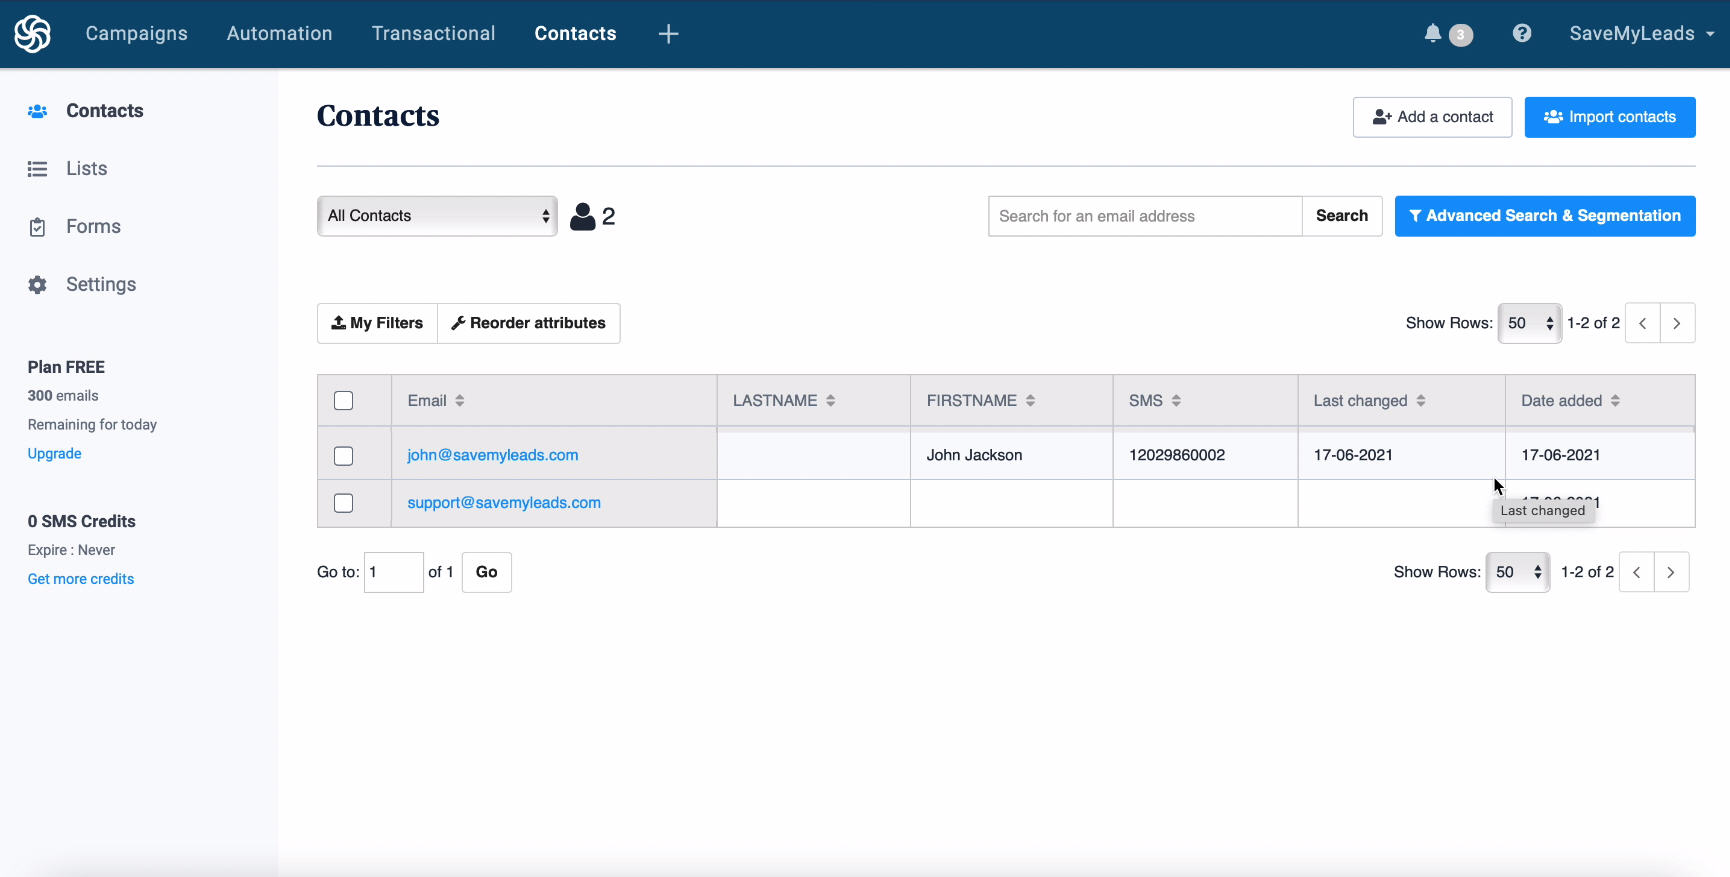
To check the result, go to your Sendinblue account.
Go bsck in service Save My Leads and complete the setup.
Automate data update
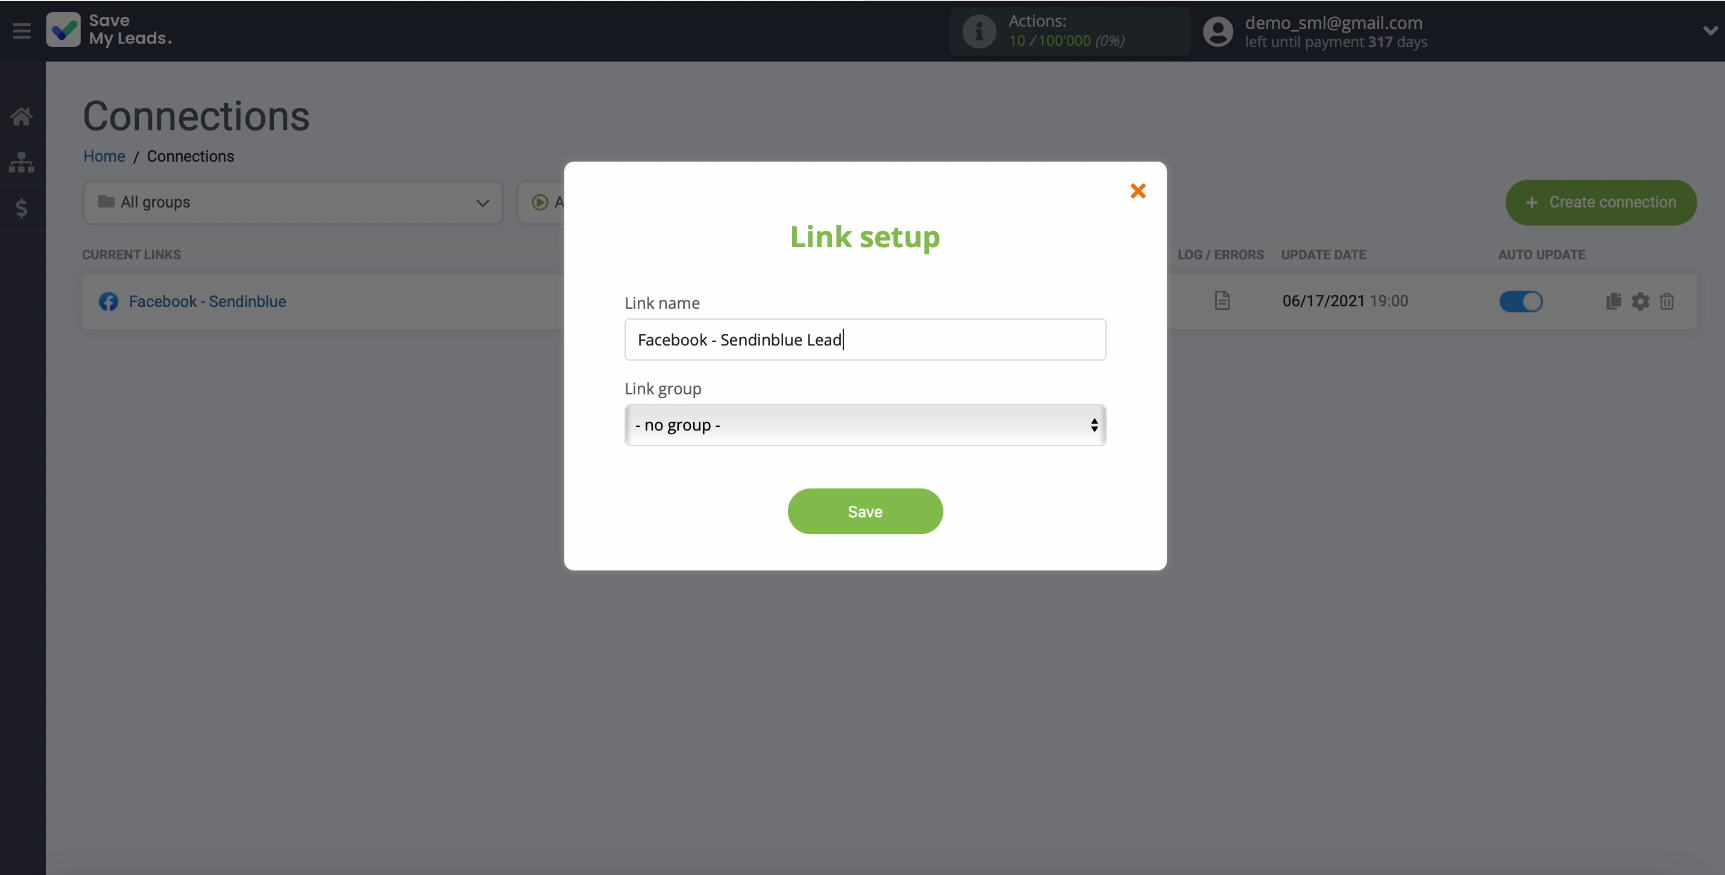
Turn on auto-update, so that new leads from Facebook are instantly transmitted to Sendinblue in the form of new contacts. You in the settings communication can also change its name.
Finish the setup
With the help of the online connector SaveMyLeads you can independently configure the integration without the help of programmers within 5 minutes. Due to the simplicity of the connector interface, you will not have any difficulties, that is why such a task can be entrusted to any employee, even without experience in programming.
- Automate the work with leads from the Facebook advertising account
- Empower with integrations and instant transfer of leads
- Don't spend money on developers or integrators
- Save time by automating routine tasks
Thanks to the integration of Facebook and Sendinblue, you can simplify the work with potential customers - collect new leads from Facebook in one place for further work with them.
