Transferring data from one system to another is one of the most common routine tasks. In this article, we will show you how to set up automatic conversion of new Facebook leads to Microsoft Dynamics 365 contacts. In just a few minutes, we will create an integration that will solve several tasks at once: tracking new leads, uploading data, adding contacts to the CRM system.
Content:
1. How to set up Facebook and Microsoft Dynamics 365 integration
2. Connect Facebook
3. Connect Microsoft Dynamics 365
4. Turn on auto-update
5. Result of integration
Microsoft Dynamics 365 is a platform with a wide range of tools for solving various business problems. This is a whole ecosystem of products from which you can assemble the optimal working environment for the specifics of a particular company or department. Promoting a deal through the sales funnel, implementing marketing campaigns, providing internal and external communications, forecasting and analytics are far from the full range of Dynamics 365 features. And, of course, one cannot fail to mention high-quality integration with Microsoft services.
Contacts is an important section of the Microsoft Dynamics 365 CRM system. Customer data, interaction history, and other useful information are collected here. Contacts are the starting point for building business communications and involving the client in the sales funnel. The Microsoft Dynamics 365 CRM system provides efficient storage of contact information. Platform users receive a whole set of ready-made functionality for processing and using client data.
We will consider a situation where a company uses Microsoft Dynamics 365 as a CRM solution, and Facebook as one of the channels for obtaining new orders and customers. Often, purchases and subscriptions on a social network are spontaneous and impulsive. The longer customers wait for feedback, the lower the sales conversion. To increase the speed of processing requests, you can create an integration between Facebook and Microsoft Dynamics 365. As a result, new leads from the social network will automatically enter the CRM system. The manager quickly receives the client's contacts, he does not need to download them from the Facebook advertising account.
How to set up Facebook and Microsoft Dynamics 365 integration
Our goal is to connect the Facebook advertising account with the Microsoft Dynamics 365 CRM system and set up automated data exchange between them. To solve this problem, there is no need to seek help from programmers. You also do not need to learn special technologies and keep track of API updates. To create an integration, just use the no-code SaveMyLeads tool.
SaveMyLeads is a service that allows you to set up automatic transfer of leads from Facebook to CRM systems, email and SMS mailing platforms, messengers, etc. Integration works on the principle of “monitoring the data source - initiating actions in the receiver”. The SML service will track new completed Facebook lead forms, upload leads and create contacts based on them in Microsoft Dynamics 365. Automated data transfer from one system to another is set up in just a few minutes.
Connect Facebook
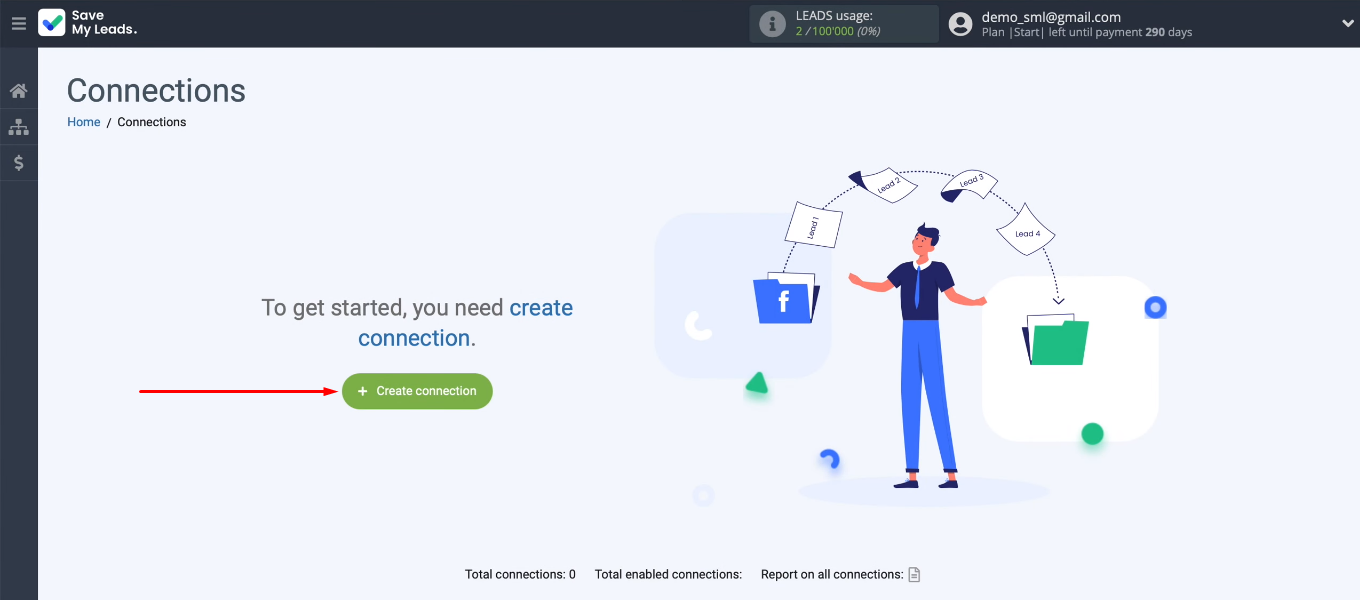
To start working with the SaveMyLeads service, you need to go through a simple standard registration. Now we create a new connection in the personal account.
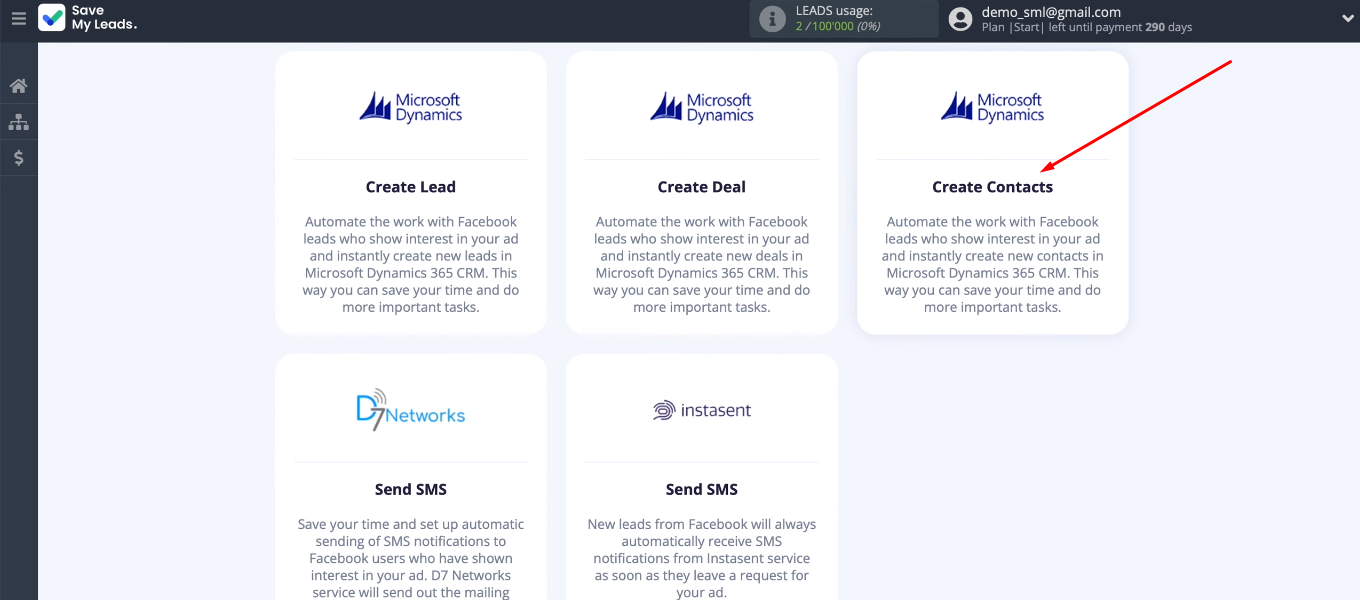
We need to select a template for configuring the integration — “Microsoft Dynamics (Create Contacts)”.
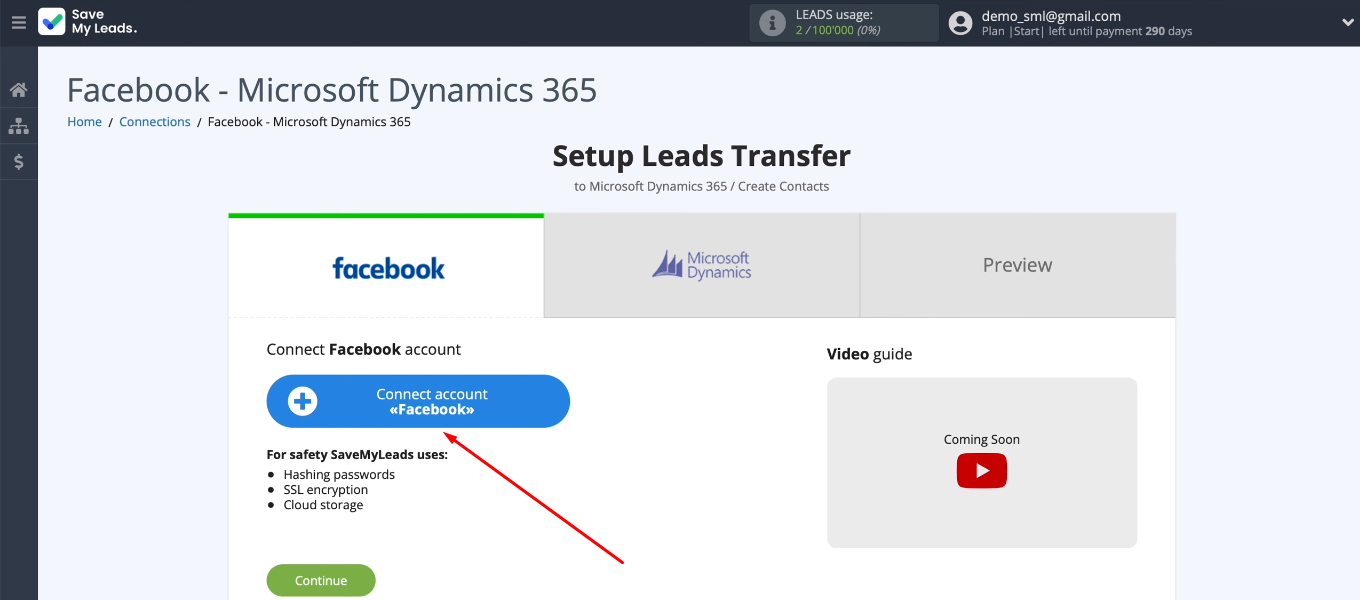
Let's start with the data source. Add a Facebook account to the SML system.
Enter your FB username and password.
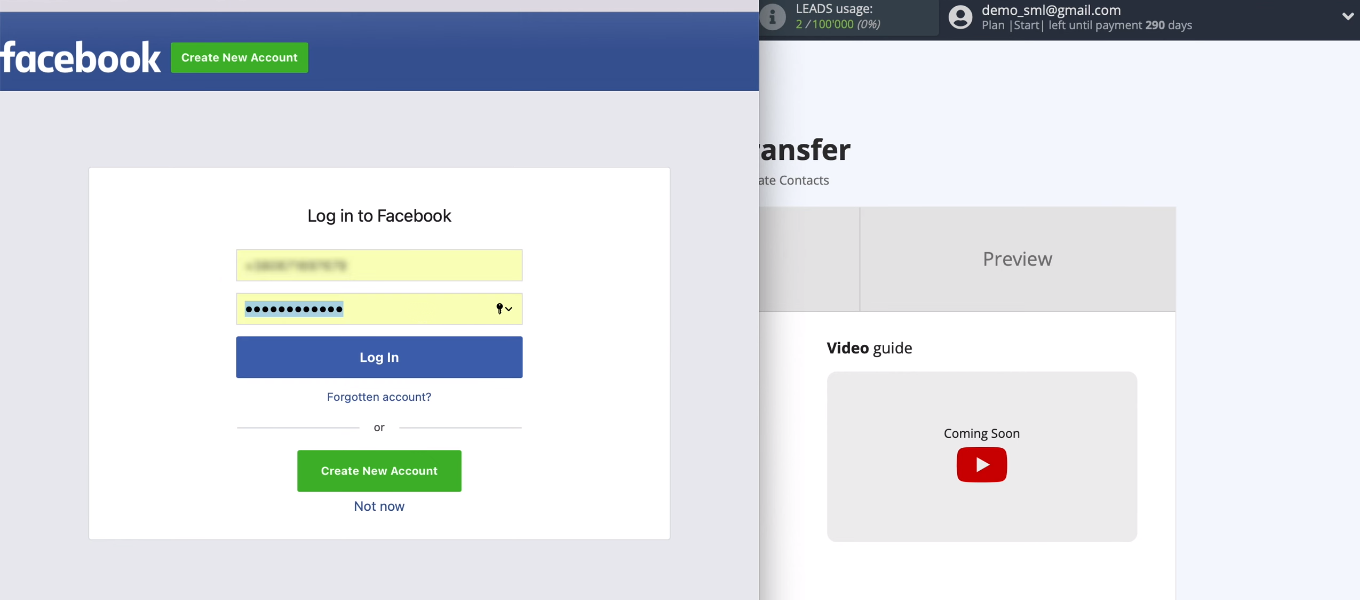
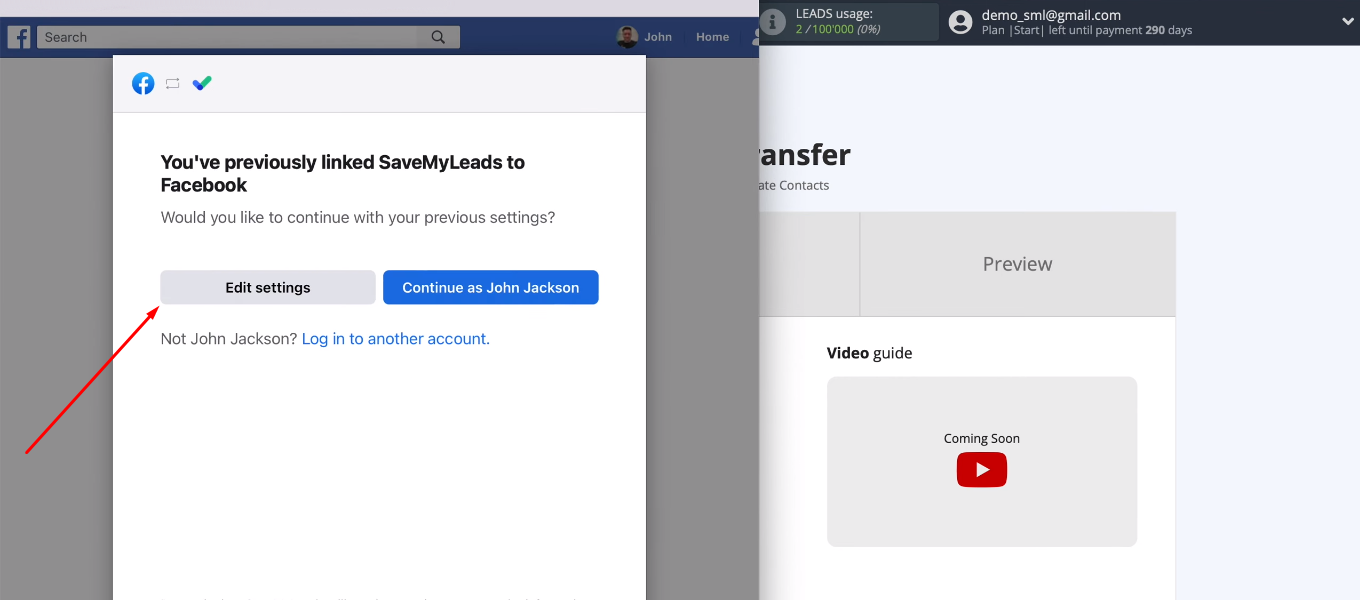
Go to the settings.
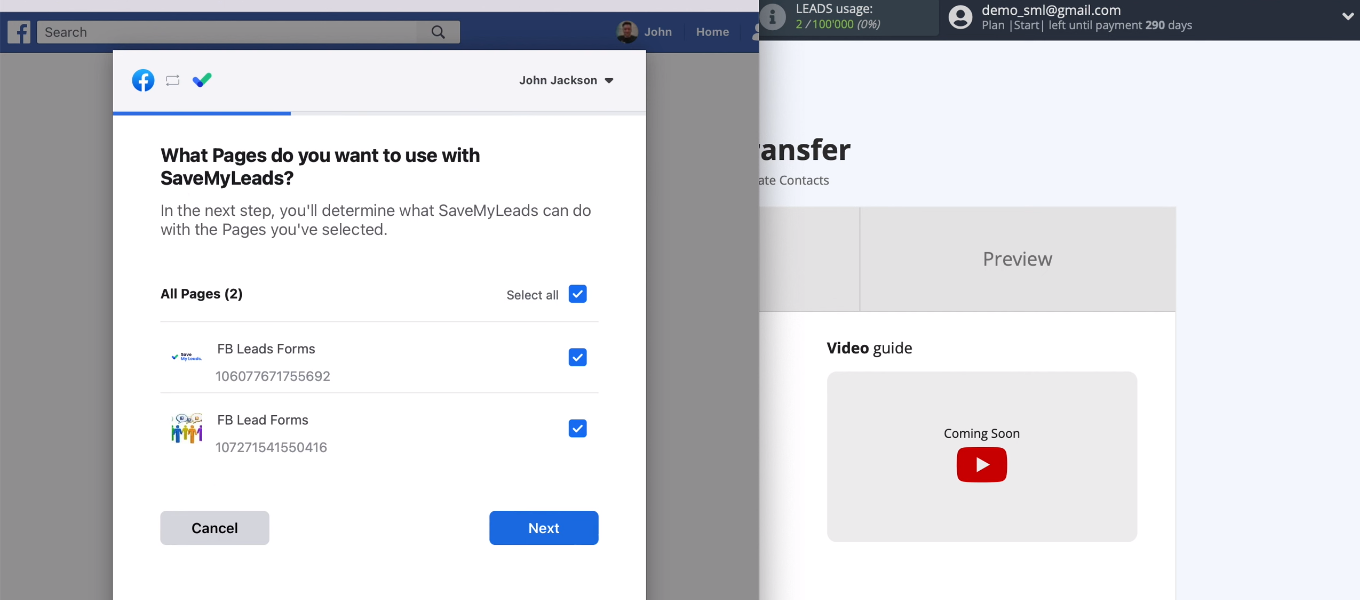
We see all the advertising pages that we have access to. We need to select those for which we can further customize the unloading of leads. It is possible to mark all available pages at once.
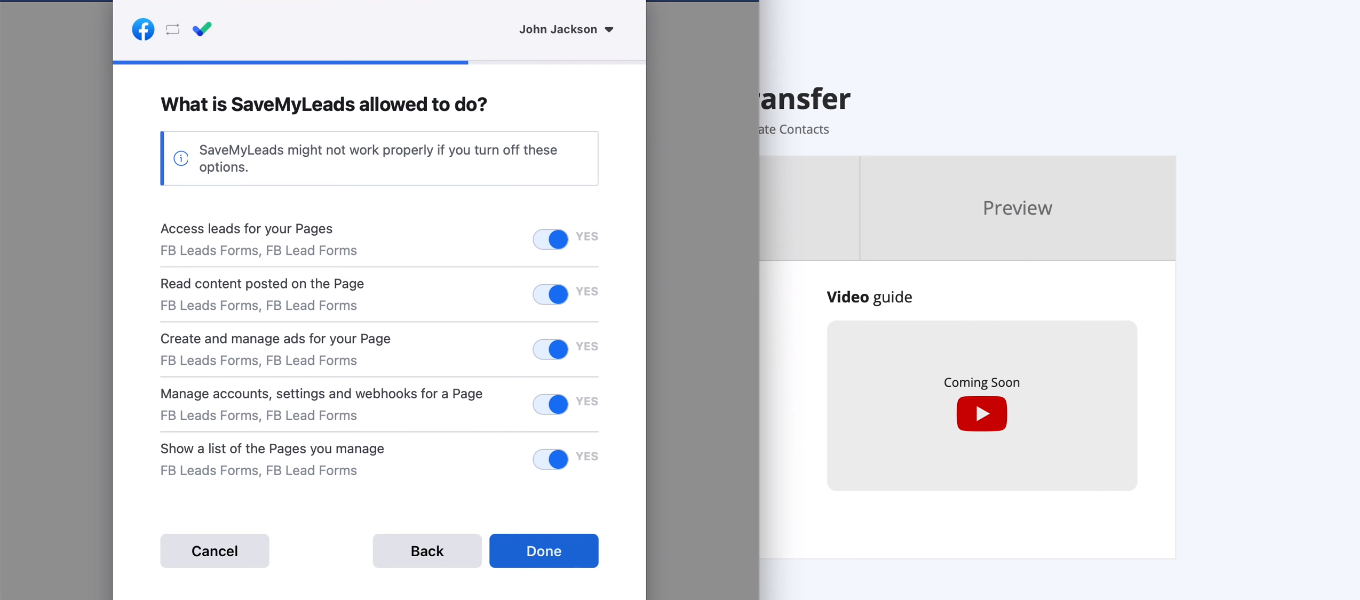
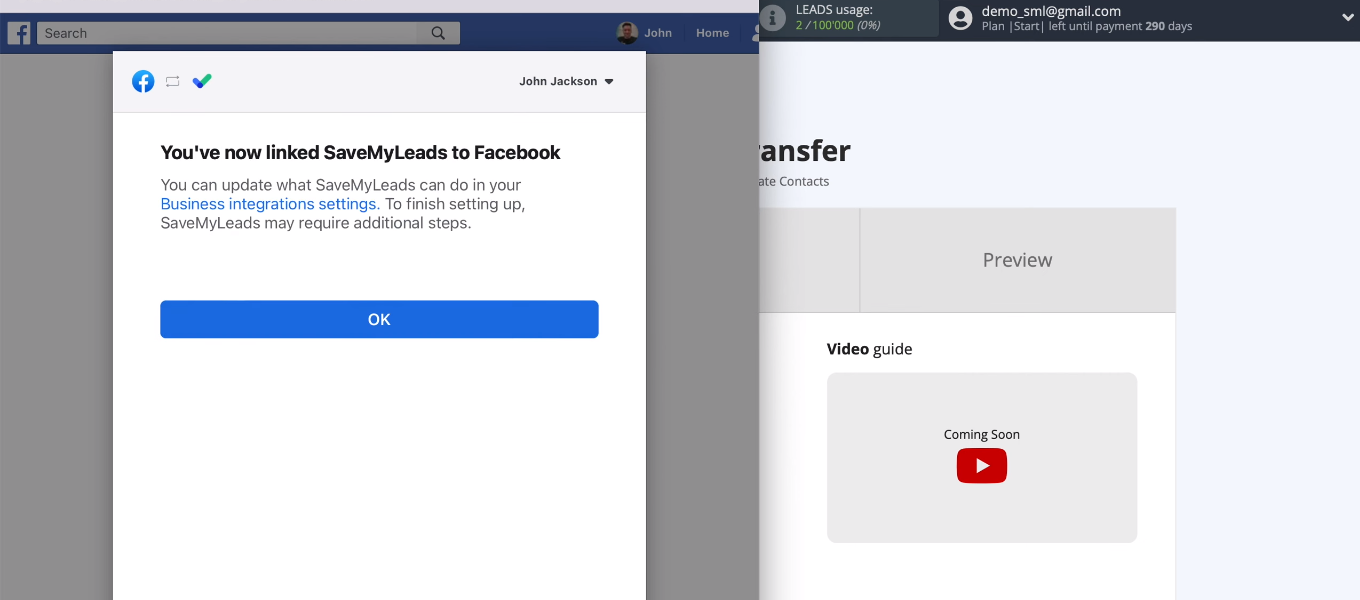
Provide the necessary access to the SML service.
The FB account is connected to the SaveMyLeads system.
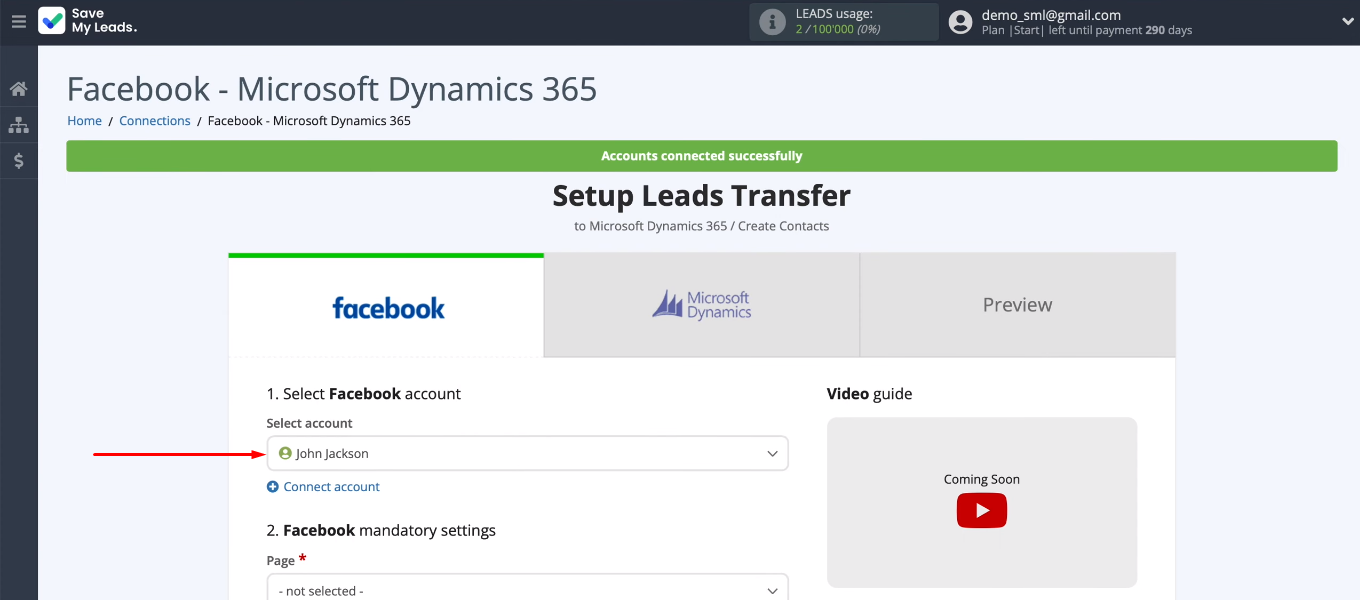
Select the added Facebook account for further settings.
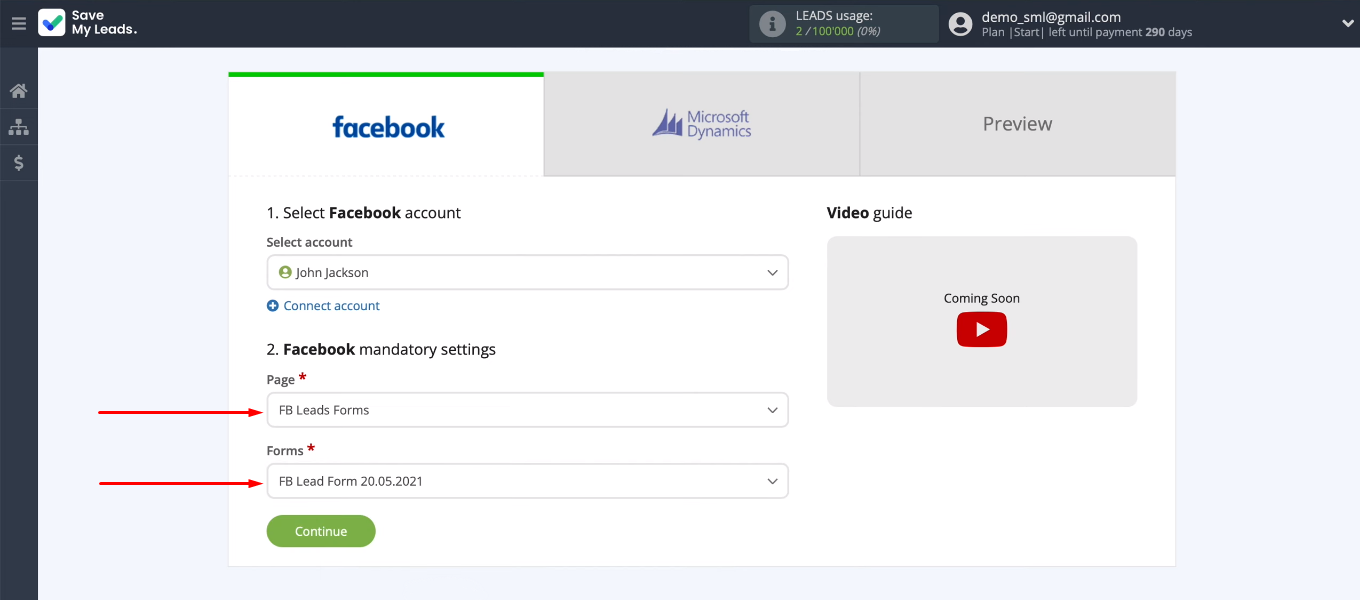
We need to define two required parameters — an advertising page and a lead form. If you want to work with several lead forms, then you need to create separate connections for each. When the required data source settings are defined, click “Continue”.
Connect Microsoft Dynamics 365
Now let's move on to the receiving system. Connect the Microsoft Dynamics 365 account to the SML service.
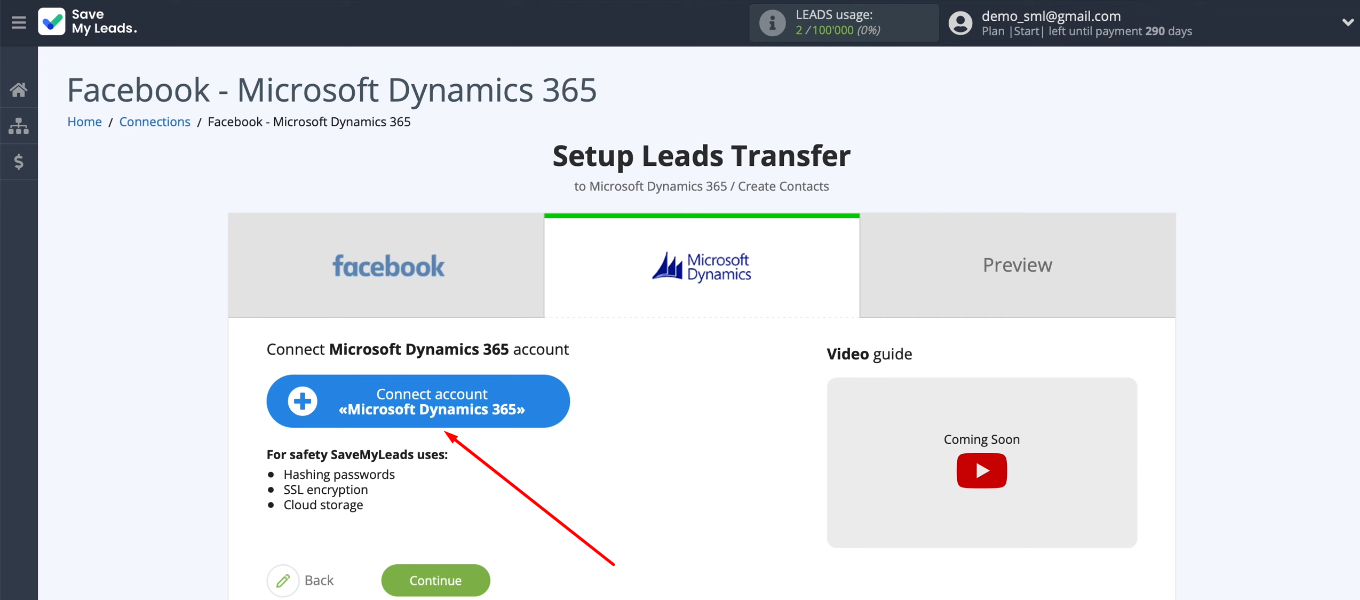
You must specify a Microsoft Dynamics 365 domain.
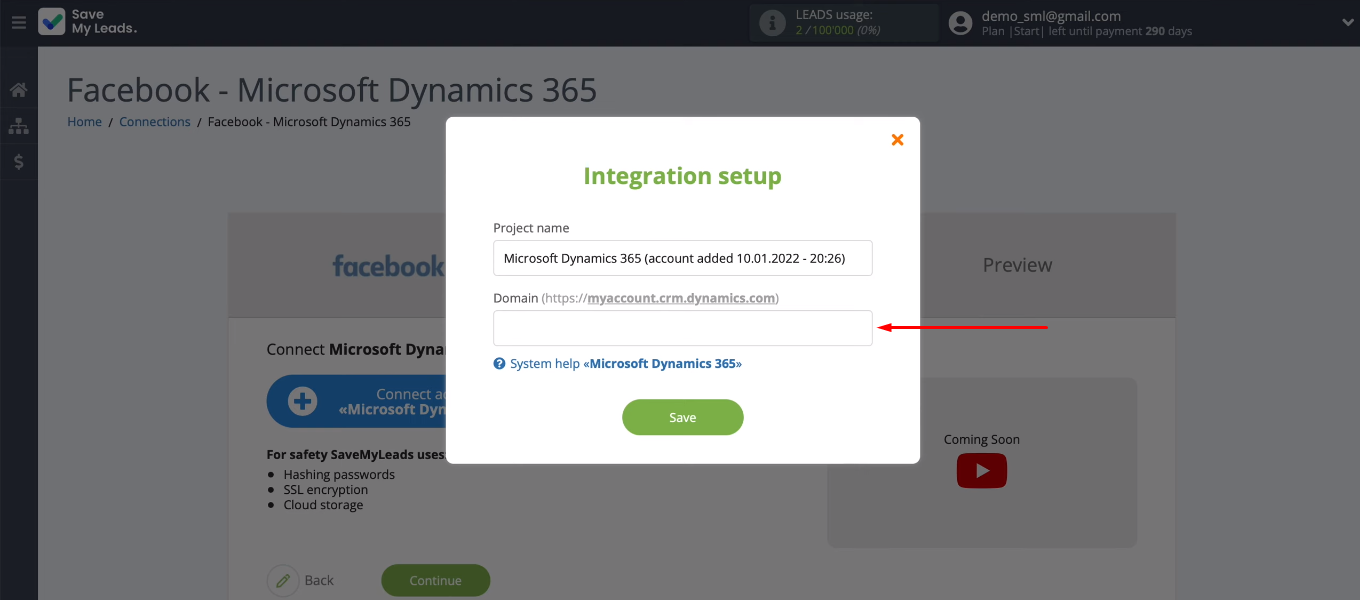
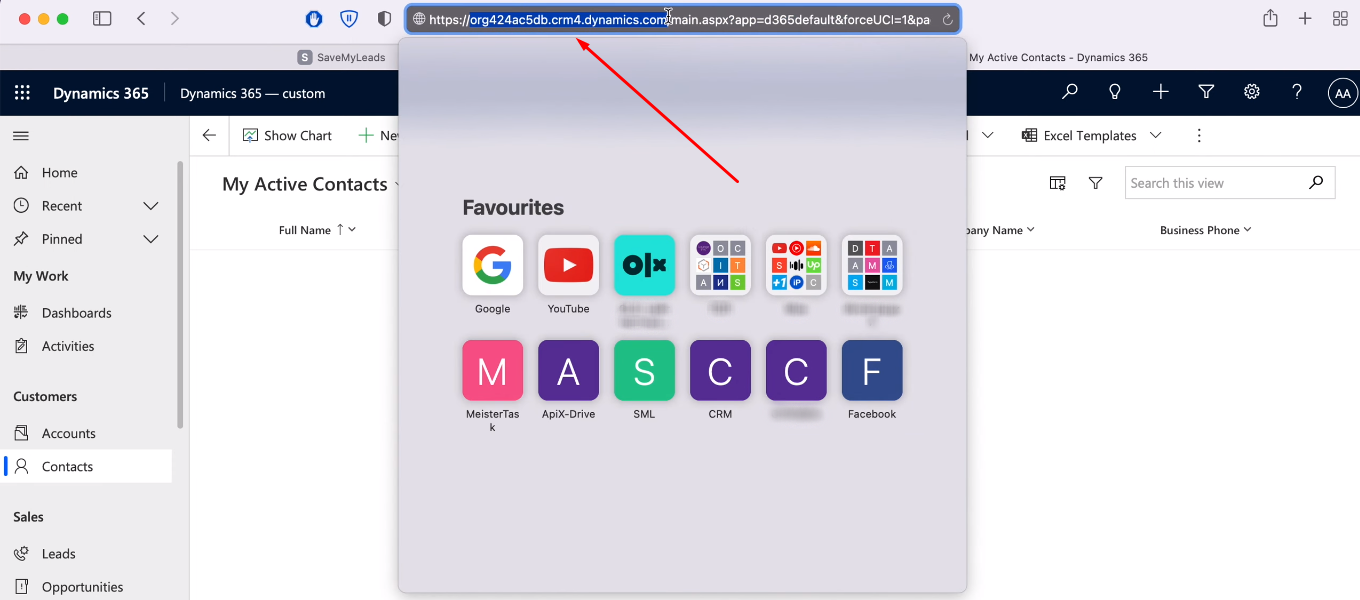
Go to the personal Microsoft Dynamics 365 account. In the address bar of the browser copy the domain without additional characters.
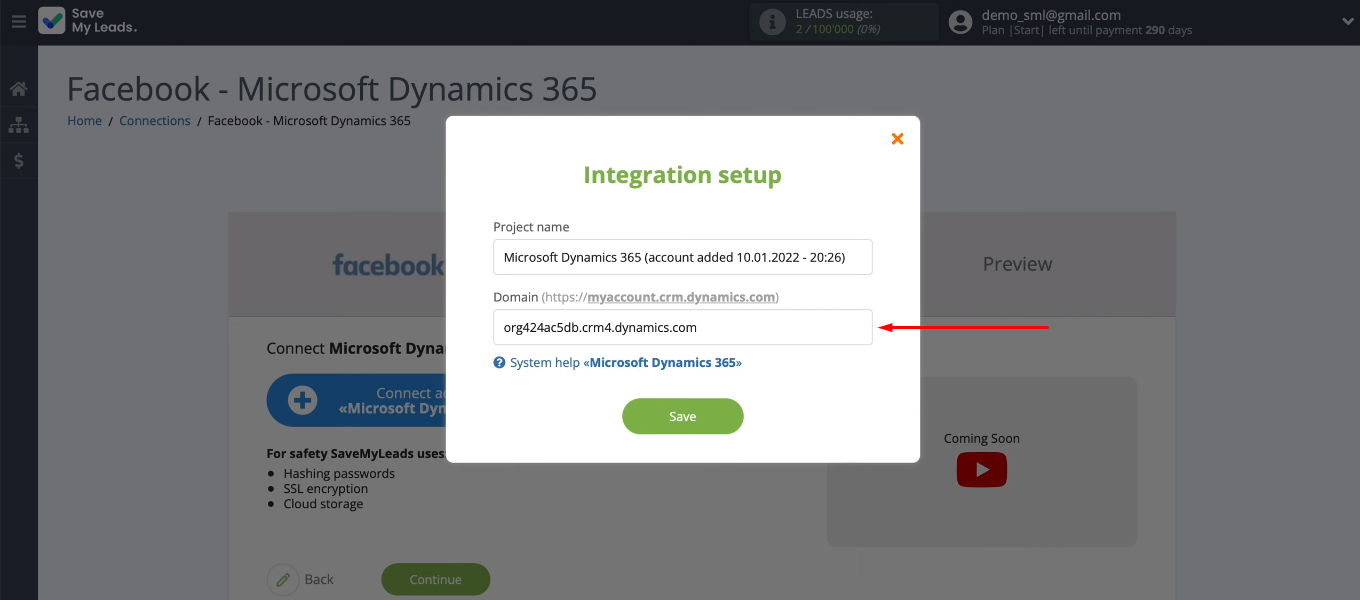
Return to the SaveMyLeads and fill in the “Domain” field. Click "Save".
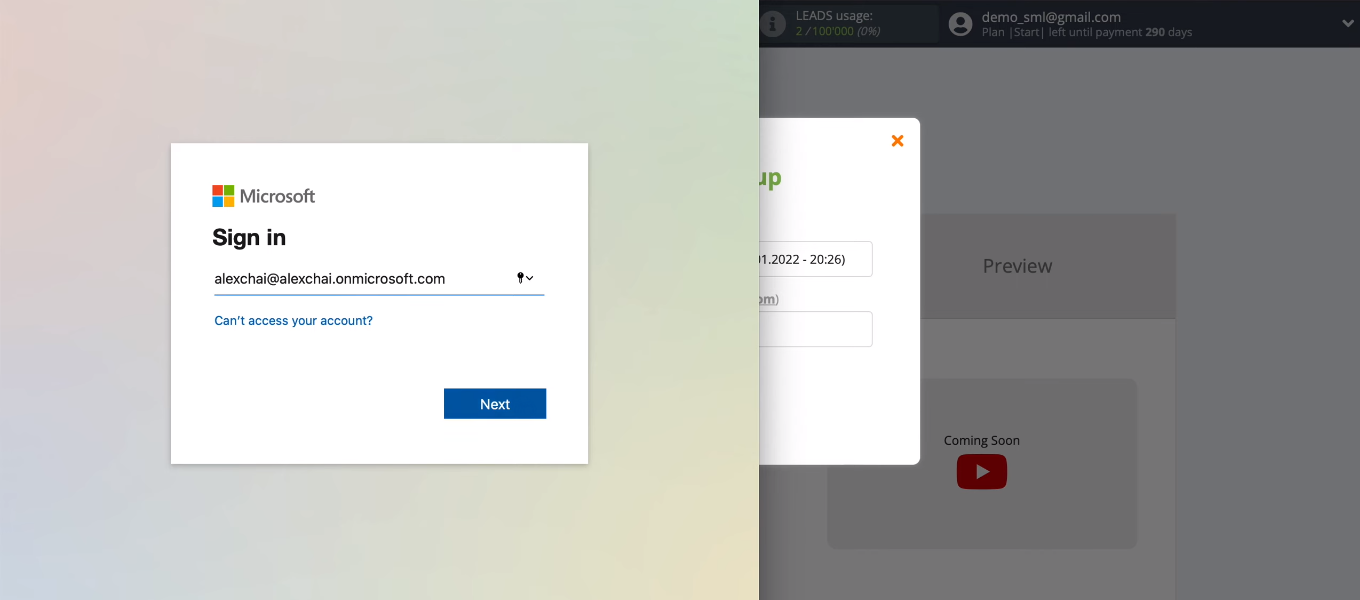
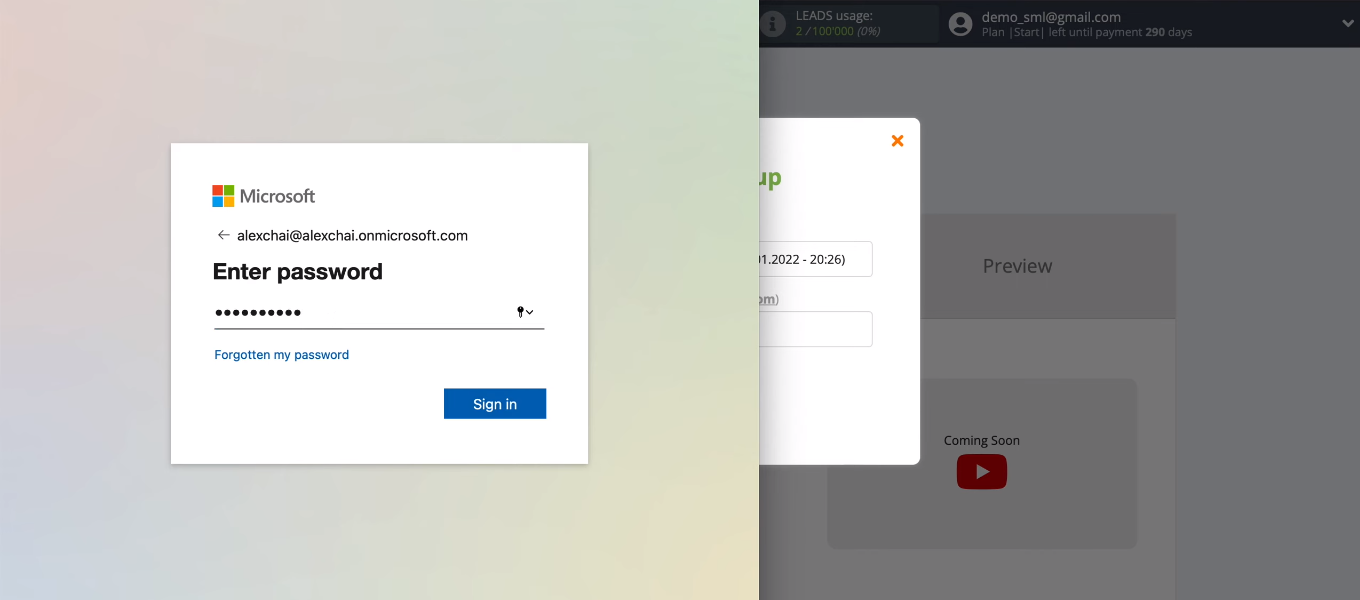
Specify the Microsoft Dynamics 365 login.
Enter the password.
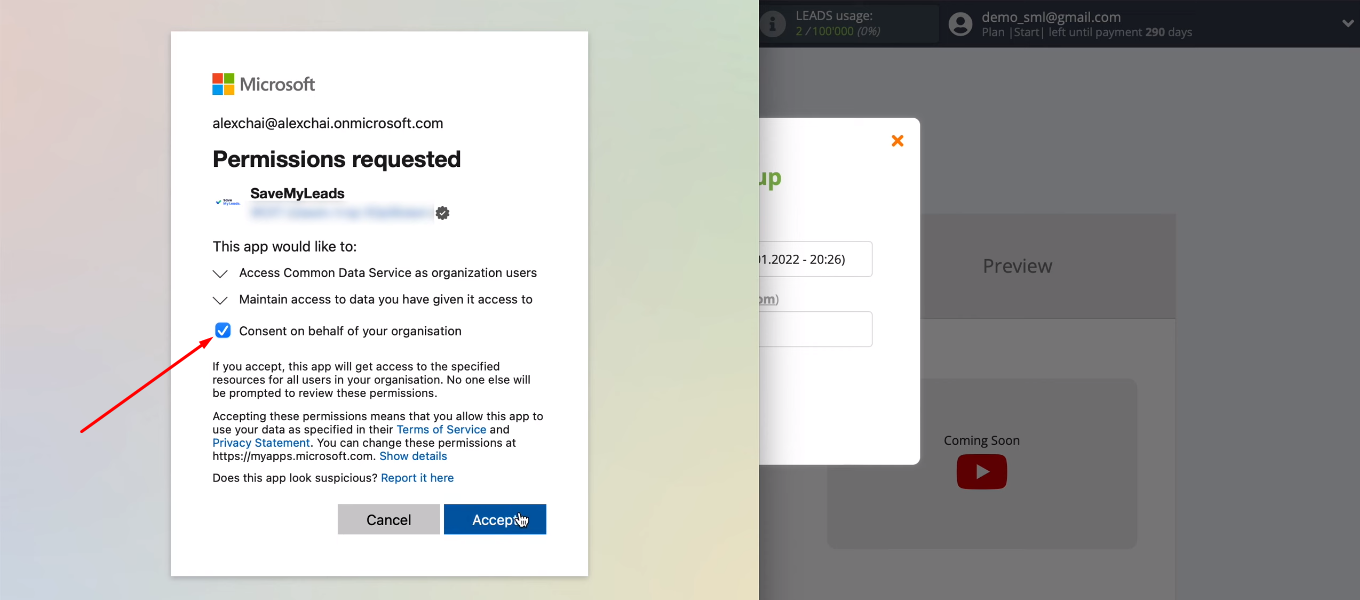
Grant permission to the SML service to work with the Microsoft Dynamics 365 account.
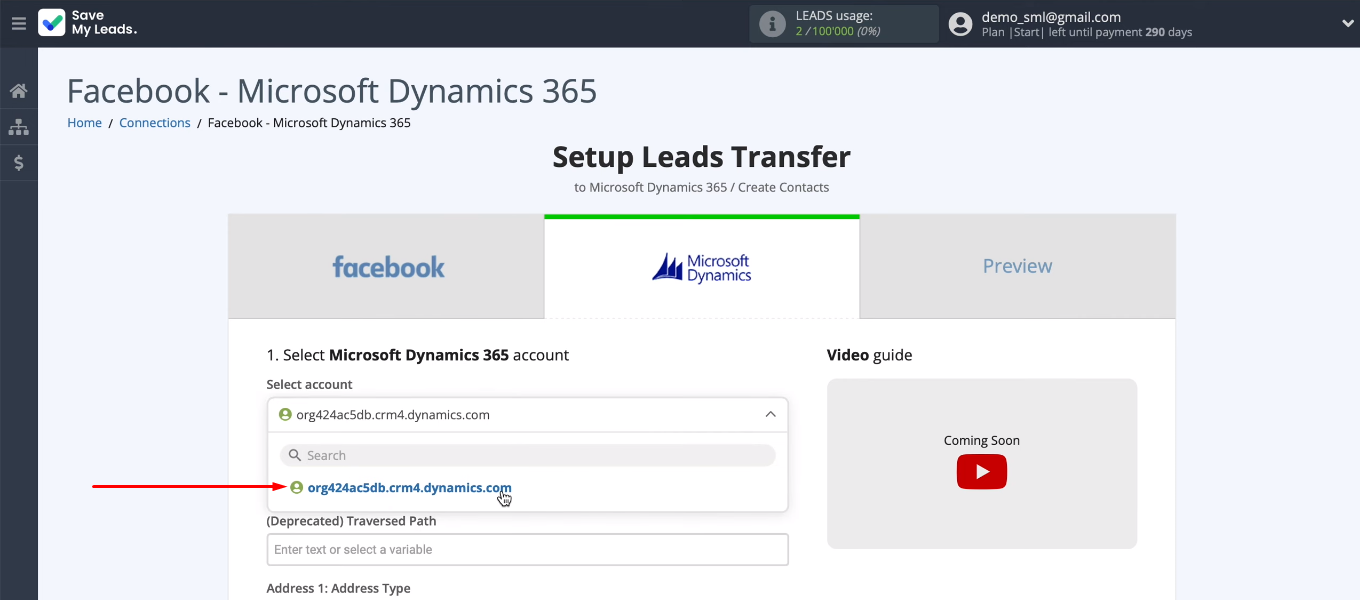
The added Microsoft Dynamics 365 account appears in the list. Select it and continue setting up the receiver.
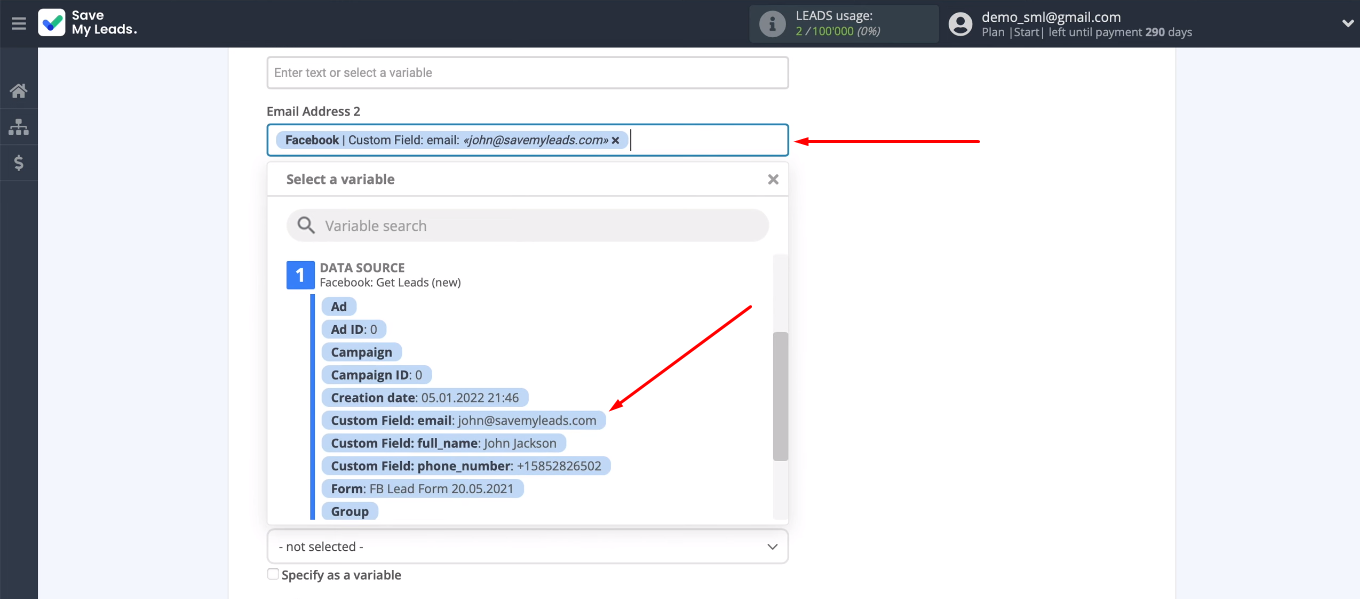
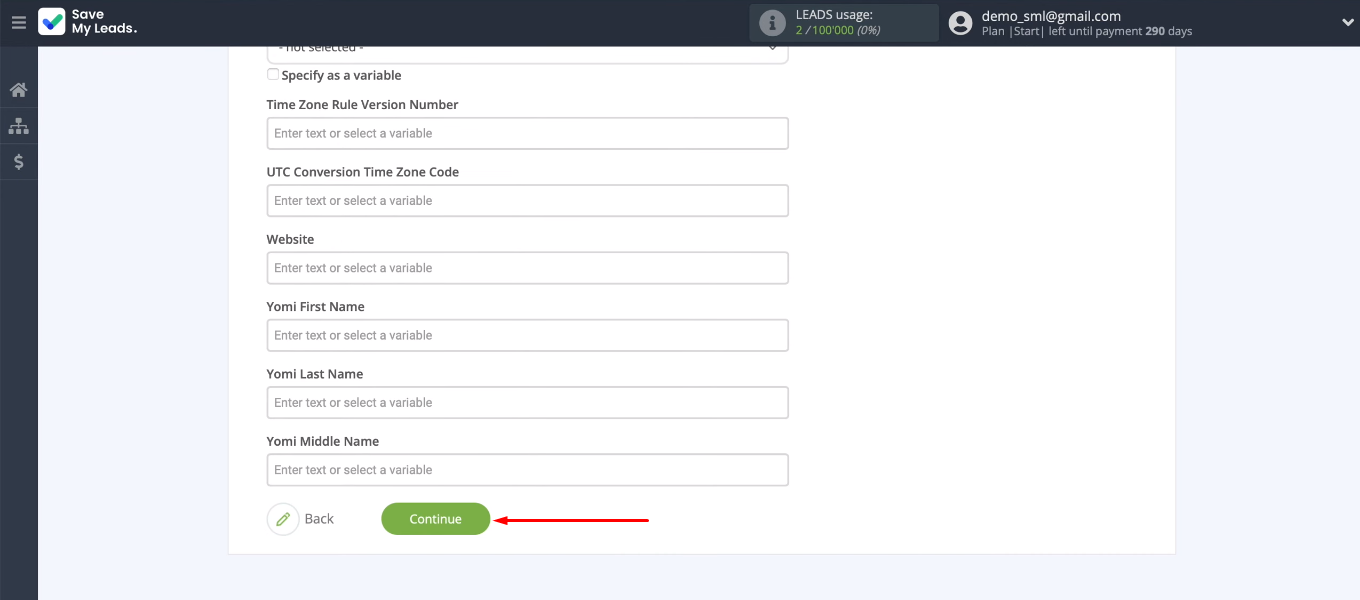
We need to assign variables to Microsoft Dynamics 365 fields to create new contacts in the CRM system. Click in the field and select the system variable or the Facebook variable from the drop-down list. You can also enter text manually.
After setting all the required fields, click “Continue”.
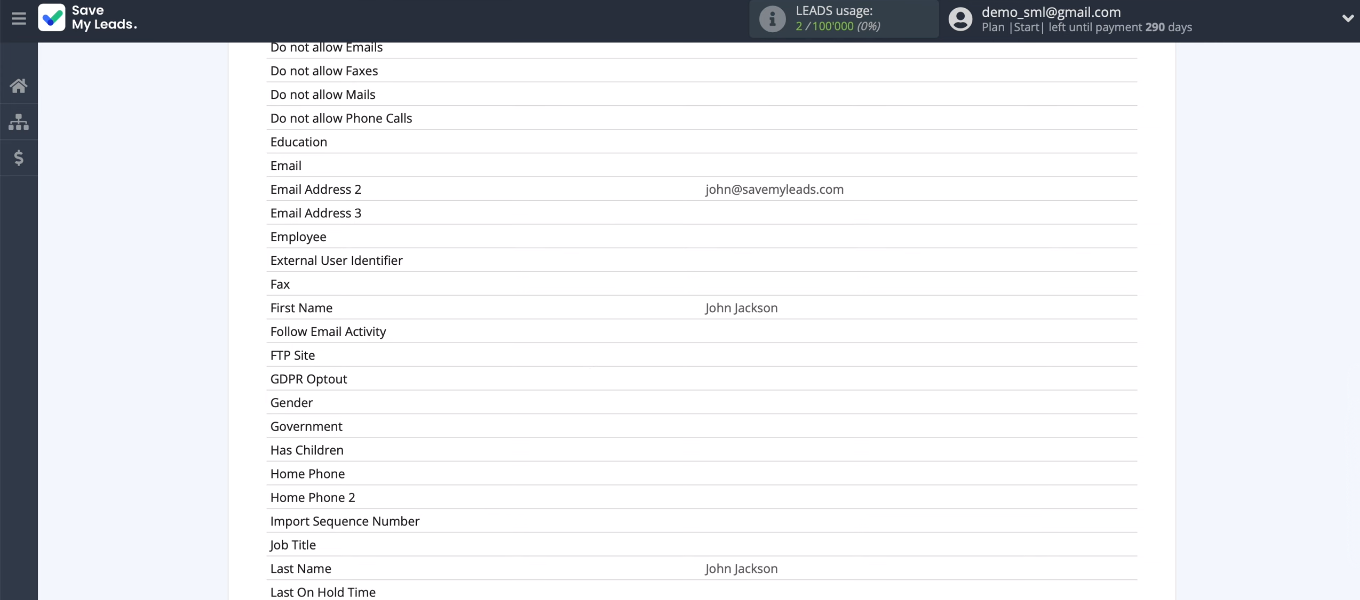
In the next step, we have the opportunity to see an example of the data that will be sent to Microsoft Dynamics 365.
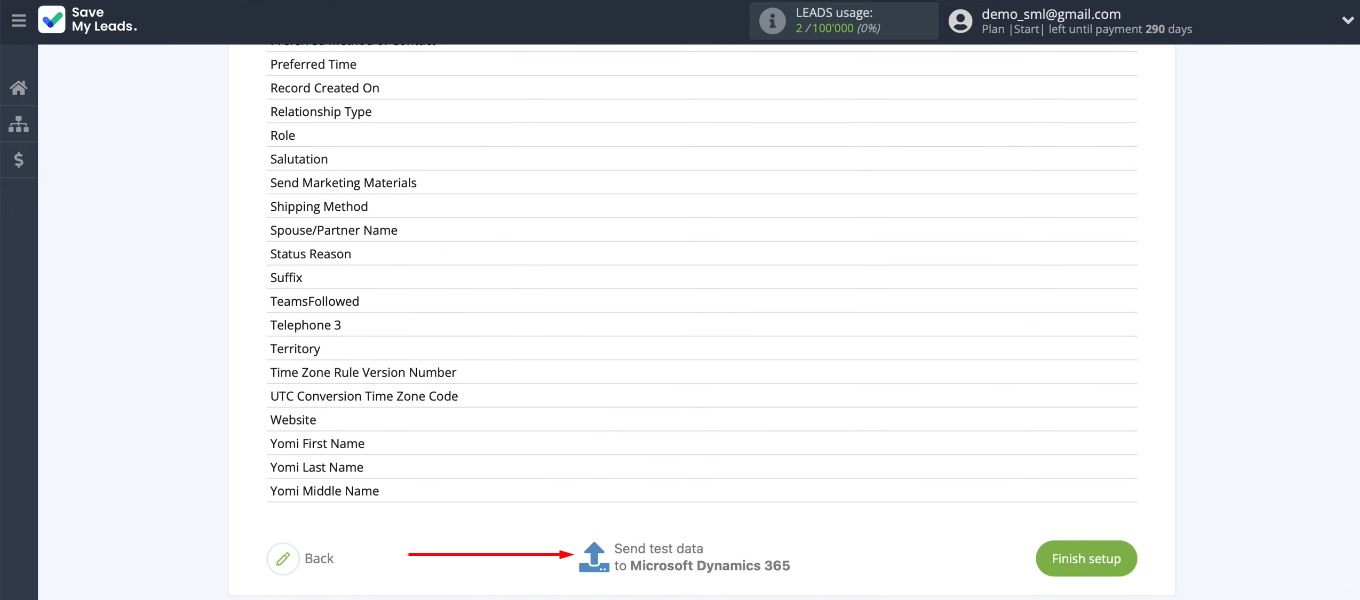
Check the connection. Click "Send test data to Microsoft Dynamics 365".
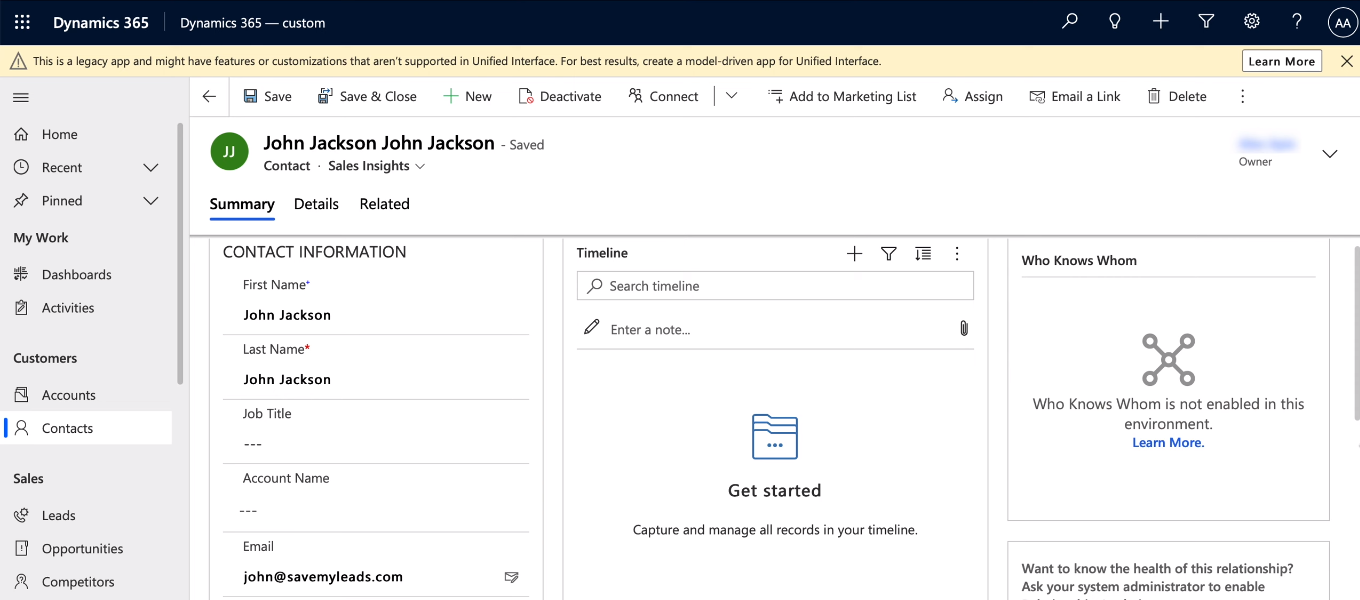
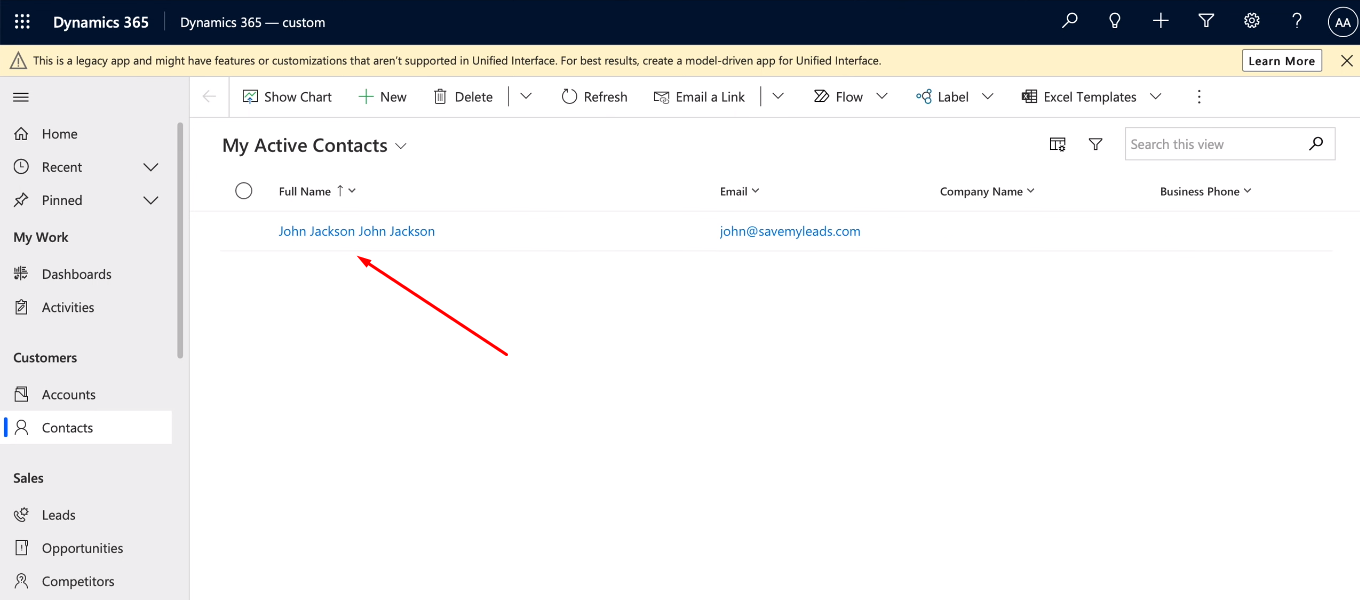
Go to the Microsoft Dynamics 365 and check the result. Our test lead should appear in the contacts section.
Turn on auto-update
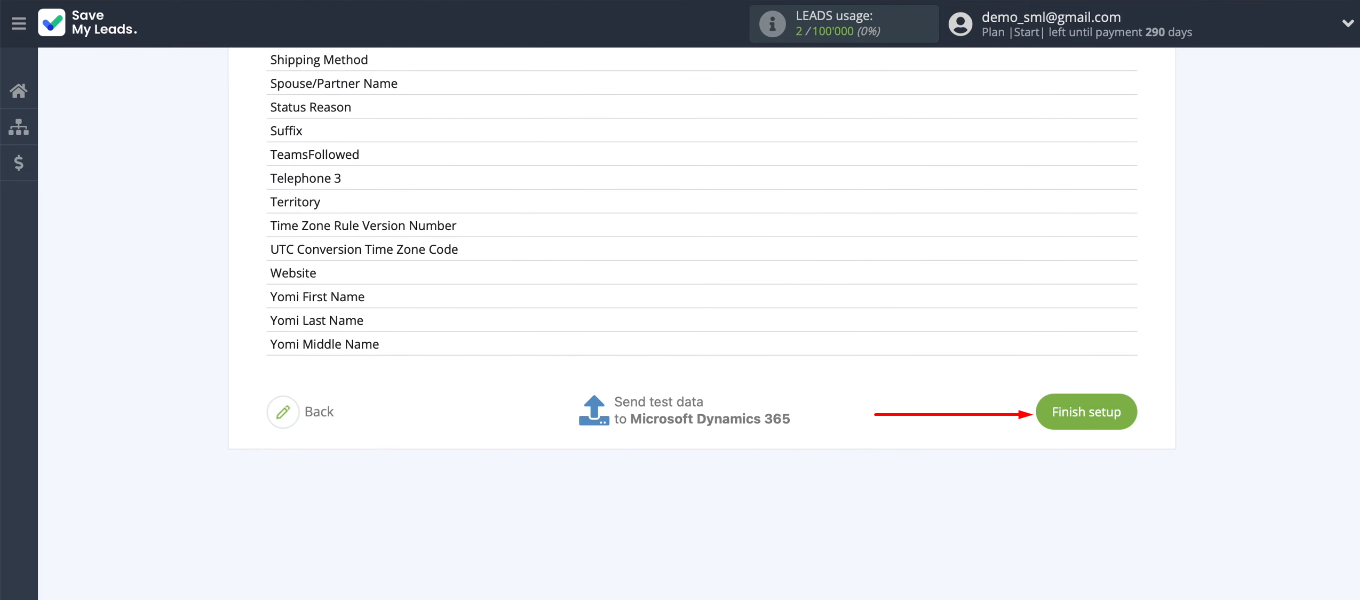
Return to the SML office. The data source and sink have been successfully configured. The final step is to enable auto-update. To do this, simply click “Finish setup”.
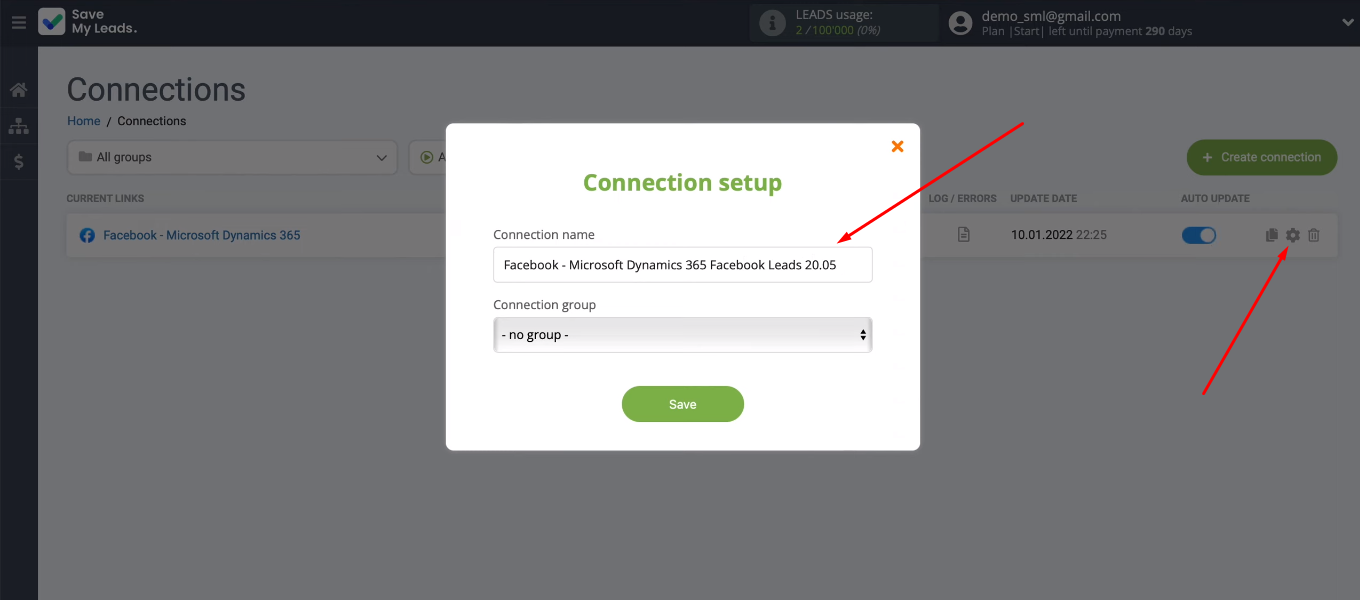
If you need to change the name of the integration, go to the connection settings and specify your value in the “Connection name” field.
Result of integration
So, we have set up the integration of Facebook and Microsoft Dynamics 365. Tracking new leads in the Facebook advertising account, uploading data, creating contacts in the CRM system — all this is now implementing automatically. To create a connection, it took us only a few minutes of time, access to services and the SaveMyLeads online connector.


No special knowledge or skills are required to work with the SaveMyLeads system. This is a no-code tool with a user-friendly interface and a simple setup algorithm. Anyone can quickly and without outside help automate the transfer of leads from Facebook to other systems. By getting rid of routine data transfer tasks, you can concentrate on more important tasks.
