We will tell you how, without programming knowledge, using the SaveMyLeads online connector to configure the upload of leads from an advertising account on Facebook to the ProveSource service via Webhook.
Content:
1. How to set up Facebook and ProveSource integration
2. Connect Facebook Leads Ads
3. Connect ProveSource
4. Automate data update
5. Conclusion
Facebook is one of the most promising social networks for promoting its business, goods and services due to the fact that its audience has already exceeded 2.5 billion. Users create business accounts through which they advertise and sell their goods, as well as expand their client base.
As the number of leads grows, it will become more difficult for managers to work with them, even though the functionality of Facebook is quite broad. As a rule, leads come from several sources and it is more convenient to work with them in one interface: segment the client base, set up email and SMS mailings, call them, etc.
There are many services that allow you to collect all leads from all sources in one place and work with them there. One of them is ProveSource. To organize the upload of leads from an advertising account on Facebook to the ProveSource service, you will need to link their work using the API.
Thanks to the integration of a Facebook ad account and the ProveSource service, all new leads will be automatically unloaded. You will be able to work with them in a single interface: process applications, respond to requests, etc. A quick response to customer requests will significantly increase their loyalty to your brand and they can go from potential customers to regular customers.
How to set up Facebook and ProveSource integration
Setting up automatic uploading of leads from an advertising account on Facebook to the ProveSource service without the help of an IT specialist or knowledge of programming will be problematic, since this requires skills in working with APIs and requests. If you do not have a full-time programmer, then you can hire him from outside.
But, there are certain risks here, since you can make sure of his professionalism only after he starts setting up the integration. If a freelancer or other hired IT specialist does not have enough experience to properly set up the integration, you will lose not only time, but also some of the leads from Facebook that were left unattended and went to competitors.
In order not to waste time and budget on the services of hired programmers and set up the integration yourself, use the SaveMyLeads online connector. The service has an easy-to-use interface, thanks to which you can independently configure the uploading of leads from an advertising account on Facebook to the ProveSource service without programming skills. It will take no more than 5 minutes.
Connect Facebook Leads Ads
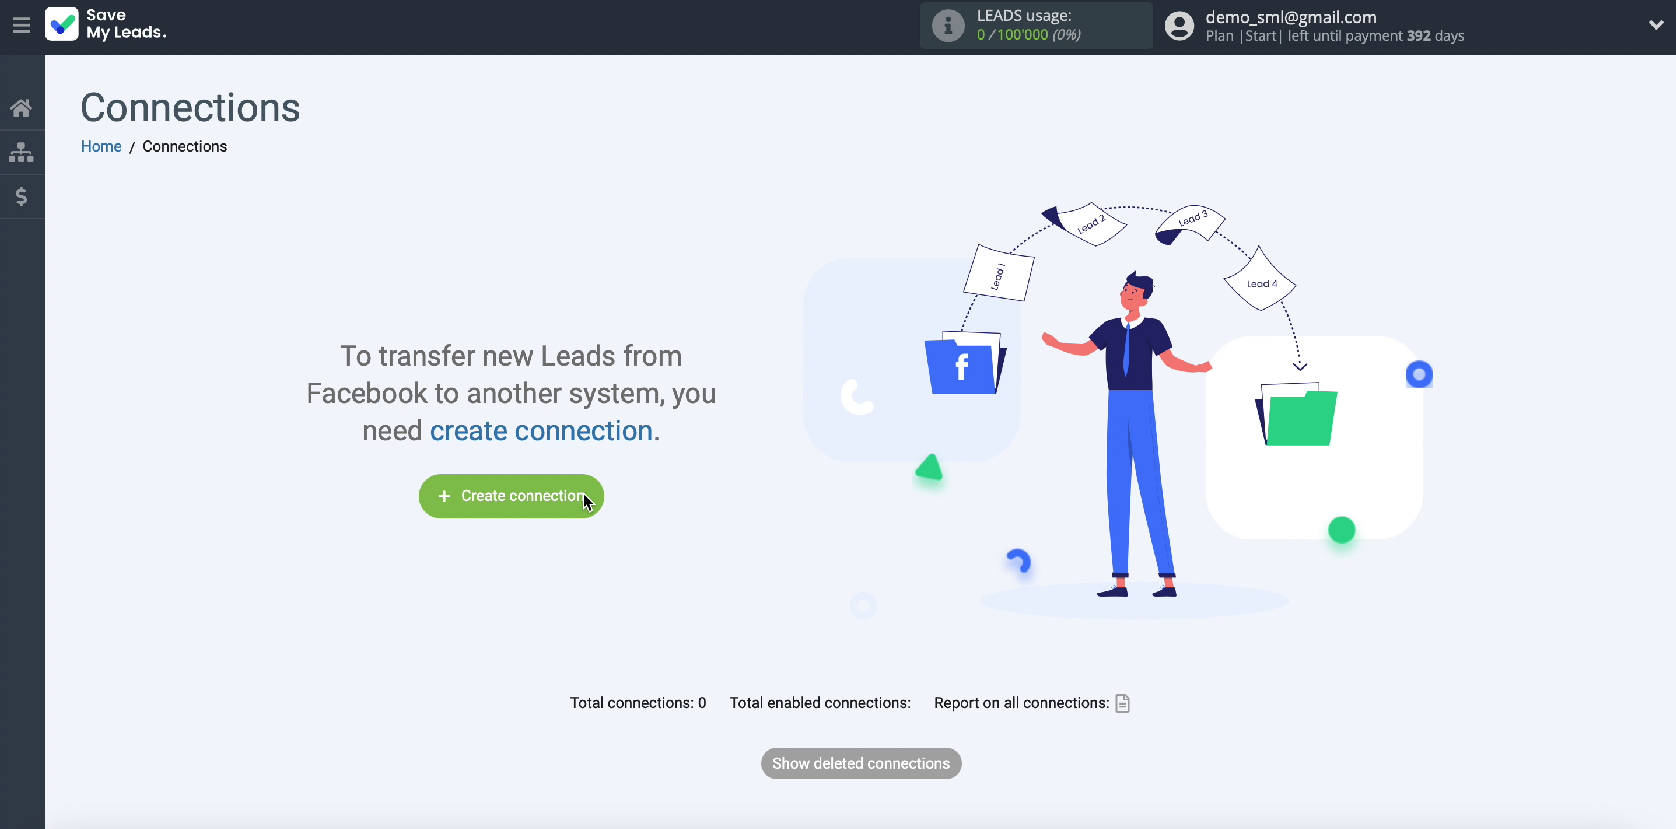
First, create a new connection
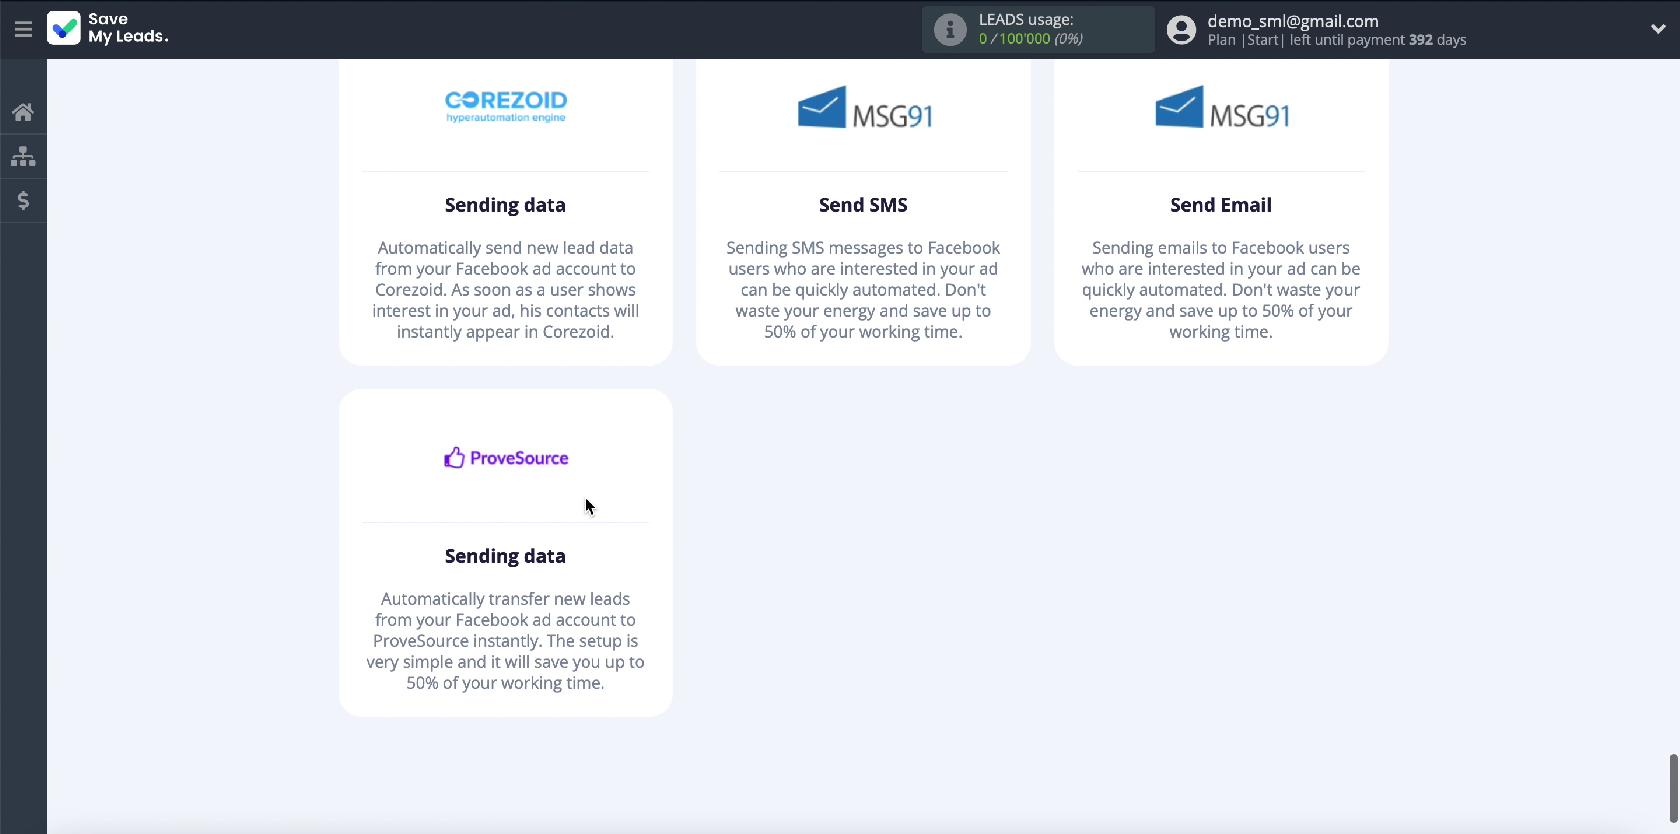
Select the ProveSource service from the list of ready-made templates for systems to which data can be transferred.
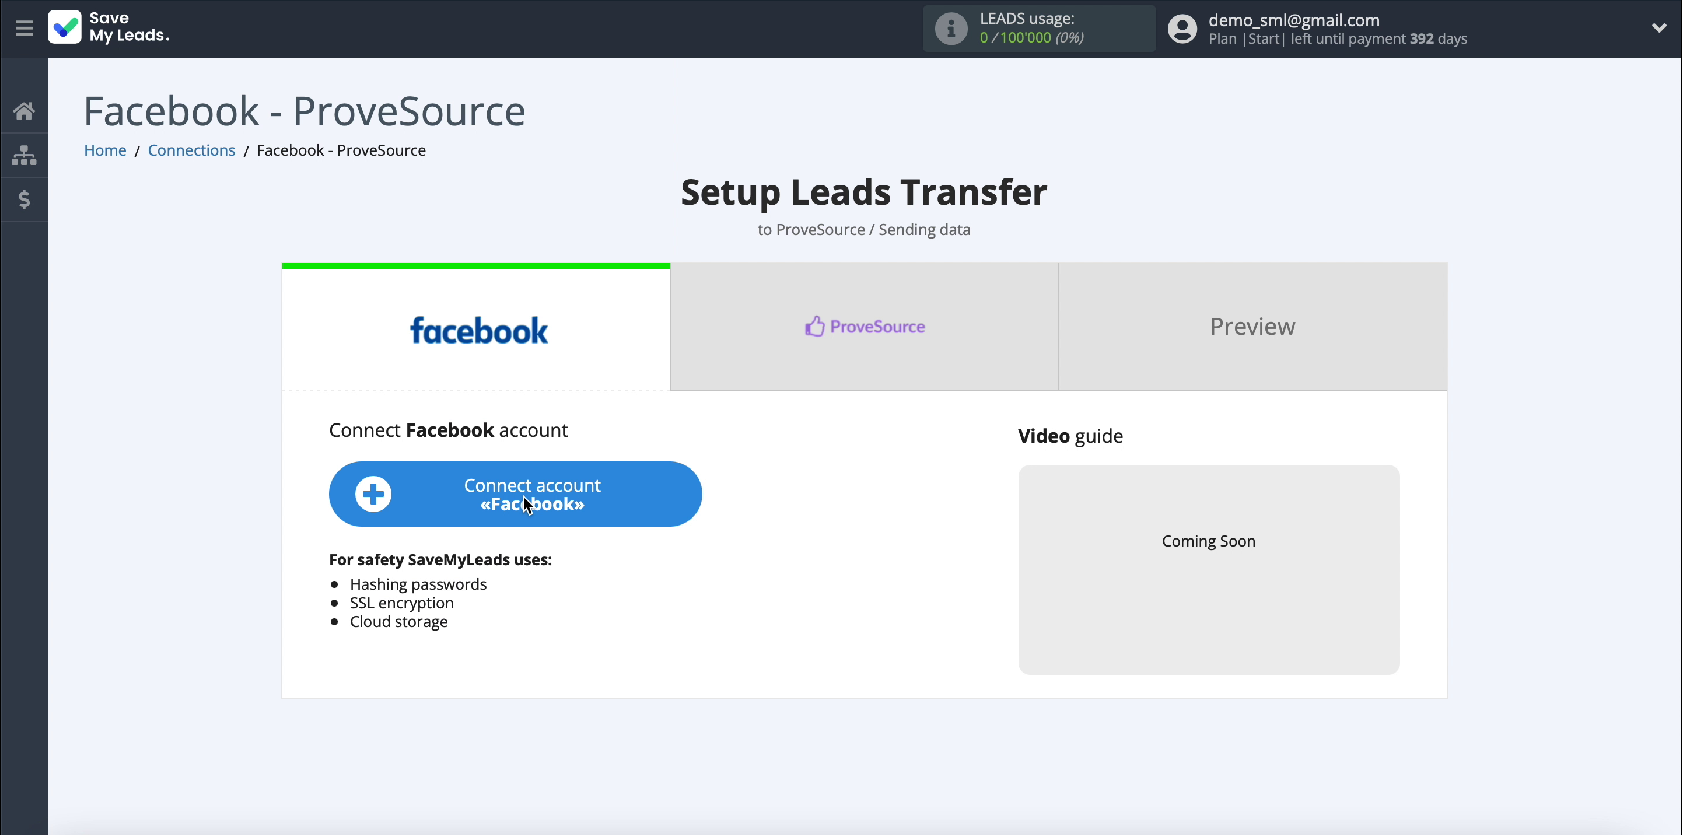
Connect your Facebook account to the SaveMyLeads service.
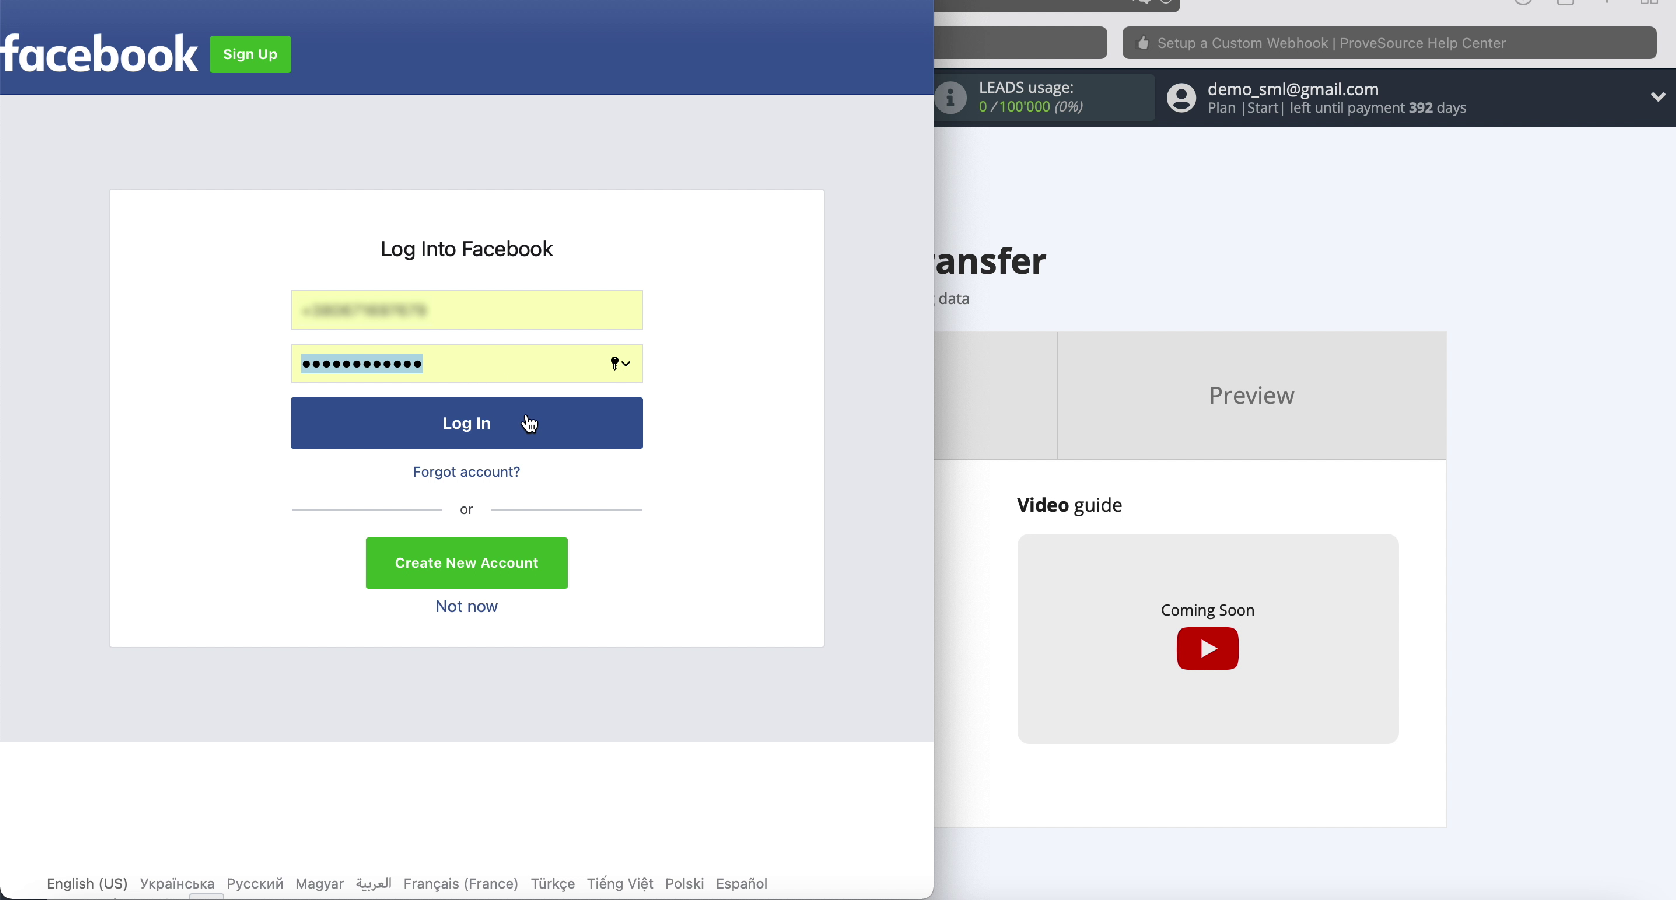
In the next window, enter your username and password from your personal account on Facebook
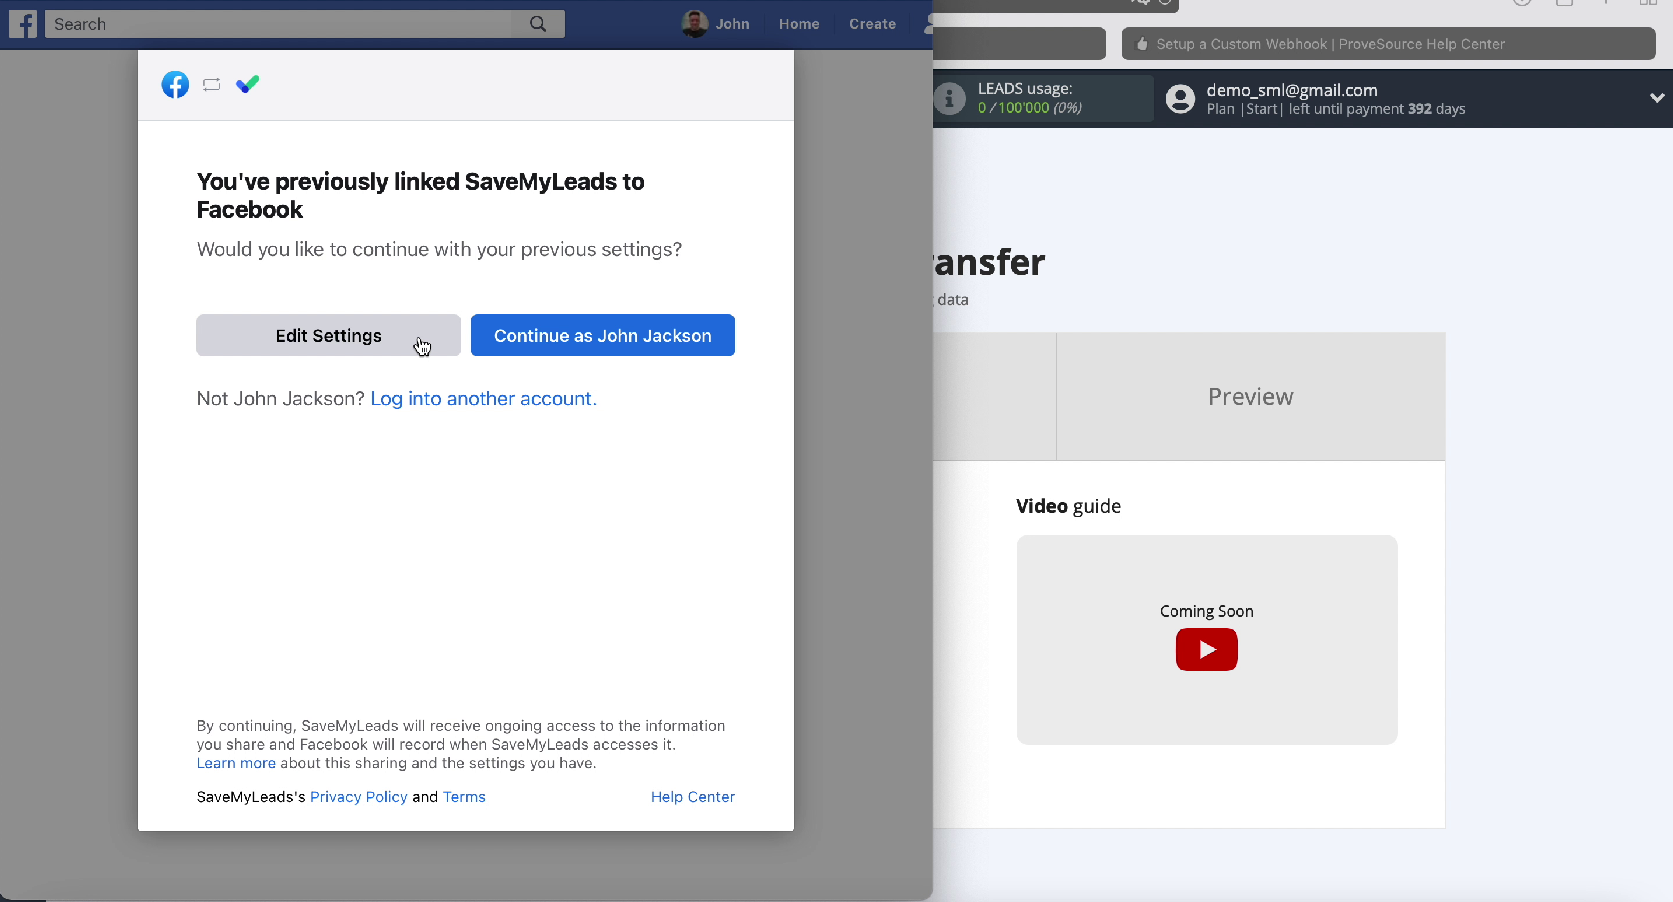
To proceed with the configuration, click on Edit settings
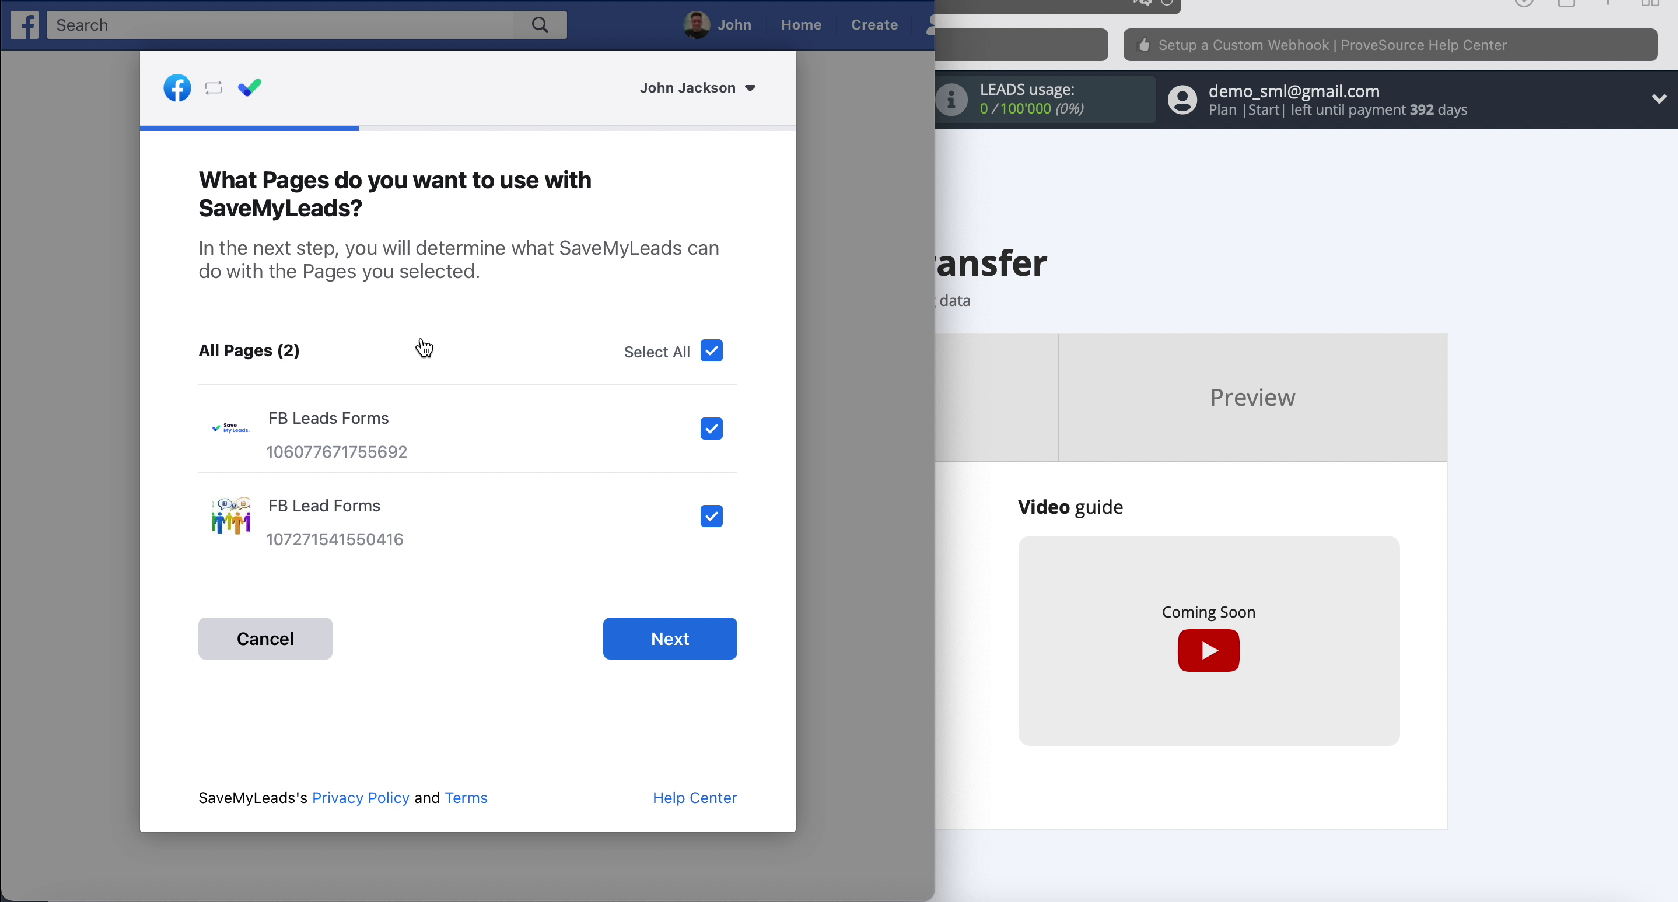
You will now see the ad pages that you have access to. Check all of them. In the future, you will be able to work with them.
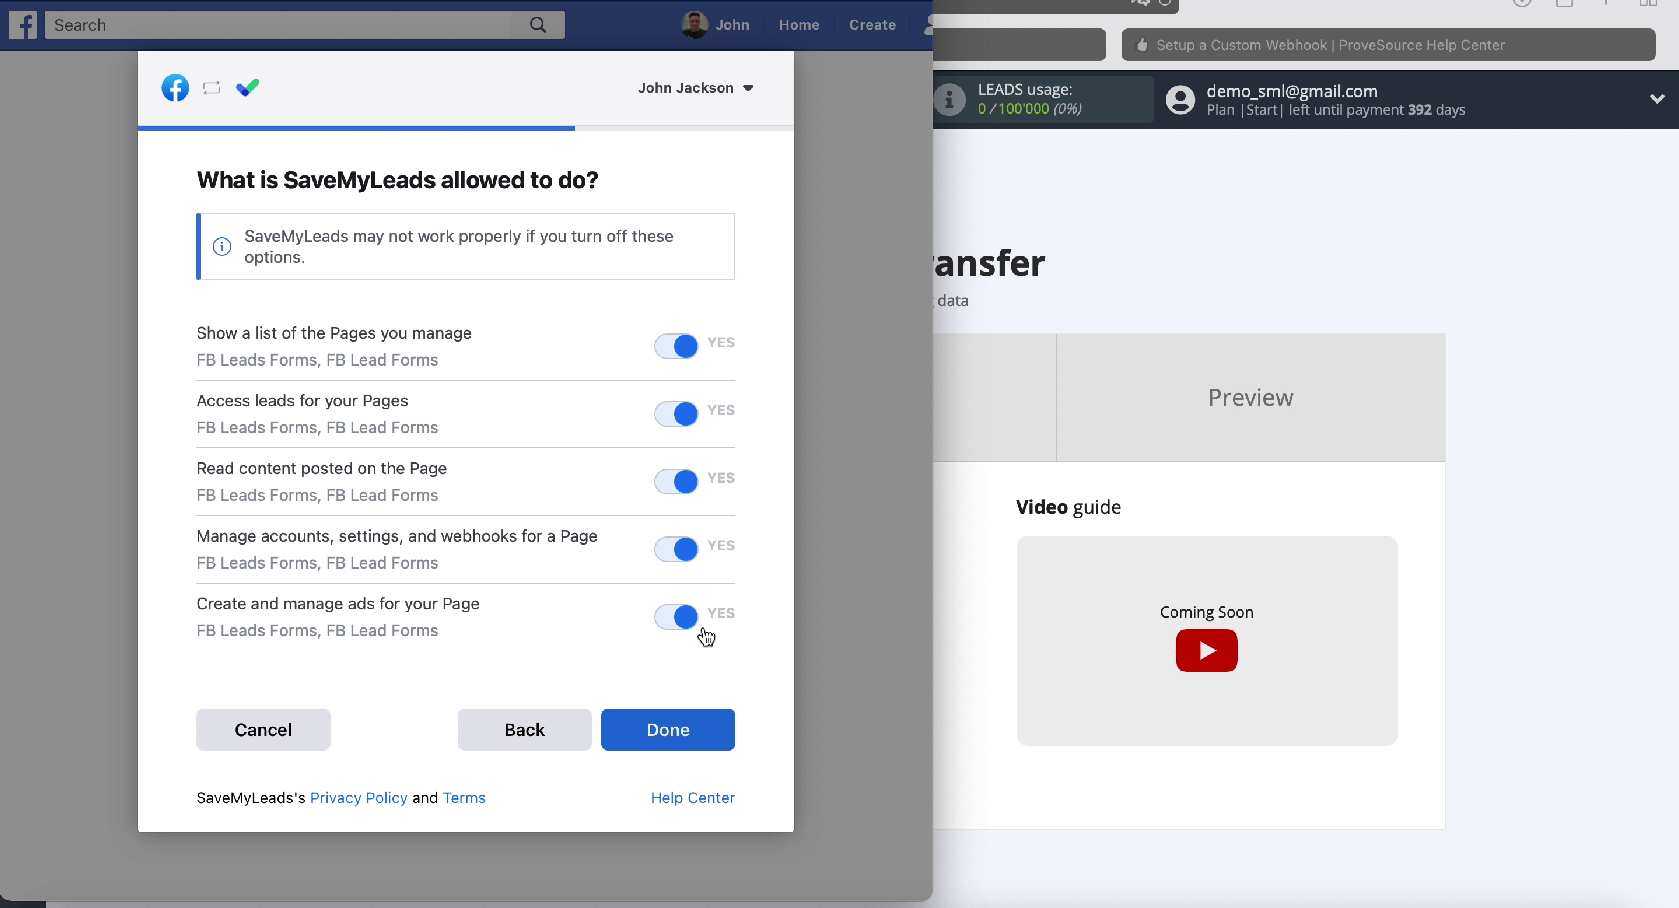
Leave all access checkboxes enabled.
In a new window, in the section of connected accounts, yours should be displayed, you need to select it.
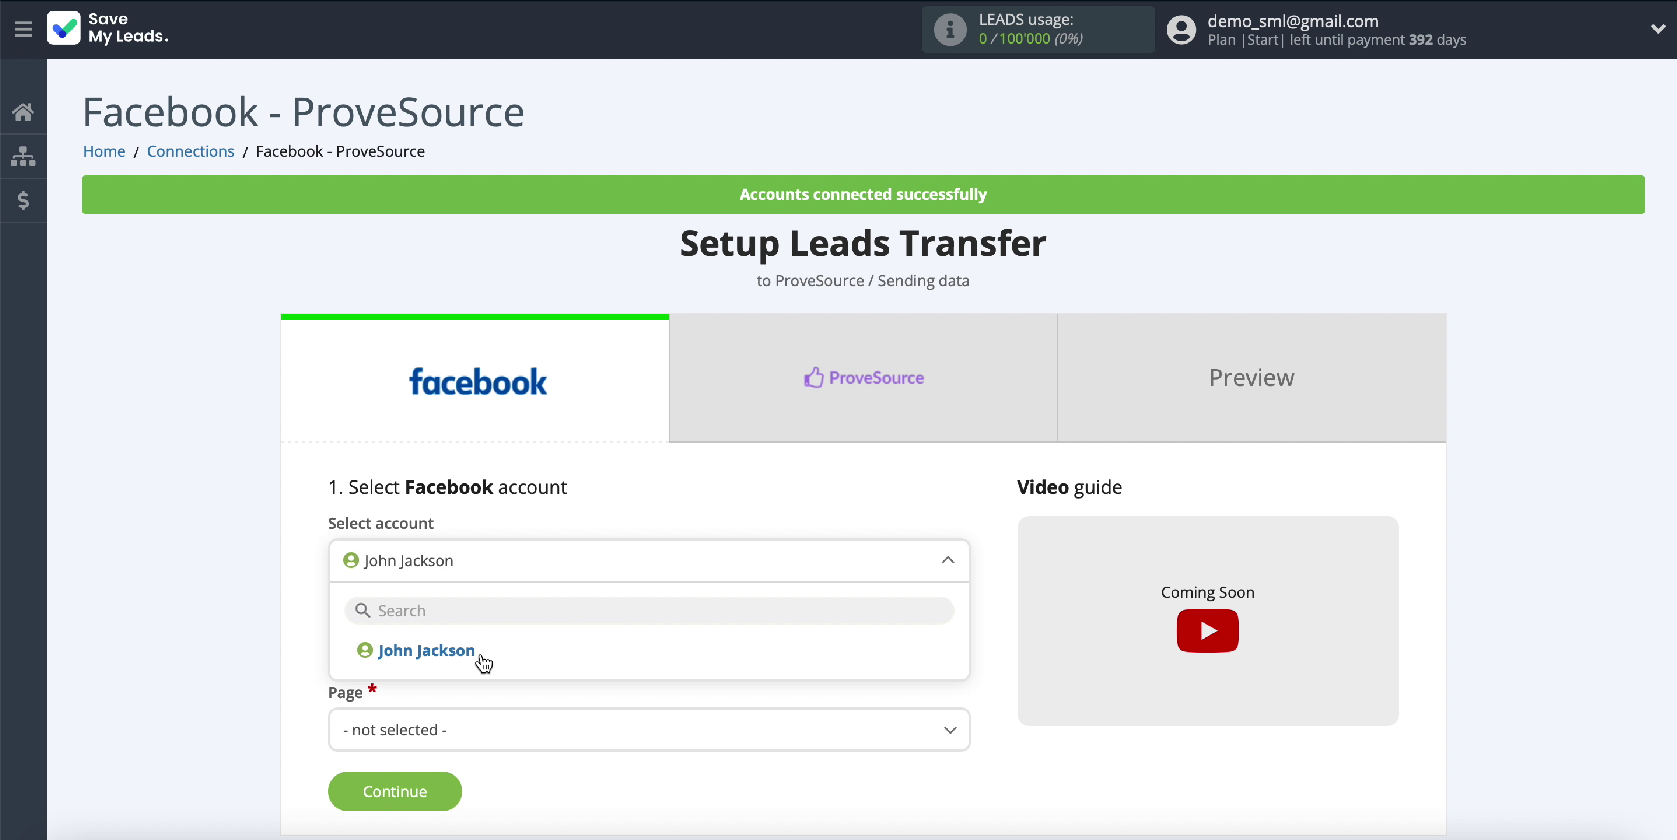
In the same window, you need to select an advertising page through which leads will be sent.
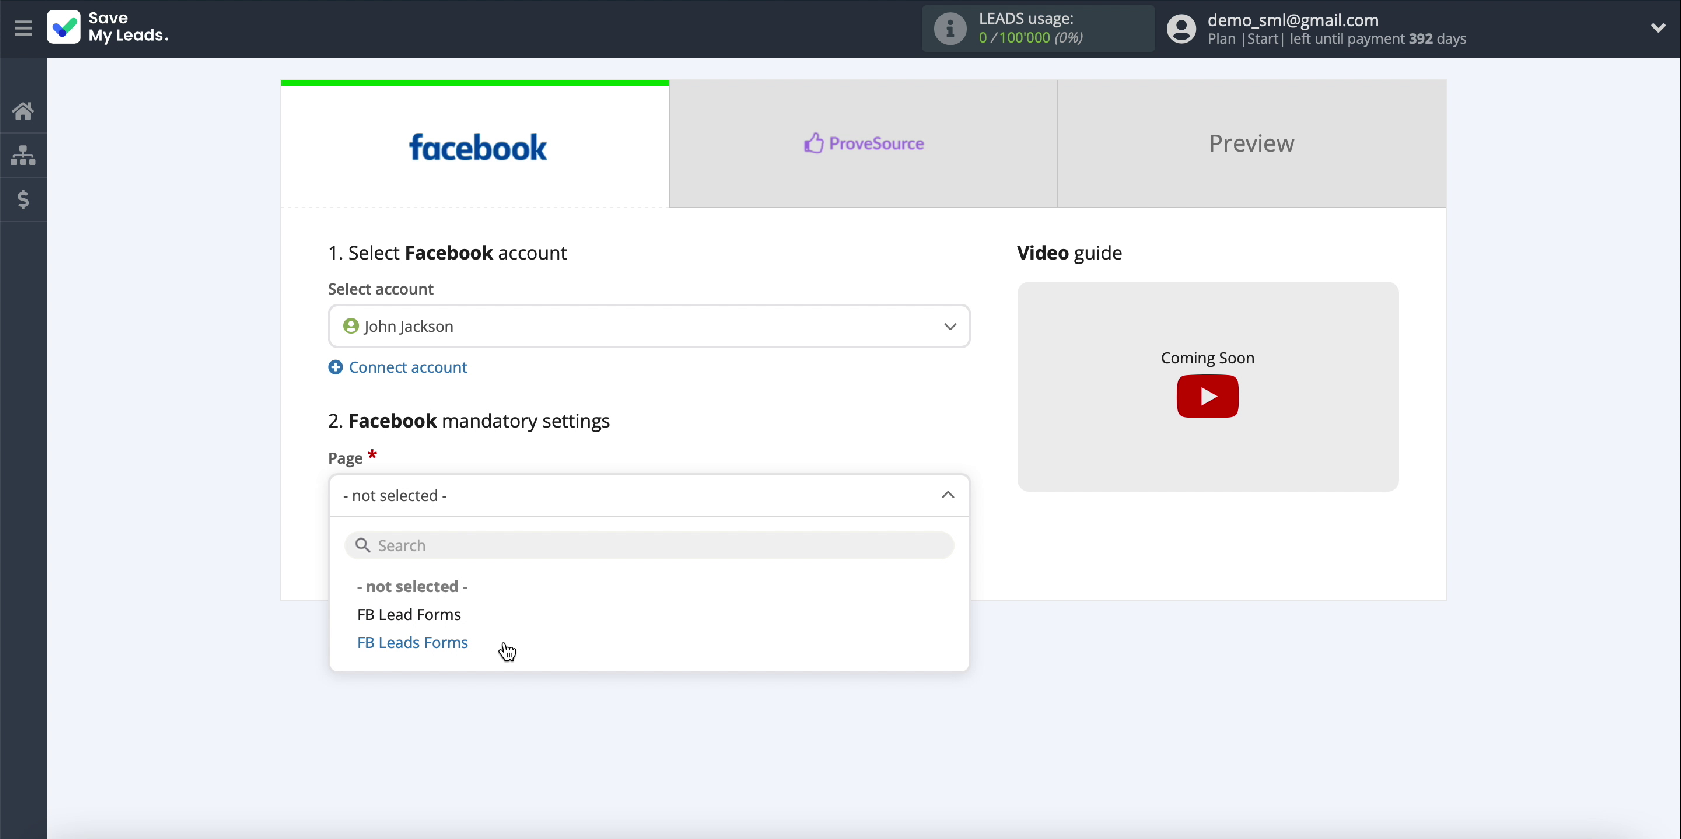
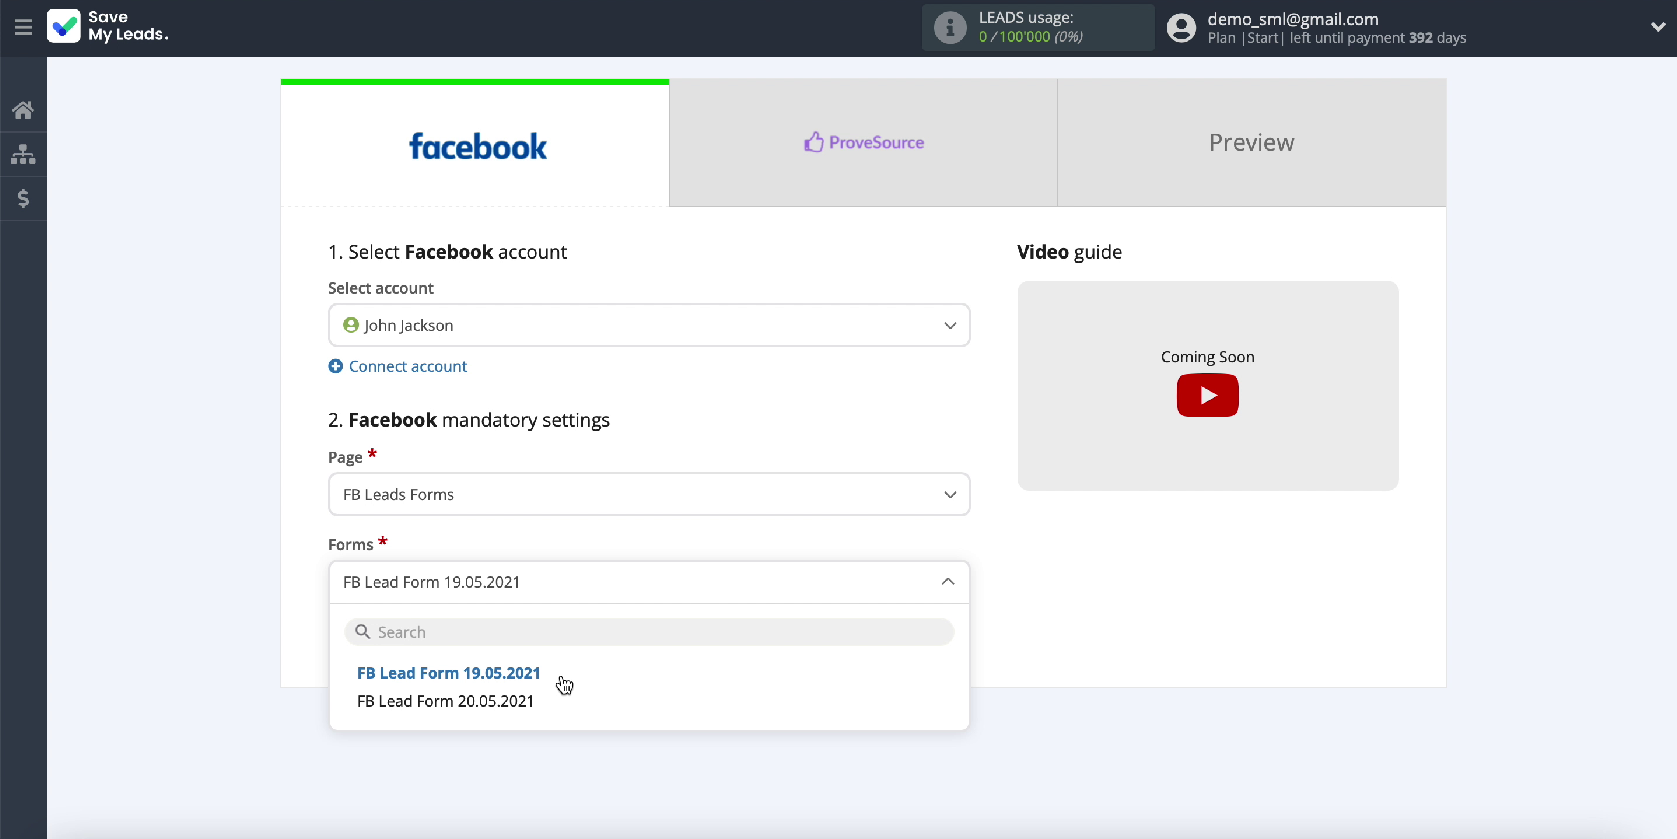
Specify the forms by which the data will be exported. If you have several forms, you will have to create a connection for each of them.
Connect ProveSource
To continue configuring the integration, connect your ProveSource account to the SaveMyLeads online connector.
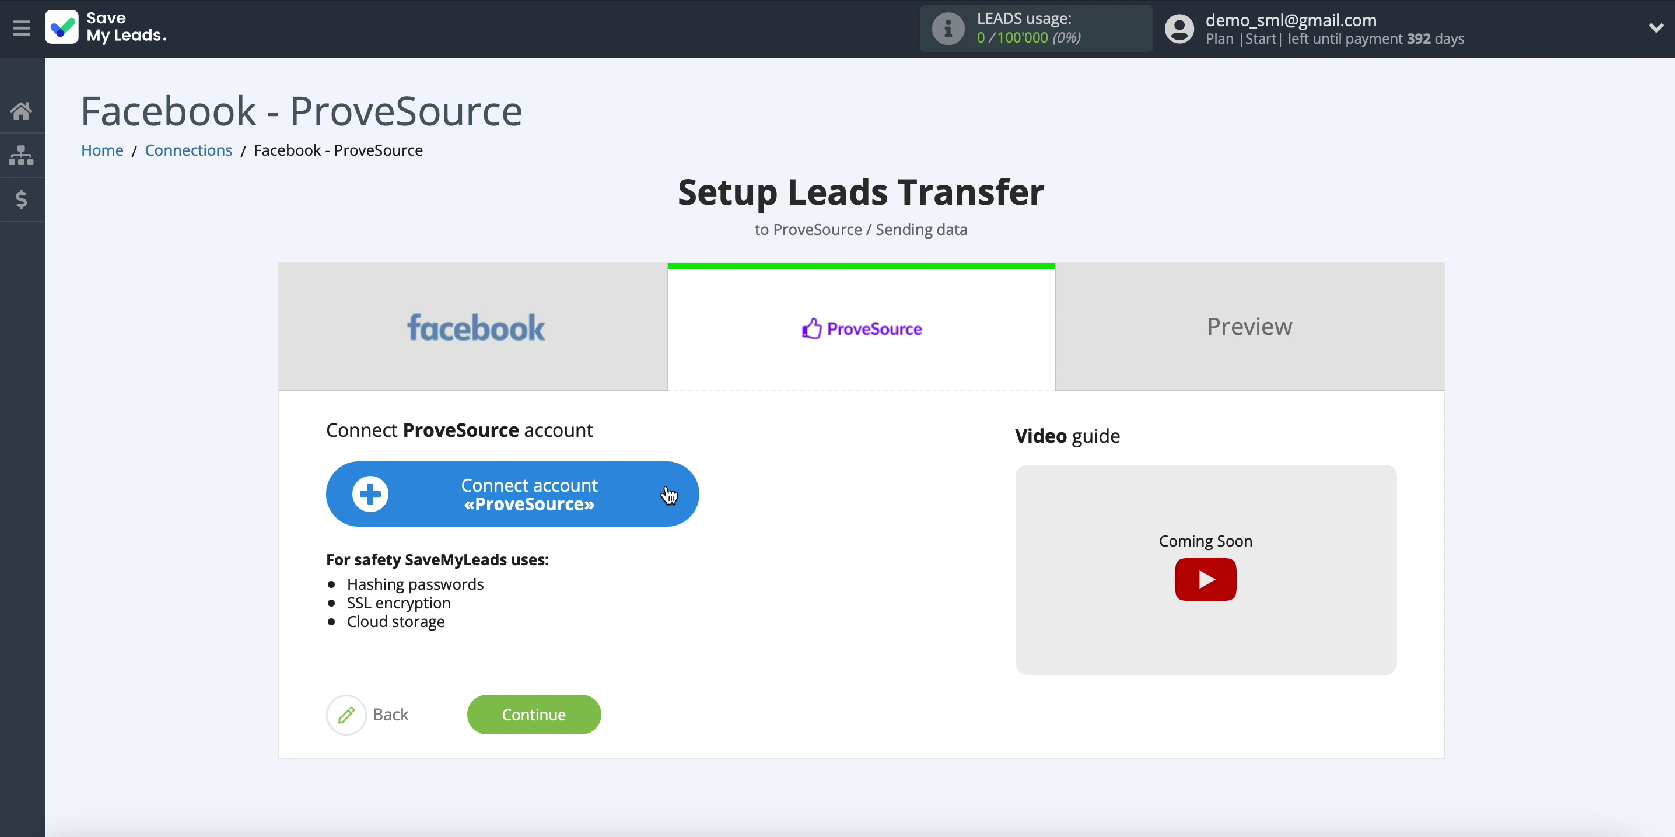
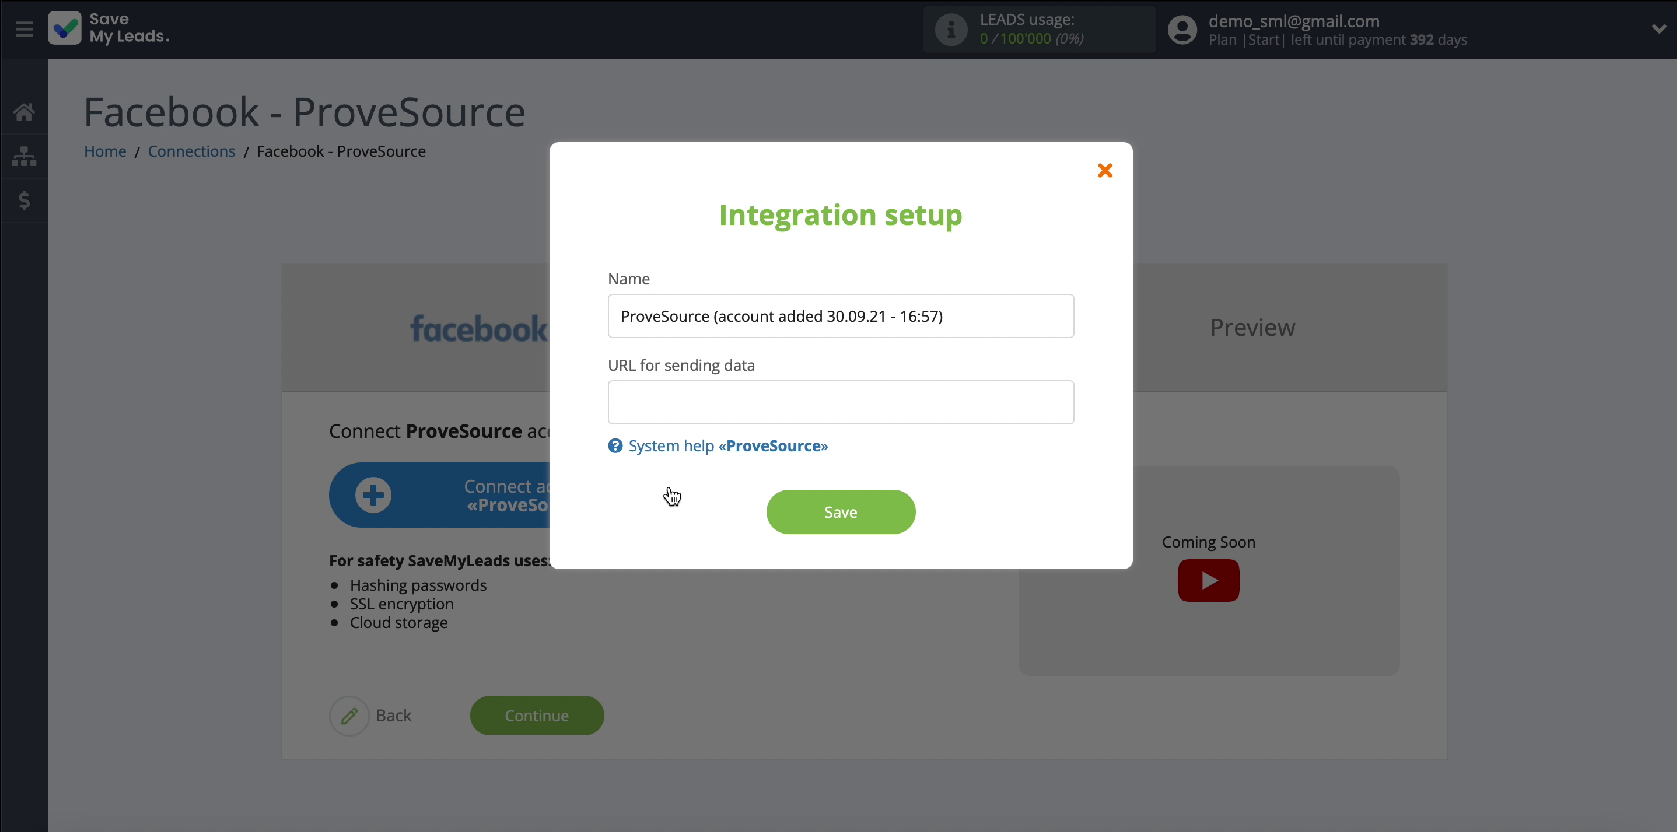
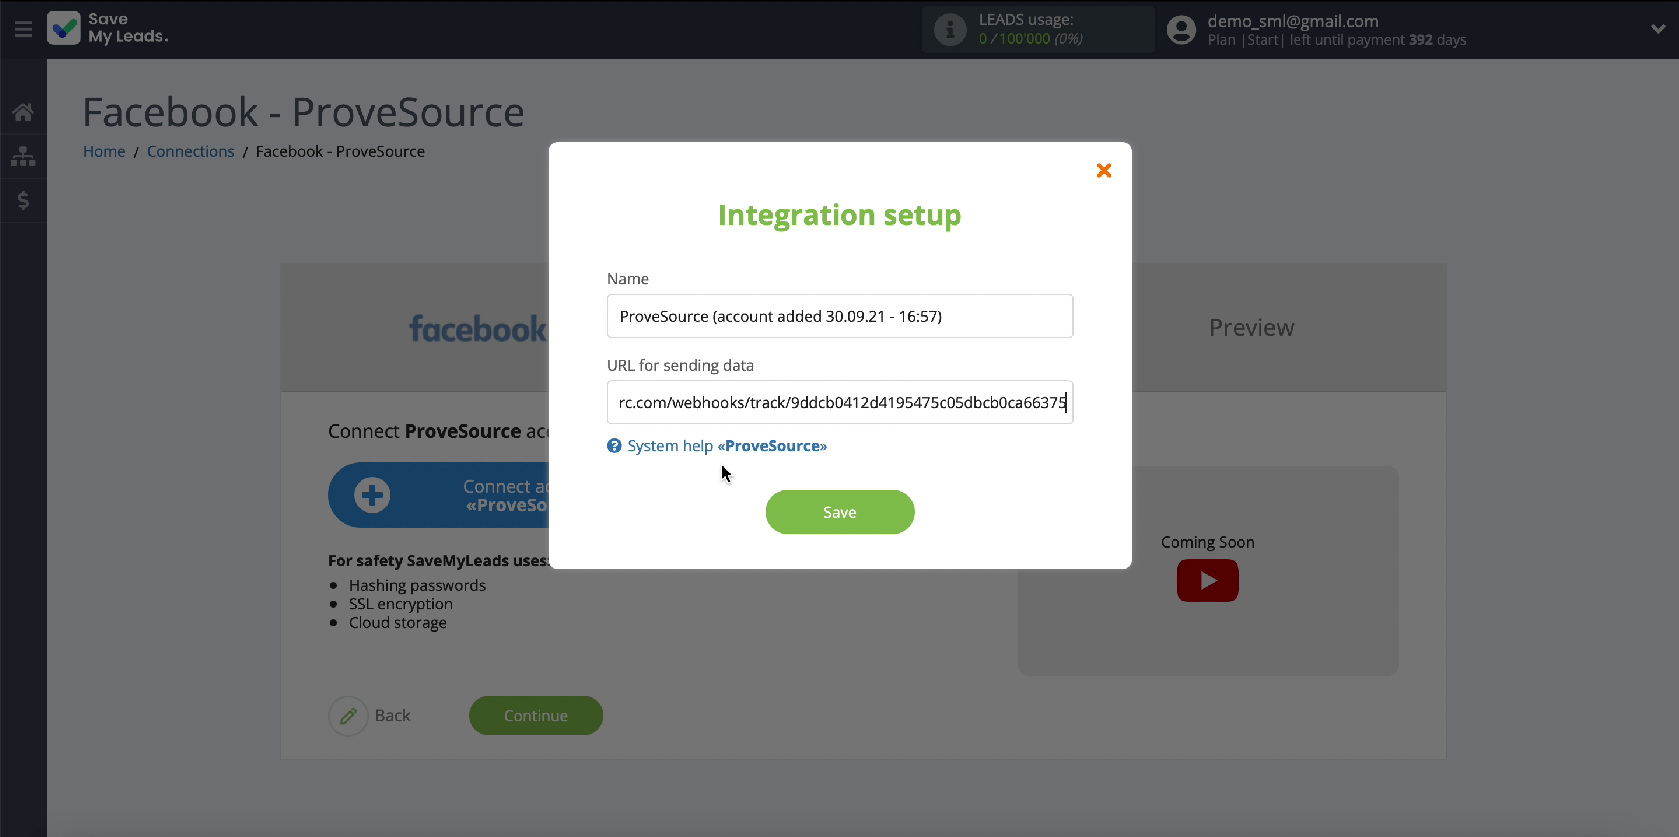
To connect the ProveSource service to SaveMyLeads, in a new window, specify the URL for sending data. To do this, go to your ProveSource account.
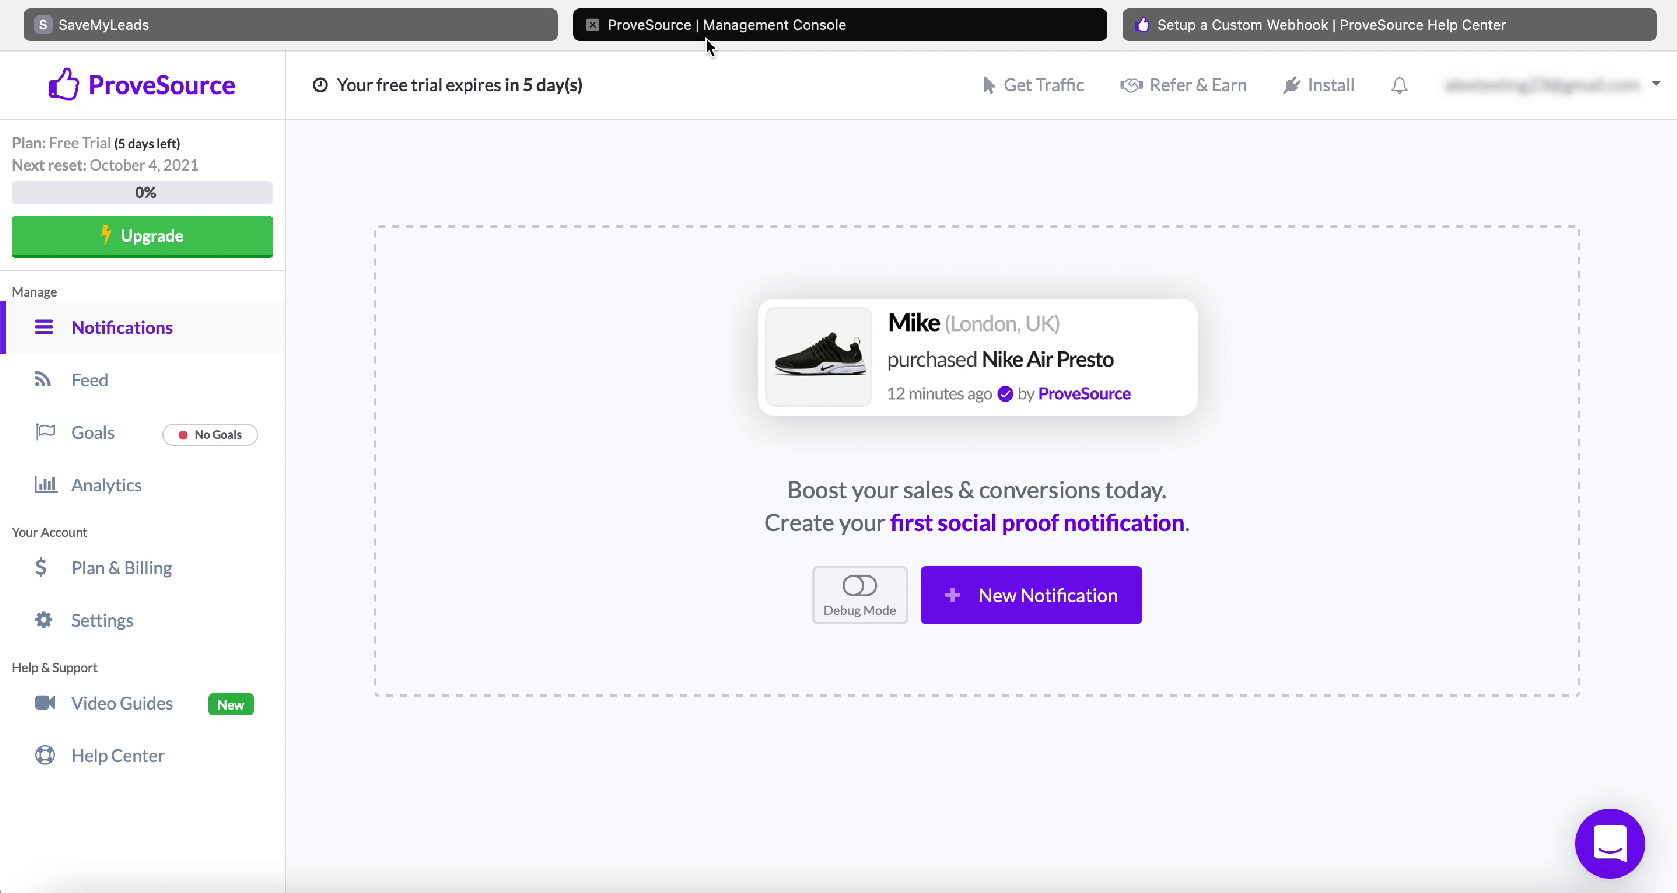
In your personal account, go to the Notifications section, then click New Notification.
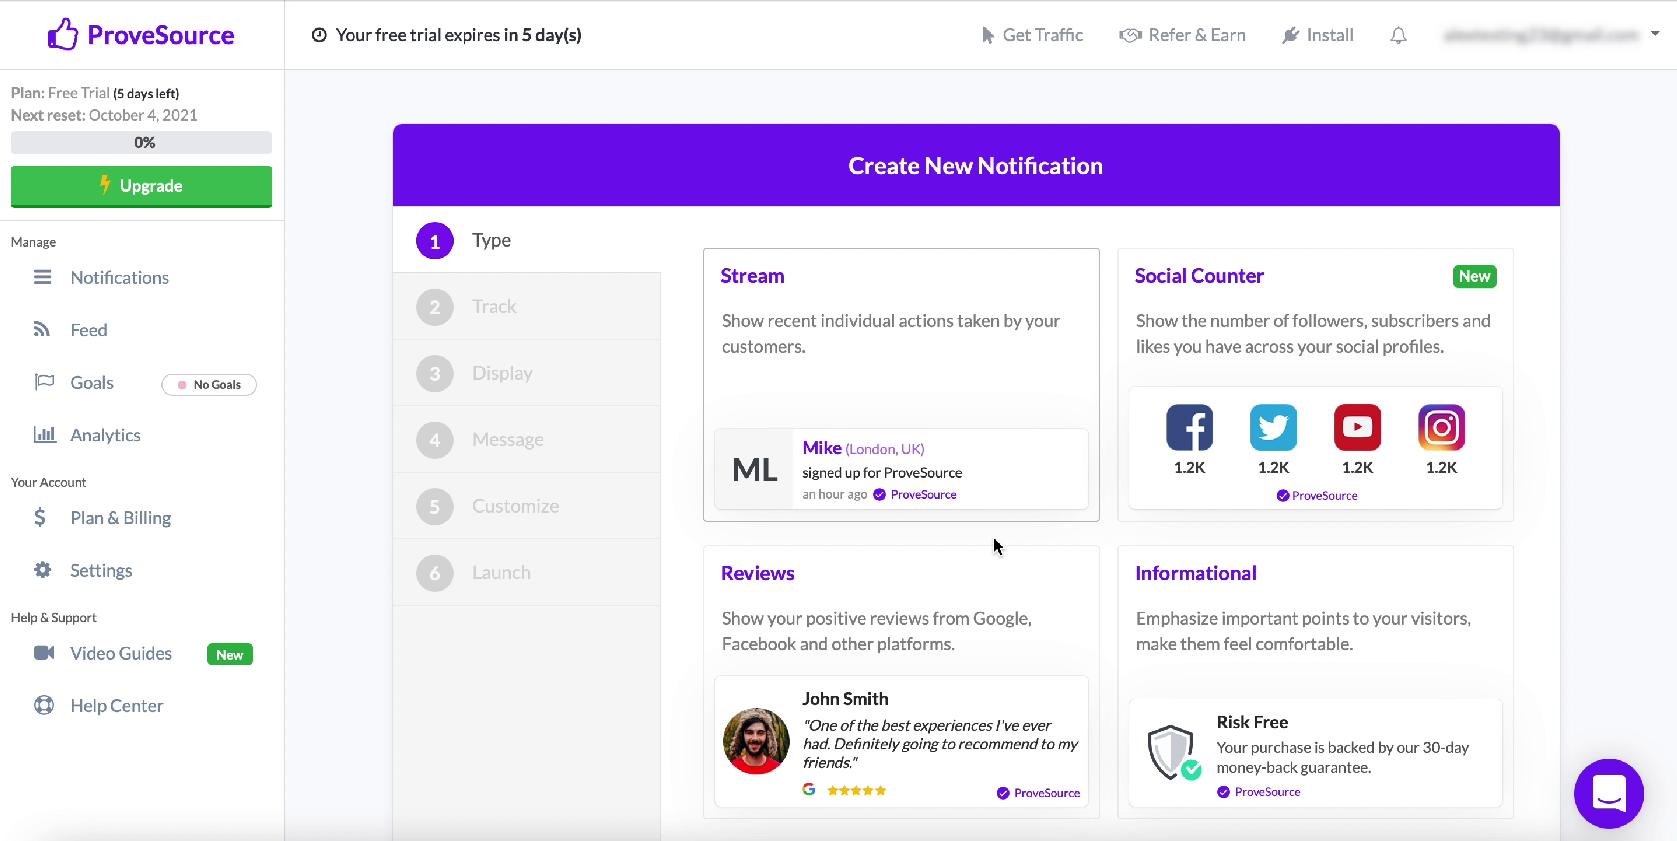
In the next window, select Stream, then select Track Event - Webhook
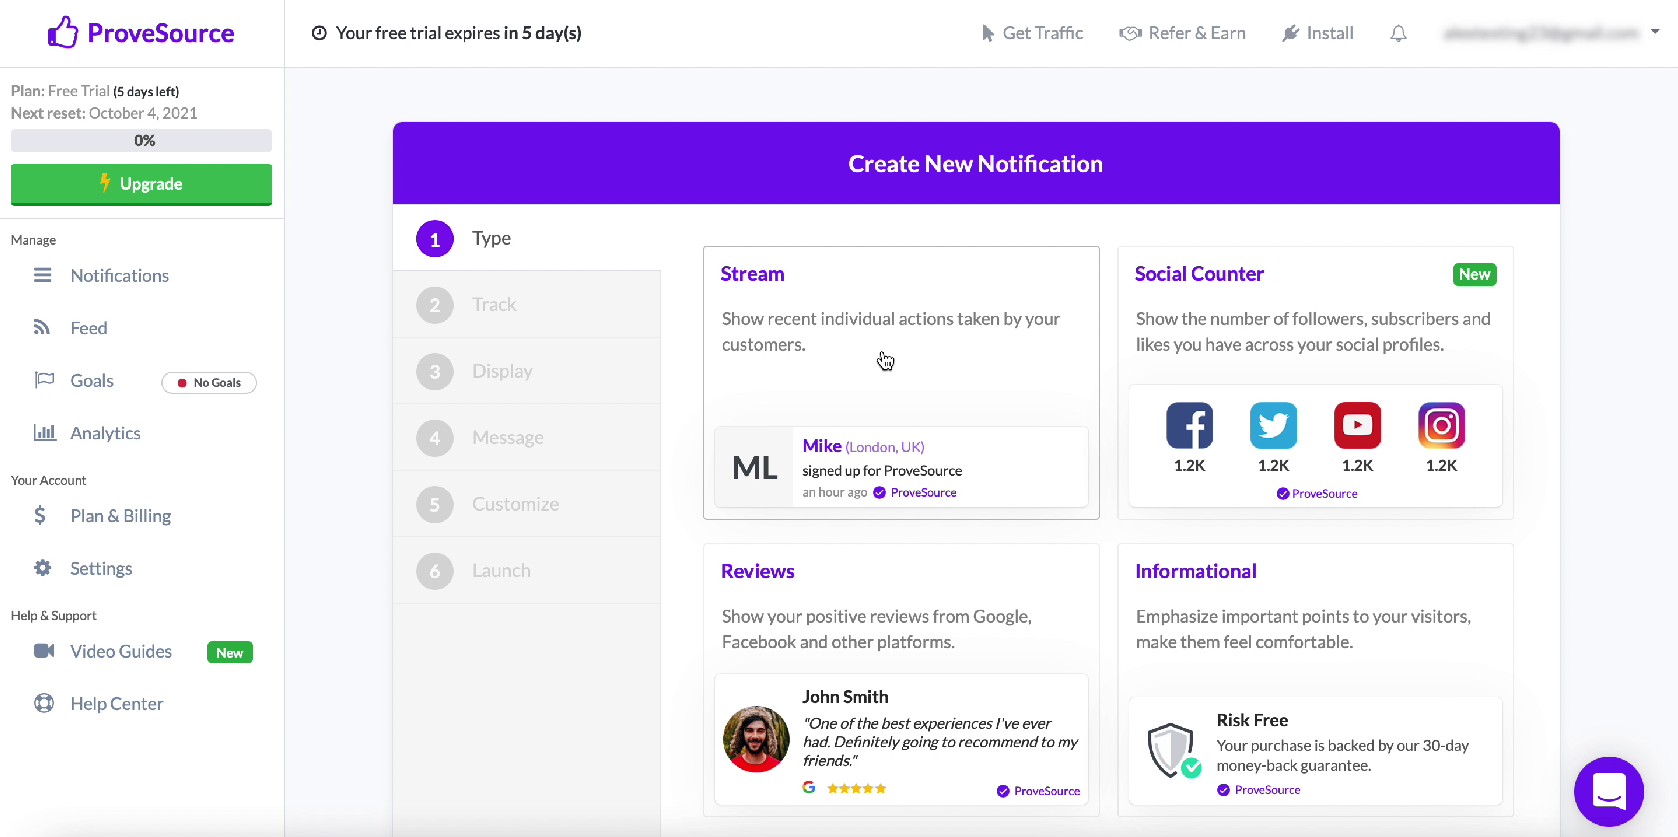
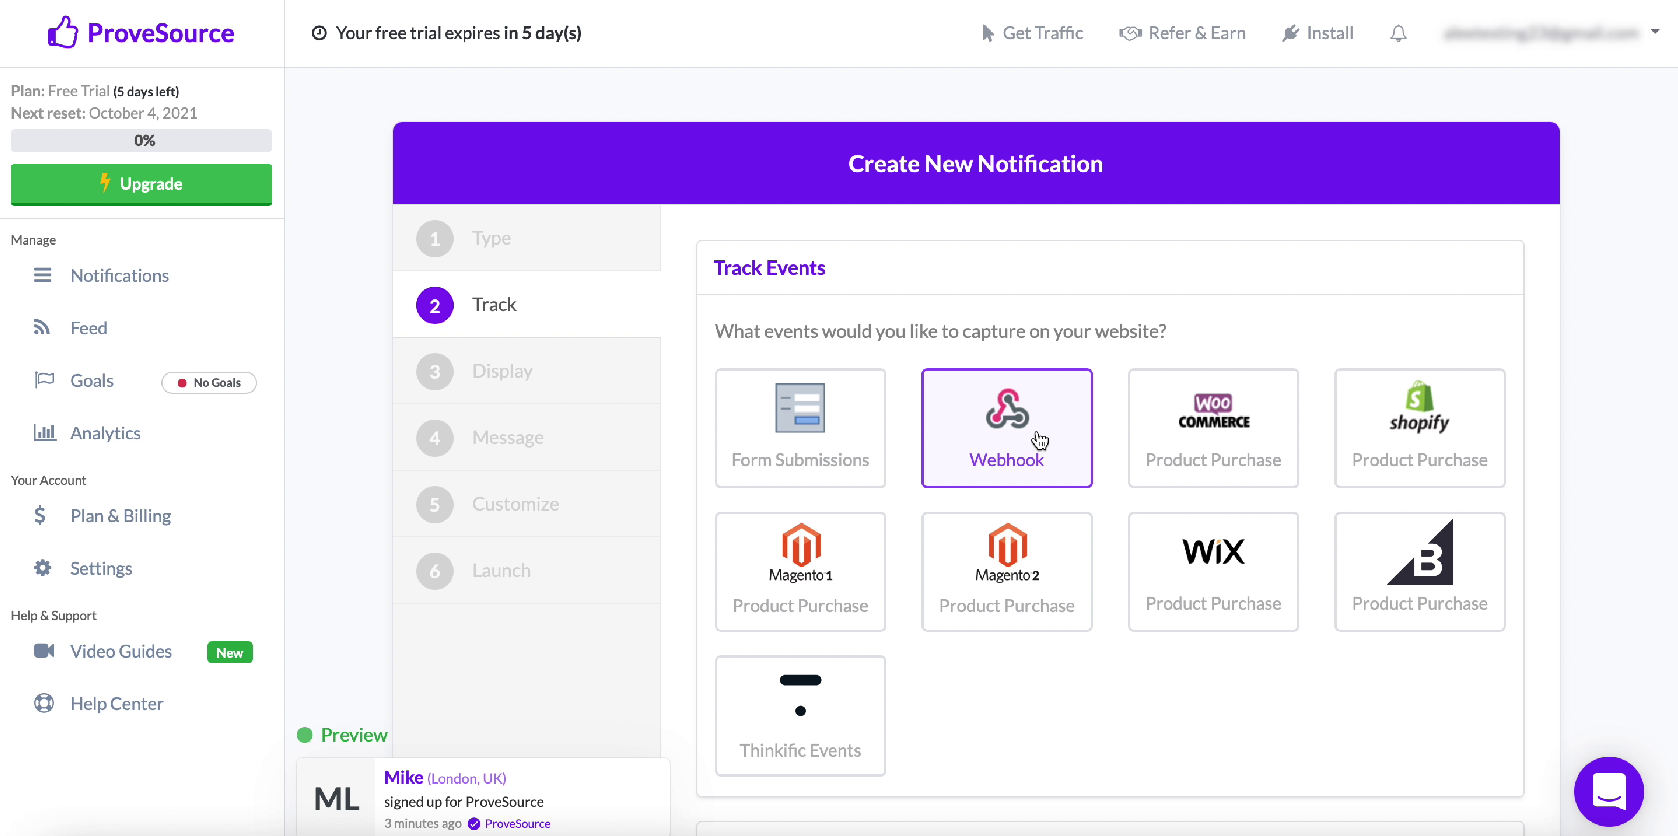
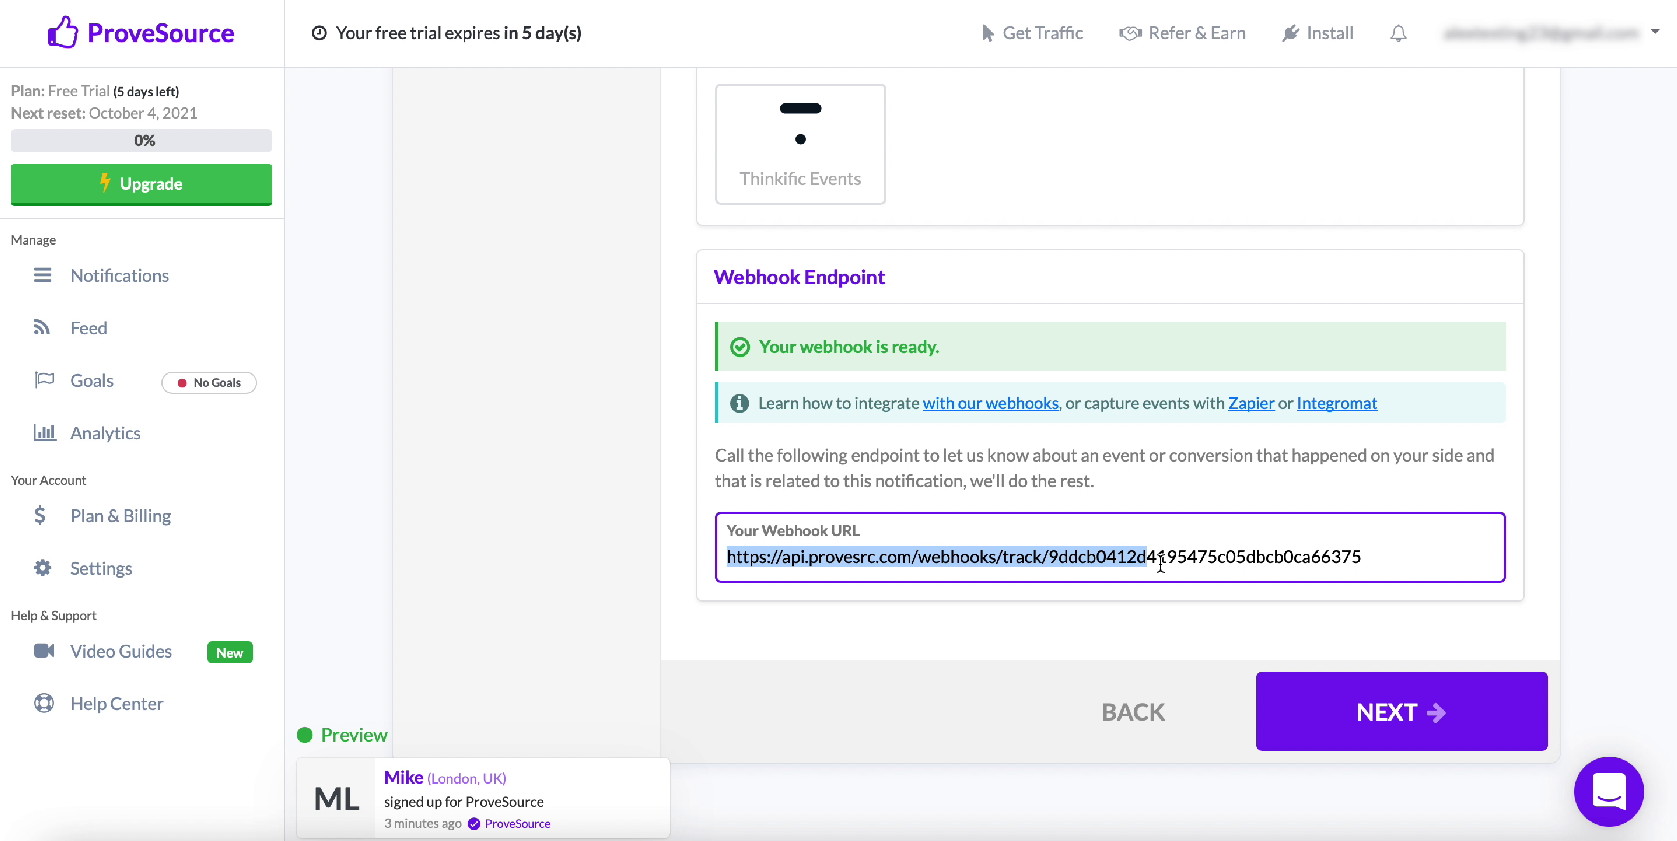
After selecting Webhook, scroll down to the bottom of the page, there you will find a link to which the ProveSource service will receive data. Copy it and paste it into the corresponding field in the SaveMyLeads service connection window.
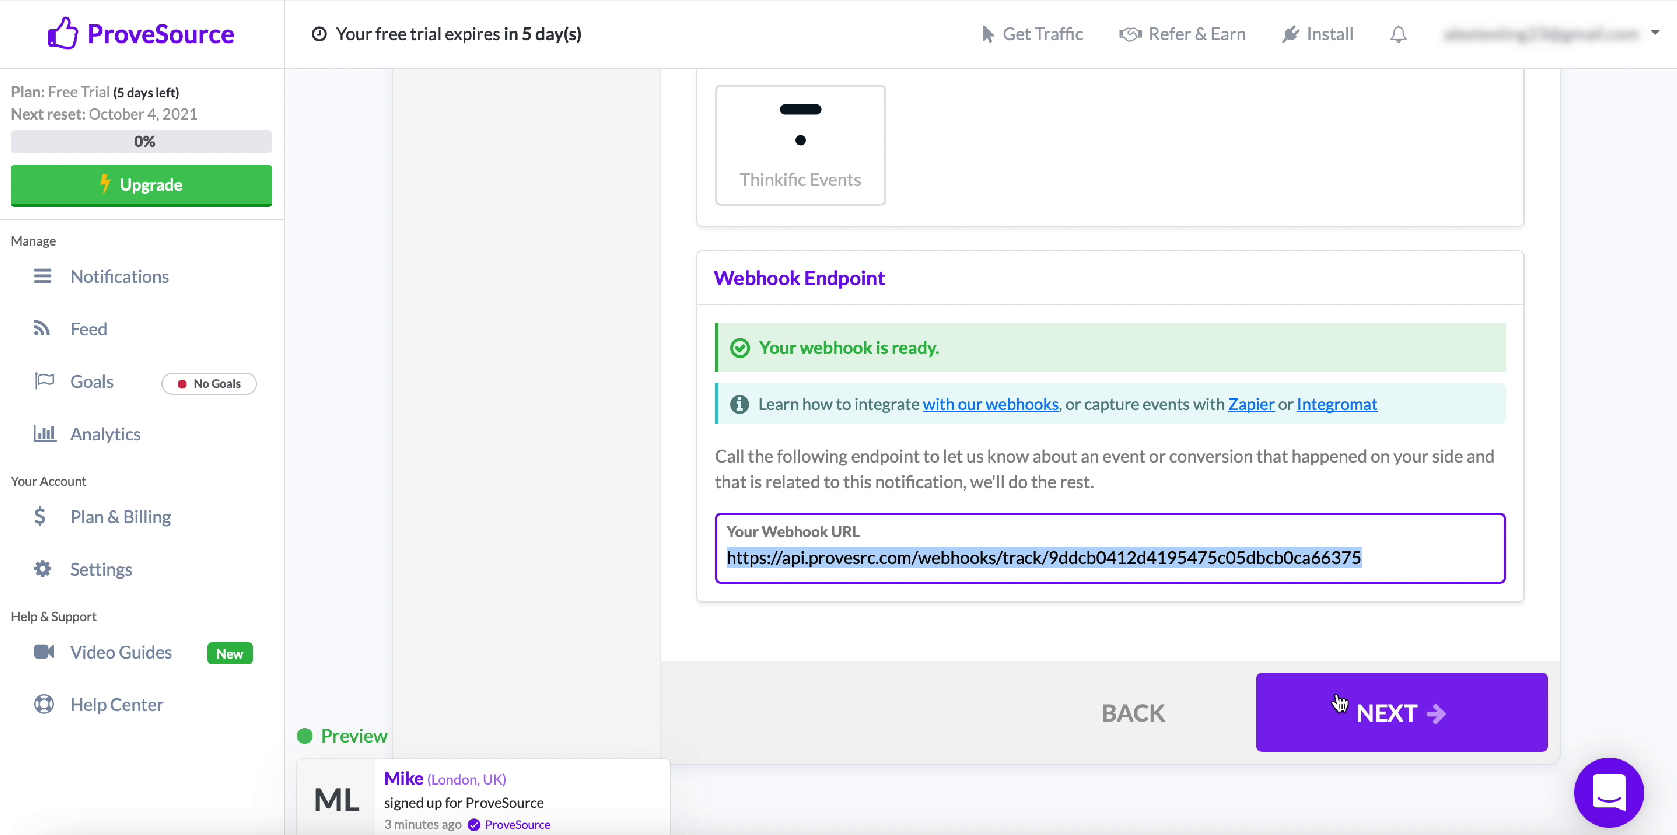
Return to your ProveSource account and continue with the setup.
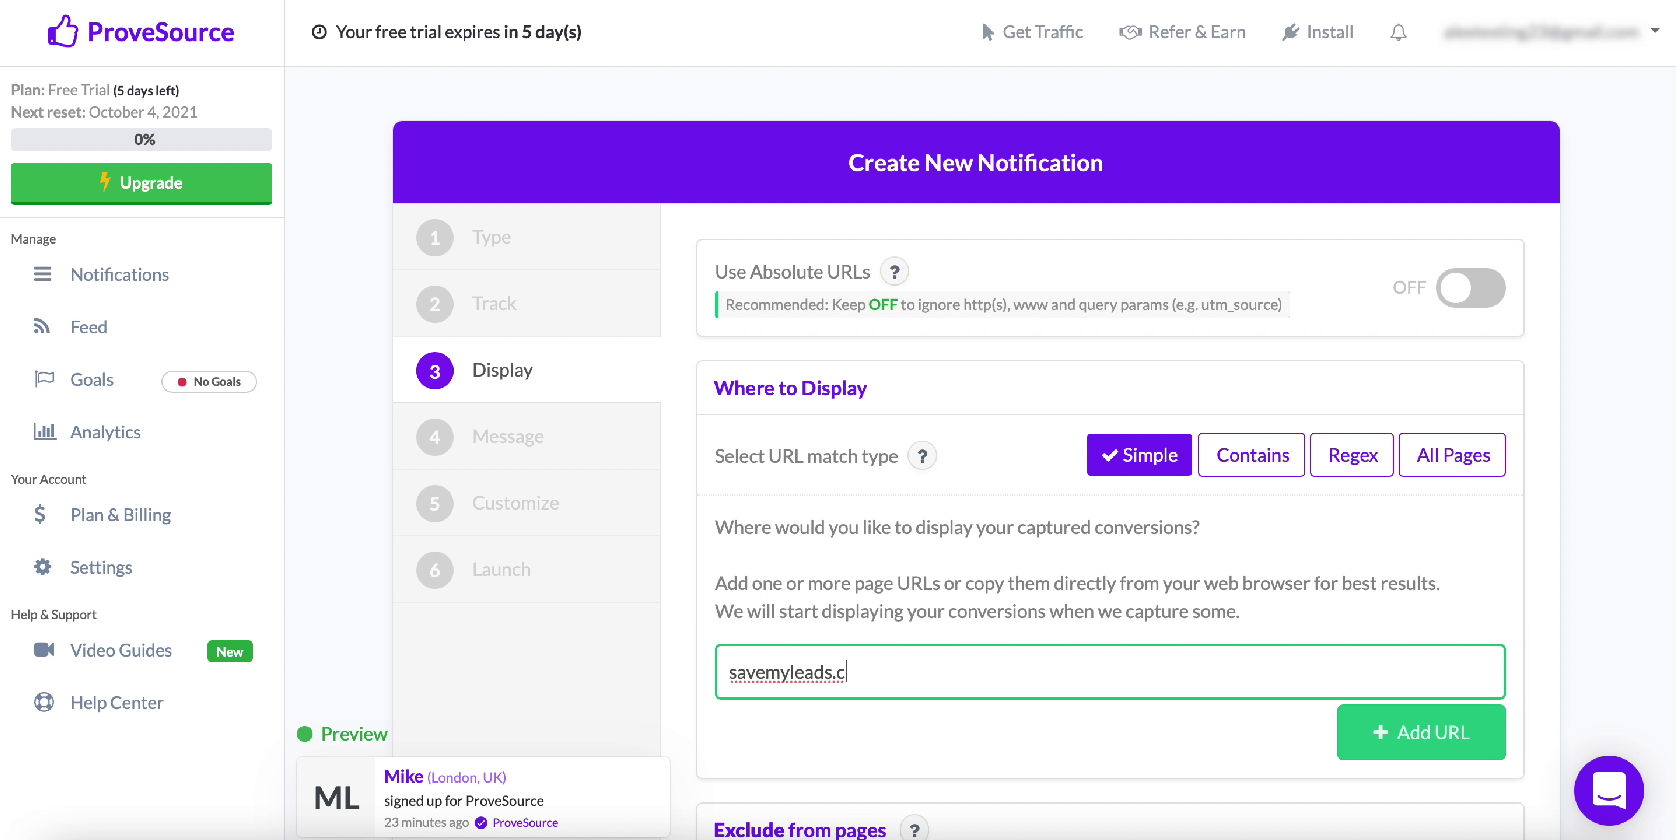
In the window that opens, in the Page URL line, specify arbitrary site addresses. Then click the Next button.
At the next stage, specify the name of the message and proceed to further configuration by clicking Next.
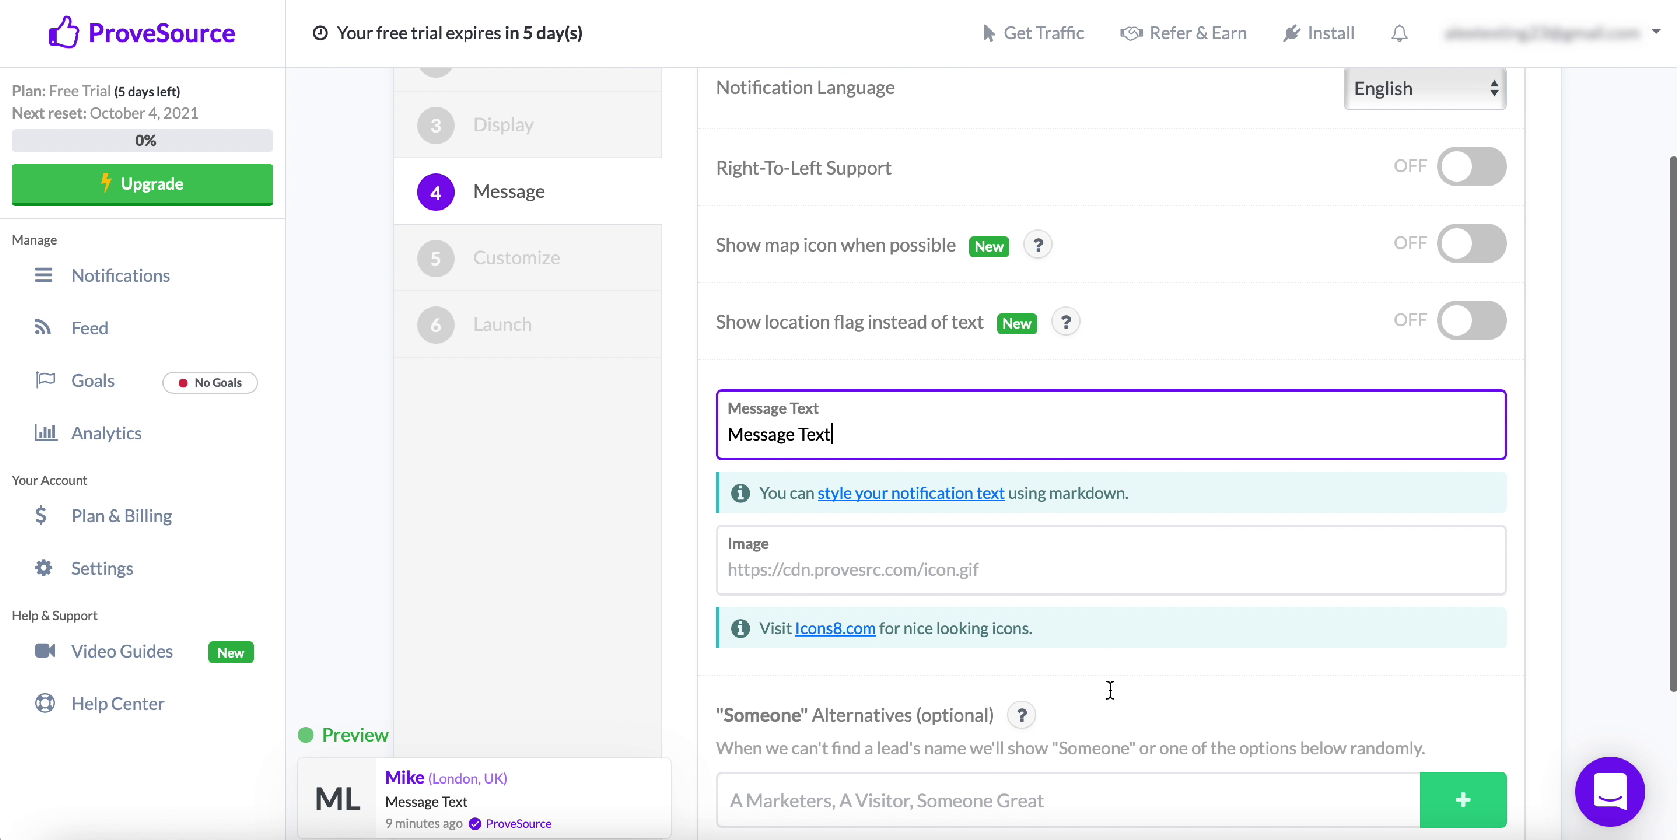
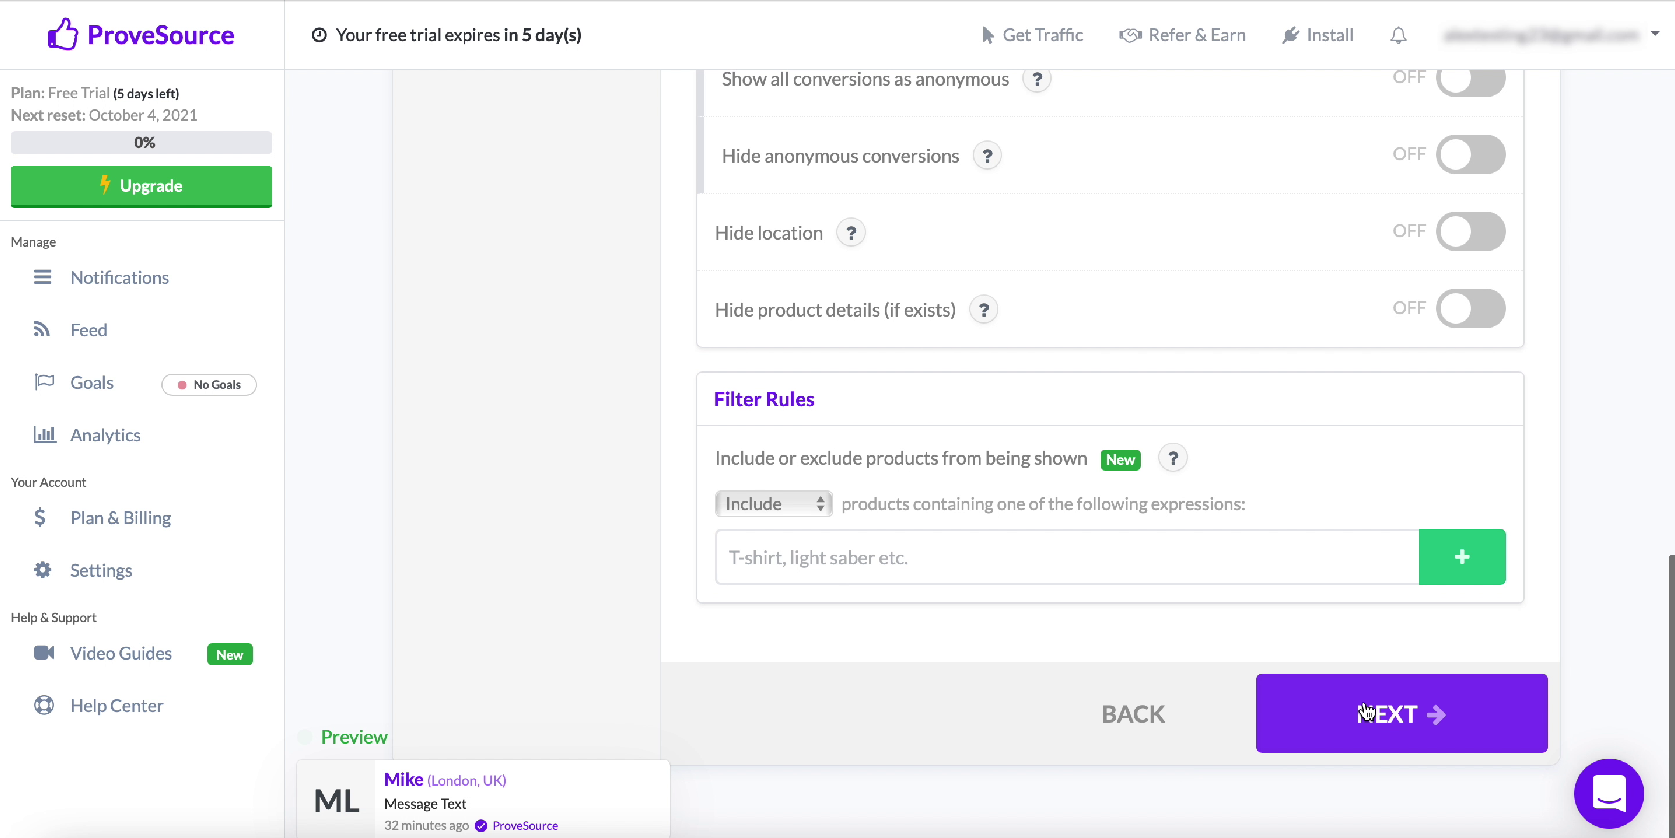
Leave all settings unchanged in the new window. Scroll down to the bottom of the page and click Next.
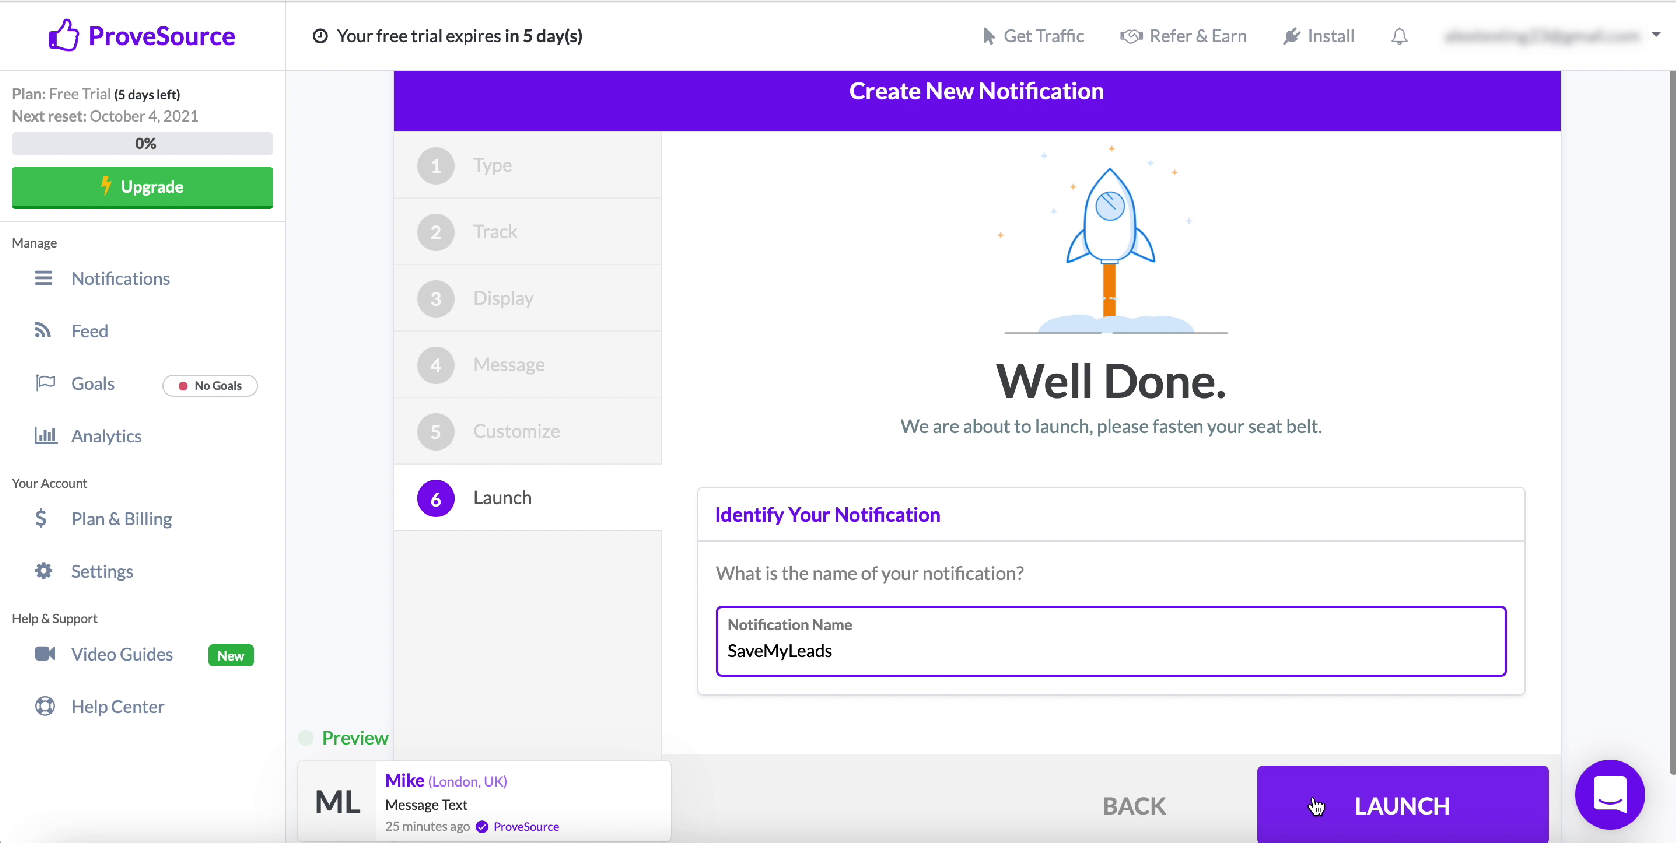
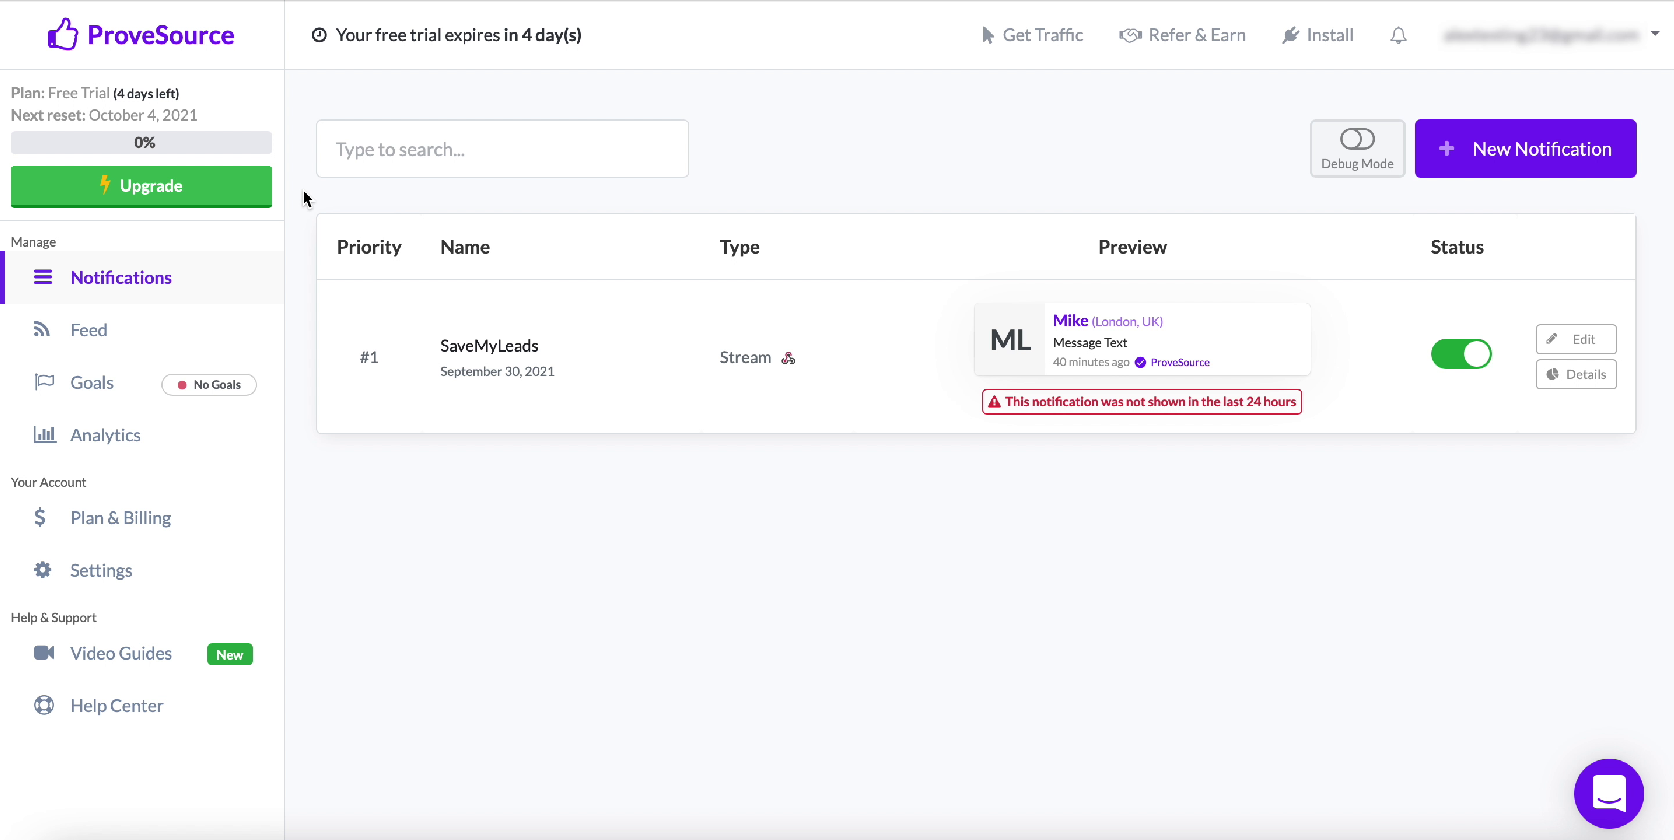
The next step is to give a name to the new notification and click Launch.
Go back to the SaveMyLeads service tab
Yours should appear in the list of connected accounts, select it.
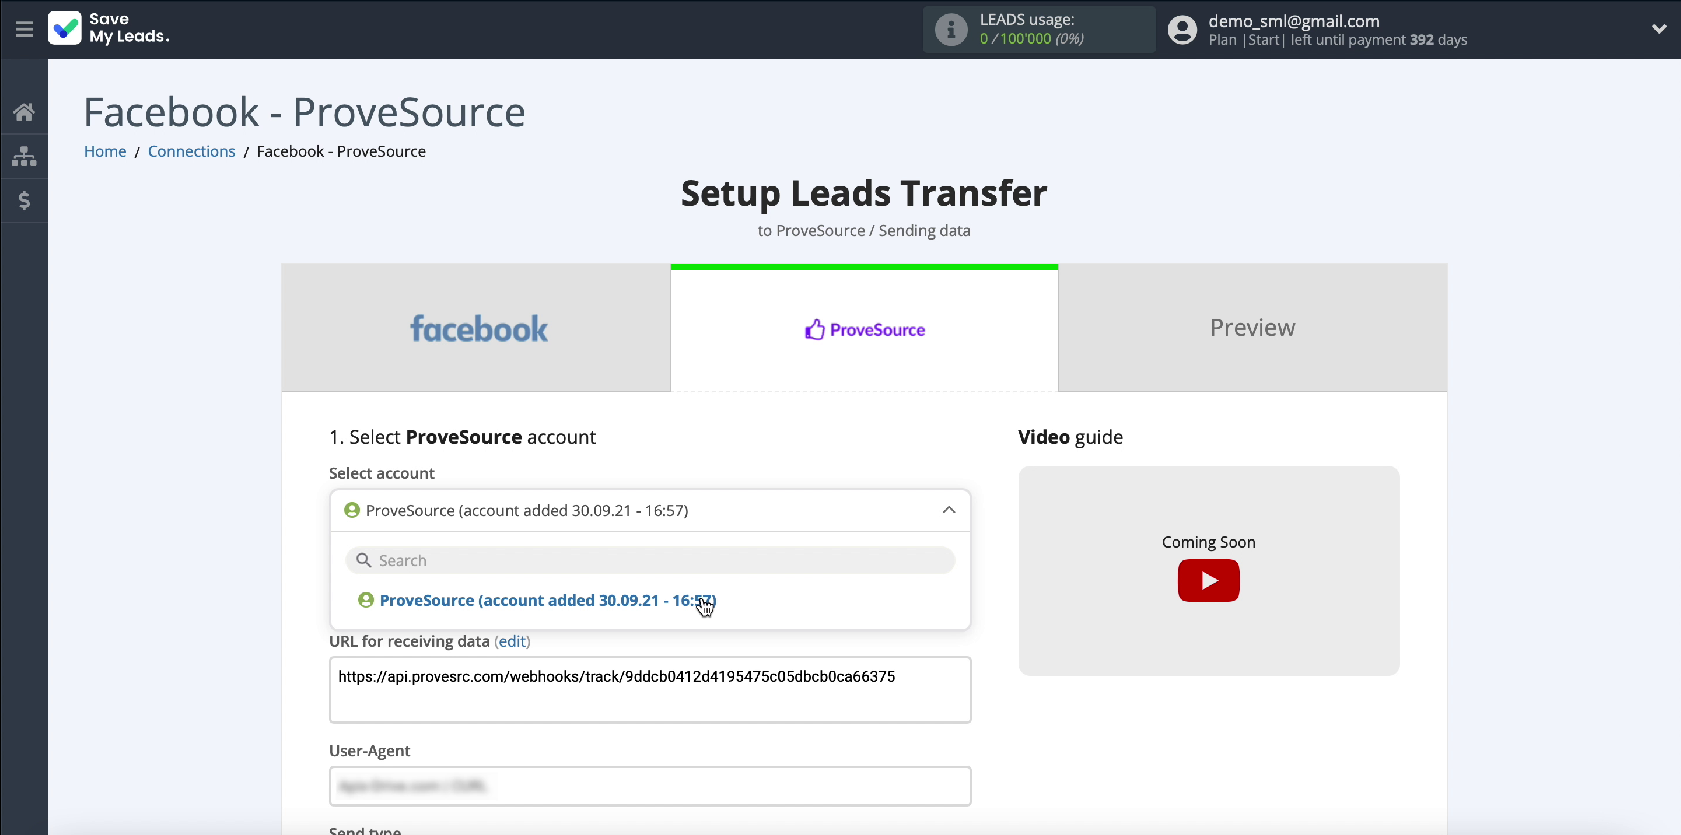
In the same window, you will see the settings for the fields for sending data. In the Send type field, select the type of sending POST json.
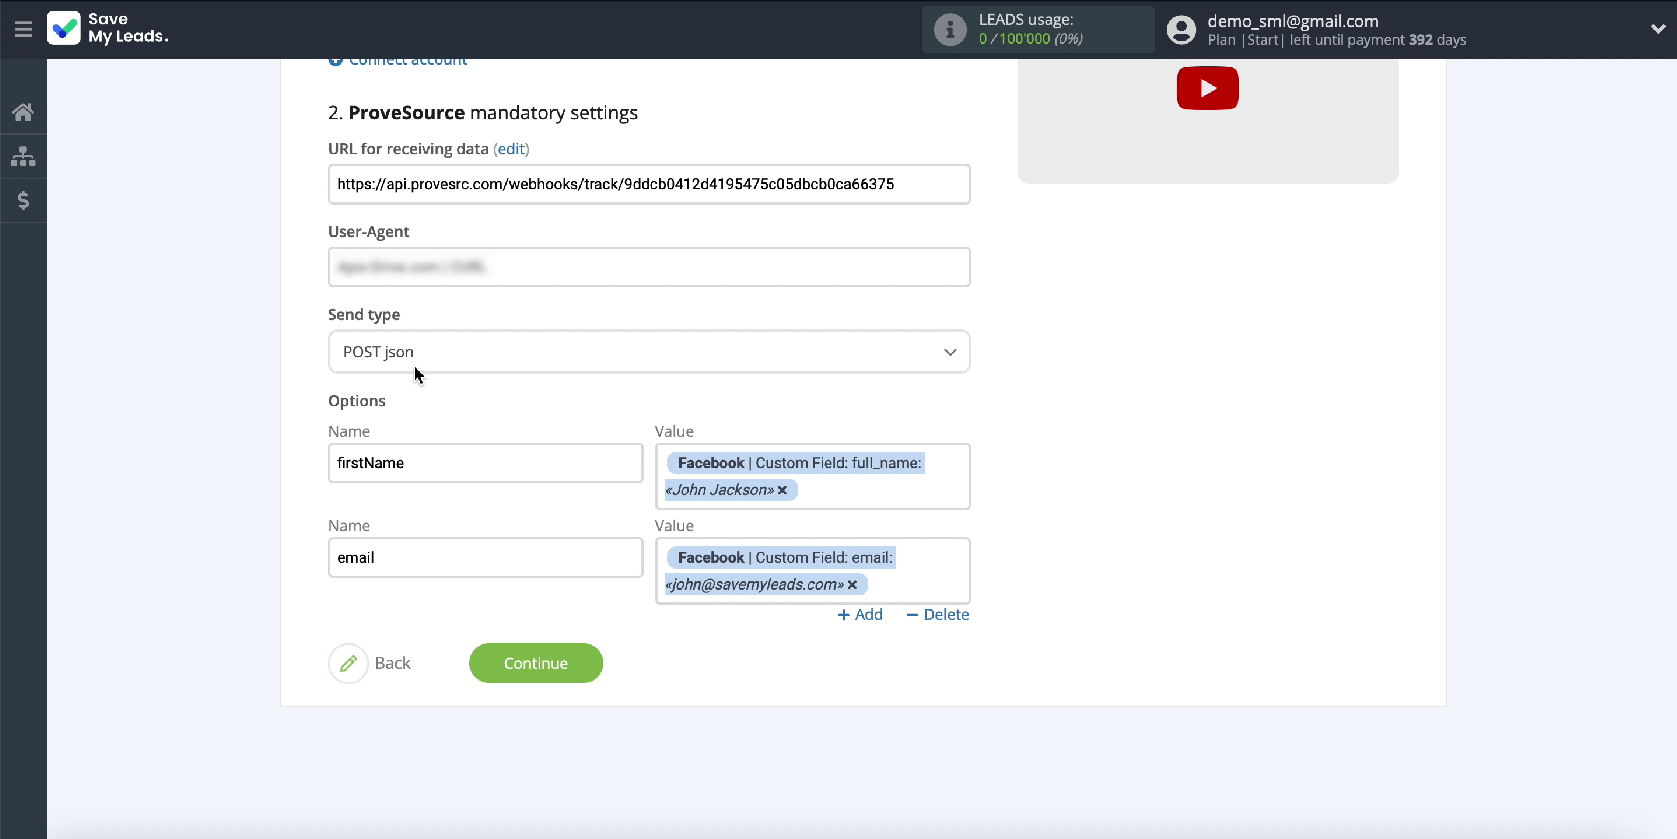
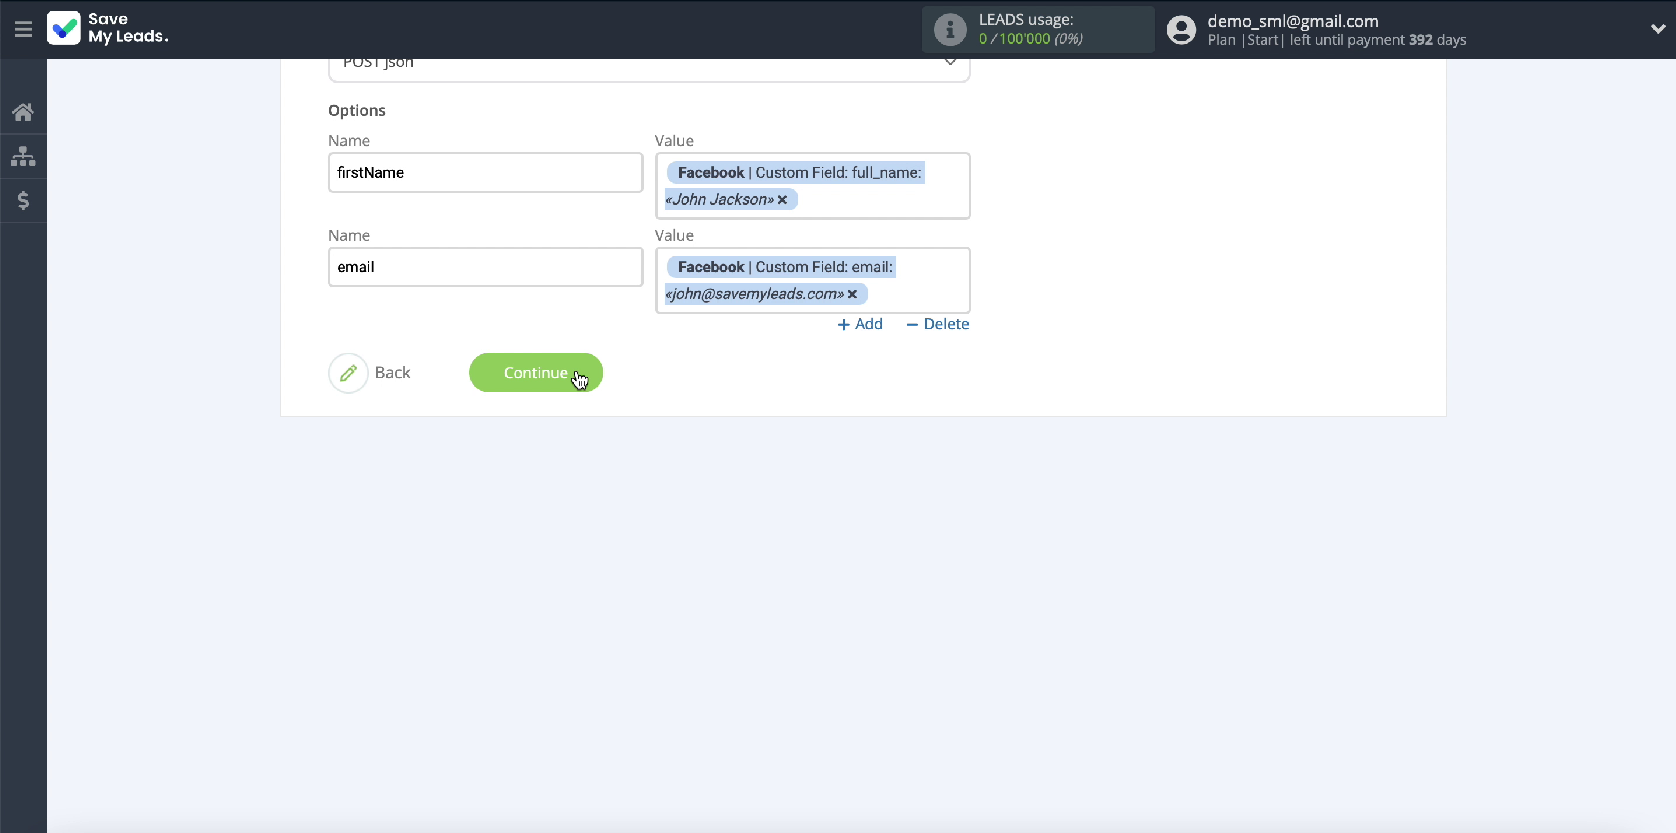
Now you need to set variables, data from Facebook will be transferred to these fields. To set all the required variables, specify them in the Name field in the Save My Leads service.
In the same window, in the Value field, specify the variable from Facebook. It is in the dropdown list.
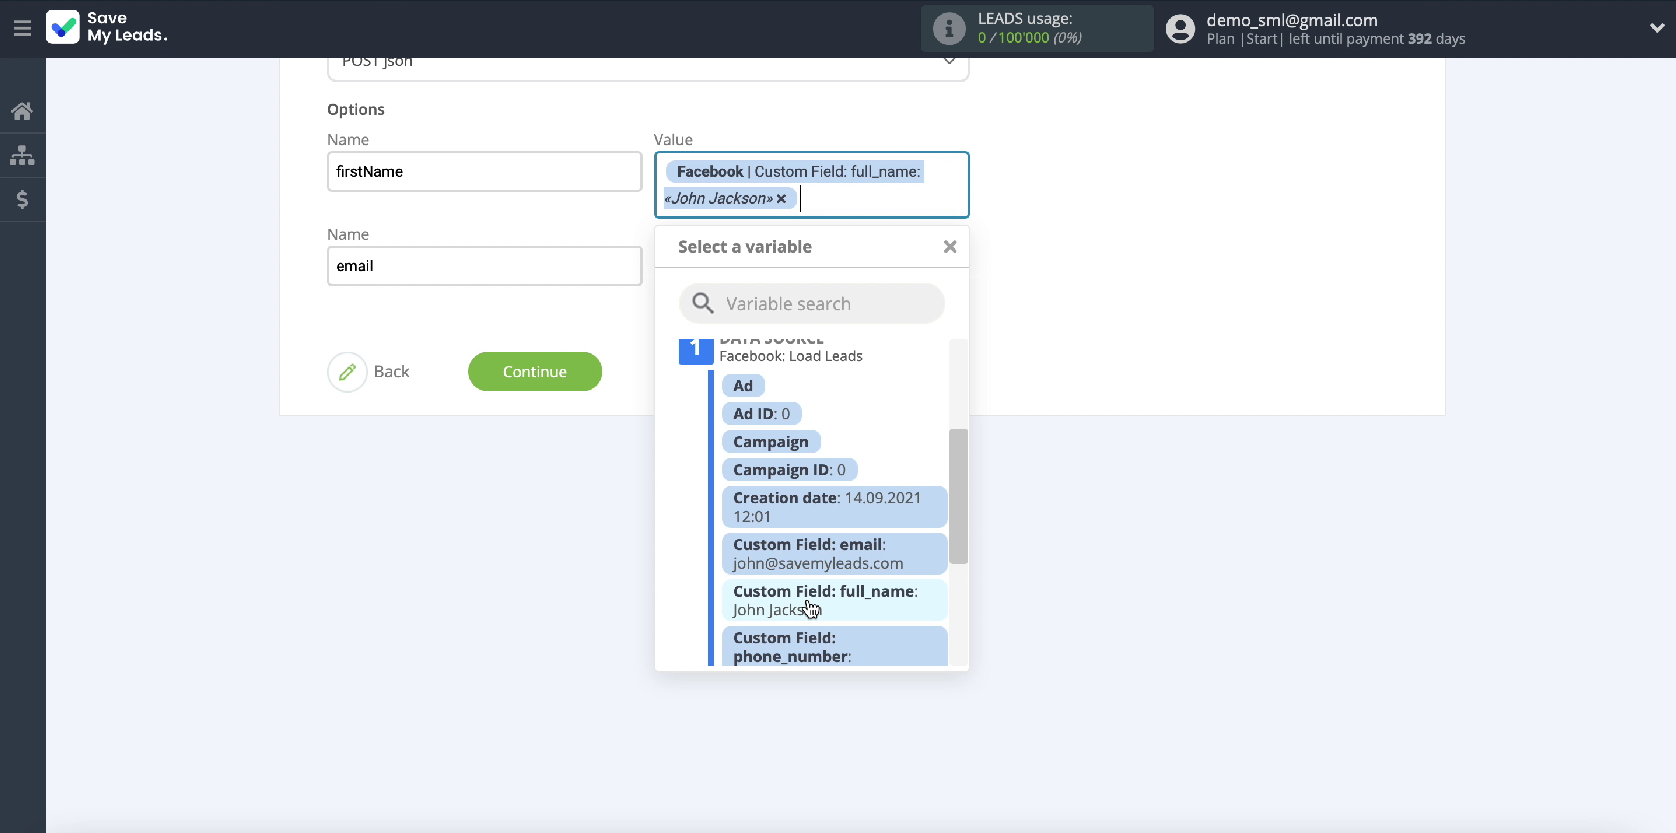
If you want to add another set of variables, click Add
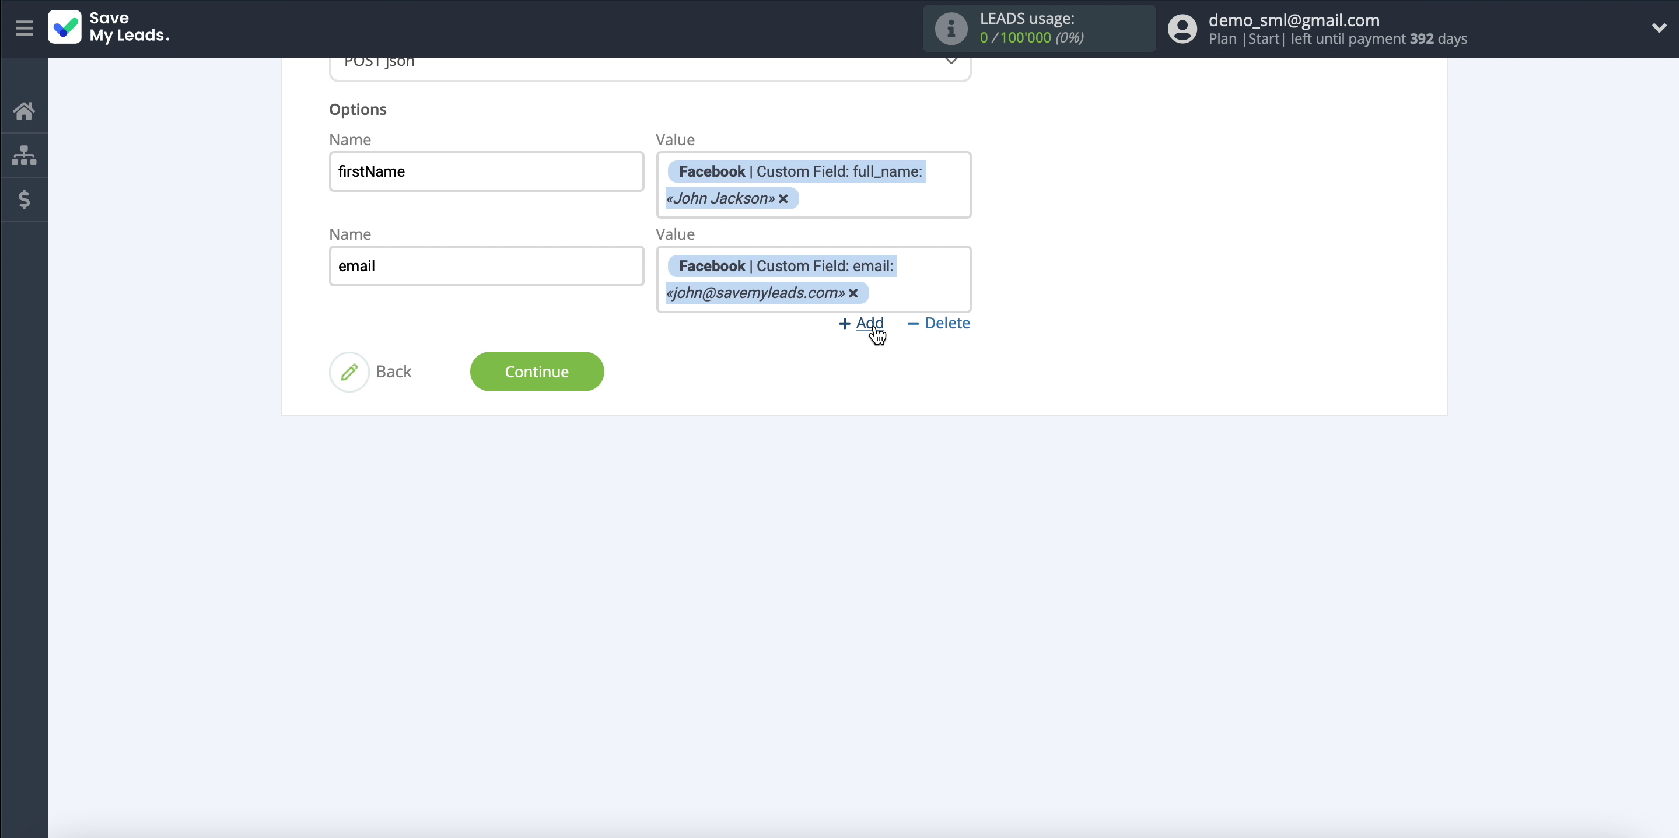
If the initial presetting of the fields suits you, you can leave them unchanged. Click Continue.
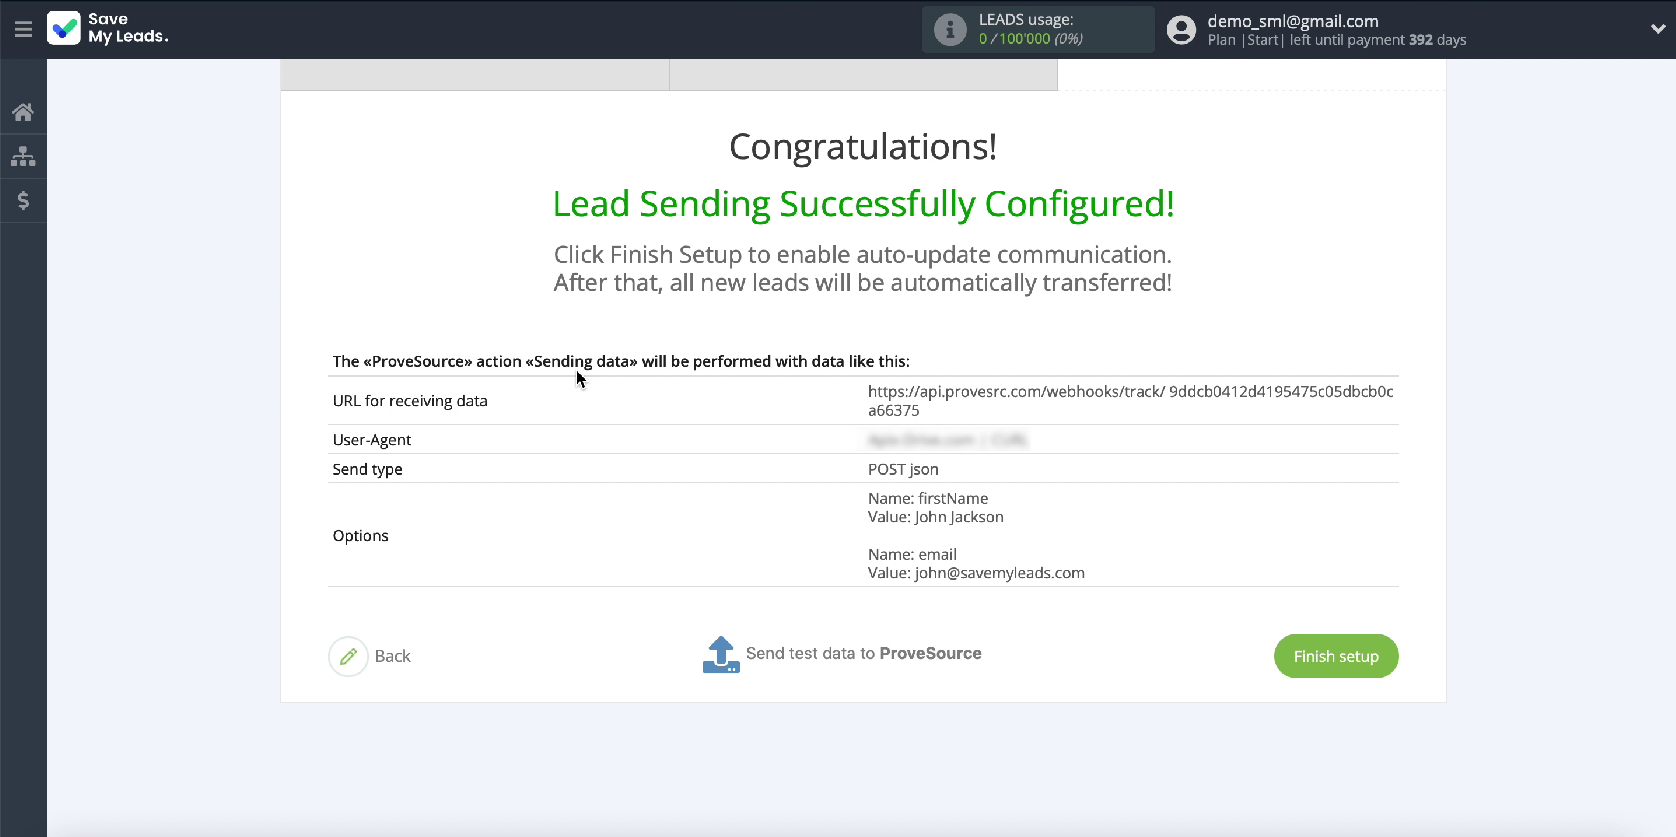
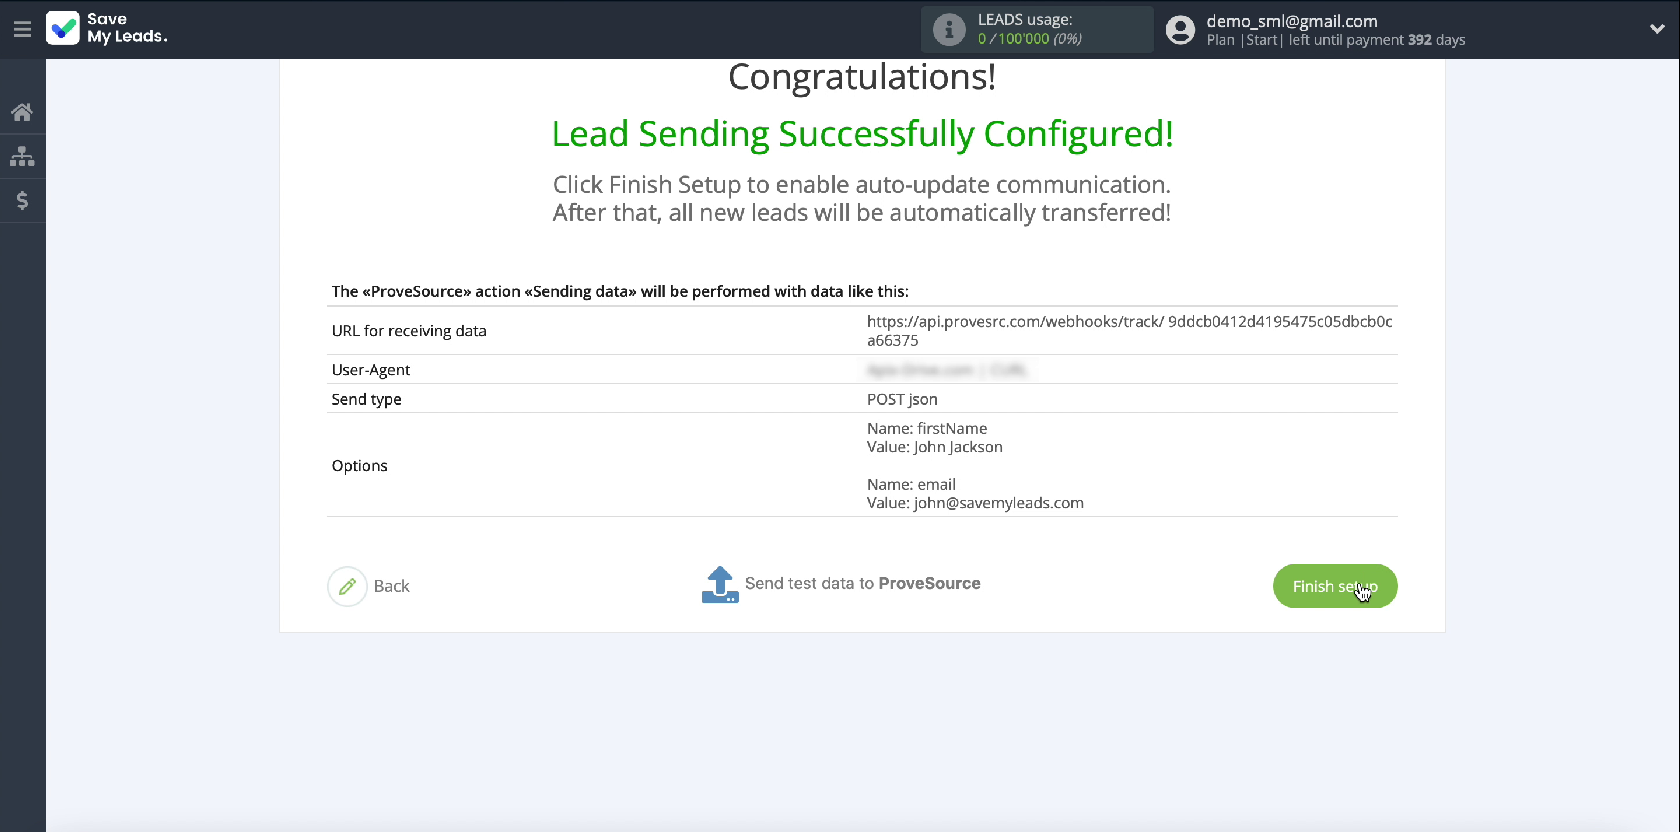
In the new window, you will see an example of the data that will be sent with each new lead from Facebook. If you want to check the correctness of the settings, click Send test data to ProveSource
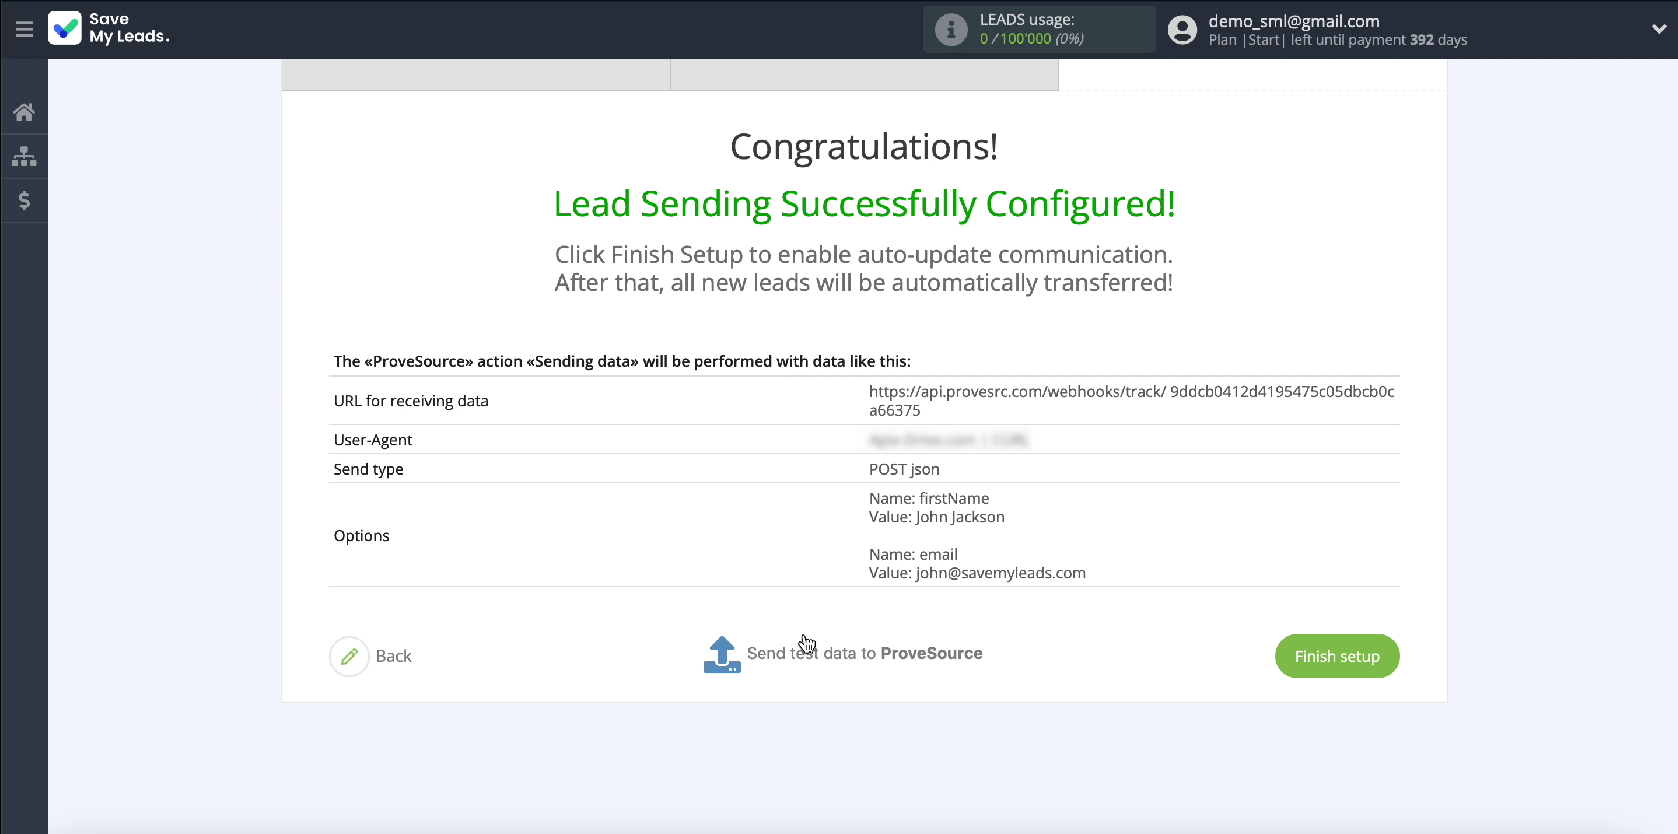
Now go to your ProveSource account, then to the Feed section and check the result.
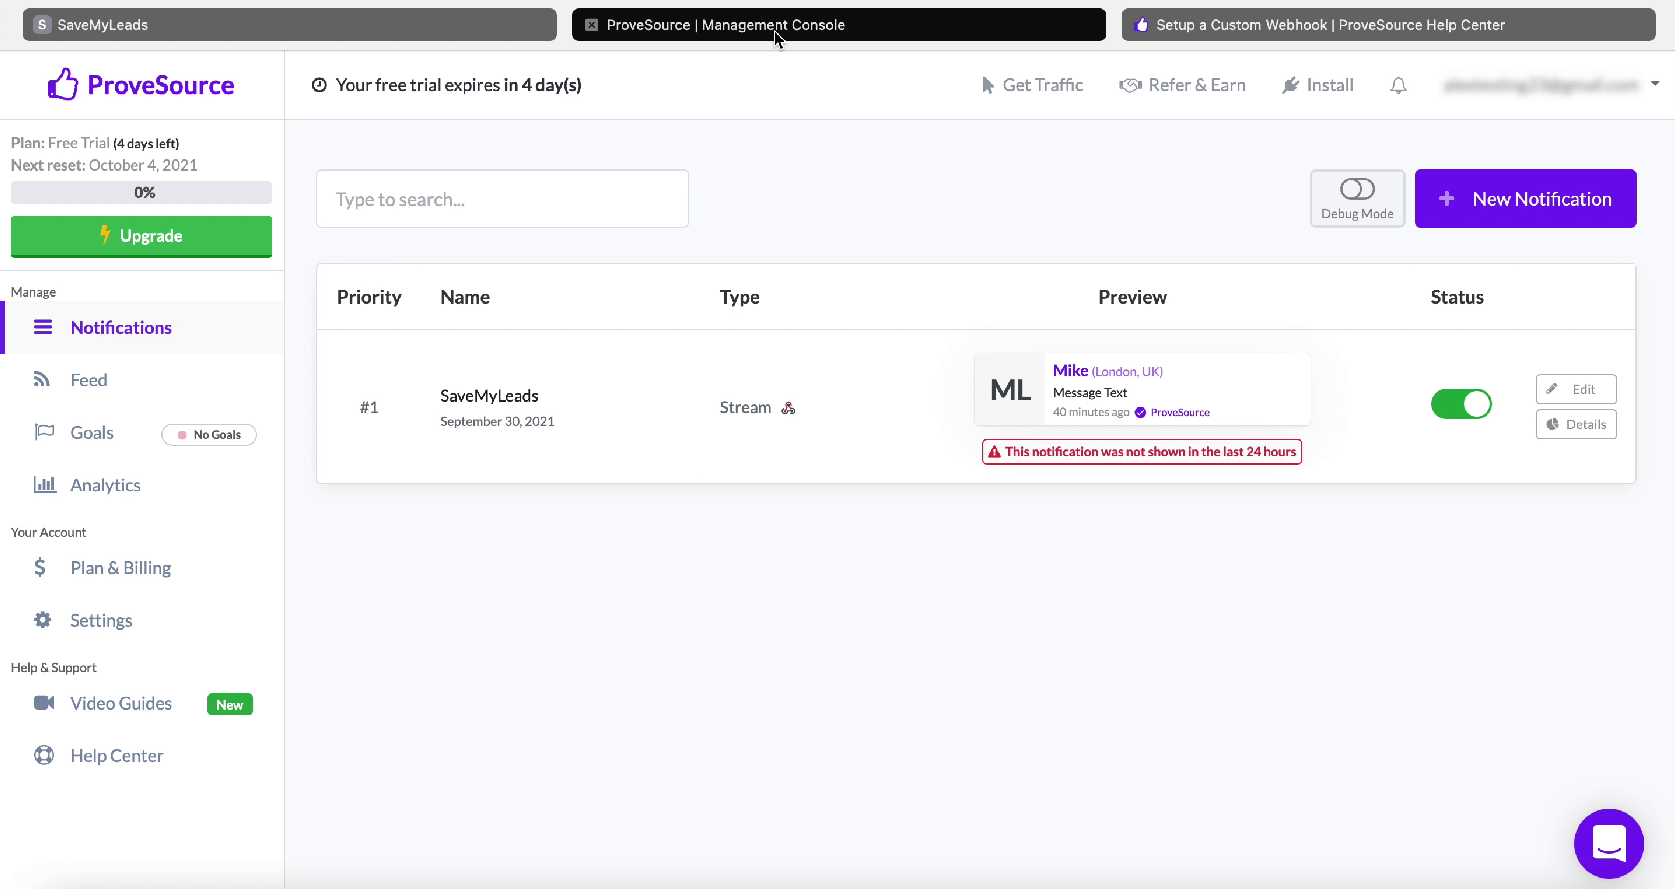
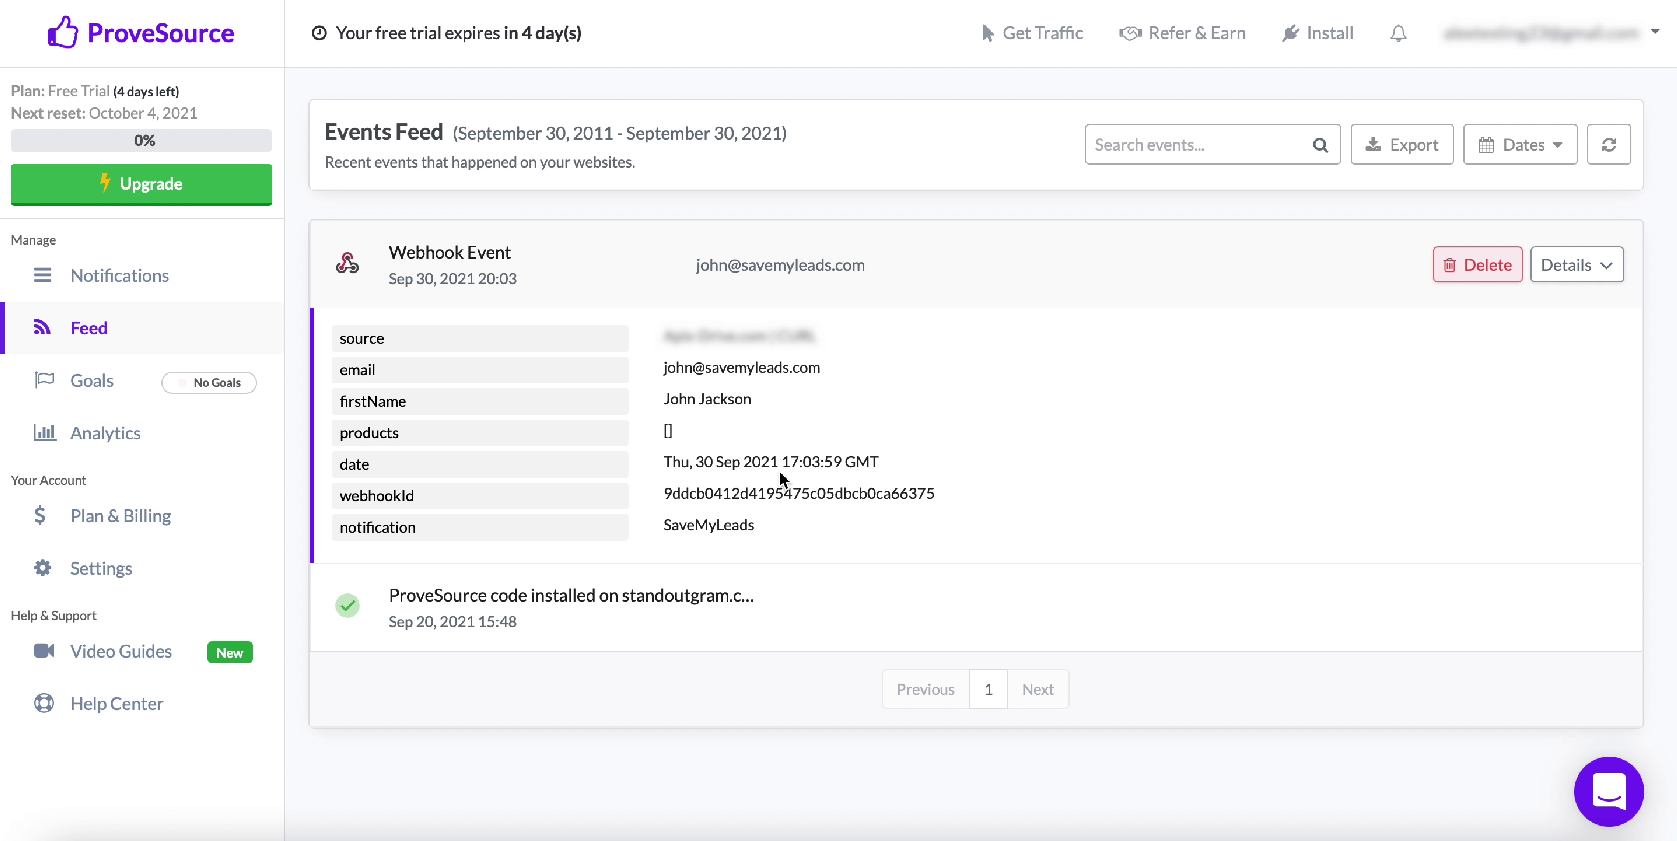
If you are satisfied with the result, return to the SaveMyLeads service tab and complete the settings.
Automate data update
Turn on auto-update so new Facebook leads are instantly sent to ProveSource. To do this, click Finish setup.
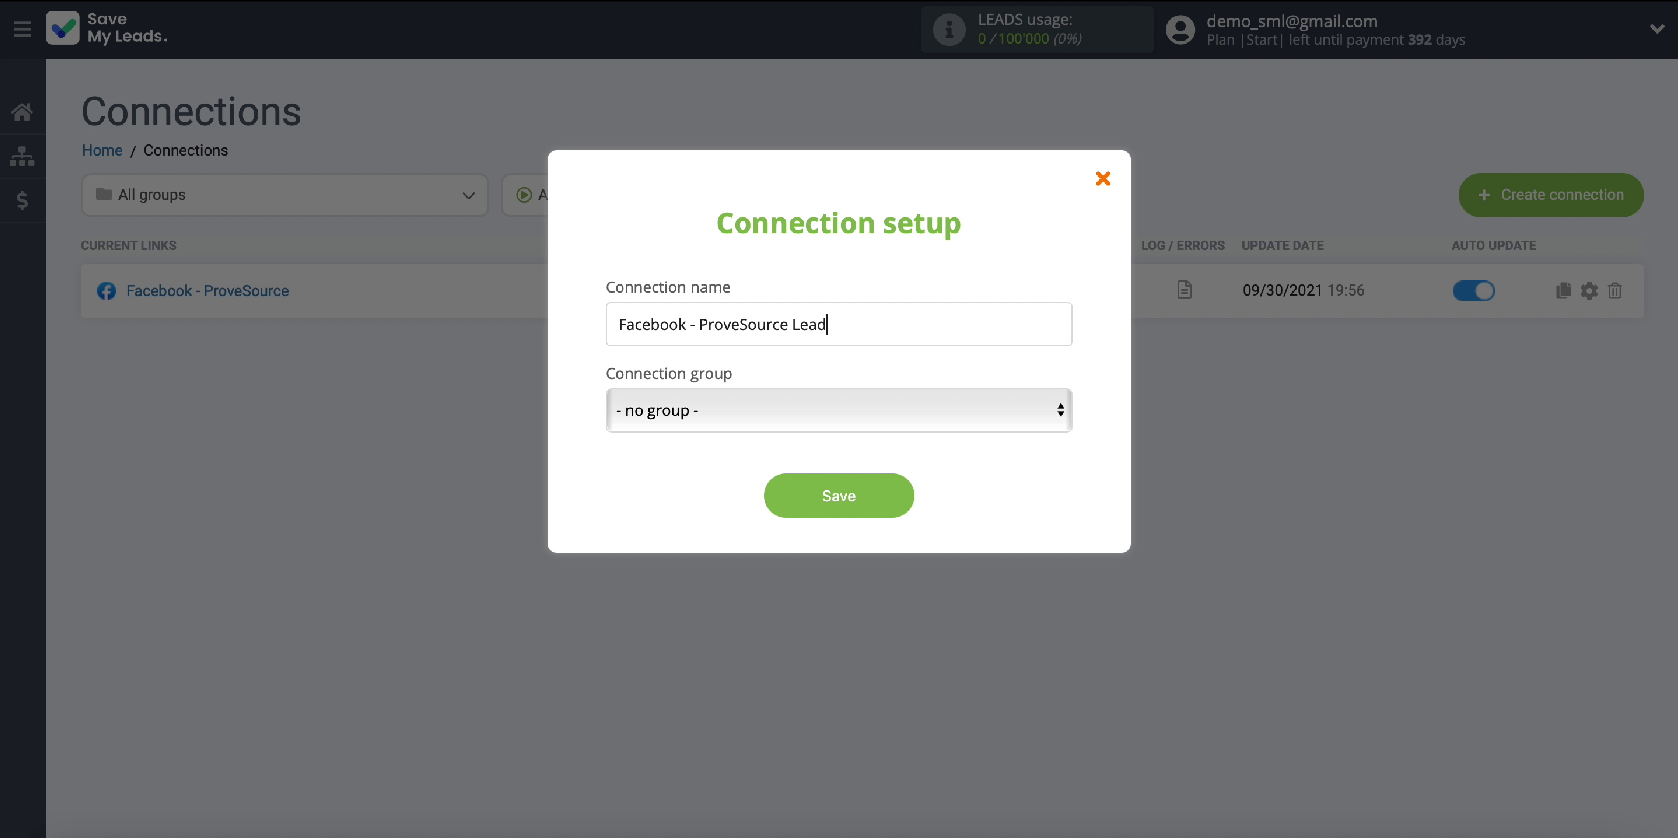
If necessary, you can change the name of the link. To do this, go to its settings.
Conclusion
Setting up the uploading of leads from an advertising account on Facebook to the ProveSource service can be done without the help of IT specialists. Thanks to the intuitive interface of the SaveMyLeads online connector, you can independently integrate the work of various services and systems, for this you do not have to understand the features of the API interface, coding and send REST requests.
