The ClickSend platform offers rich functionality and a simple interface for business communications via SMS, Email, voice messages, MMS, and more. In this article, we'll show you how to set up automatic adding of contacts to the ClickSend service using data from new Facebook leads. The chain of tasks “checking new leads in the FB advertising account - uploading data - creating a contact in ClickSend” will be solved without the participation of a human resource.
Content:
1. How to create a Facebook and ClickSend integration
2. Connect Facebook Lead Ads
3. Connect ClickSend
4. Enable auto-update
5. Result of integration
High-quality communication helps to increase customer loyalty, and is also a necessary component for the successful implementation of marketing strategies. It is important for customers to receive notifications of order confirmation or delivery. It is also useful for the company to maintain constant contact with the client. For example, inform them about new products, remind them about personal discounts or sales. Using the ClickSend service, you can send SMS, Email, MMS. Sending messages and emails is done in just a few clicks, and the simple interface allows you to quickly customize the content of the newsletter.
The speed of processing leads is one of the main factors for high sales conversion. This is true for all lead generation channels, including Facebook Lead Ads. Facebook is a promising platform for building a customer base, and lead forms are one of the simplest and most effective advertising tools. It is important for businesses to remember that a lead received through a social network requires the most efficient processing. The customer should receive prompt feedback. This task can be solved using the ClickSend platform.
The ClickSend service helps provide quick feedback and further communication with leads from Facebook. But in this case, a whole set of regular tasks arises. It is necessary to check the Facebook advertising account, upload leads, add new contacts to ClickSend lists. Of course, if you have only a few leads per day and processing speed is not critical, then all these tasks can be done manually. But what if you have dozens or hundreds of leads every day. In this case, the work of transferring data from Facebook to ClickSend becomes much more complicated. It also increases the chance of missing a lead. However, if you create an integration between Facebook and ClickSend, then the process of converting Facebook leads into ClickSend contacts can be fully automated.
How to create a Facebook and ClickSend integration
If you link Facebook Lead Ads and the ClickSend platform, you can set up automatic data transfer from one system to another. There will be no need to regularly upload information on leads and manually transfer them to mailing lists. To create a Facebook and ClickSend integration to automate your workflow, you will not need the services of programmers. You can quickly and easily connect two services using the SaveMyLeads online connector.
SaveMyLeads is a cloud-based no-code tool with which anyone can create integrations to automatically transfer leads from Facebook to other systems. The online connector offers a simple interface and an extremely clear workflow. The Facebook and ClickSend integration is set up in just a few minutes.
Connect Facebook Lead Ads
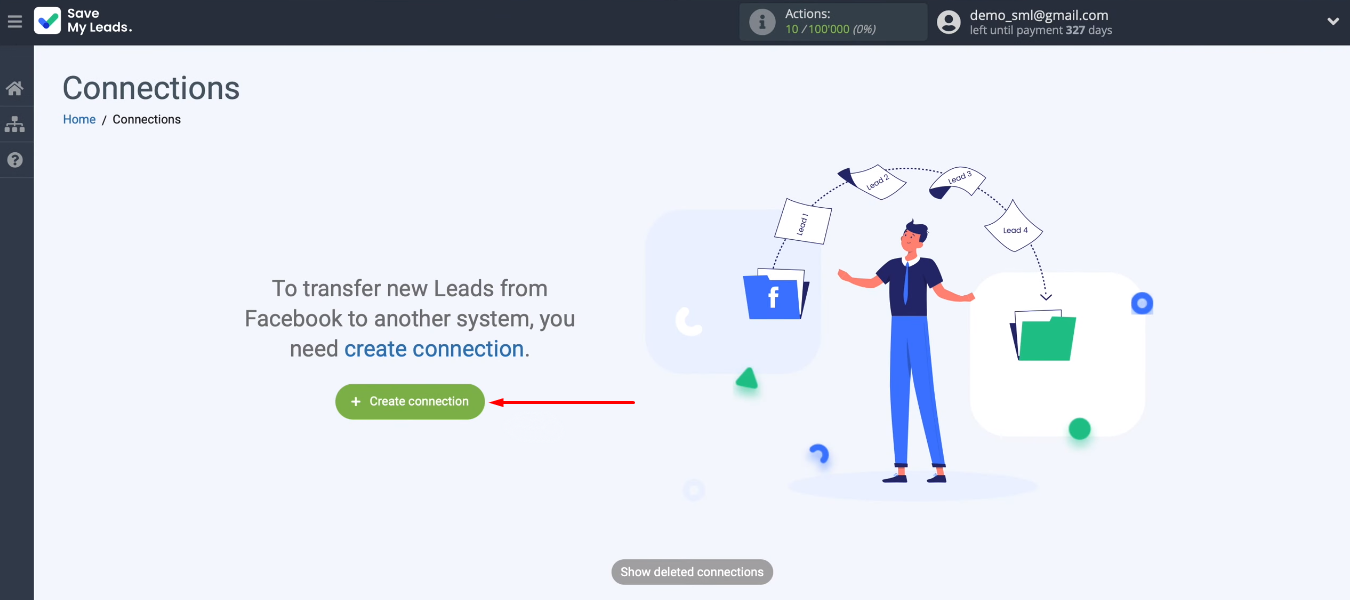
To start working with the SaveMyLeads service, you need to go through a standard registration. Create a new connection in your personal account.
You need to choose one of the ready-made customization templates. We are interested in automatically adding contacts to the ClickSend service, so select the appropriate template.
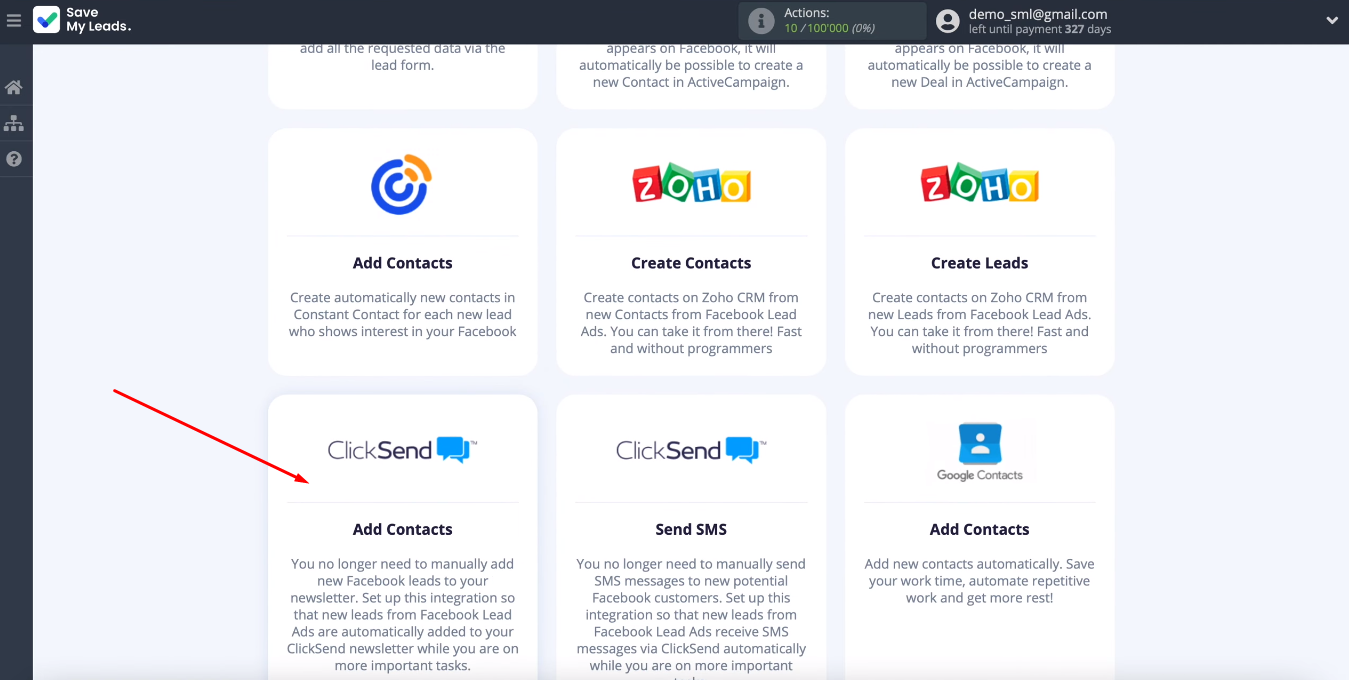
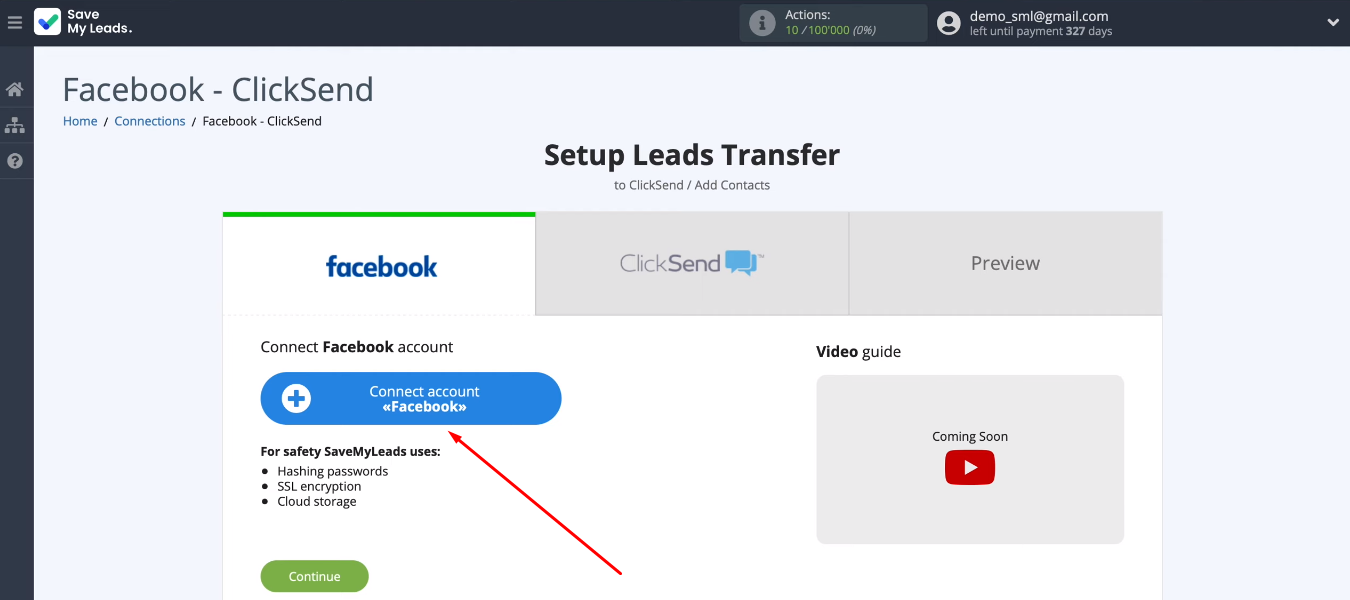
The first step is to connect your Facebook account to the SaveMyLeads system.
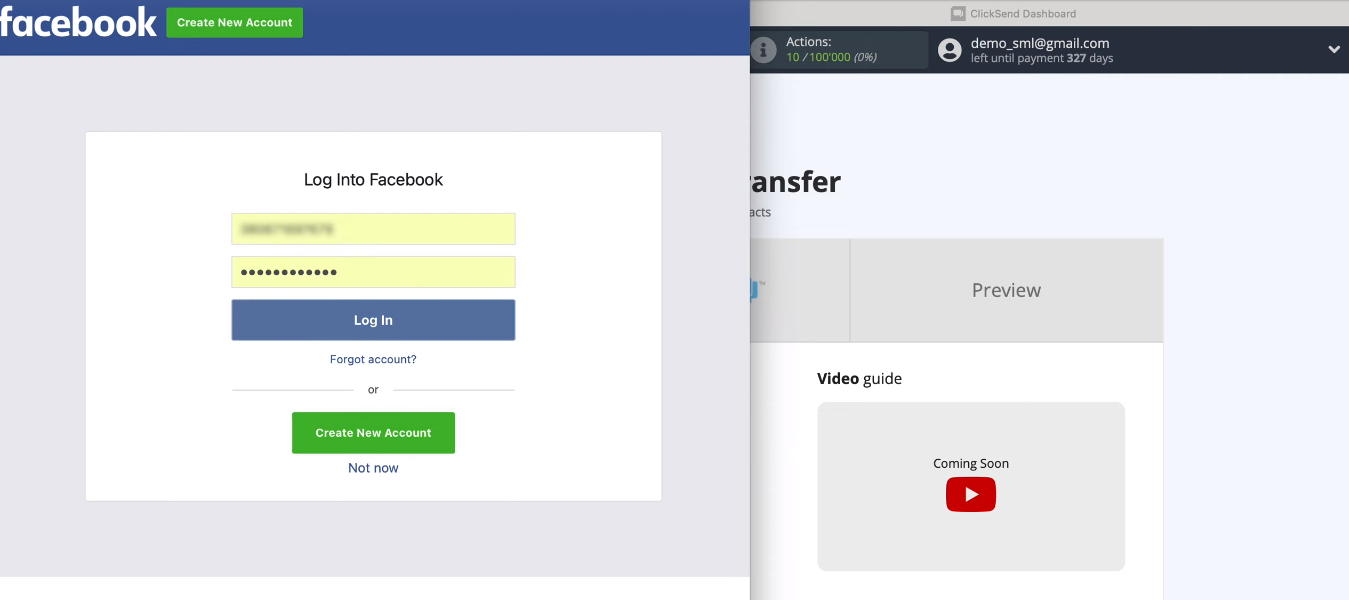
Get authorized on Facebook.
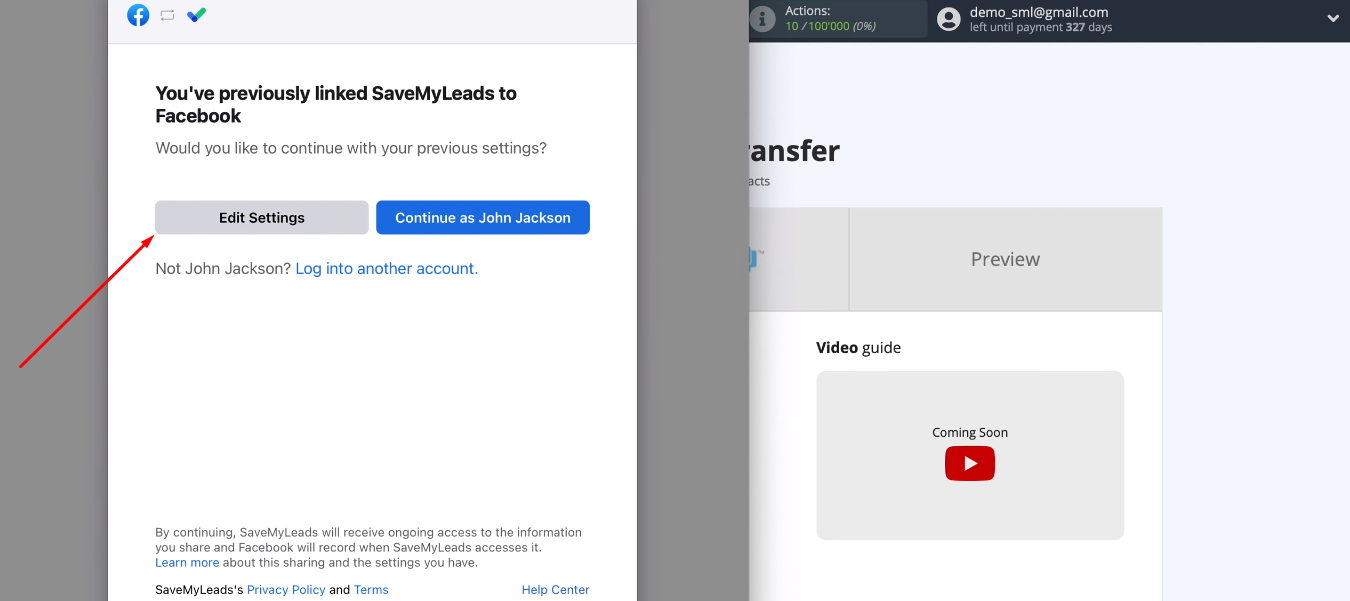
Let's go to the settings.
At this stage, we see the advertising pages that we have access to. We need to select those for which it will be possible to configure the unloading of leads. It is possible to check the “Select All” box and select all pages at once.
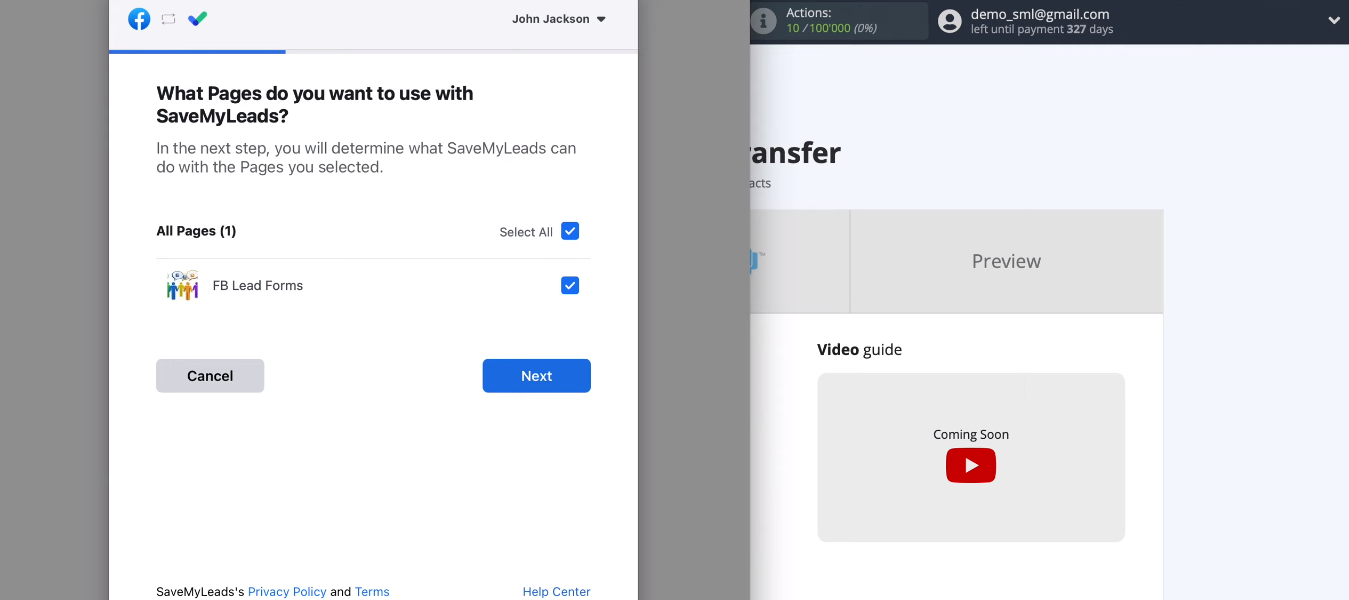
Provide access to the SaveMyLeads service to work with FB Lead Forms.
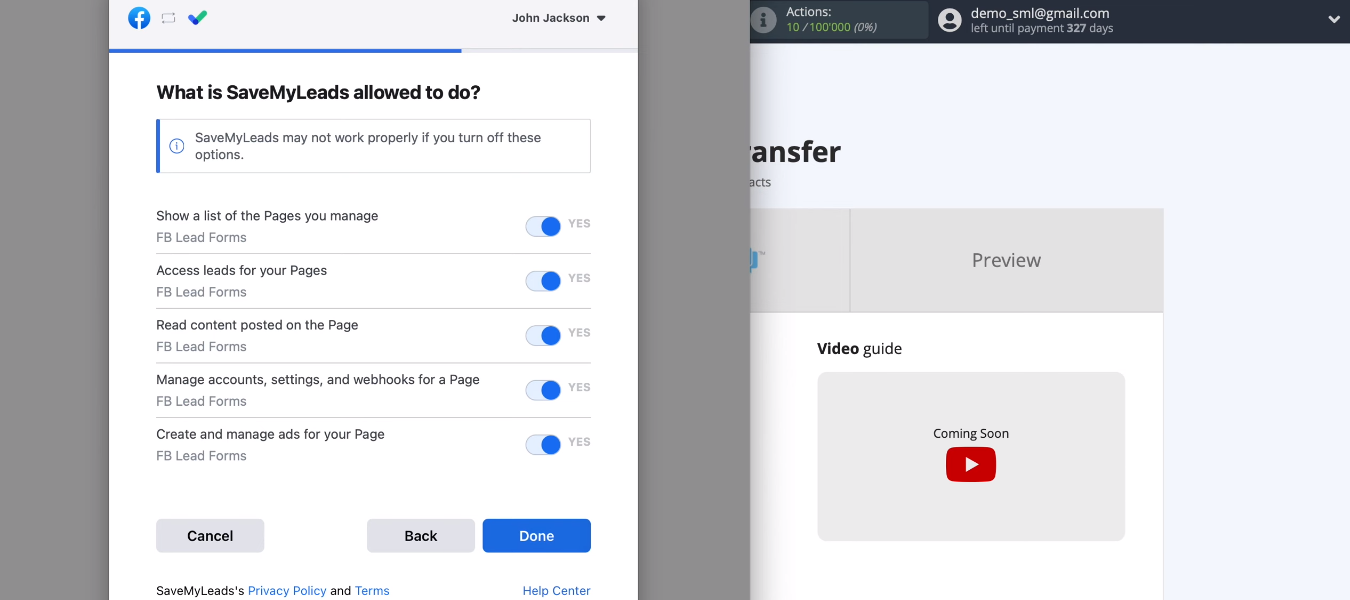
We linked the FB account and the SaveMyLeads system. Let's continue setting up the data source.
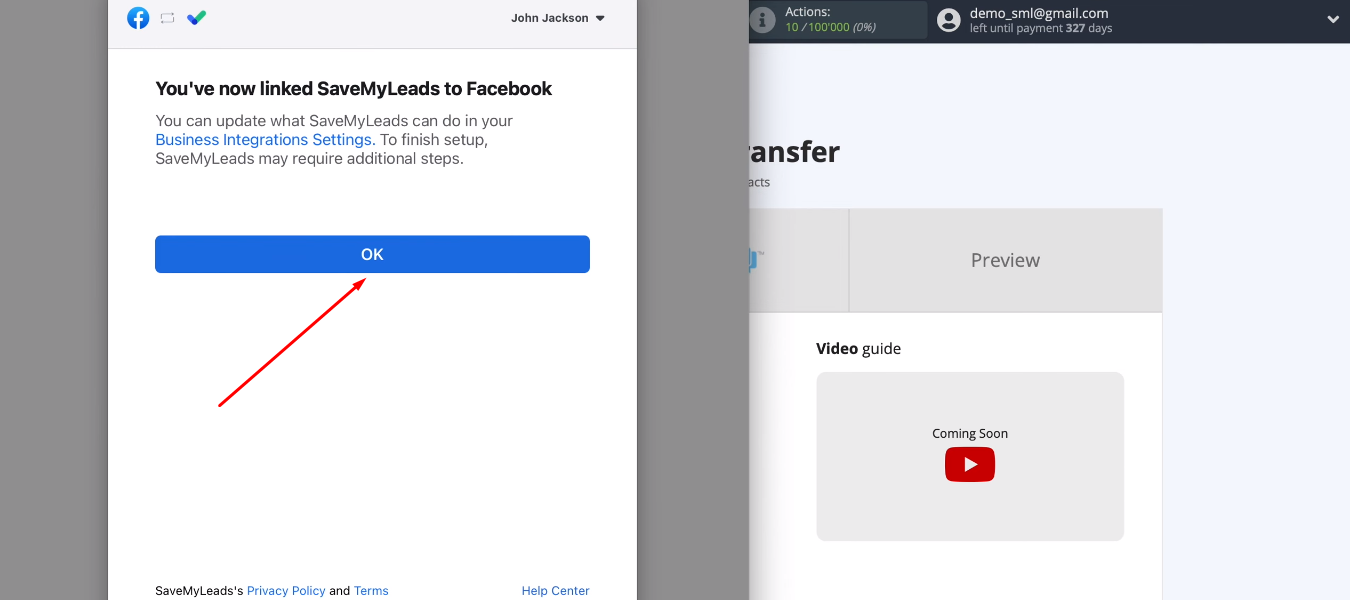
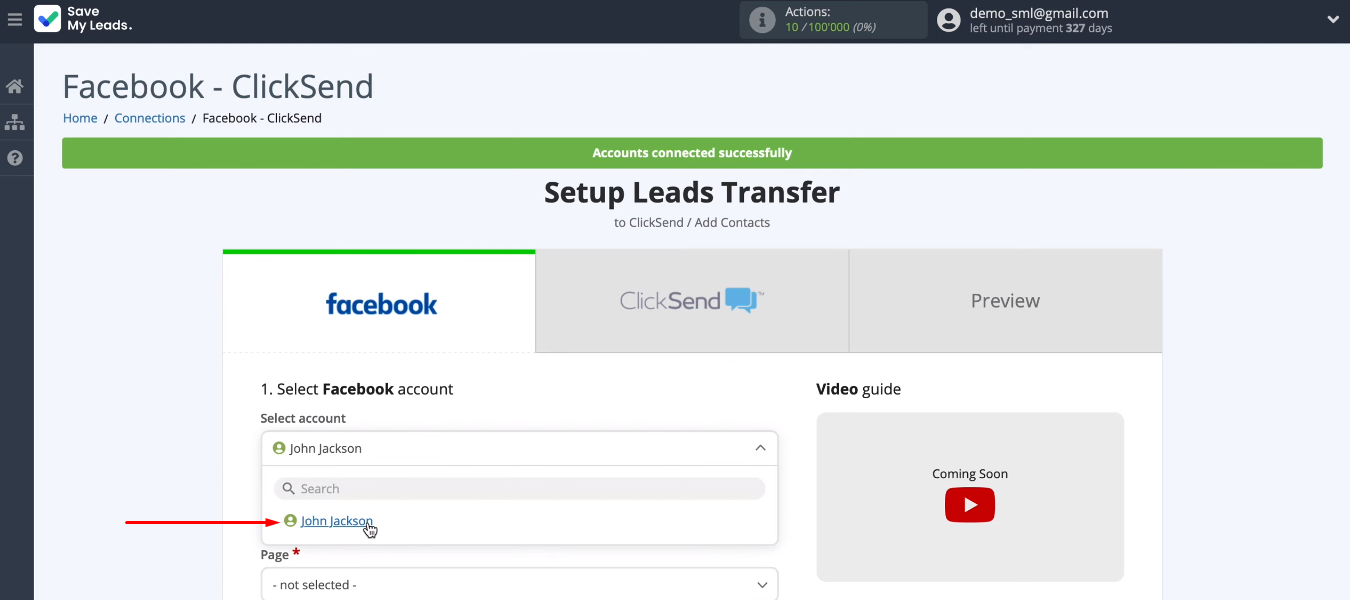
Our added account appeared in the list of available accounts. Select it.
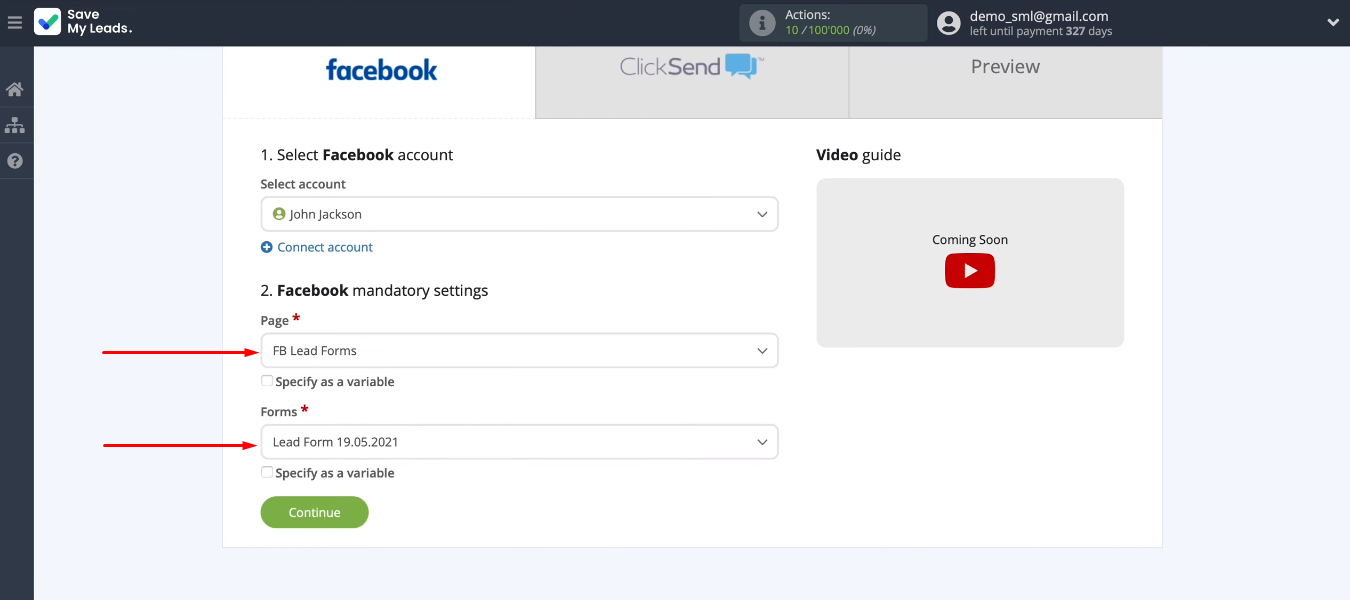
Define an advertising page and a lead form, according to which we will receive new leads. If you want to work with multiple advertising pages or forms, you must create several connections. When the advertising page and lead form are defined, click “Continue”.
Connect ClickSend
Now let's start configuring the receiver — the ClickSend platform. Let's connect the ClickSend account to the SaveMyLeads system.
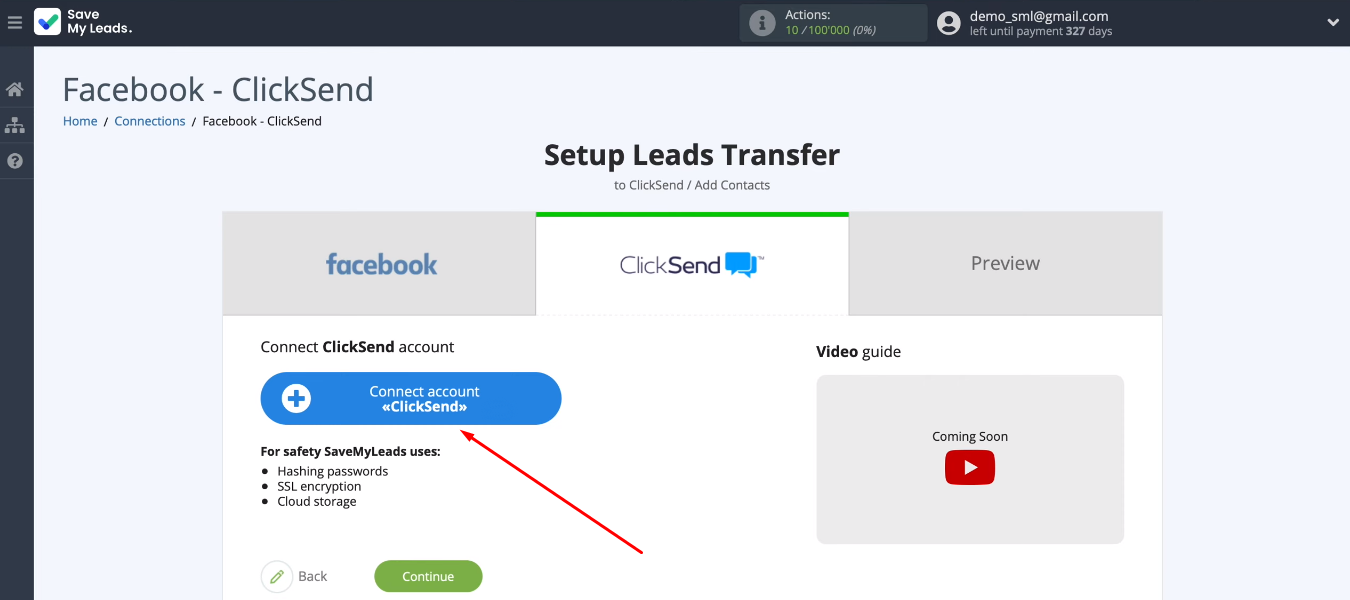
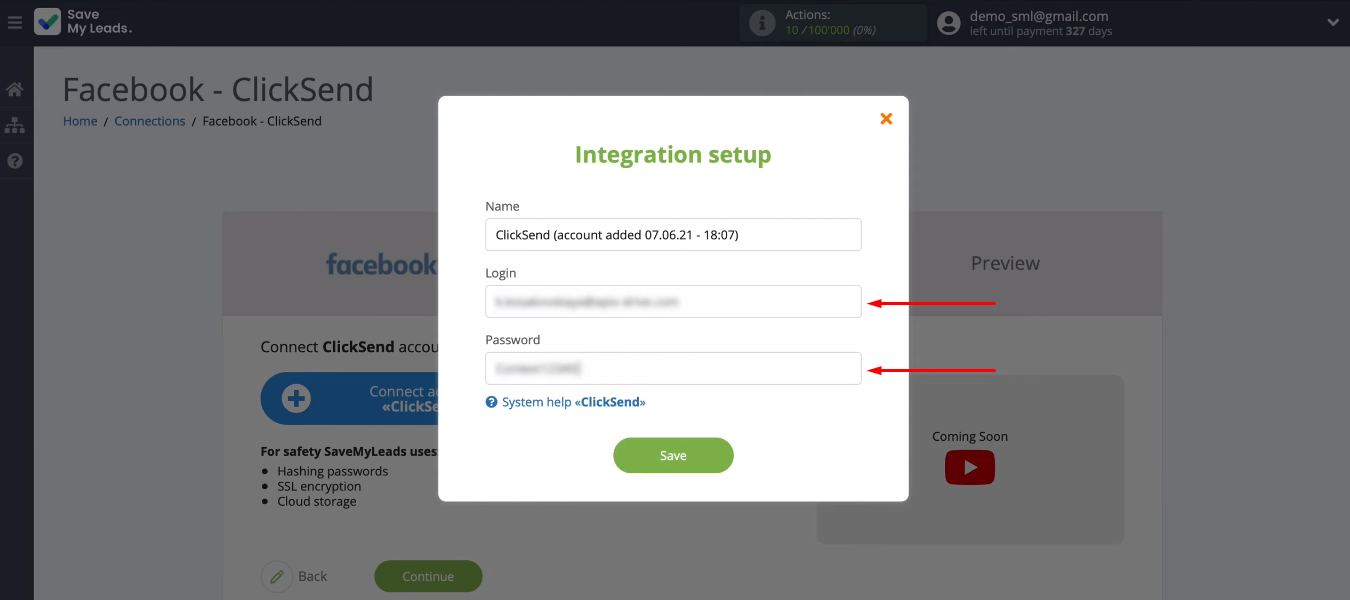
We need to specify the login and password for the ClickSend personal account. Then click "Save".
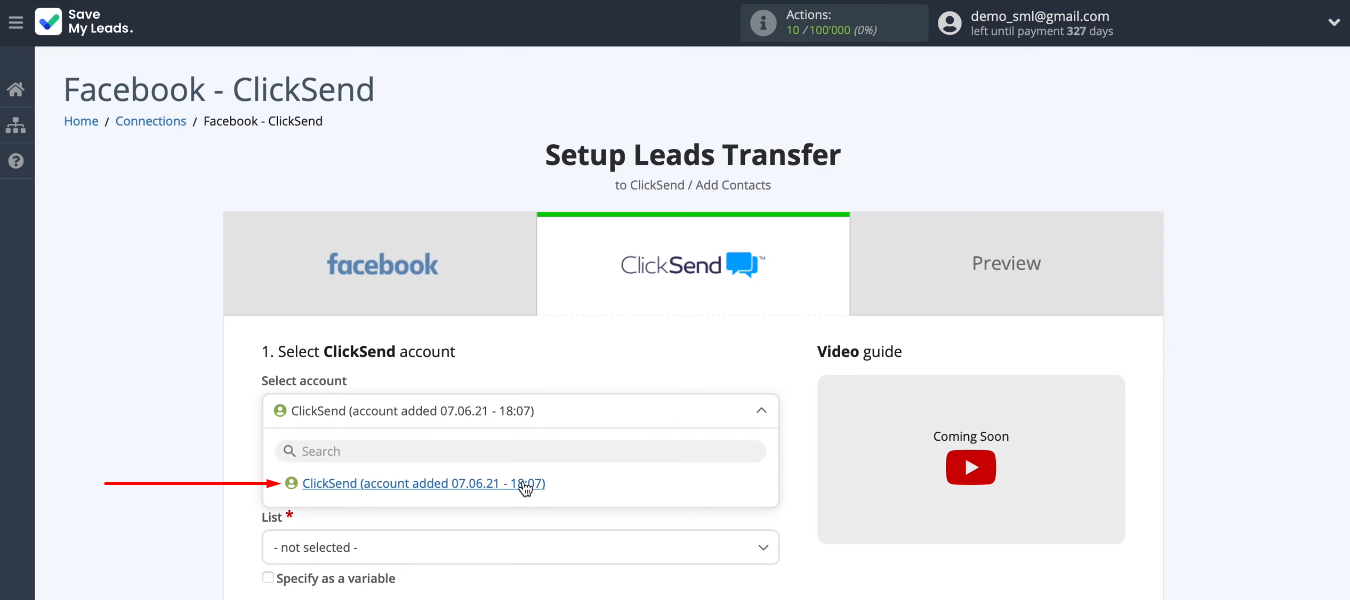
The account is added. Select it.
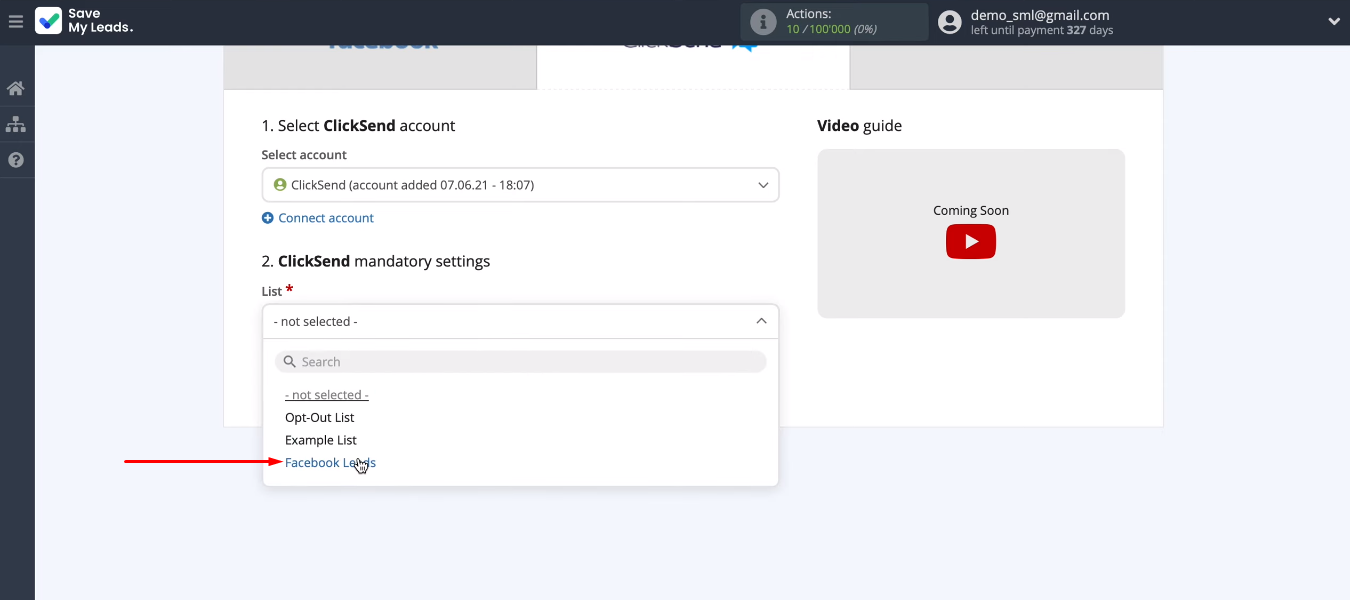
Select the list to which new contacts will be added on the ClickSend side.
Now we have to decide on the content of the fields for creating a ClickSend contact. The system offers preset values. If the default option is suitable, you can proceed to the next configuration step. To define the contents of the field yourself, you need to click in it and select the appropriate variable from the drop-down list.
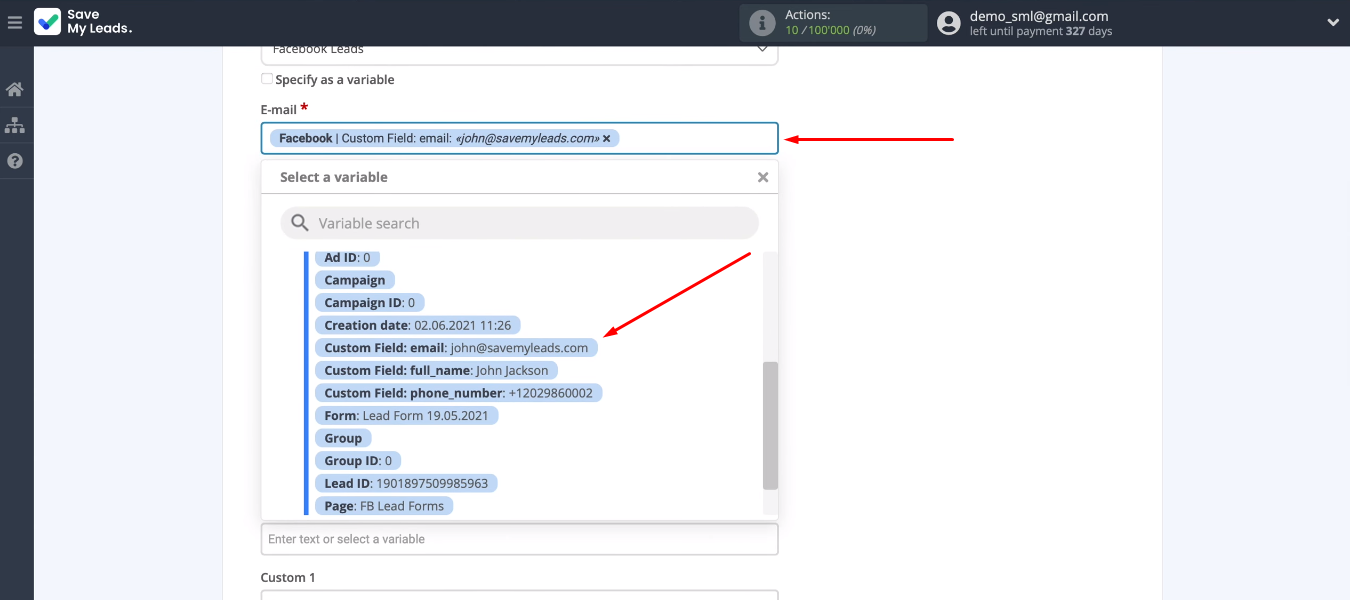
When the content of the fields is configured, click “Continue”.
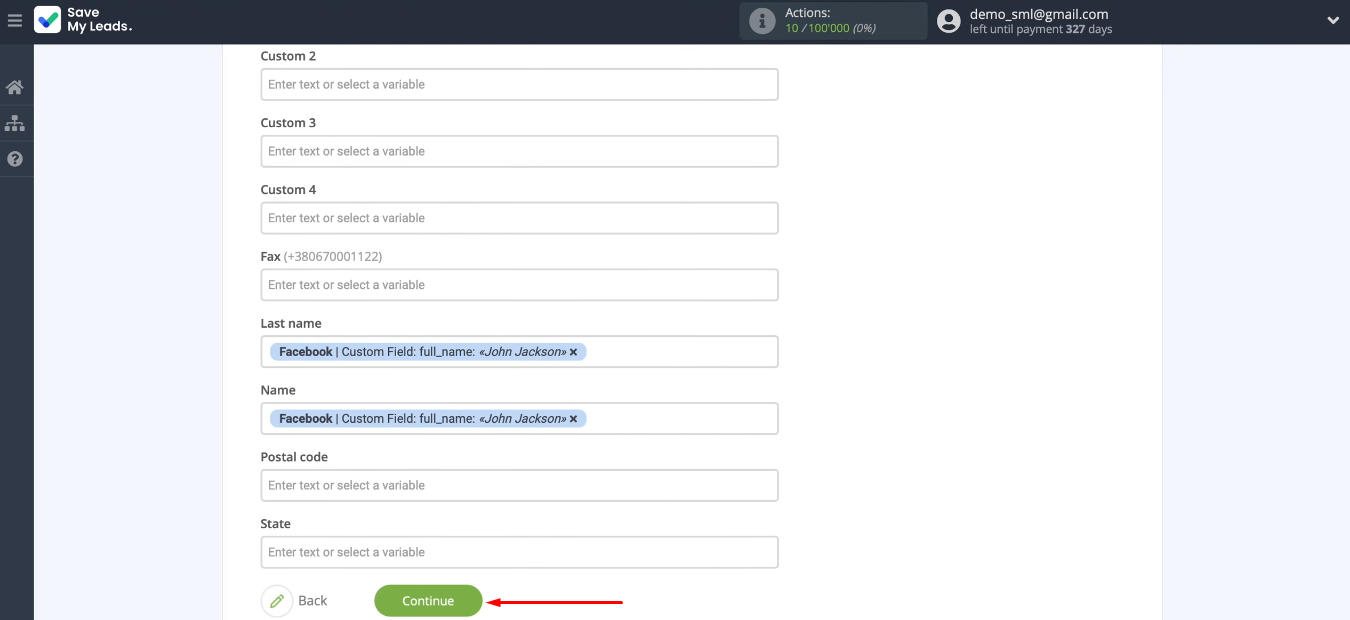
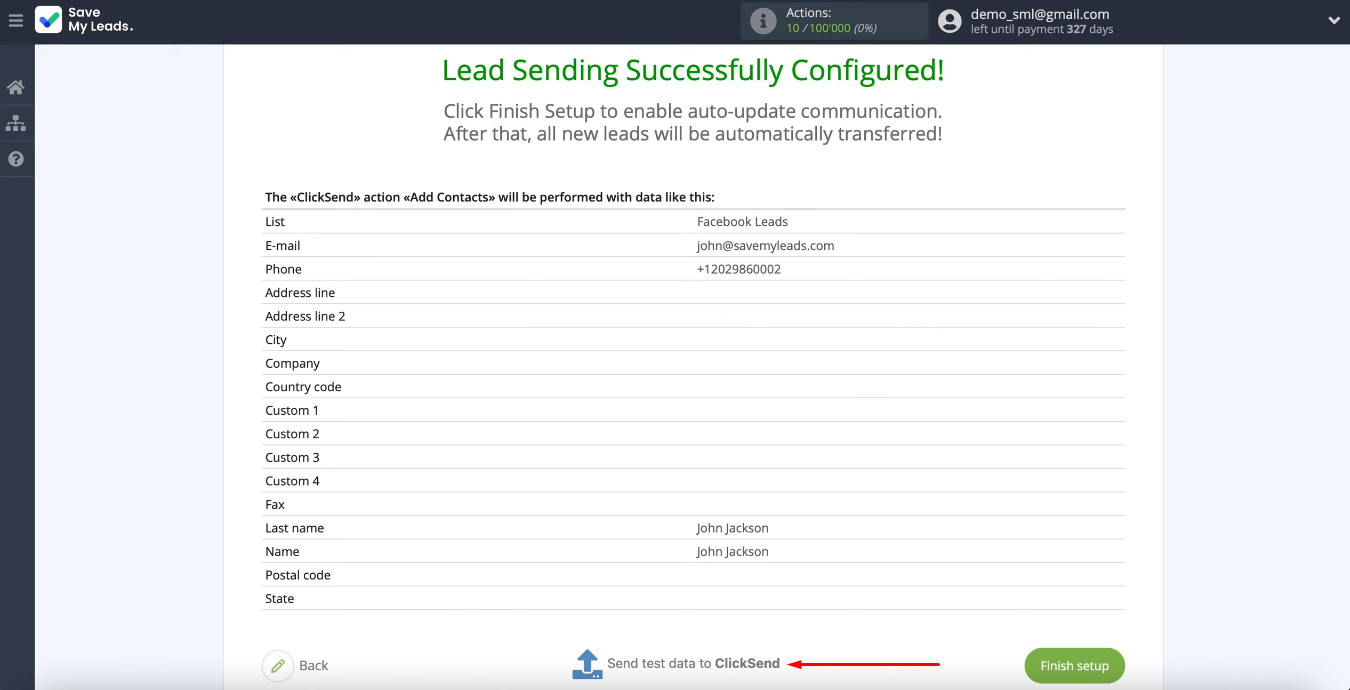
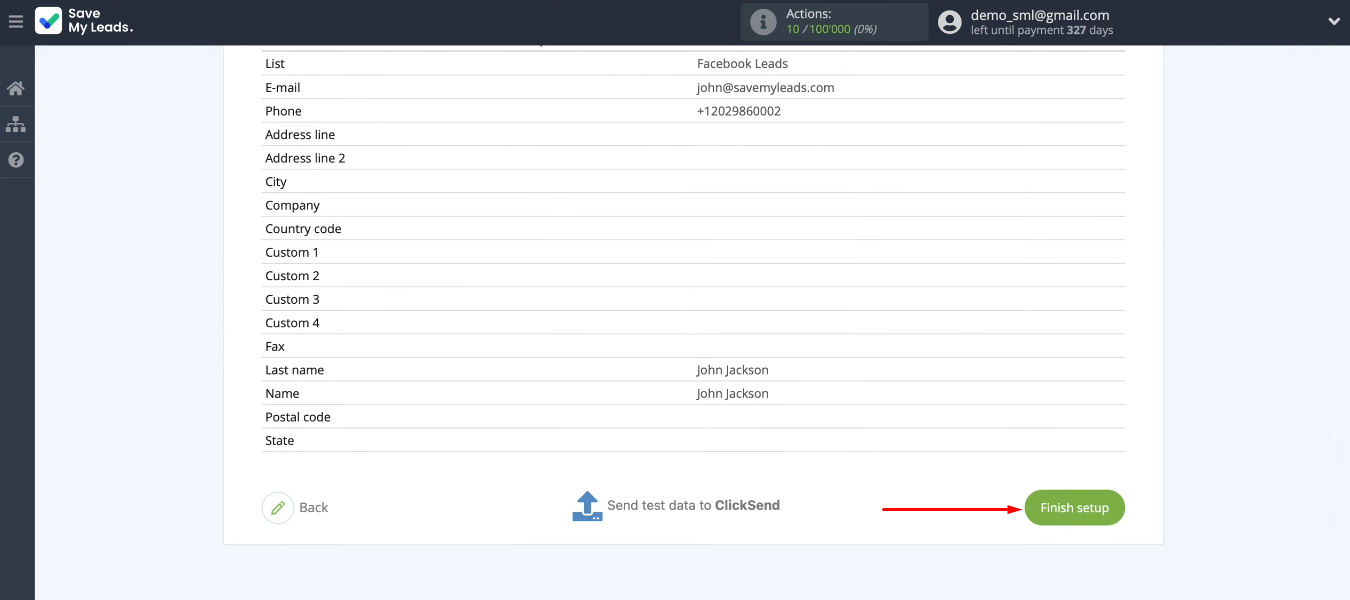
We see an example of the data that will be passed to the ClickSend platform to create a new contact. Click “Send test data to ClickSend”.
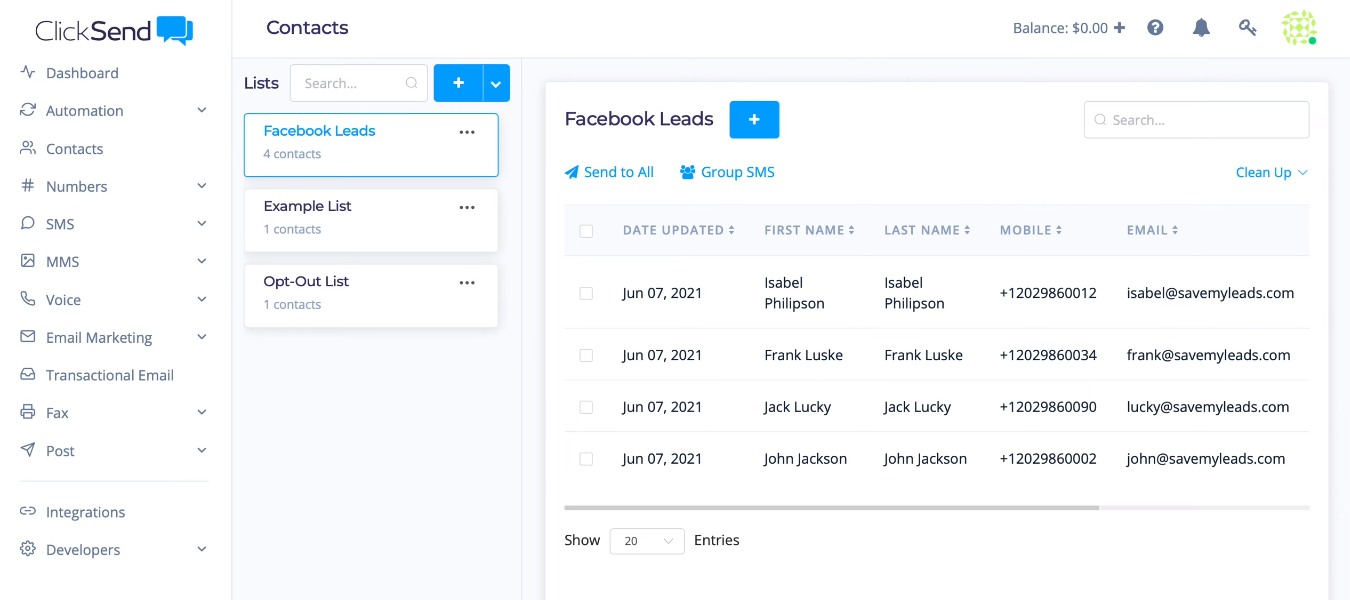
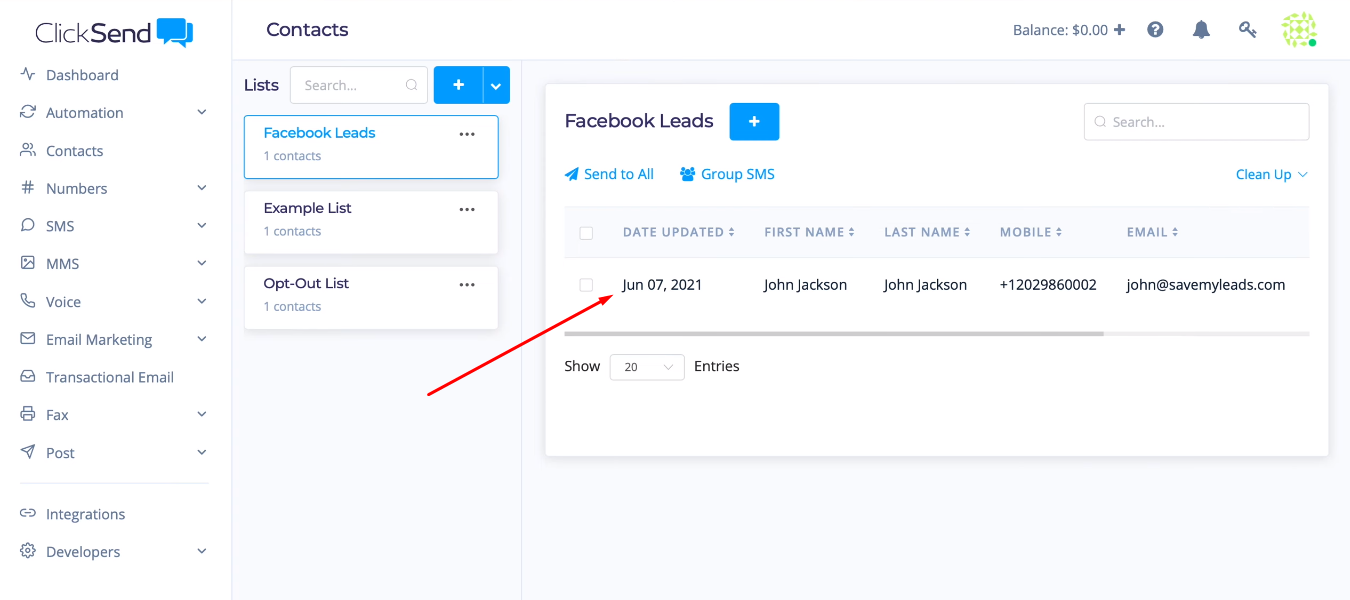
Go to your ClickSend personal account and make sure that the test contact has been successfully added.
Enable auto-update
In order for each new Facebook lead to be automatically submitted to the ClickSend service, we need to enable auto-update. Return to the SaveMyLeads workspace and click “Finish setup”.
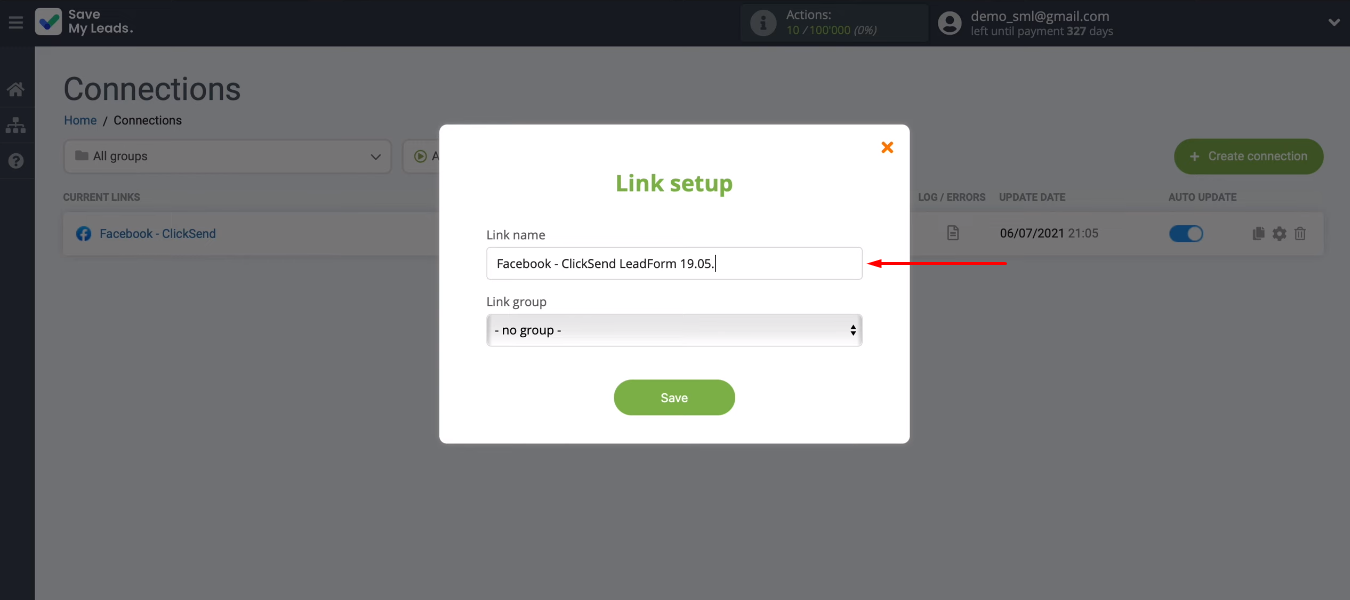
We can change the connection name. To do this, go to the link settings and specify your value in the “Link name” field.
Result of integration
We linked Facebook Ads and the ClickSend platform. The result of the integration is automatic verification and uploading of new Facebook leads as a contact in the ClickSend list. Now data on new leads from the social network quickly gets into the business communications platform. In this case, the human resource is not used. All routine work is controlled by the SaveMyLeads online connector.
SaveMyLeads is a simple tool that helps you improve the quality and speed of processing Facebook leads. Integration of the FB advertising account with different systems allows you to automate data synchronization and other business processes. With the SaveMyLeads service, everyone can get rid of routine operations and redirect their efforts to more important tasks.
