Wide functionality, advanced technologies, excellent user interface and the ability to create custom solutions have made Salesforce one of the most popular CRM systems. In turn, Facebook Lead Ads is one of the most popular lead generation tools. In this article, we'll show you how to set up automatic data transfer from your Facebook ad account to your Salesforce CRM system.
Content:
1. How to set up Facebook and Salesforce integration
2. Connect Facebook Lead Ads account
3. Connect Salesforce CRM account
4. Turn on auto-update
5. Conclusion
The Salesforce platform offers a full range of products for managing sales, implementing marketing strategies, organizing teamwork, conducting analytics, customer service, and more. This is a multifunctional system that allows you to create an optimal working environment and deploy individual solutions for specific business tasks.
Salesforce is one of the most popular and functional services in its niche. A large number of companies choose this platform as a comprehensive CRM solution. Salesforce allows you to host various workflows in one system, which positively affects both the productivity of employees and the efficiency of the business as a whole.
Salesforce offers a wide range of functionality for processing orders, communicating with customers, promoting deals through the sales funnel, and tracking statistics. If the Facebook Lead Ads lead generation tool is used in conjunction with Salesforce, then the task of synchronizing data between these systems arises. Lead forms help collect orders and contacts through social networks. The received data must be quickly transferred to the CRM system in order to increase the speed and efficiency of lead processing. Facebook and Salesforce integration provides automatic data transfer to CRM. New Facebook leads “turn” into Salesforce contacts without the involvement of a manager or marketer.
How to set up Facebook and Salesforce integration
To connect the Facebook ad account and the Salesforce platform, we will use the SaveMyLeads service. SML is a no-code tool for setting up automated transfer of leads from Facebook to other systems. Data can be sent to CRM, Email and SMS marketing platforms, messengers, Google services, etc. The SaveMyLeads system monitors the appearance of new leads on Facebook, uploads the necessary data, and transfers them to the receiving system. In our case, Salesforce CRM acts as a receiver, where contacts will be created based on the completed lead forms.
SaveMyLeads is a simple workflow automation tool. Anyone can create the desired integration and get rid of routine tasks. Communication is configured through a web interface, no special knowledge, let alone the involvement of programmers, is required. Now we will take a detailed look at how to create and activate the Facebook and Salesforce integration.
Connect Facebook Lead Ads account
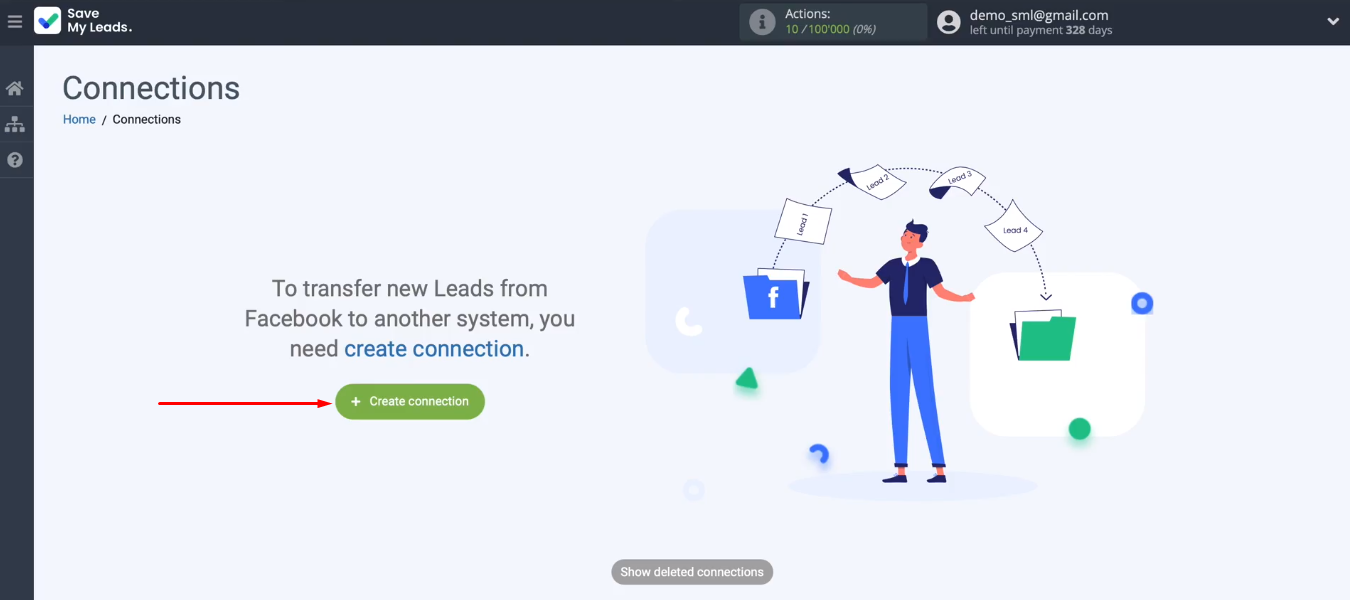
First, we need to go through the standard registration on the savemyleads.com website. Now let's start configuring the integration. Create a new connection in the SML personal account.
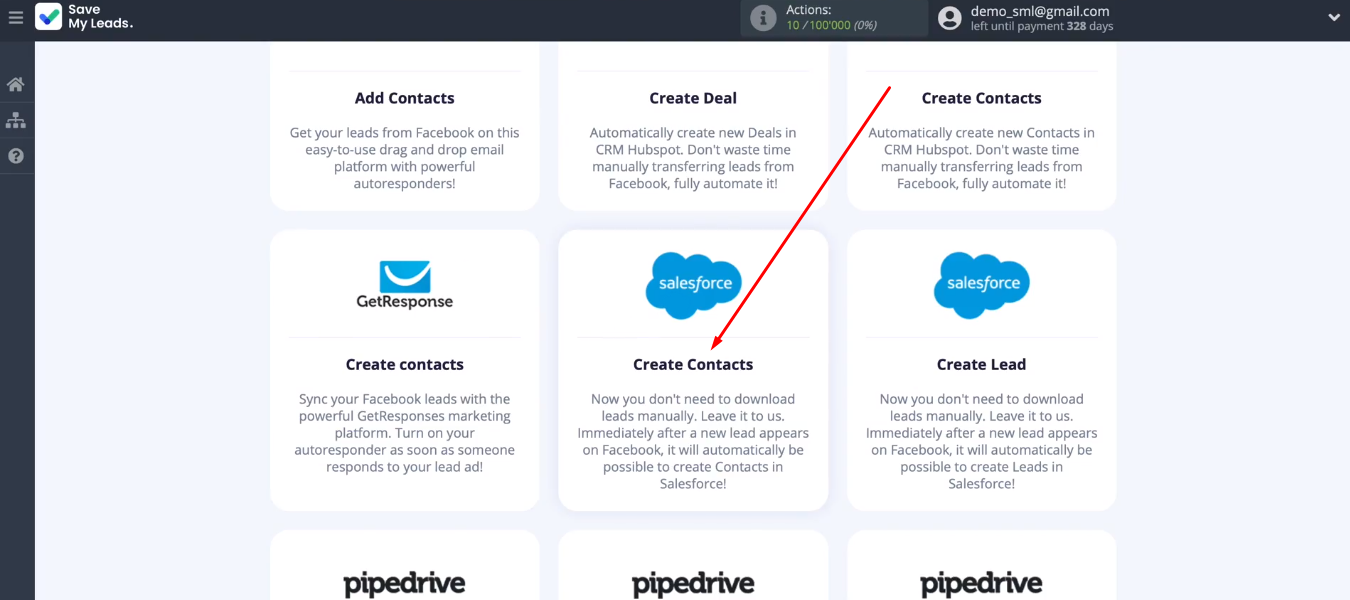
Choose the appropriate customization template — Salesforce (Create Contacts).
Connect the Facebook account to the SaveMyLeads service.
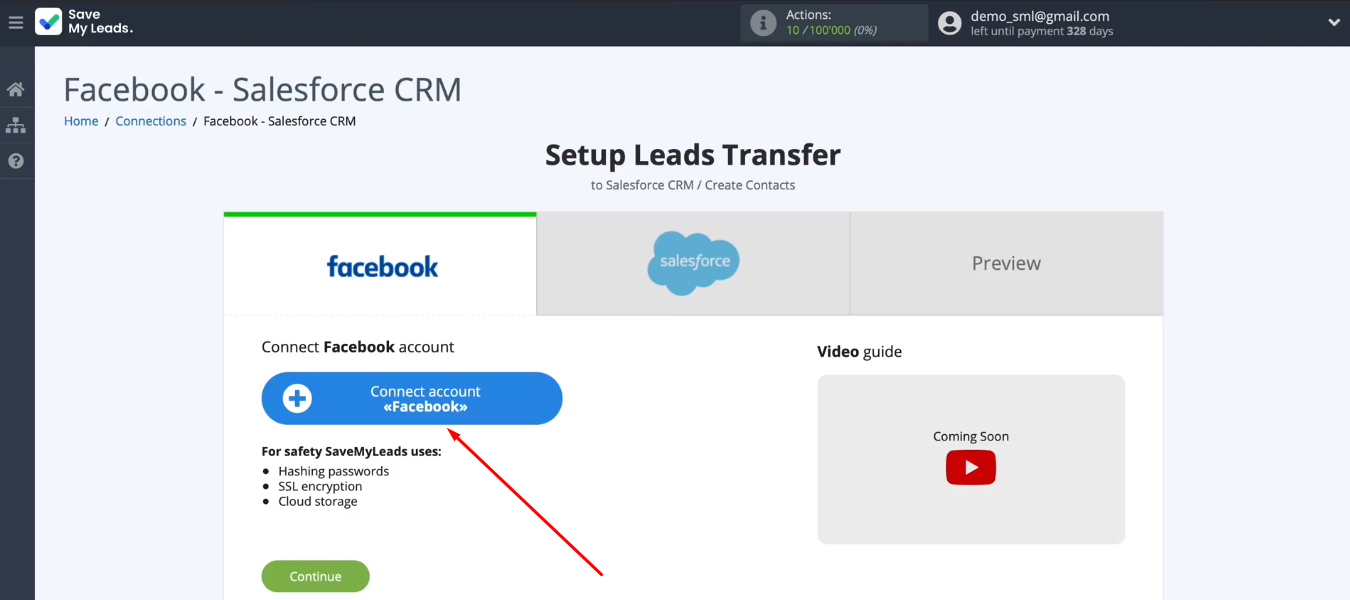
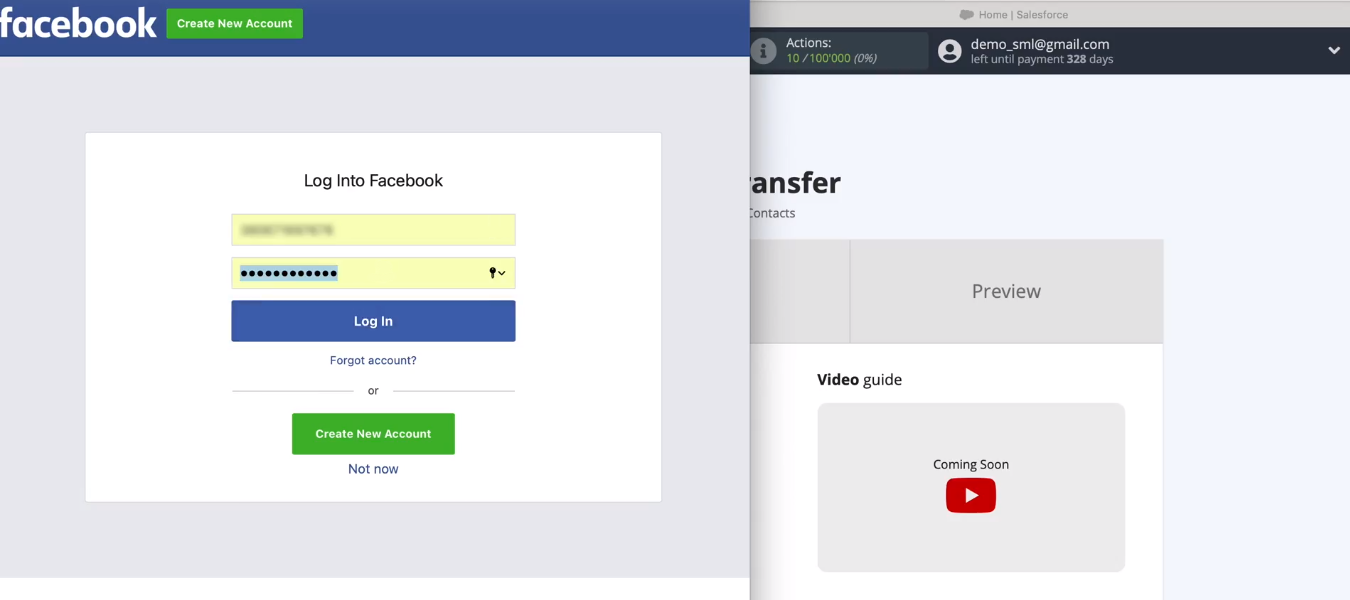
Login to FB.
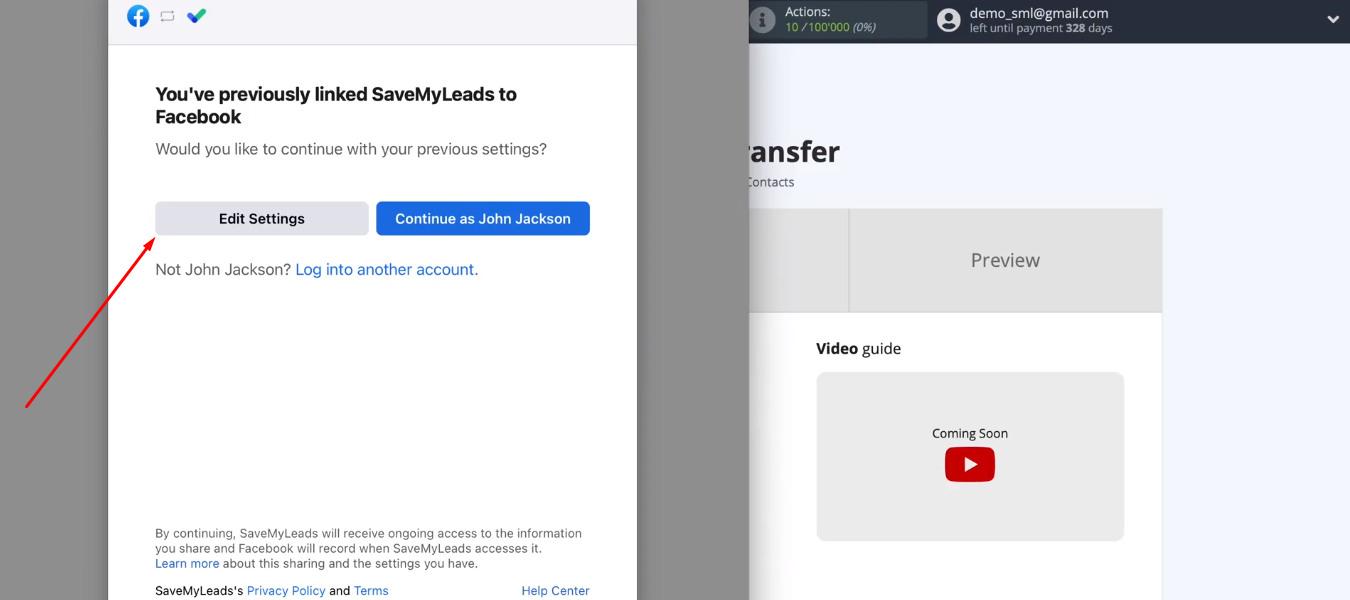
Click "Edit Settings".
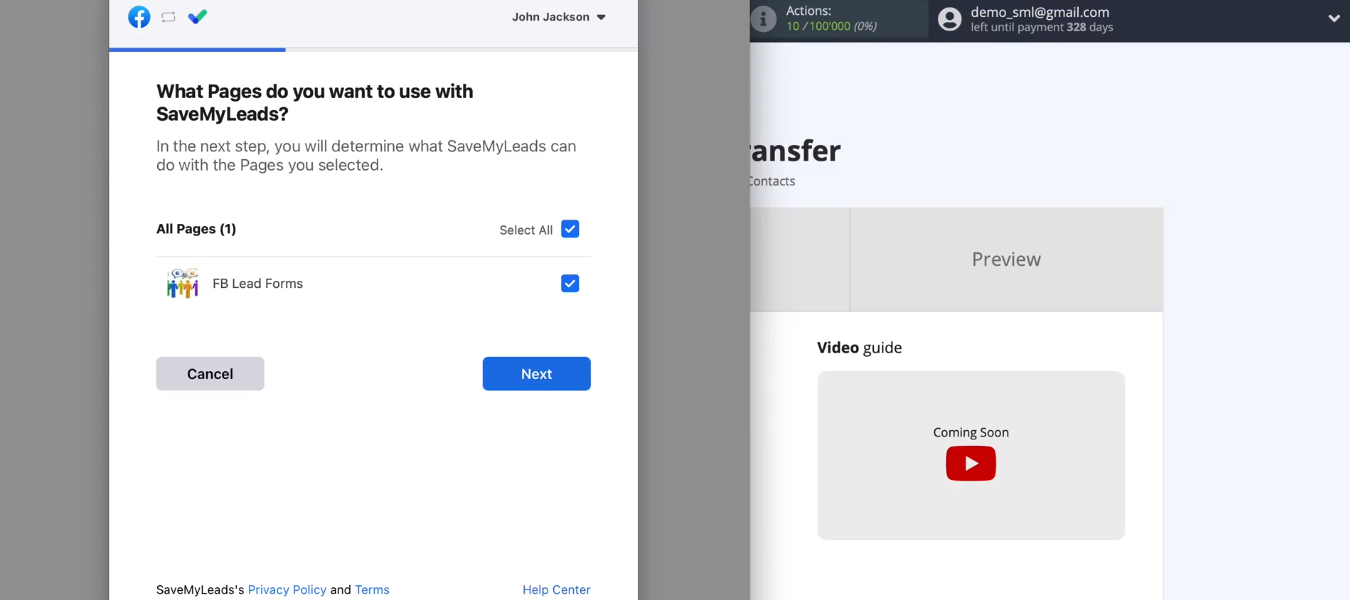
Select advertising pages for which we will be able to set up the unloading of leads in the future. We recommend marking all available pages at once.
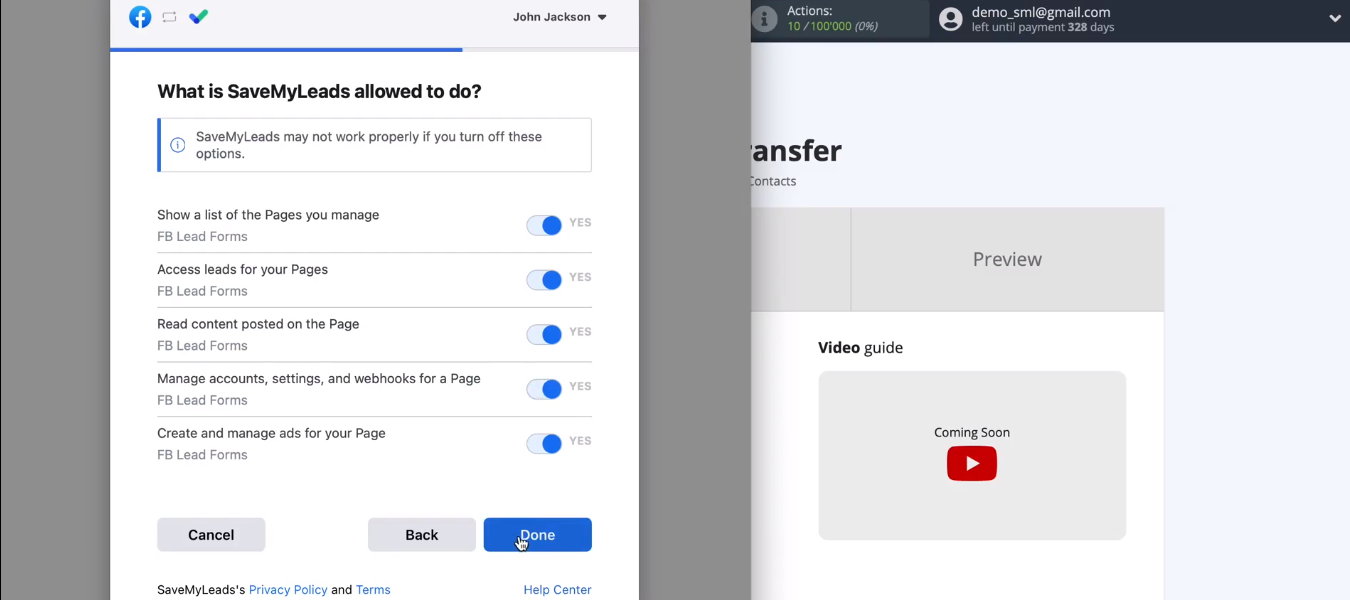
In the next window, leave all the access checkboxes enabled.
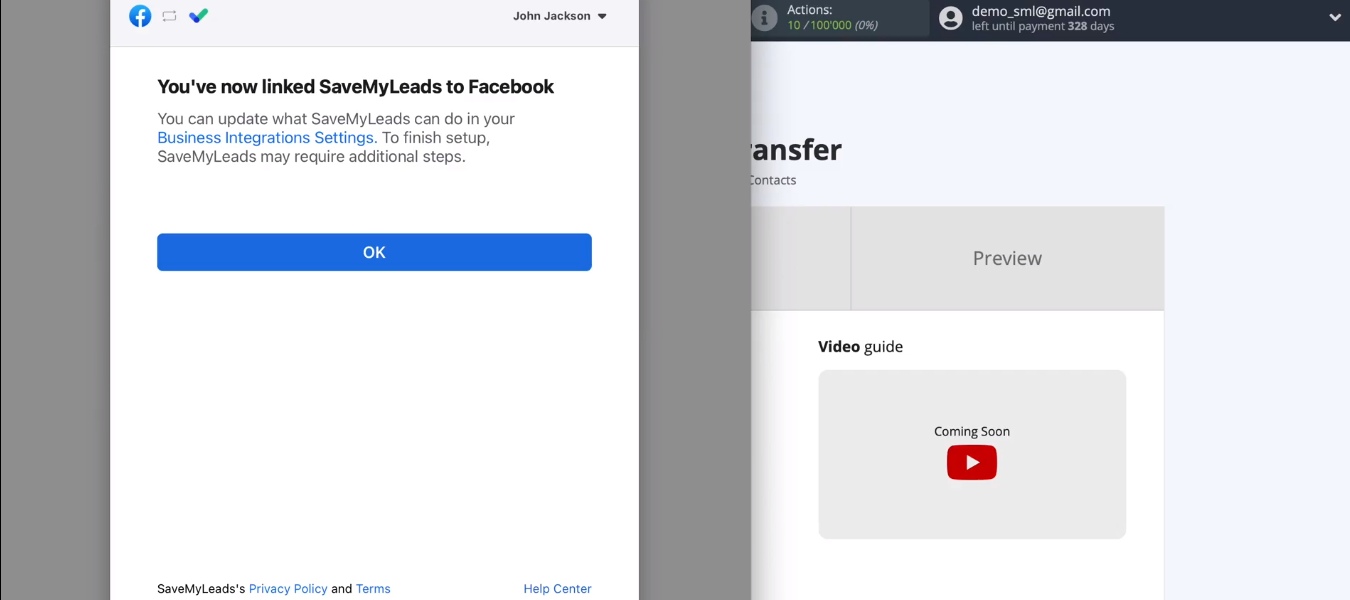
We have added an FB account to the SaveMyLeads system. Click “OK” and continue working with the data source.
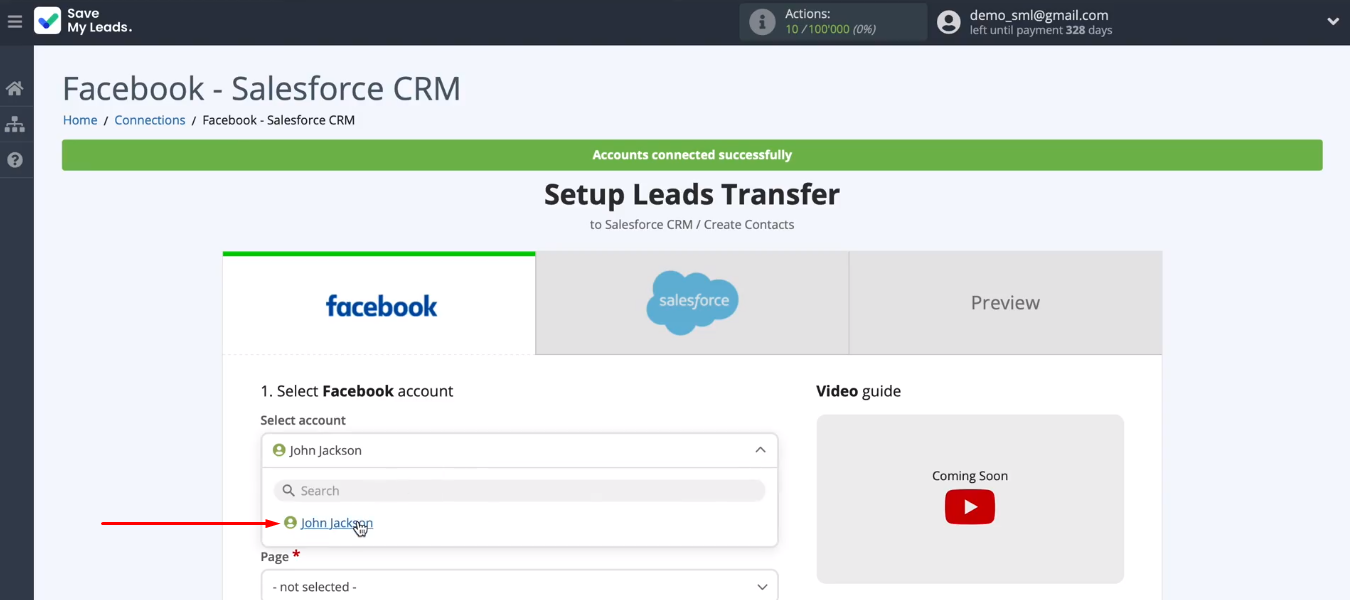
Select our FB account from the list.
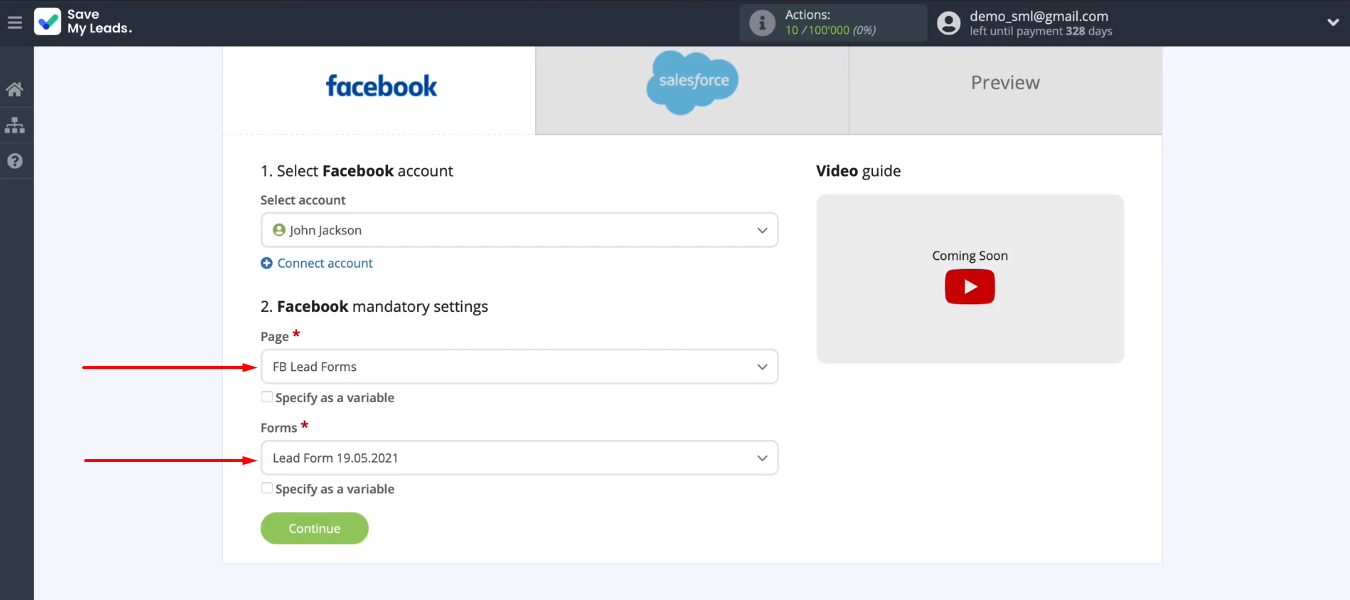
Specify two required parameters — an advertising page and a lead form. If the task is to upload data for several forms, then you need to create separate connection for each of them. Define the required parameters for the data source and click “Continue”.
Connect Salesforce CRM account
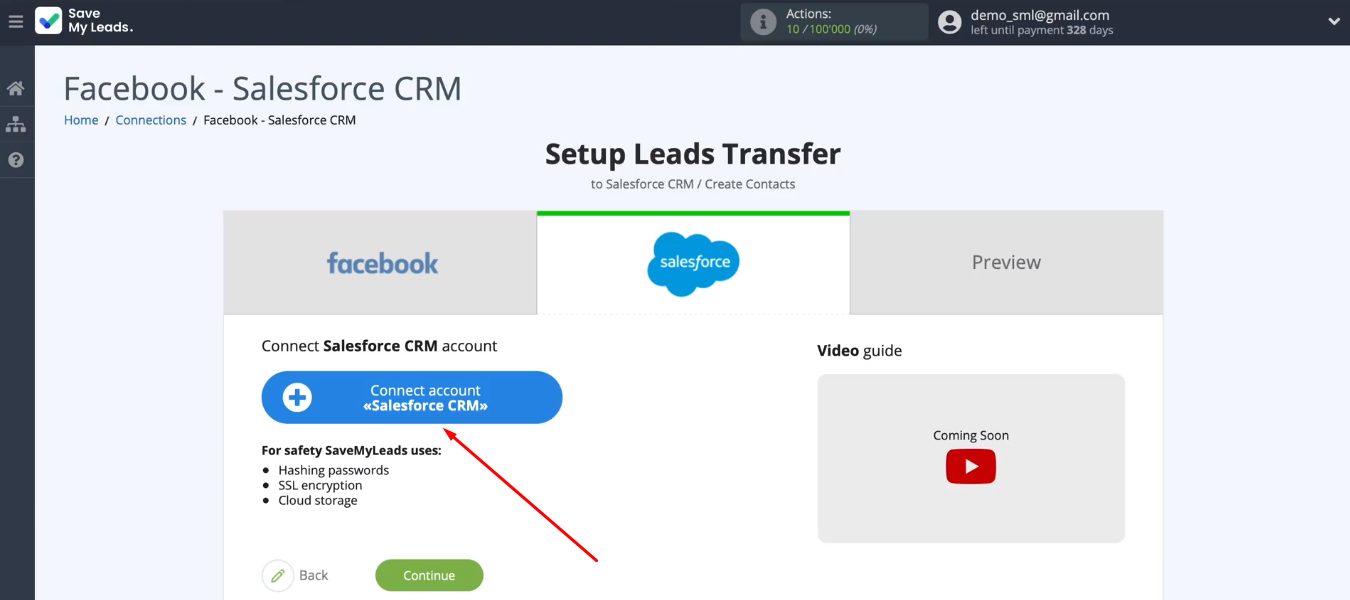
Let's proceed to the second participant of integration. Connect a Salesforce account to SML.
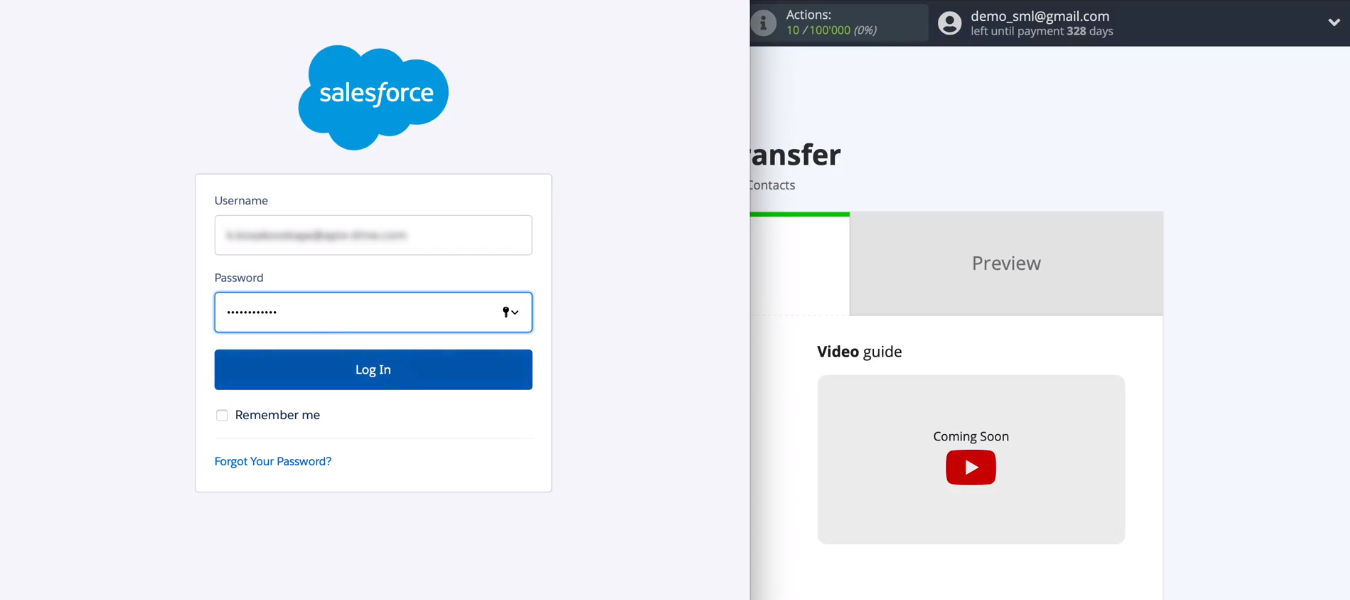
Specify the username and password in the Salesforce system.
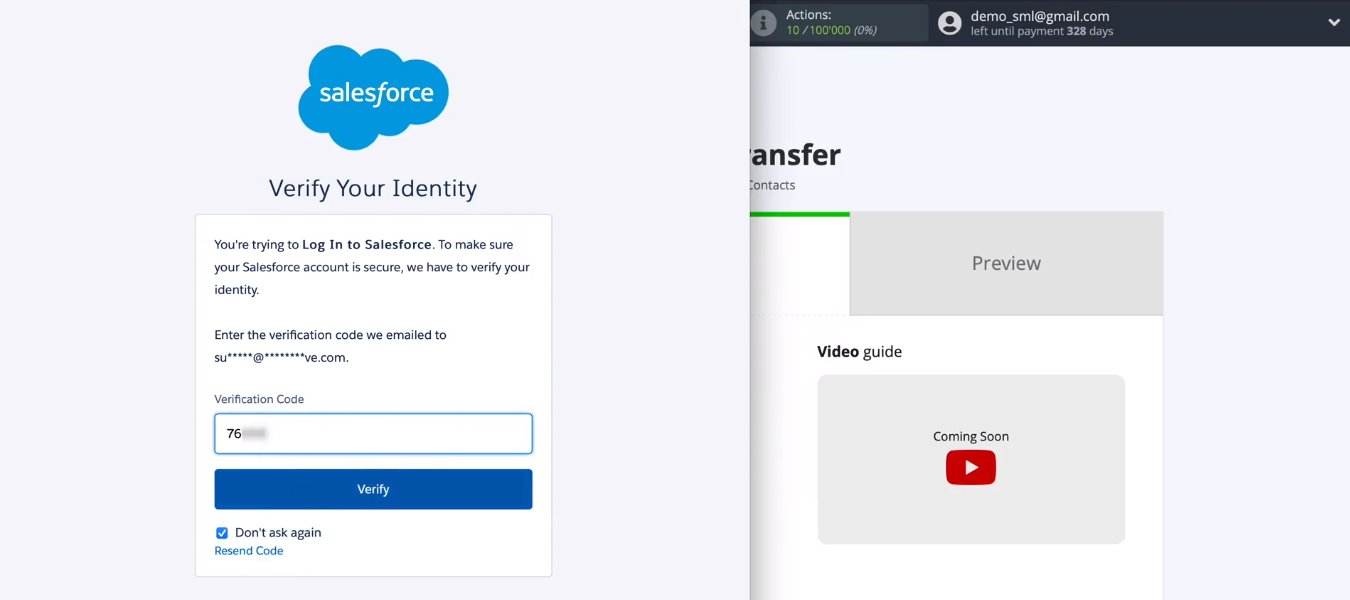
Now you need to check your mail and enter the code to verify your identity.
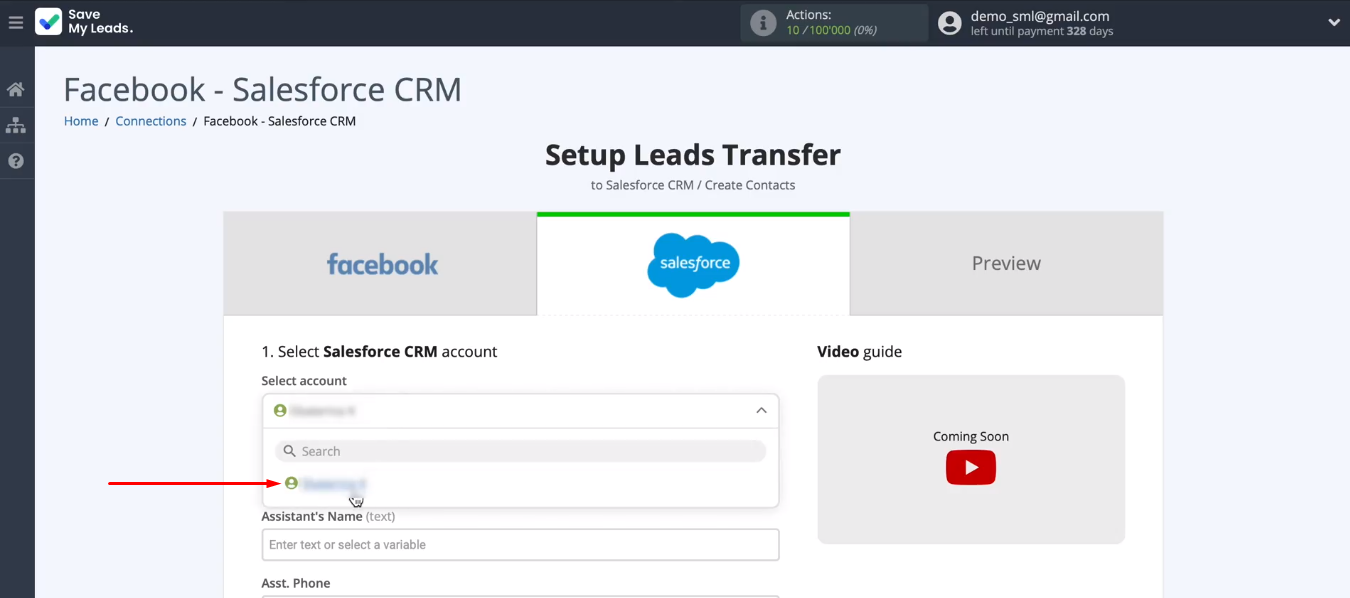
Our Salesforce account is listed as available. Select it for further configuration.
We see Salesforce fields that can be assigned variables from Facebook. To do this, click in the required field and select a variable from the drop-down list. The SML service offers preset values, so you can use the default settings. After defining the content of the Salesforce fields, click “Continue”.
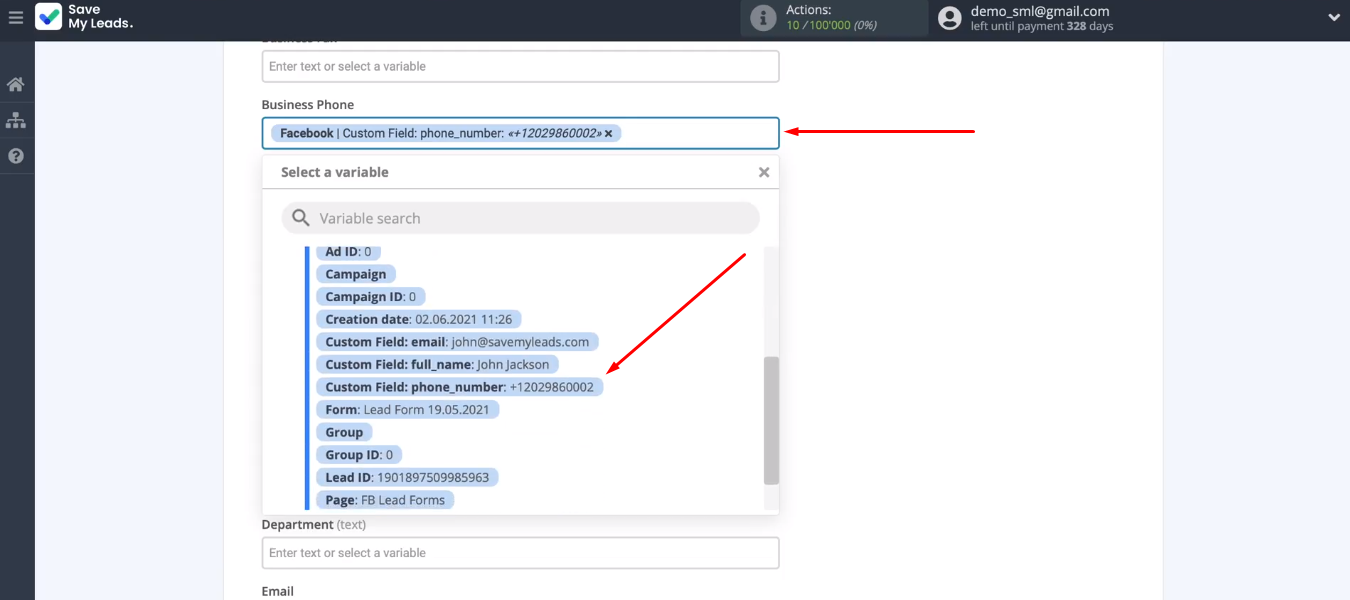
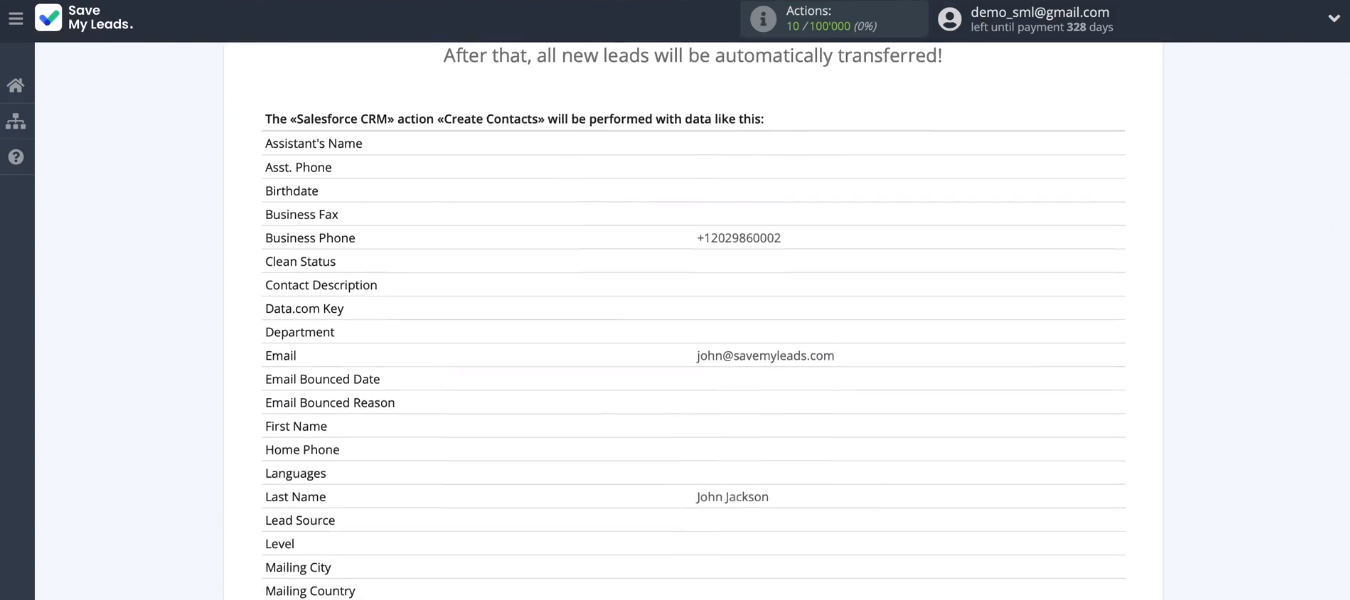
We see an example of the data that will be sent to Salesforce CRM to create a new contact.
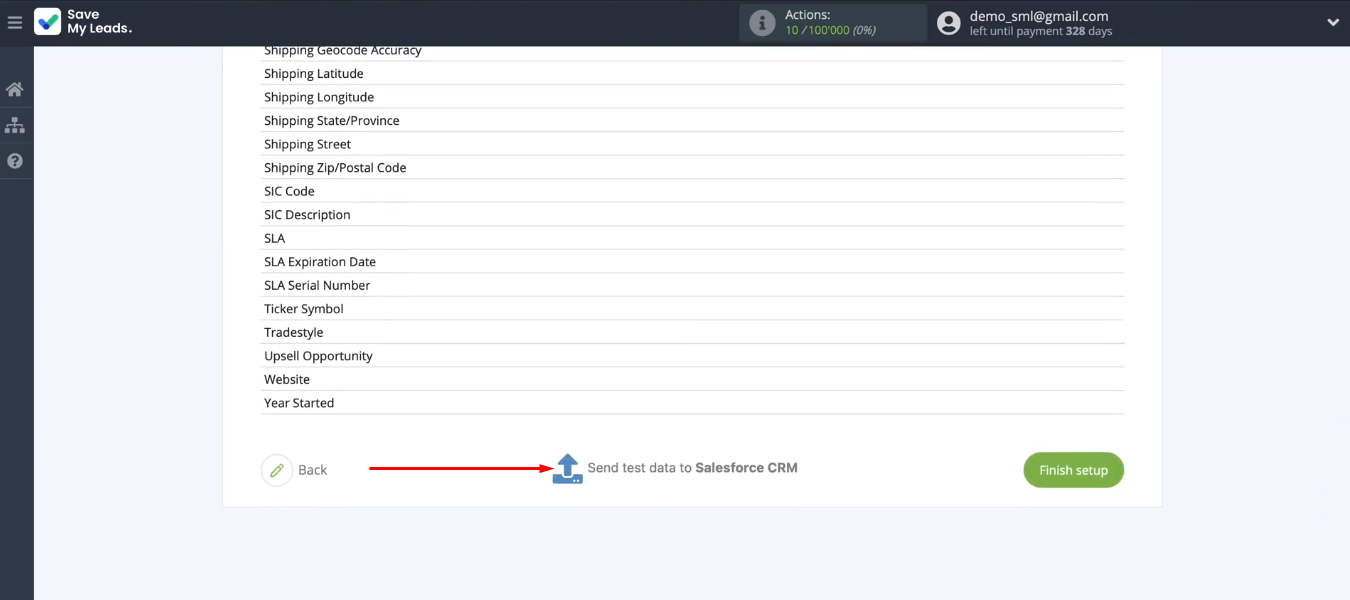
At this stage, you need to check the correct operation of the connection. Click “Send test data to Salesforce CRM”.
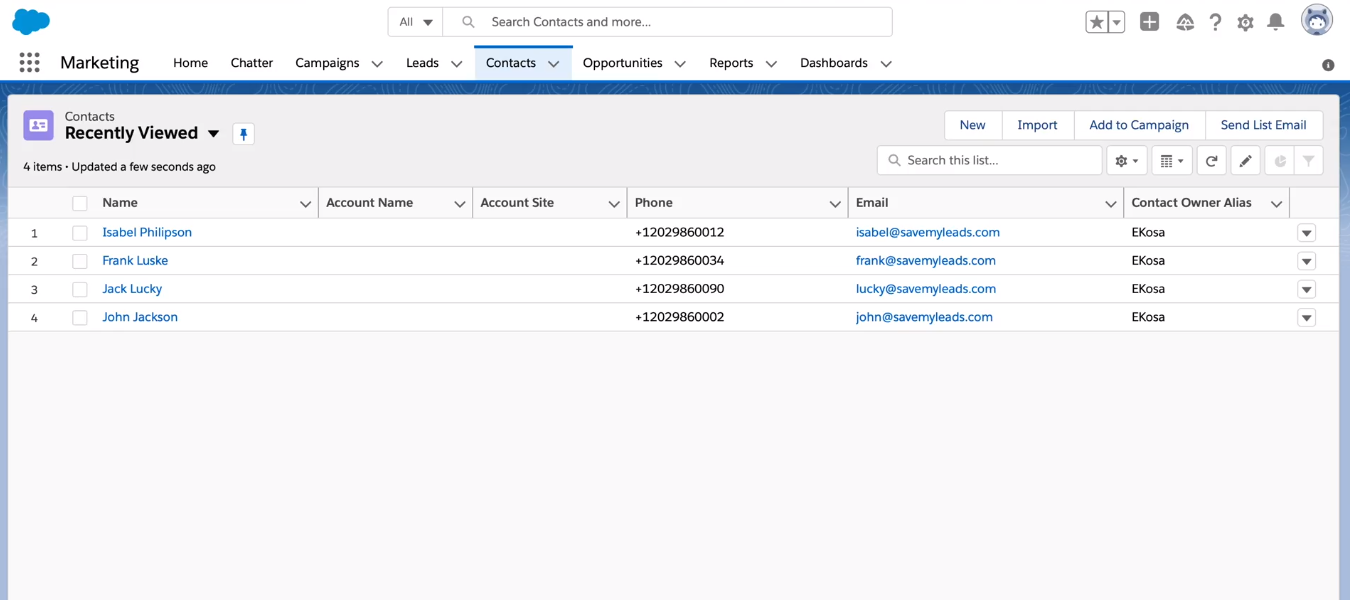
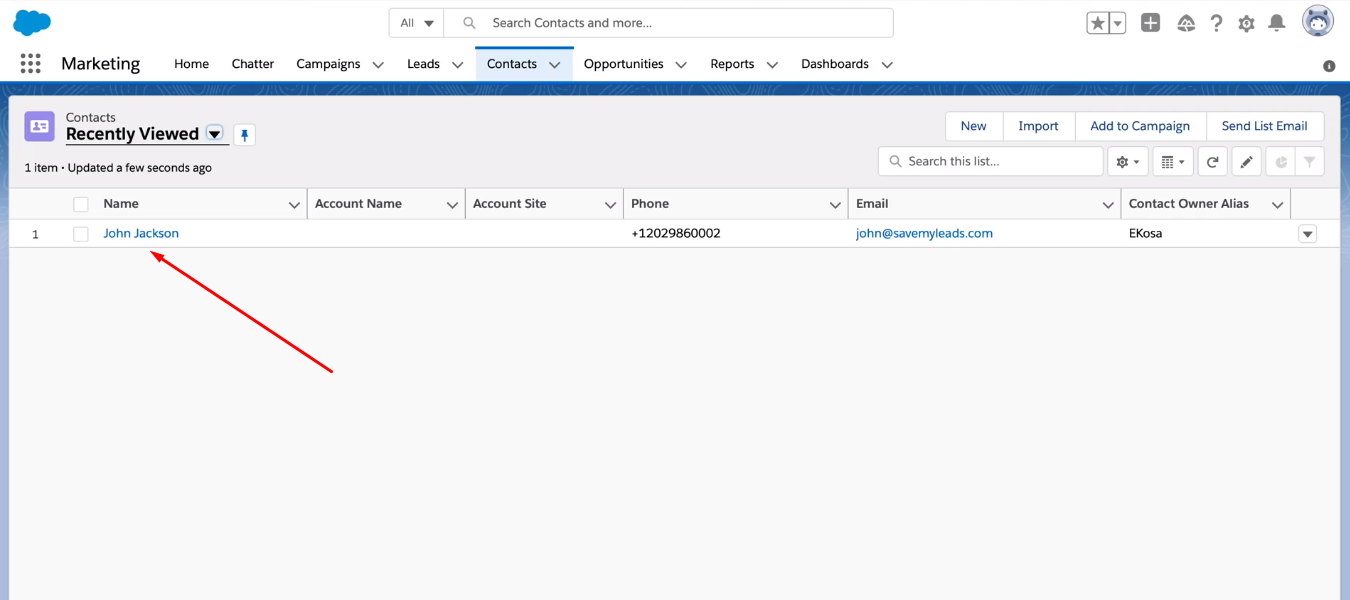
Go to the Salesforce system. A new entry has appeared in the “Contacts” section with our test data. The connection is working correctly.
Turn on auto-update
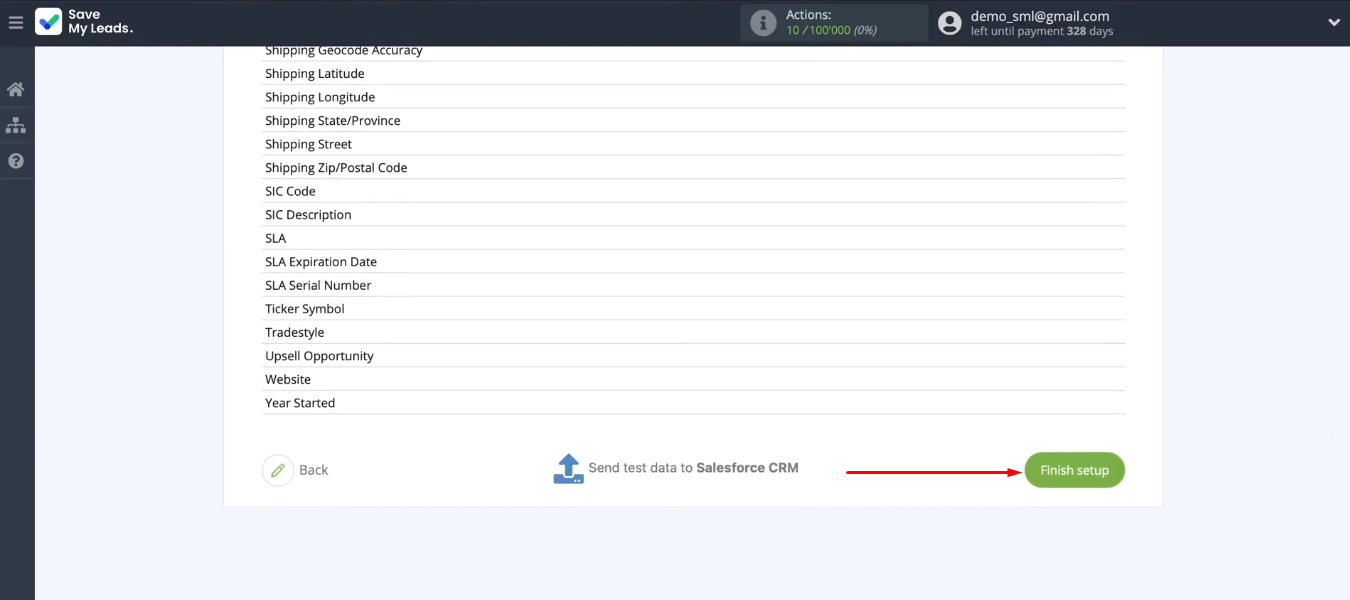
To complete the integration setup, return to the SML cabinet and click “Finish setup”. Thus, we turned on auto-update and started the process of tracking new leads in the Facebook advertising account.
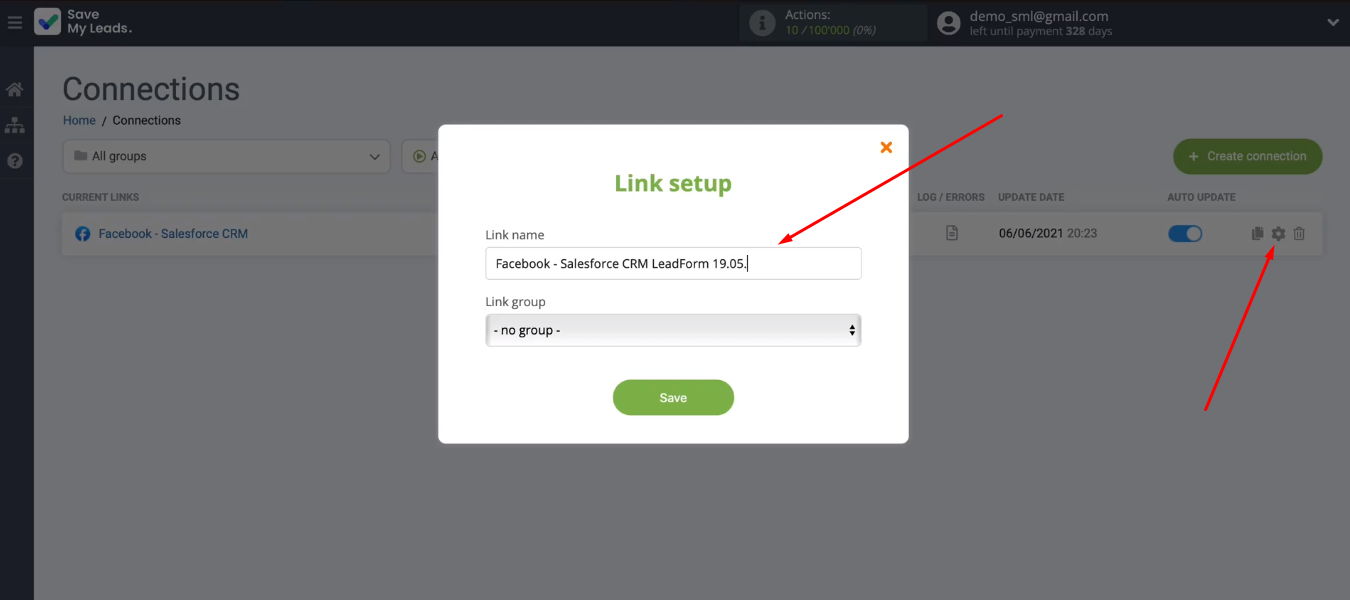
If you are not satisfied with the name of the integration, then you can change it. To do this, go to the link settings and adjust the value in the “Link name” field.
Conclusion
The process of setting up the Facebook and Salesforce integration took only a few minutes. As a result, we got rid of a number of routine tasks. Now the SaveMyLeads system is responsible for converting new Facebook leads into Salesforce contacts. Information about new requests and orders through the social network will be sent to CRM as quickly as possible. The probability of missing a lead and errors during data transfer is minimized.
If you are still manually uploading Facebook leads and transferring them to other systems, then you have a great opportunity to optimize your workflows and significantly increase your productivity. The SaveMyLeads online connector allows you to automate the transfer of data from Facebook to third-party services. In just a few minutes, you can set up an integration that will help you save an impressive amount of time every day.
