Do you use Facebook Lead Ads for lead generation and Reply.io platform for customer communication? Then this article will be useful for you. We will take a detailed look at how to create a Facebook and Reply integration so that new leads from the social network are automatically transferred to the Reply service as contacts.
Contents:
1. How to setup Facebook and Reply integration
2. Connect Facebook account
3. Connect Reply account
4. Enable automatic data update
5. Conclusions
Facebook Lead Ads is an advertising tool that allows you to collect leads and contacts through Facebook and Instagram. Users can place an order or make a request in a few clicks without leaving the social network. It is important to remember that customers expect quality service and fast feedback, so a slow response to a client's target action increases the likelihood of a negative result.
The Reply platform provides a wide range of tools for interacting with customers — from the first touch to maintaining constant fruitful communication. With Reply, you can manage contacts, send emails, make calls, create tasks, and more. Marketers have the opportunity to use ready-made sequences of interactions with customers. You can also create scripts from scratch yourself.
Reply is a universal platform for multi-channel communication with customers. The capabilities of the service are quite wide: A/B testing, search for contact information, recording conversations, a Chrome extension, statistics, etc. The Reply platform can be effectively used to process leads from Facebook and Instagram. Data from lead forms should quickly get into the service for managing communications. Manually transferring leads from Facebook advertising account to Reply is irrational. The more requests through social networks, the higher the probability of missing an order and errors during the transfer. But if you set up the integration of Facebook and Reply, then the process of converting new Facebook leads into Reply contacts can be fully automated.
How to setup Facebook and Reply integration
To link the two systems and set up an automated data transfer, we will use the SaveMyLeads service. SML is a no-code tool that allows you to create various integrations involving Facebook without special training. In just a few minutes, via the web interface, anyone can set up automatic transfer of leads from the FB advertising account to CRM systems, Google services, mailing platforms, instant messengers, etc.
Our task is to create an automated process “getting new leads from FB - creating contacts in Reply”. To set up the integration, we need 5-10 minutes, the SaveMyLeads system and access to accounts. Communication is created in just a few steps: connecting the source, connecting the receiver, turning on auto-update. Let's walk through how to set up Facebook and Reply integration step by step.
Connect Facebook account
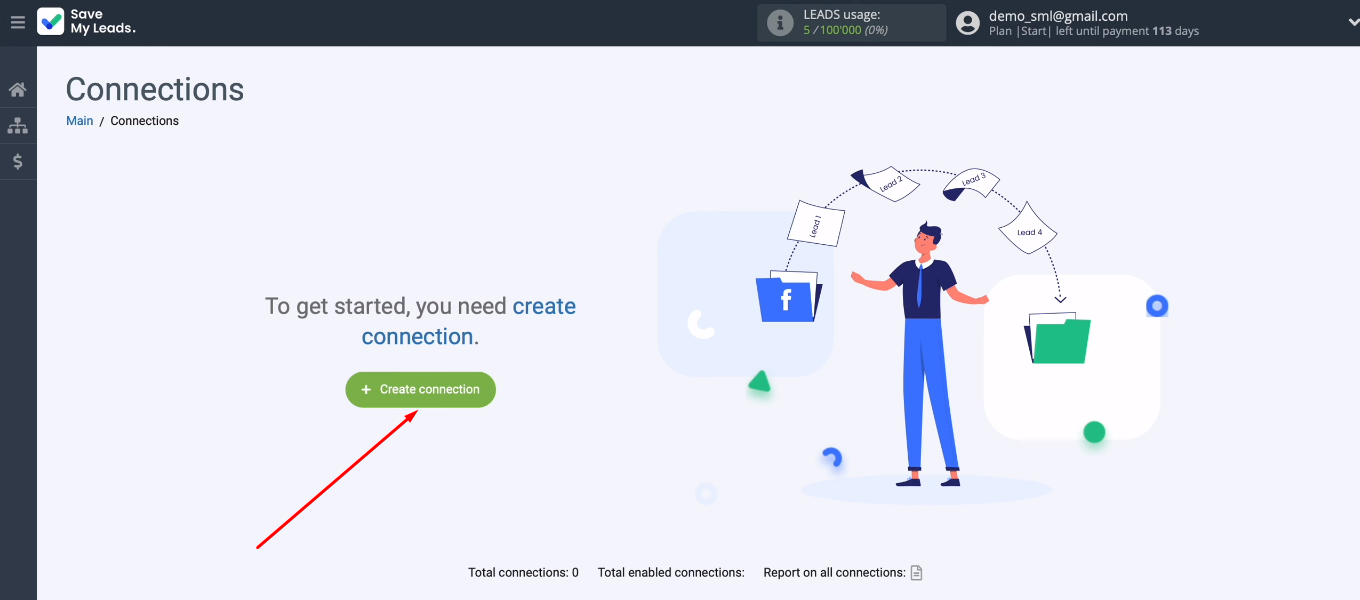
In the SaveMyLeads workspace, create a new connection.
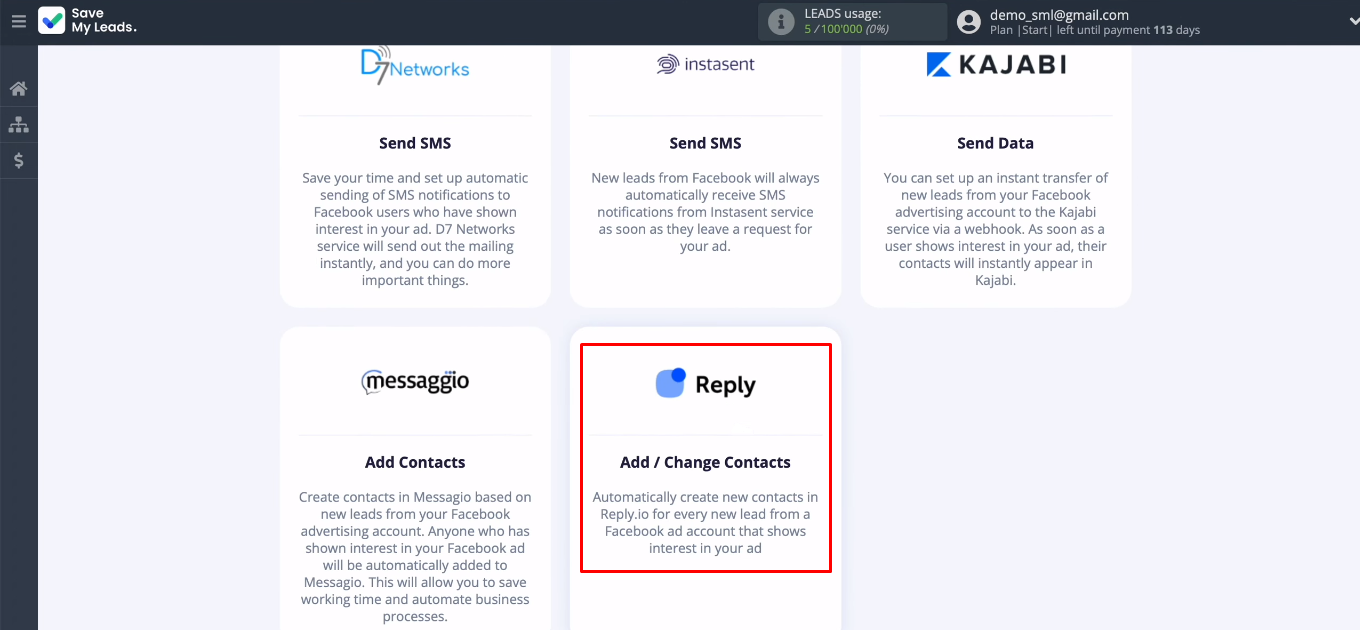
The next step is to choose a template to customize. For our task, this is “Reply (Add/Change Contacts)”.
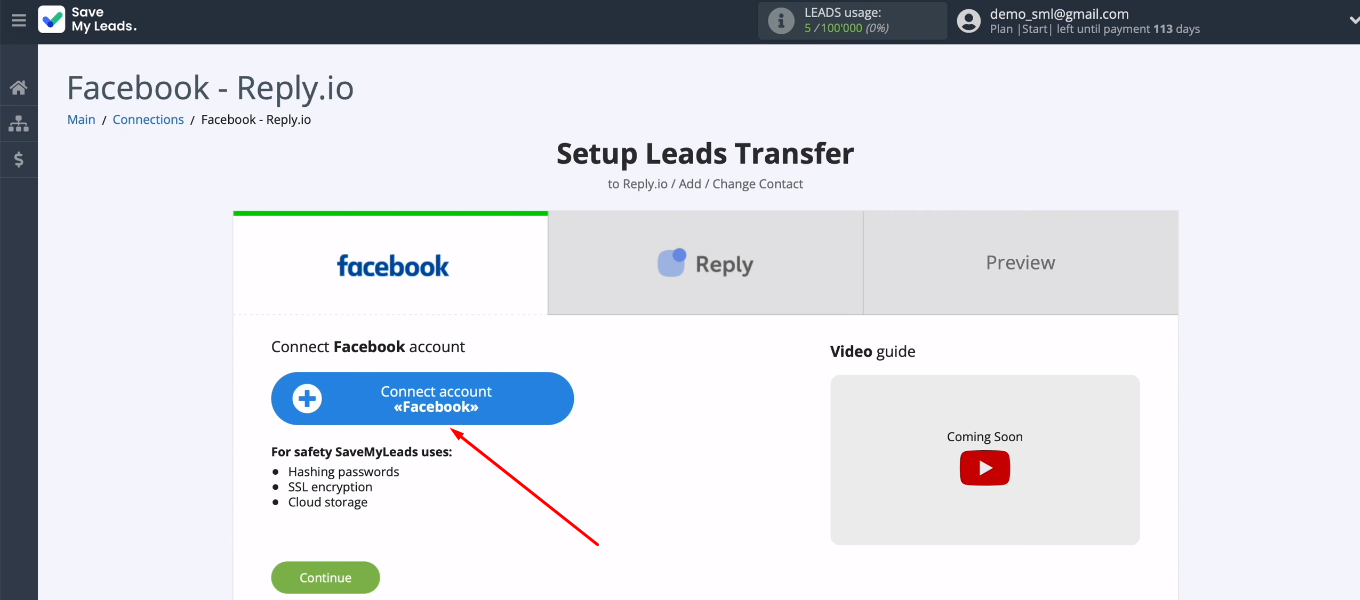
Set up Facebook as your data source. Connect your FB account to the SaveMyLeads system.
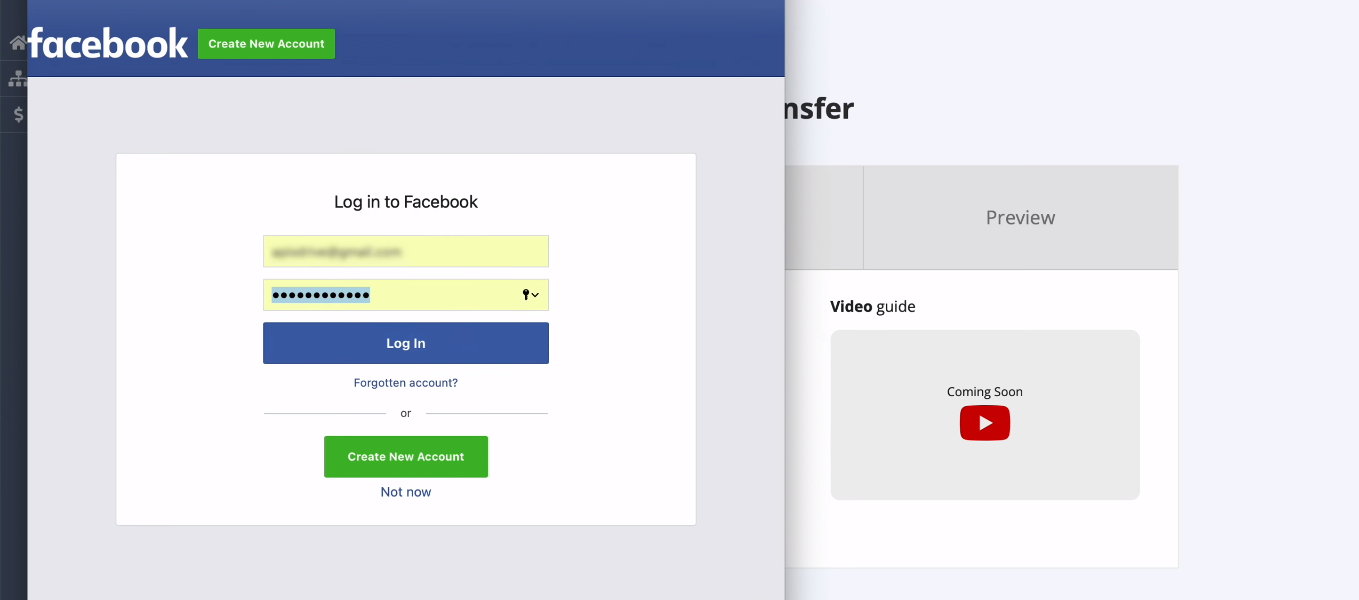
Enter your Facebook account username and password.
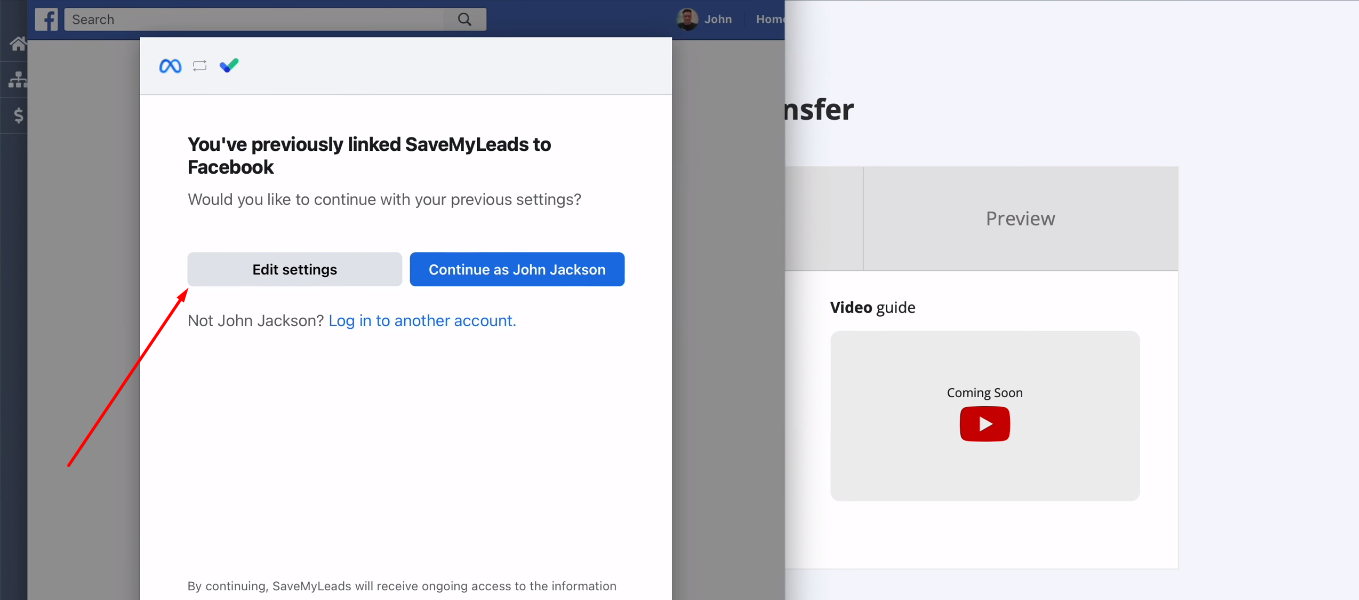
Click "Edit settings".
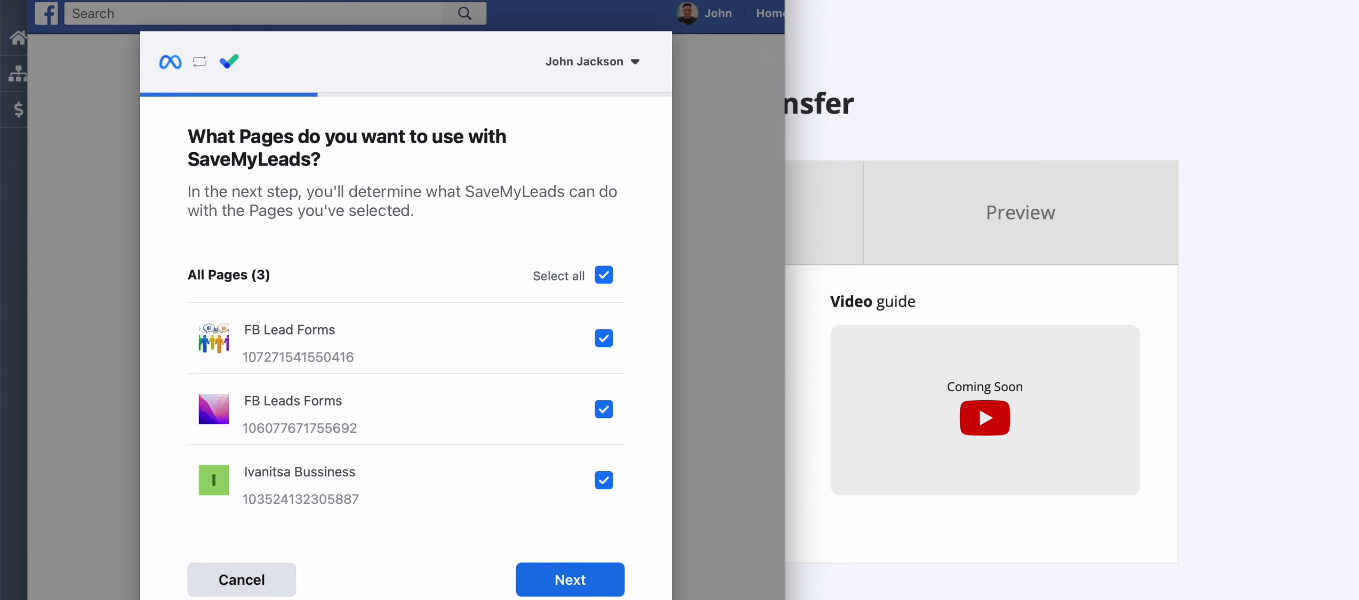
Now you need to select the advertising pages that you want to work with in the SaveMyLeads system. You can check the “Select all” checkbox to mark all available pages at once.
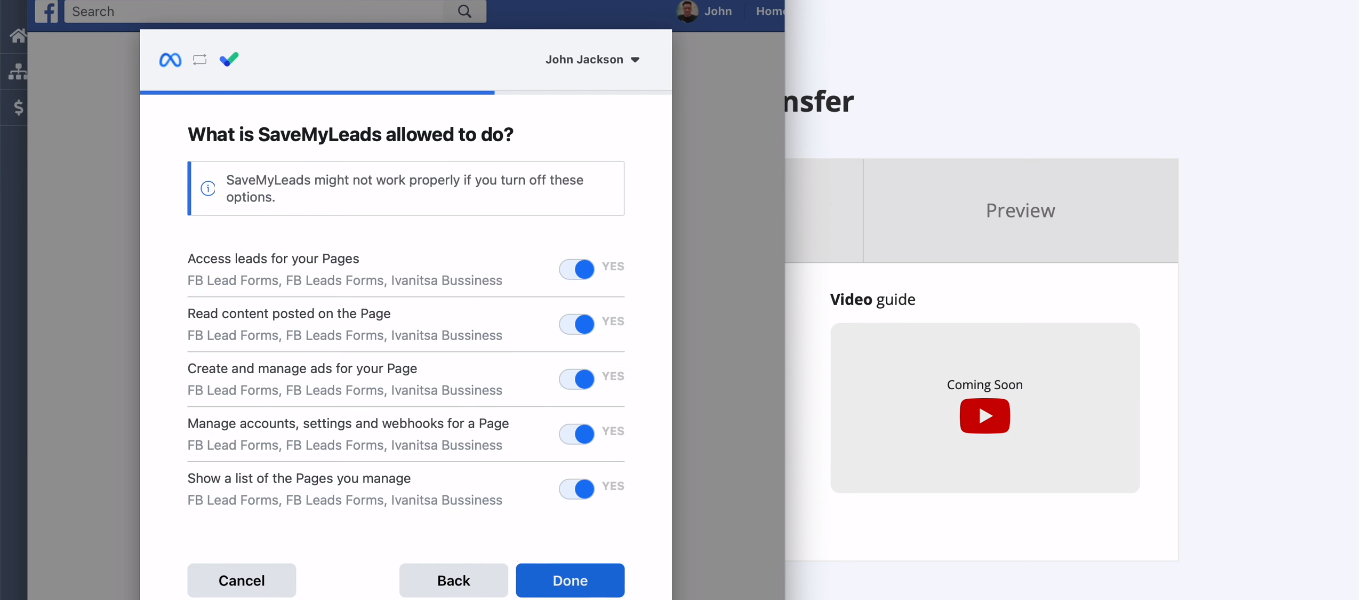
Grant all necessary access to the SML service.
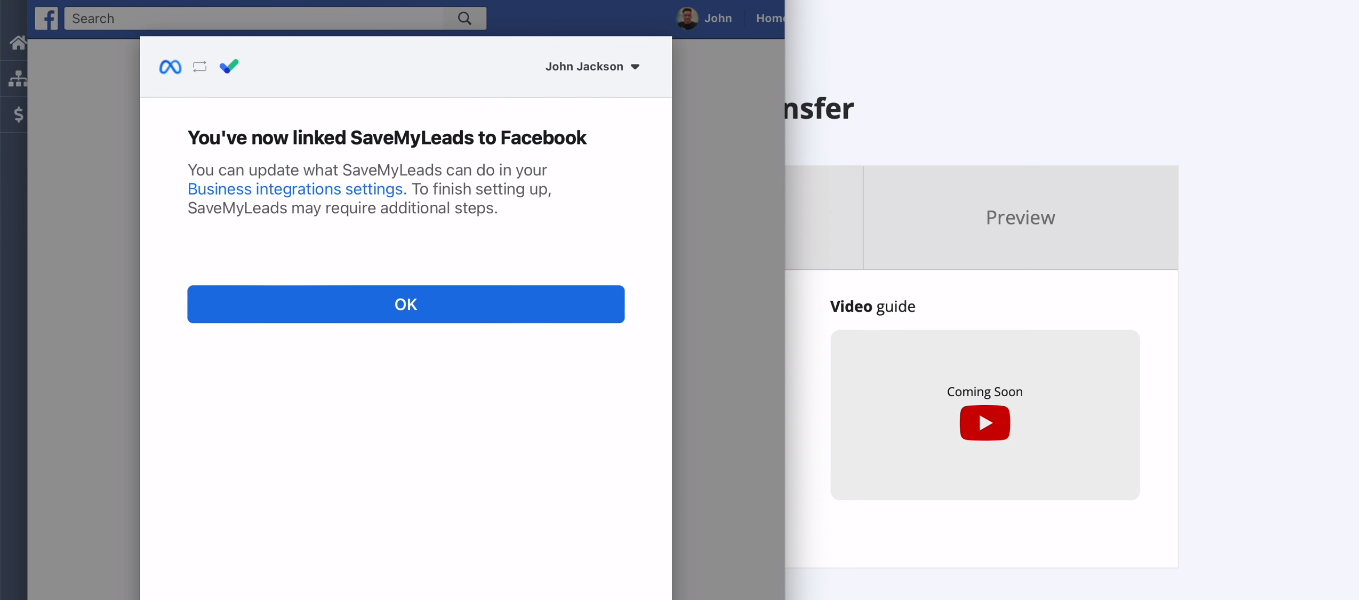
FB account added. Click "OK".
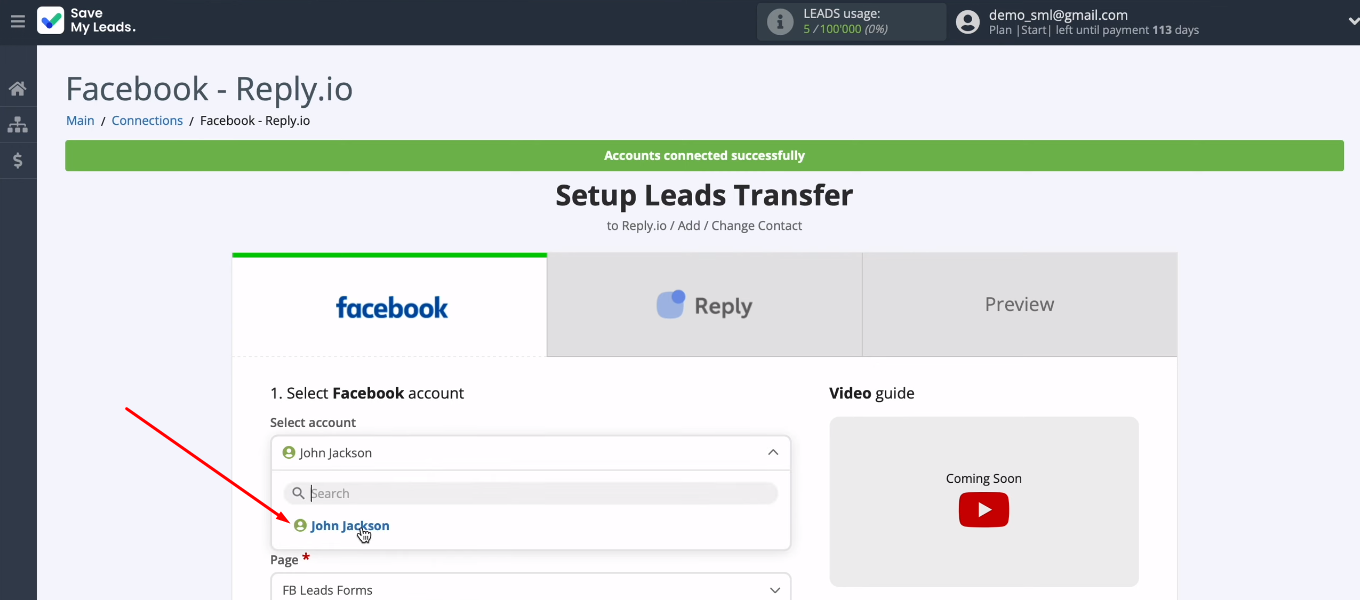
You can add different Facebook accounts to the SML system. Select the desired connection from the available accounts.
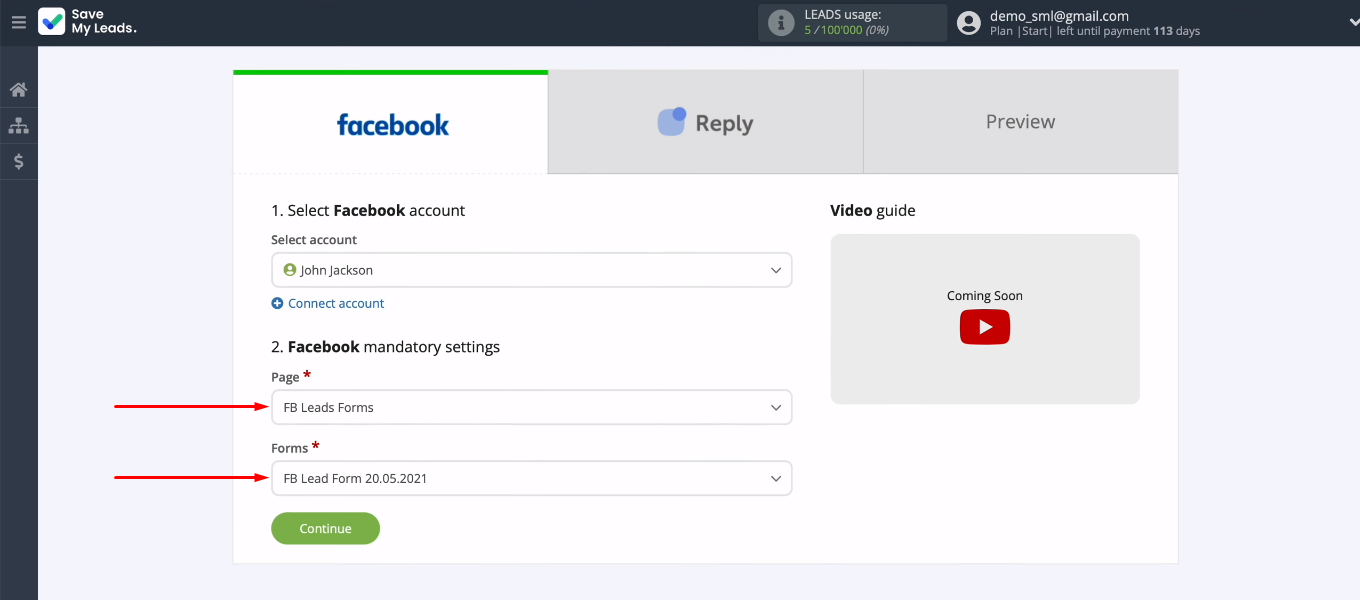
Determine the source for downloading new Facebook leads — an advertising page and a lead form. Click "Continue".
Connect Reply account
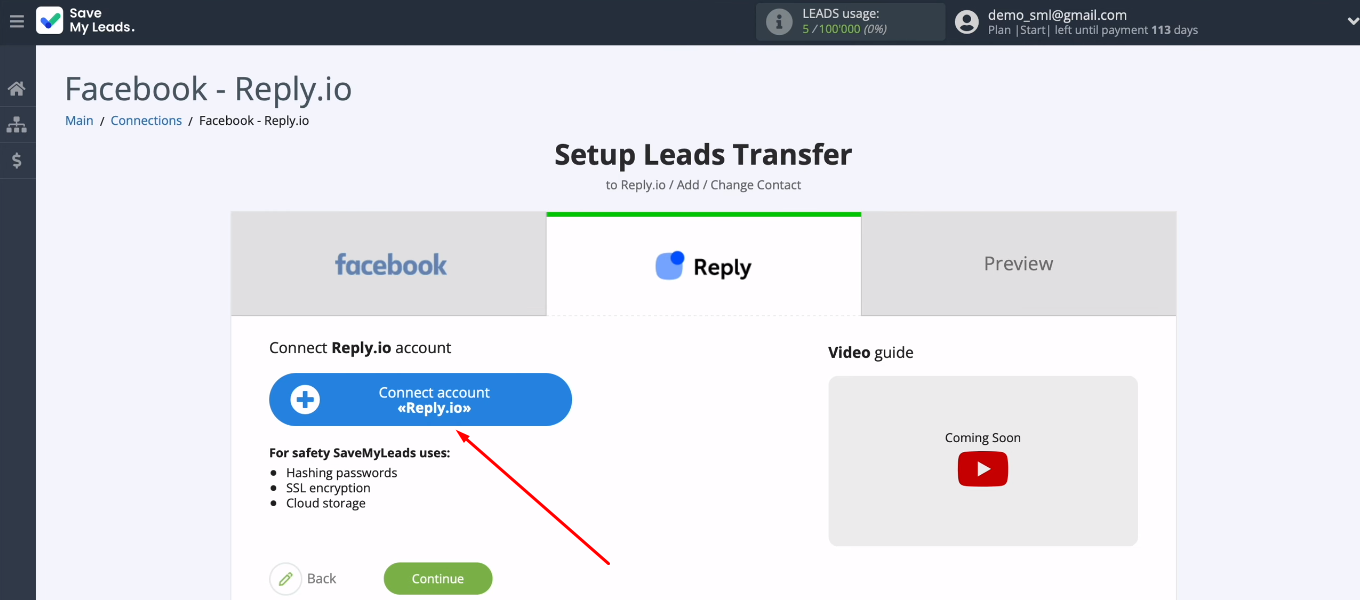
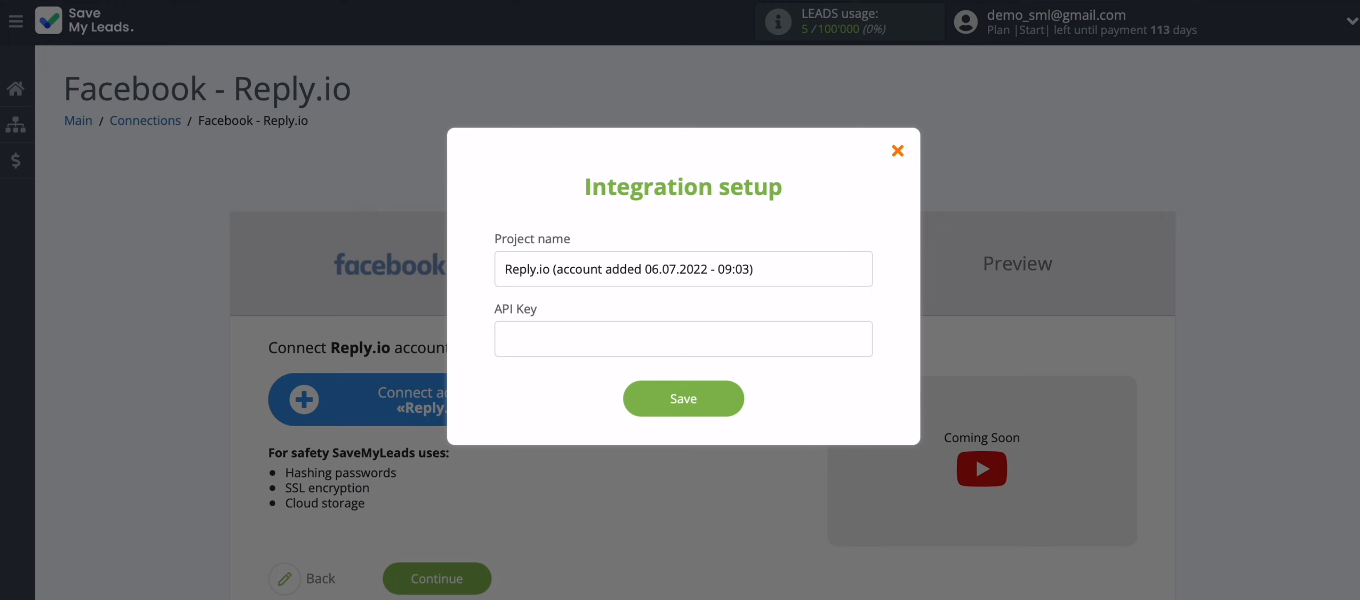
Now let's start setting up the receiver. Click "Connect account Reply.io".
To link the Reply account and the SML system, you need to fill in the “API Key” field.
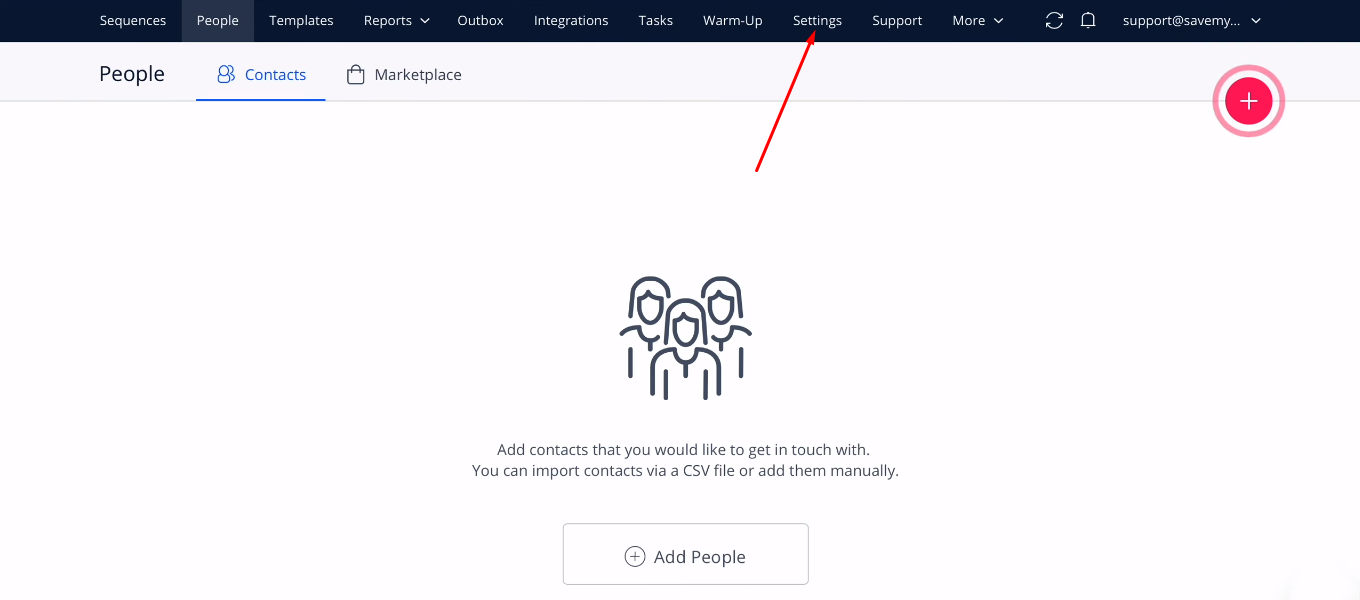
Go to your personal Reply account. Click "Settings".
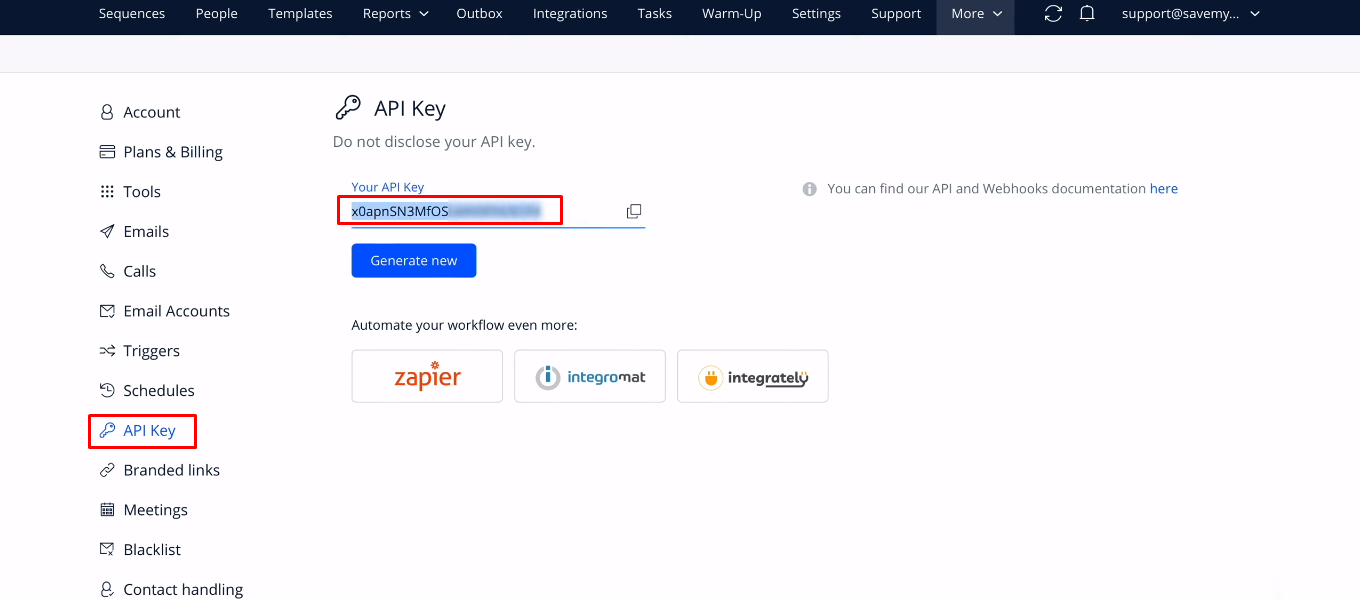
Go to the "API Key" section and copy the key. If the key does not exist, it must be generated.
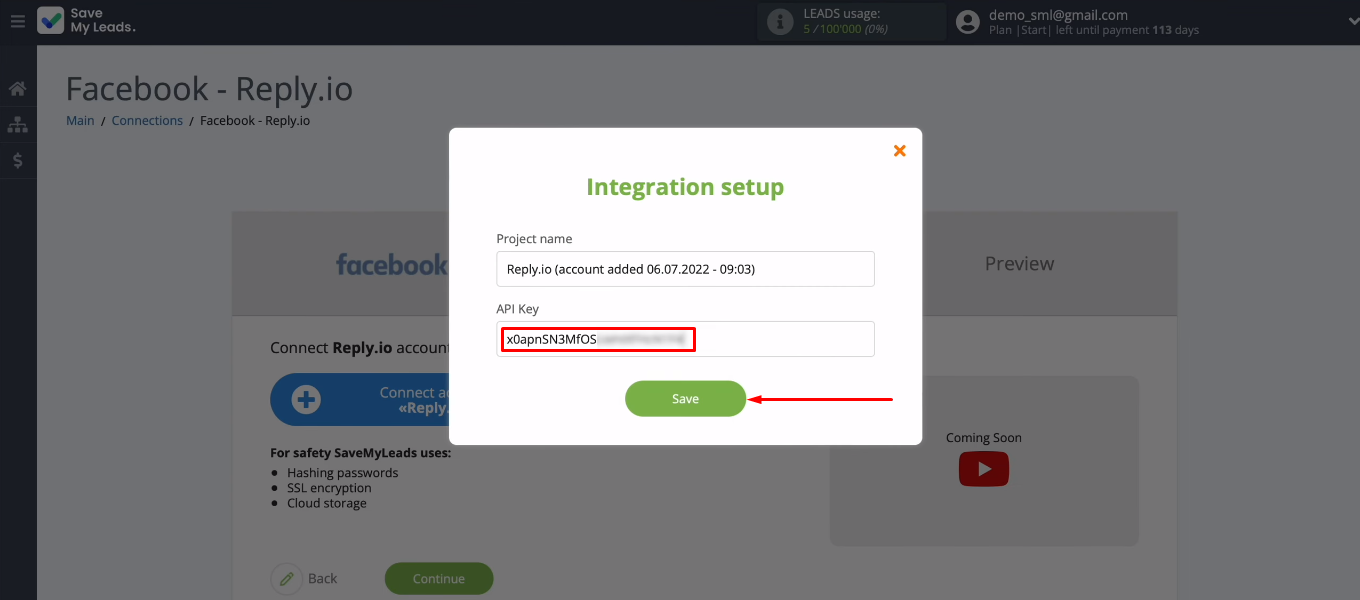
Return to the SaveMyLeads system and paste the copied API key into the appropriate field. You can also set your own value in the "Project name" field. Click "Save".
Select the connected Reply account.
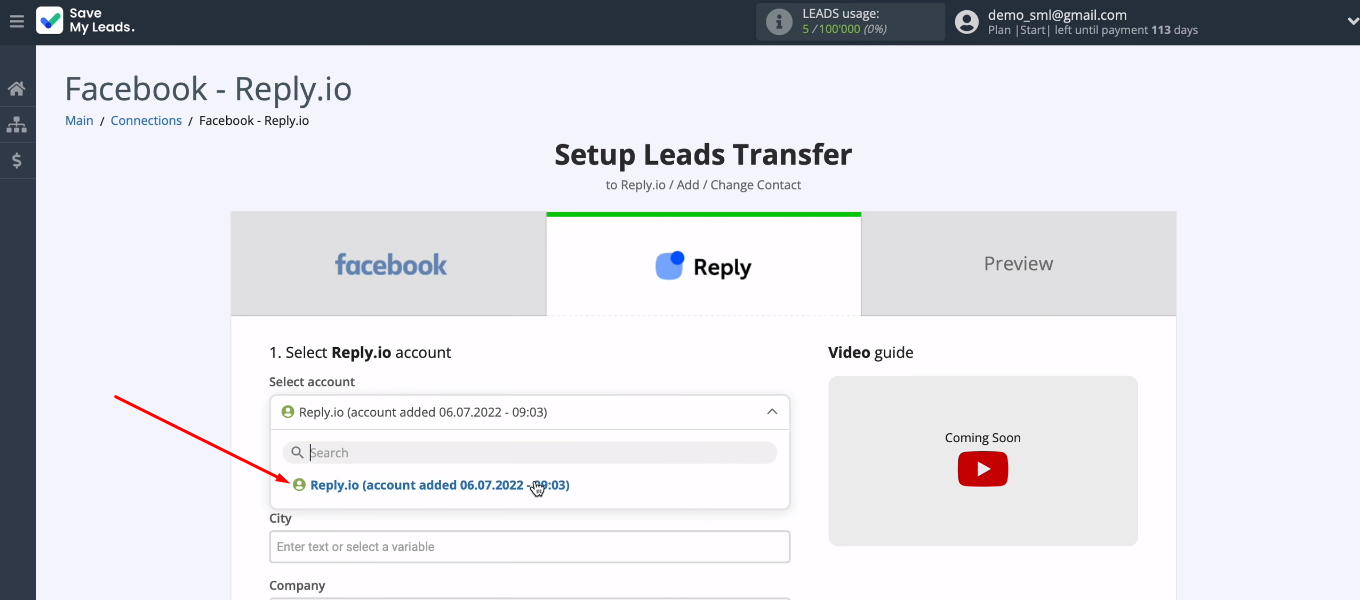
Define the contents of the Reply fields for creating new contacts. If you are not satisfied with the preset values, you can assign variables yourself. Click in the field and select a value from the dropdown list.
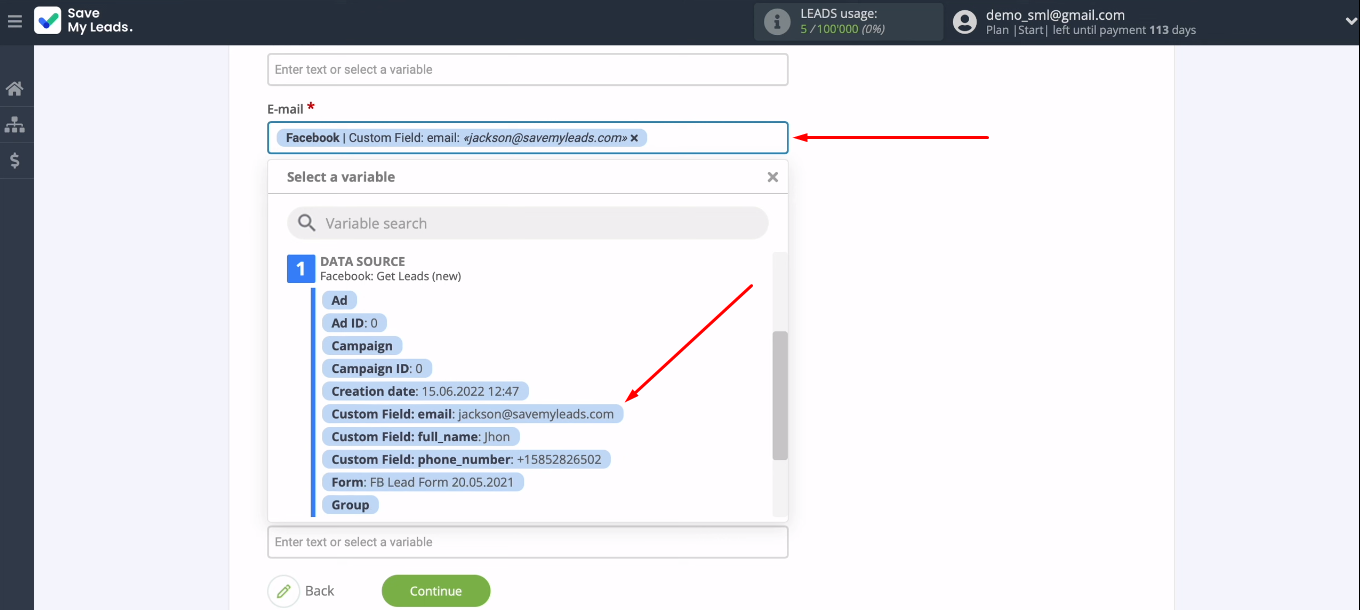
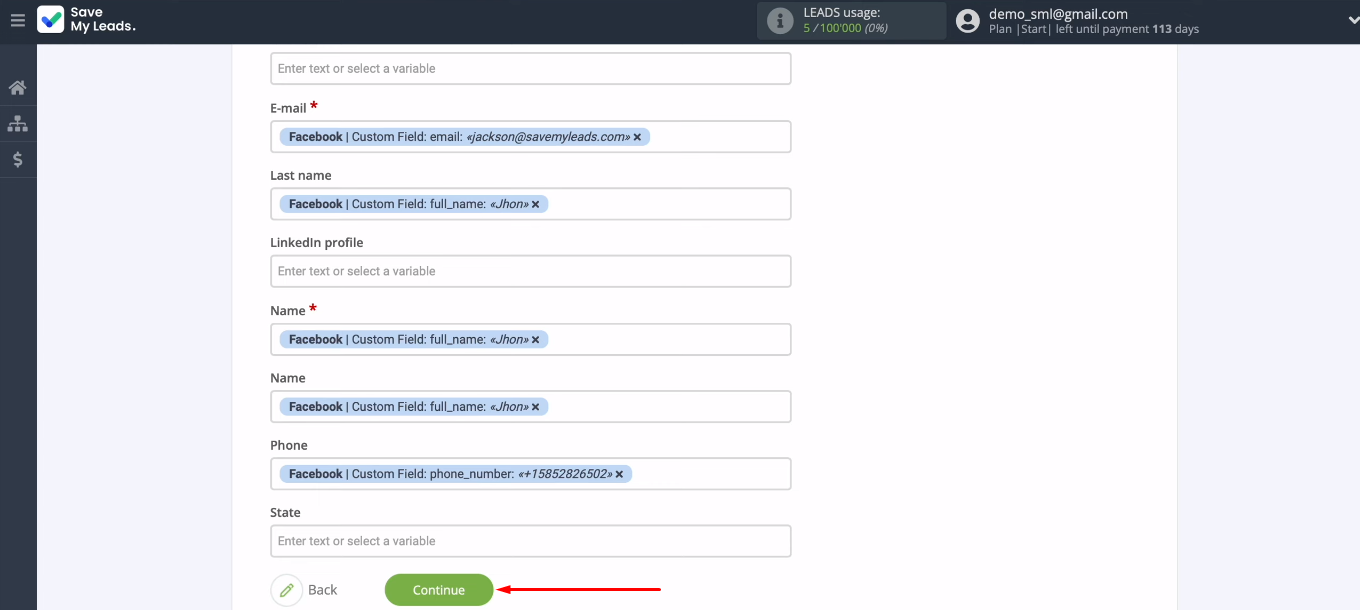
When all Reply fields are configured, click “Continue”.
The next step is to check the test data. If you don't like something, go back a step and make the necessary changes. If the test data is ok, click “Send test data to Reply.io”.
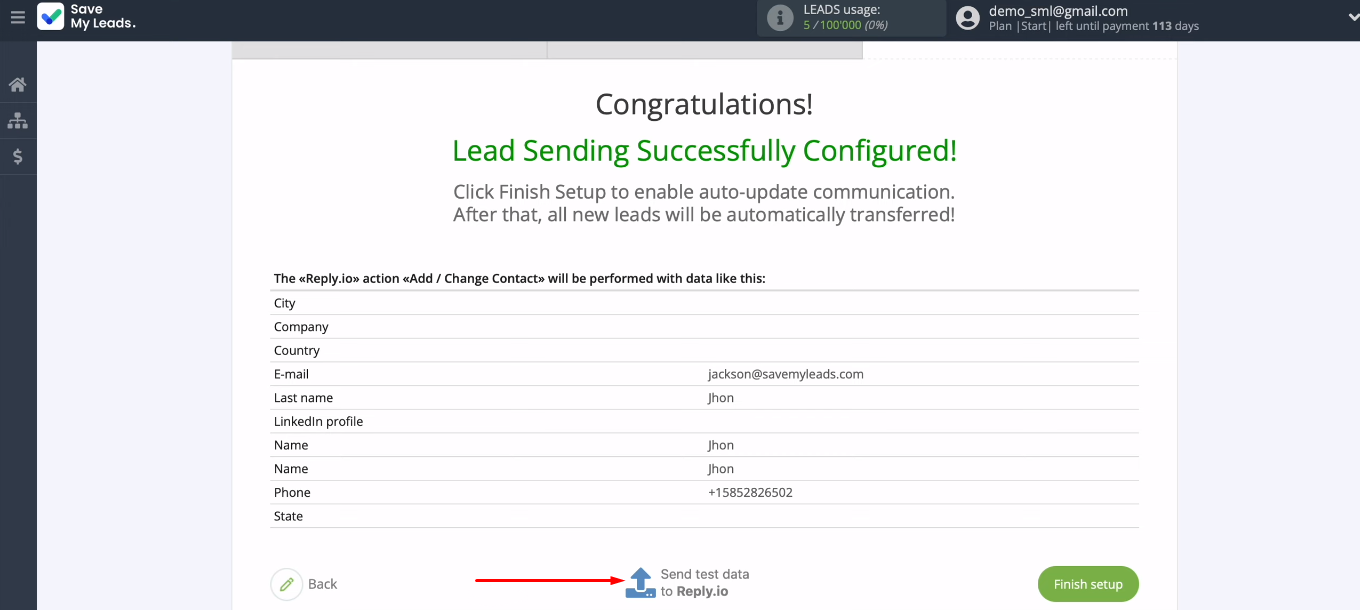
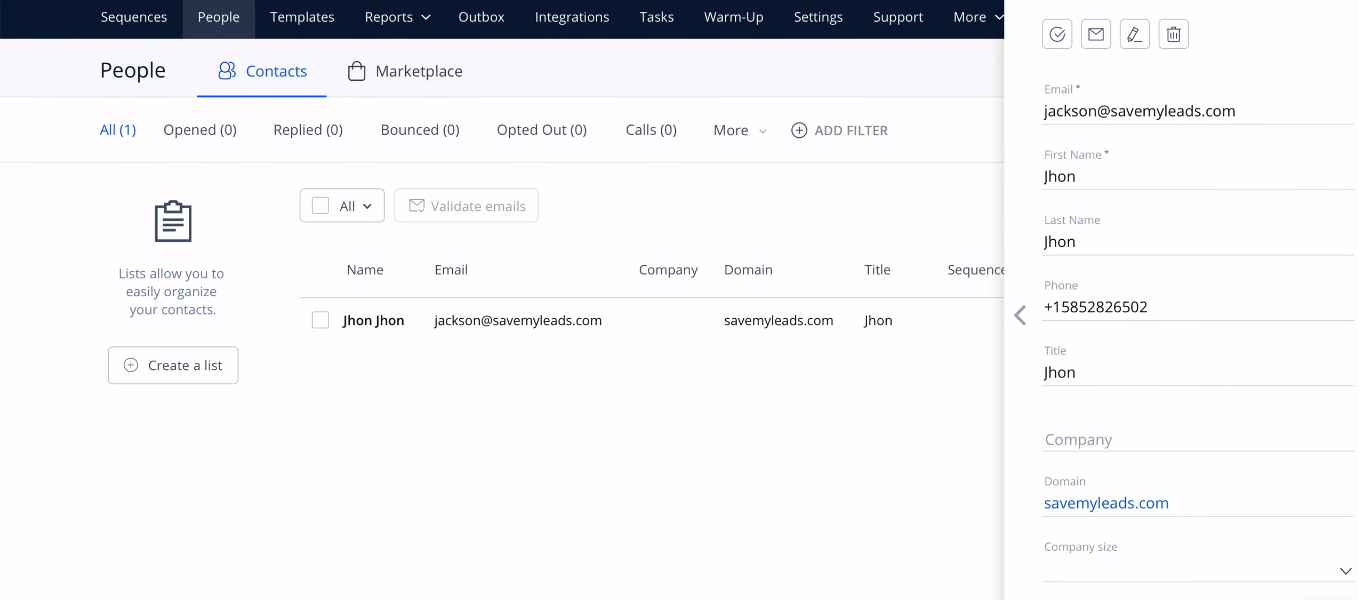
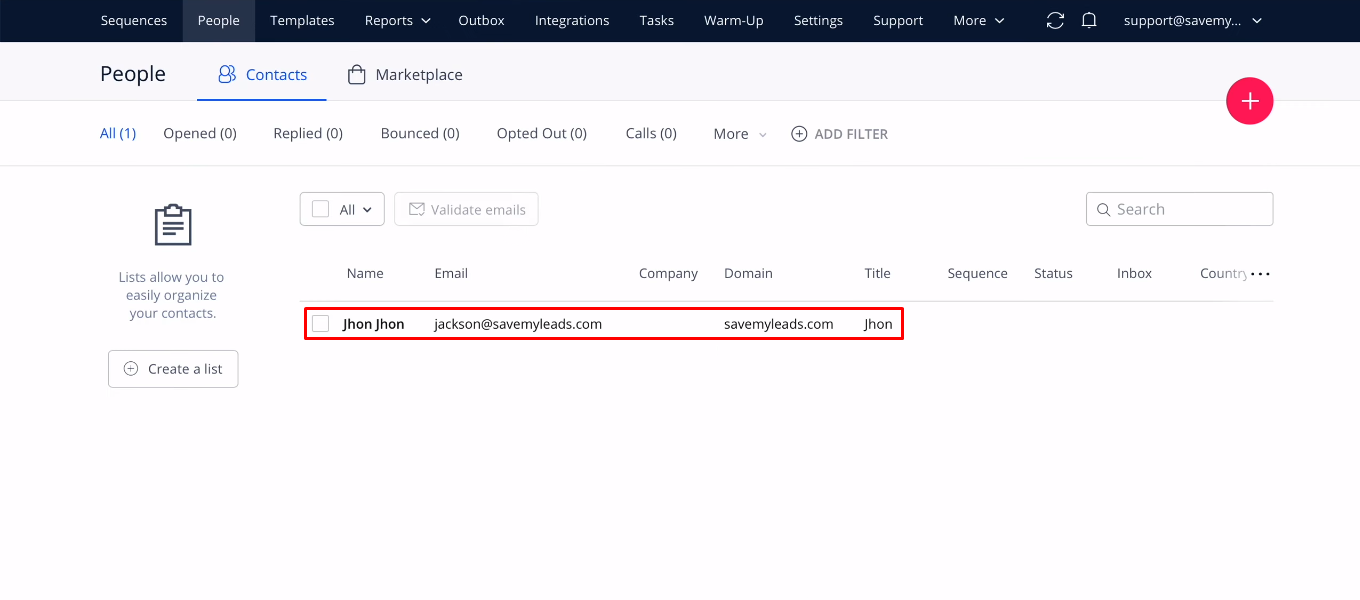
Go to the Reply account. A test contact has been added — the connection is working correctly.
Enable automatic data update
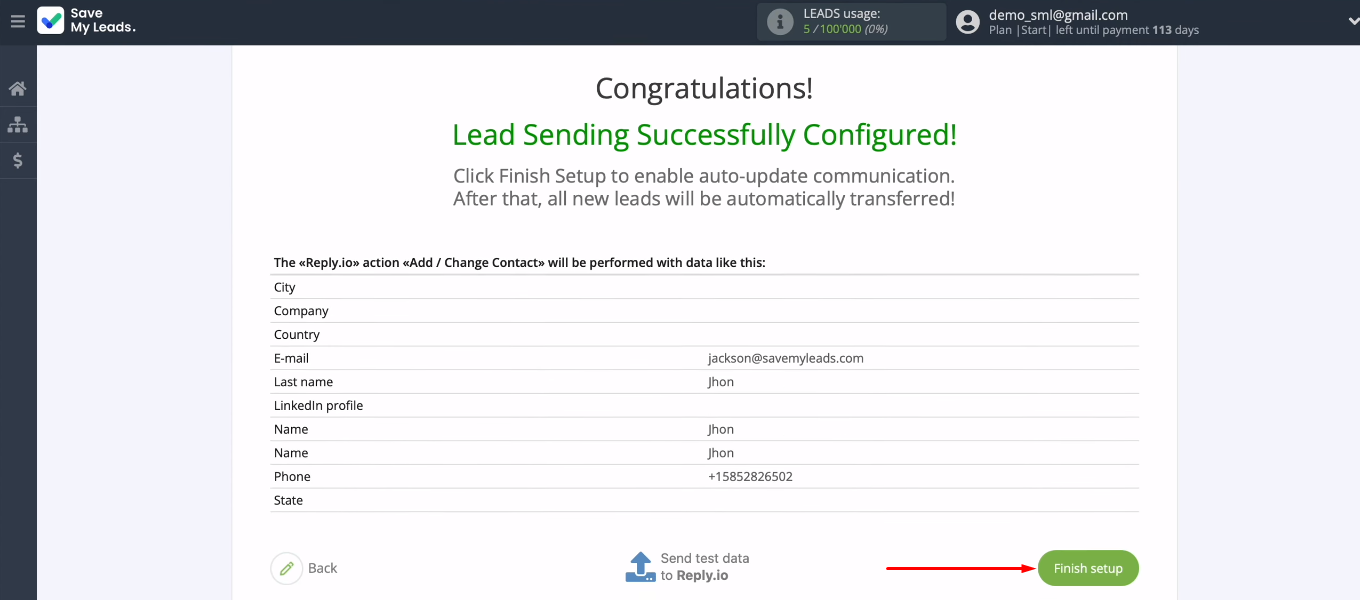
In order for all new Facebook leads to be transferred to Reply in real time, auto-refresh data must be enabled. To do this, click “Finish setup”.
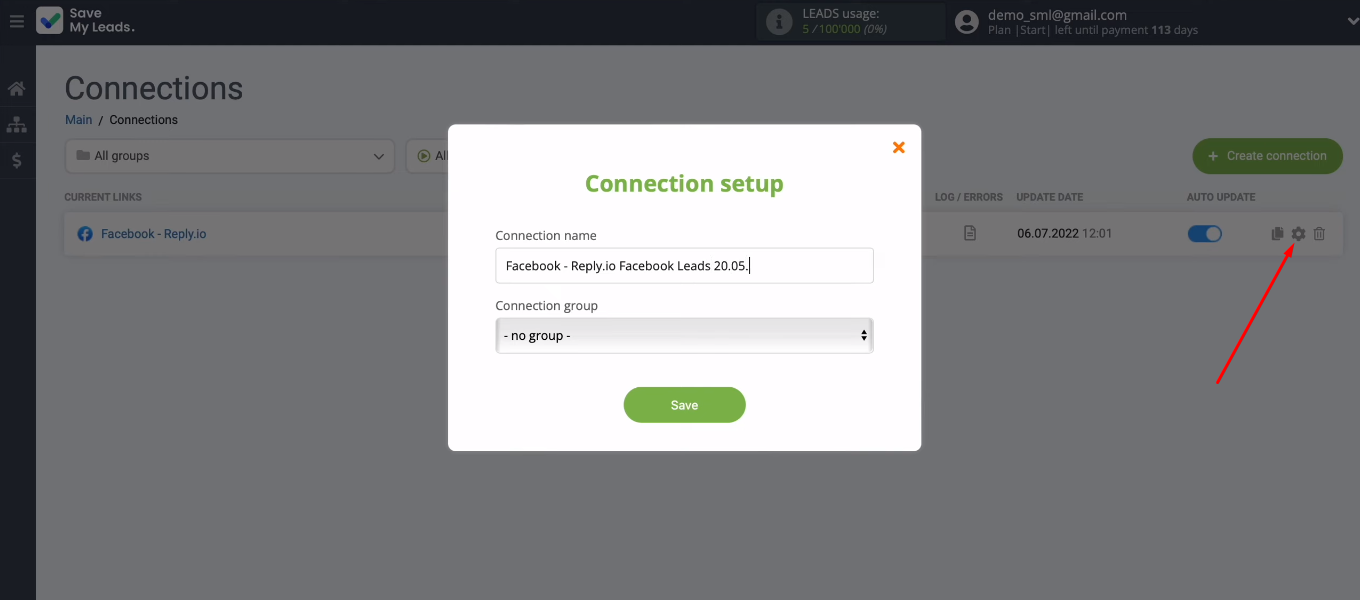
To enter the communication settings, click the “gear”. You can change the name of the integration and add it to a group.
Conclusions
Using the SaveMyLeads service, we set up Facebook and Reply.io integration, which provides automated data transfer from one system to another. It took us just a few minutes to get rid of a number of routine operations at once: checking the FB advertising account for new leads, uploading the necessary data, creating a contact in the Reply service. All these processes will be promptly performed offline.
SaveMyLeads is a handy and easy tool for setting up integrations for Facebook Lead Ads. Automate the transfer of new leads from the FB advertising account to various services and applications. The SML online connector will ensure correct and uninterrupted data transfer, and you can focus on more important tasks.
