Let's show how to set up the unloading of leads from your Facebook account as new contacts in Google Contacts in 5 minutes, without programming knowledge.
Contents:
1. How to set up Facebook and Google Contacts integration
2. Connect Facebook Leads Ads
3. Connect Google Contacts
4. Automatic data update
5. Finish the setup
Advertising on Facebook helps a business to increase awareness, increase the number of sales and attract new potential customers - leads. To conveniently process their requests, interact with them in every possible way: send an advertising mailing, collect a database, conduct through a sales funnel, it is more convenient when all the leads are uploaded to the system you need, for example, to Google Contacts.
The problem is that manually doing this is inconvenient, and sometimes difficult:
- if a company has a large number of requests, then the manager will have to spend a lot of time to transfer all leads from the ad account to Google Contacts;
- some contacts can be missed due to carelessness, fatigue, etc.
How to set up Facebook and Google Contacts integration
Automation eliminates all these and many other problems. It saves the business and its staff a lot of time and increases efficiency by reducing the number of routine business processes to a minimum. To automate the transfer of leads from Facebook to Google Contacts, you need to integrate the systems: configure the transfer of data from one to another via the API.
A full-time developer or a third-party developer will be able to cope with this task, if the company does not have the first. But this is an additional expense of time and money. A simpler and more efficient solution is the SaveMyLeads service and application connector. With it, you, without programming knowledge, can upload leads to Google Contacts, and set up a connection in no more than 5 minutes.
Connect Facebook Leads Ads
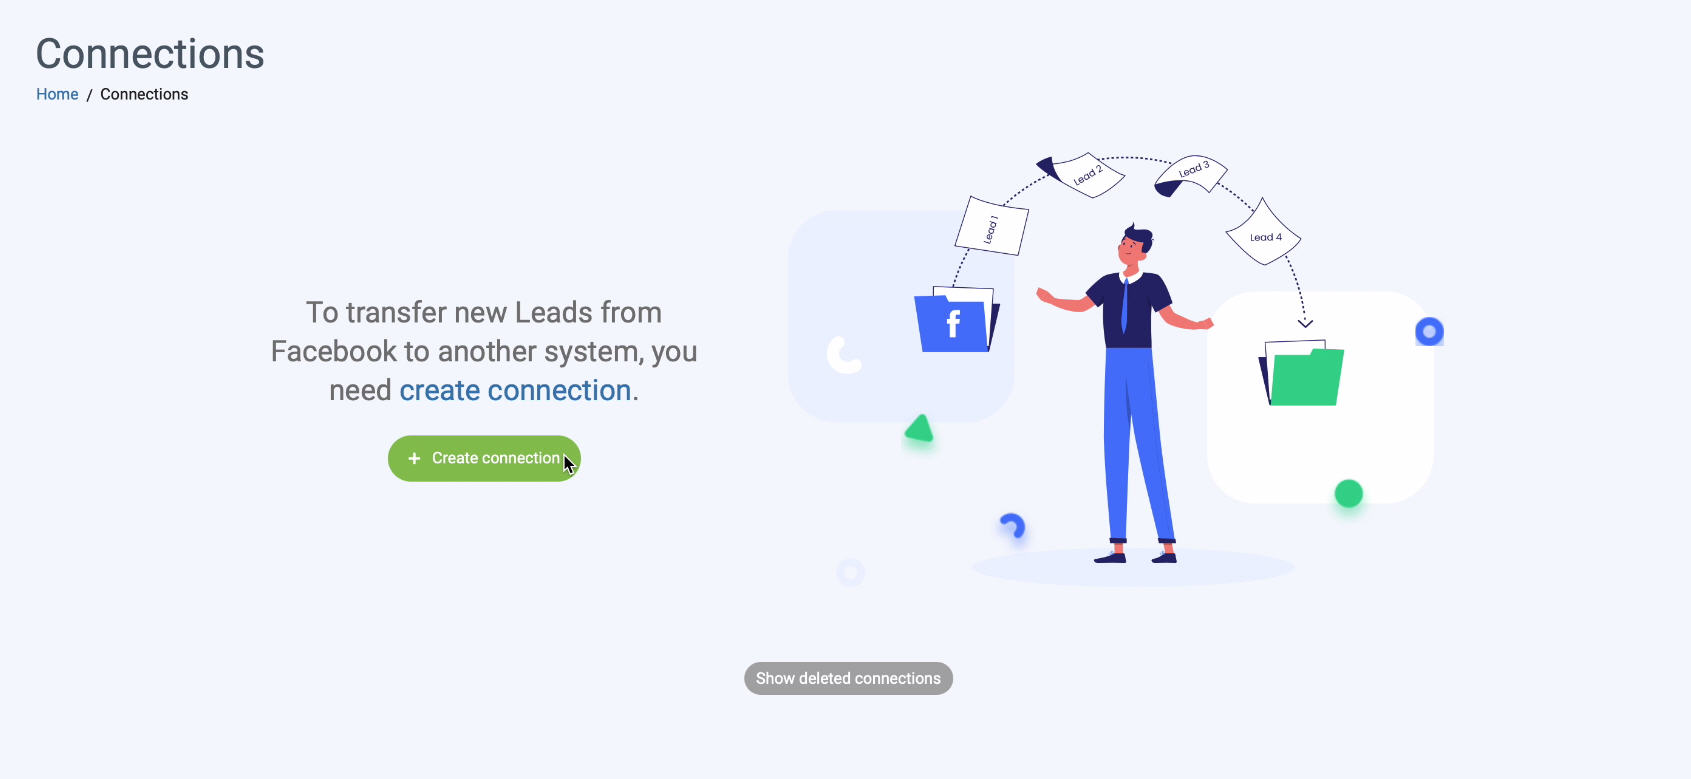
To set up your connection, register on the Save My Leads platform and create a new connection.
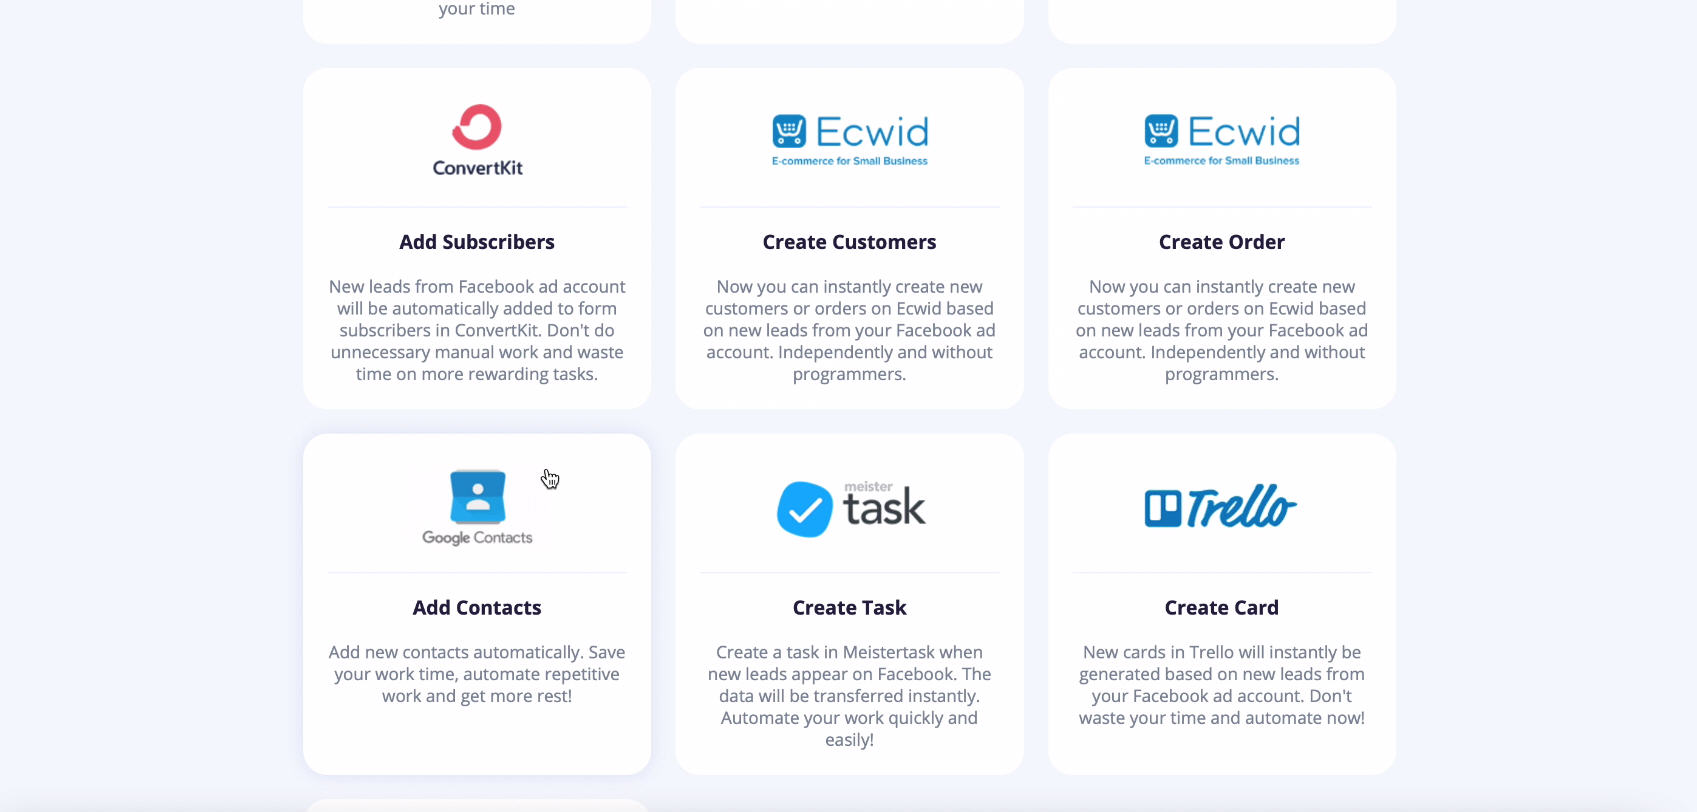
To do this, use one of the ready-made templates for systems to which you can transfer data.
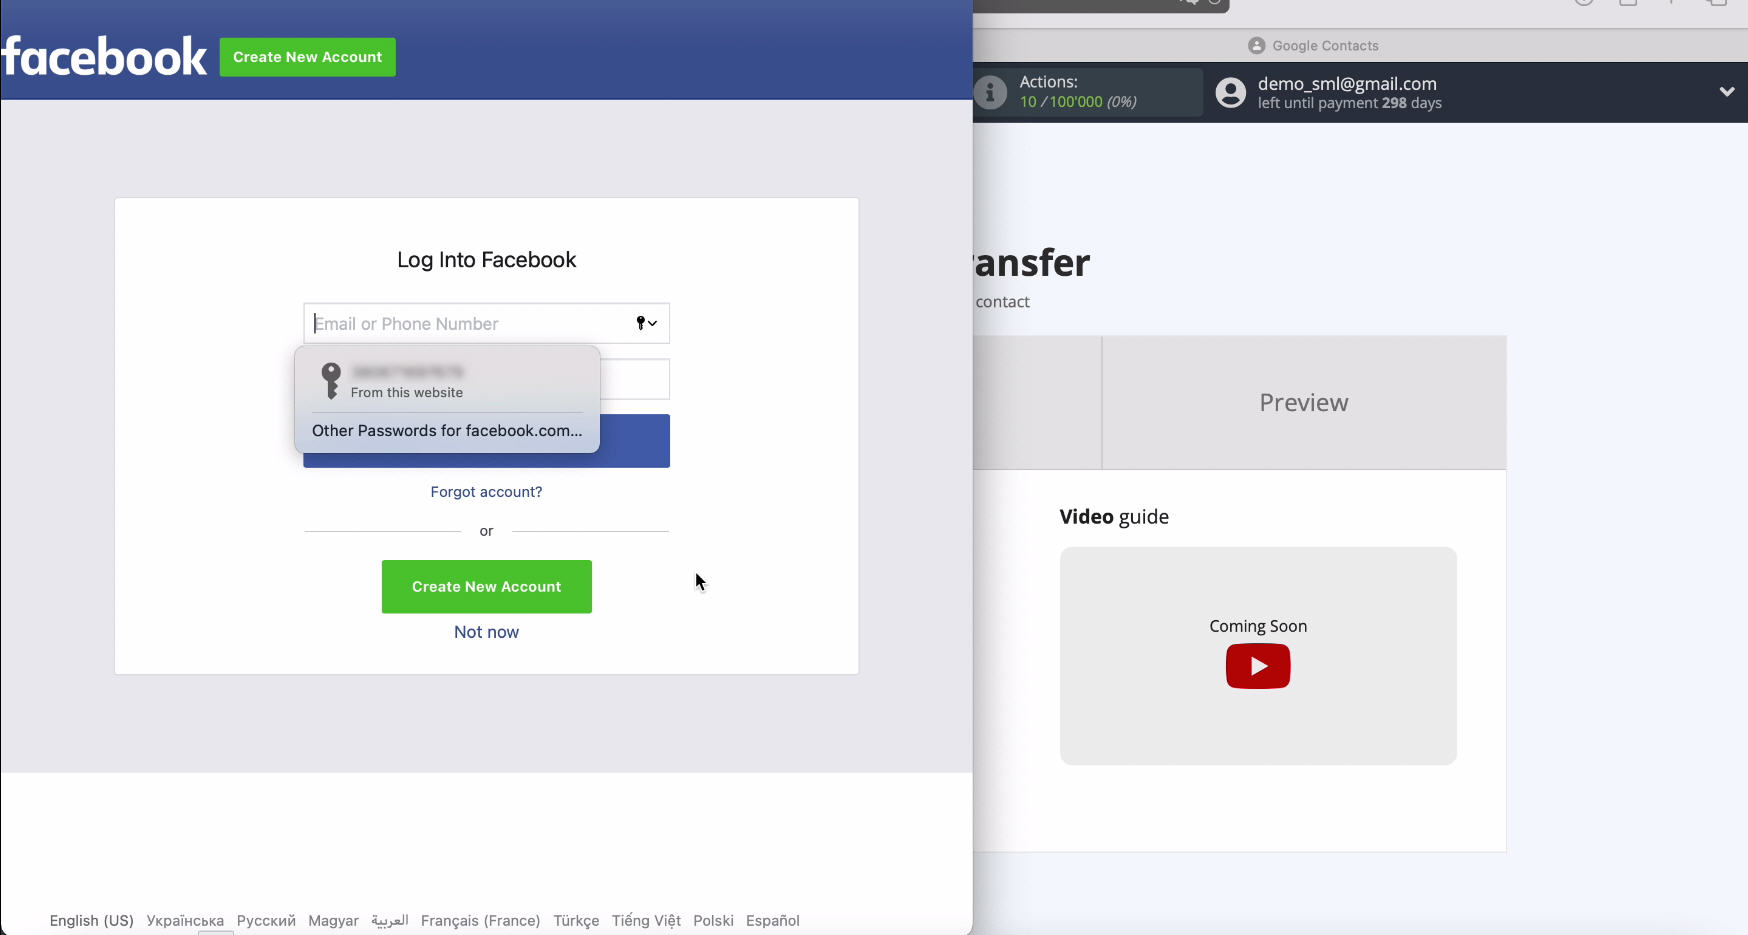
Connect your Facebook account to the Save My Leads system. Enter your username and password from your Facebook account:
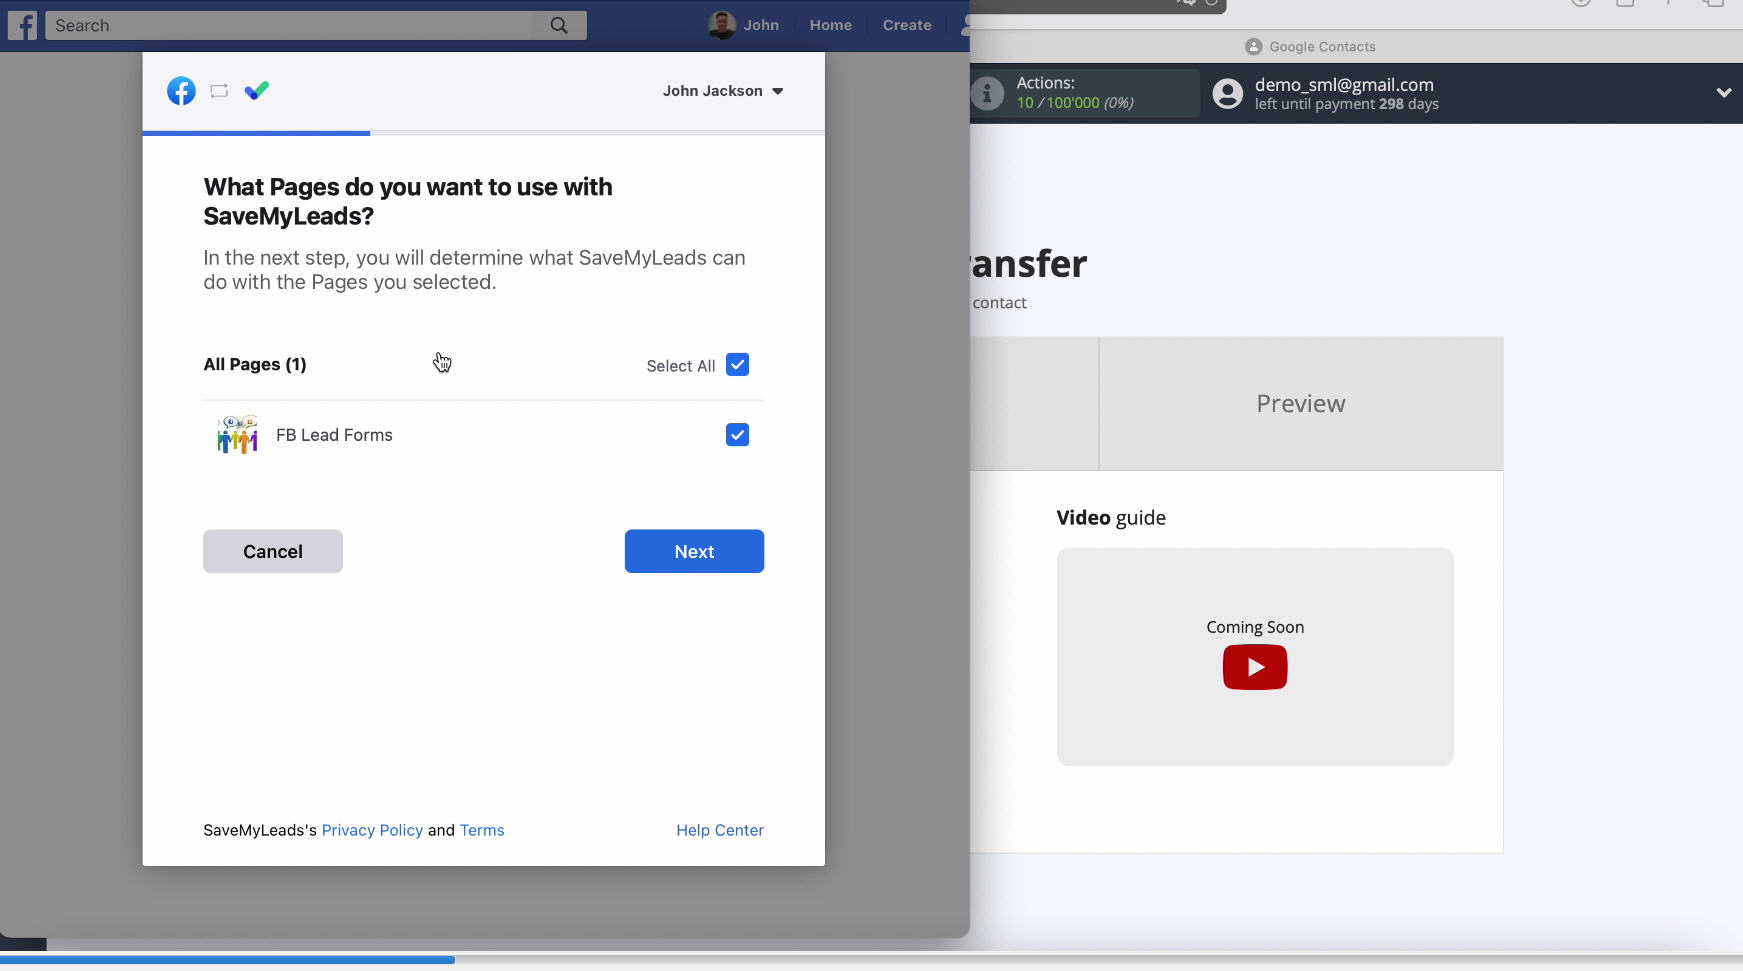
Now you can see all the advertising pages to which you have access. Check all the boxes at once: if you do not receive leads from some of them, then the data from them will not be transferred, but if in the future contacts of potential customers will be collected on them, then you will not miss a single request.
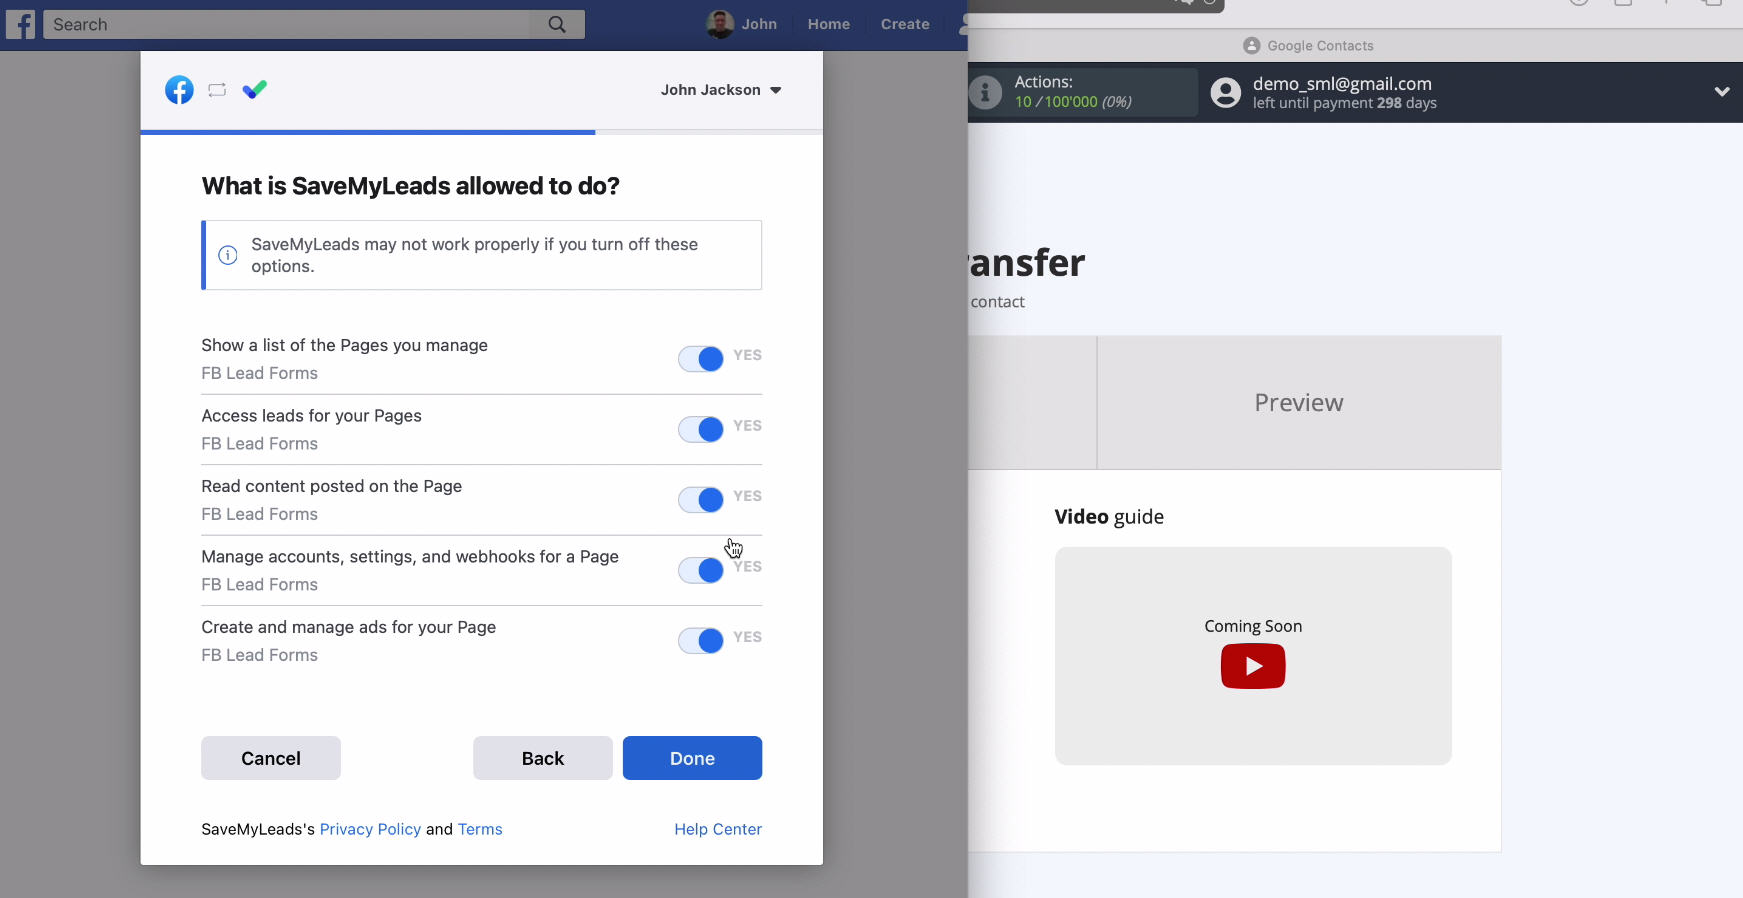
Leave all access checkboxes enabled:
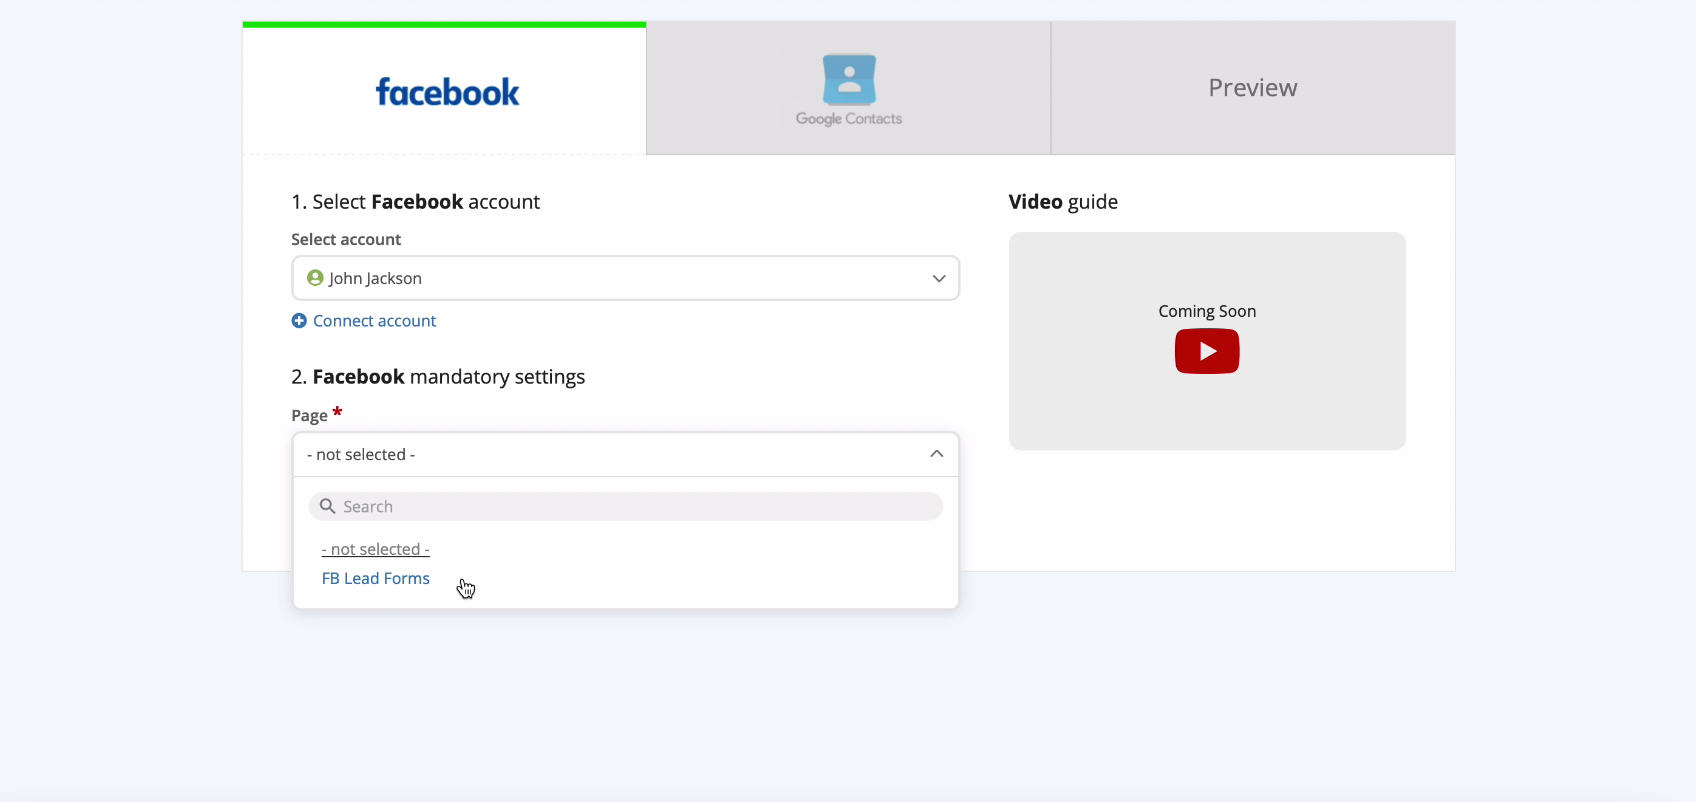
After your account is displayed in the list of connected ones, you must select it, and then - the advertising page on which we want to send leads:
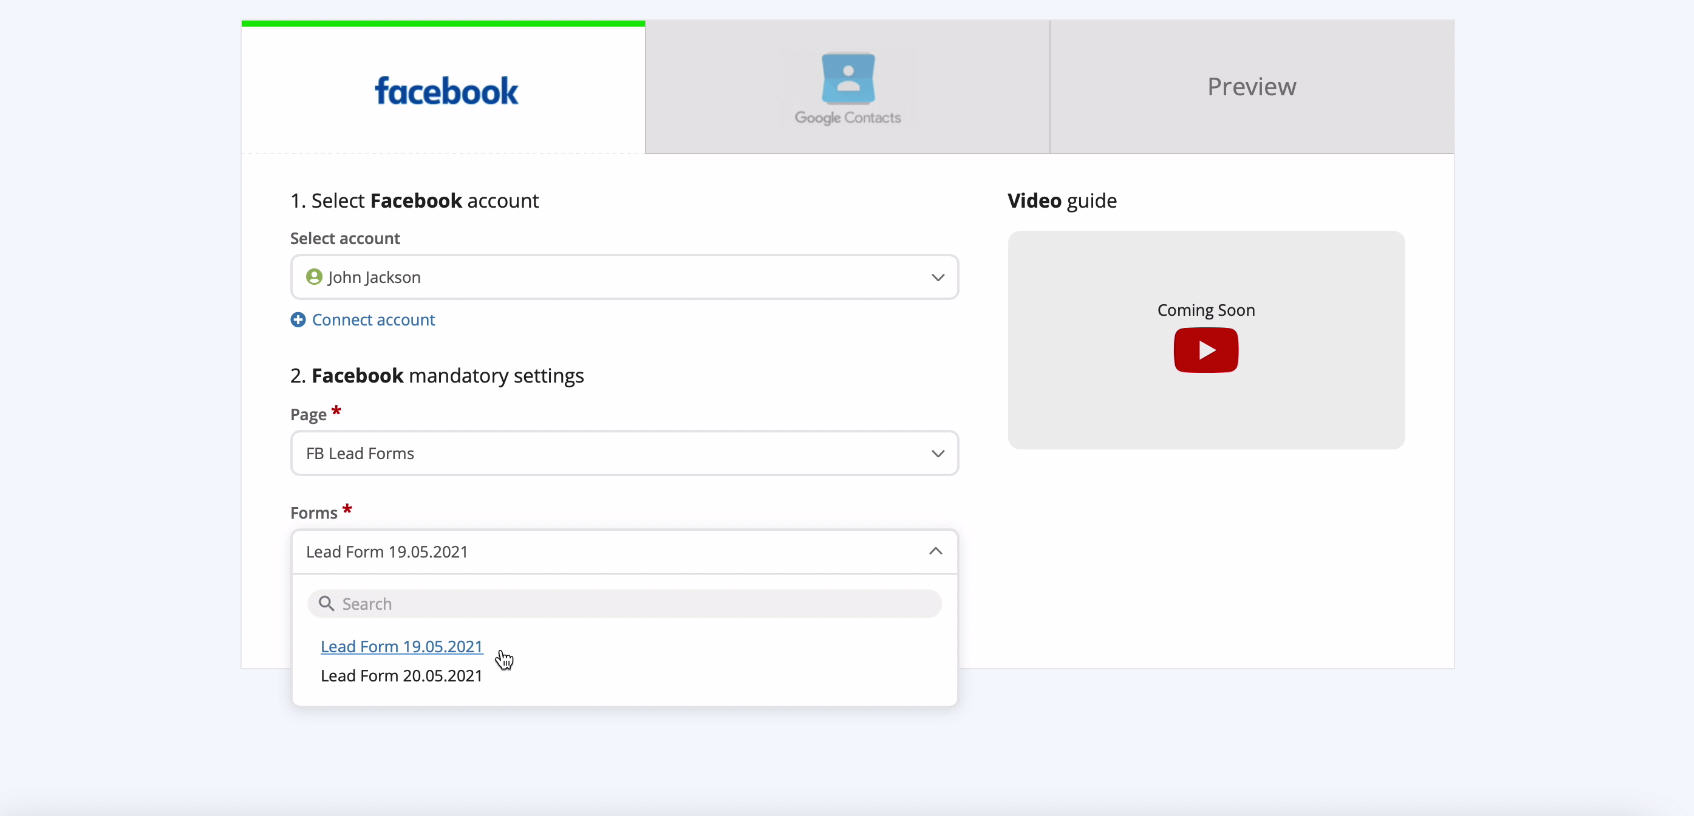
Specify the forms for unload data. If you have several forms, you need to create a connection for each of them:
Connect Google Contacts
You have successfully completed setting up the data source system. Now you need to connect your Google Contacts account to the Save My Leads service. Enter your username and password from:
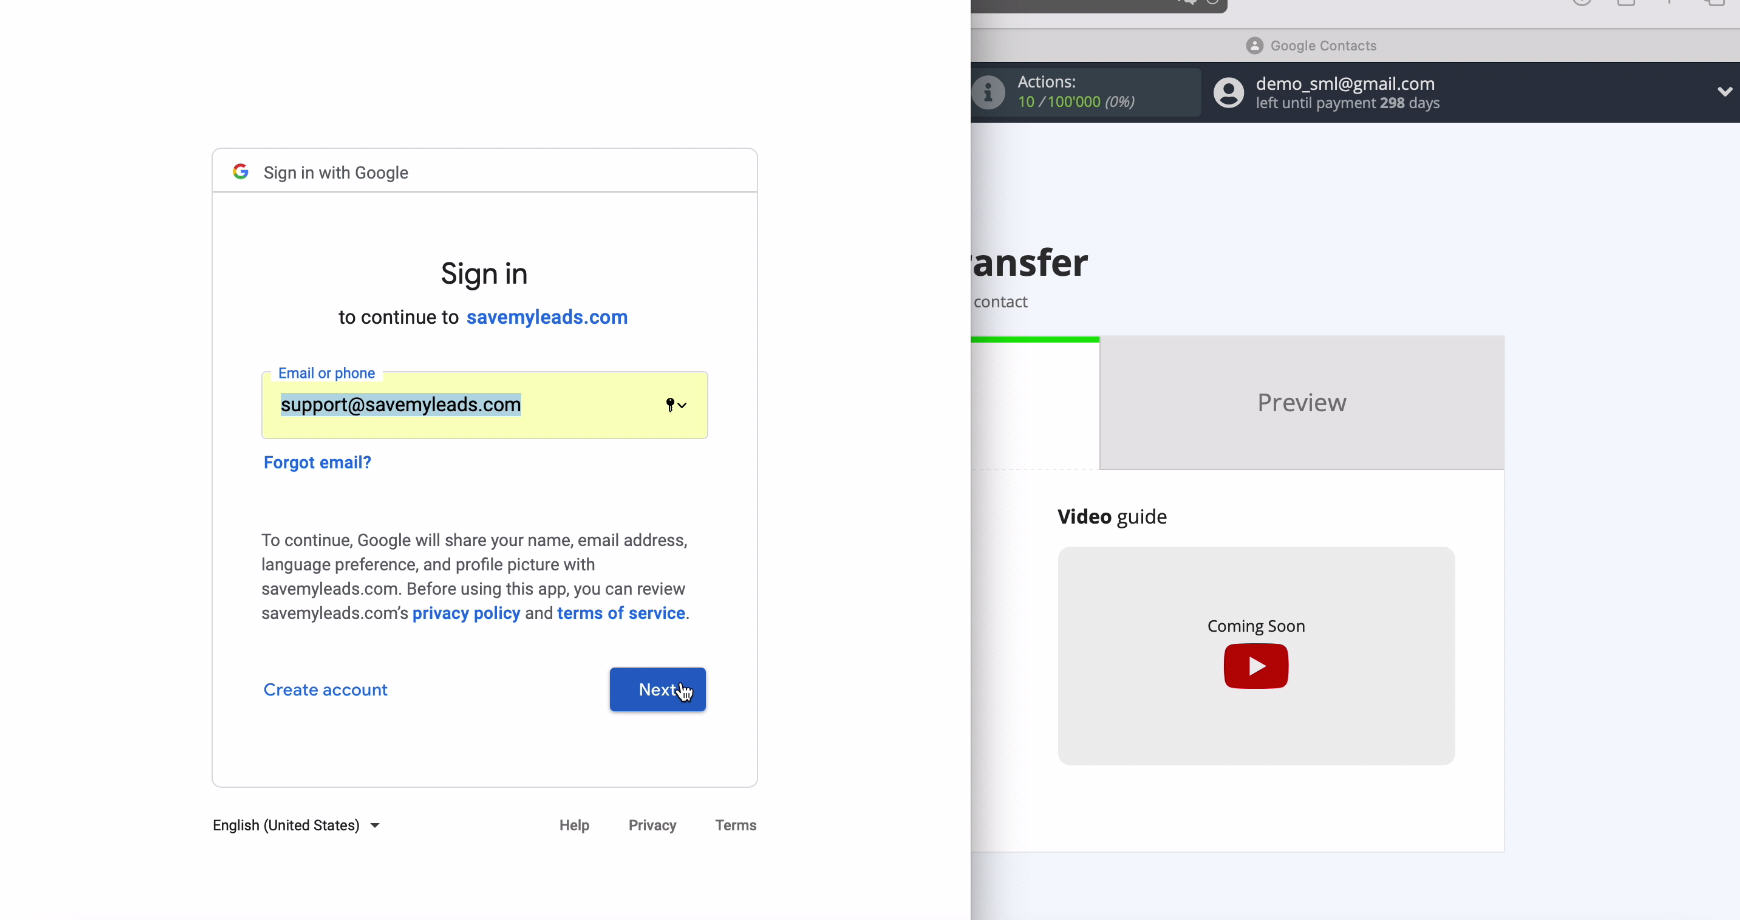
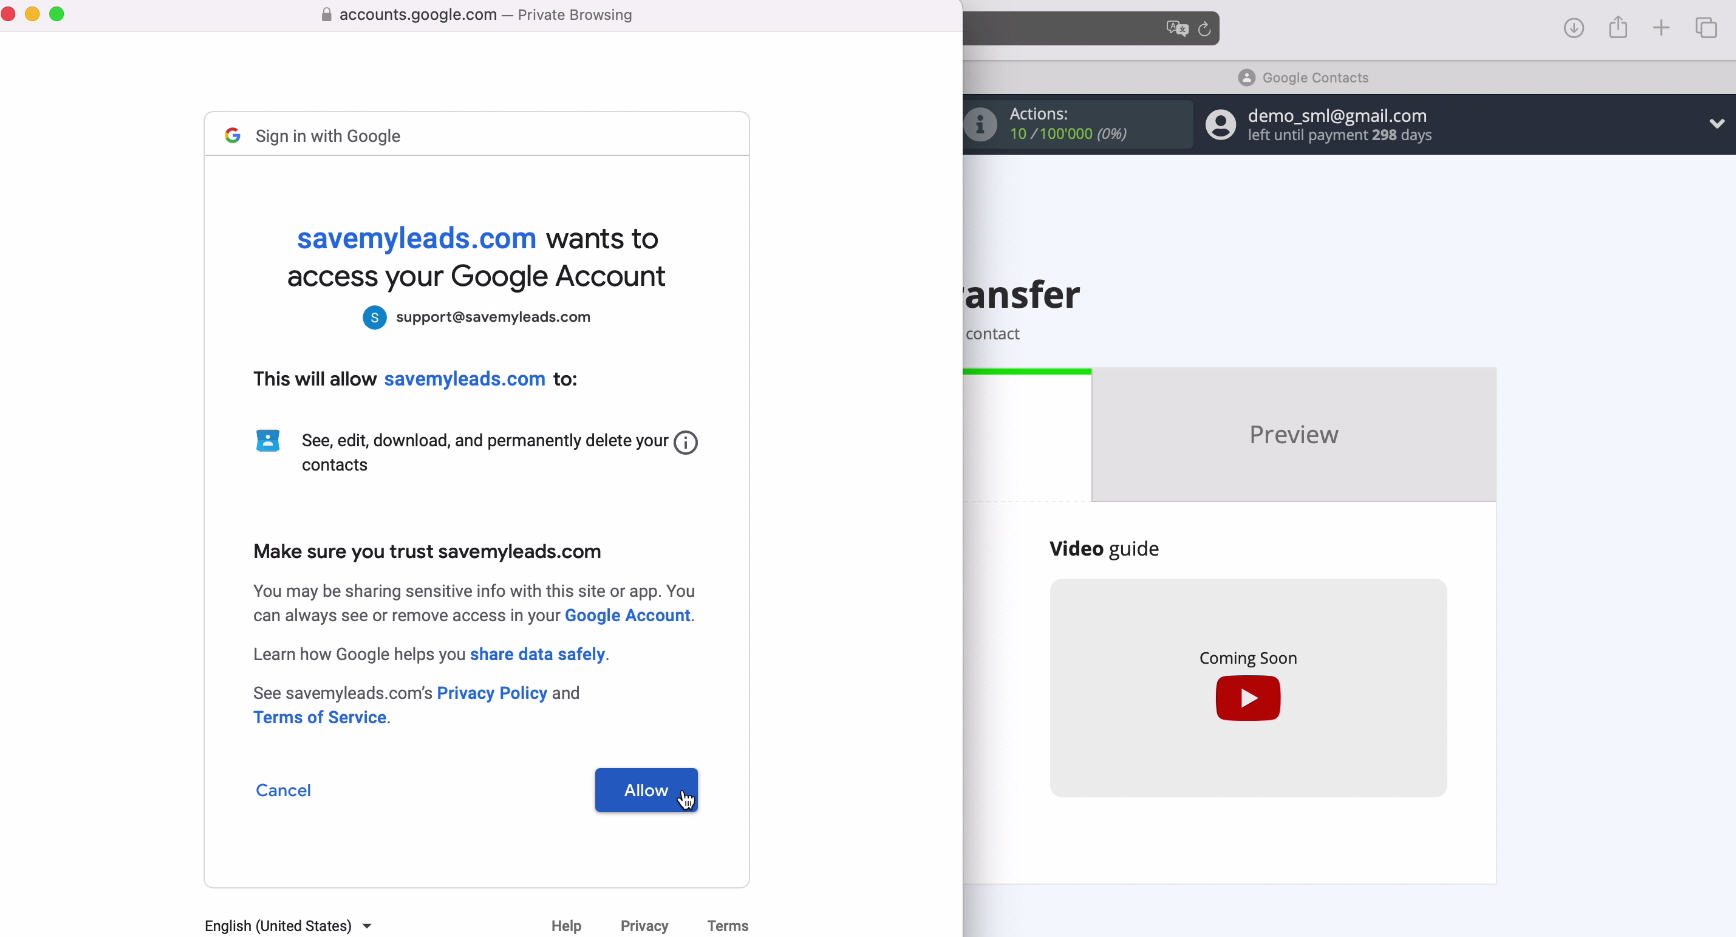
Give permission to the Save My Leads system to work with your account:
After the connected account appears in the list, select it:
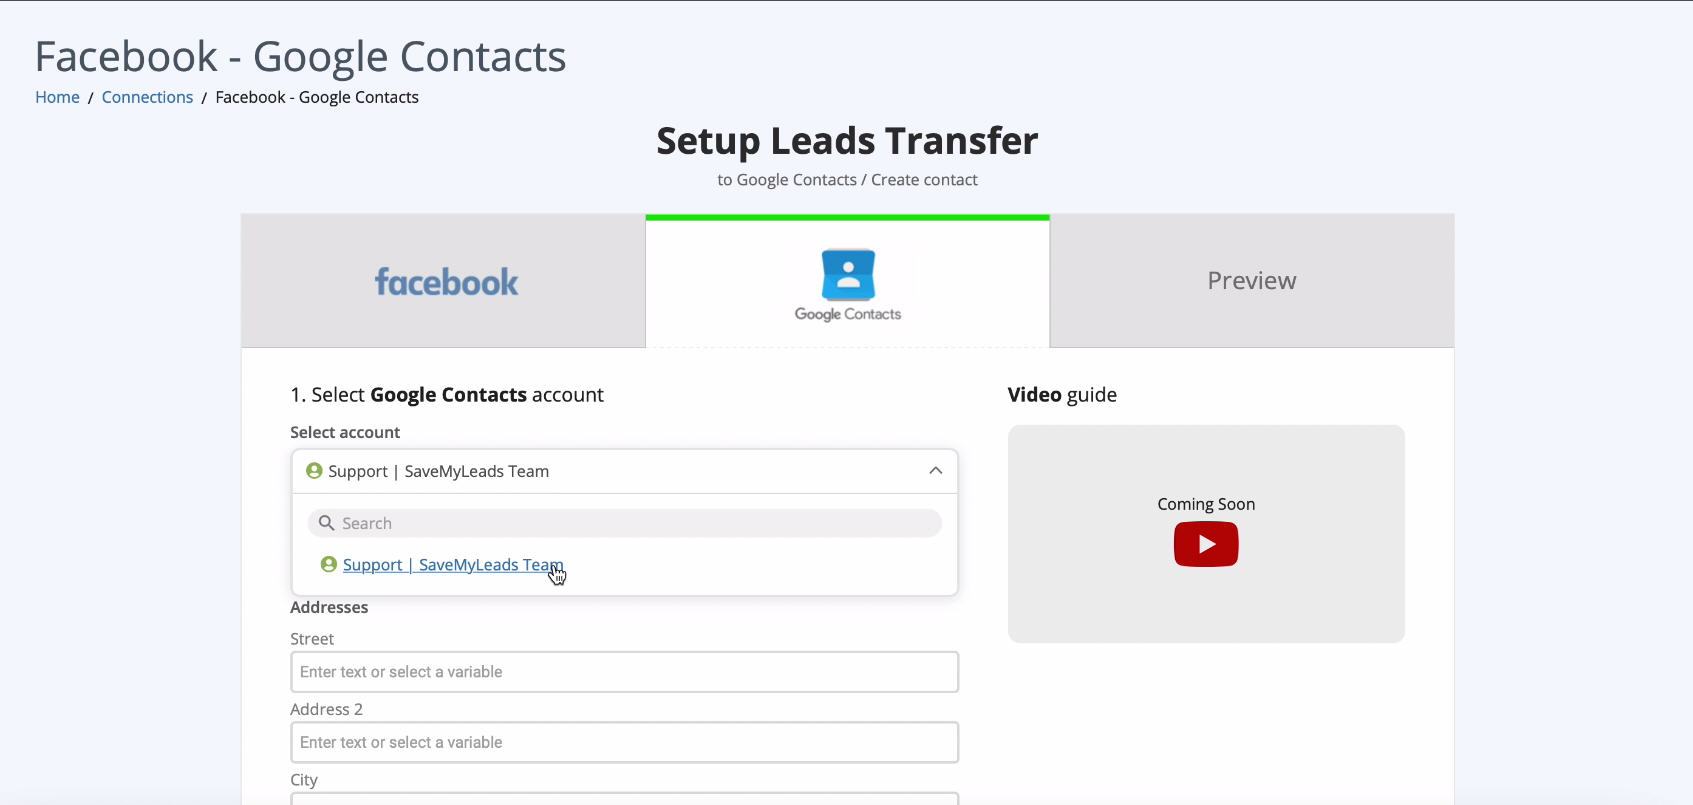
You now see a list of contact fields. They need to assign variables from Facebook. Click in the box and select a variable from the dropdown list.
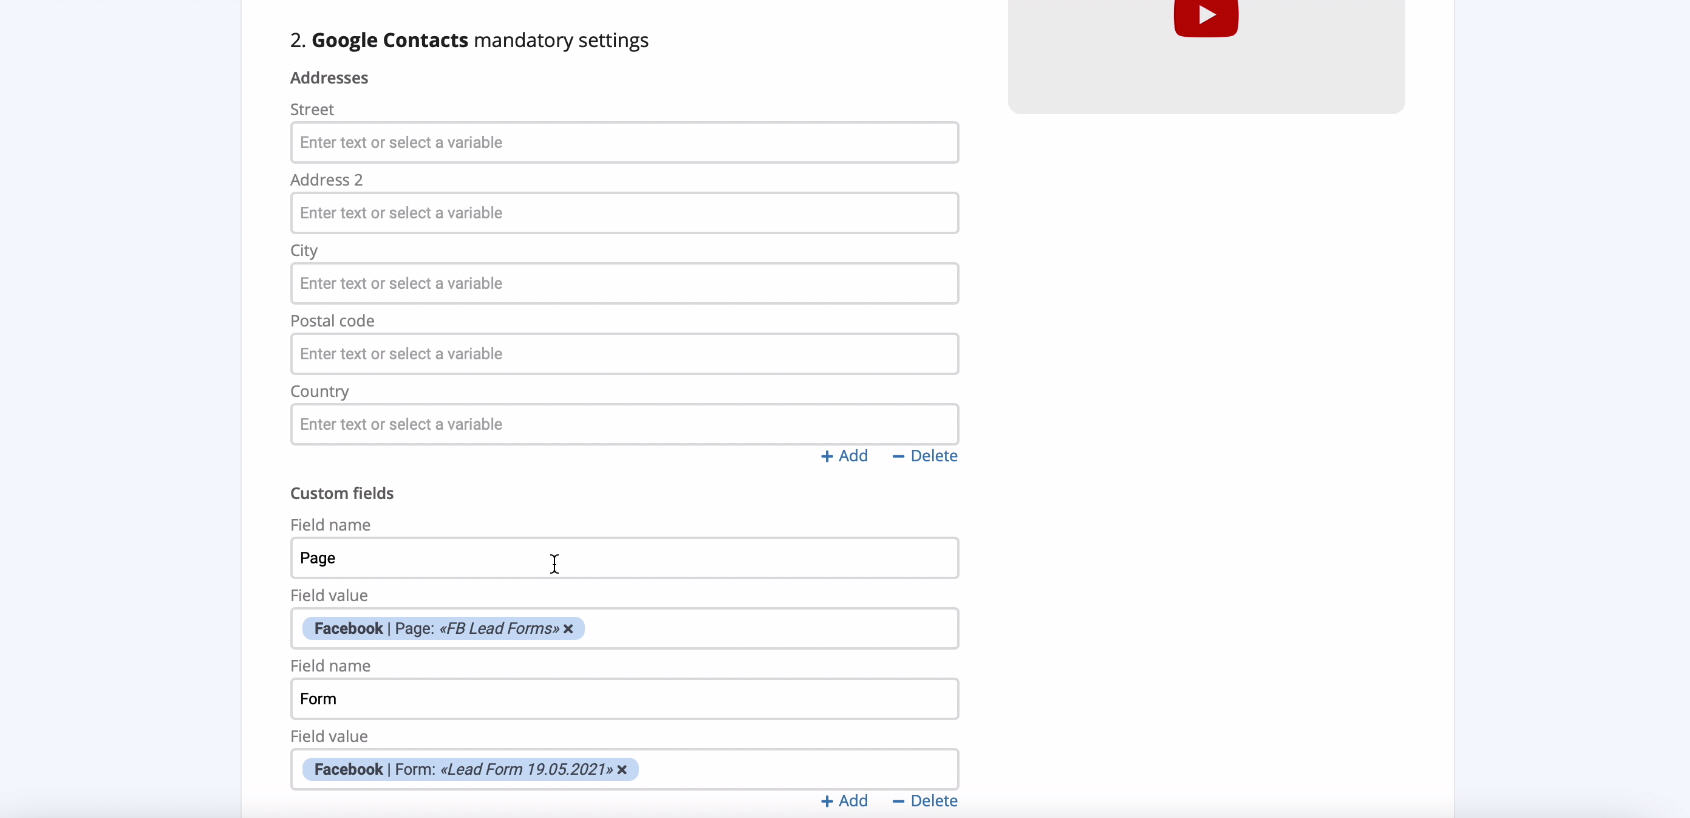
If you are satisfied with the preset fields - you can leave it unchanged, click Continue. Now you can see an example of filling in the fields by contact, which will be created with each new lead from Facebook. To check the connection, send the test data to Google Contacts:
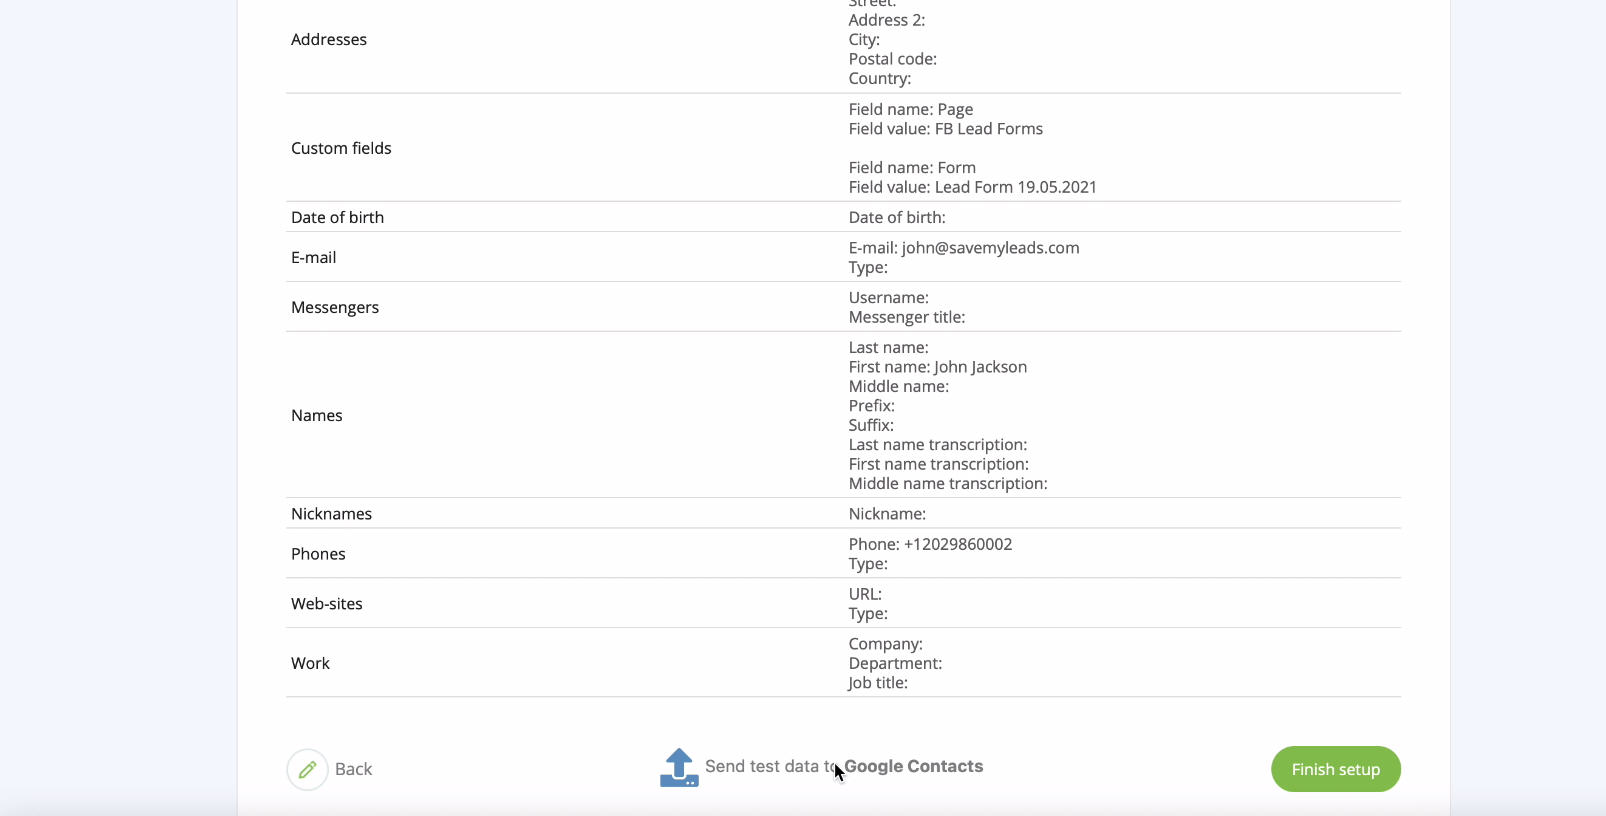
Check the result:
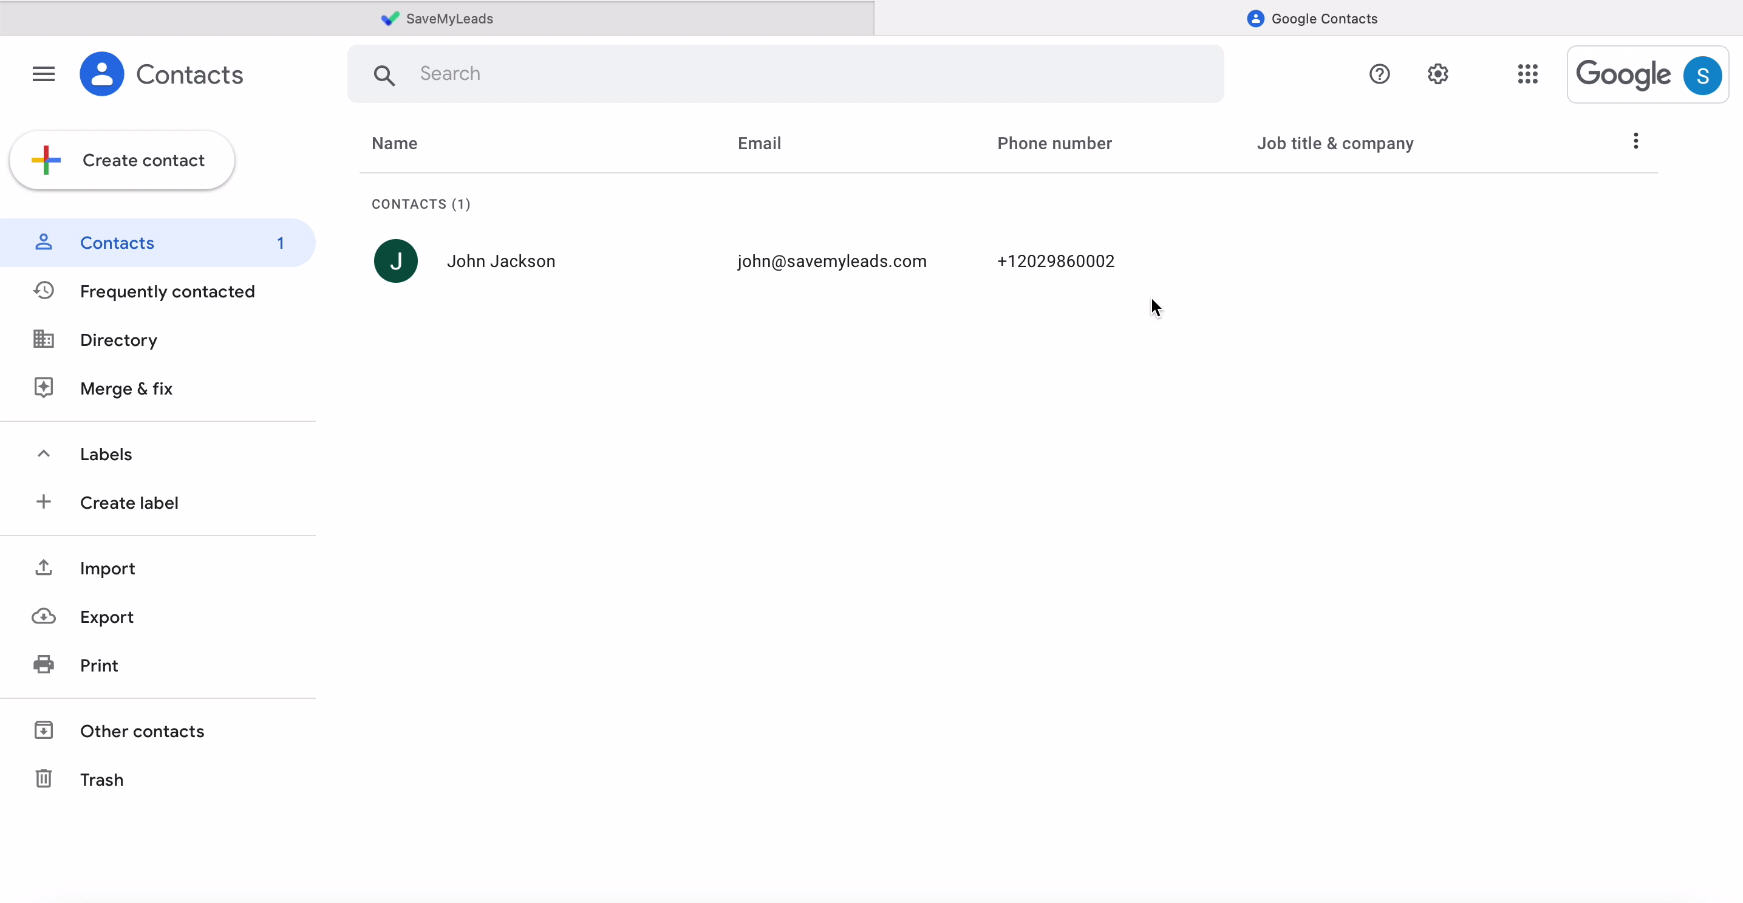
If the setup was completed successfully, it remains to enable automatic data update.
Automatic data update
In order for new contacts to be instantly created in Google Contacts after the lead appears on your Facebook advertising page, you must enable automatic data update:
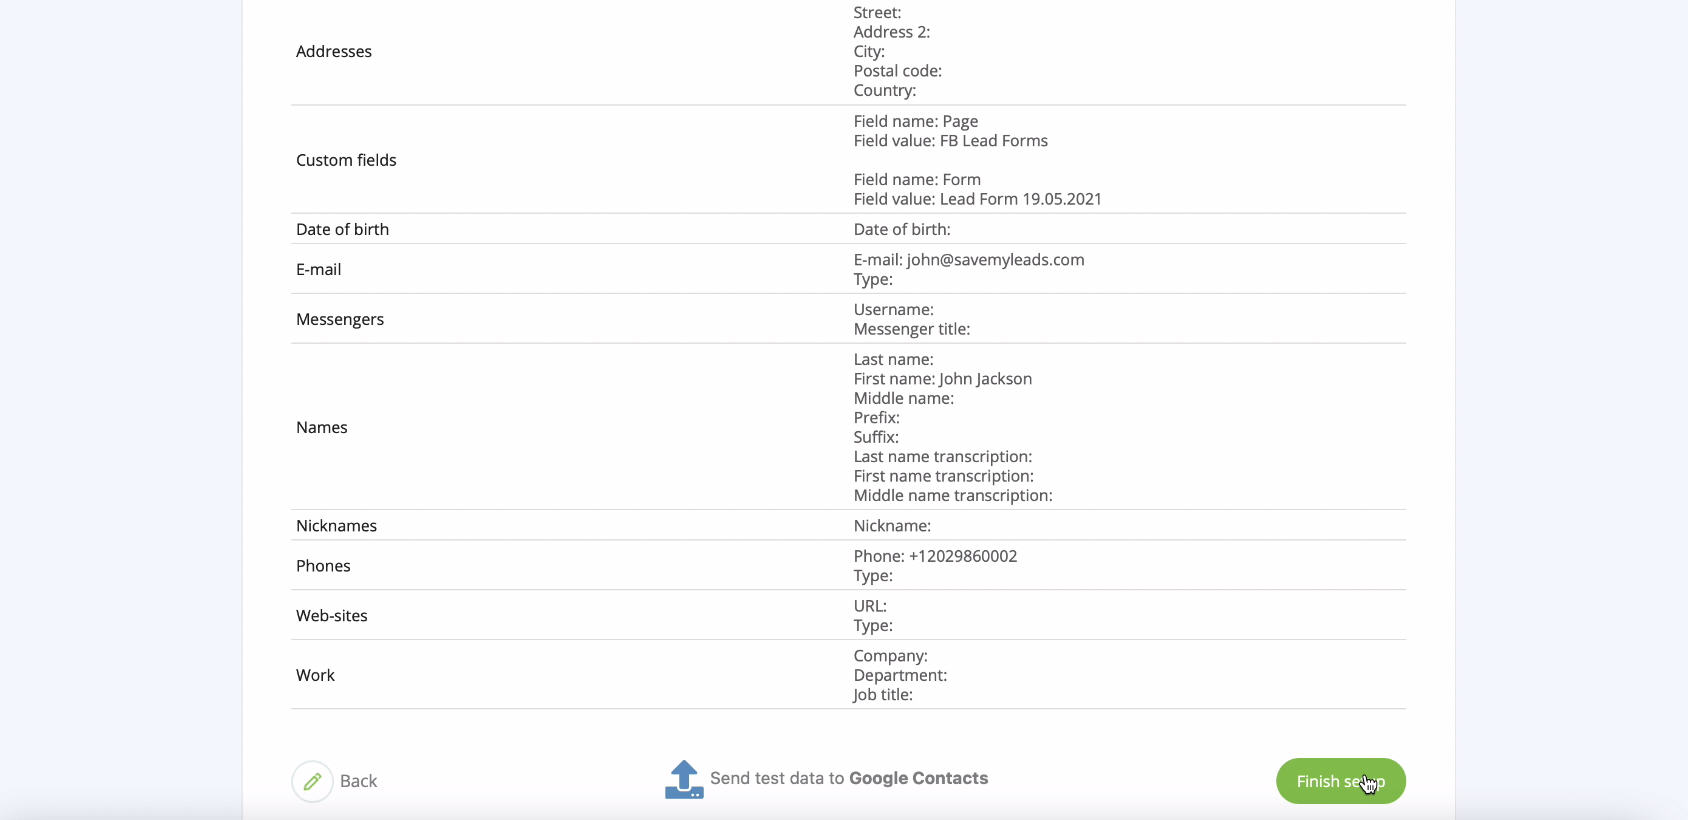
If necessary, change the name of the connection in the settings.
Finish the setup
Any employee without any experience and skills in working with API requests can set up a connection between a Facebook ad account and Google Contacts in 5 minutes. All integrations in the SaveMyLeads service have already been completed.
All you have to do is connect your accounts to the system and turn on auto-update of data so that contacts are transferred every time you receive a new lead. Thanks to automation, you no longer need to transfer contacts manually and waste the time of employees, now you can entrust them with more important tasks.
