Advertising is launched and managed on Facebook in the advertising account. There you can track and analyze its effectiveness. In this article, you will learn how to create your own Ads Manager ad account and set it up correctly.
Creation of an advertising account
When you create an account on the Facebook social network, you automatically receive an Ads Manager advertising account – as part of your profile. This is very convenient because you do not have to create anything additional.
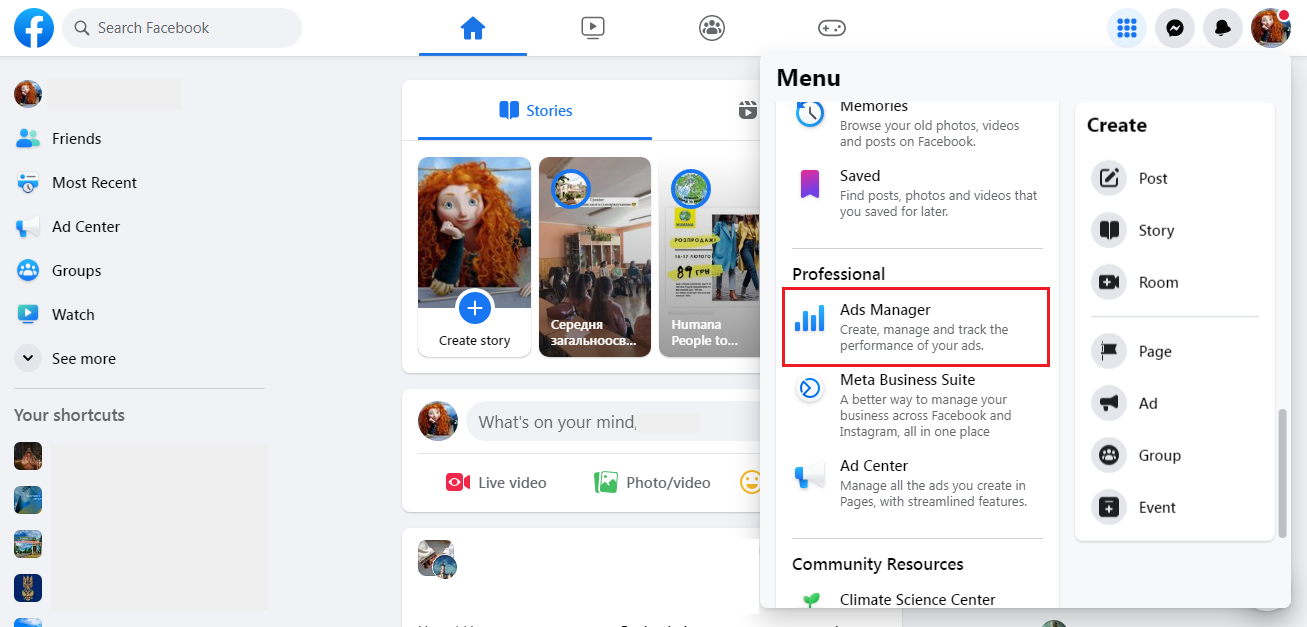
The entrance to the advertising account is located in the Facebook menu (the icon to the left of the personal messages icon). Click on it and do the following:
Find the "Professional" category and click on "Ads Manager".
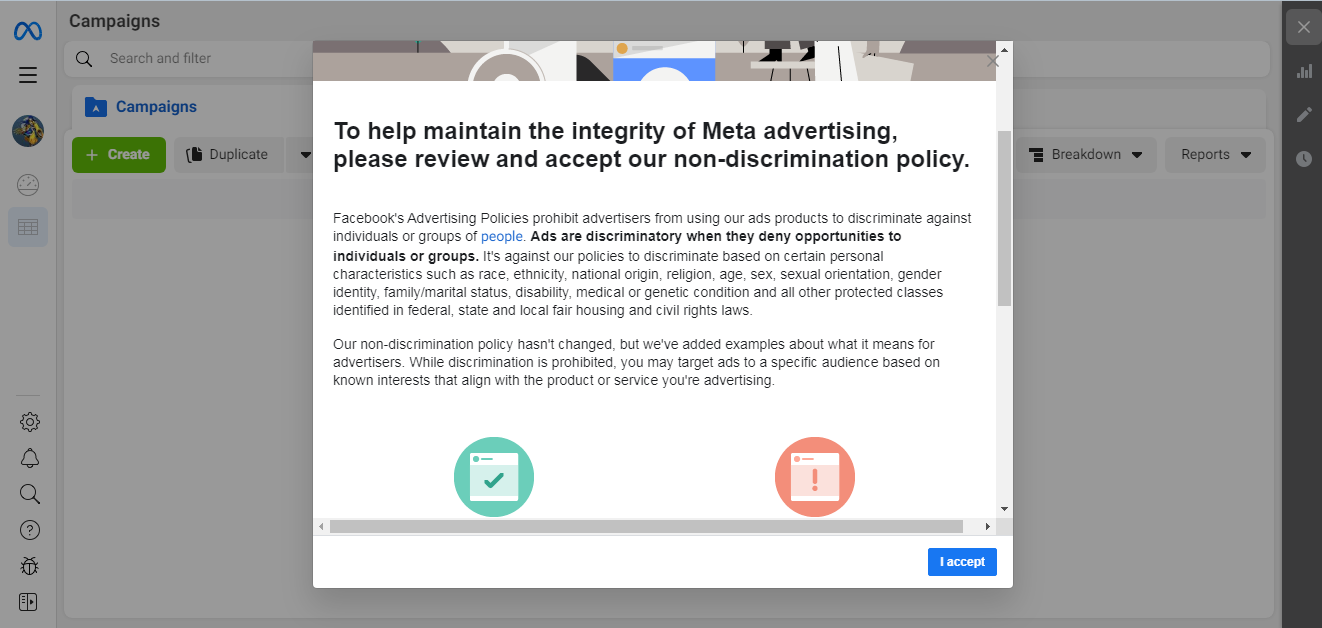
The first time you sign in, you will need to accept Facebook's anti-discrimination policy. To do this, simply click "I accept".
In the window that appears thanking you for accepting the anti-discrimination policy, click on "Done".
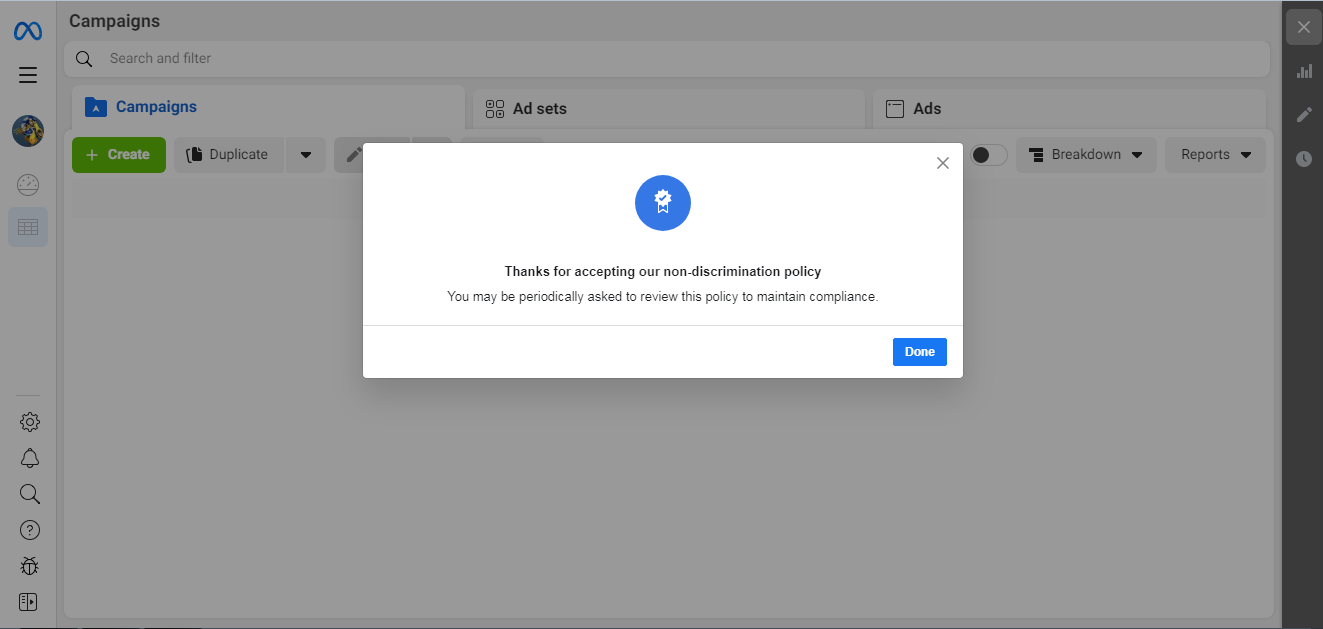
This is all. The advertising account is created and ready for use.
Basic settings
It is recommended to configure all parameters before launching advertising campaigns. It is better not to leave anything for later. To do this, you need to perform the following actions:
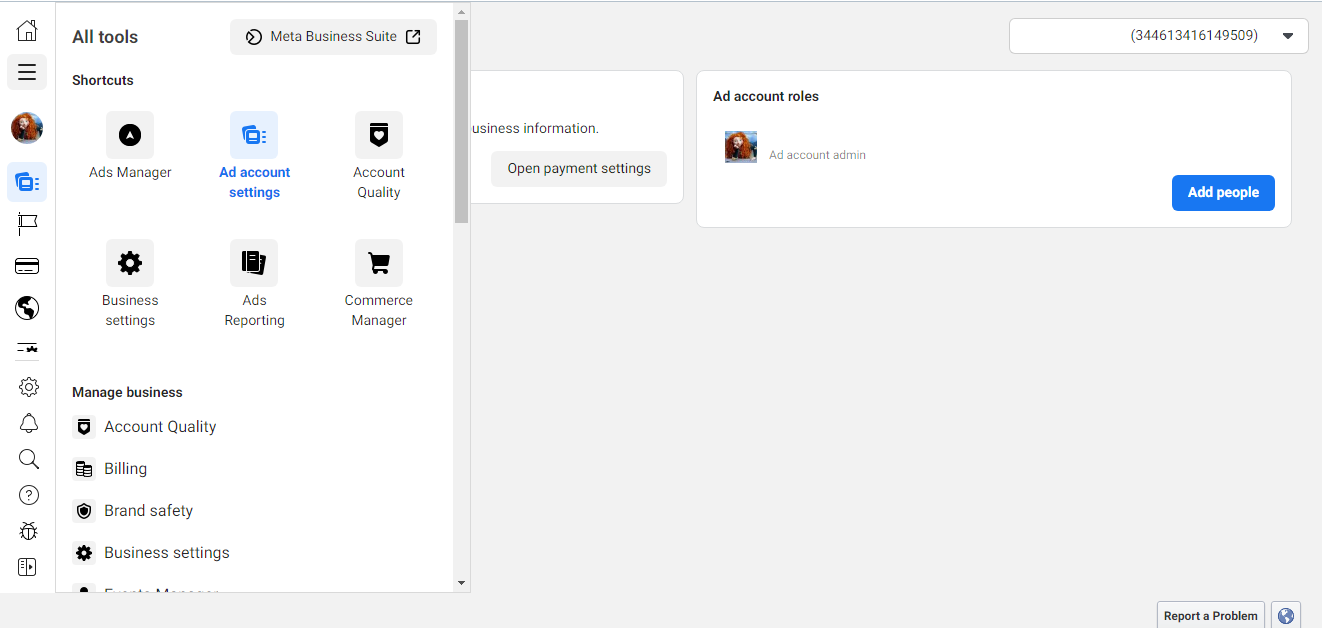
In Ads Manager, go to the “All tools” menu and click on “Ad account settings” there.
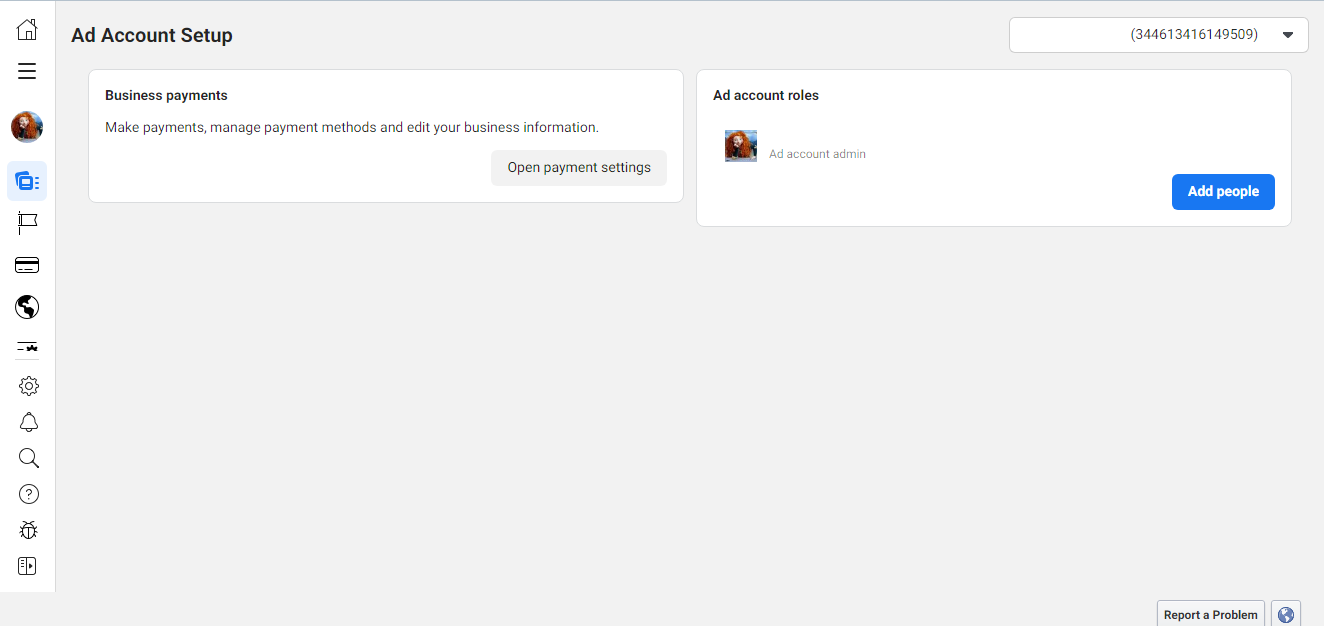
In the "Business payments" category, click "Open payment settings".
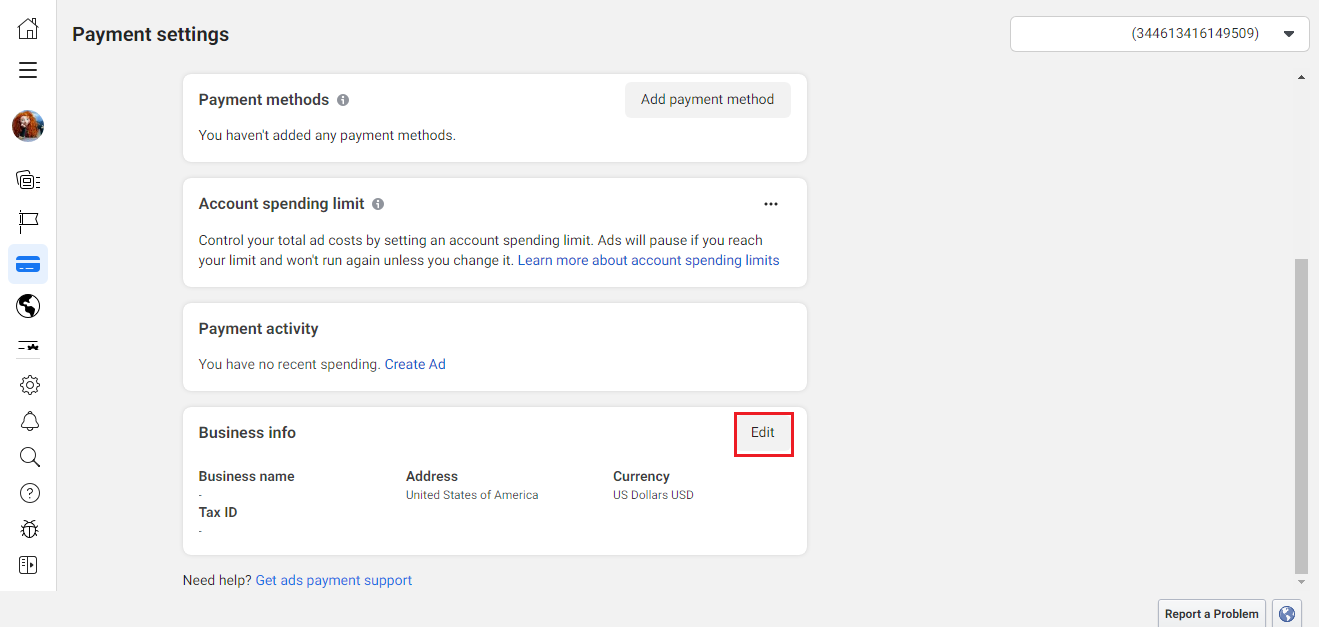
In the "Business info" category, click the "Edit" button.
Set your options (country, time zone, currency).
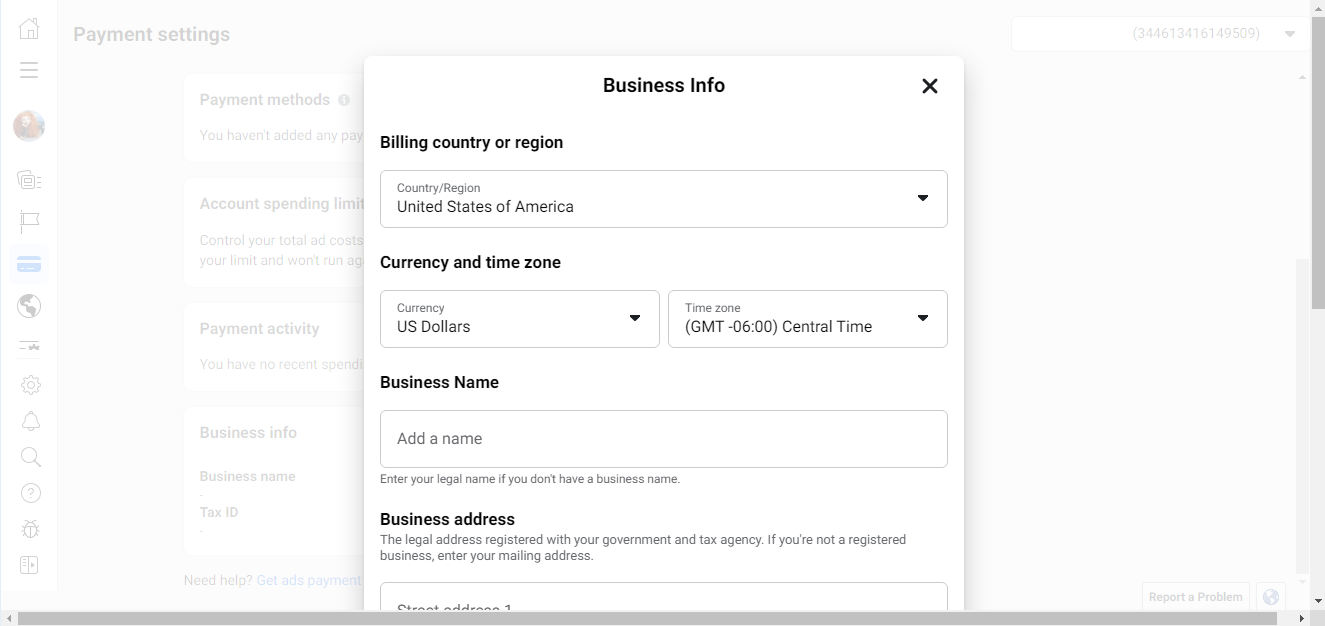
Optionally, you can enter the name of your company and its address.
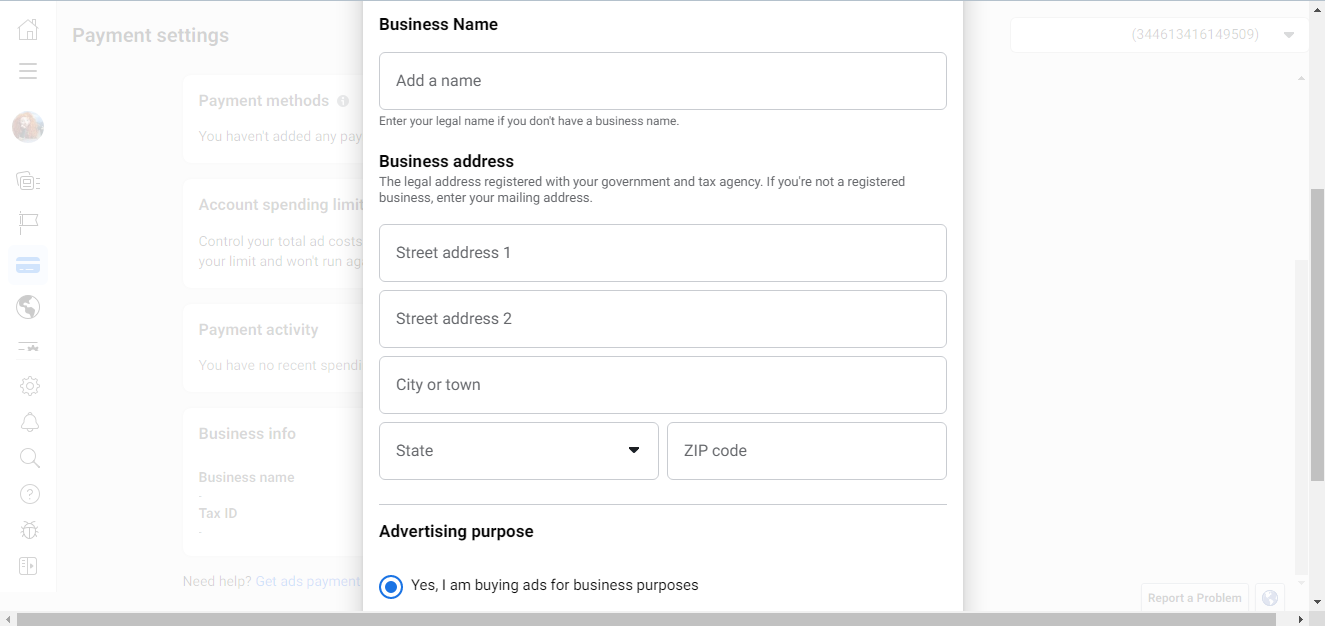
Check one of the statements about buying ads for commercial purposes. After that, click "Save".
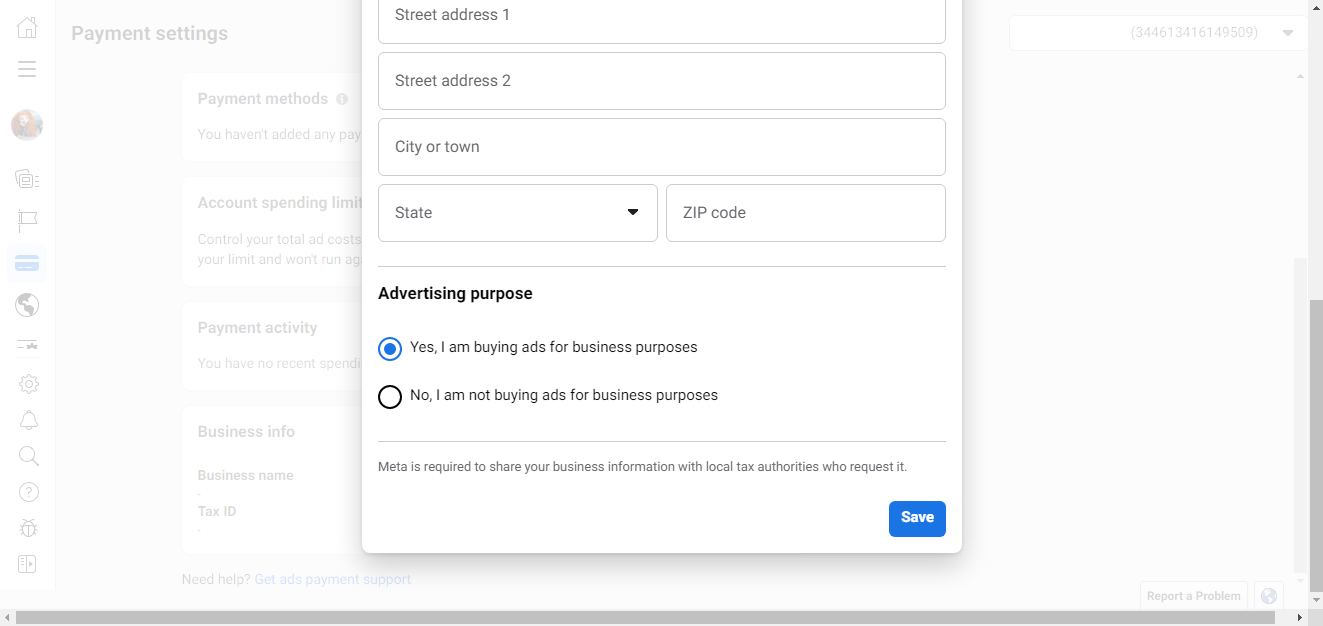
You can change your location, time zone, and currency settings, but this is often undesirable. Facebook regards such actions as suspicious and blocks the ad account.
Timezone
The choice of time zone affects the time schedules of ad impressions and the collection of statistical data. If your business is located, for example, in Milan and you collect analytics for this city, but at the same time set the San Francisco time zone in the advertising account, the data received will have significant discrepancies. In this case, you can not count on adequate analytics. Therefore, it is recommended to immediately select your time zone in the account settings.
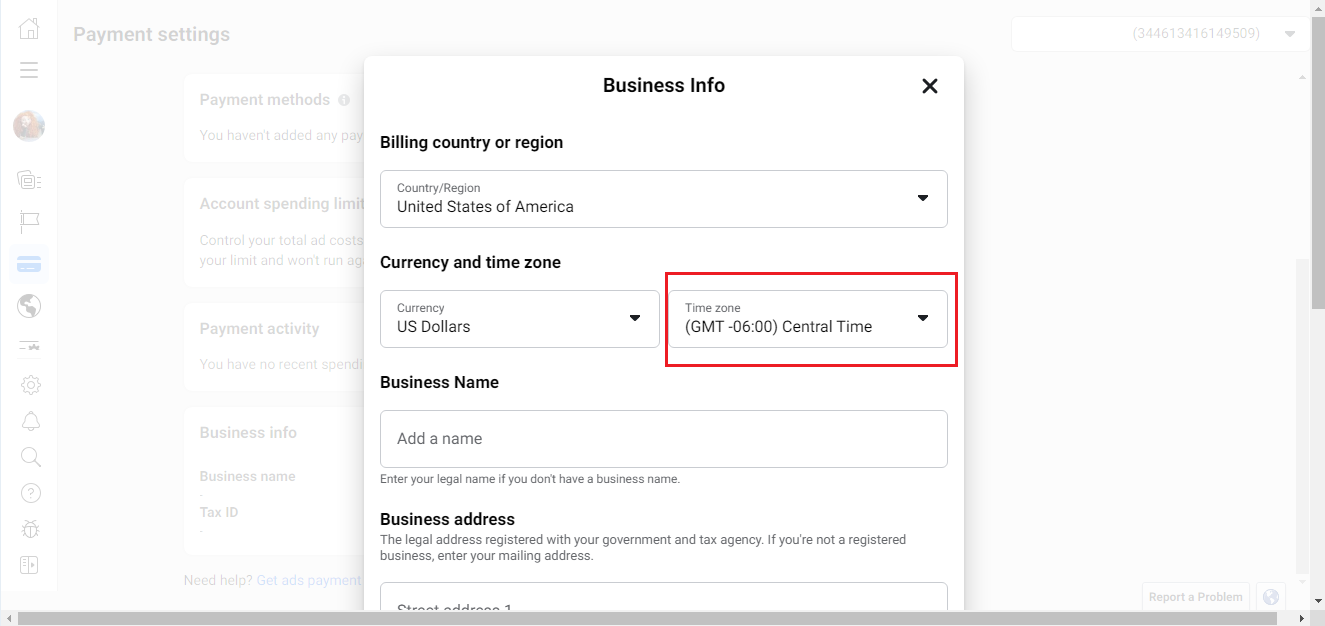
Ads Manager defaults to the Pacific Time Zone (GMT-8:00). If your target audience does not live in the USA, Canada, or another country that is in this zone, do not skip this parameter and set the one you need.
Currency
The currency must be set to the one with which you will pay for advertising. For example, if you plan to link a dollar bank card or a PayPal account in dollars to your account, set the dollar in the settings. Inconsistency of the selected currency with the one you are going to pay for advertising will entail extra commissions.
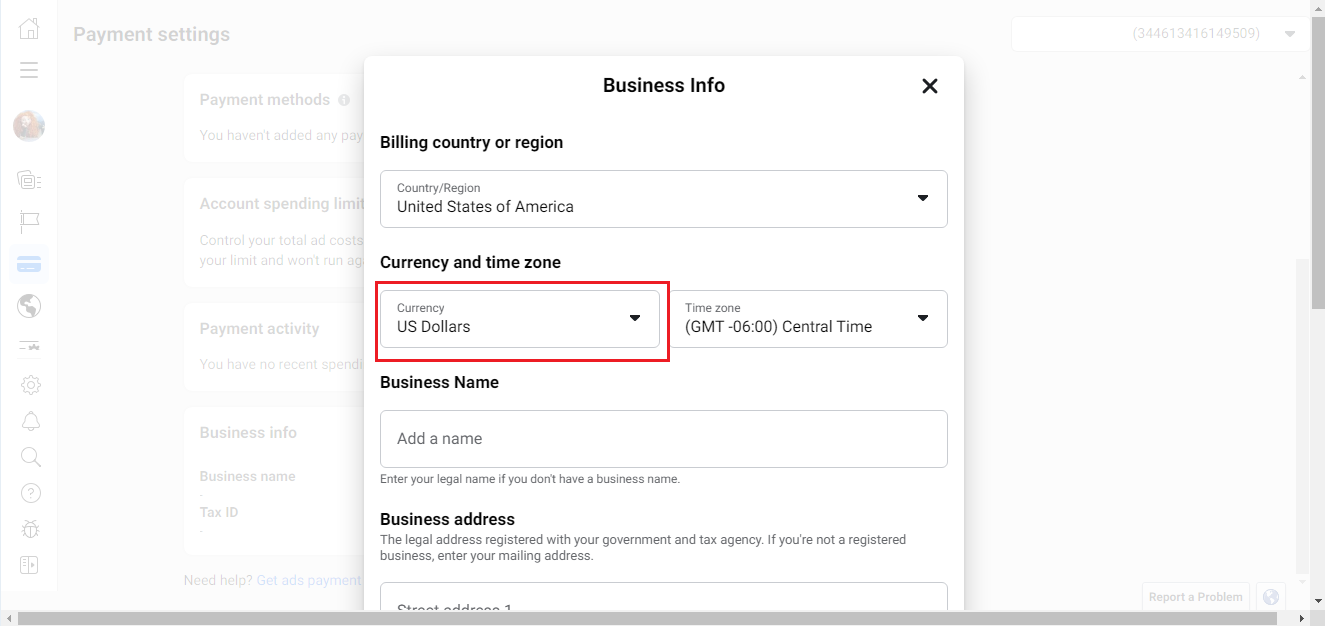
If you made a mistake and accidentally set the wrong currency, you can easily change it in your advertising account. But keep in mind that Facebook allows you to do this only once every 60 days, provided that there is no money on the balance. In addition, there is one more nuance. By making such a change, you will automatically lose your account along with all advertising and create a new "zero"-account.
Limits
It is recommended to indicate the maximum that you can afford to spend on an advertising campaign for the allotted period. When the limit amount is spent, ad impressions will automatically stop. This feature can protect you from unplanned cost overruns and make it easier to manage your marketing budget. The limit can be changed as much as you like – the system here does not limit the user.
To set a limit, follow these steps:
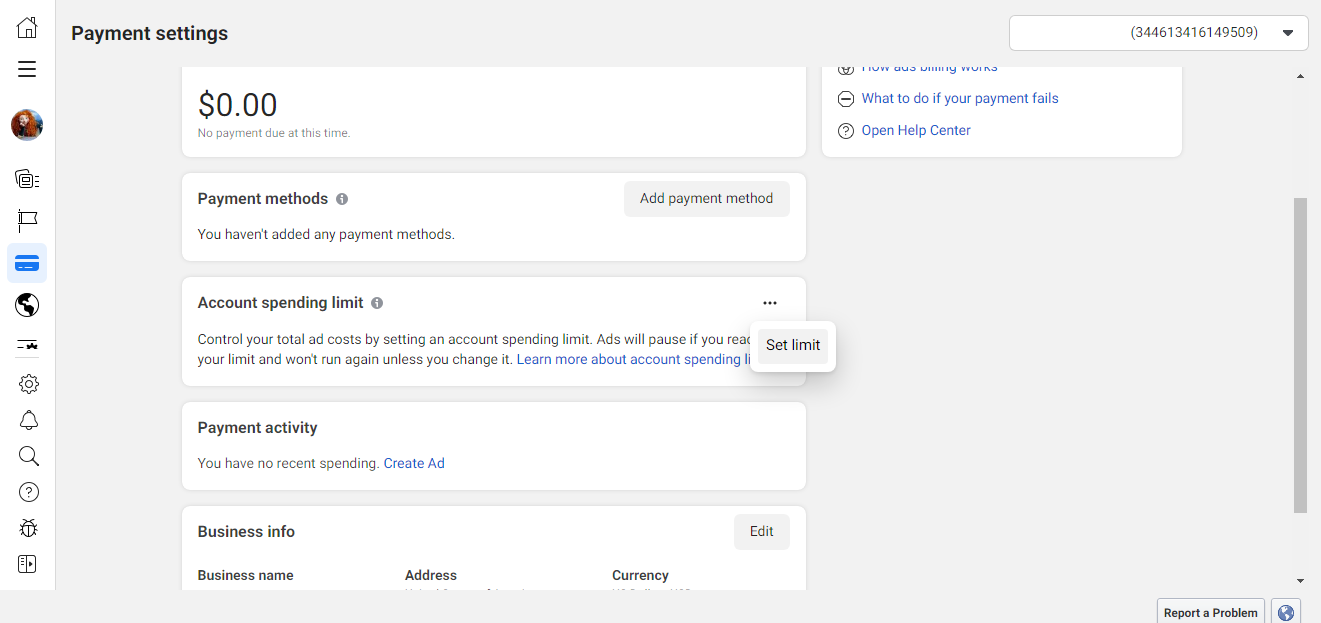
In the "Account spending limit" category, click the ellipsis icon and click "Set limit".
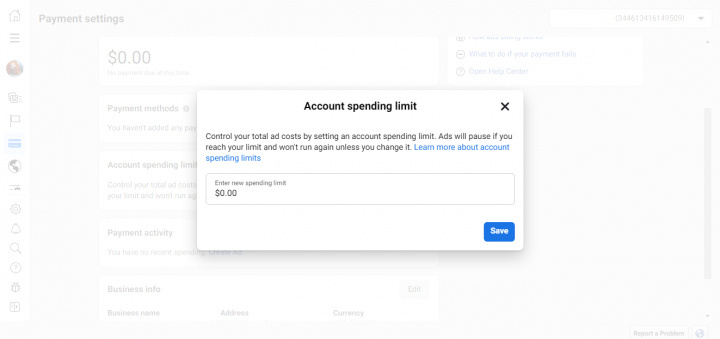
Put the amount you need and click "Save".
Payment Methods
Facebook works on the principle of post-paid: first you run an ad, and then you pay for its impressions. If at the time the system debits the money on the account there is not the required amount, the advertising campaign will be automatically suspended. As soon as there is enough money on it to pay, Facebook will write it off and impressions will resume.
Sometimes the system crashes and funds are not debited. Despite the fact that you are absolutely not to blame for this, ad impressions still stop. How to prevent it? Prudent users, when setting up a payment method in their account, add not one, but two or three – just for this case. If one of them suffers technical problems, then Facebook will be able to withdraw money from the other, and then the advertising campaign will not be interrupted.
Read more about setting up payment methods here.
If you use Facebook Lead Ads, then you should know what it means to regularly download CSV files and transfer data to various support services. How many times a day do you check for new leads in your ad account? How often do you transfer data to a CRM system, task manager, email service or Google Sheets? Try using the SaveMyLeads online connector. This is a no-code tool with which anyone can set up integrations for Facebook. Spend just a few minutes and you will receive real-time notifications in the messenger about new leads. Another 5-10 minutes of work in SML, and the data from the FB advertising account will be automatically transferred to the CRM system or Email service. The SaveMyLeads system will do the routine work for you, and you will surely like it.
