Are you regularly transferring new leads from Facebook to HubSpot CRM? After reading this article, you will learn how to quickly and easily automate the data transfer process. We'll go through a step-by-step guide to setting up Facebook and HubSpot integration. As a result, all new leads from the social network will be automatically transferred to the CRM system.
Content:
1. How to set up Facebook Leads and HubSpot integration
2. Connect Facebook
3. Connect HubSpot CRM
4. Enable auto-update
5. Integration result
Multifunctionality and user-friendly interface have made HubSpot one of the most popular systems in its segment. The presence of modules for different tasks, as well as flexible settings, allow businesses to create a comfortable and efficient workspace. HubSpot users can manage sales, automate marketing, track customer activity, set up business communications, publish content, and more.
HubSpot CRM has a fairly simple and straightforward structure. The main entities are contacts, deals, companies. Each section can be customized to suit your needs. HubSpot allows you to efficiently store and process contact information. In the card, you can create deals, tasks, notes, and add attachments. In addition, the manager, without leaving the contact, has the ability to send E-Mail or make a call via IP-telephony.
When a phone or email enters the CRM system, the manager begins to build communication with the client. Contacts can be collected from different channels. For example, from the social networks Facebook and Instagram. The Facebook Lead Ads advertising tool allows you to create lead forms to collect leads and contact information. It is important to remember that lead processing speed affects sales conversion. That is why a request from a social network should quickly get into the CRM system. This is easy to achieve with Facebook and HubSpot integration. If you link the two systems, you can set up automatic export of new Facebook leads to HubSpot CRM as contacts.
How to set up Facebook Leads and HubSpot integration
The SaveMyLeads service is a no-code tool for combining a Facebook advertising account with other systems. You have the opportunity to set up automatic transfer of Facebook leads to CRM, Email and SMS services, instant messengers, chat bots, Google services, etc. To work in the SaveMyLeads system, you do not need programming knowledge or special skills. The SML service offers a simple interface and a clear setup procedure.
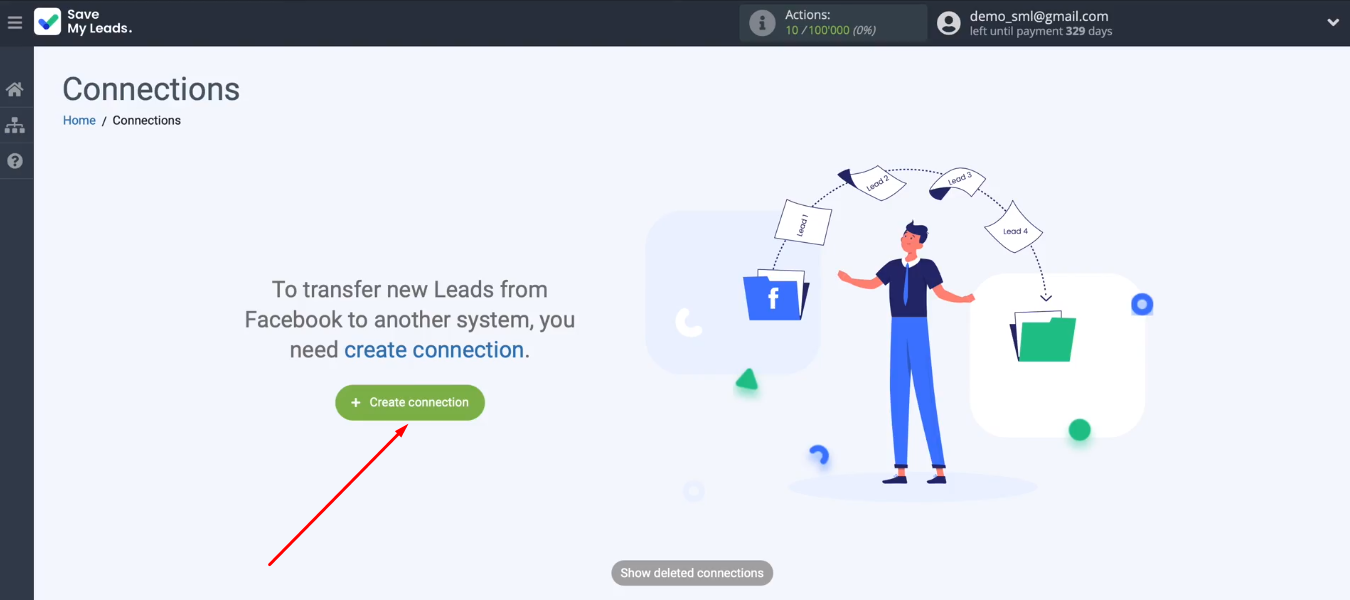
To start working with the SML service, you need to register. You can also use authorization through your Google or Facebook accounts. Create a new connection in your personal account.
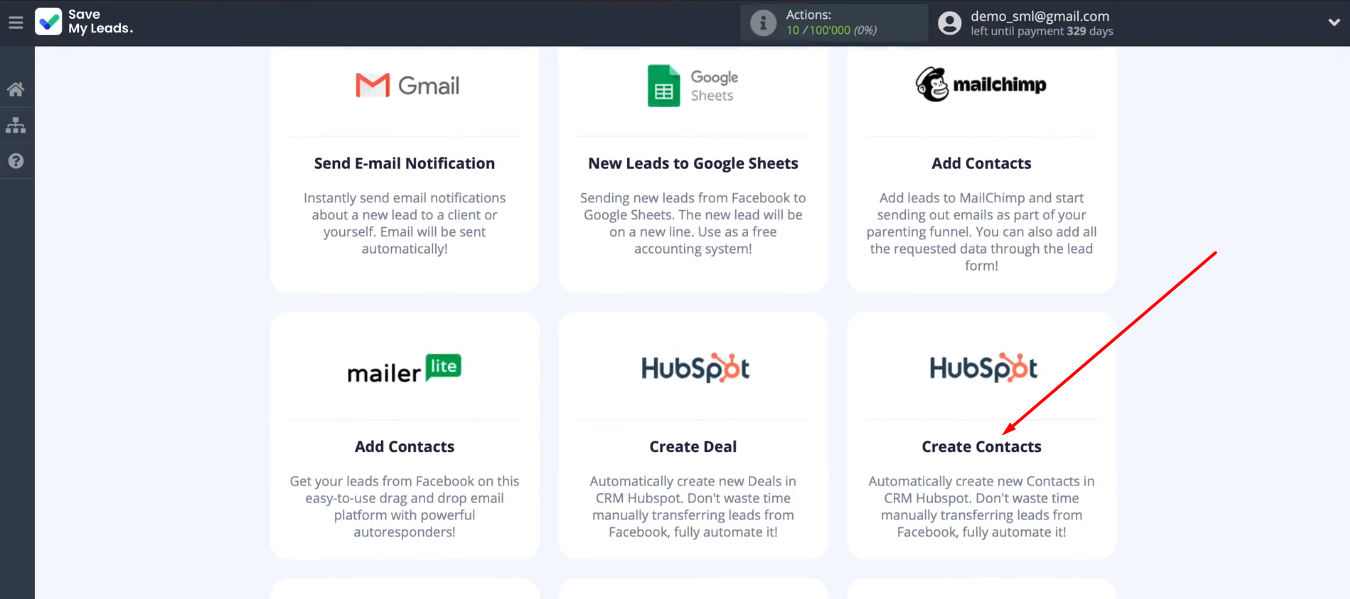
We are offered a list of ready-made templates for setting up integrations with different services. Select “HubSpot (Create Contacts)”.
Connect Facebook
Connect your Facebook account to the SaveMyLeads system.
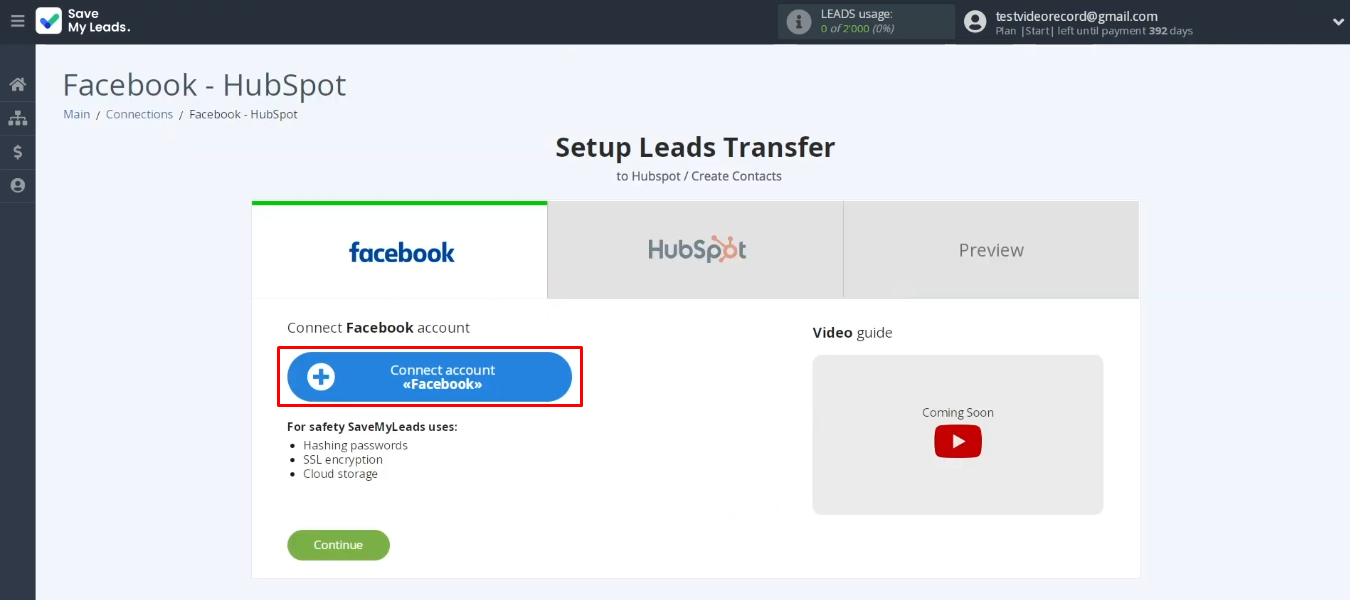
Log in to FB.
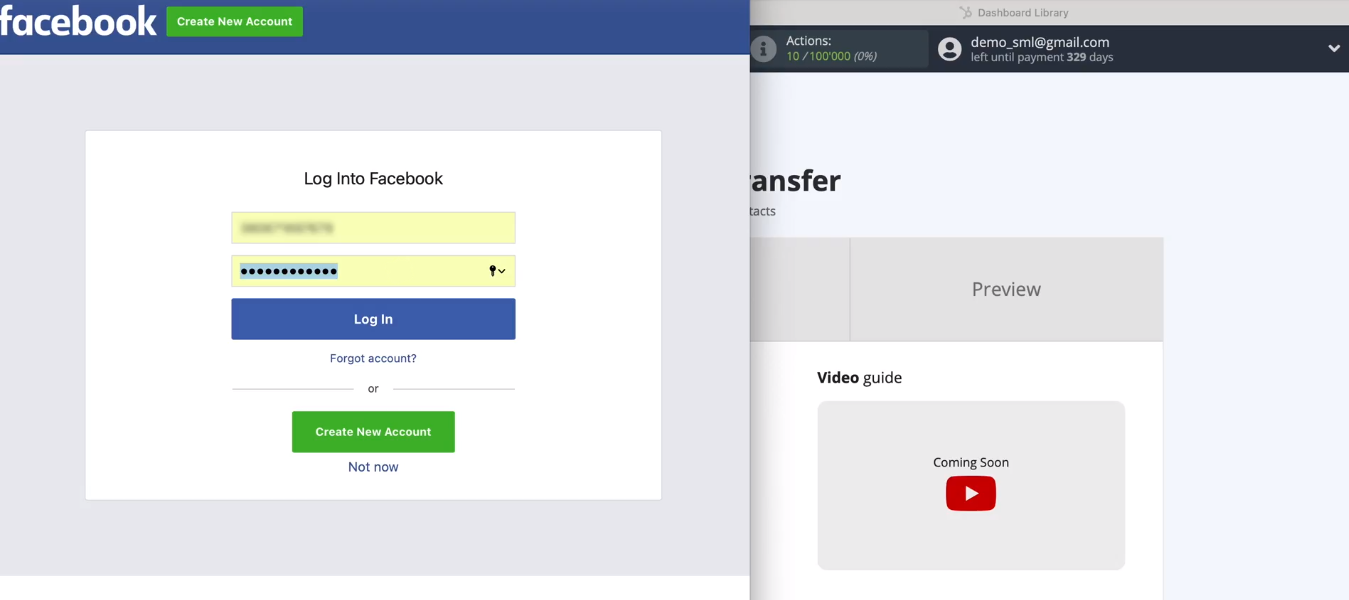
Go to settings.
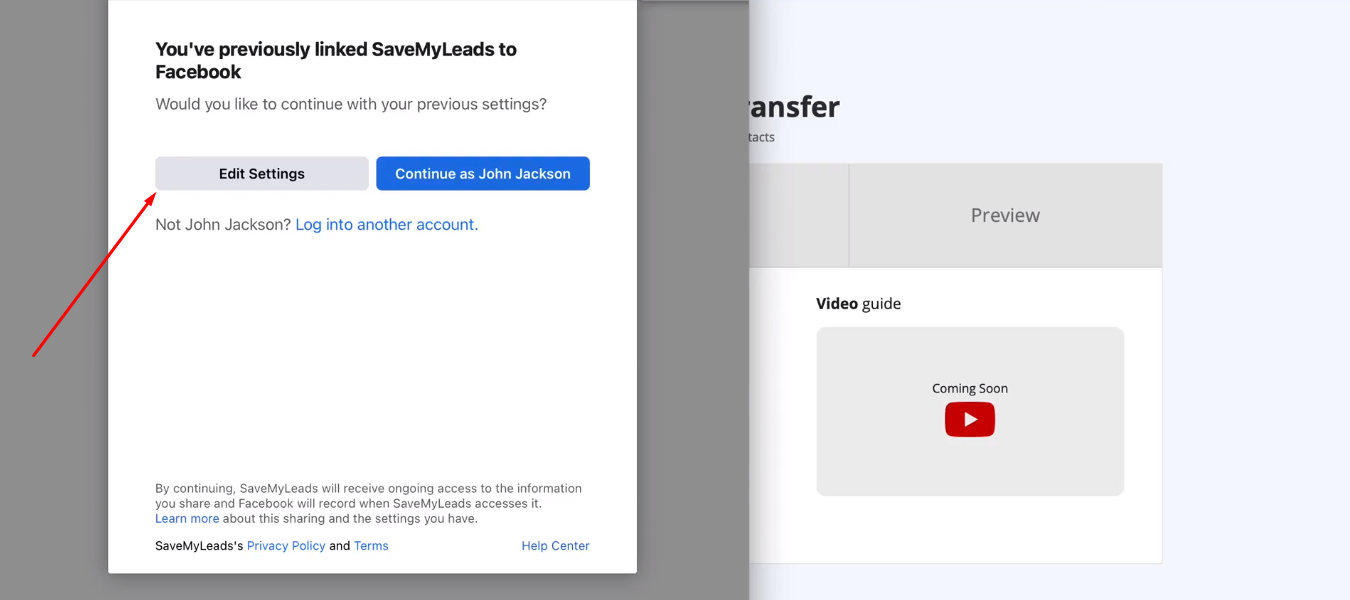
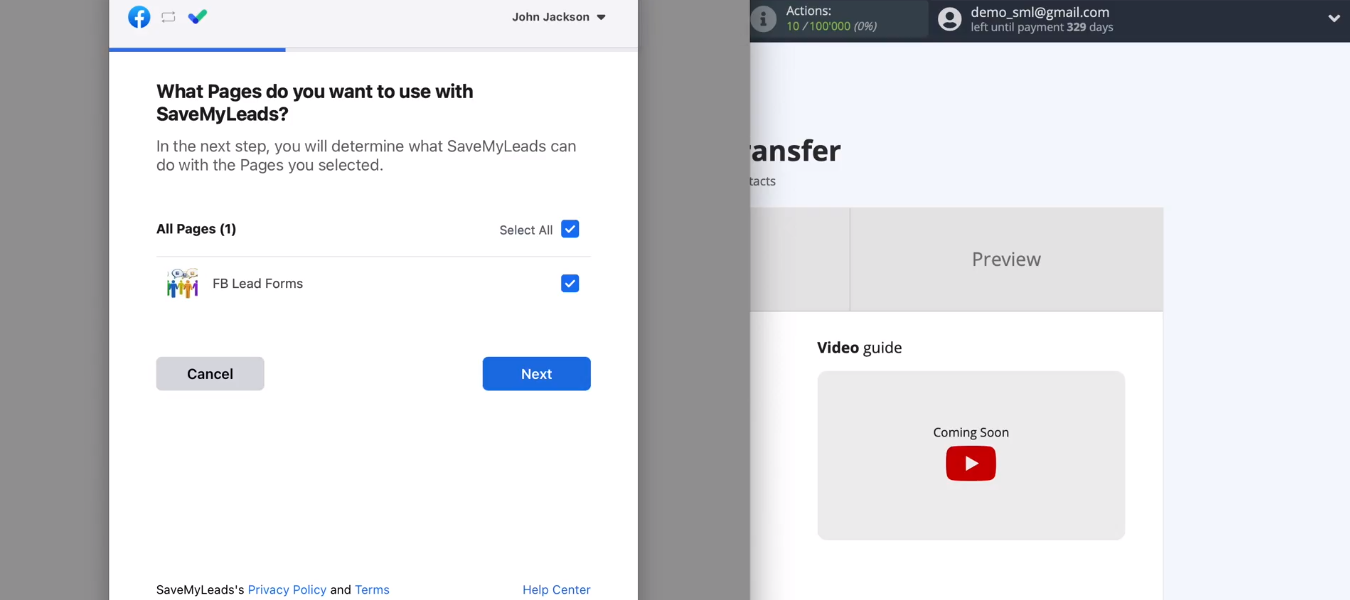
Select promotional pages. You can mark all available pages at once.
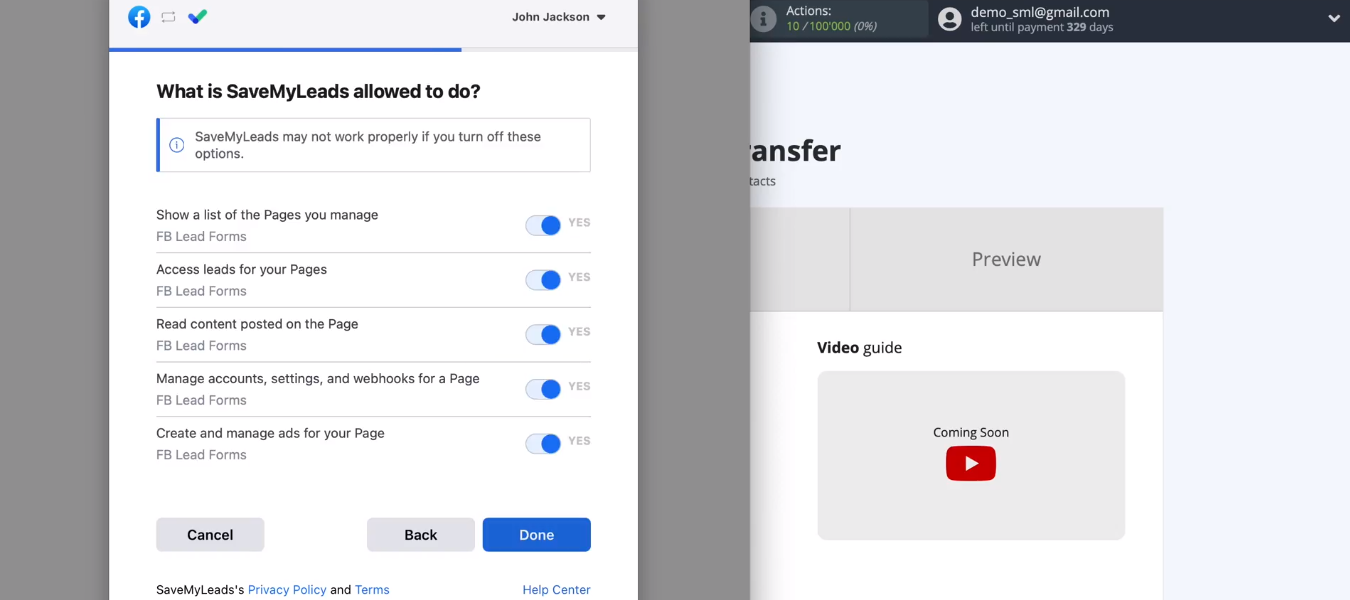
Grant the necessary access to the SML service.
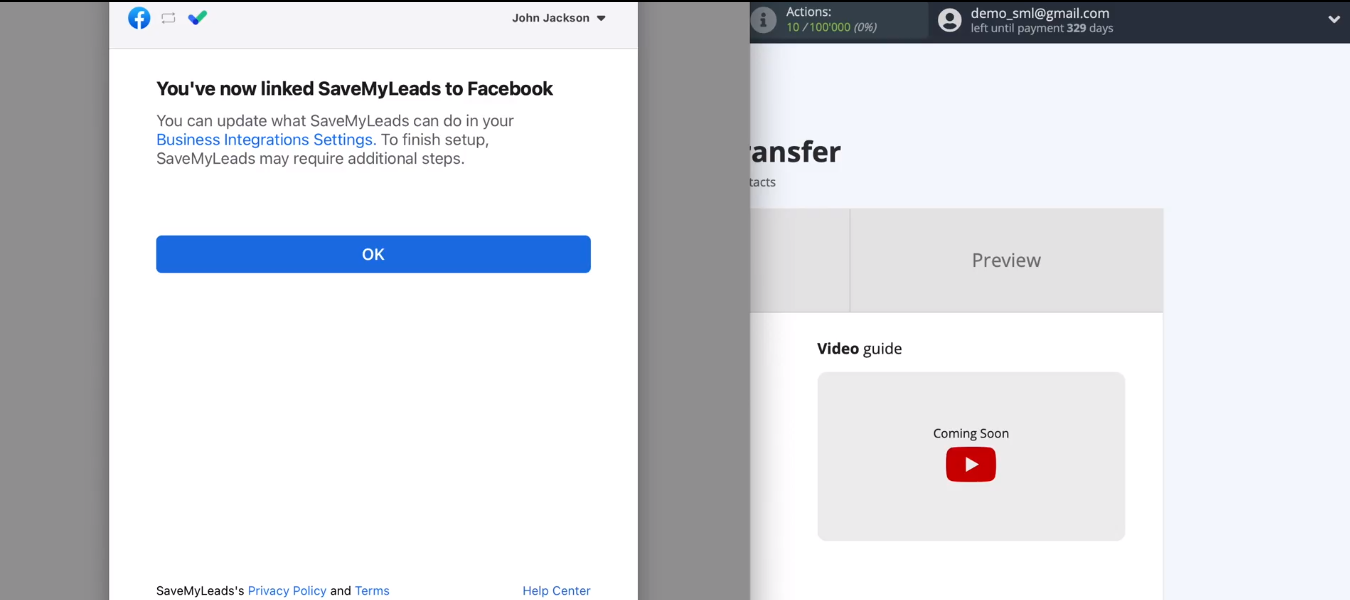
Facebook account has been successfully added to the SML system.
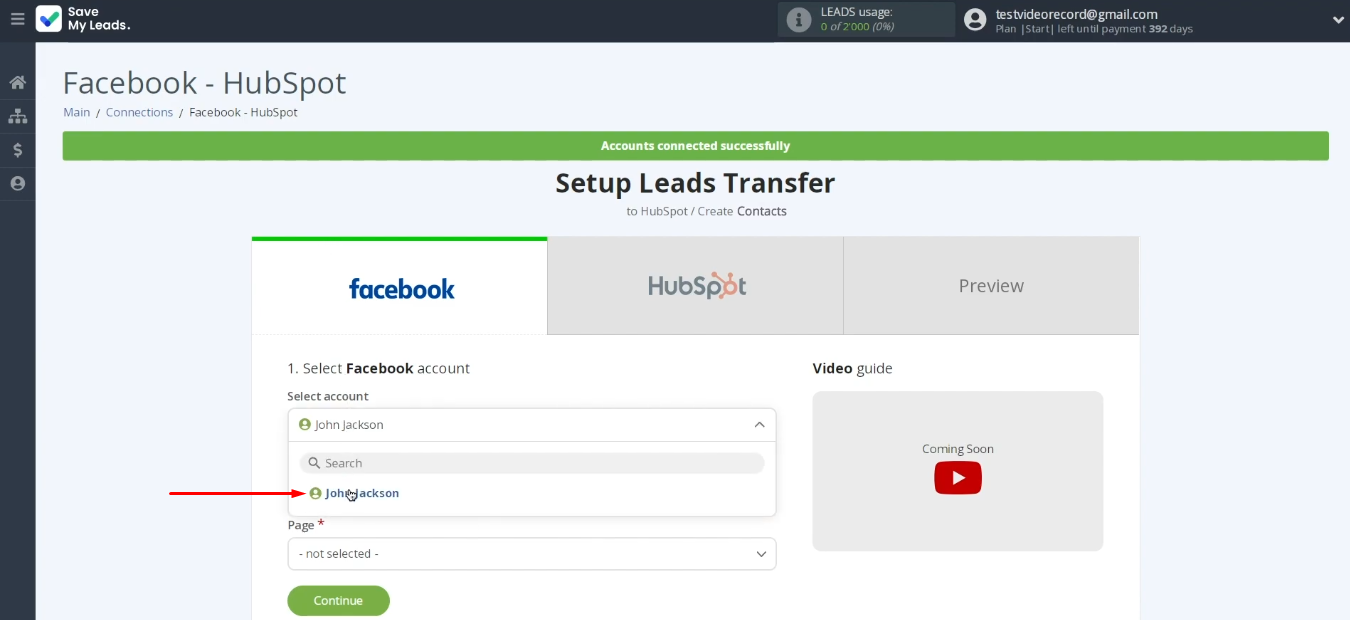
The added FB account appeared in the list of available ones.
To finish setting up the data source, you need to define two required parameters — an advertising page and a lead form. After that, click “Continue”.
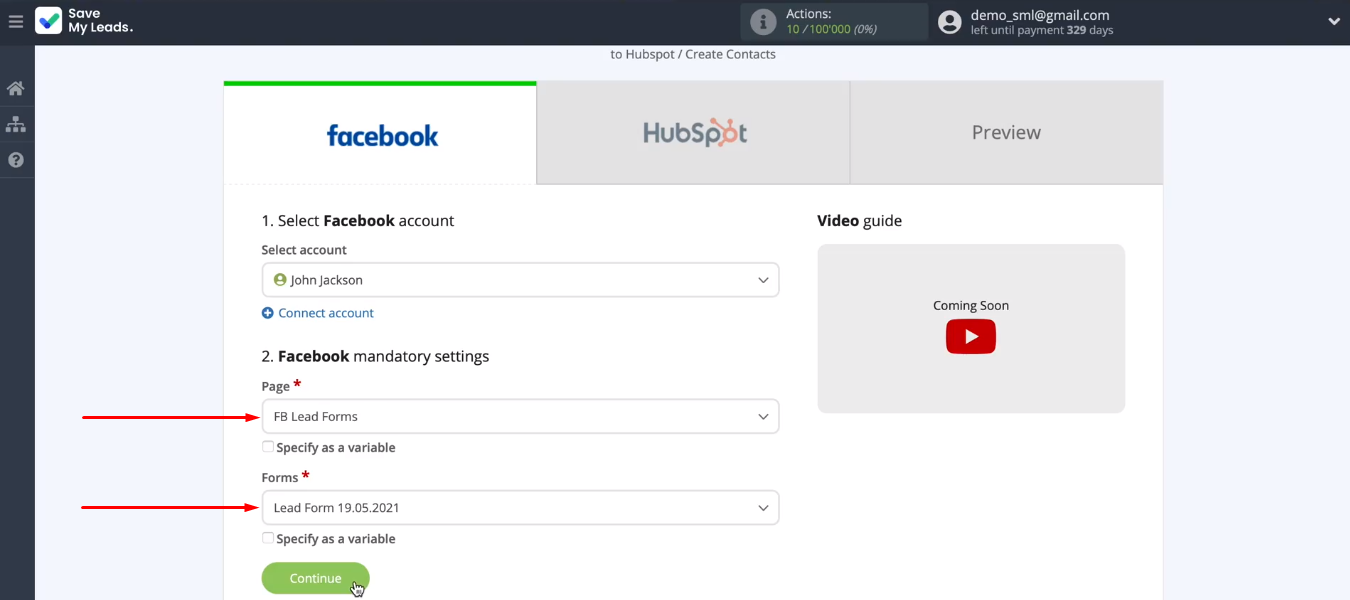
If you want to upload data for several lead forms at once, then make a separate connection for each of them.
Connect HubSpot CRM
Now let's set up the receiving system. Connect your HubSpot account.
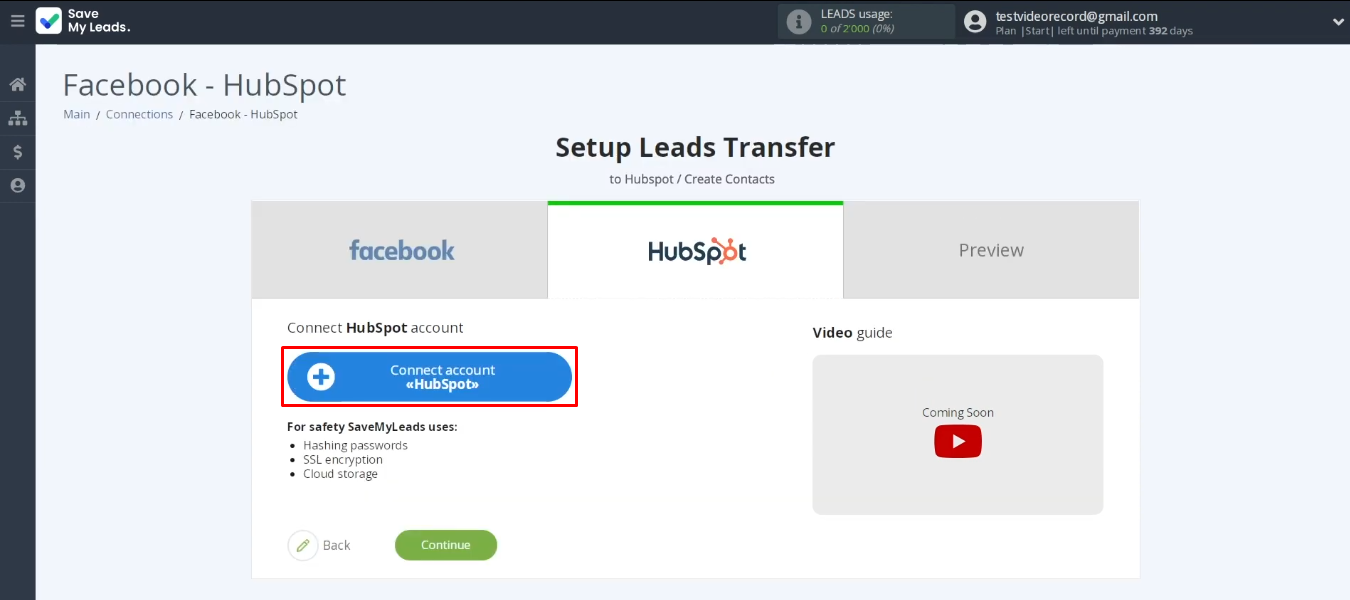
Log in to HubSpot.
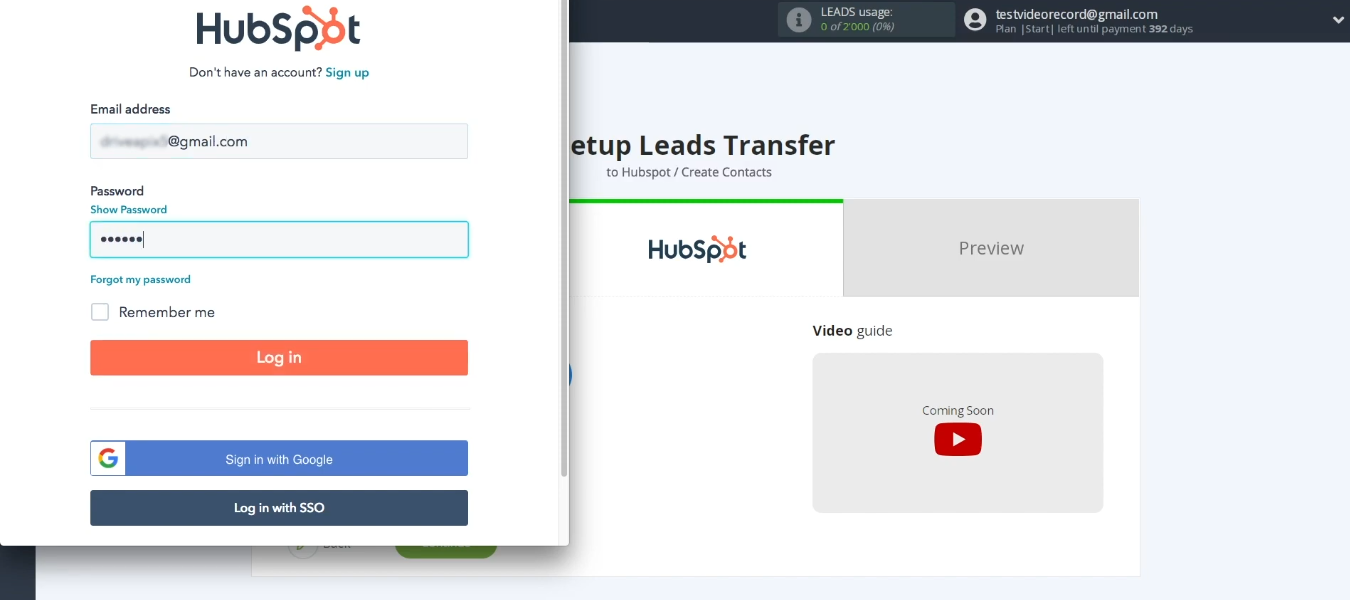
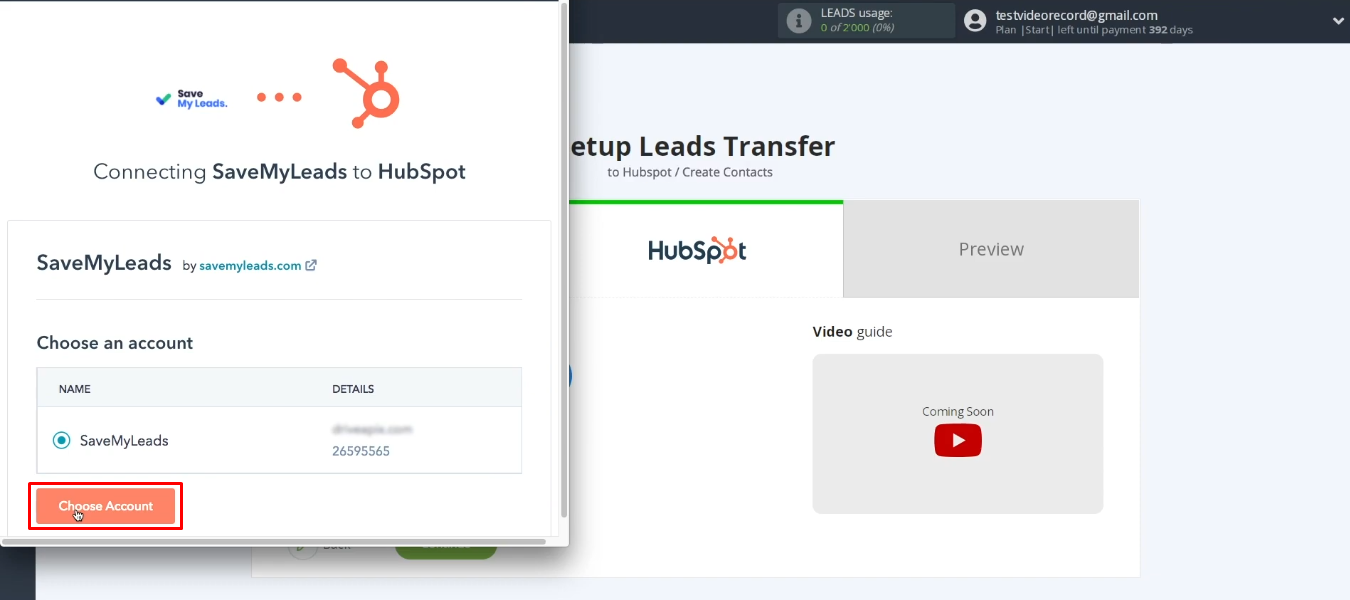
Choose an account.
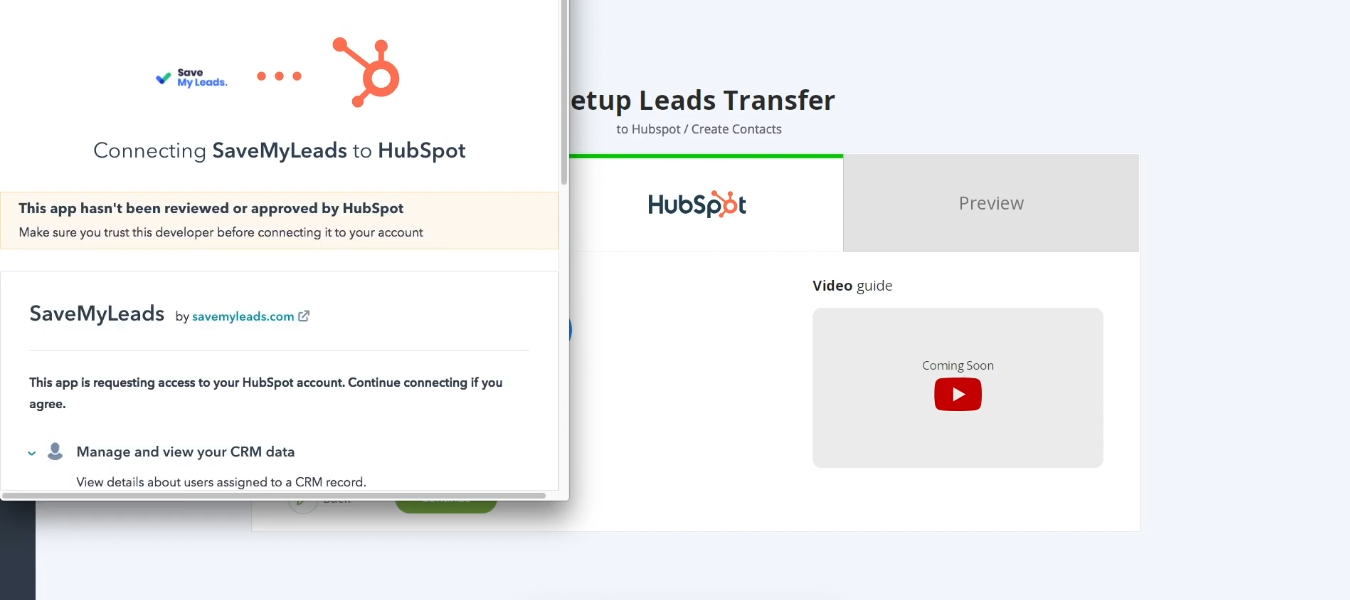
Give SaveMyLeads permission to work with your HubSpot account.
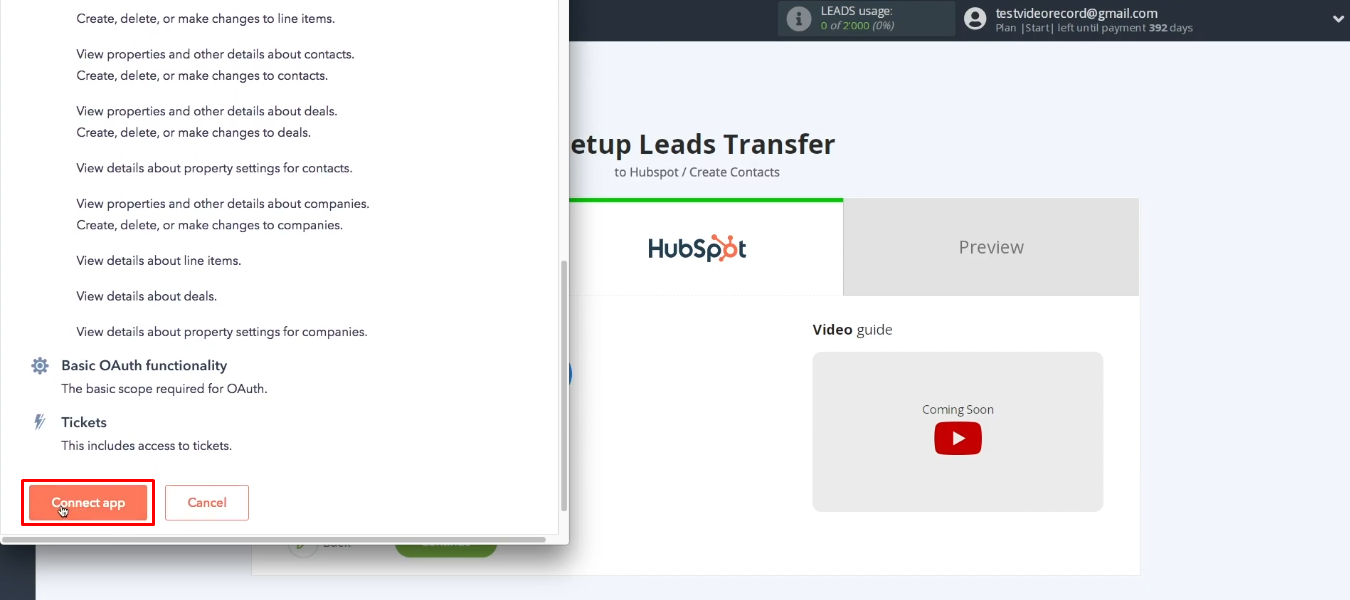
Click "Connect app".
HubSpot account appeared in the list of available. Select it.
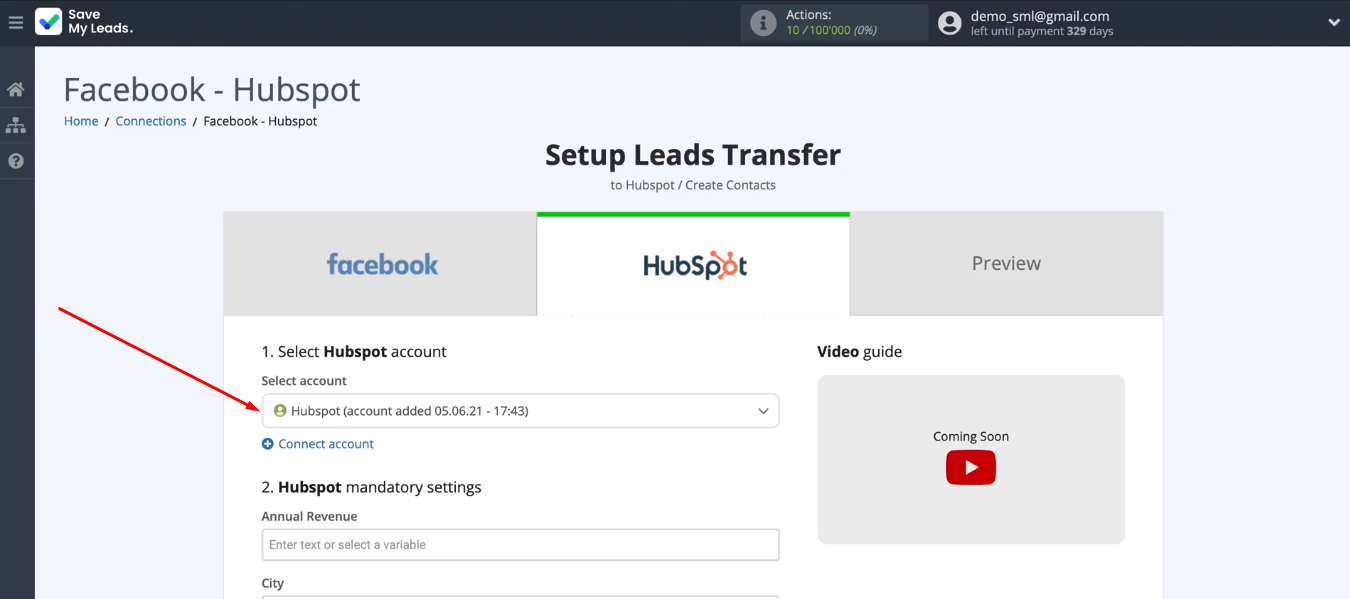
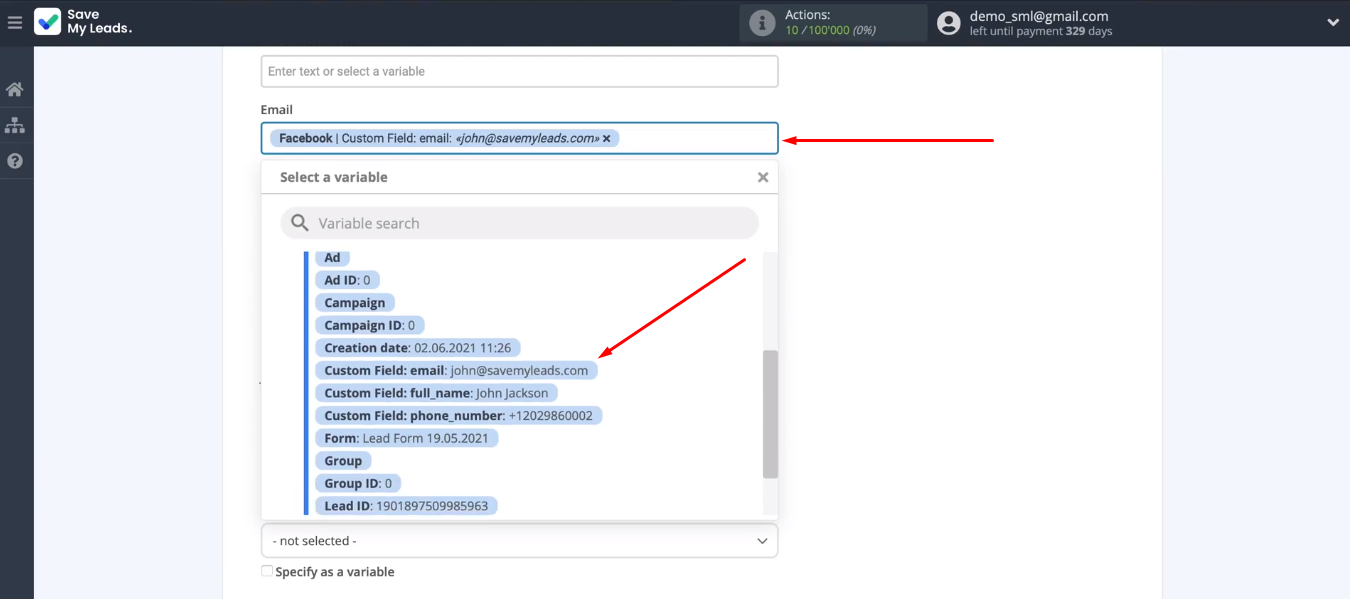
We need to decide on the contents of the HubSpot fields that will be used to create new contacts. The SML system offers a preset option, but each field can be configured manually. To assign a variable, you need to click in the field and select a value from the list. You can also use text. When the content of the required fields is defined, click “Continue”.
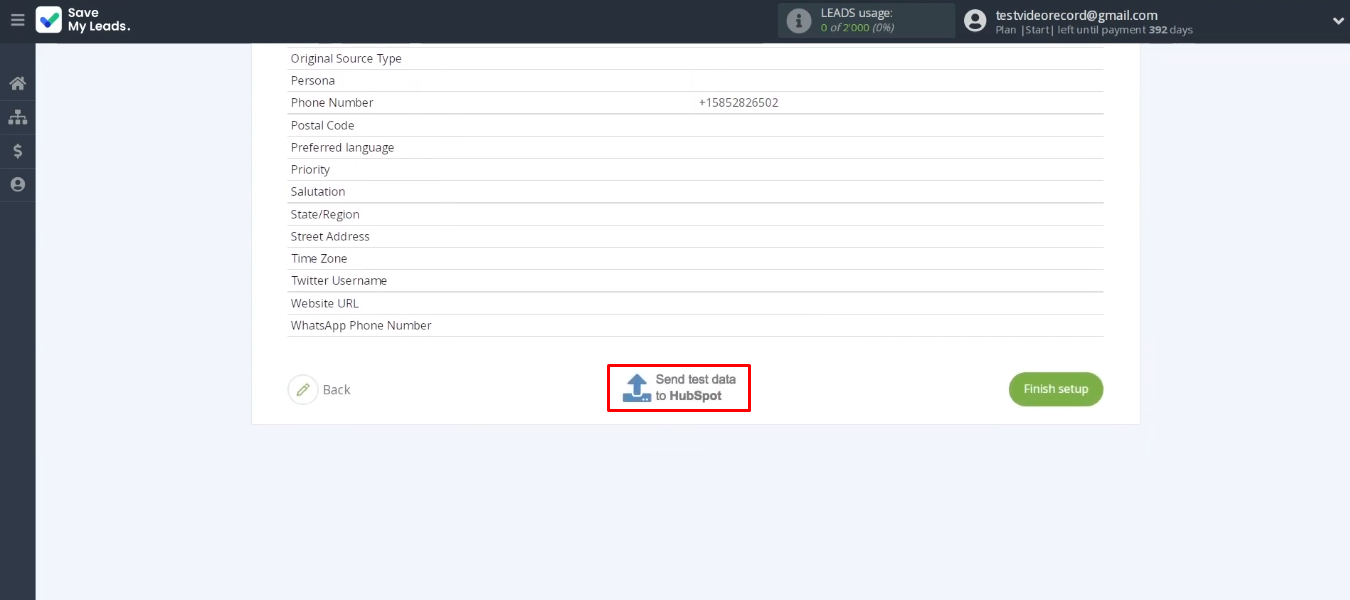
Check the correctness of the configured connection. Send test data to HubSpot CRM.
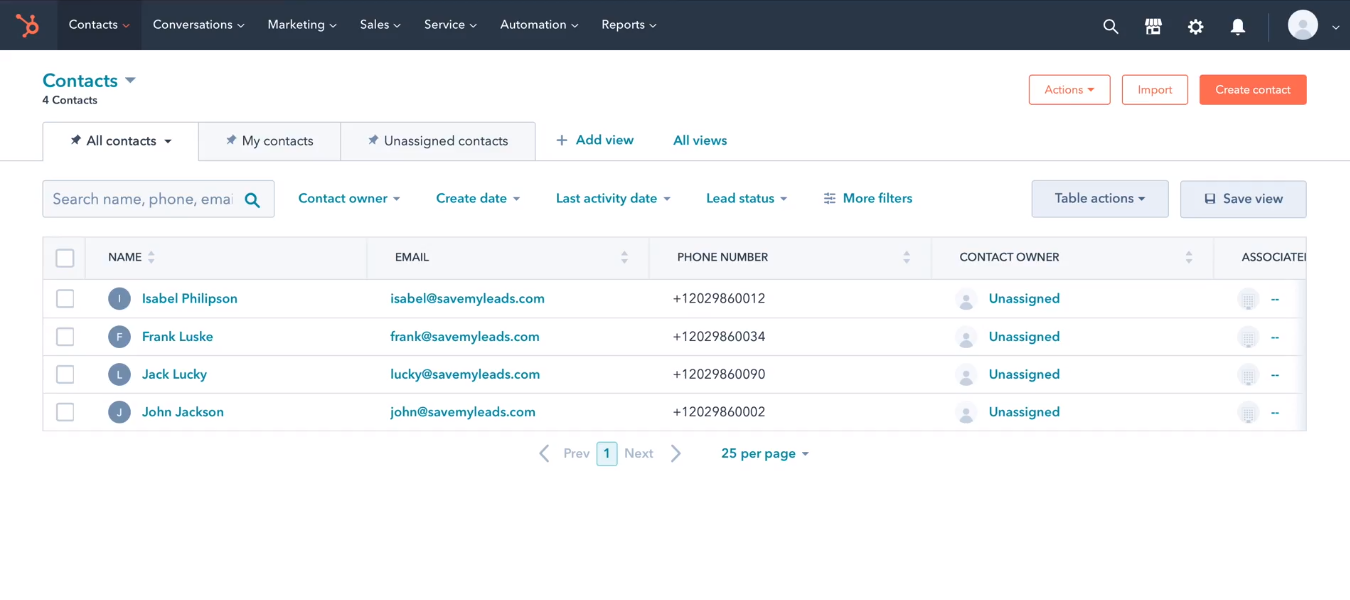
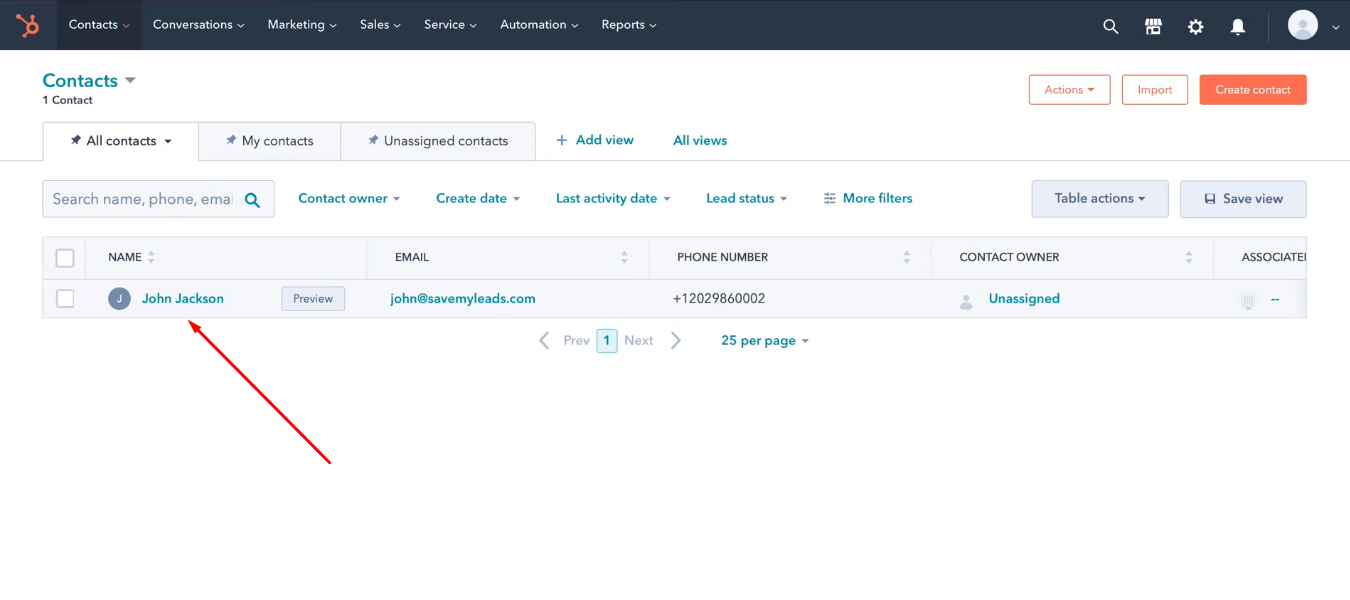
Go to your personal HubSpot account. A new entry with our test data has appeared in the “Contacts” section.
Enable auto-update
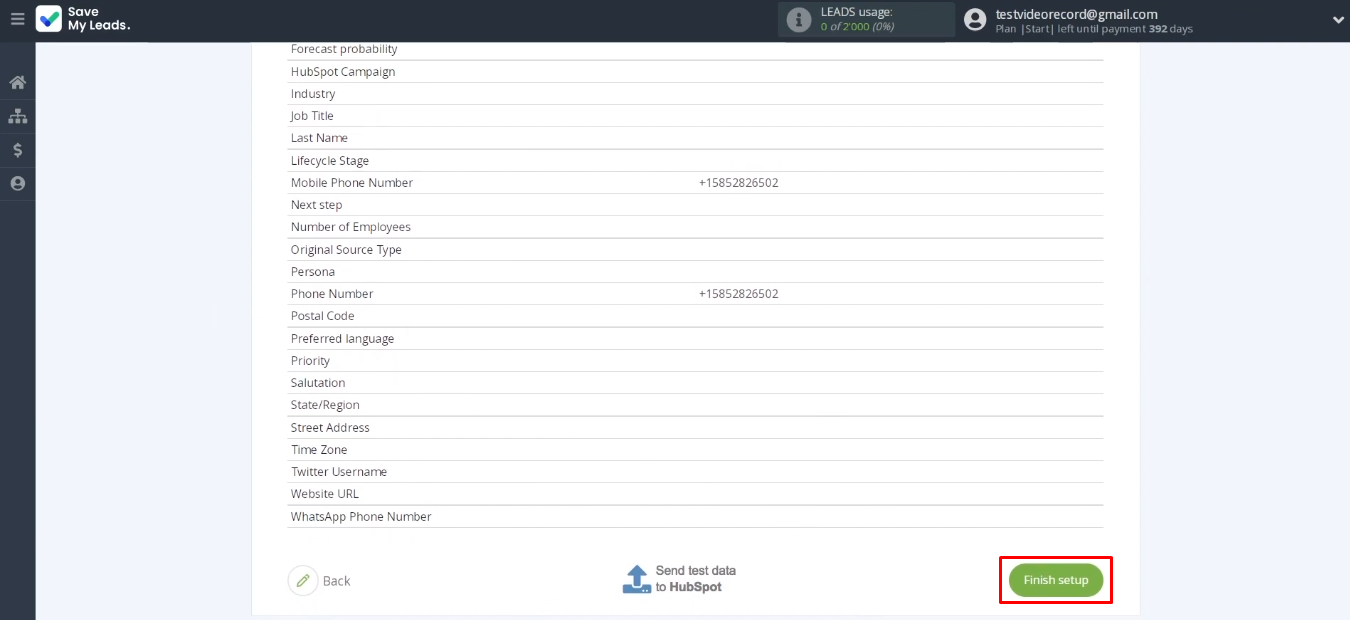
Let's go back to the SaveMyLeads system. We just need to launch the automatic mode of converting Facebook leads into HubSpot contacts. Click "Finish setup".
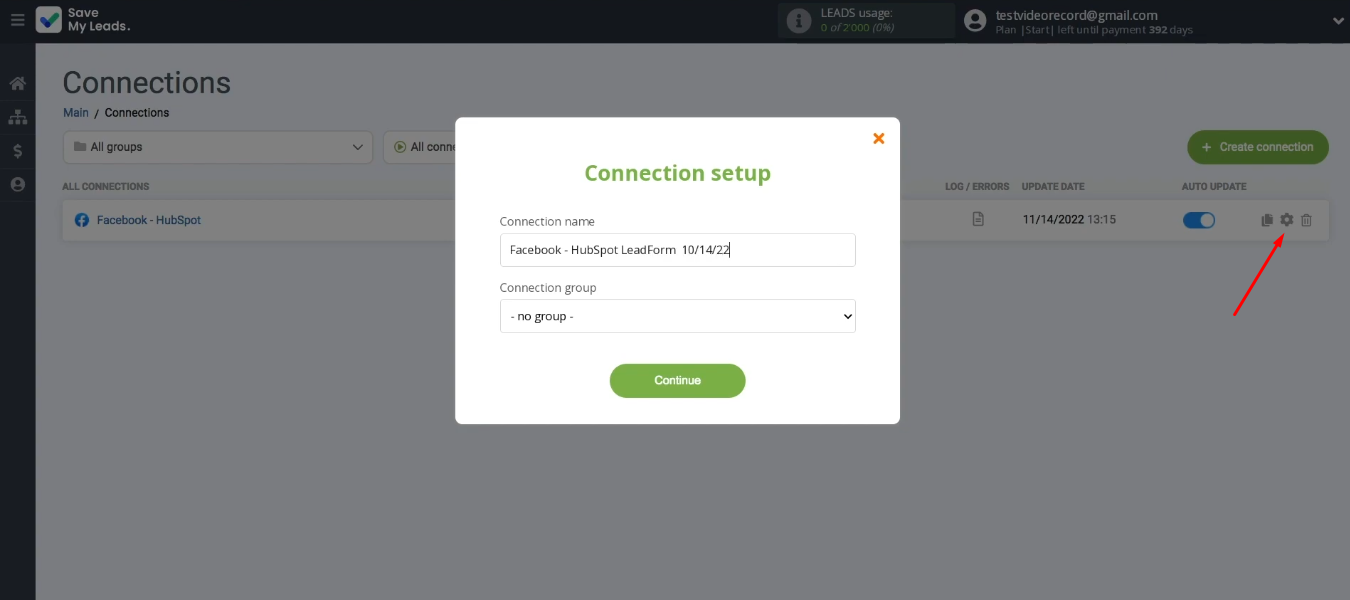
After you create an integration, you can change its name. This is done through the communication settings.
Integration result
We walked through the process of creating a Facebook and HubSpot integration using the SaveMyLeads service. Such a connection is set up in just 5-10 minutes without the help of programmers or special skills/knowledge. The result of our work is an automated process for exporting Facebook leads to HubSpot CRM. The SaveMyLeads system constantly monitors the appearance of new completed lead forms, uploads the necessary data and initiates the addition of a contact to HubSpot.
- Automate the work with leads from the Facebook advertising account
- Empower with integrations and instant transfer of leads
- Don't spend money on developers or integrators
- Save time by automating routine tasks
Spend a few minutes setting up the integration to get rid of the recurring task of migrating data from your Facebook ad account to HubSpot CRM. Minimizing routine operations and automating business processes are simple conditions for increasing productivity and more efficient distribution of working time.
