Tired of transferring contacts from a lead form to a mailing list manually? Set up automatic data upload using the SaveMyLeads service. This can be done in minutes and without a single line of code.
Content:
1. How to set up Facebook and Campaign Monitor integration
2. Start setting up in SaveMyLeads
3. Connect Facebook Lead Ads
4. Connect Campaign Monitor
5. Test data transfer
6. Finish the setup
There are at least three reasons to automate your Facebook lead upload to Campaign Monitor with SaveMyLeads. Let's take a look at them.
1. Minimum of routine actions. When you transfer contacts manually, you have to regularly check the forms for new leads, copy the contact information from them and add them to the mailing list. This is a long monotonous job. SaveMyLeads does this automatically: as soon as a new lead appears in the Facebook form, the service immediately copies the contact information from it and adds it to the Campaign Monitor mailing list.
2. Continuous transfer of contacts. People need weekends and breaks to rest. Therefore, your employees can add new customers to the mailing list with a delay. SaveMyLeads works non-stop 24/7. Thus, new customers who left contacts in the lead form immediately become ready as a subscriber to receive your letters.
3. No errors. Manual data transfer is often accompanied by errors that can harm the business. For example, it's very easy to miss an important contact or add it to the wrong field or mailing list. Automation reduces this possibility to zero. SaveMyLeads transfers data without these errors.
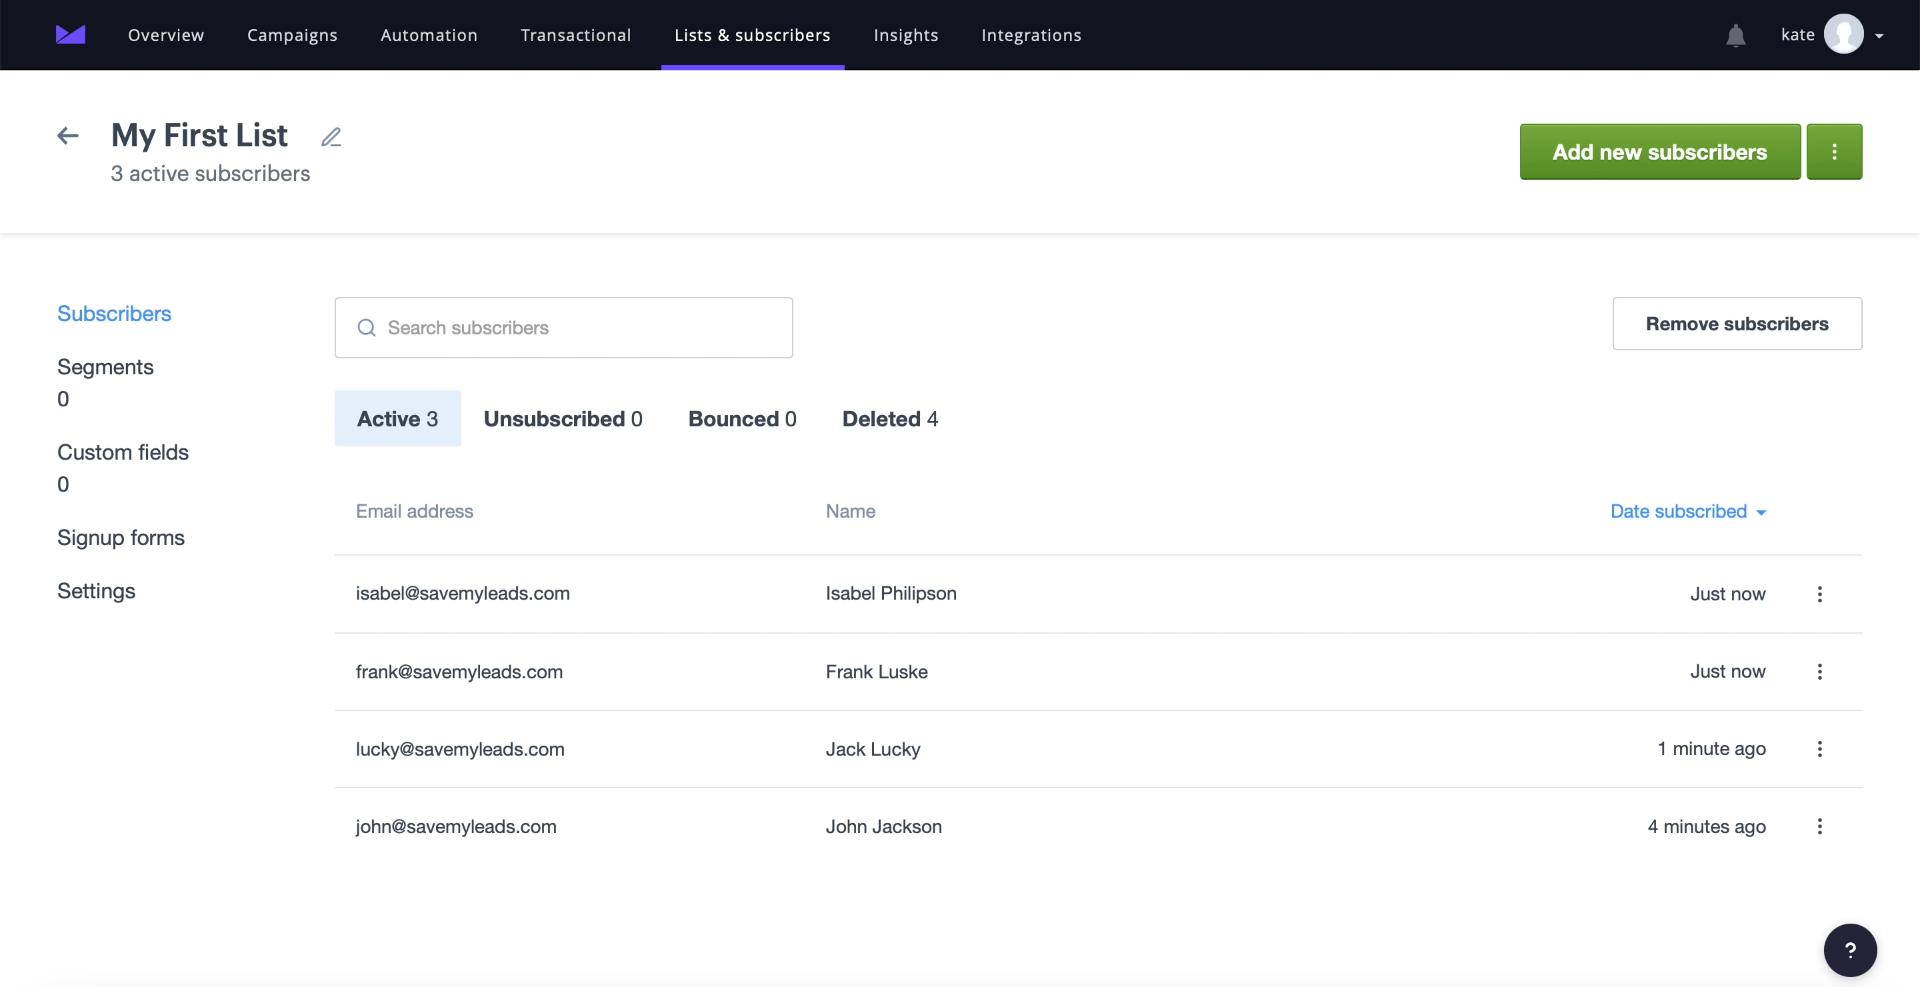
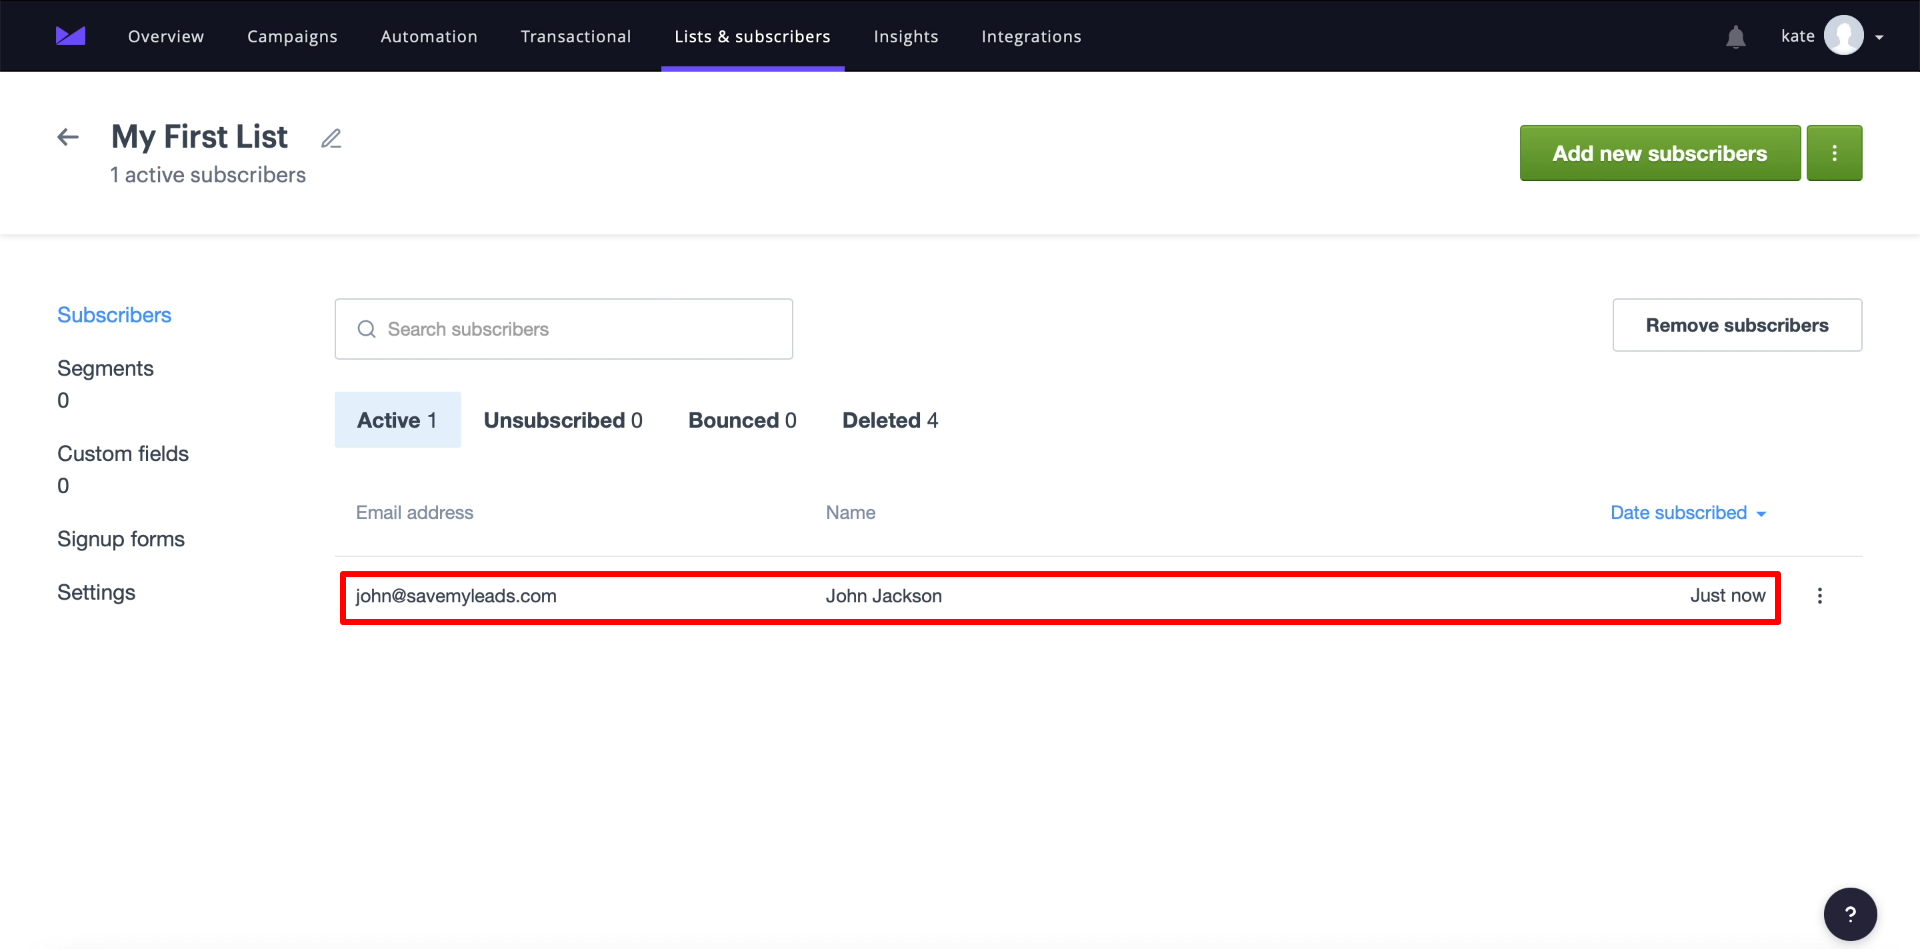
Contacts transferred using SaveMyLeads look something like this:
How to set up Facebook and Campaign Monitor integration
SaveMyLeads is a convenient service with an intuitive interface that does not require programming knowledge from the user. To set up automatic uploading of leads, just register on the SaveMyLeads website, select the connection to Campaign Monitor in the list, and follow the prompts on the screen. In the process, the system will ask you to first connect your Facebook and Campaign Monitor accounts to it, and then start transferring data between them.
Our instructions will help you set up the connection as quickly as possible. Before proceeding with its implementation, be sure to set up the lead form and make sure that it has at least one lead. If the form is still empty, add any contact to it - this will come in handy for the test.
Getting Started with SaveMyLeads
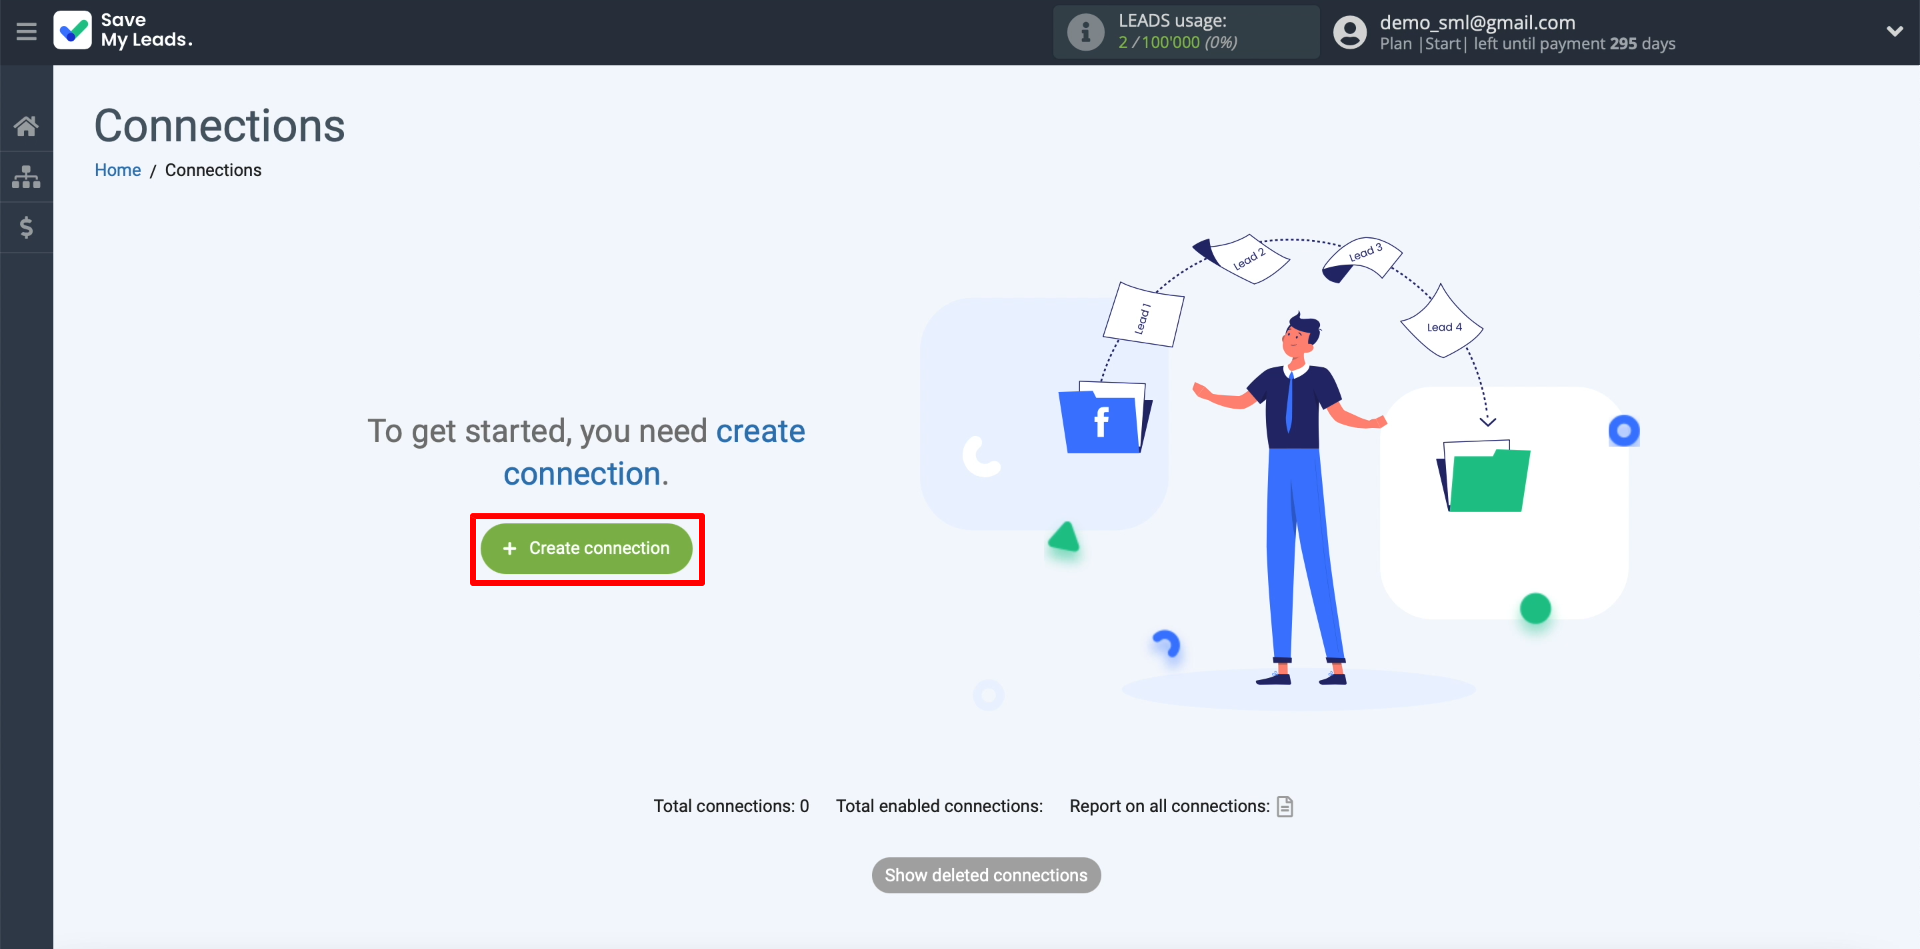
We register on the SaveMyLeads website and click "Create connection".
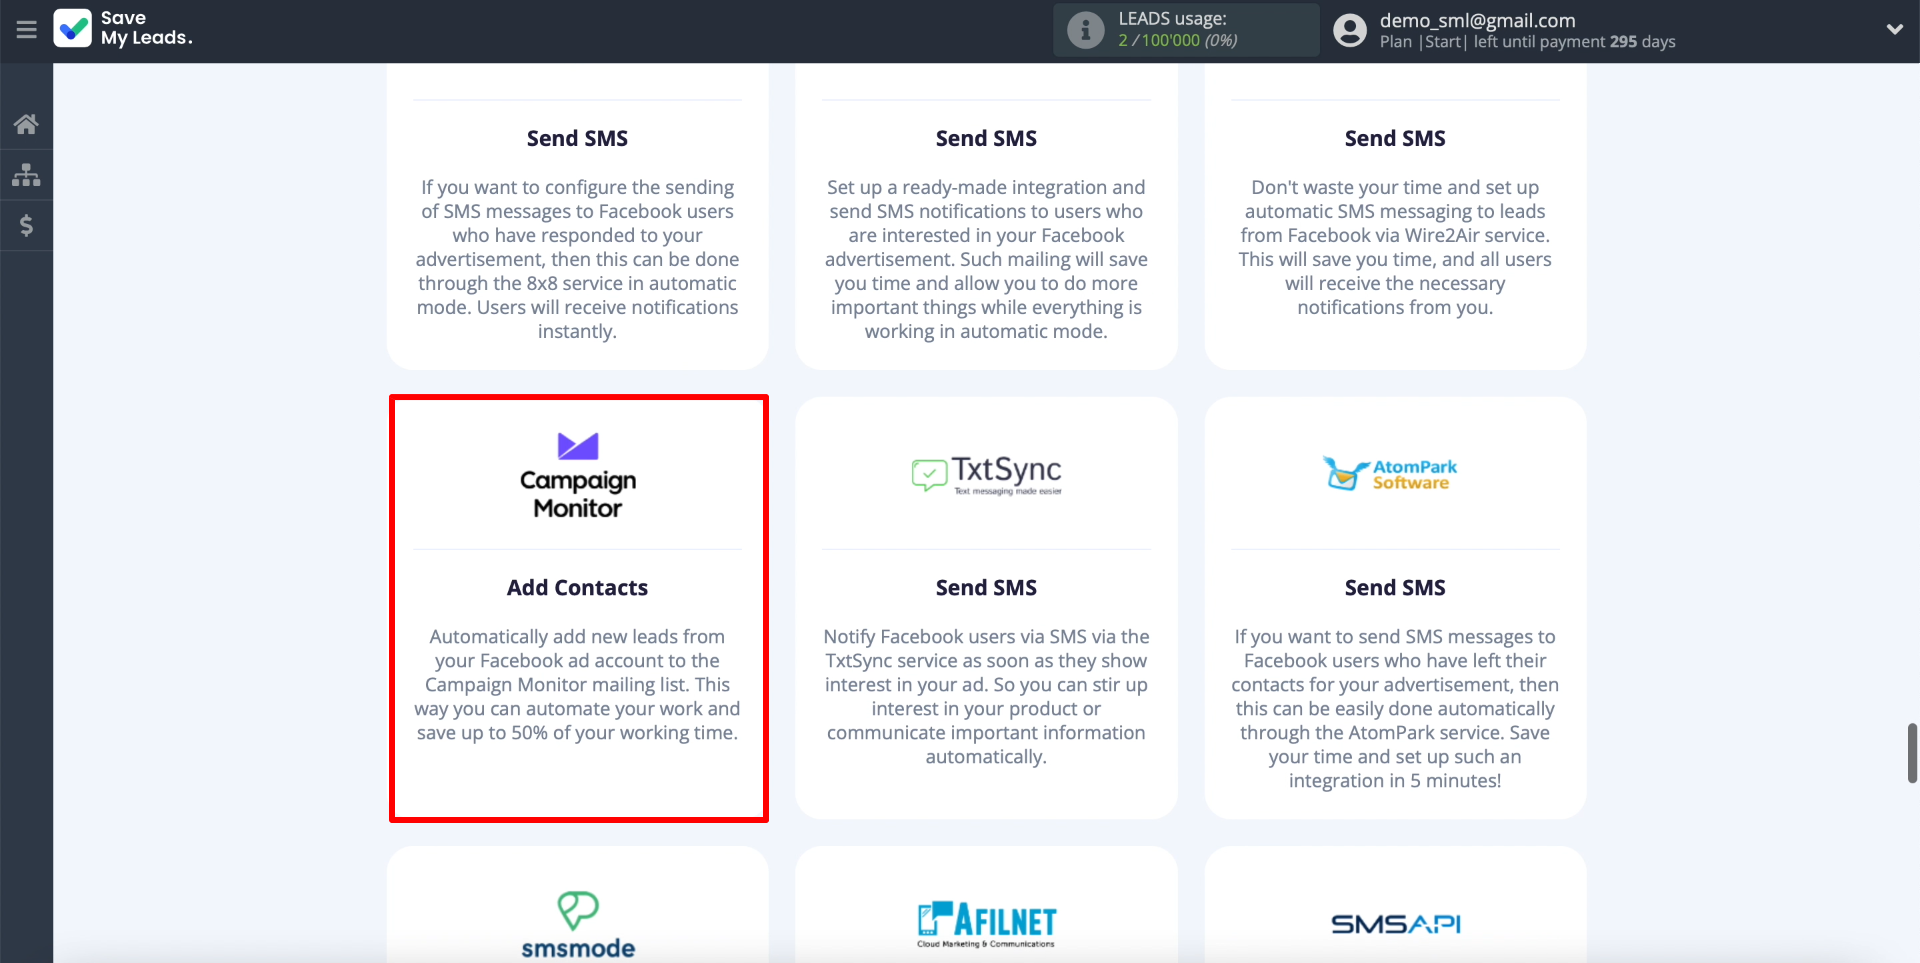
Next, a list of connections supported by SaveMyLeads will appear on the screen. Each of them is designed to transfer leads from Facebook to a specific service. Since we are interested in uploading leads to Campaign Monitor, select the appropriate connection.
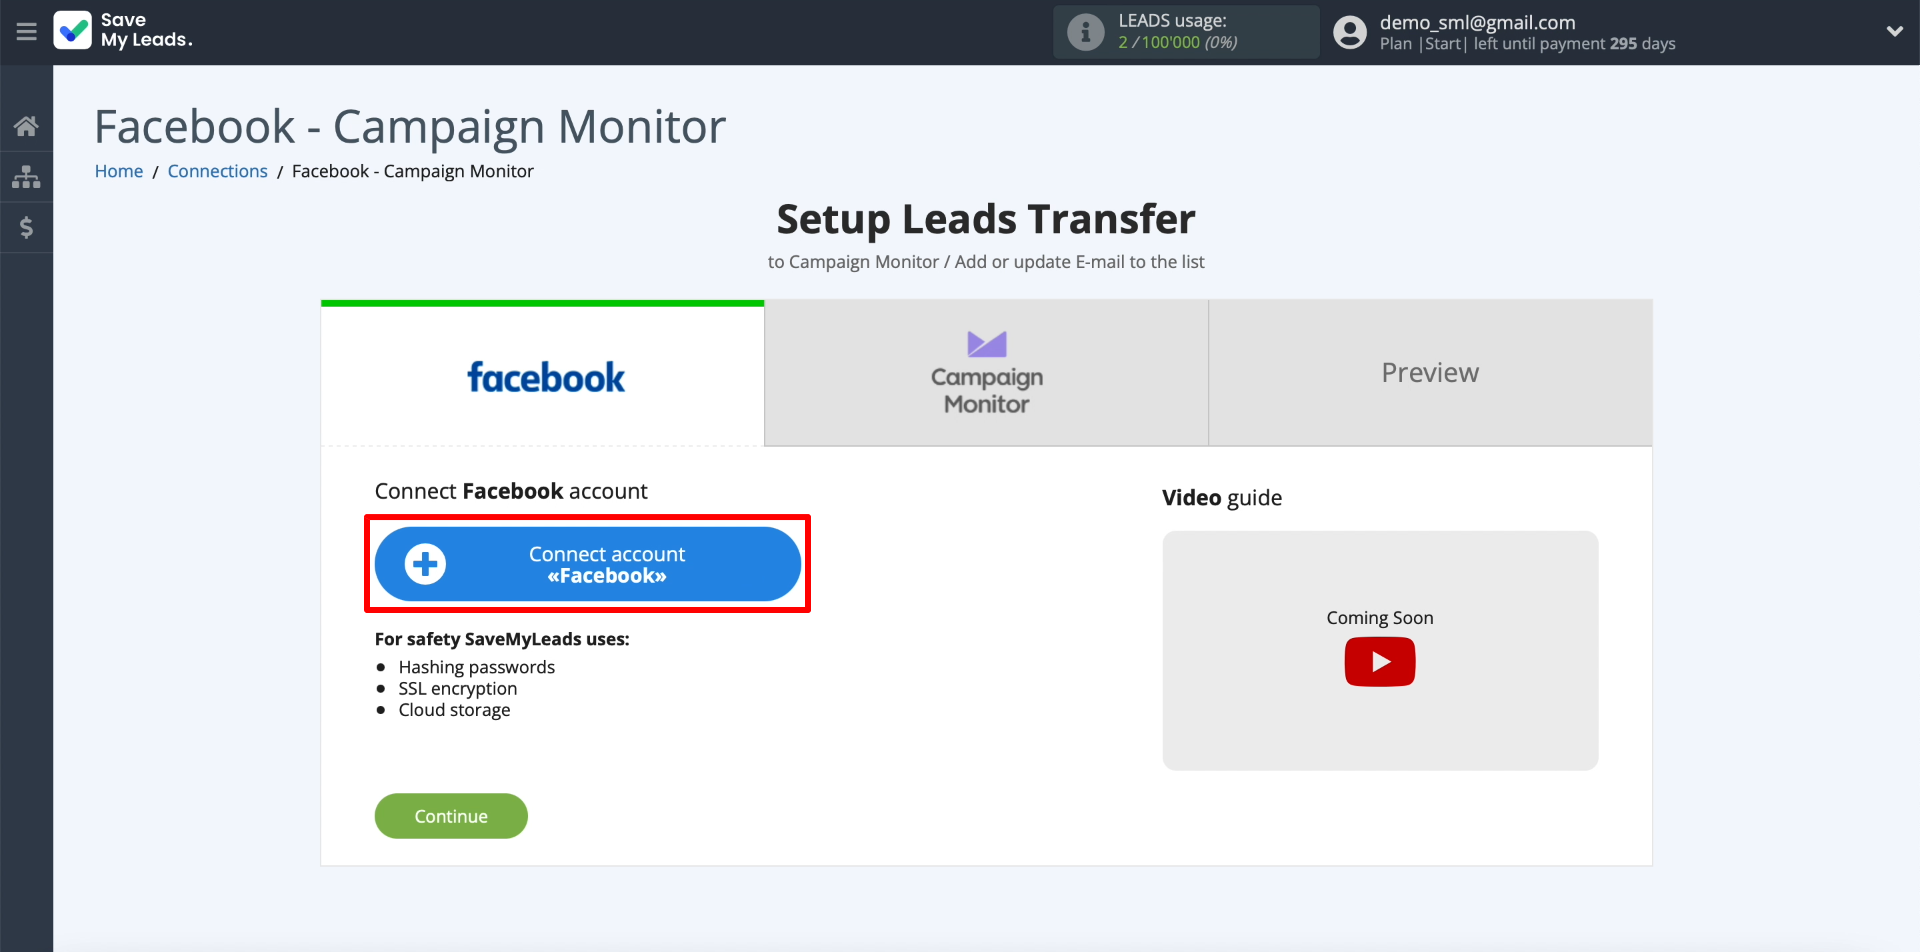
Connecting Facebook advertising account
In order for SaveMyLeads to upload leads, we connect a Facebook account to it. Enter your advertising account username and password. Be sure to give the system all the requested permissions. This is necessary for the service to gain access to leads.
Then we show the service where exactly it can upload leads from. To do this, we indicate the newly connected account, then the business page to which the ad is attached, and finally our lead form.
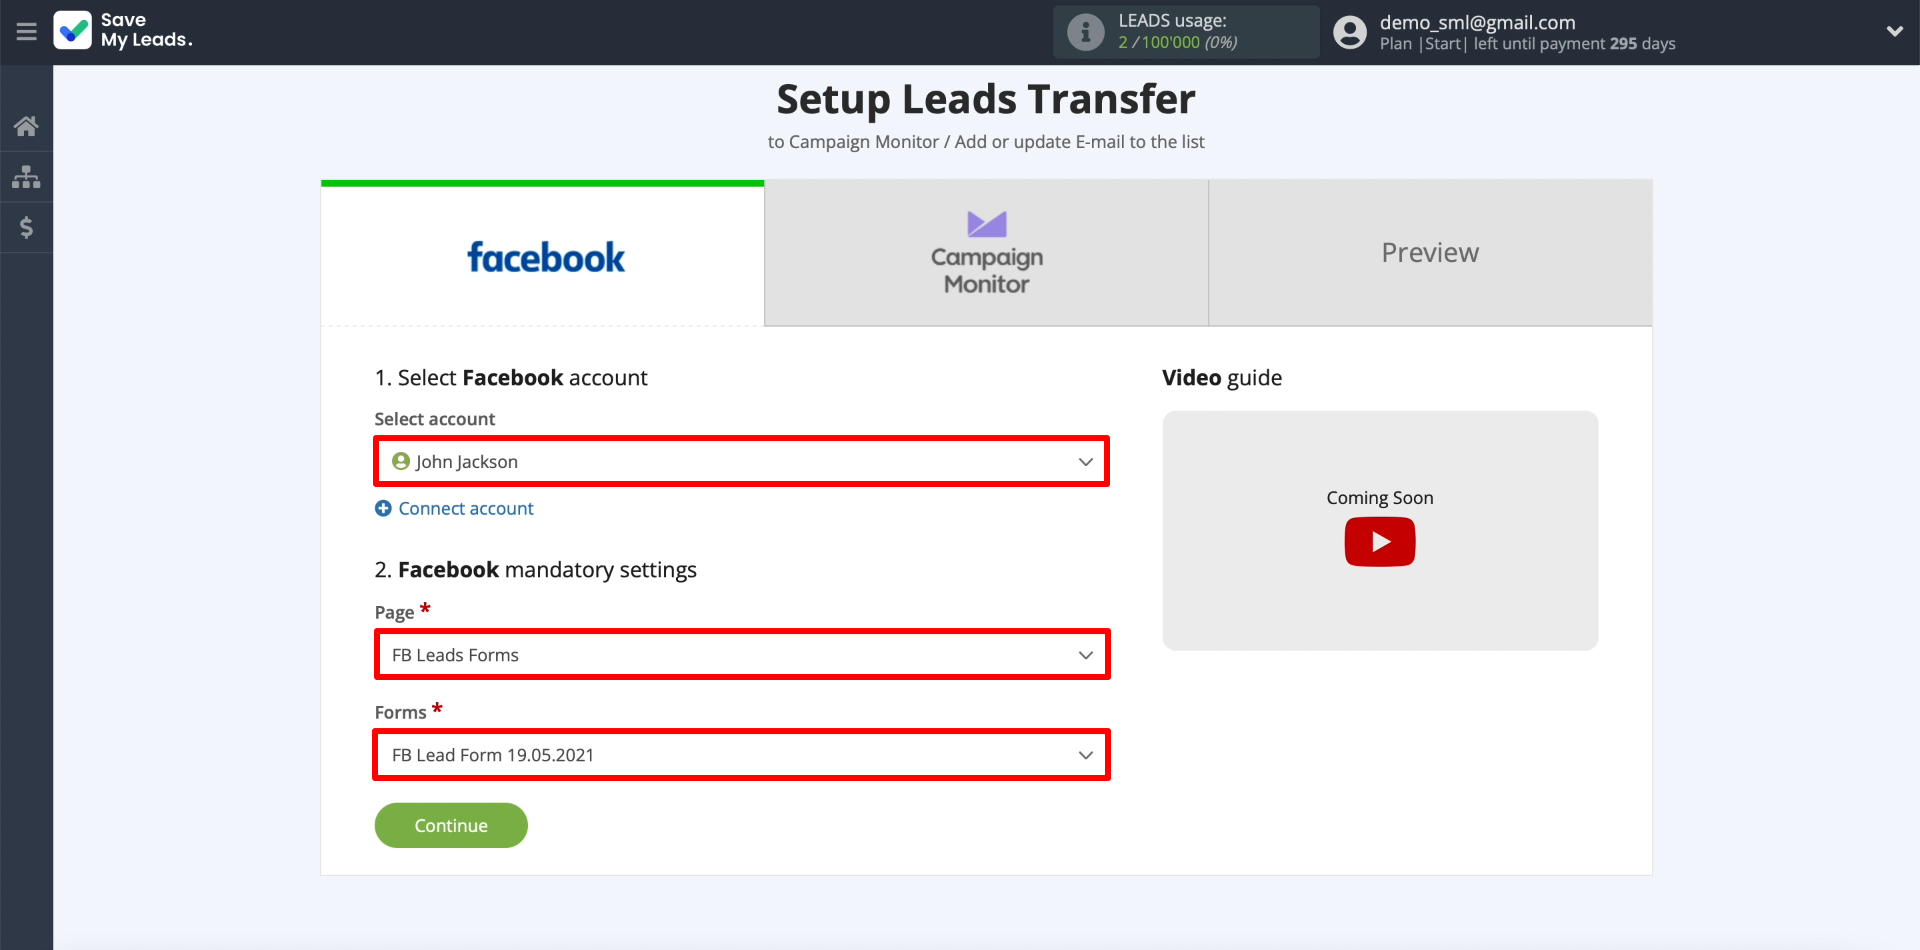
Only one form can be selected per connection. If you are going to set up uploading leads from several forms, create a separate connection for each.
Connecting the Campaign Monitor account
In order for SaveMyLeads to send uploaded contacts to the mailing list, we connect the Campaign Monitor account.
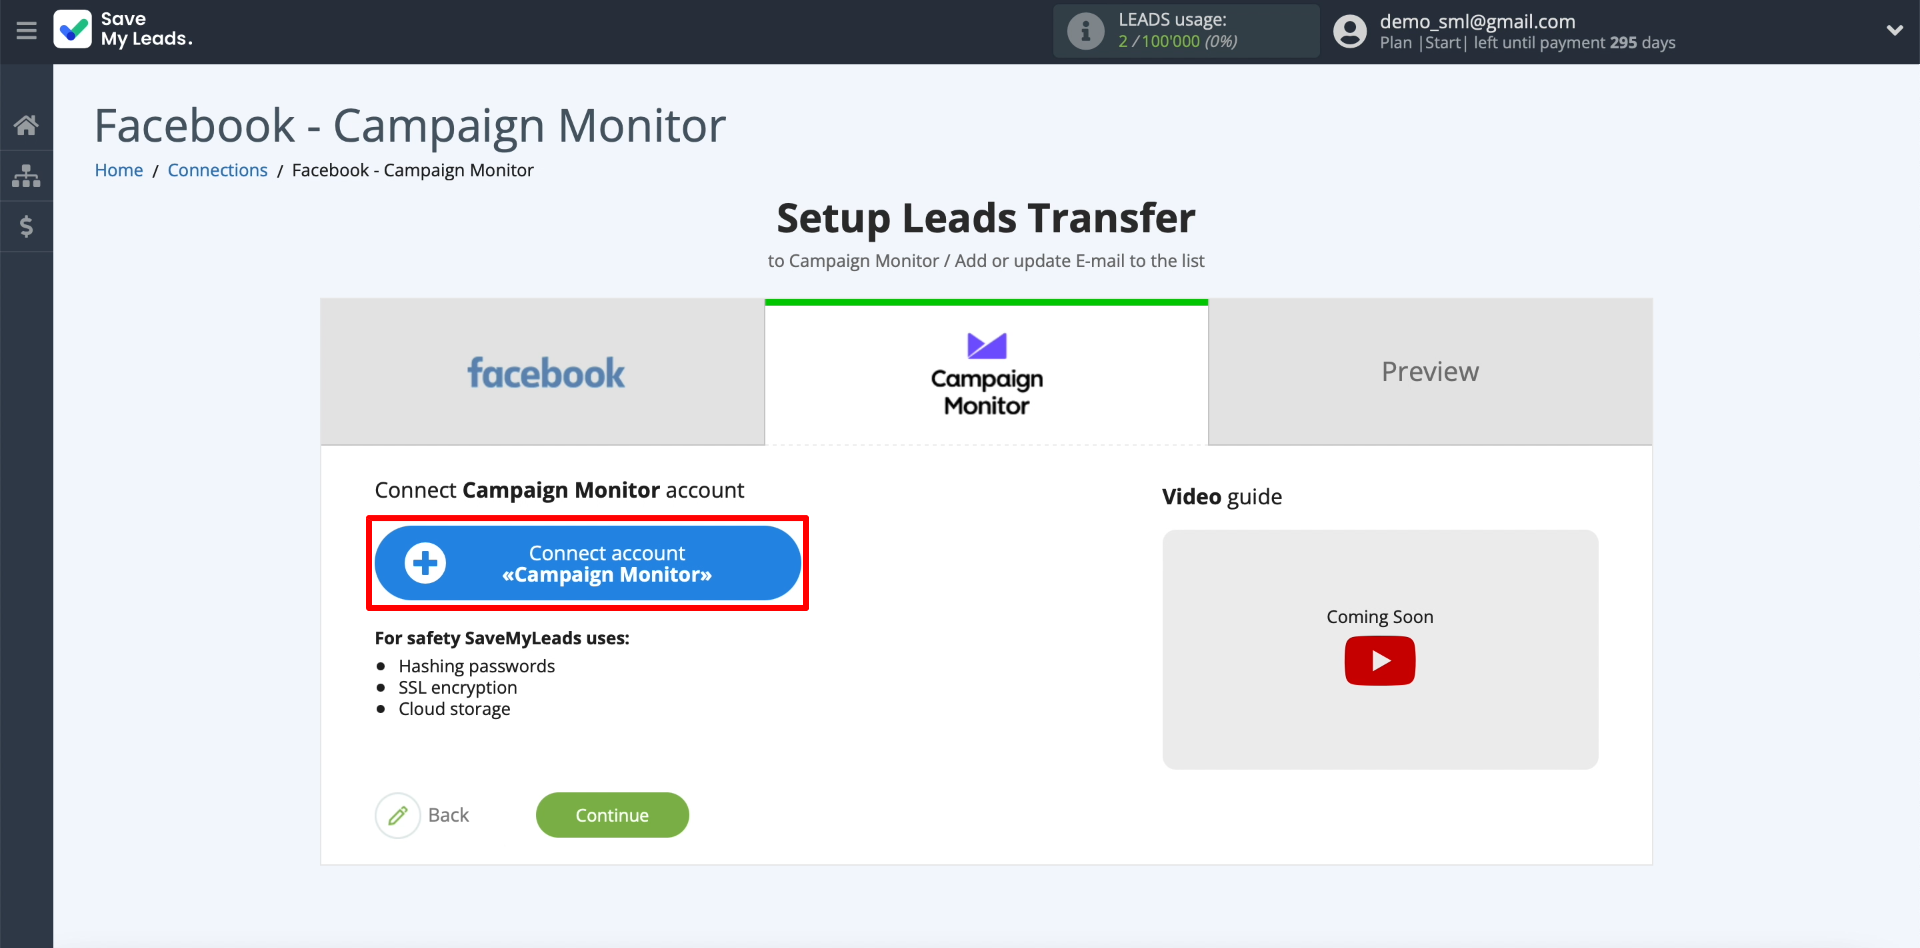
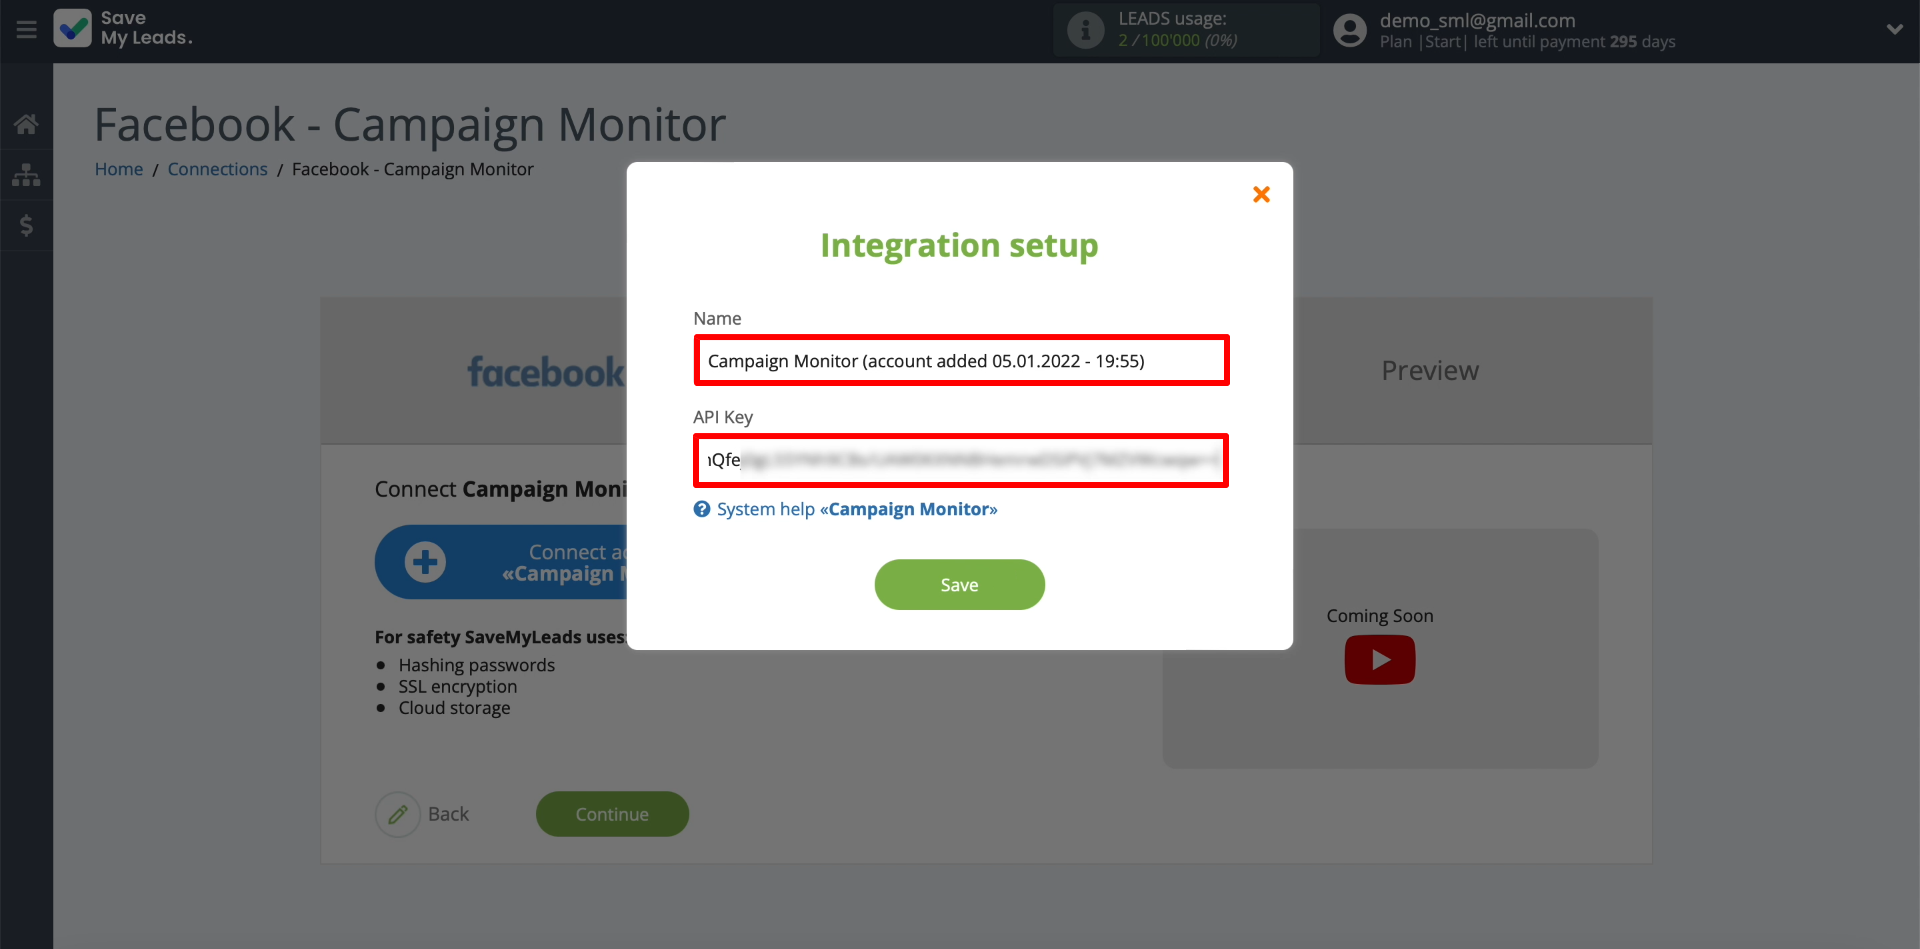
We enter any account name, and also insert the Campaign Monitor API key.
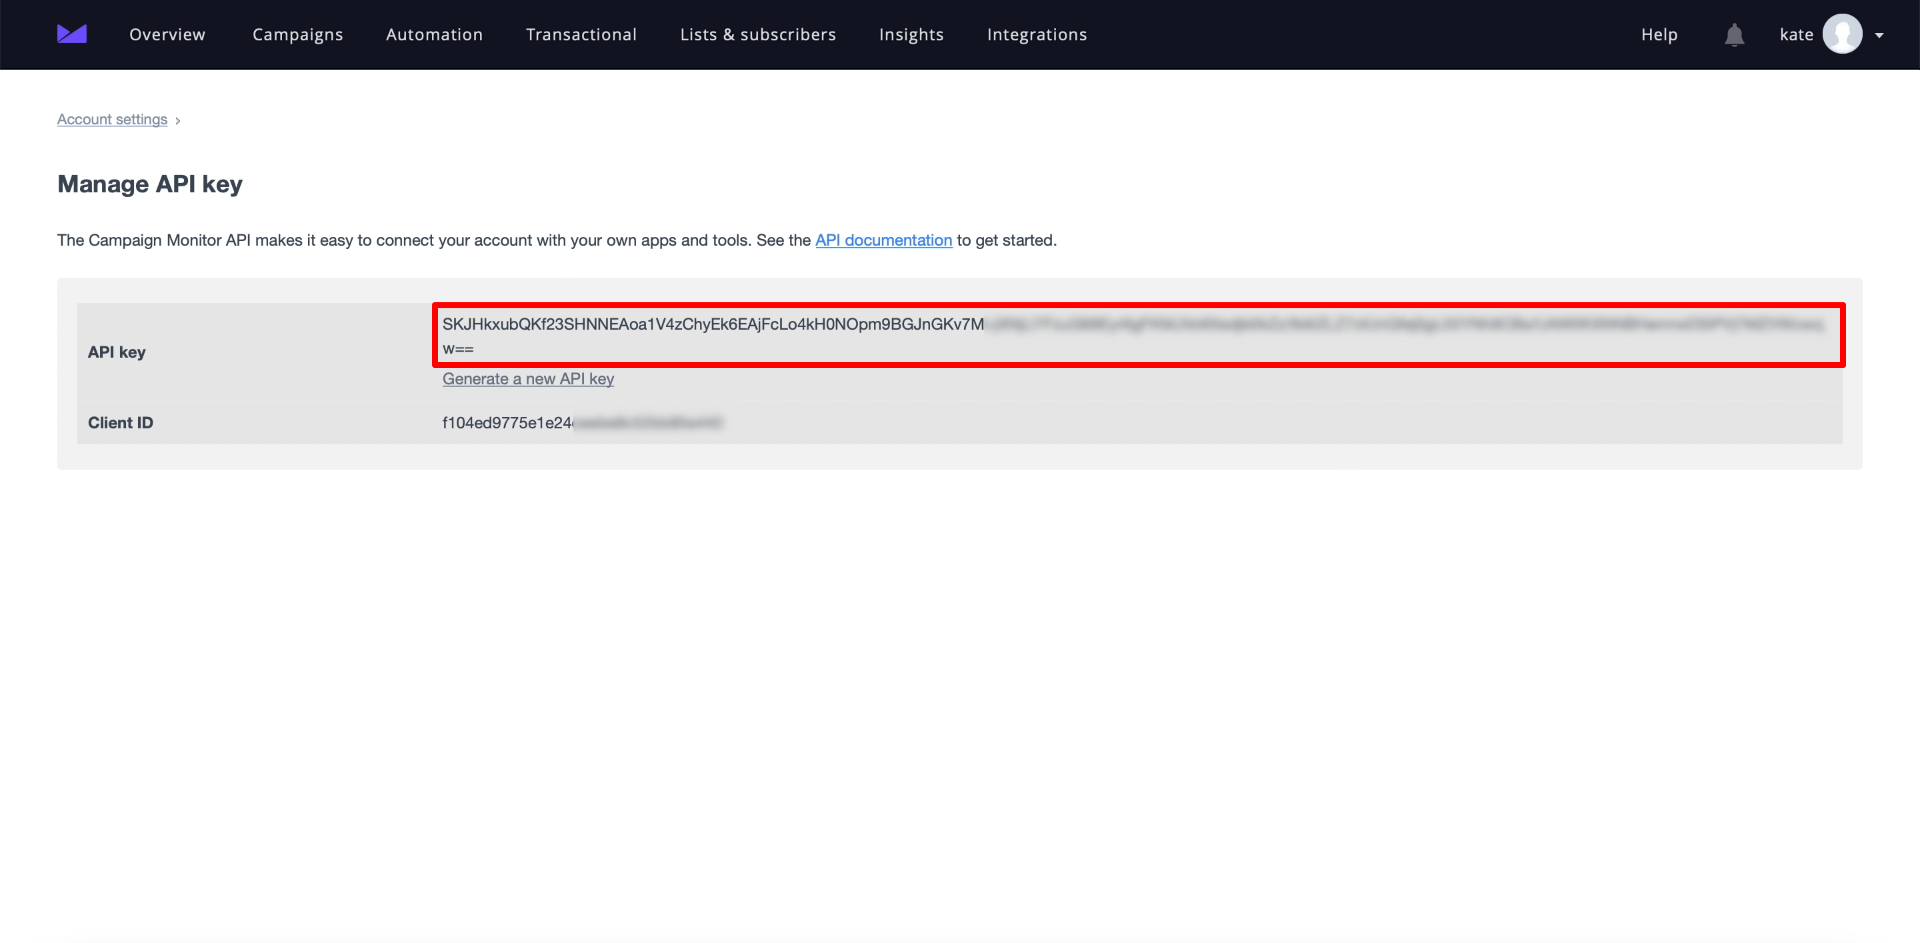
An API key is needed to integrate Campaign Monitor with SaveMyLeads. You can copy it in your account on the Campaign Monitor website. To do this, open the "Account settings" - "API keys" section, click "Show API key" and copy the key that appears.
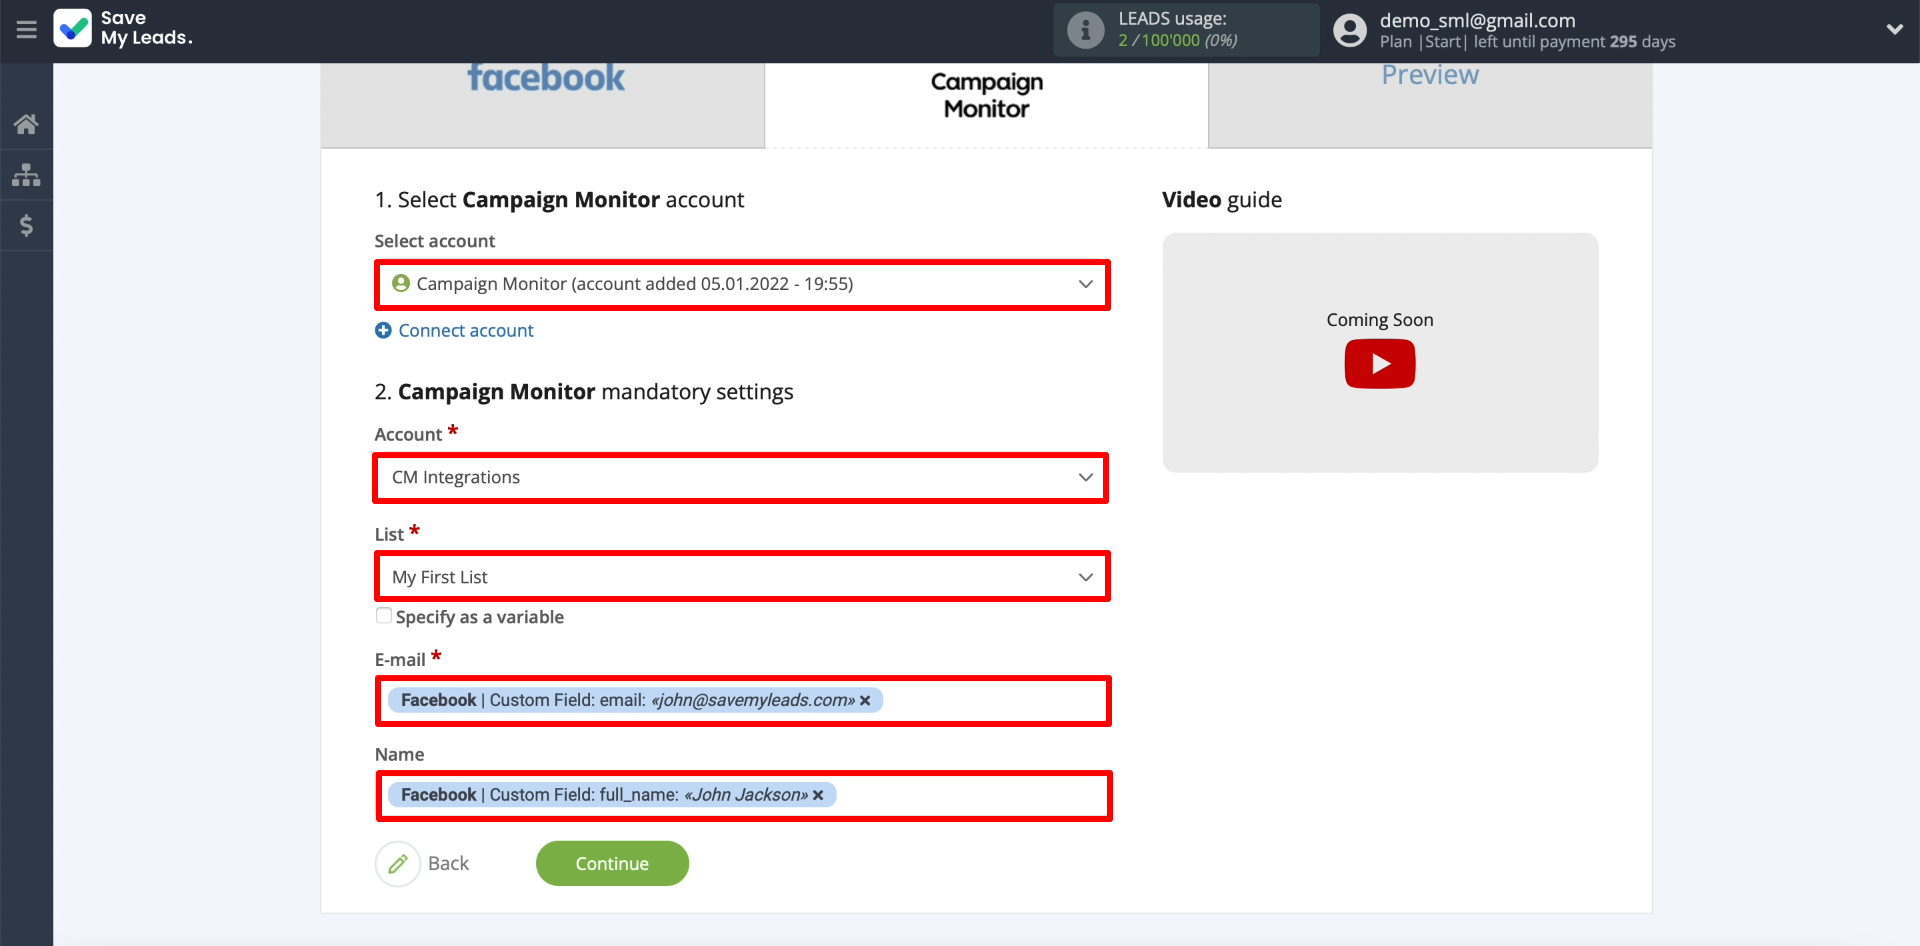
After the account is linked, you must configure the data to be sent to Campaign Monitor. To do this, select our account. We then specify our Campaign Monitor account and target mailing list.


Than we configure exactly what data SaveMyLeads will copy to Campaign Monitor. To do this, click on the fields "E-mail" and "Name" and choose what information should be sent through each field.
Test data transfer
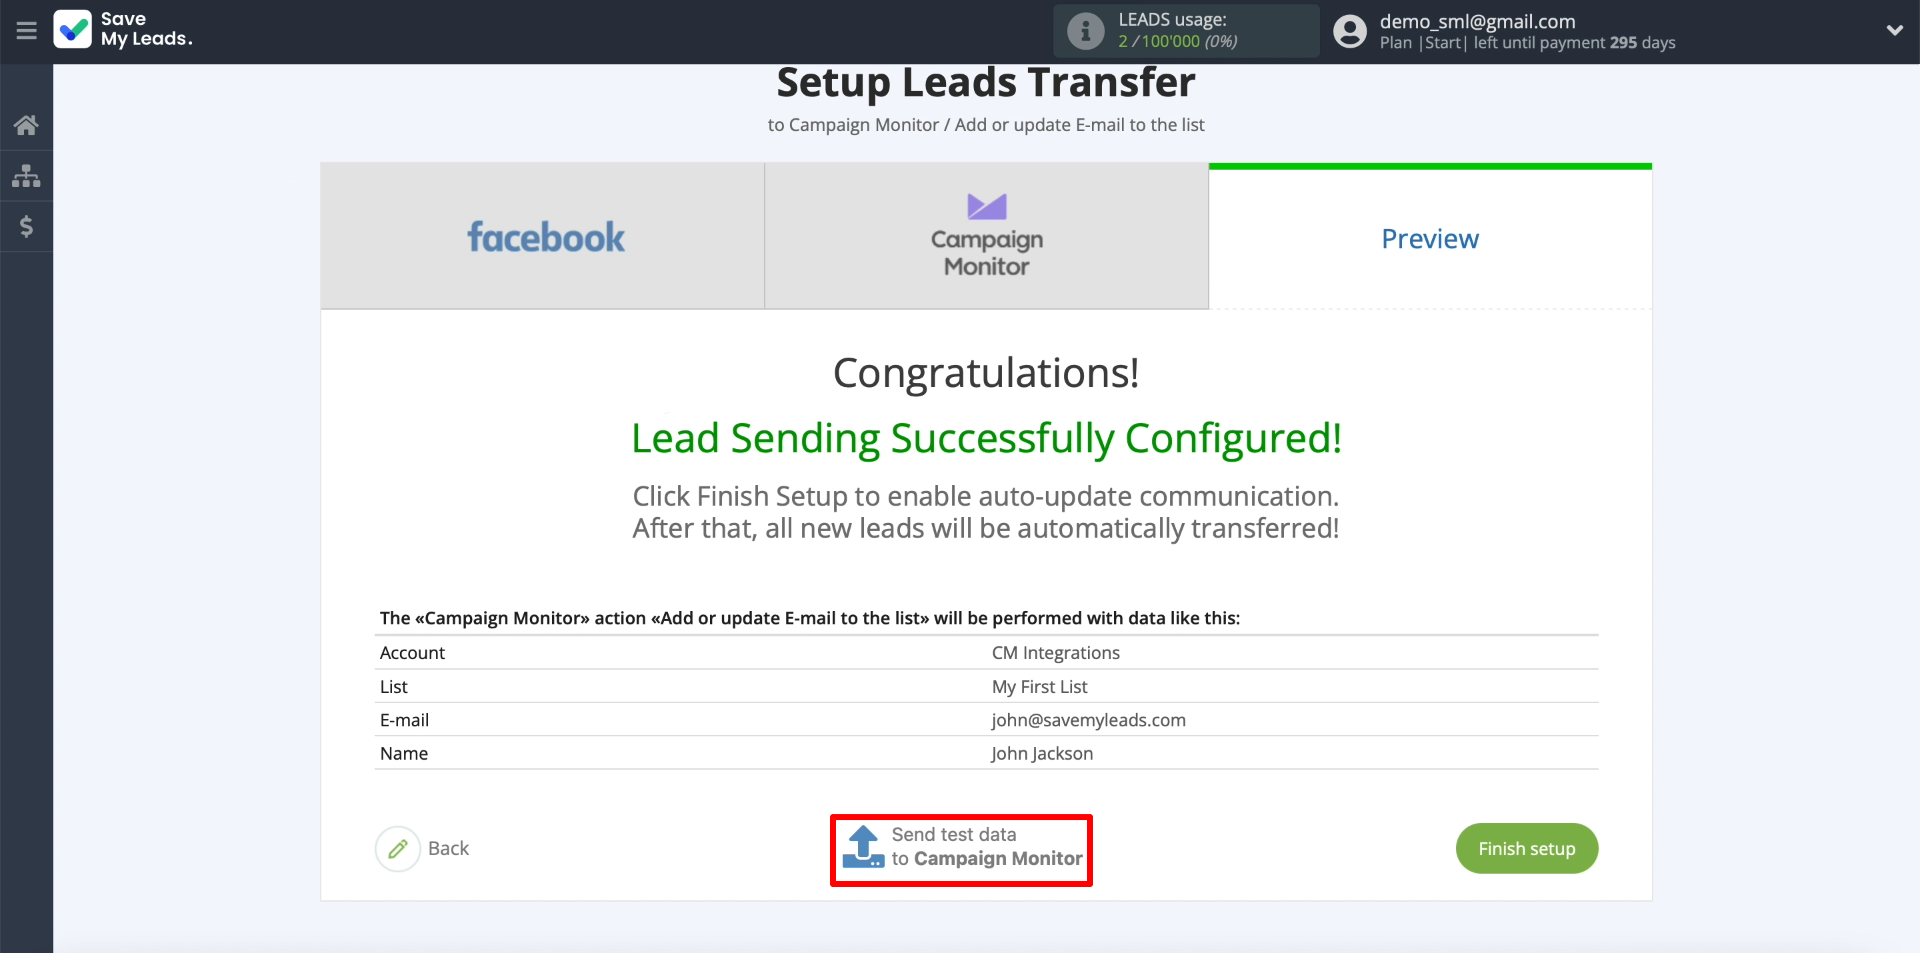
At this stage, the data of the last lead added to the form, which was uploaded by SaveMyLeads, will appear on the screen. We need to check if sending them to the mailing list works. To do this, click Send test data to Campaign Monitor.
Then we open the mailing list and check for sent data. If there is nothing, we check the correctness of the previous configuration steps. If the data is displayed, go to the final stage.
Finish the setup
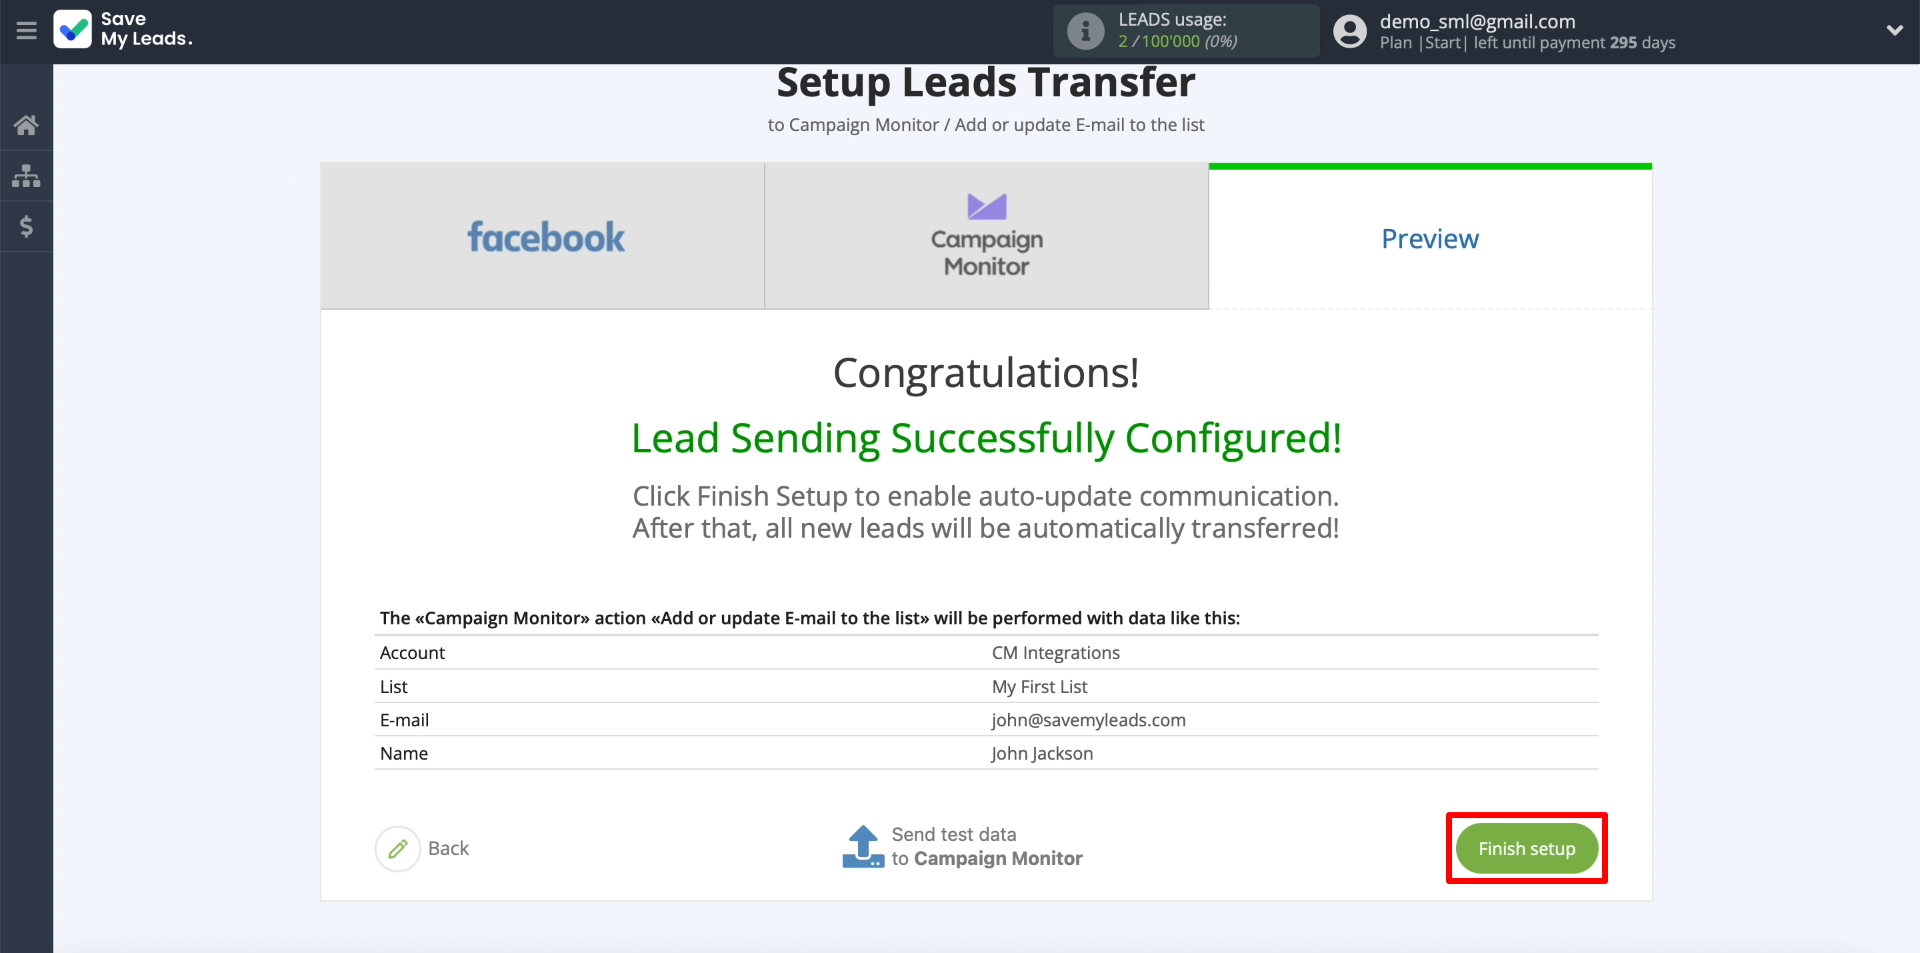
Click "Finish setup" to complete the connection setup and start automatic data transfer
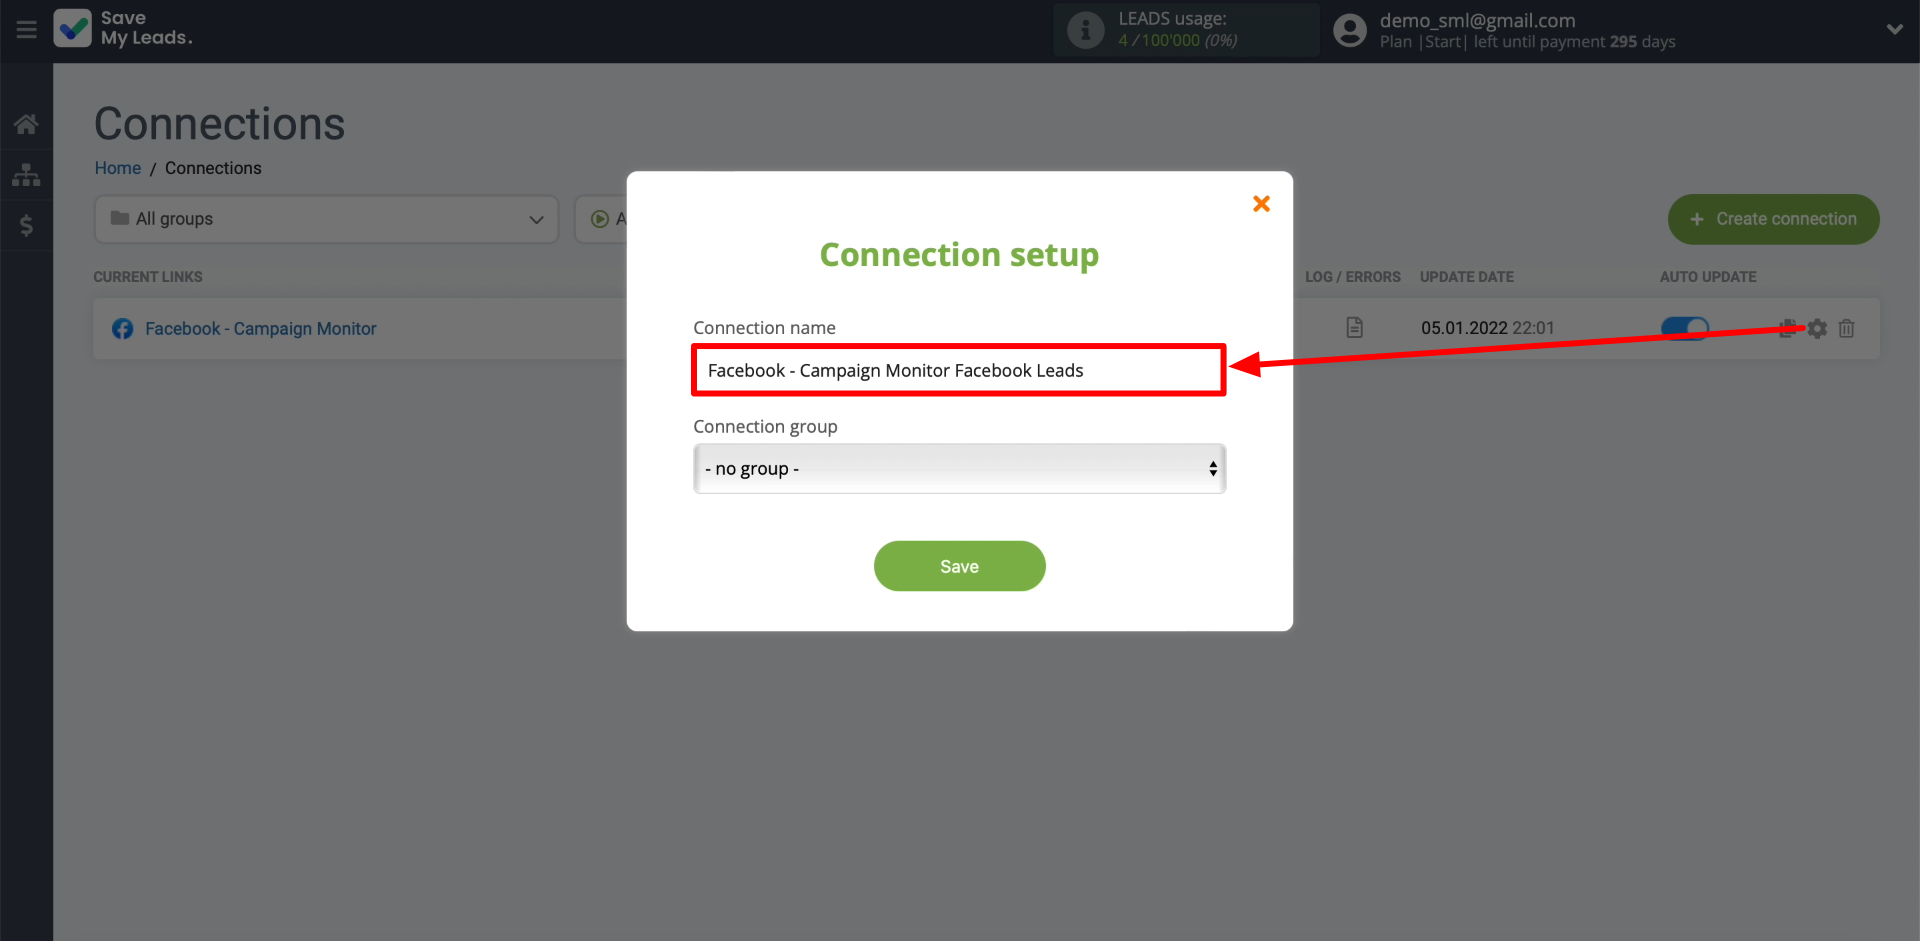
Edit the name of the connection if necessary. To do this, click on the gear and enter the text in the appropriate field.
That's all! SaveMyLeads will now automatically upload new leads from the Facebook form to Campaign Monitor according to the settings you have configured.
