Tired of uploading leads from a social network to CRM manually? Automate the transfer of leads and no longer waste time on monotonous work. With the help of the SaveMyLeads service, this can be done in a few minutes and without a single line of code.
Contents:
1. How to setup Salesforce and Facebook integration
2. Getting started with SaveMyLeads setup
3. Connecting a Facebook ad account
4. Connecting a Salesforce account
5. Testing data transfer
6. Finishing setup
Facebook advertising is a powerful lead generation tool. But the social network does not have the necessary functions to process the collected leads. That's why marketers typically upload generated leads from Facebook forms to CRMs, systems designed to manage leads.
Thanks to the SaveMyLeads service, you can quickly connect Facebook to one of the popular CRMs and set up automatic lead uploading. As a result, each new client request will be transferred to the CRM system - without any effort on your part. Moreover, you can choose which data left by the client in the form will be uploaded to the lead card.
Let's see how automation can help your business:
Reduce manual work. You do not have to constantly track the appearance of new leads in the Facebook form, upload them to a separate file and copy them to CRM. SaveMyLeads will take care of these monotonous tasks, which will save you time and effort.
Accelerate the addition of leads. As soon as a new lead appears in the form, SaveMyLeads immediately uploads it to CRM. Data will be transmitted without delay 24/7. Thus, your managers will be able to respond faster to customer requests.
Get rid of data errors. When manually entering a large amount of data, an employee can easily misspell names or contacts, as well as lose or mix up important information. Automation eliminates the human factor: SaveMyLeads unloads the data in the form in which the user added it to the form.
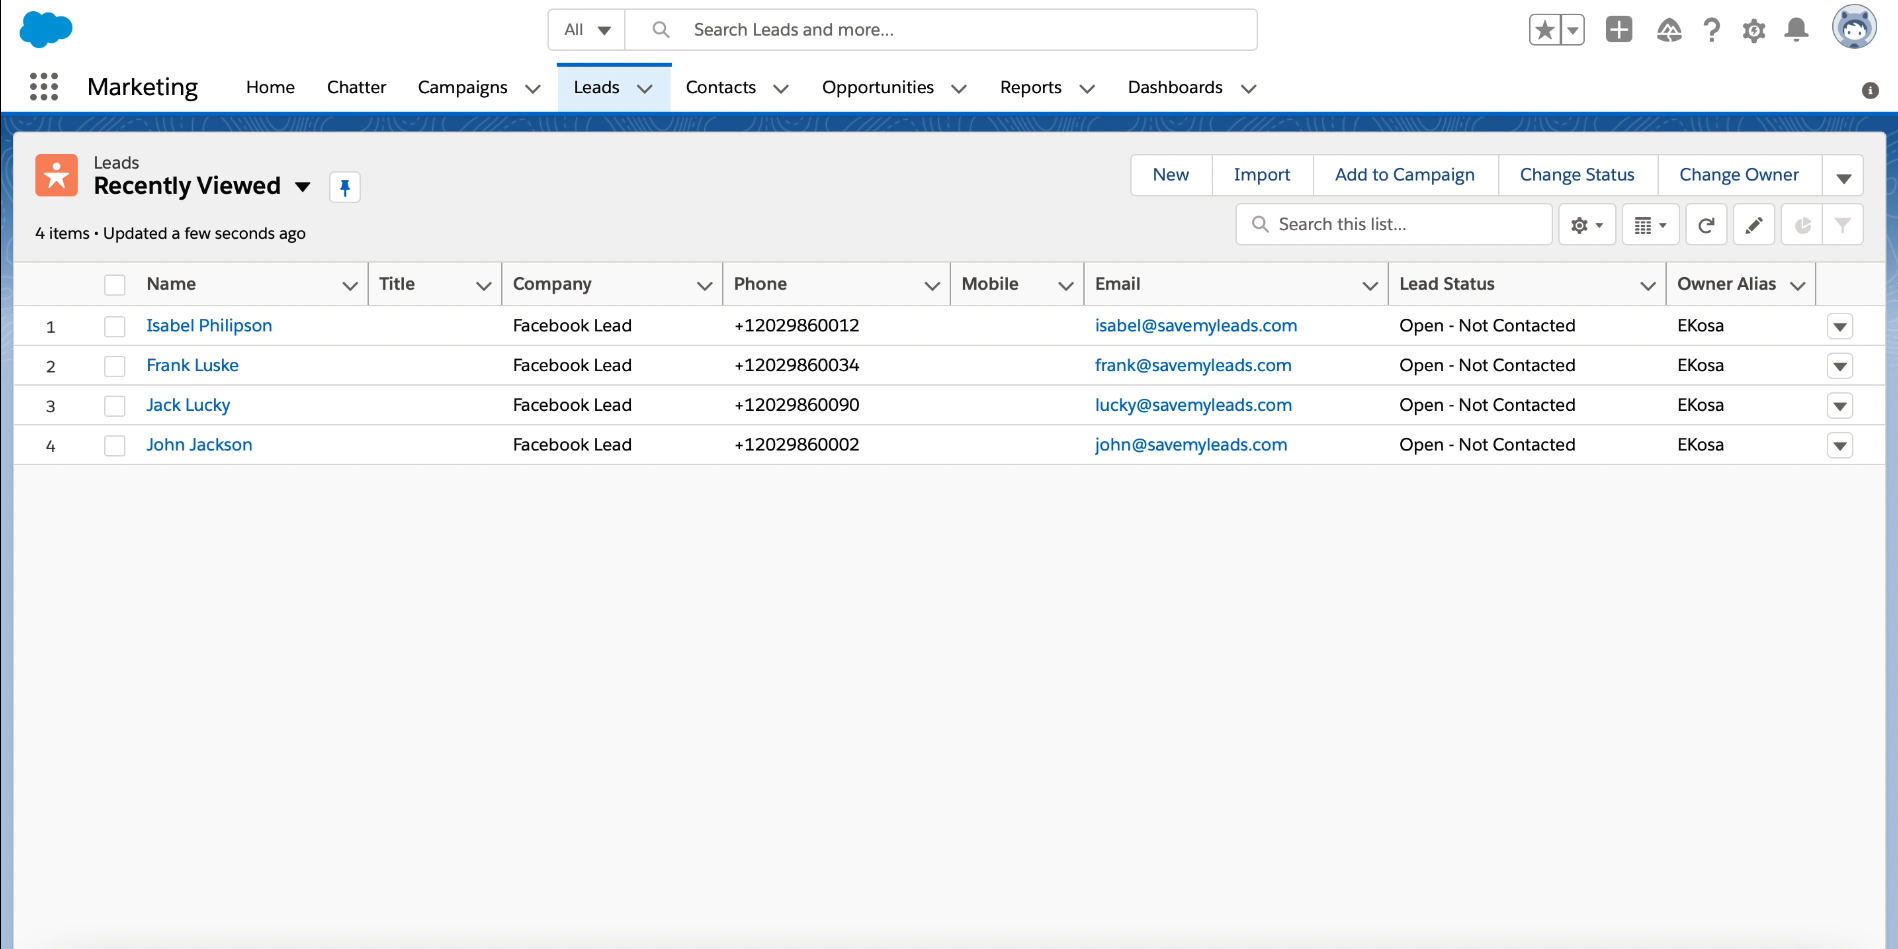
Example of leads transferred from Facebook to Salesforce CRM using SaveMyLeads:
How to setup Salesforce and Facebook integration
with SaveMyLeads You don't need to know how to code to work with SaveMyLeads. To set up automatic uploading of leads, just register on the service website, select the connection to the desired CRM in the list and follow the prompts on the screen. The interface will ask you to connect your Facebook advertising account, the personal account of the selected CRM, and also specify the parameters for uploading data.
- Automate the work with leads from the Facebook advertising account
- Empower with integrations and instant transfer of leads
- Don't spend money on developers or integrators
- Save time by automating routine tasks
Our guide will help you quickly understand everything. As an example, we will set up uploading leads from Facebook to Salesforce CRM. Before you start, make sure you have created an account in CRM and set up a form for accepting leads. Be sure to add a new lead to it with any data - this will come in handy for the test.
Getting started with SaveMyLeads setup
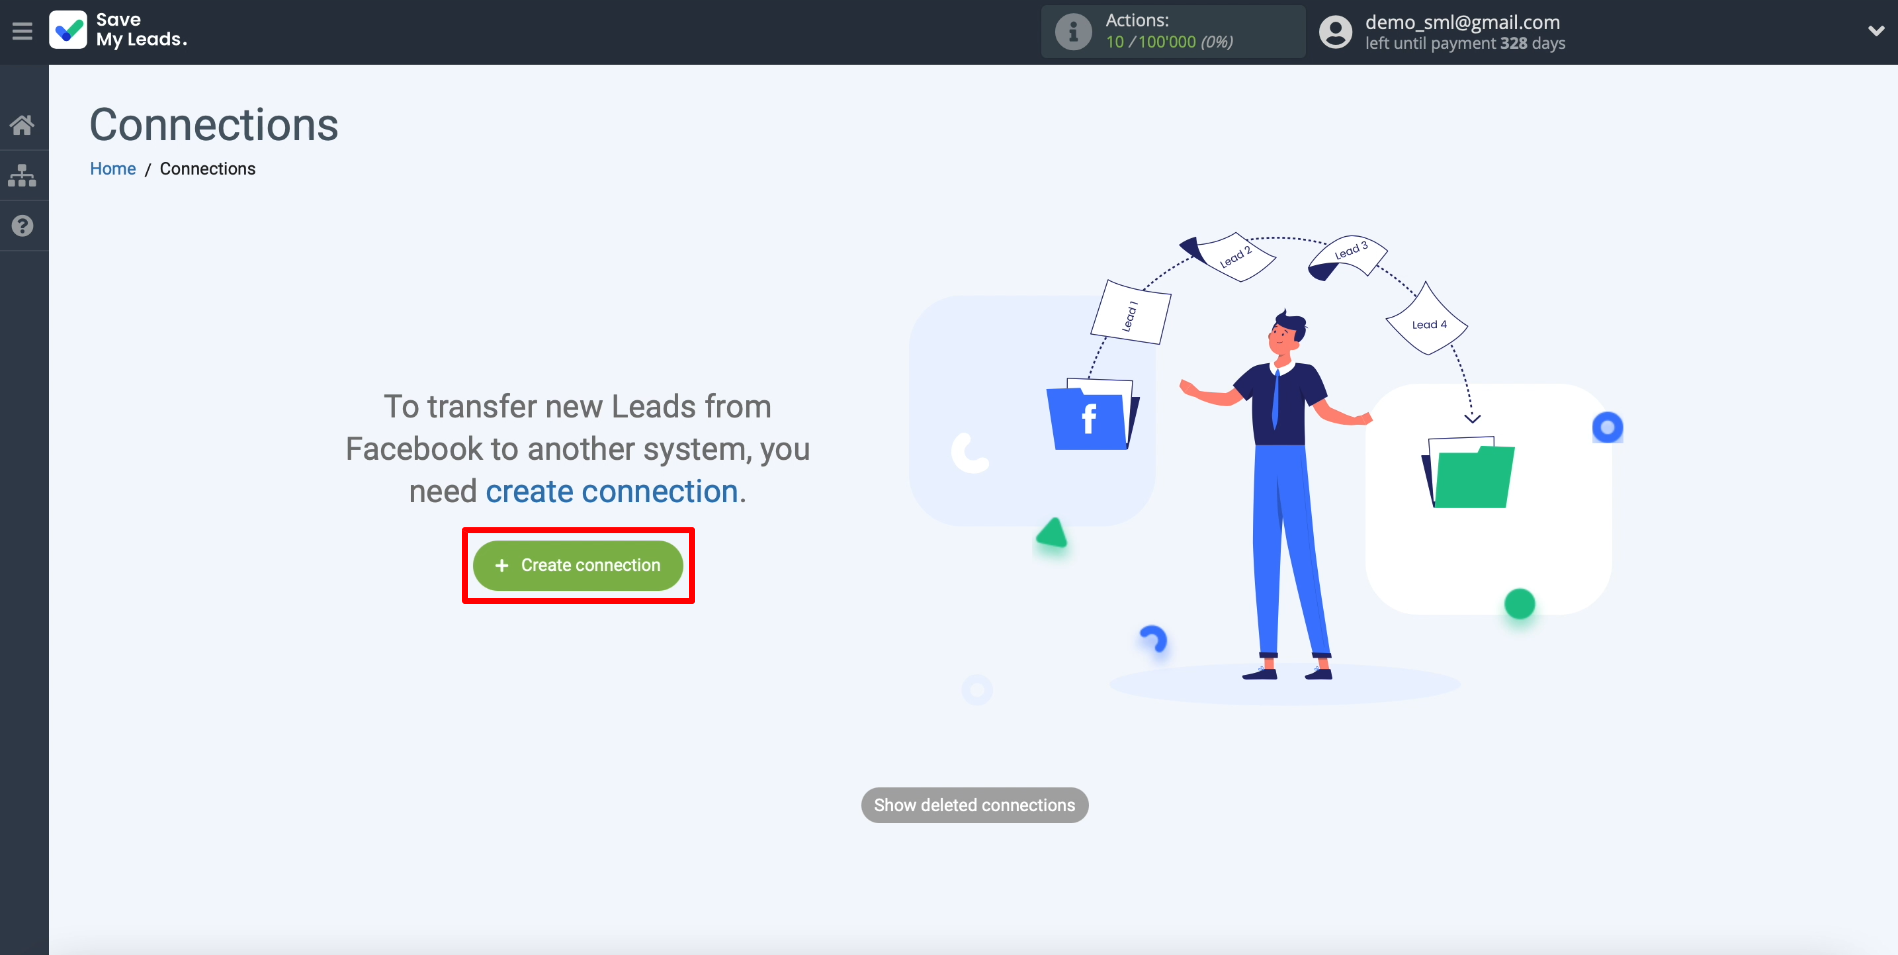
We register on the service website, and then click "Create connection".
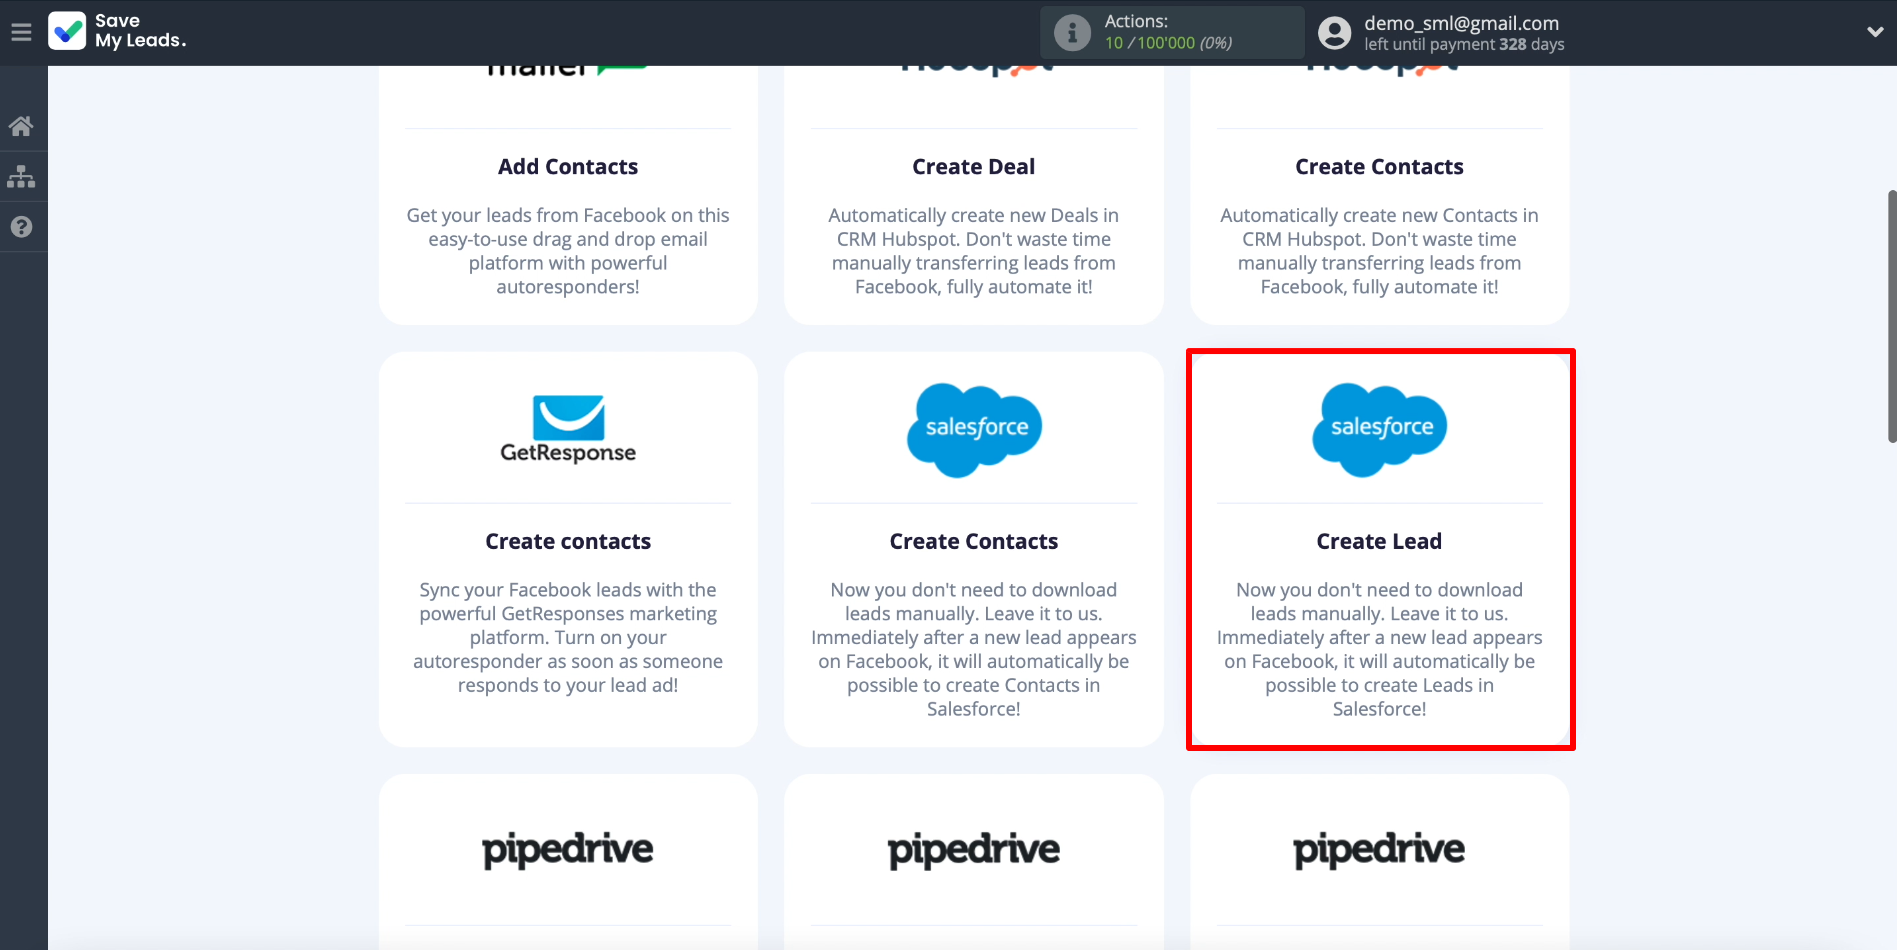
A list of connections will appear on the screen. Each of them will allow you to integrate Facebook with CRM or another system. Select the connection with Salesforce with the subtitle "Create Lead".
Connecting a Facebook ad account
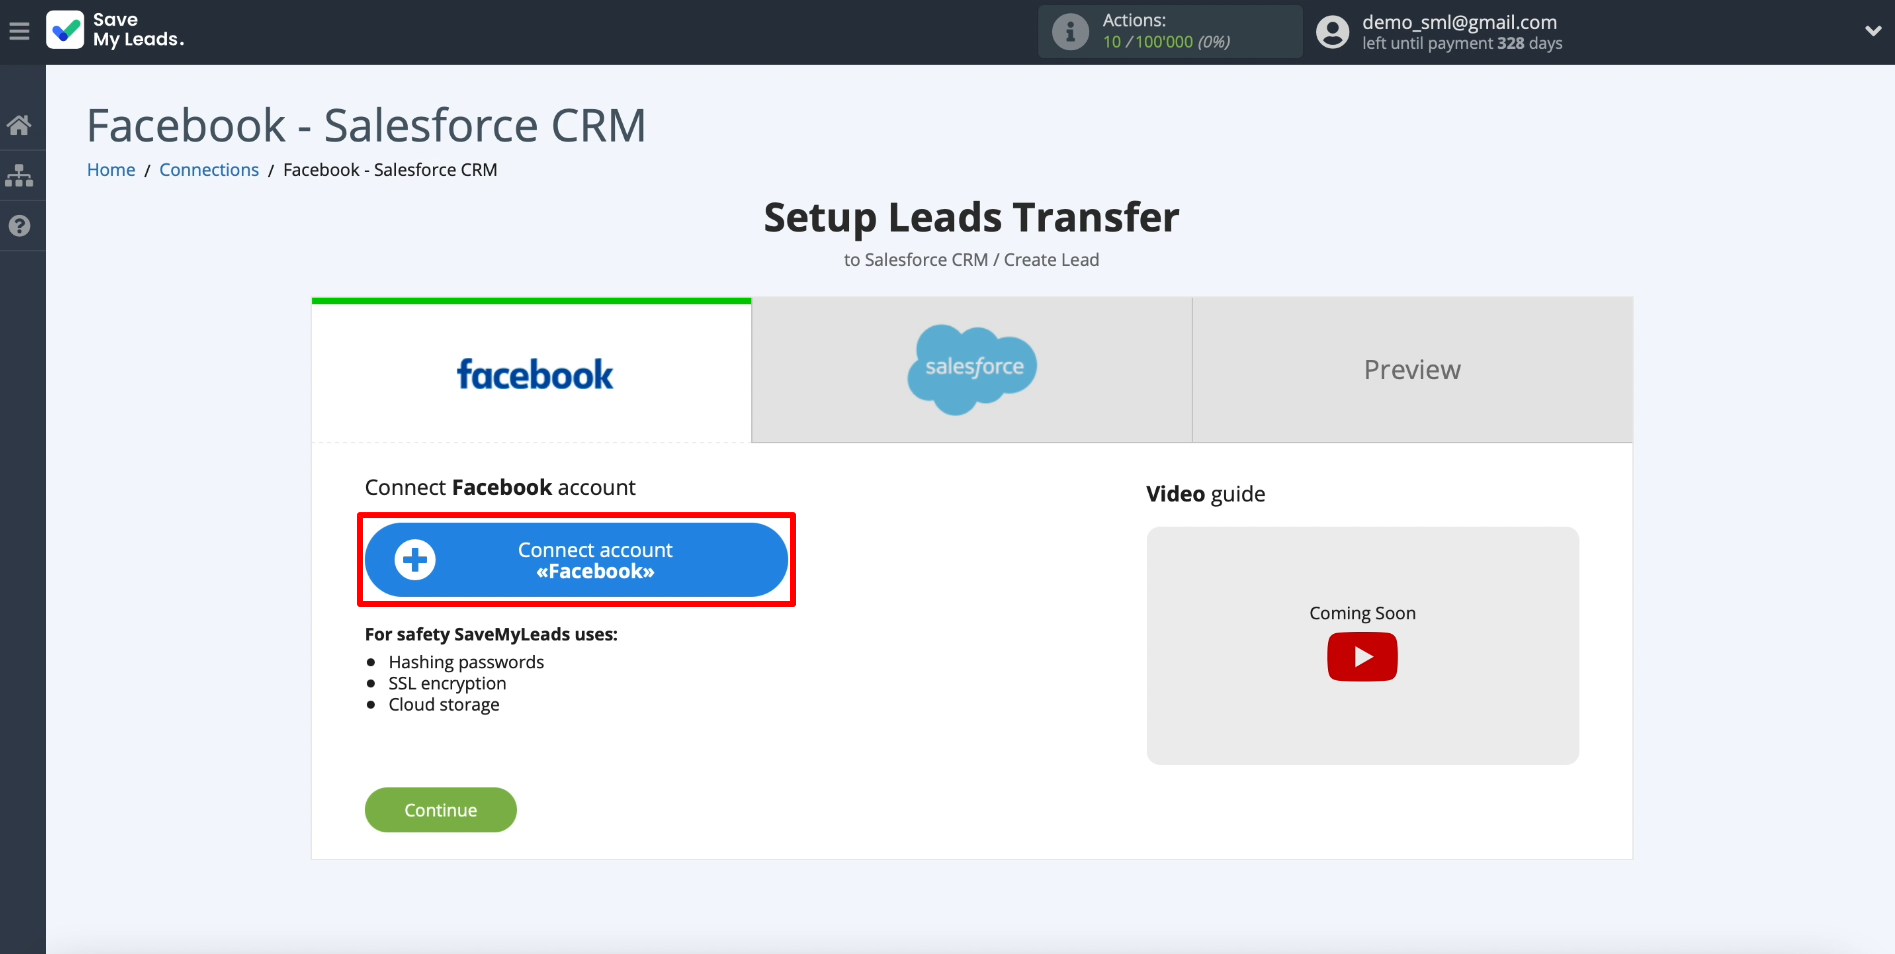
In order for SaveMyLeads to upload leads, you need to connect a Facebook ad account to it. To do this, click "Connect account "Facebook" and enter the login and password from your account. This is required for SaveMyLeads to access the leads.
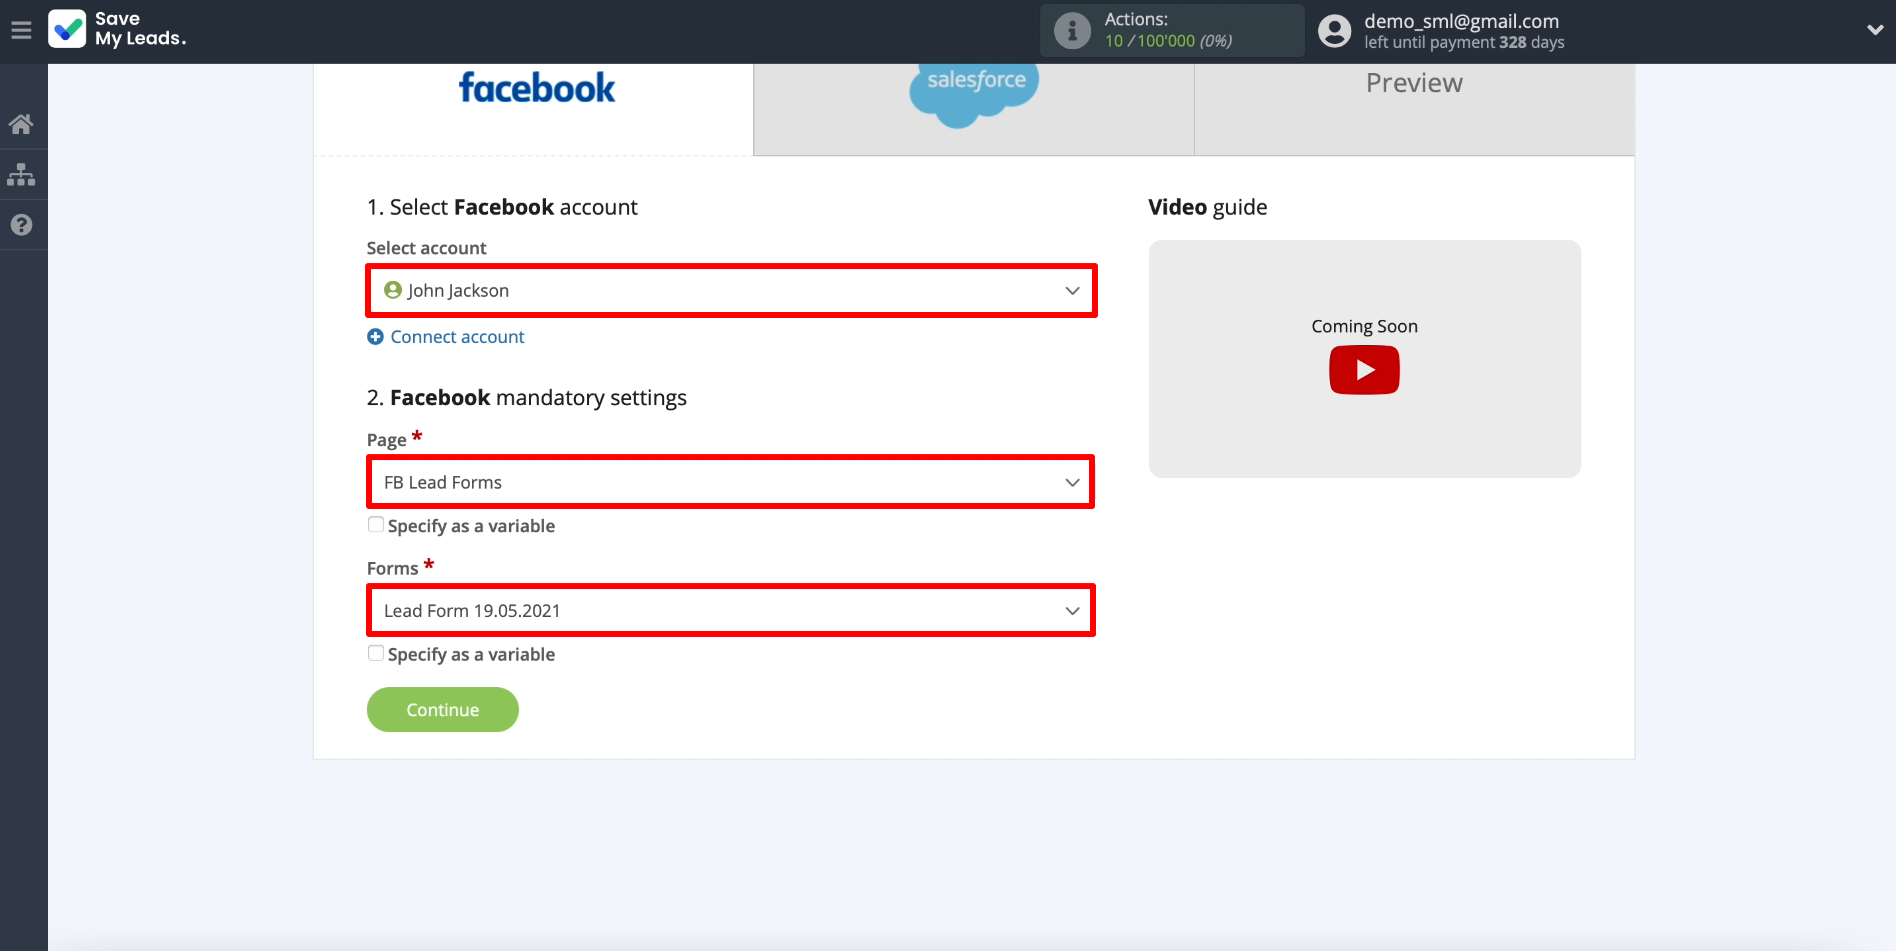
Now let's show SaveMyLeads where it should upload leads from. To do this, select the newly connected Facebook account, then the business page for which our advertising is configured, and finally the lead form.
Connecting the Salesforce account
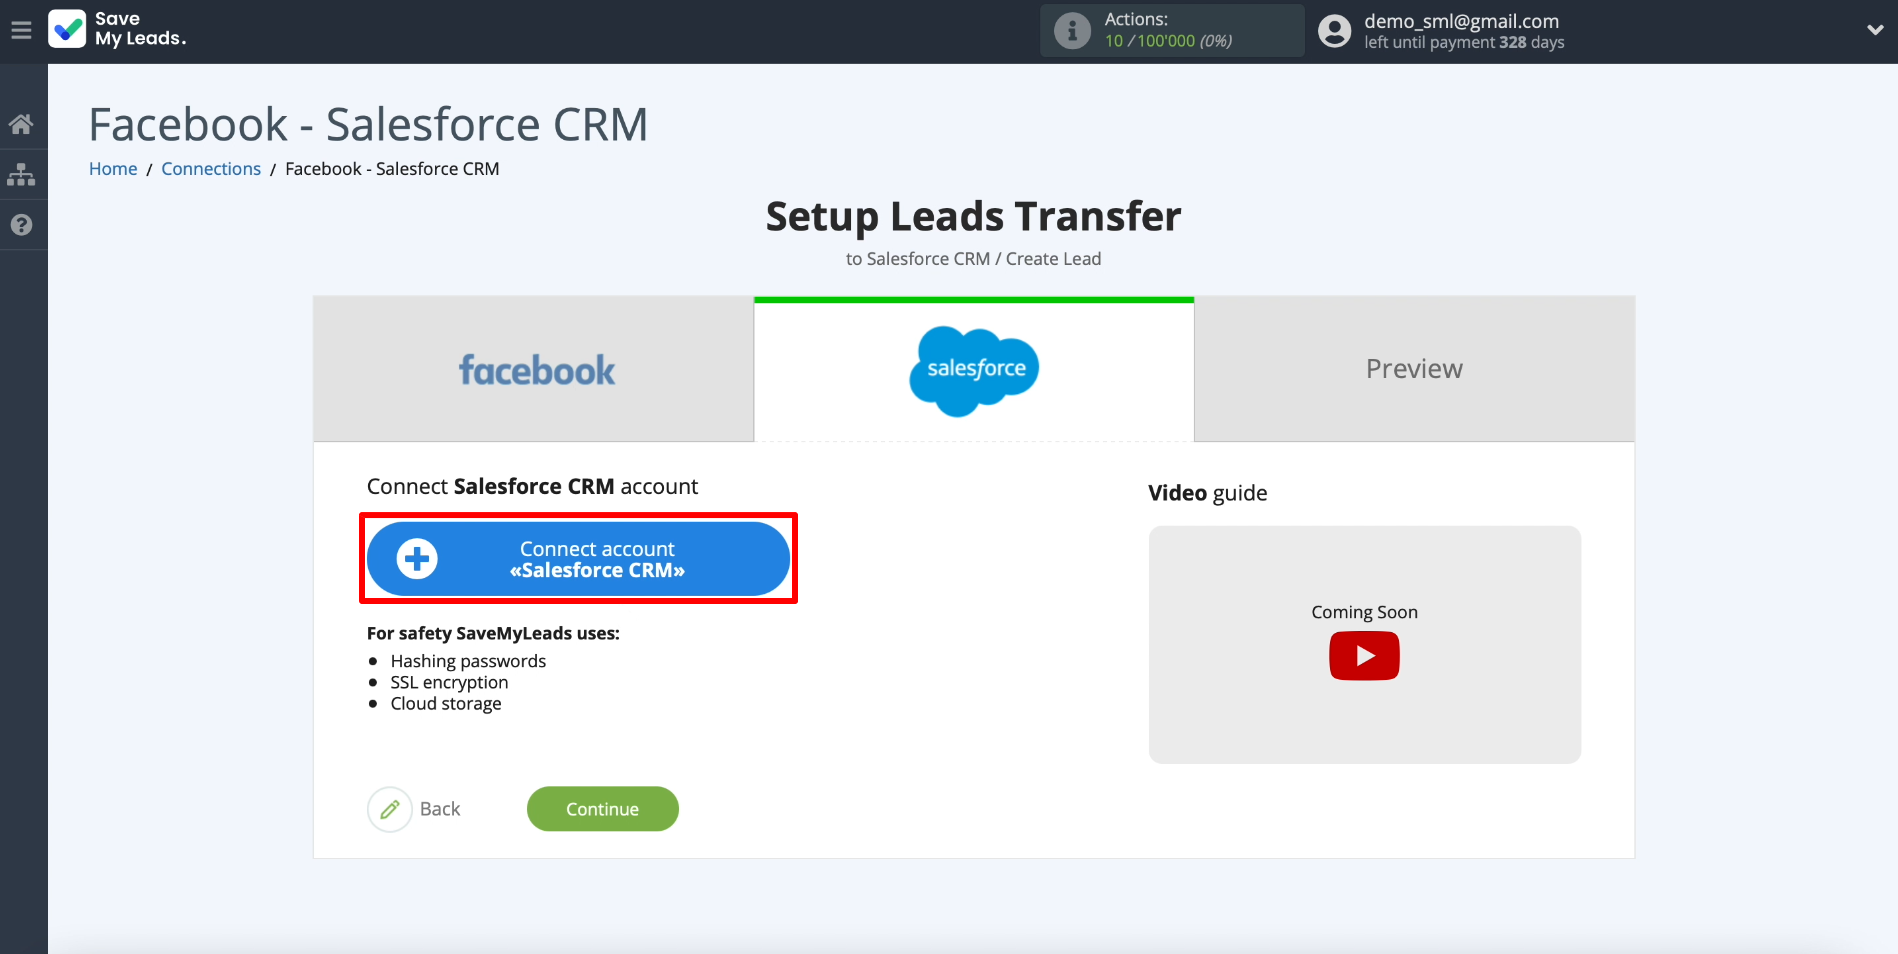
Next, so that SaveMyLeads can add uploaded leads to CRM, we will connect the Salesforce account. Click "Connect account "Salesforce". When prompted, enter your username and password from your personal account.
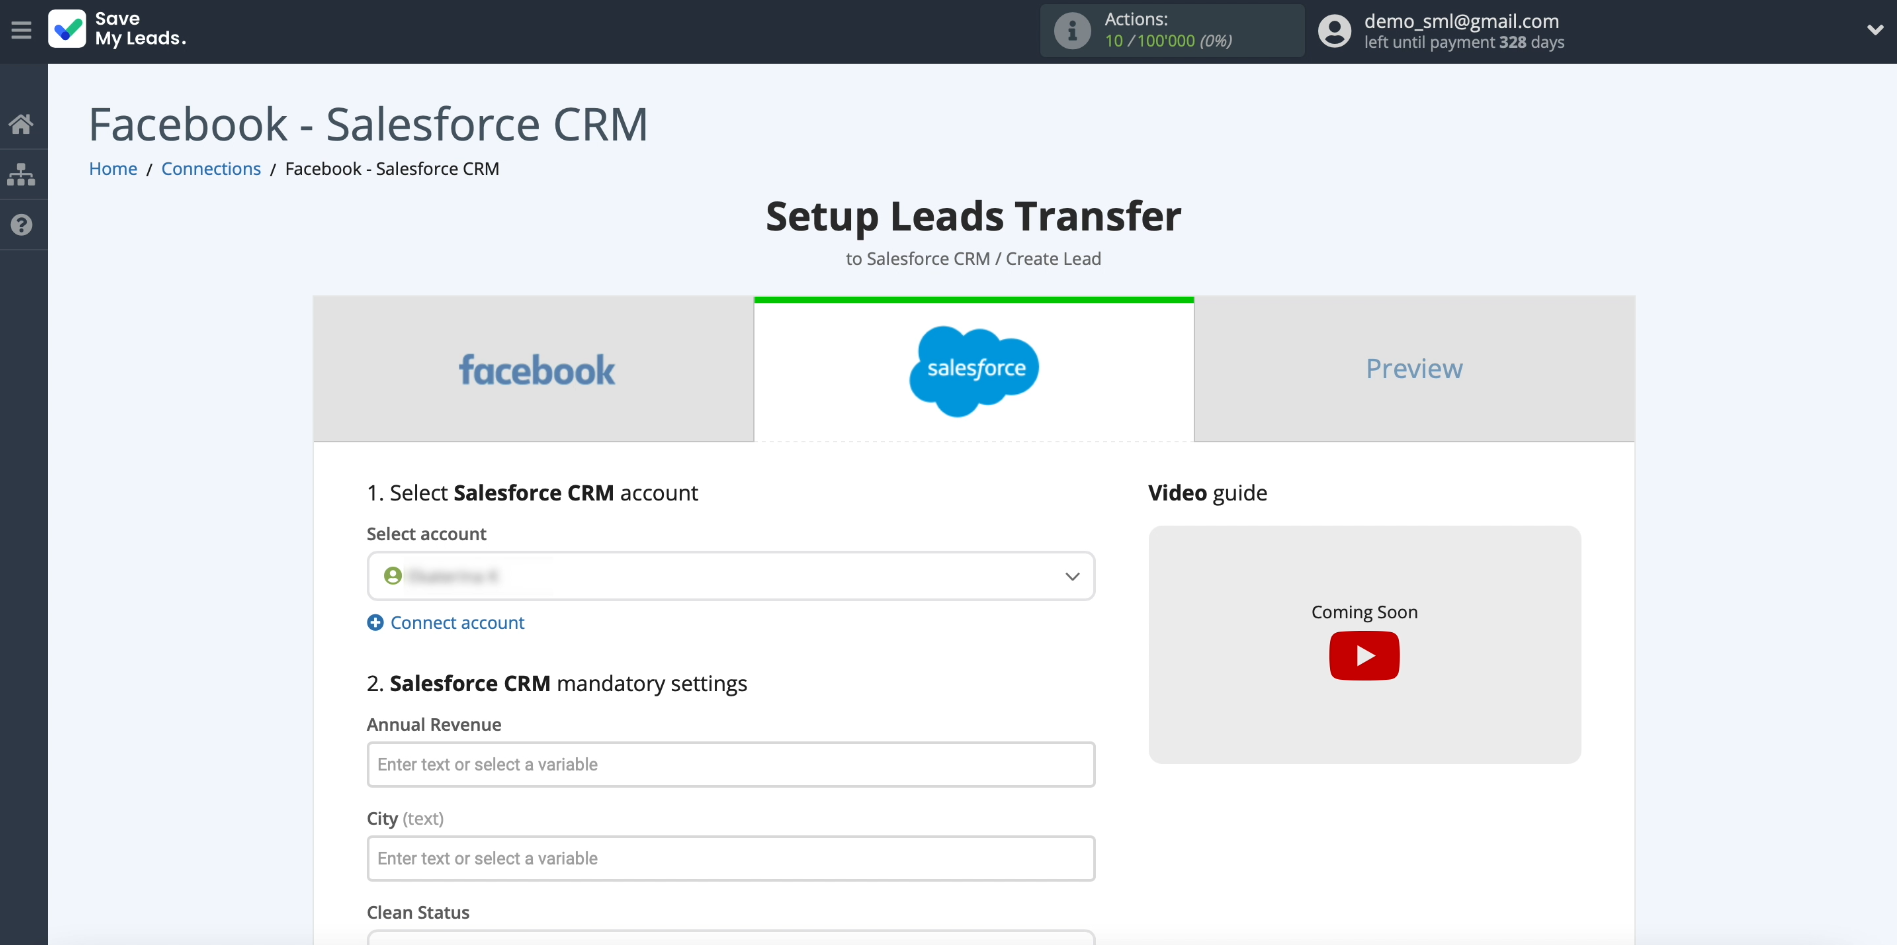
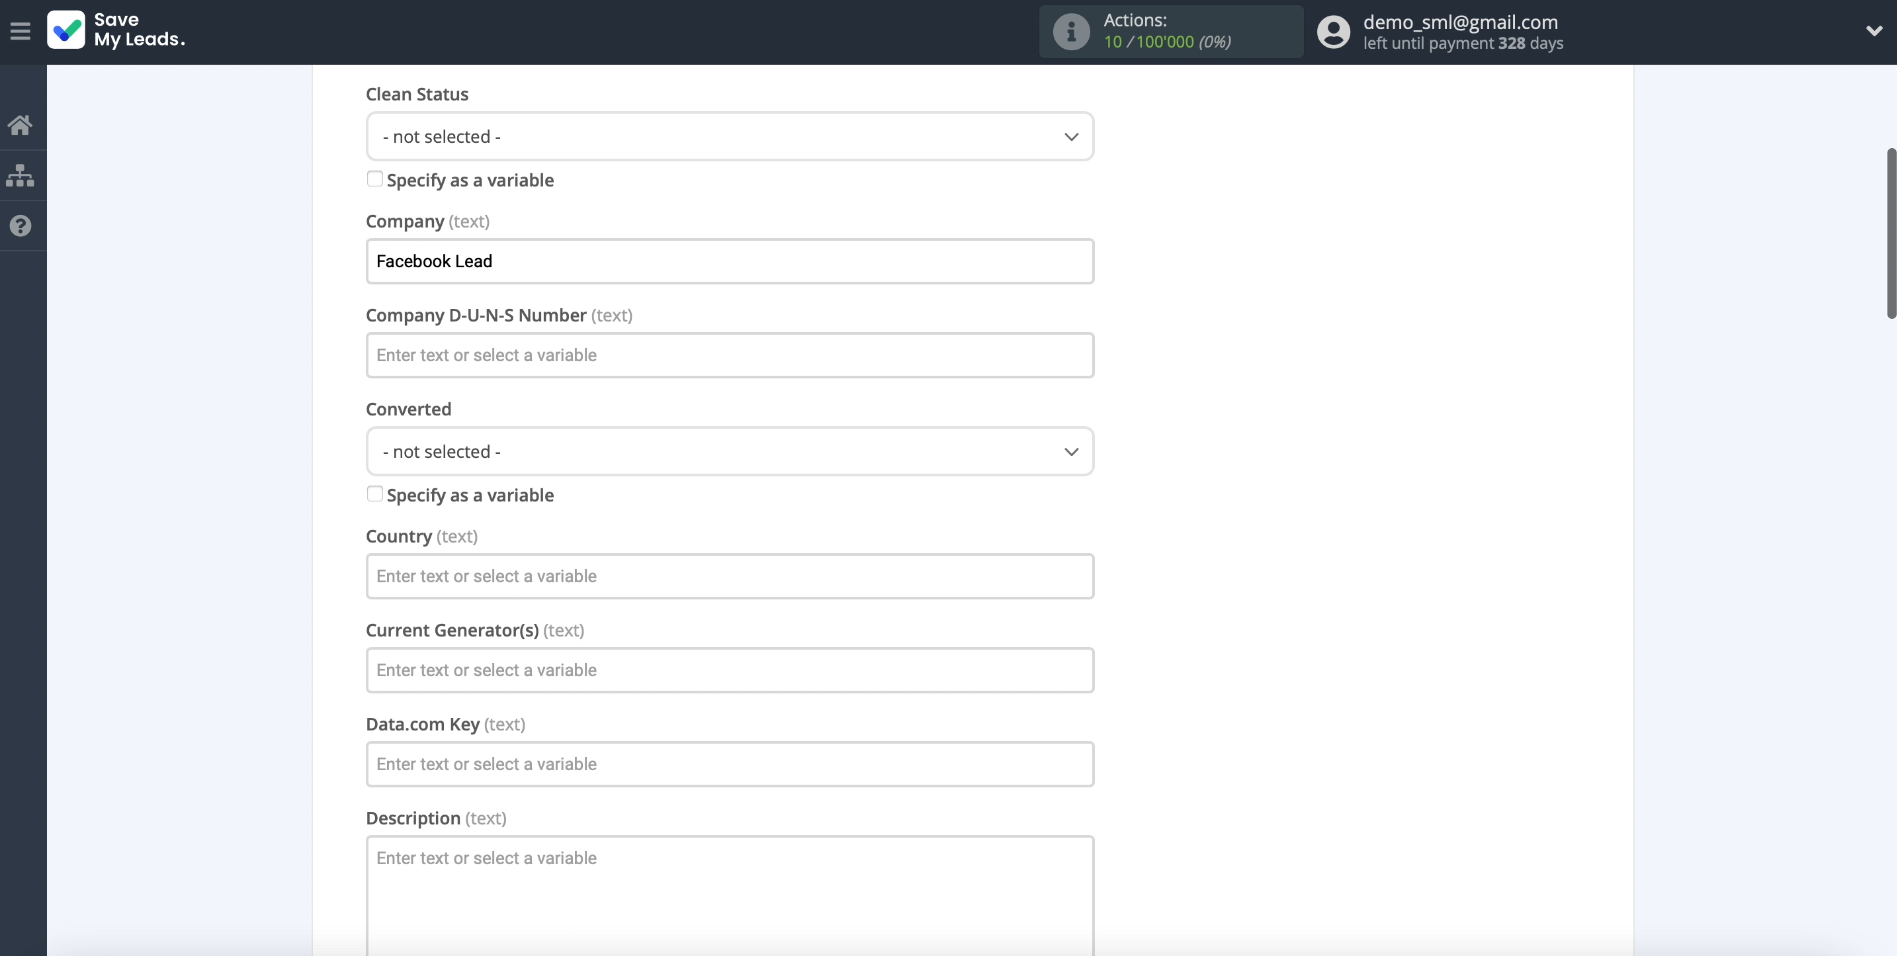
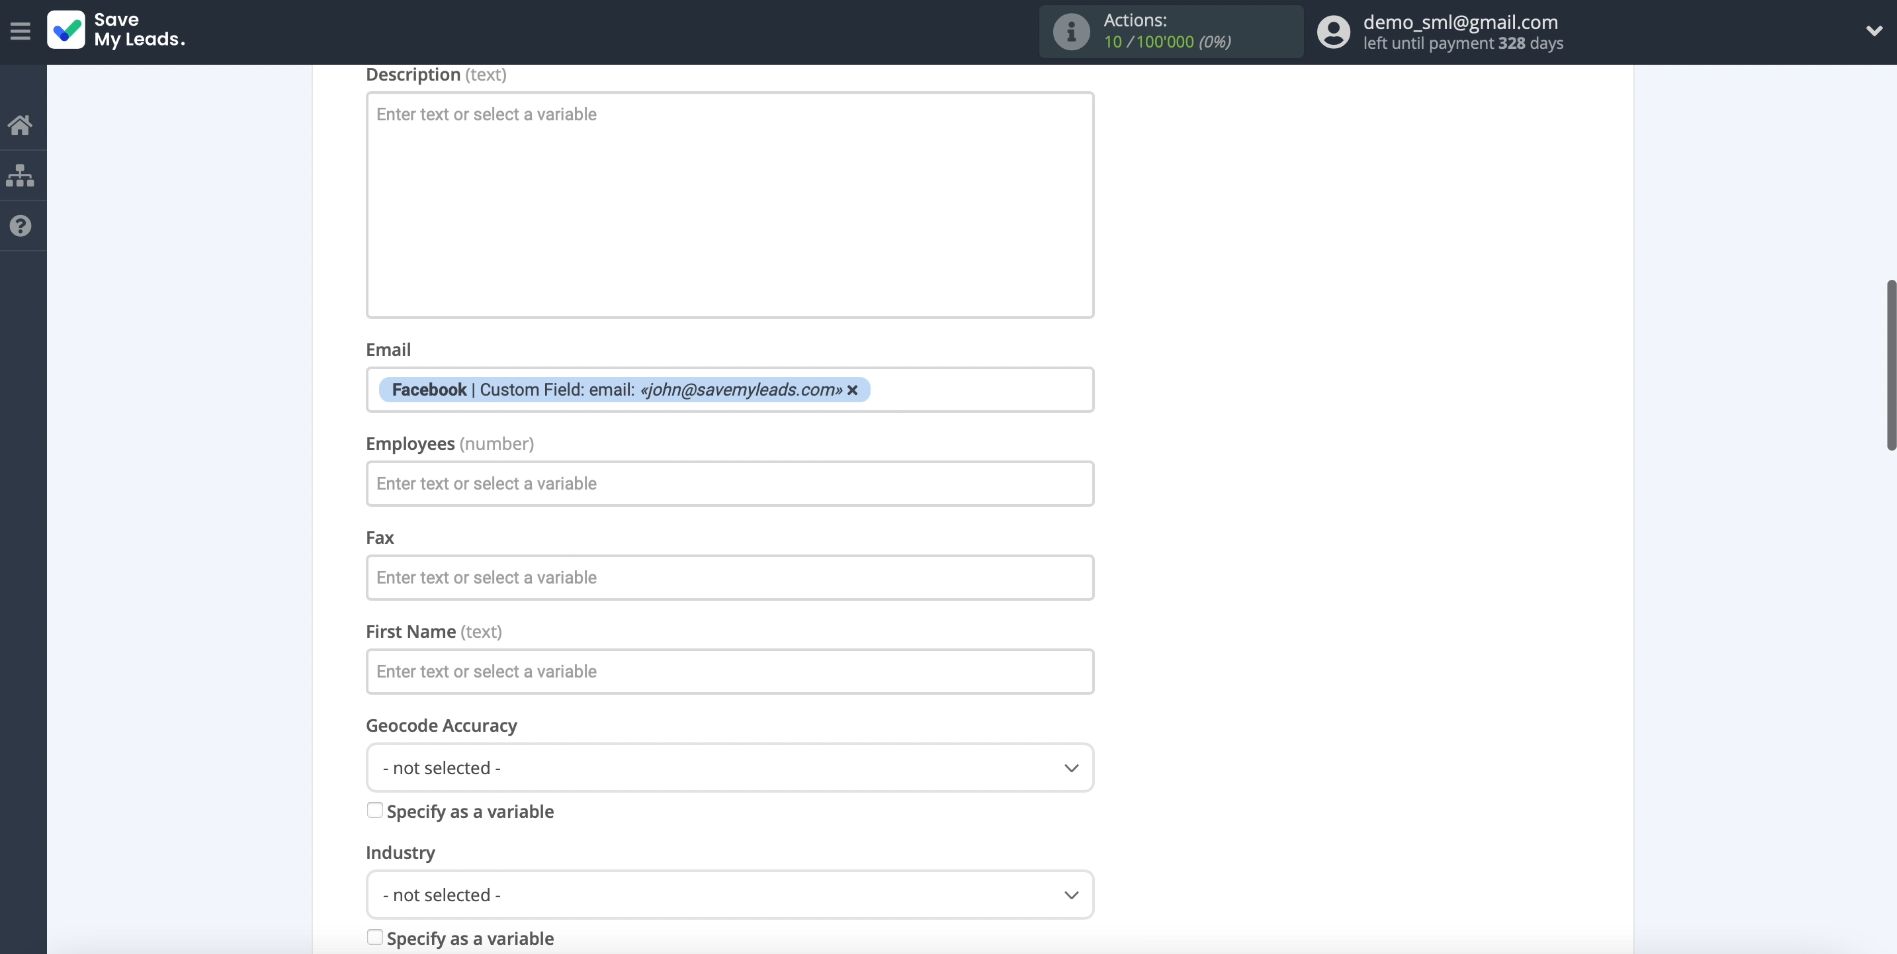
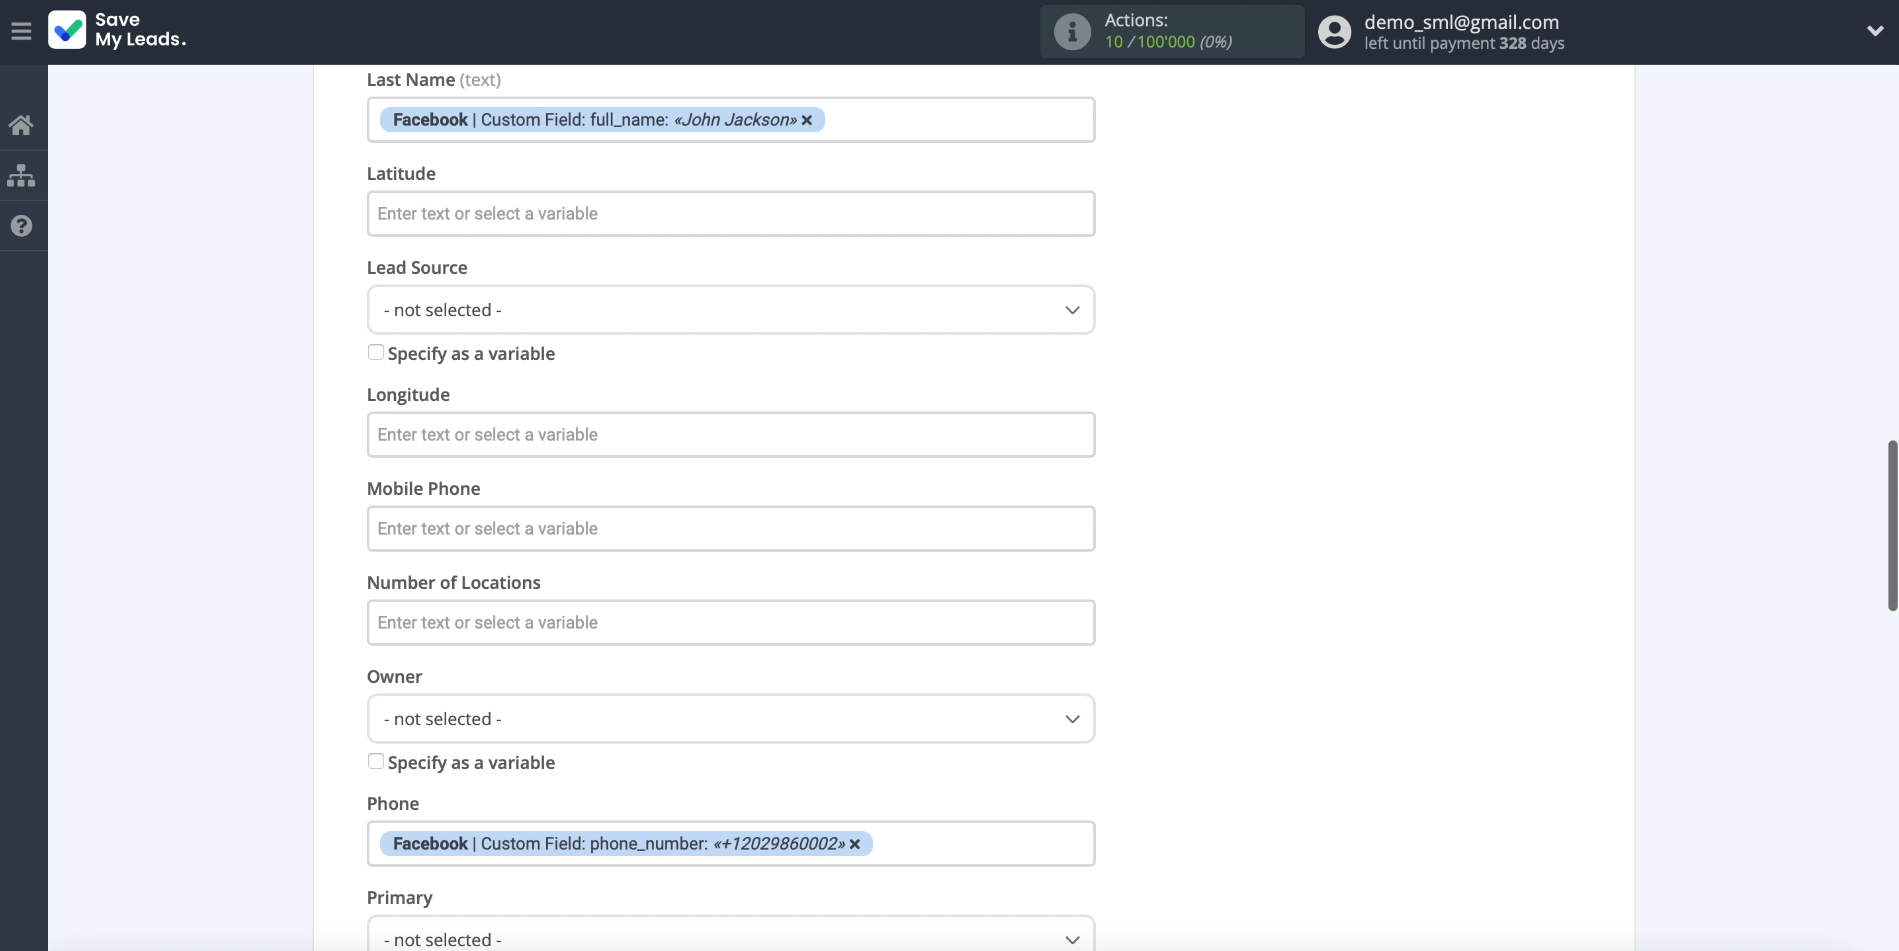
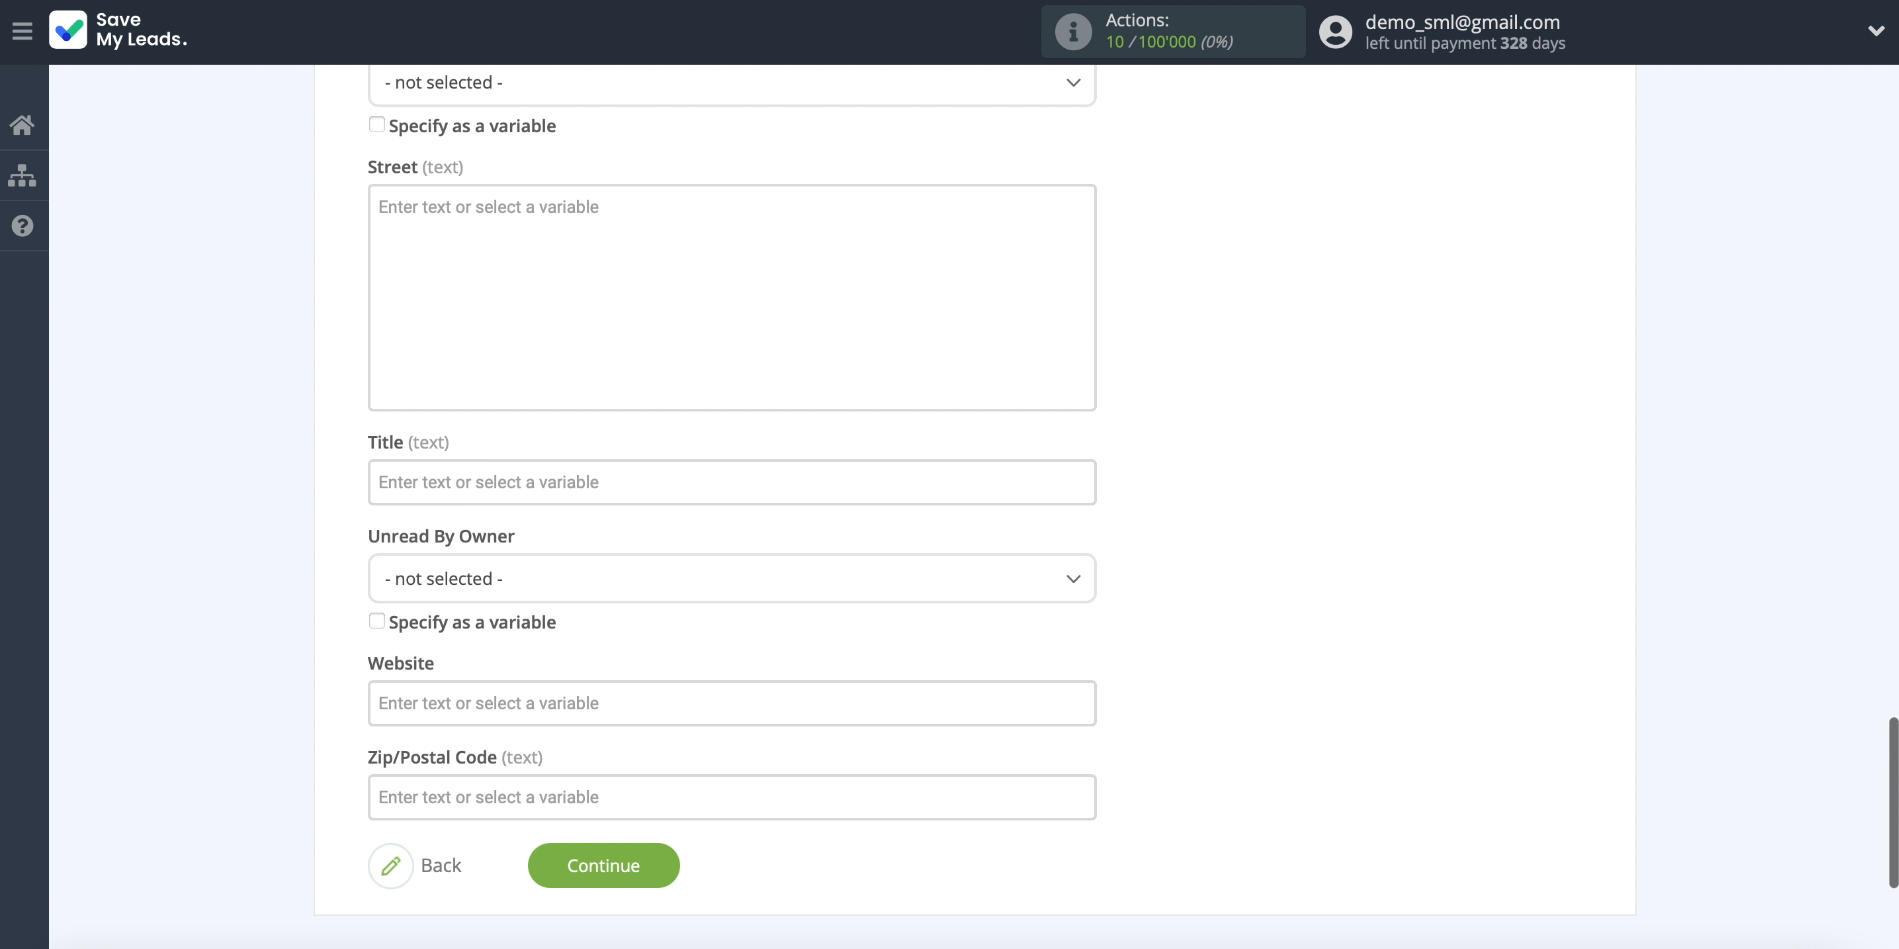
Now let's show SaveMyLeads exactly what data for each lead it should copy to CRM. The screen should display fields that match the lead card fields in Salesforce. We click on the fields we need and choose what information SaveMyLeads will copy into each of them from the Facebook form. Leave the extra fields blank. If desired, you can leave the data selected by the system by default.
Testing the data transfer
Remember we asked you to add one test lead to the form? If everything is configured correctly, the data of this lead will appear on the screen.
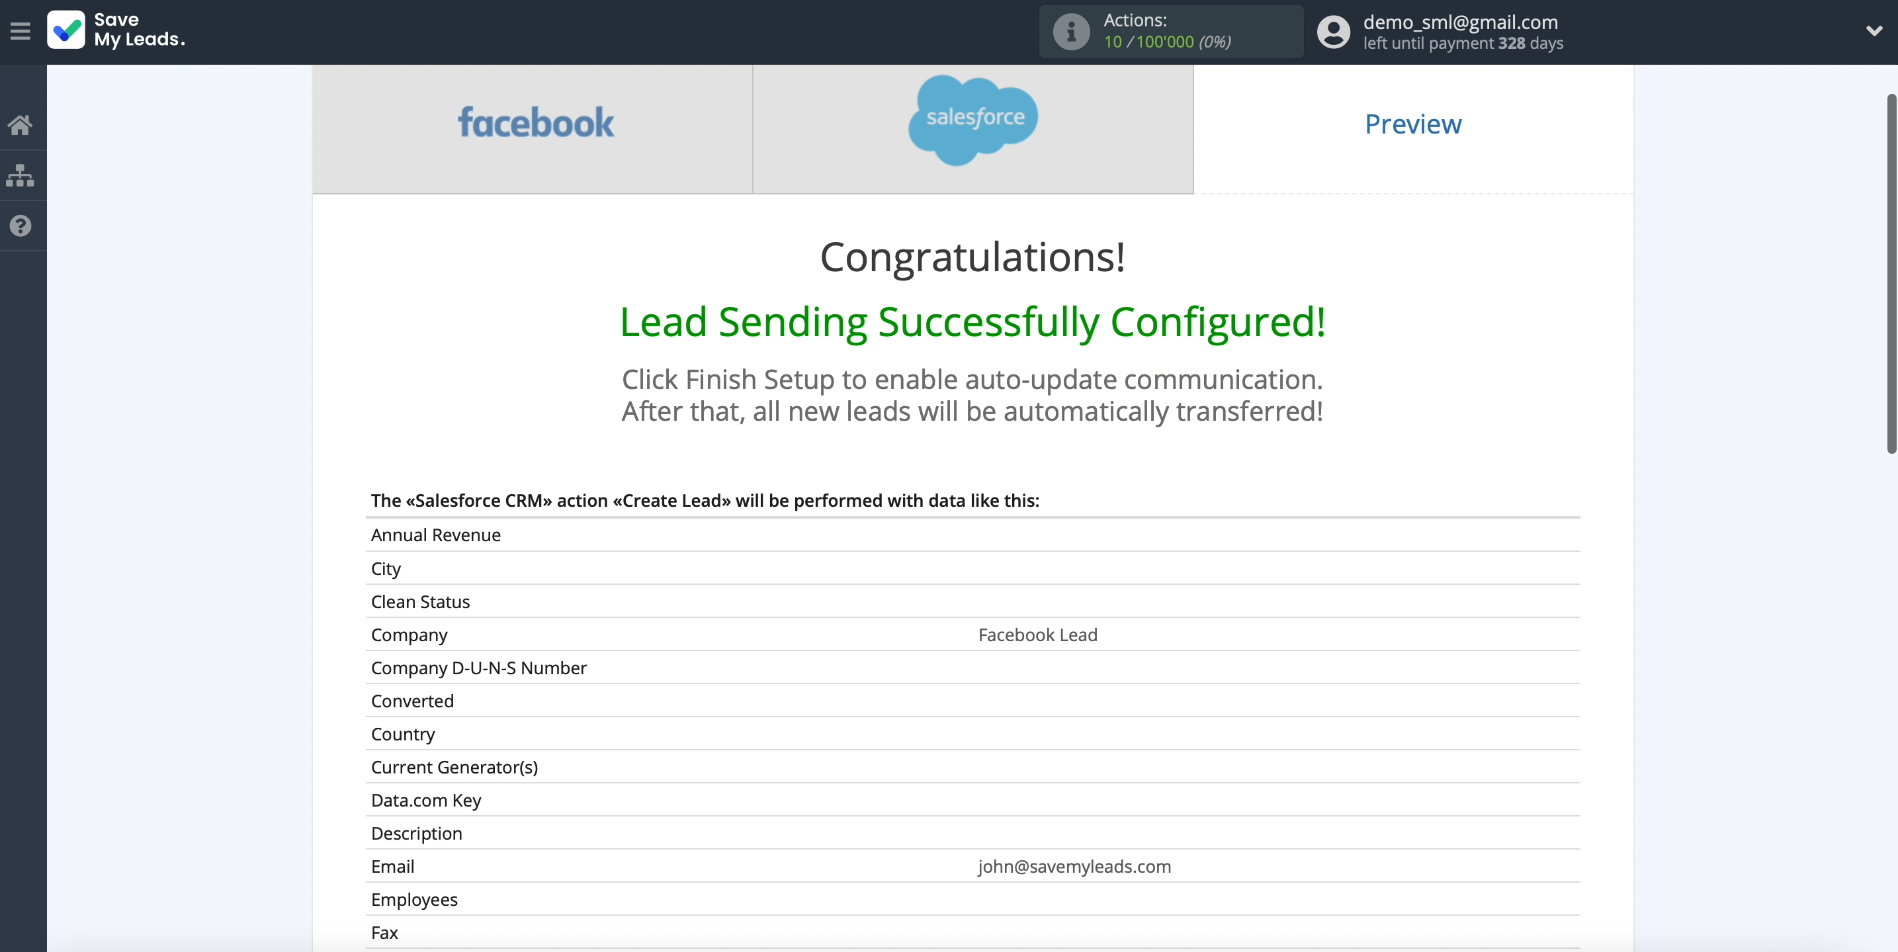
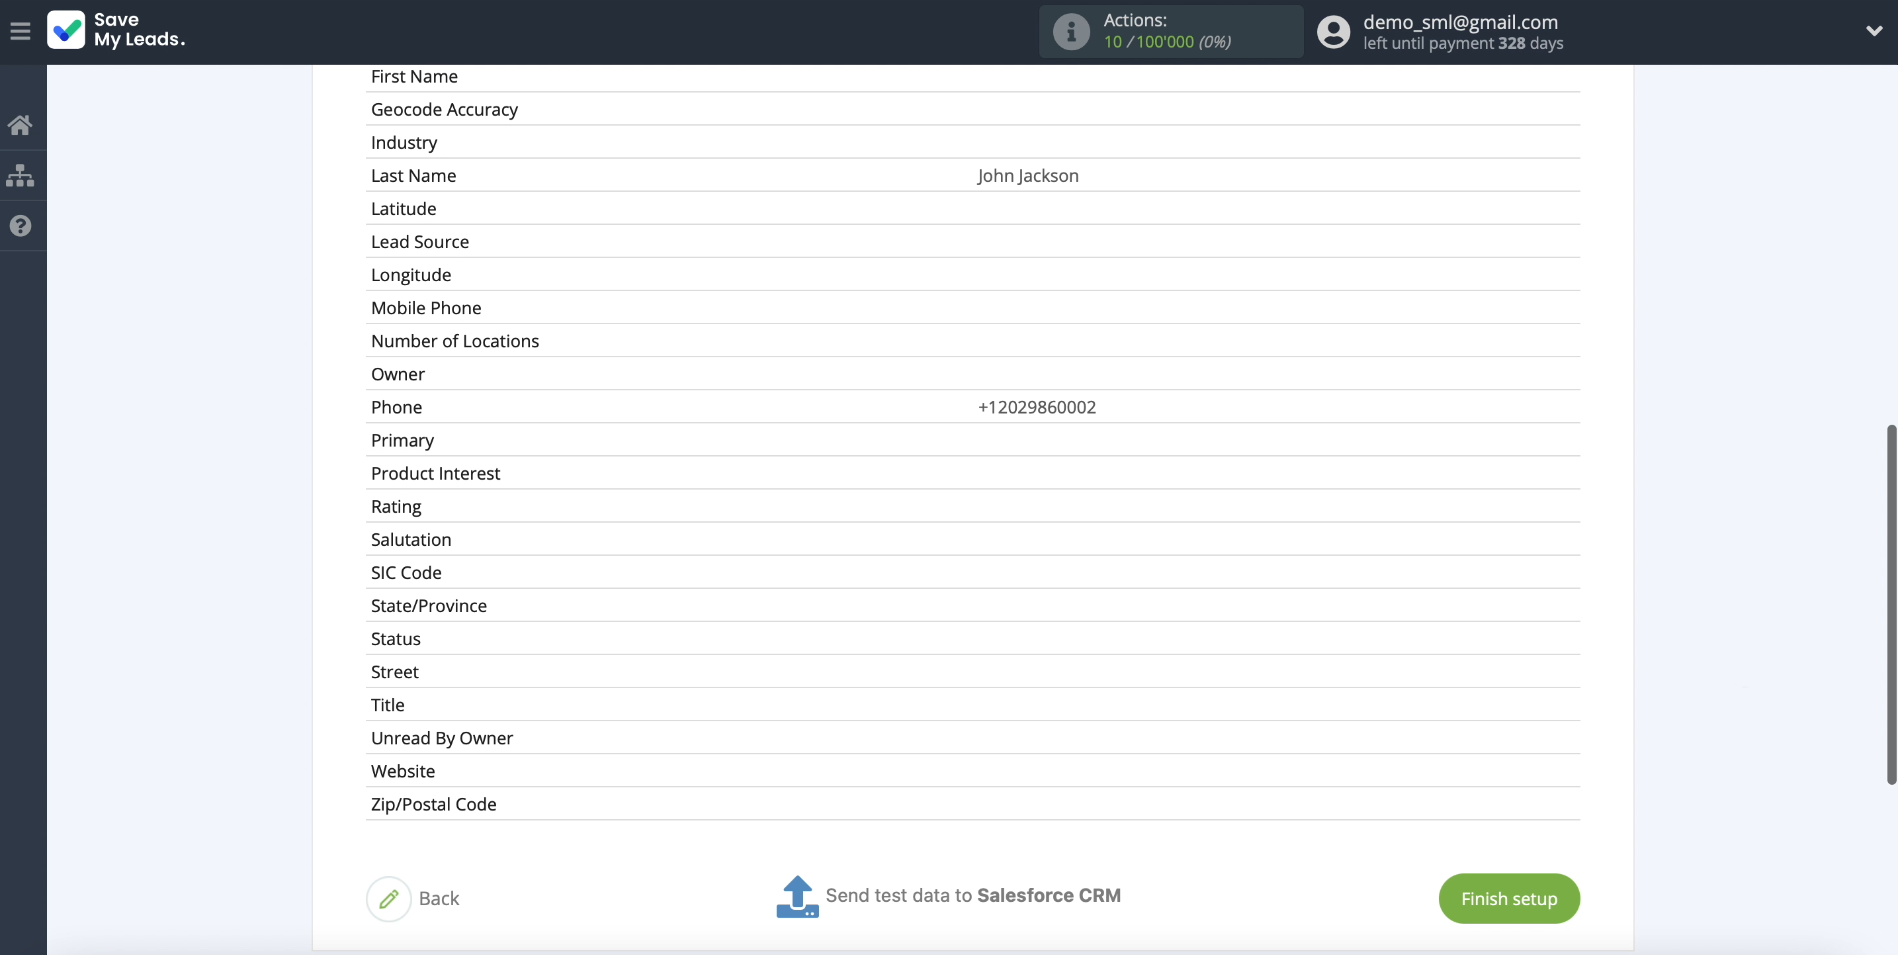
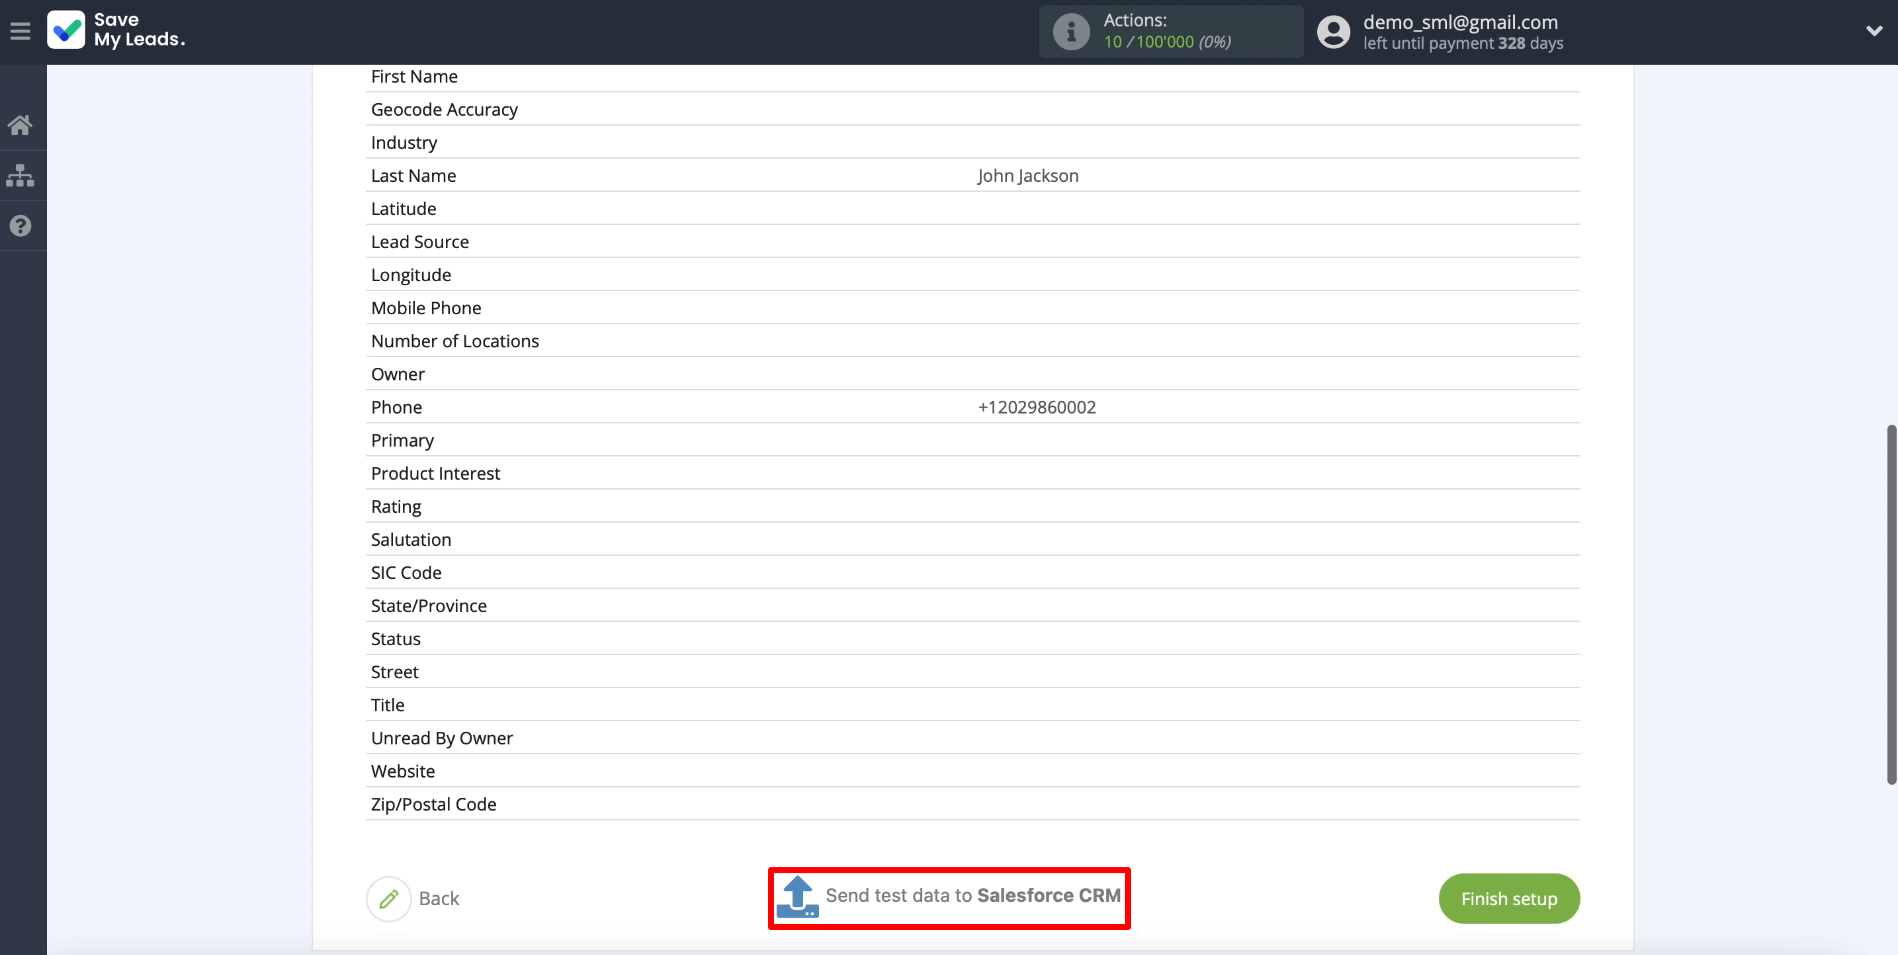
Click "Send test data to Salesforce" to test sending data to CRM.
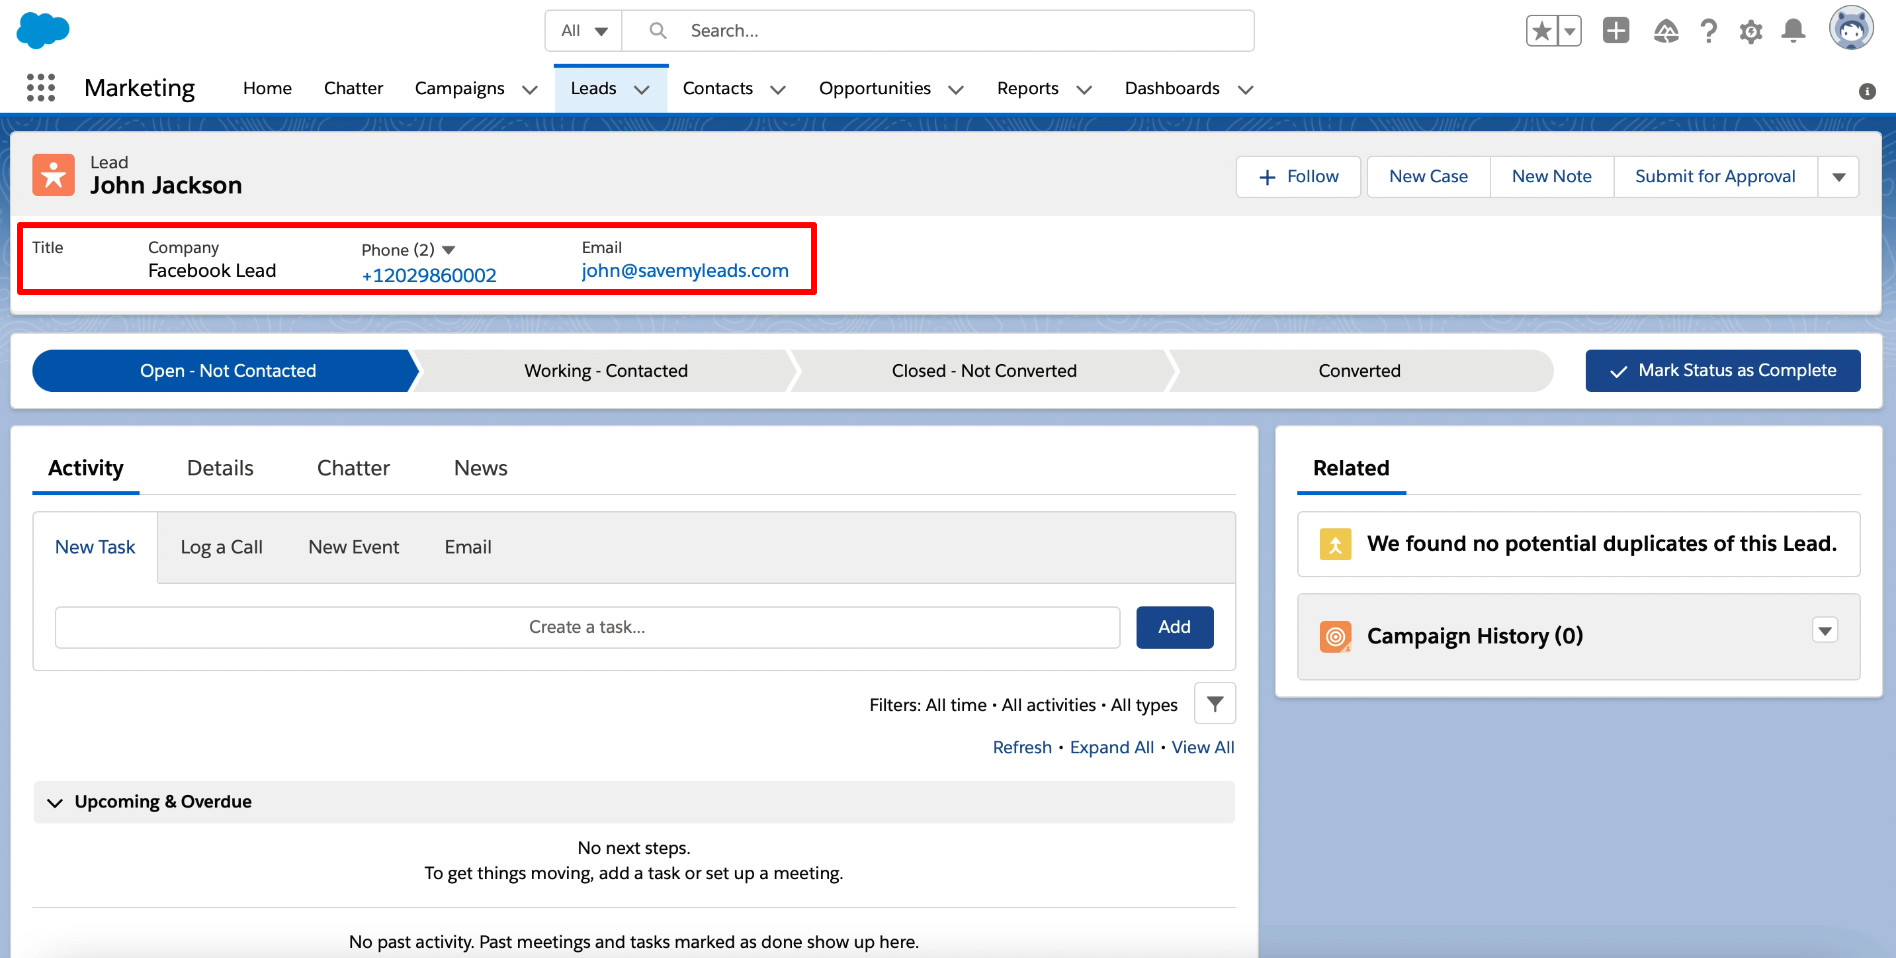
Now we open a personal account on the Salesforce website and check if our test lead has appeared here. If not, we check the correctness of the previous configuration steps. If everything is OK, we proceed to the final stage.
Finishing the setup
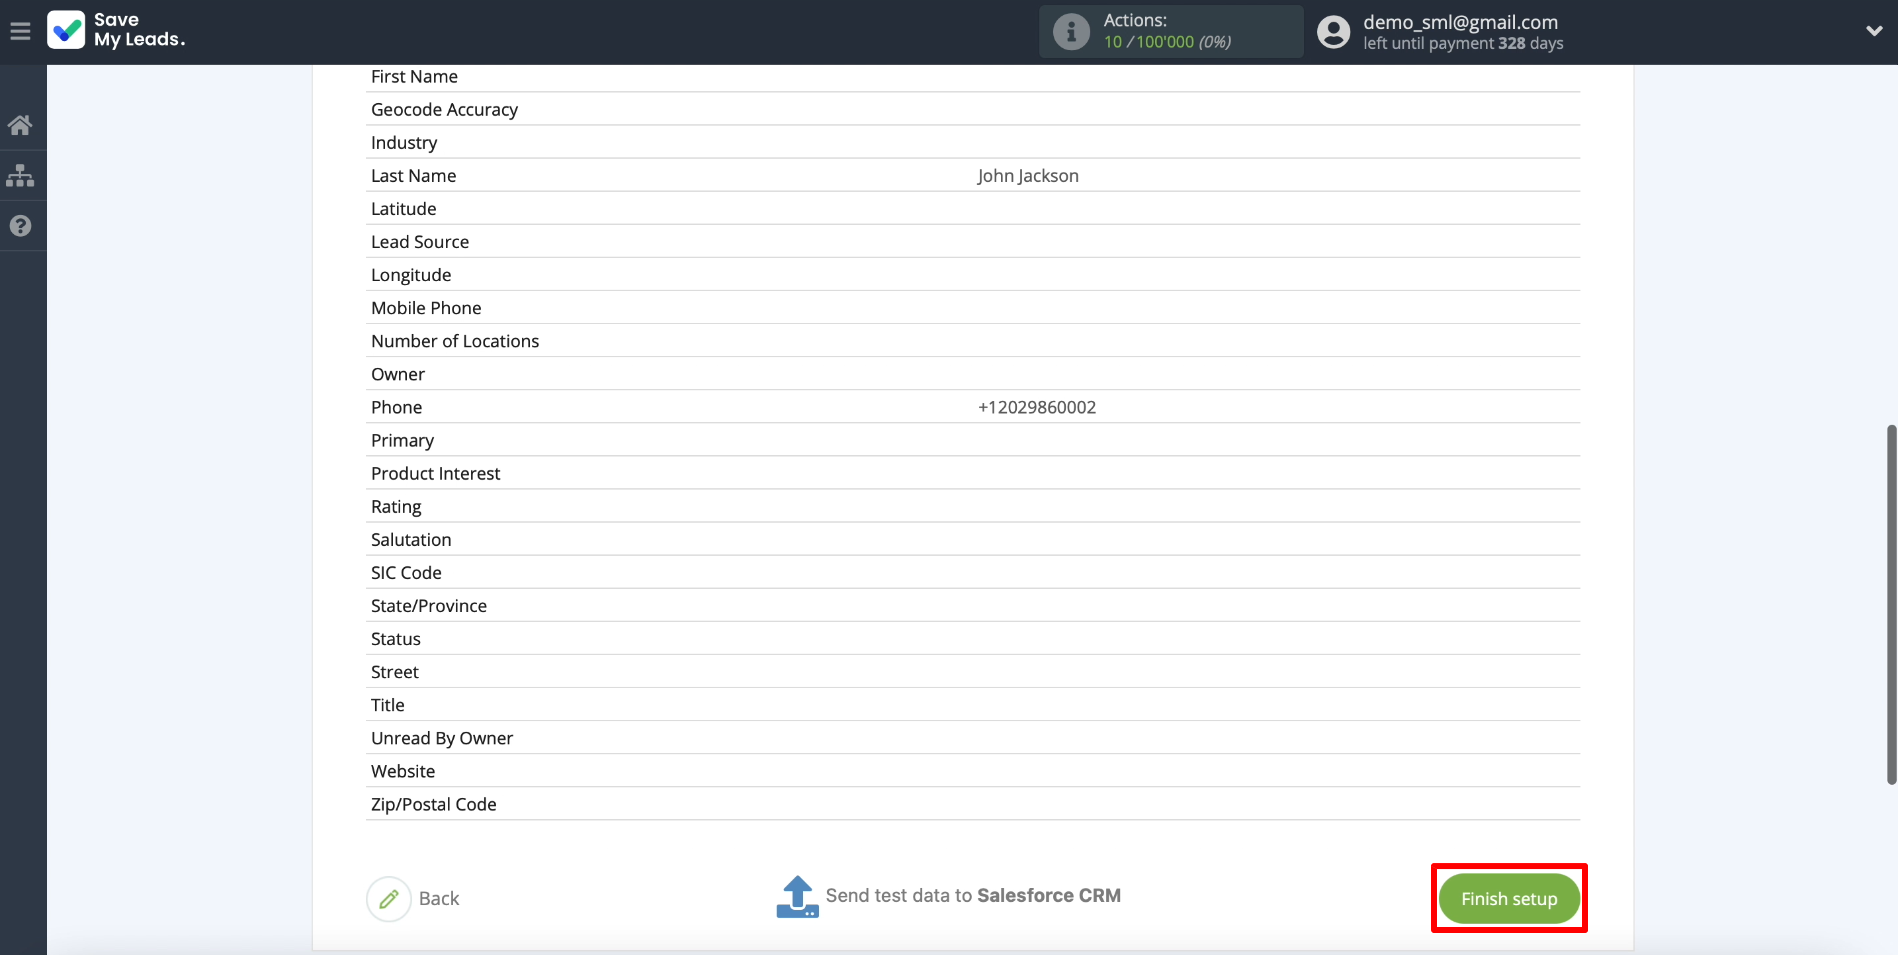
Click "Finish setup" to complete the setup and start the automatic upload of leads.
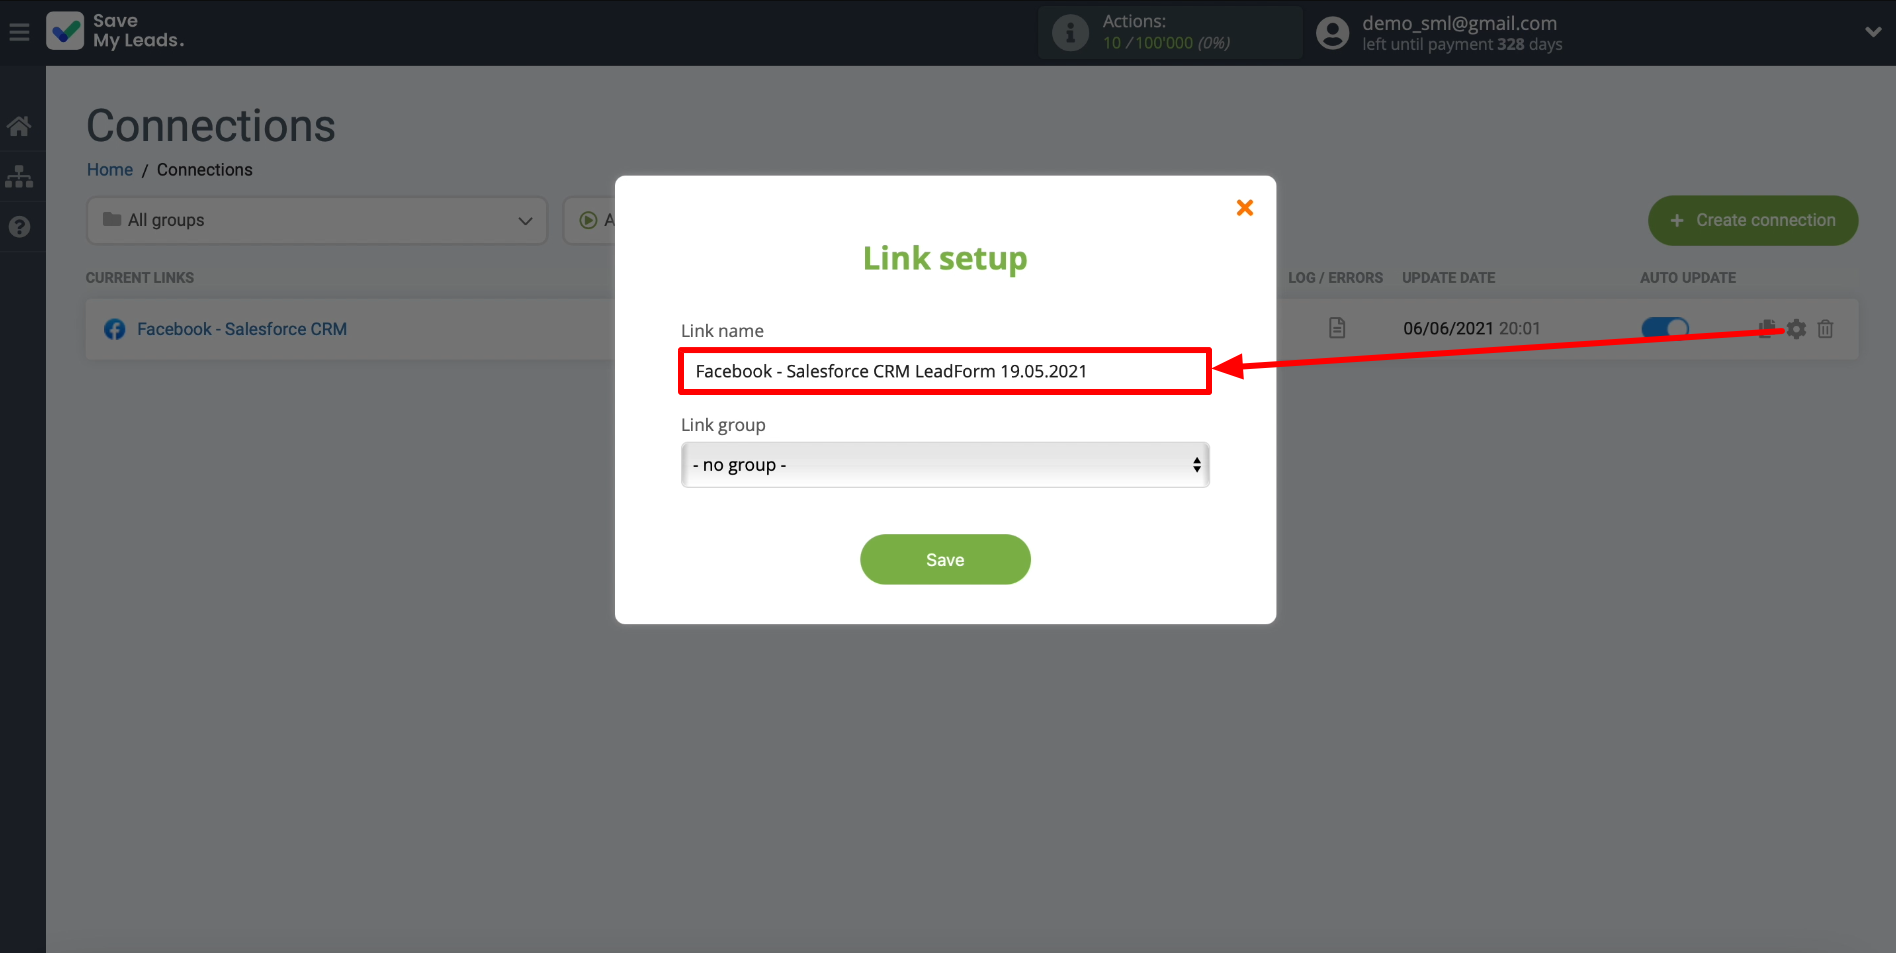
If necessary, edit the name of the connection. To do this, click on the gear and enter the text in the appropriate field.
That's all! The connection is ready to go: now SaveMyLeads will upload new leads from Facebook to Salesforce in accordance with the specified settings.

