Sending template messages manually is inefficient. Set up automatic SMS sending to customers who are interested in your ads. This way you save time and energy. To set up automation, you do not need to be able to use coding. It is enough to use the SaveMyLeads service.
Content:
1. How to setup Telnyx and Facebook integration
2. Start setting up SaveMyLeads
3. Connect Facebook Leads Ads
4. Connect Telnyx
5. Test data transfer
6. Finish the setup
If you attract customers through Facebook ads, you will surely need the ability to send them an SMS with a notification of a manager’s soon reply, a thank you for a subscription, or any other short text. SaveMyLeads allows you to quickly connect Facebook to the Telnyx mailing service and set up automatic sending of such messages.
How does auto send SMS work? As soon as the next Facebook user leaves their contact details in the lead form, SaveMyLeads copies them to the Telnyx mailing service and initiates the sending of the message. The SMS text you set in advance during the SaveMyLeads setup process.
Let's see why automatic mailing is better than manual mailing:
- You will save yourself from monotonous work. SaveMyLeads will send messages completely automatically. And you can focus on other things at work.
- Clients will receive messages without delay. SaveMyLeads monitors Facebook every second and initiates the sending of SMS immediately after the contact appears in the lead form. Plus, the service works without breaks and weekends. Therefore, your messages will arrive promptly, regardless of the day and time of day.
- You will minimize submission errors. When sending messages manually, it is easy to make a mistake in the name or number of the client. Automation eliminates this possibility, which means that all SMS will reach the right customers and with the correct text.
- You don't have to personalize every message. If the client leaves their name in the lead form, SaveMyLeads can automatically copy and paste it anywhere in the text of the SMS. Thus, in each message there will be a personalized appeal by name.
How to setup Telnyx and Facebook integration
To work with SaveMyLeads, the user does not need technical knowledge. To set up automatic messaging, just register on the service website, select a connection to Telnyx and follow the simple interface prompts. The system will ask you to connect your Facebook and Telnyx accounts, as well as specify the parameters for sending messages.
Our instructions will help you set up automatic mailing in a few minutes. Before you start doing this, make sure you've created a new Facebook lead form. Be sure to fill it in with your phone number - this will come in handy for testing SaveMyLeads. In addition, we will assume that you have already created and configured a Telnyx account.
Start setting up SaveMyLeads
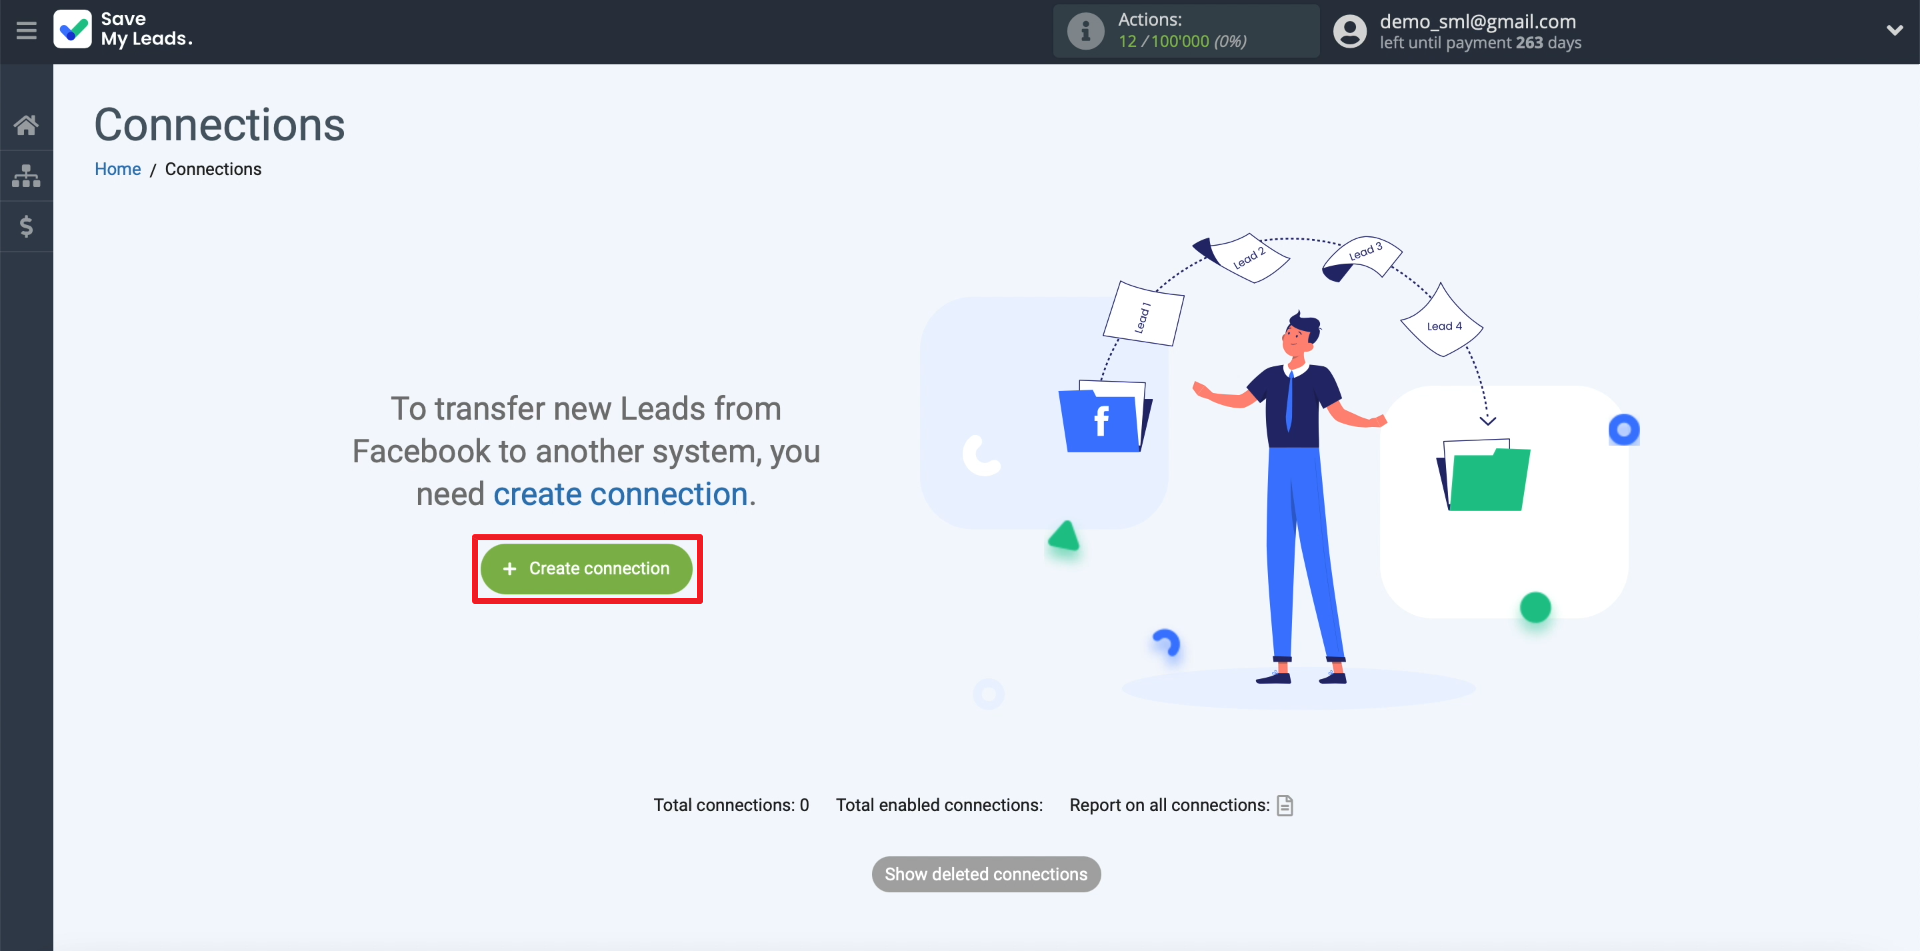
We register on the SaveMyLeads website and click "Create connection".
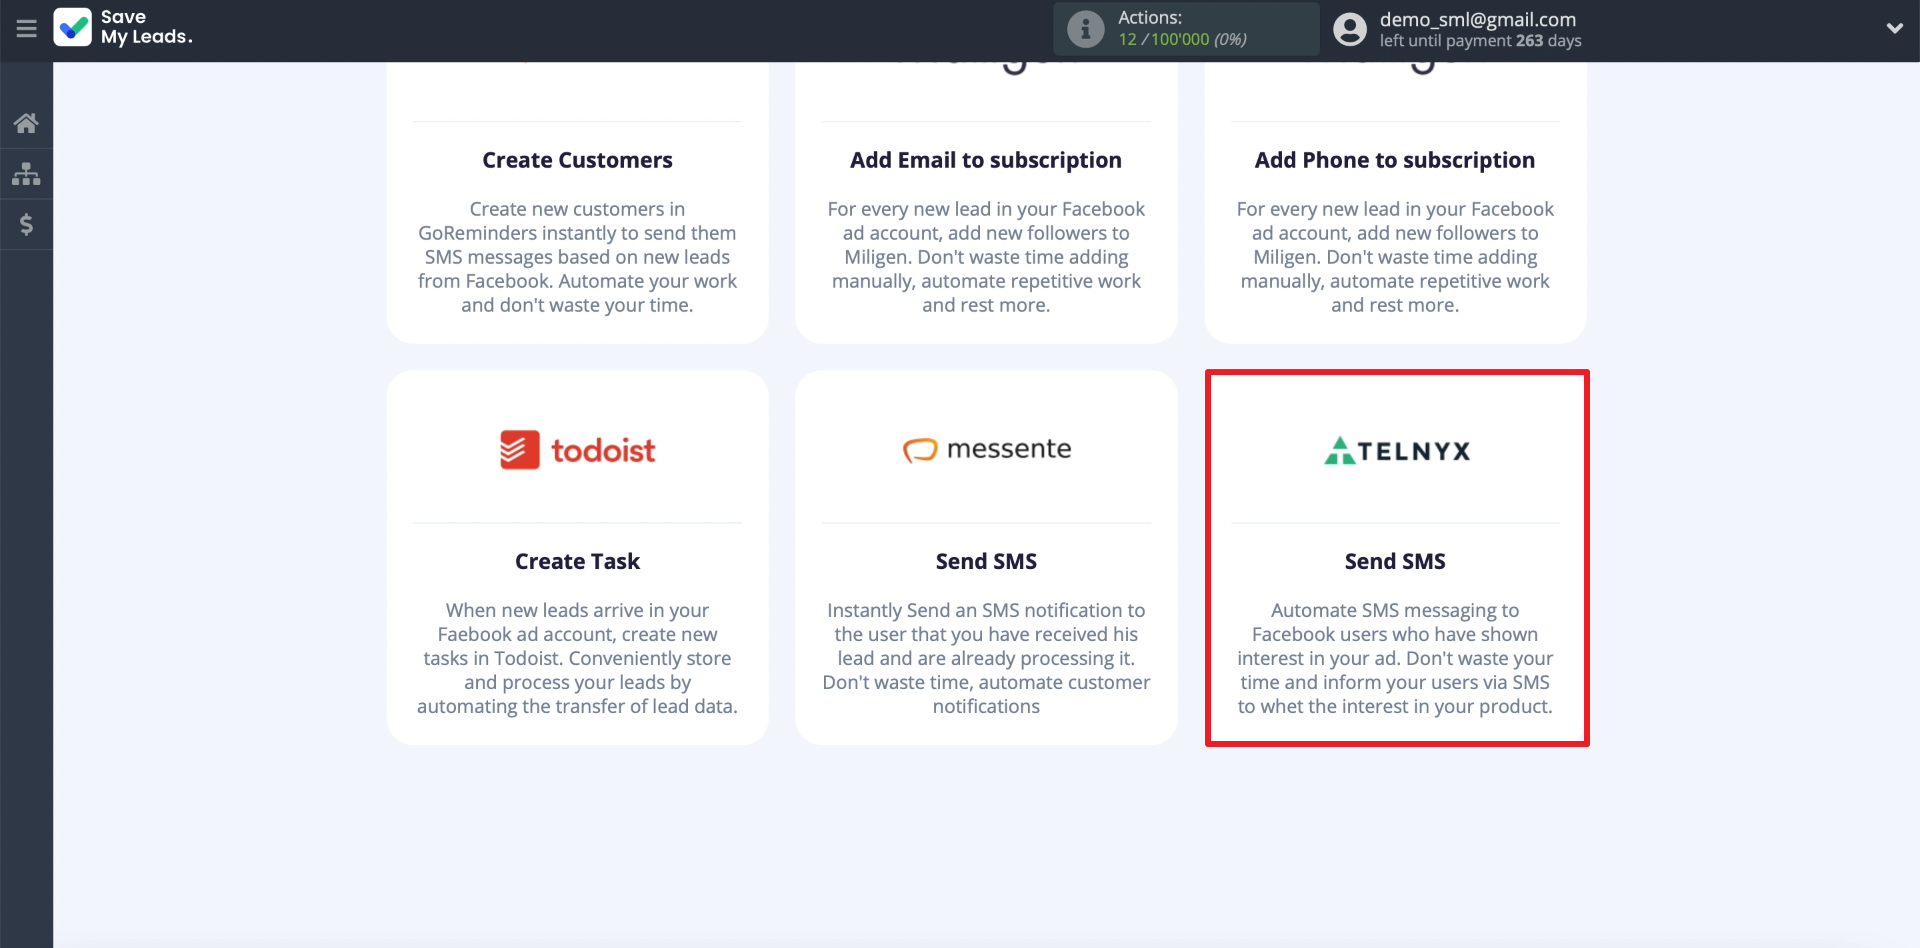
A list of external systems that SaveMyLeads allows you to connect to Facebook should appear on the screen. Since we are interested in Telnyx, we select the connection to this system.
Connect Facebook Leads Ads
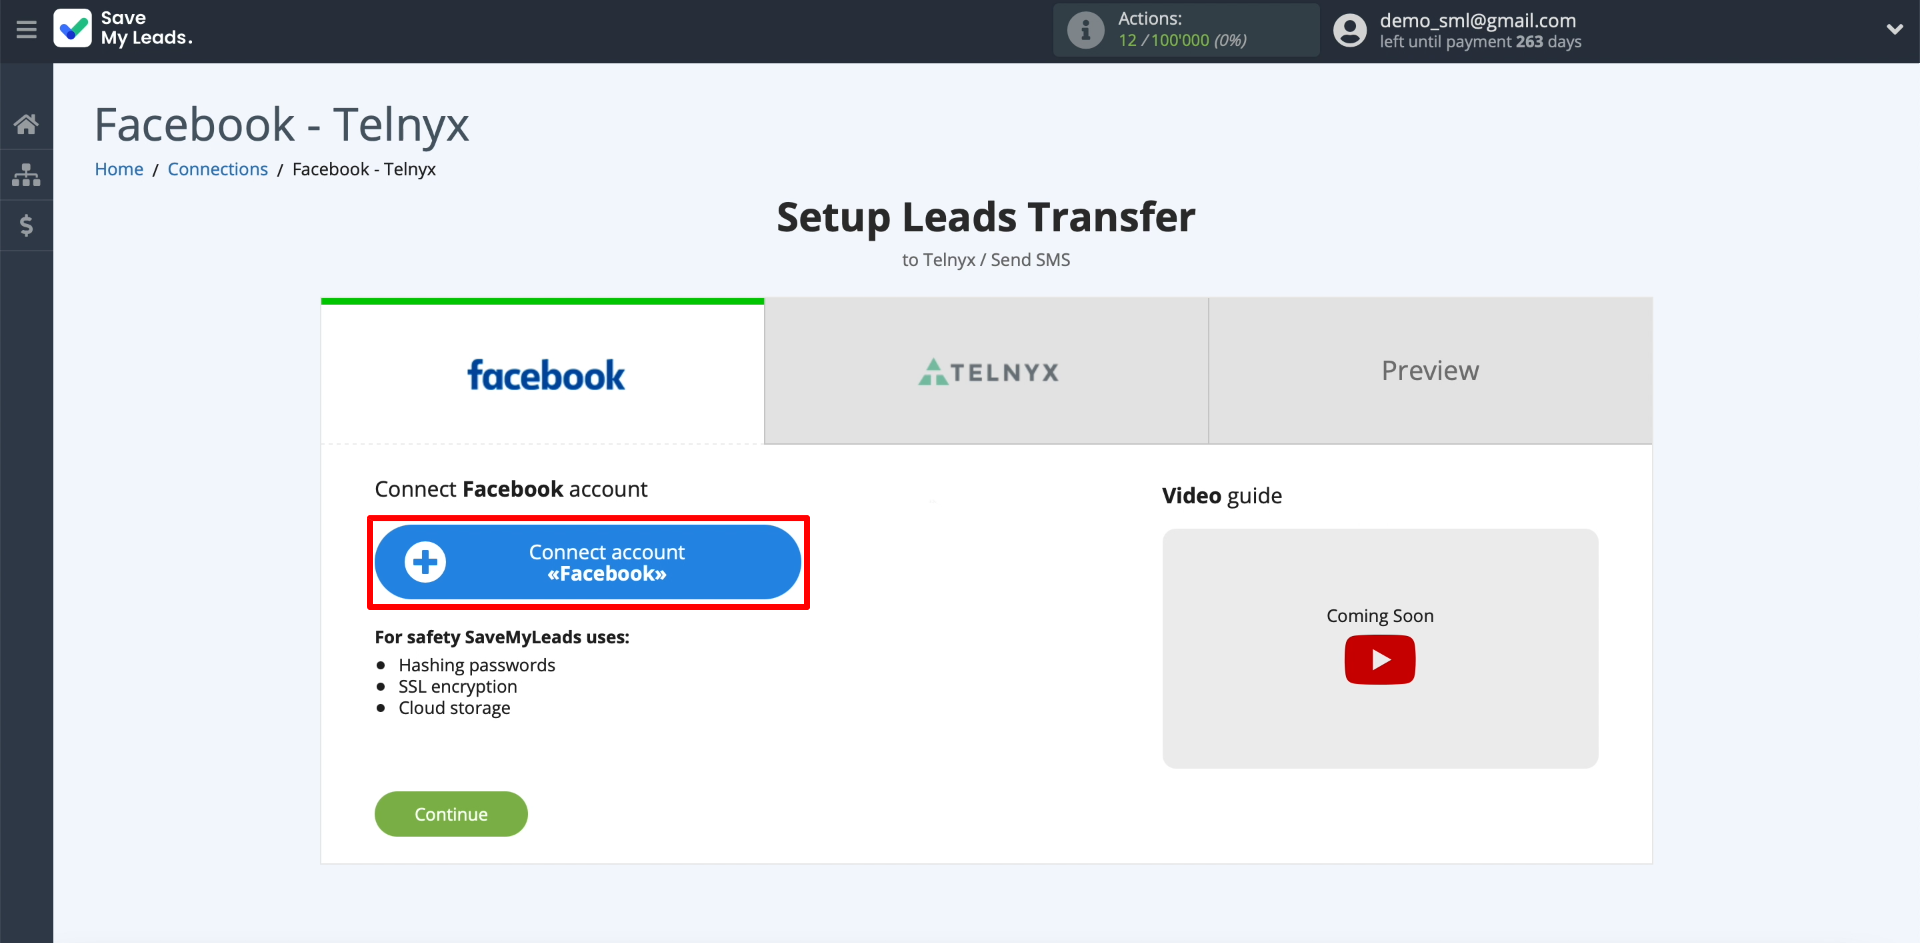
In order for SaveMyLeads to track new leads and upload contacts from them, we will connect a Facebook account to it. Click "Connect account "Facebook", and then enter the username and password for your account. Be sure to issue all the requested permissions so that SaveMyLeads gets access to the leads.
Now let's show SaveMyLeads where it should upload leads from. First, select the newly connected account. Then we specify the business page and the form for collecting leads.
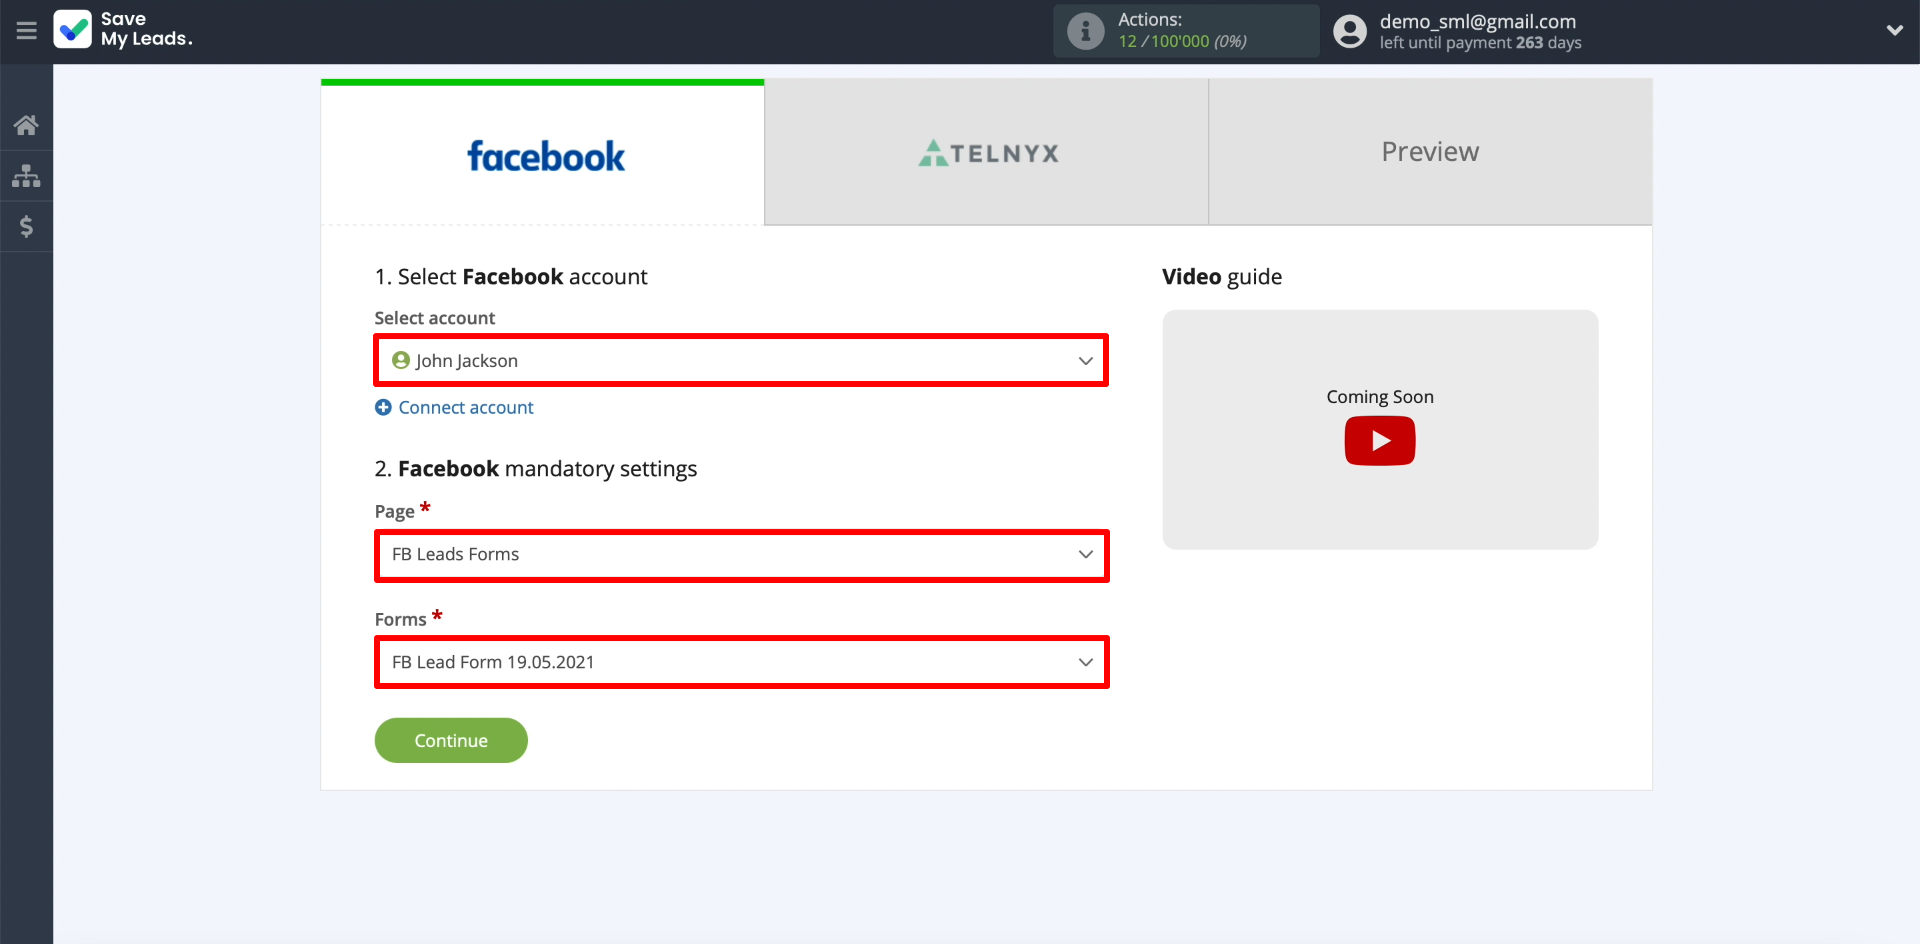
Only one form can be selected per connection. If you want to set up automatic SMS sending to leads from several forms, create a separate connection for each of them.
Connect Telnyx
Let's connect a Telnyx account so that SaveMyLeads can copy contacts from Facebook to it and initiate auto-sending of messages.
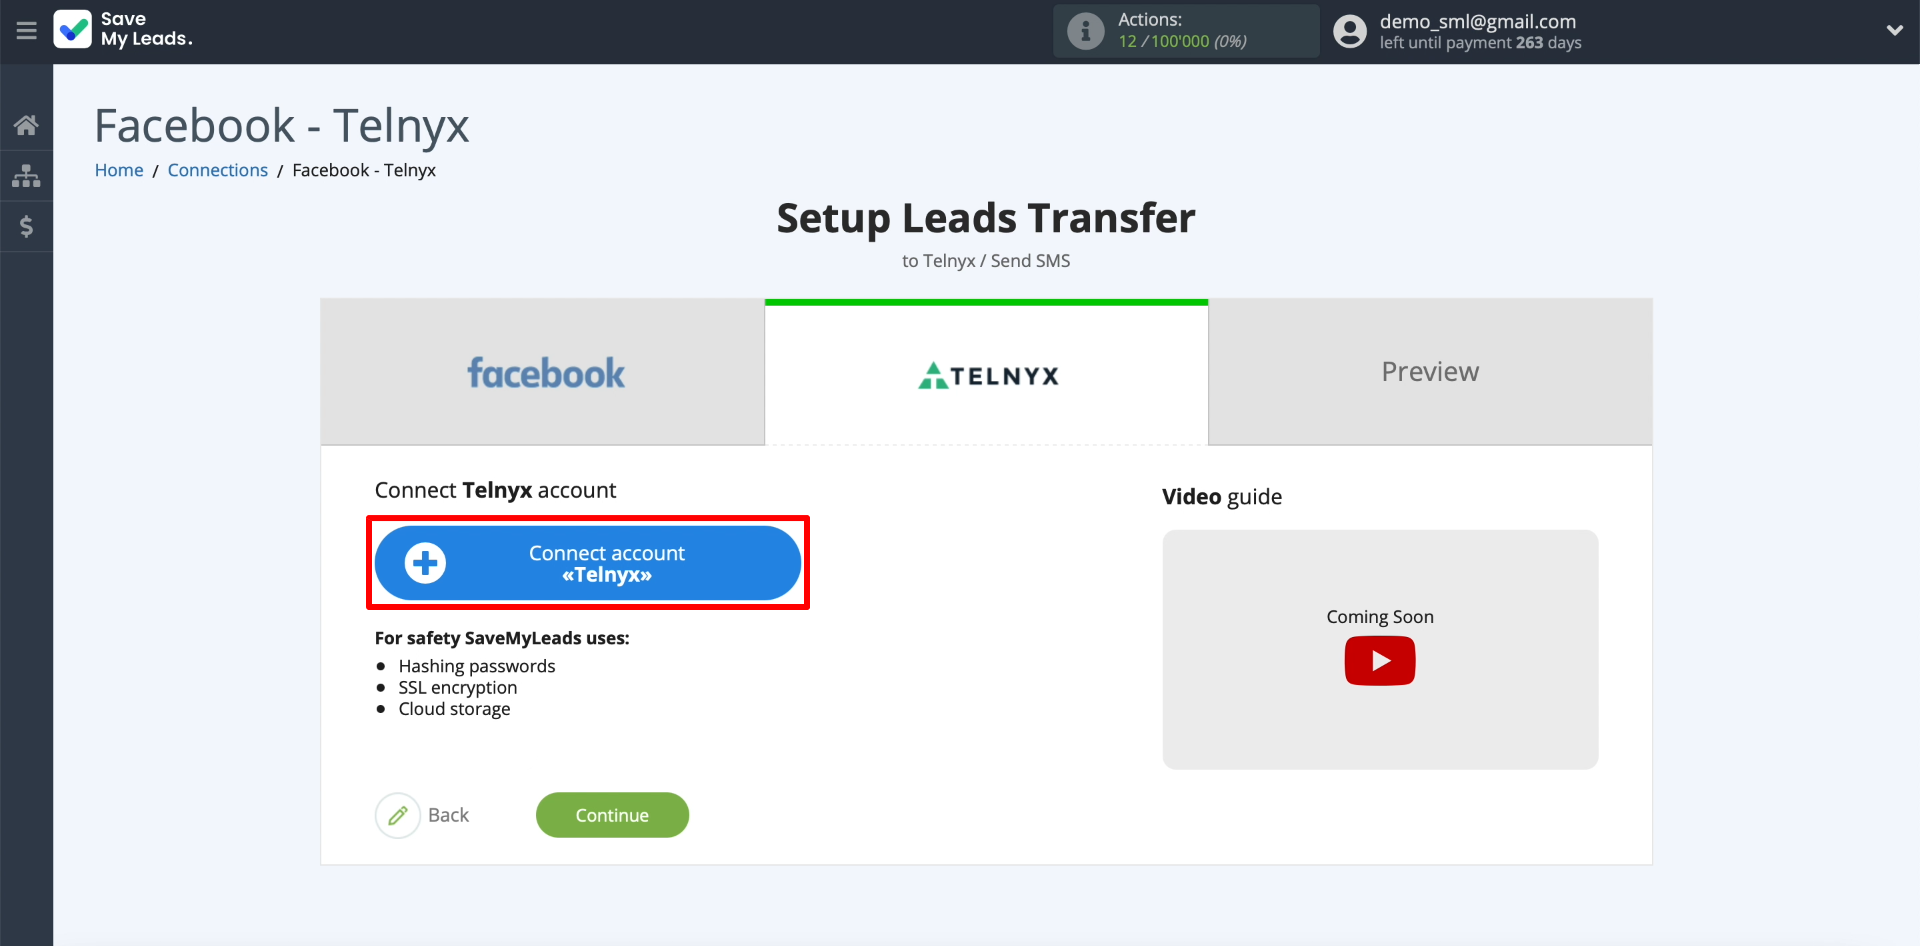
Click «Connect account «Telnyx».
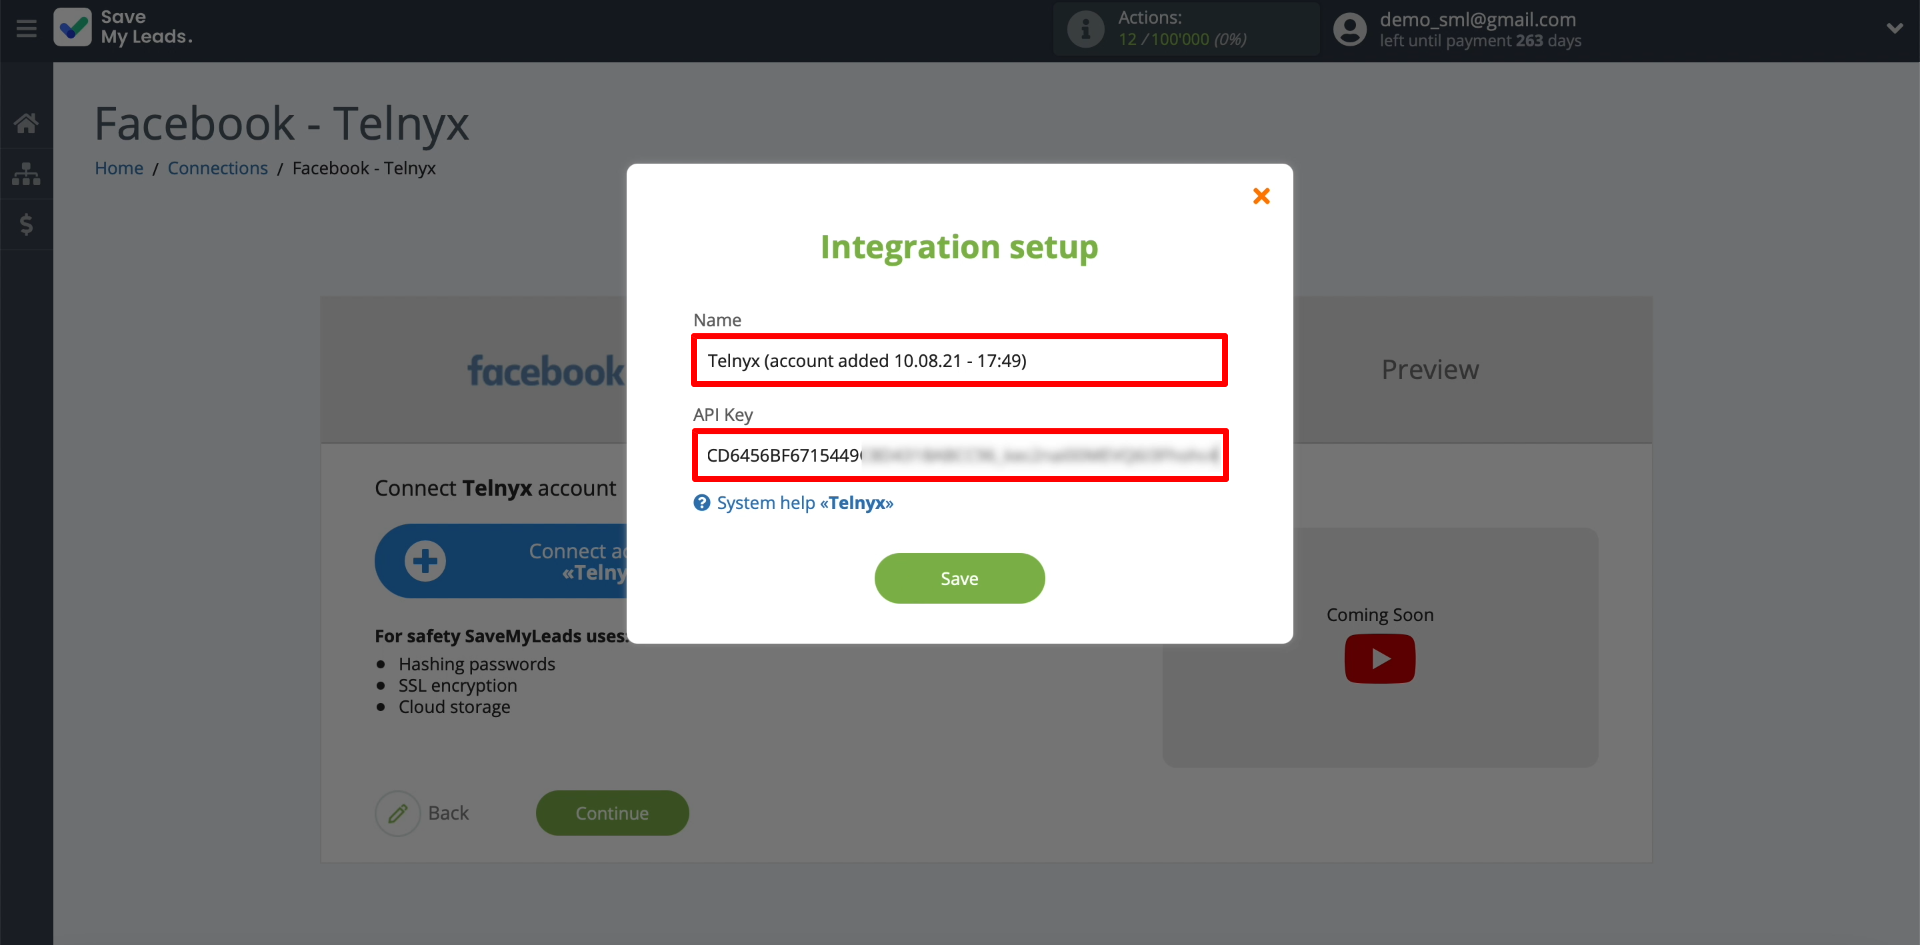
Enter any account name that will be displayed inside SaveMyLeads, as well as an API key.
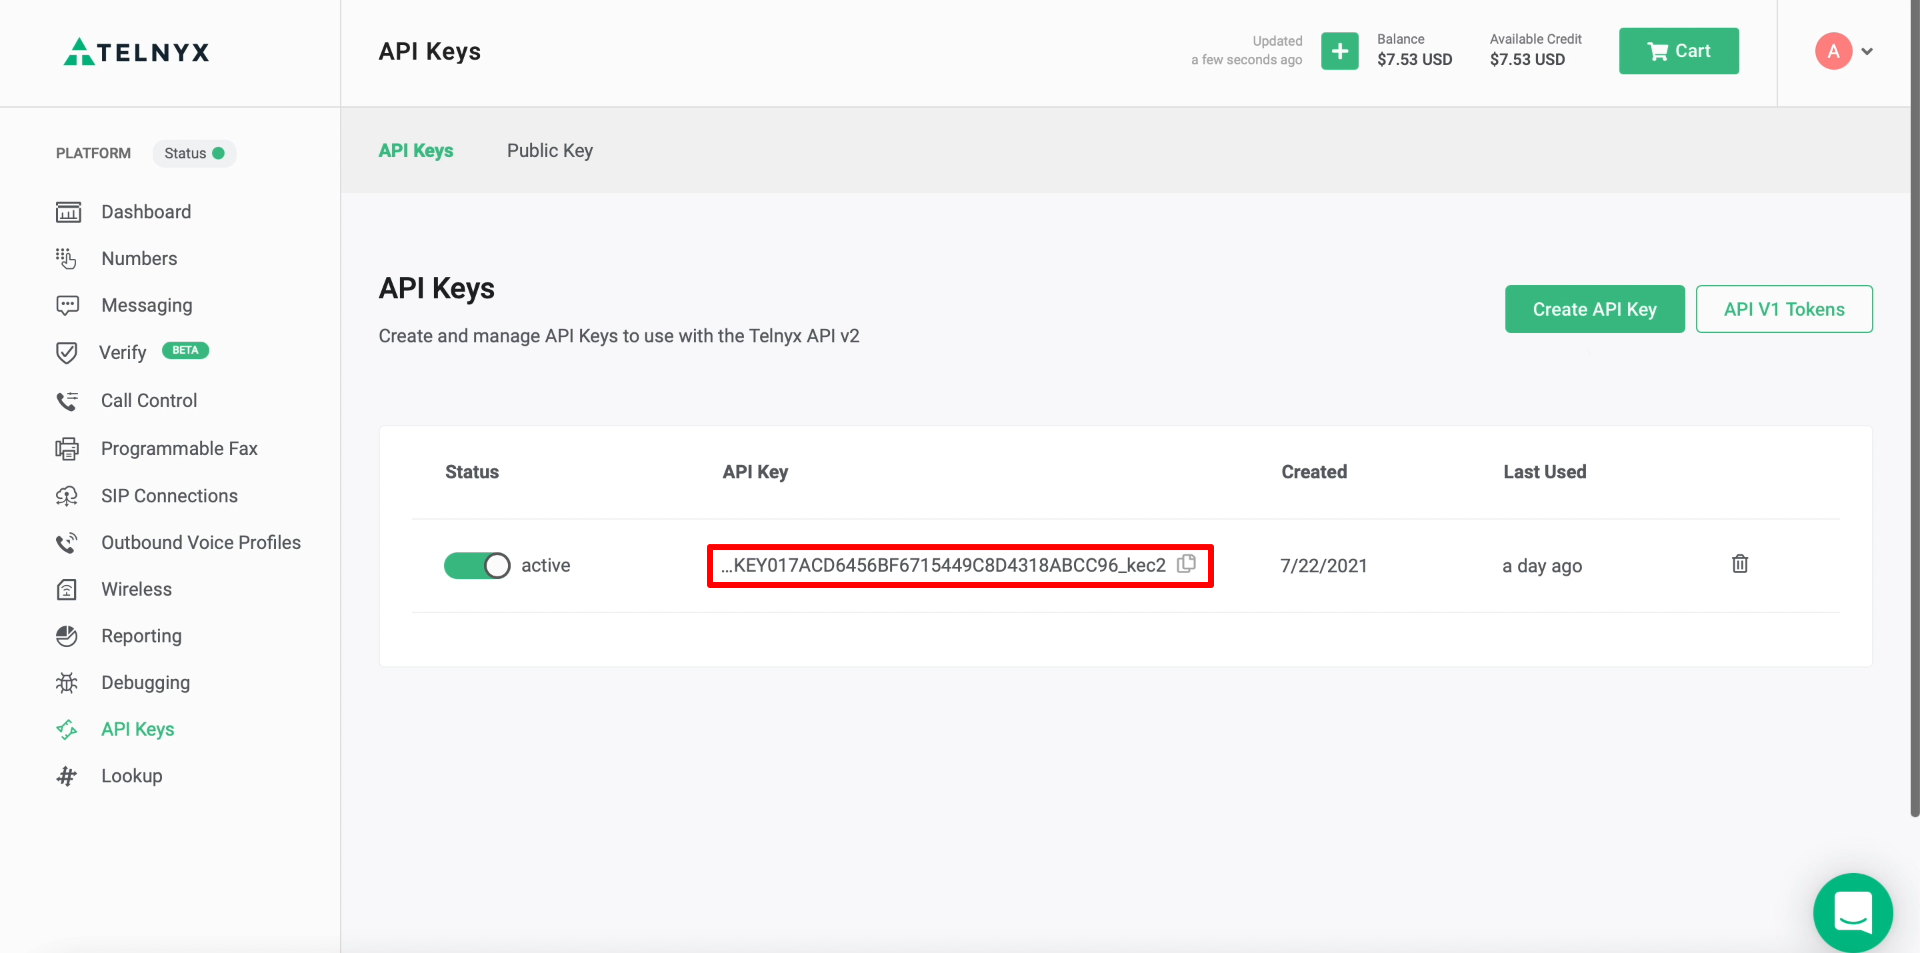
An API key is a special code required to link a Telnyx account to SaveMyLeads. This key can be found and copied from the Telnyx website. To do this, open the “API Keys” section in the settings of your personal account, click on the “Create API Key” button and copy the code that appears.
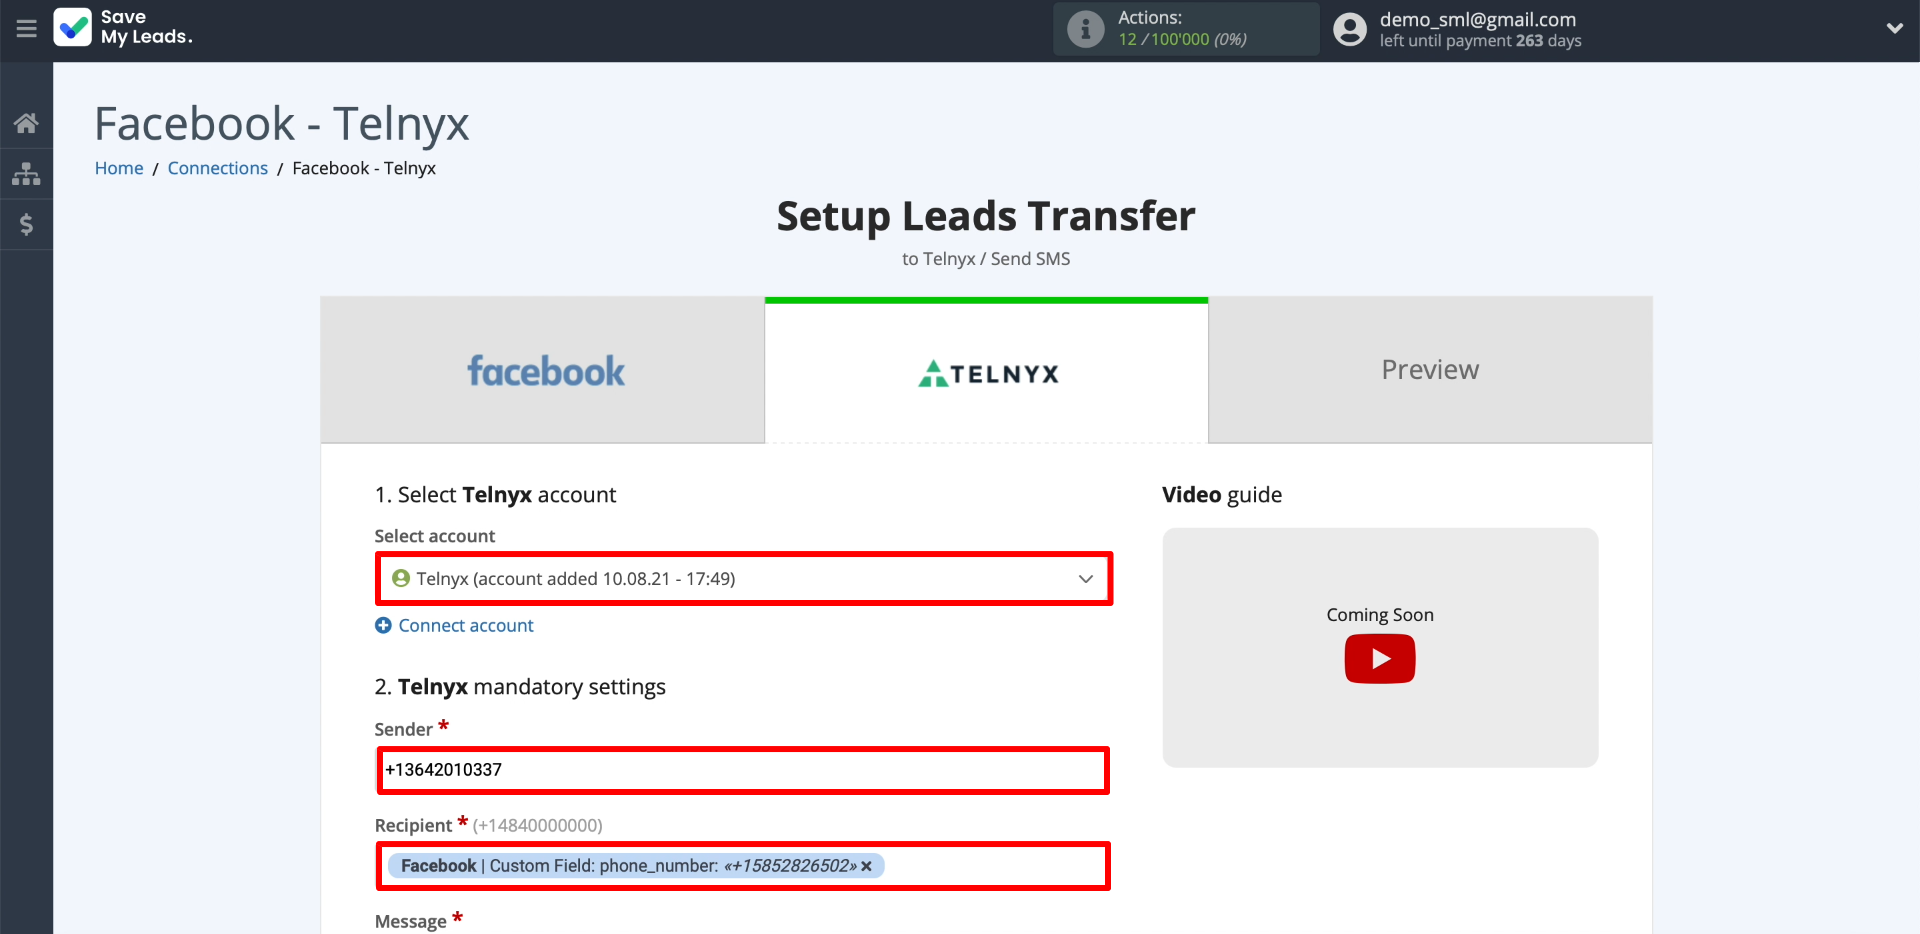
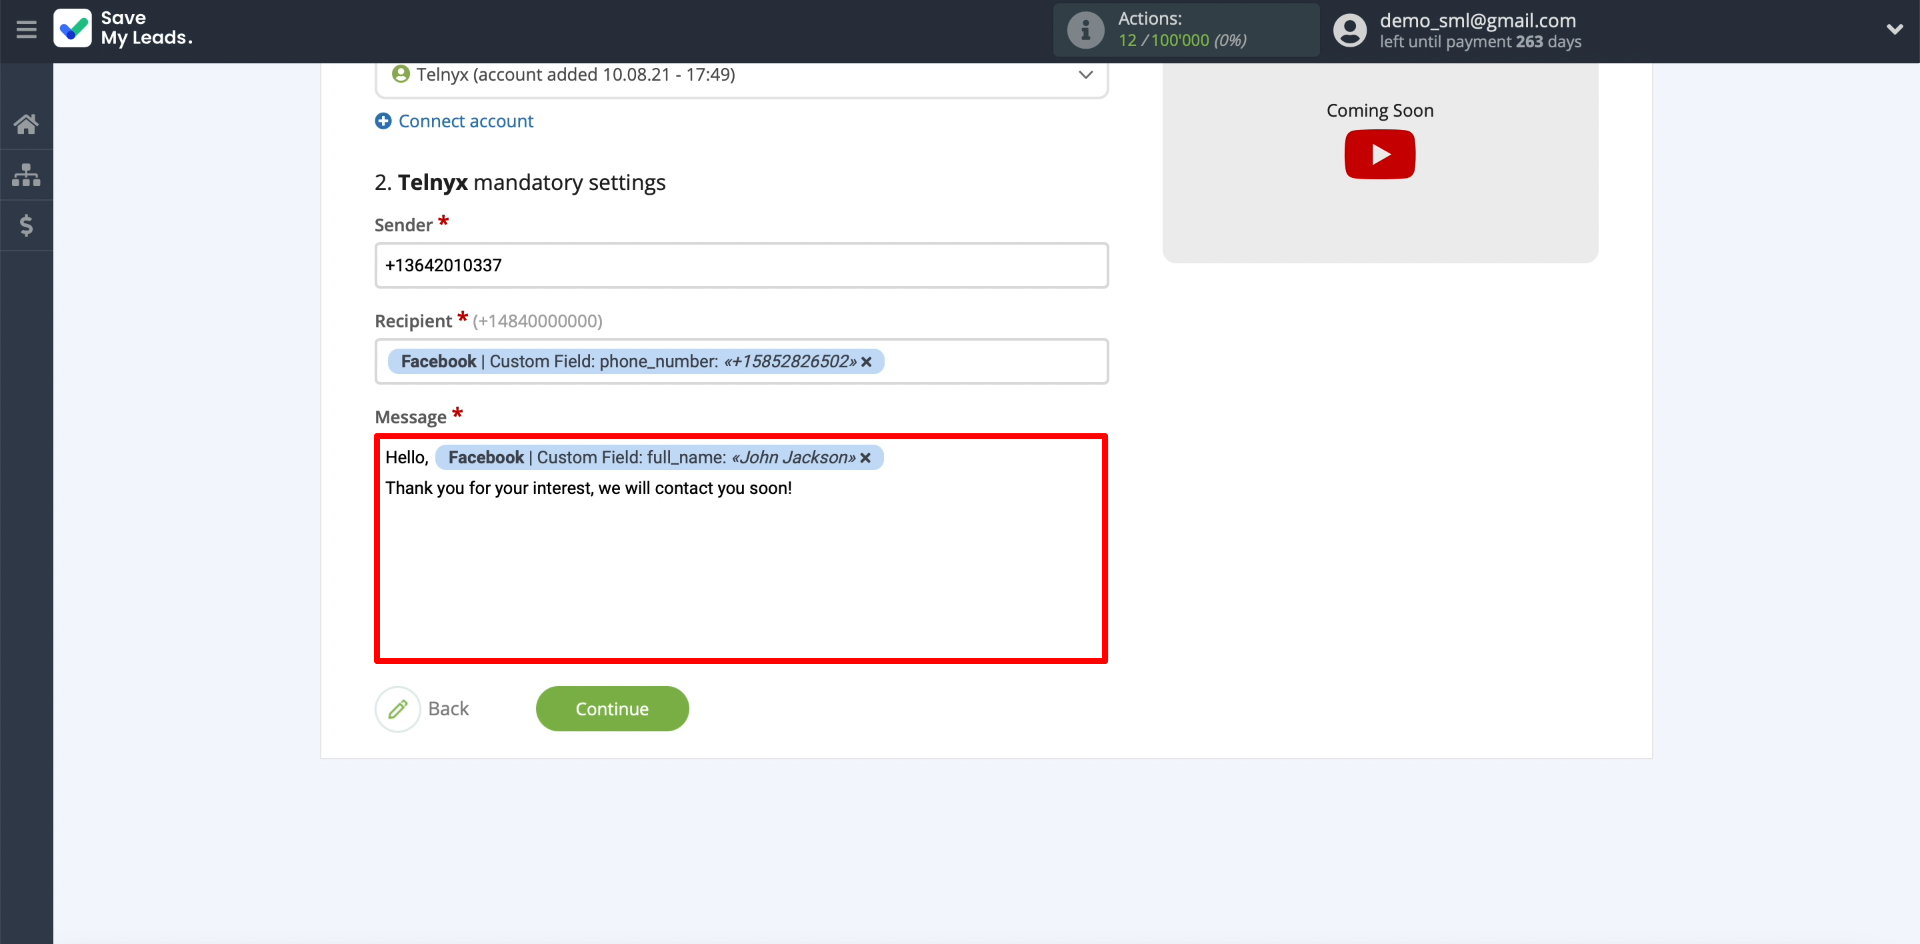
Now we will specify the parameters for sending messages. First, select the newly connected Telnyx account. Then enter the sender's number. Next, click on the “Recipient” item and select the lead form field from which SaveMyLeads will copy the recipient number for each submission.
Below is the text of the message. In order for SaveMyLeads to automatically fill in the recipient's name, click in a suitable place in the text and select the lead form field intended for entering names.
Test data transfer
At this point in the setup, SaveMyLeads should upload from Facebook and display the name and number that we added to the form on the screen. To check how sending a message works, click "Send test data to Telnyx".
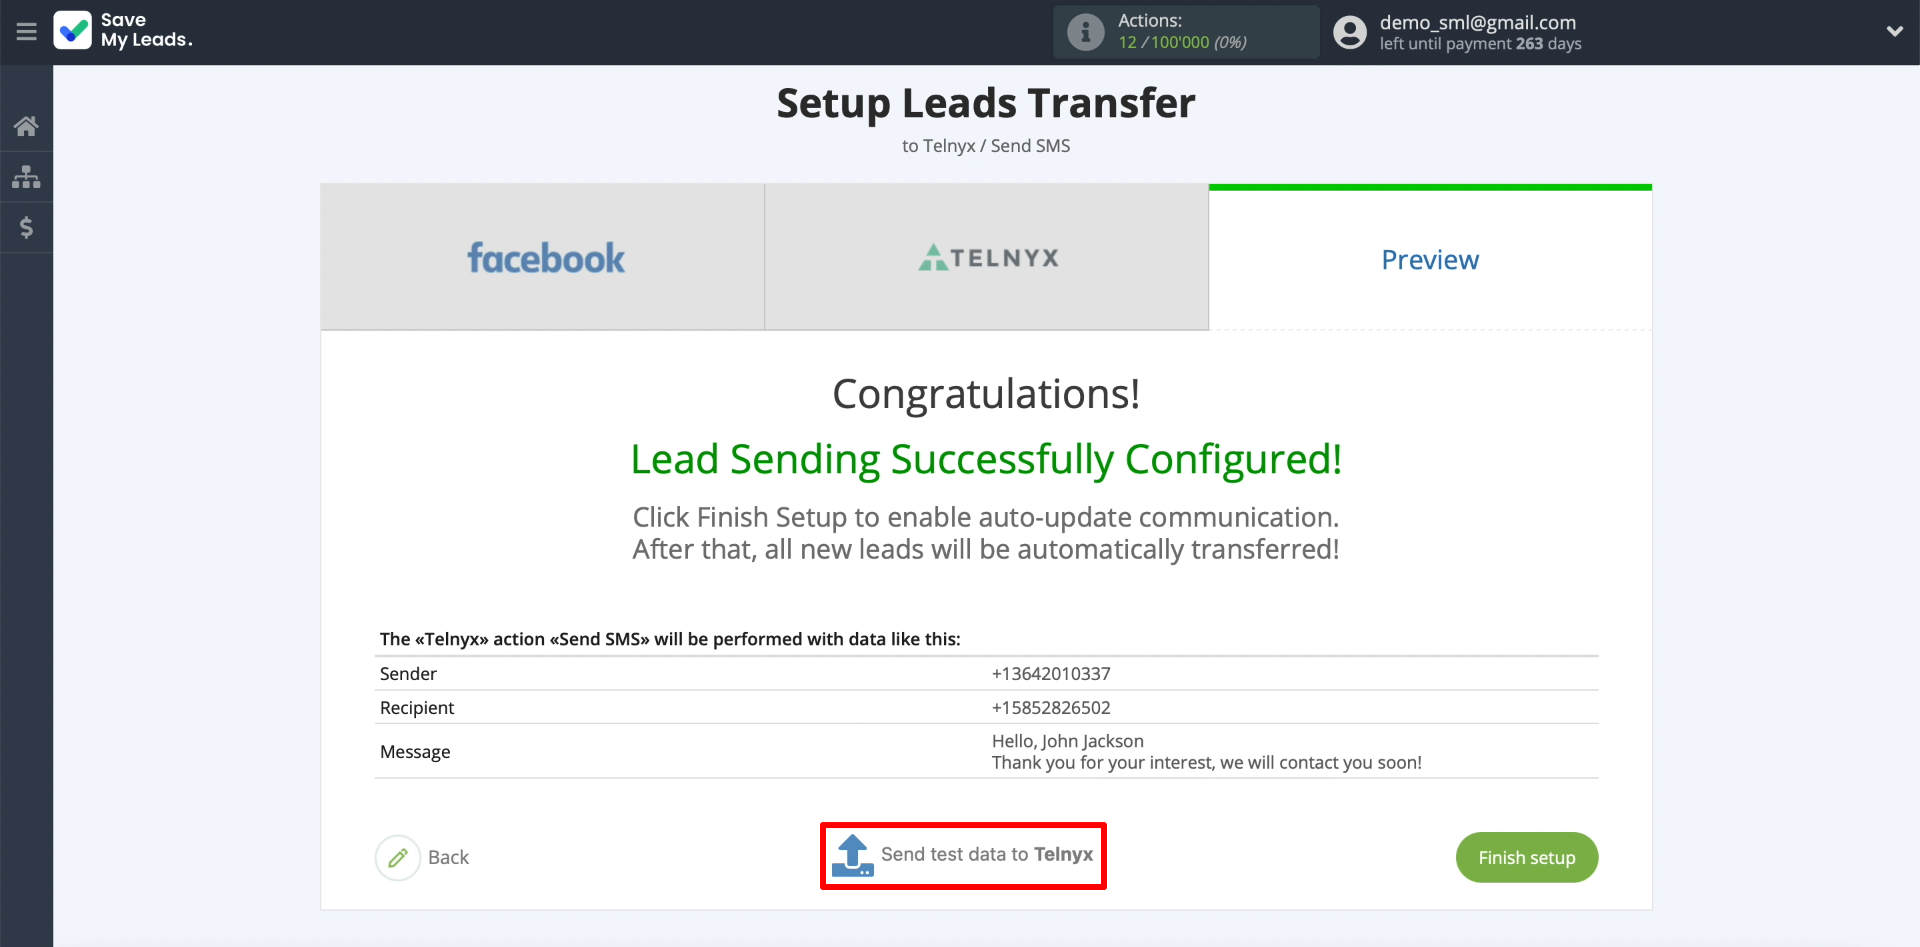
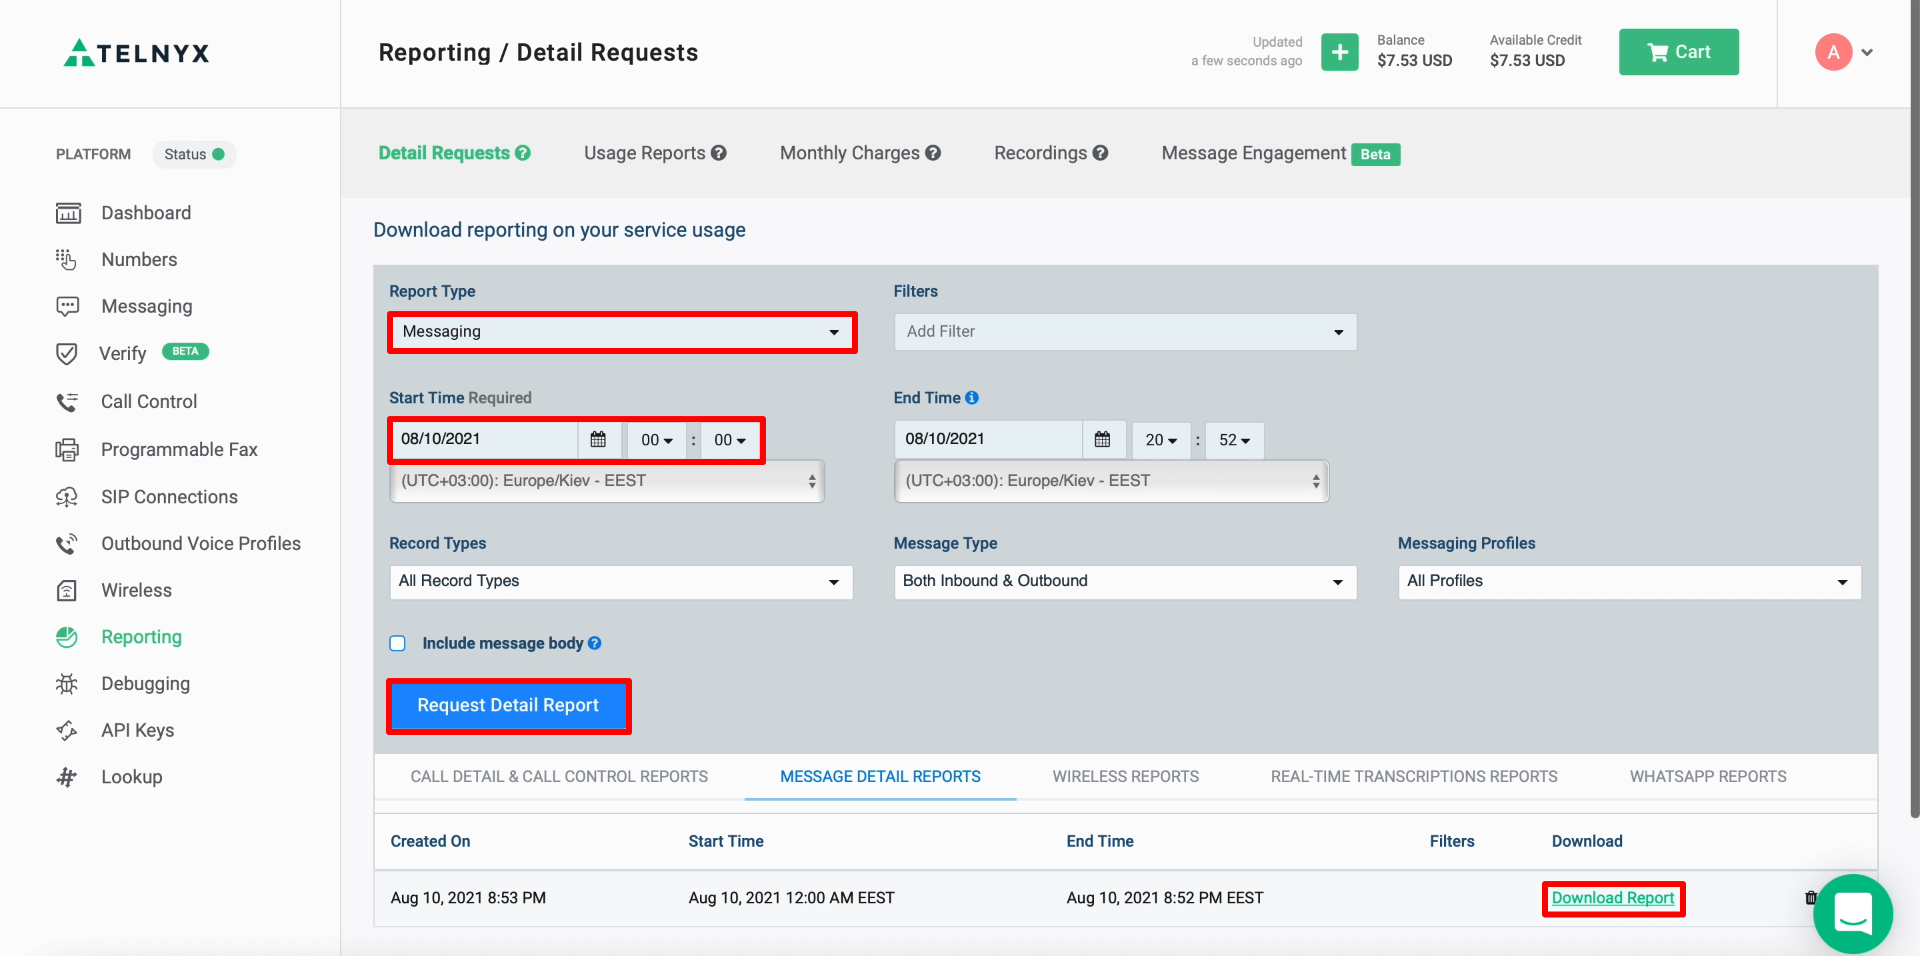
If everything is configured correctly, we will receive an SMS with the sent text. In addition, the list of sent messages can be downloaded as a table from the Telnyx website. To do this, go to the "Reporting" section, select "Report Type: Messaging", set the time frame and click "Request Detail Report". After a few seconds, the “Download Report” button will appear on the screen - click on it to download the list.
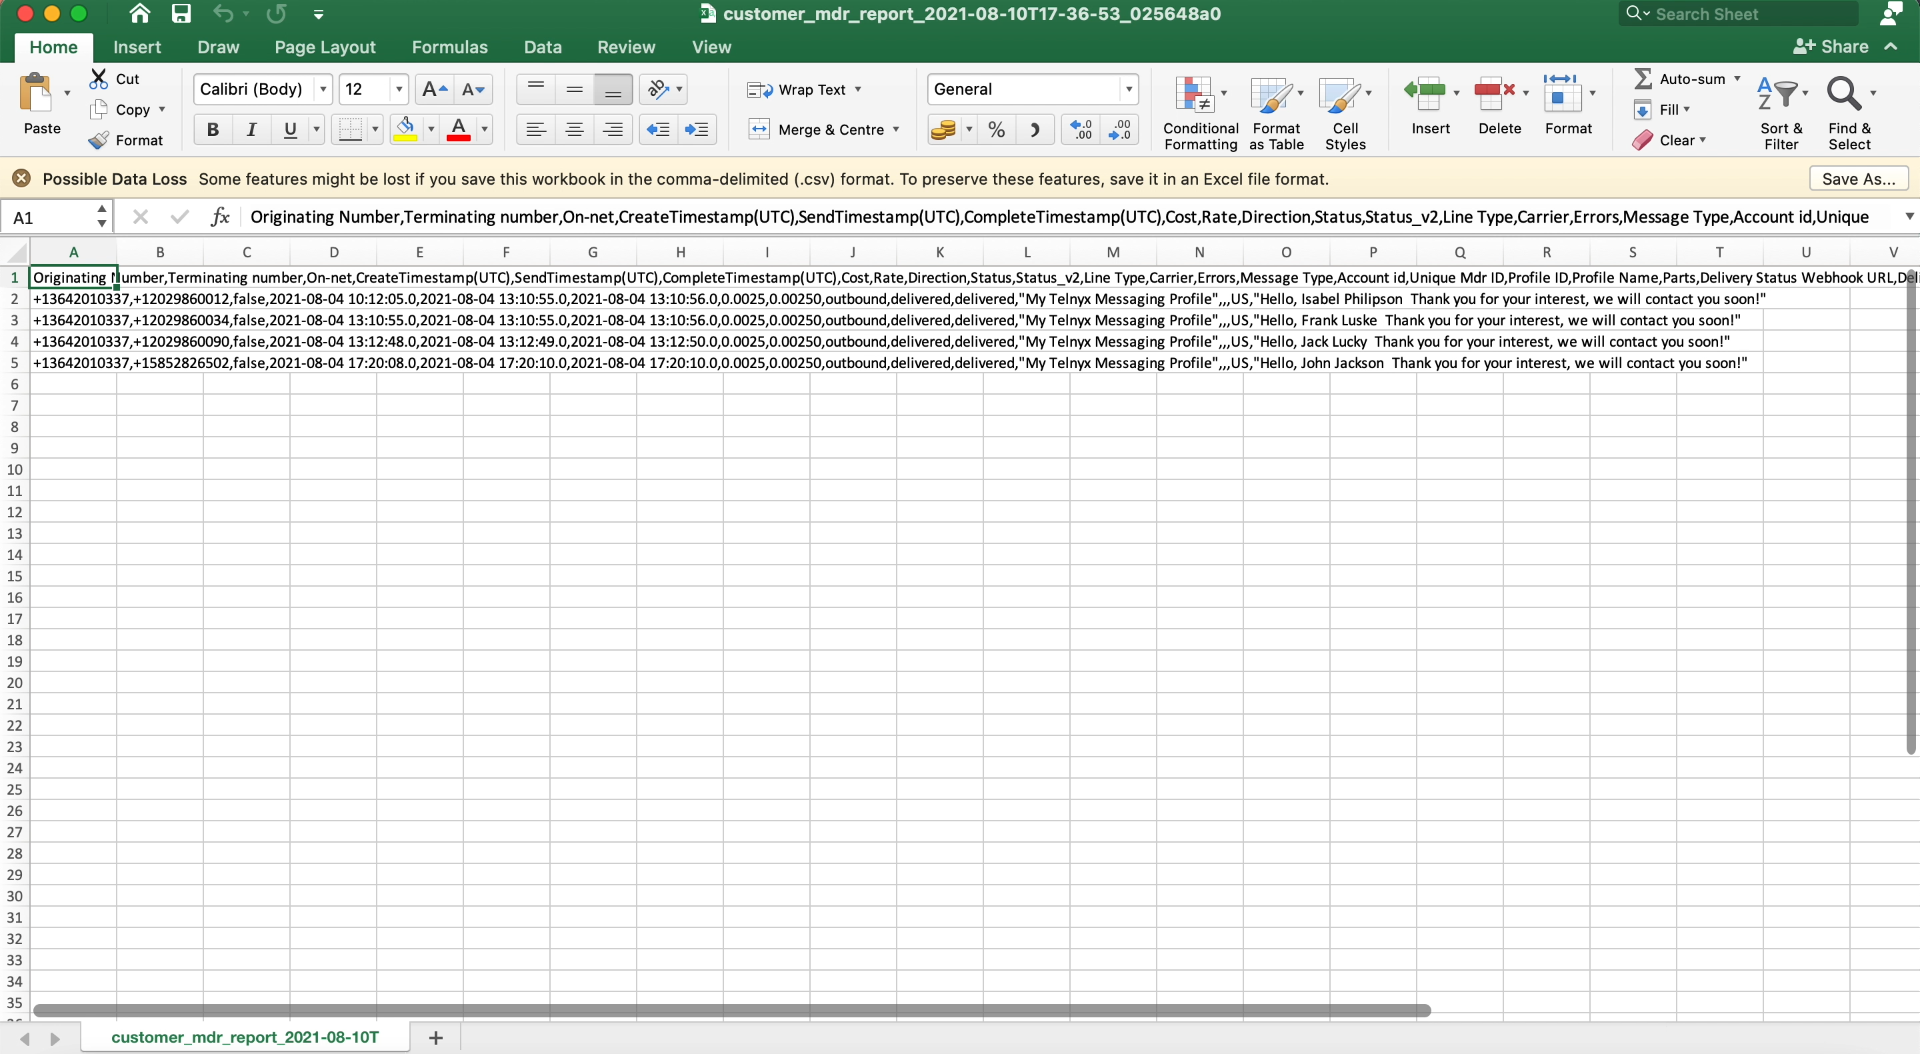
The downloaded table with a list of recently sent messages looks like this:
Finish the setup
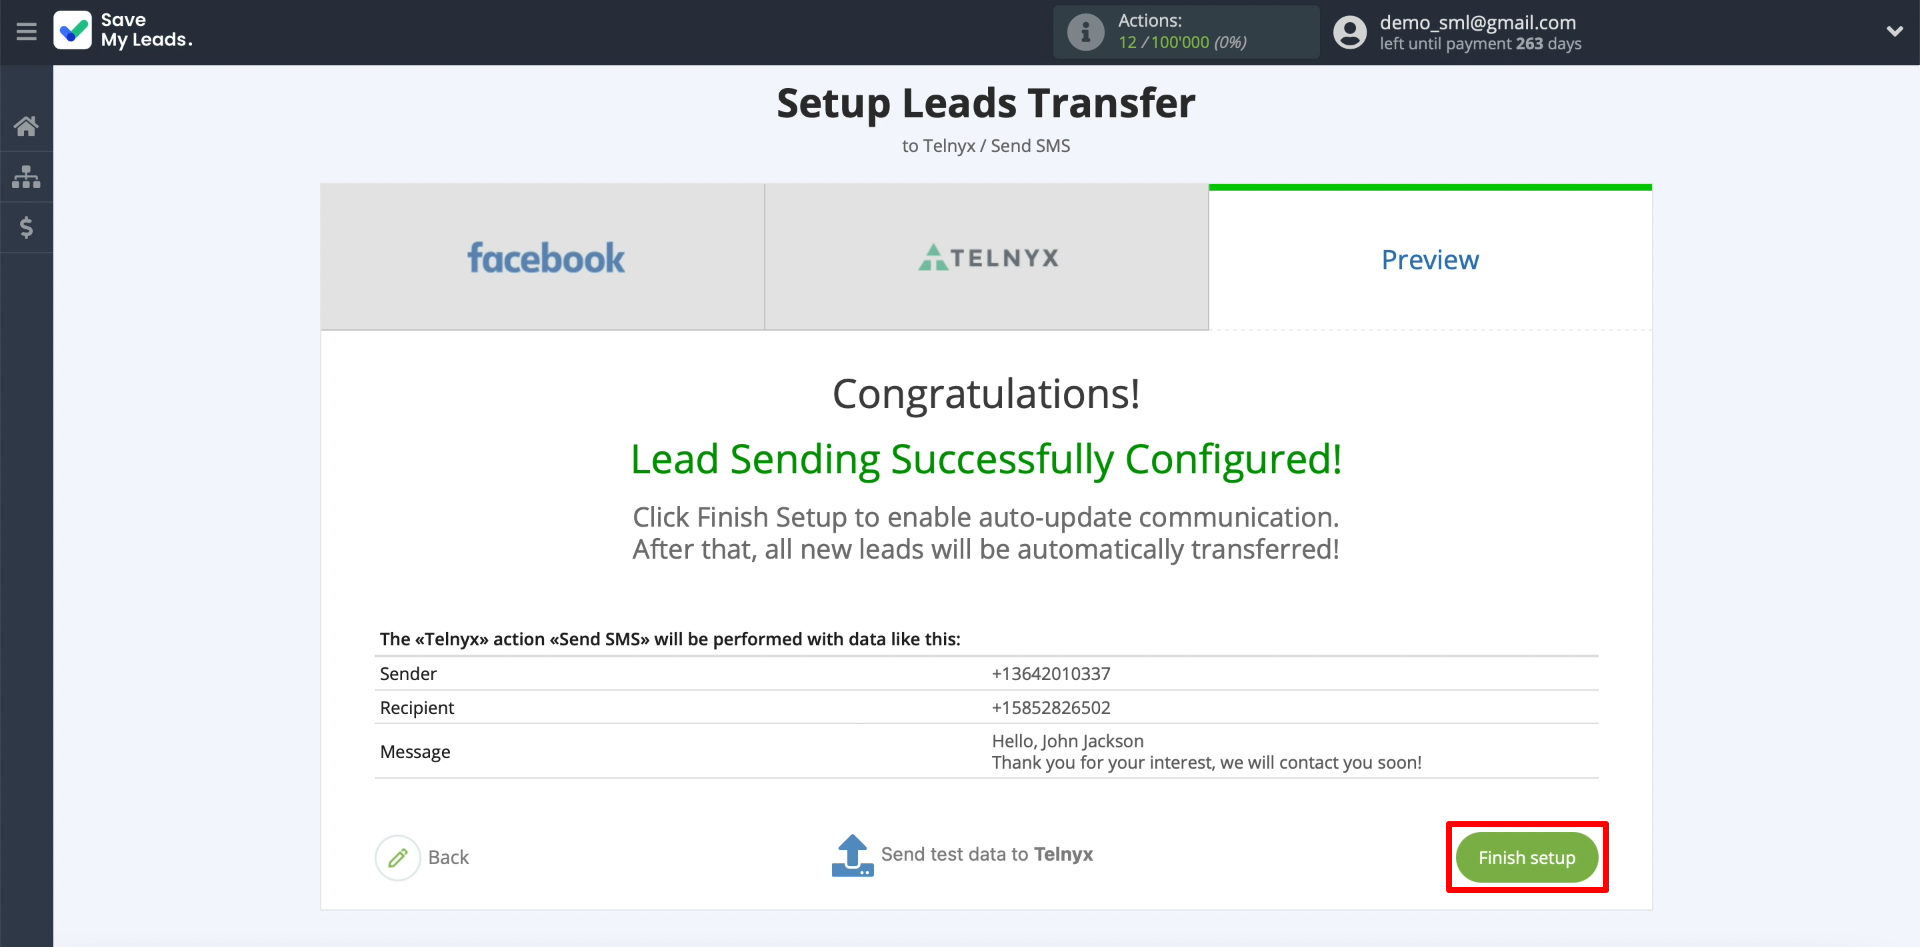
Click "Finish setup" to complete the setup and enable auto-sending messages.
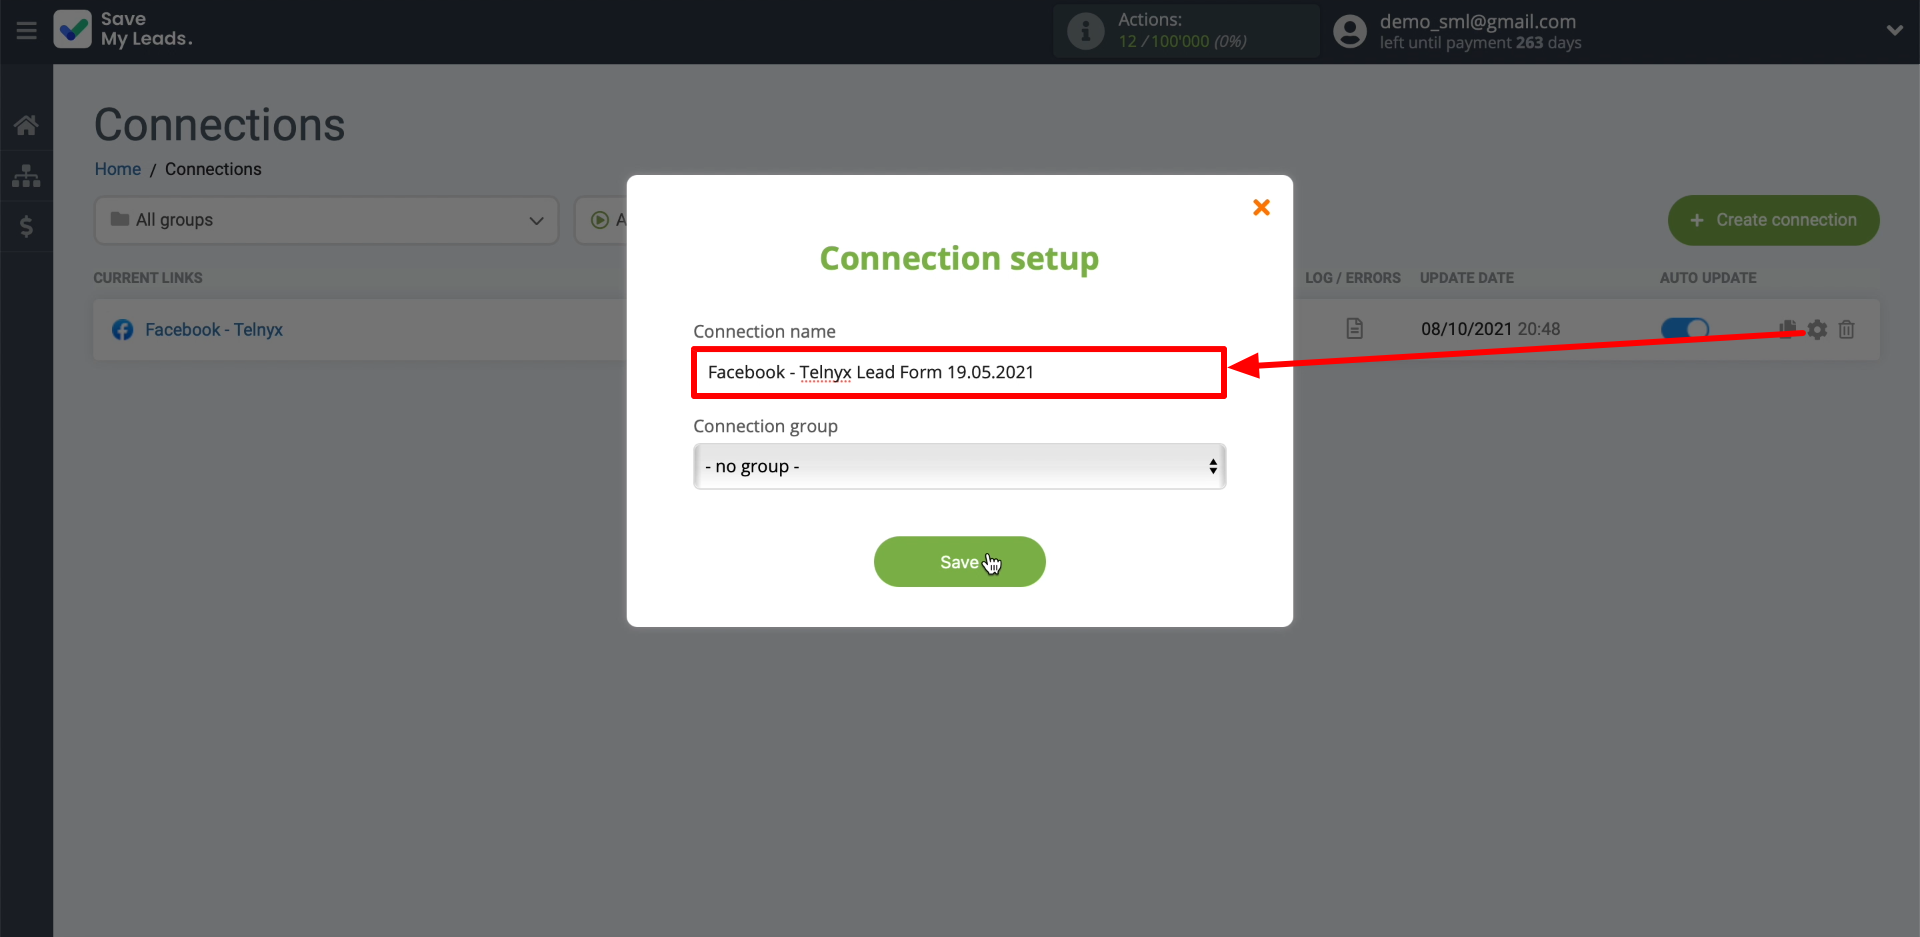
If necessary, you can change the name of the configured connection. To do this, just click on the gear and enter the required text in the field.
That's all! After that, SaveMyLeads will automatically initiate SMS sending to new leads from Facebook via the Telnyx service.
