Do you want the leads collected through the Facebook form to be automatically sent to you in the messenger? We will tell you how to set everything up in 10 minutes and without a single line of code.
Content:
1. How to transfer leads from Facebook to Slack
2. Sign up SaveMyLeads
3. Connect Facebook Lead Ads
4. Connect Slack
5. Chek the results
6. Finish the setup
How to transfer leads from Facebook to Slack
The automatic transfer of data from Facebook to Slack allows you to optimize the work with the collected leads.
Immediately after it appears in the form of a new lead, it will come to you in the form of a personal message in the messenger. This eliminates the need to regularly check forms and the time it takes to manually download data from them. As a result, you will be able to respond to customers faster.
Each message can contain any lead data that the user has left in the Facebook form. You can choose to send all this information or only the most important details: for example, the customer's name and email address.
In addition, all collected leads will be stored in Slack, just like regular messages. They can be viewed at any time. And there will be no need to worry about old contacts being lost or deleted.
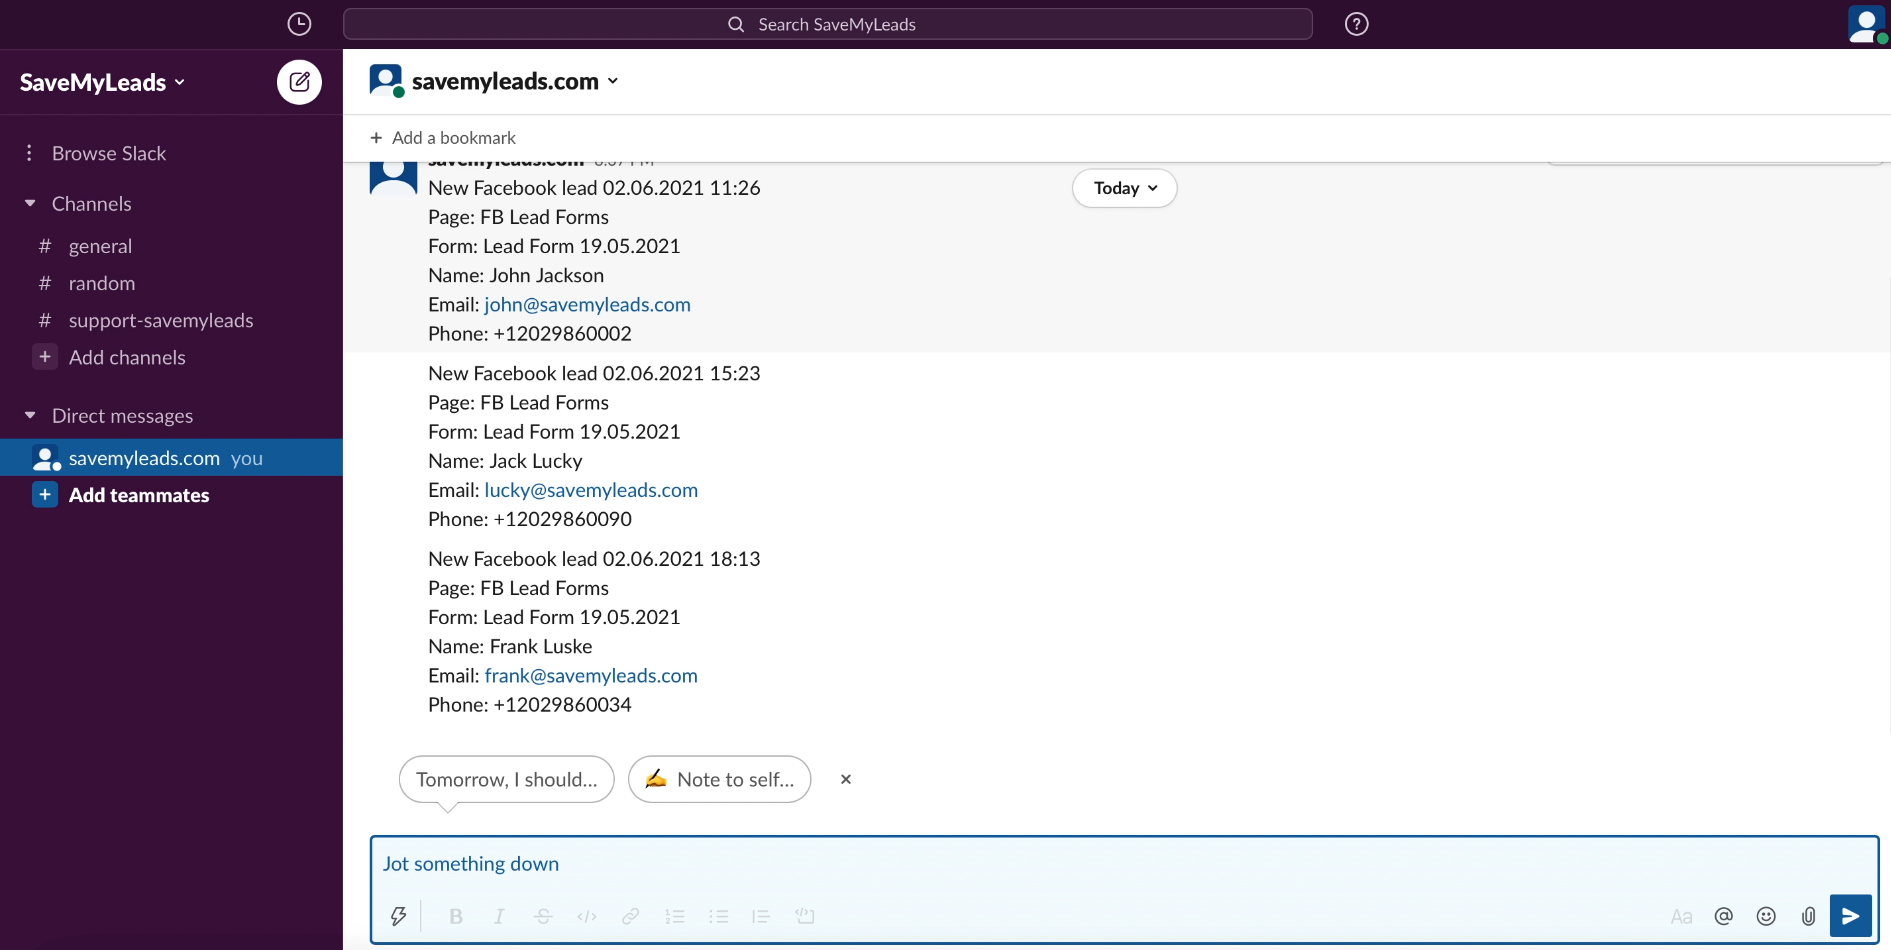
If you use Slack as a work messenger, you will get another significant advantage. Automatic transmission of leads in the form of messages will allow you to be less distracted by third-party services, because both task discussions and customer data will be available in the same system.
You don't need to be a programmer to automate the upload of leads from Facebook to Slack. All you have to do is register with the SaveMyLeads service and use it to set up a connection between the social network and the messenger. It only takes 10 minutes of your time. And our instructions will help you figure it out.
Sign up SaveMyLeads
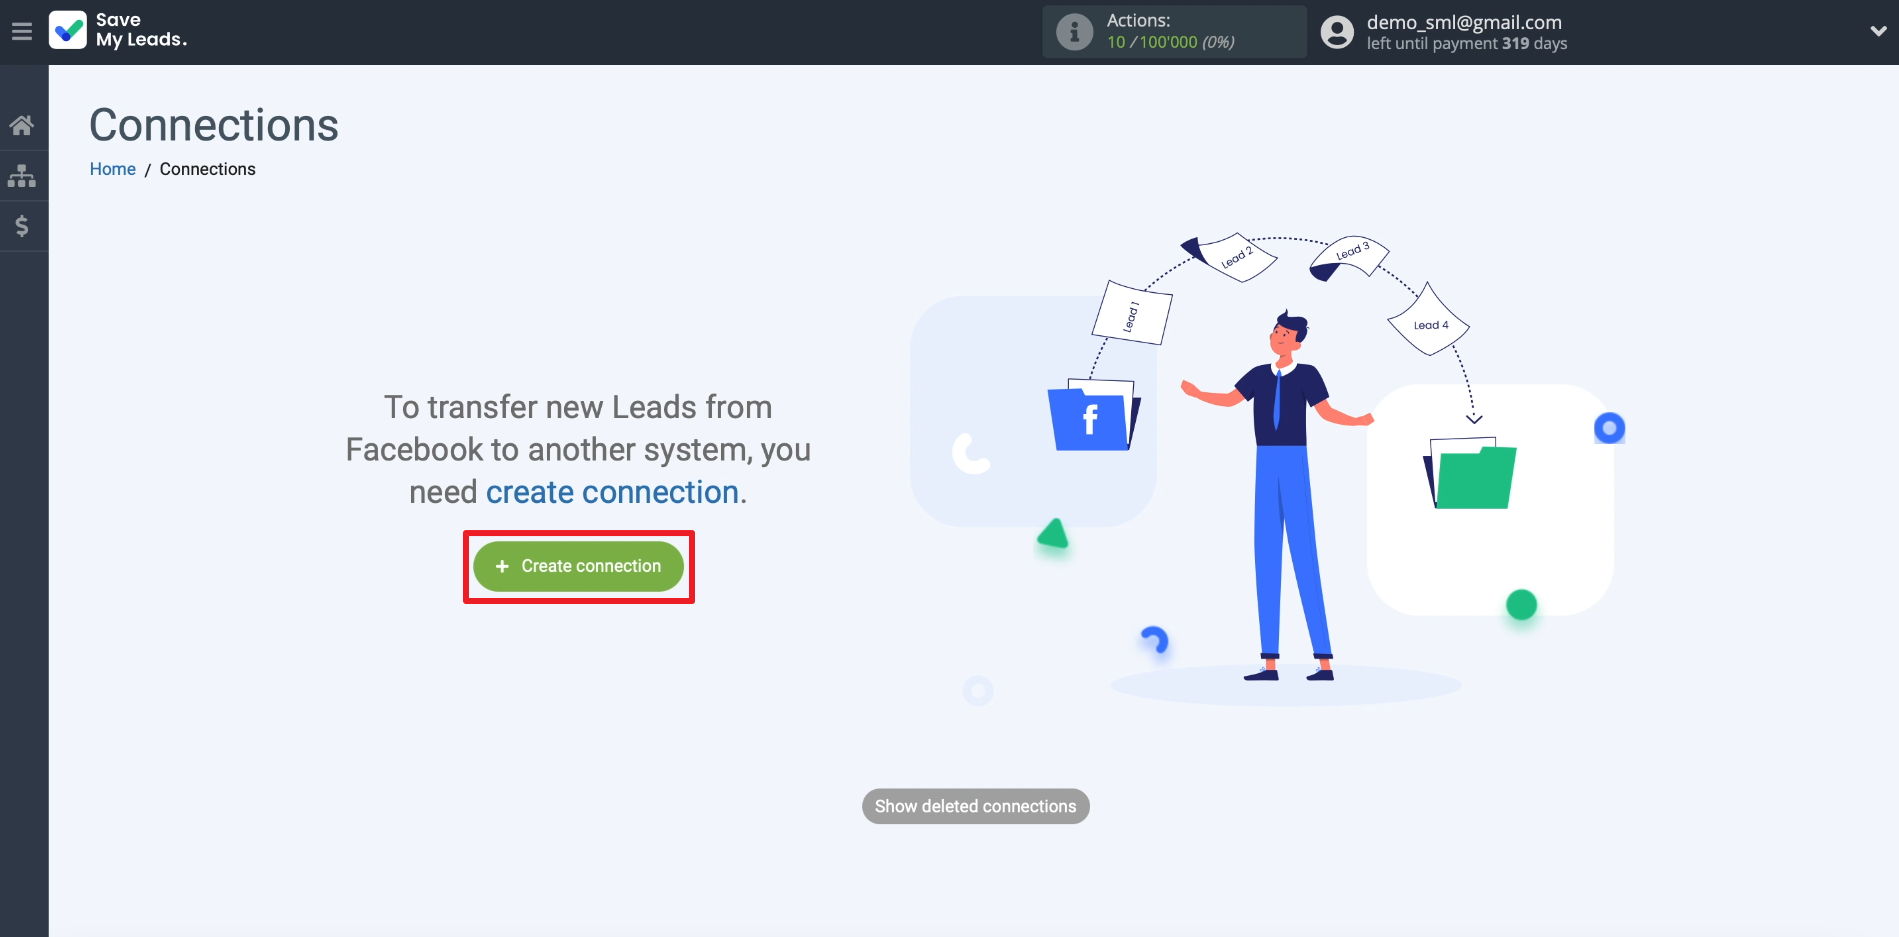
We register on the SaveMyLeads website and click Create connection to proceed to setting up a new integration.
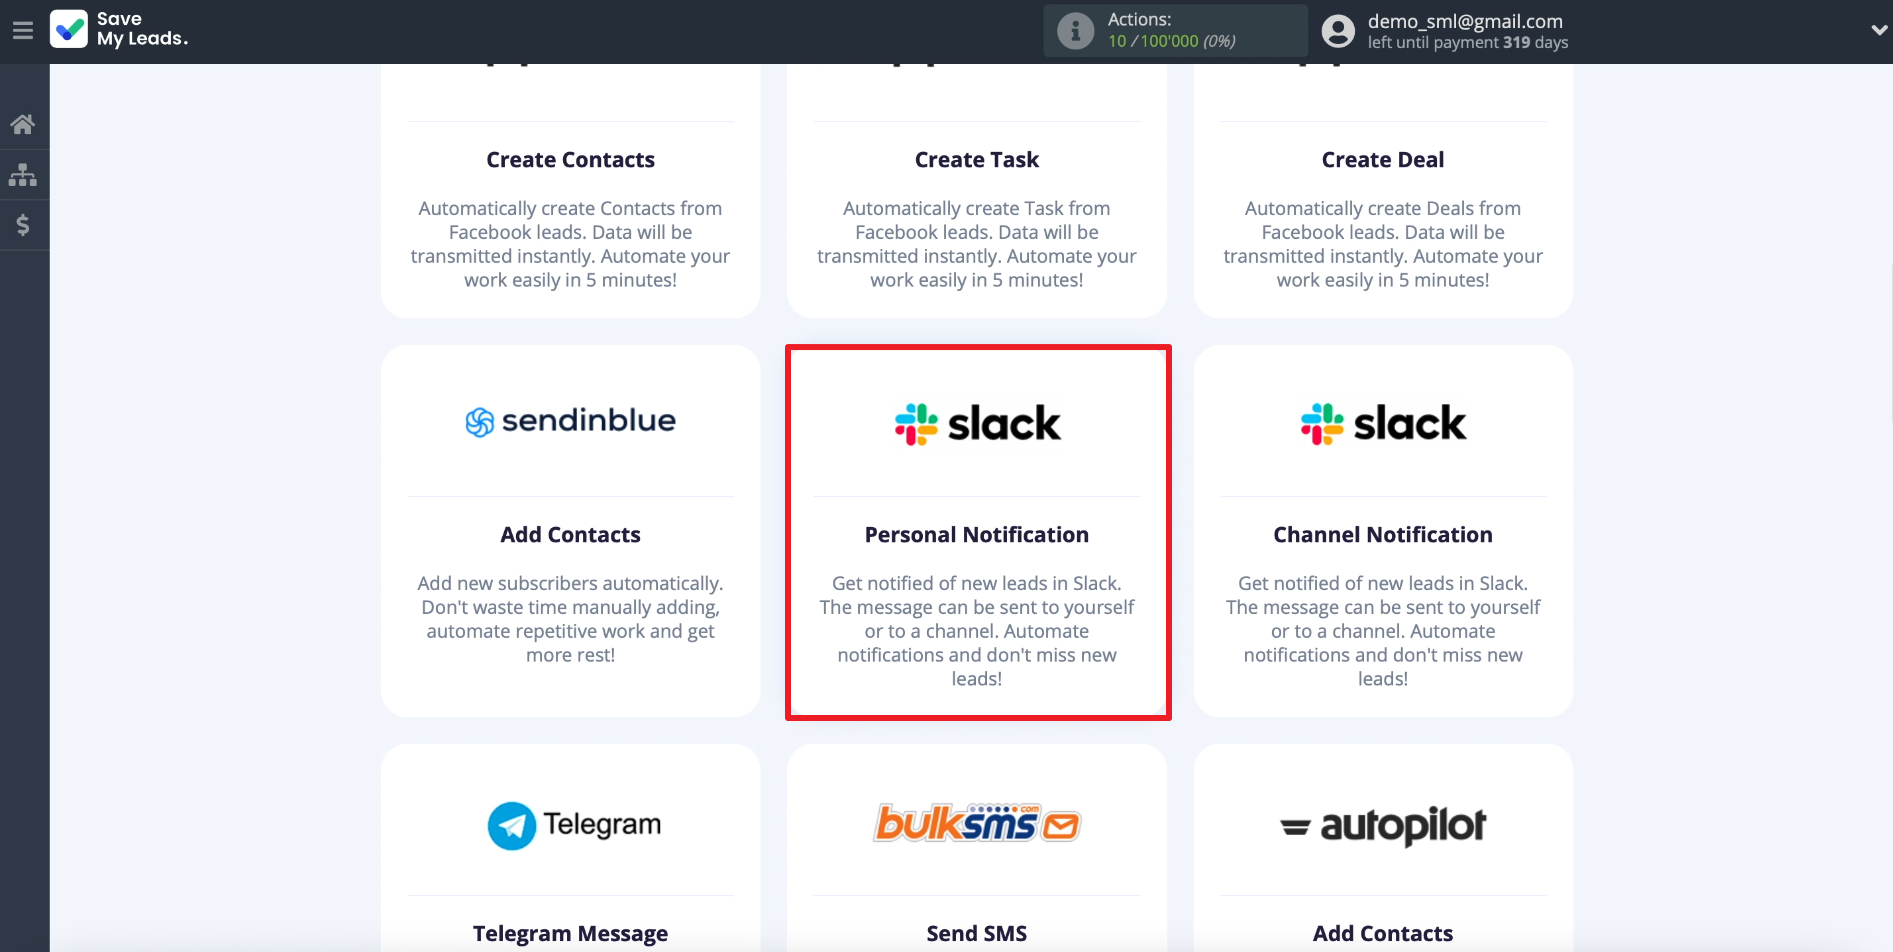
Choosing a template to create a connection between Facebook and Slack. There are two such templates in the system: one for sending leads to private messages, the second for uploading data to the messenger channel. We are interested in the first option: Slack Personal Notification.
Connect Facebook Lead Ads
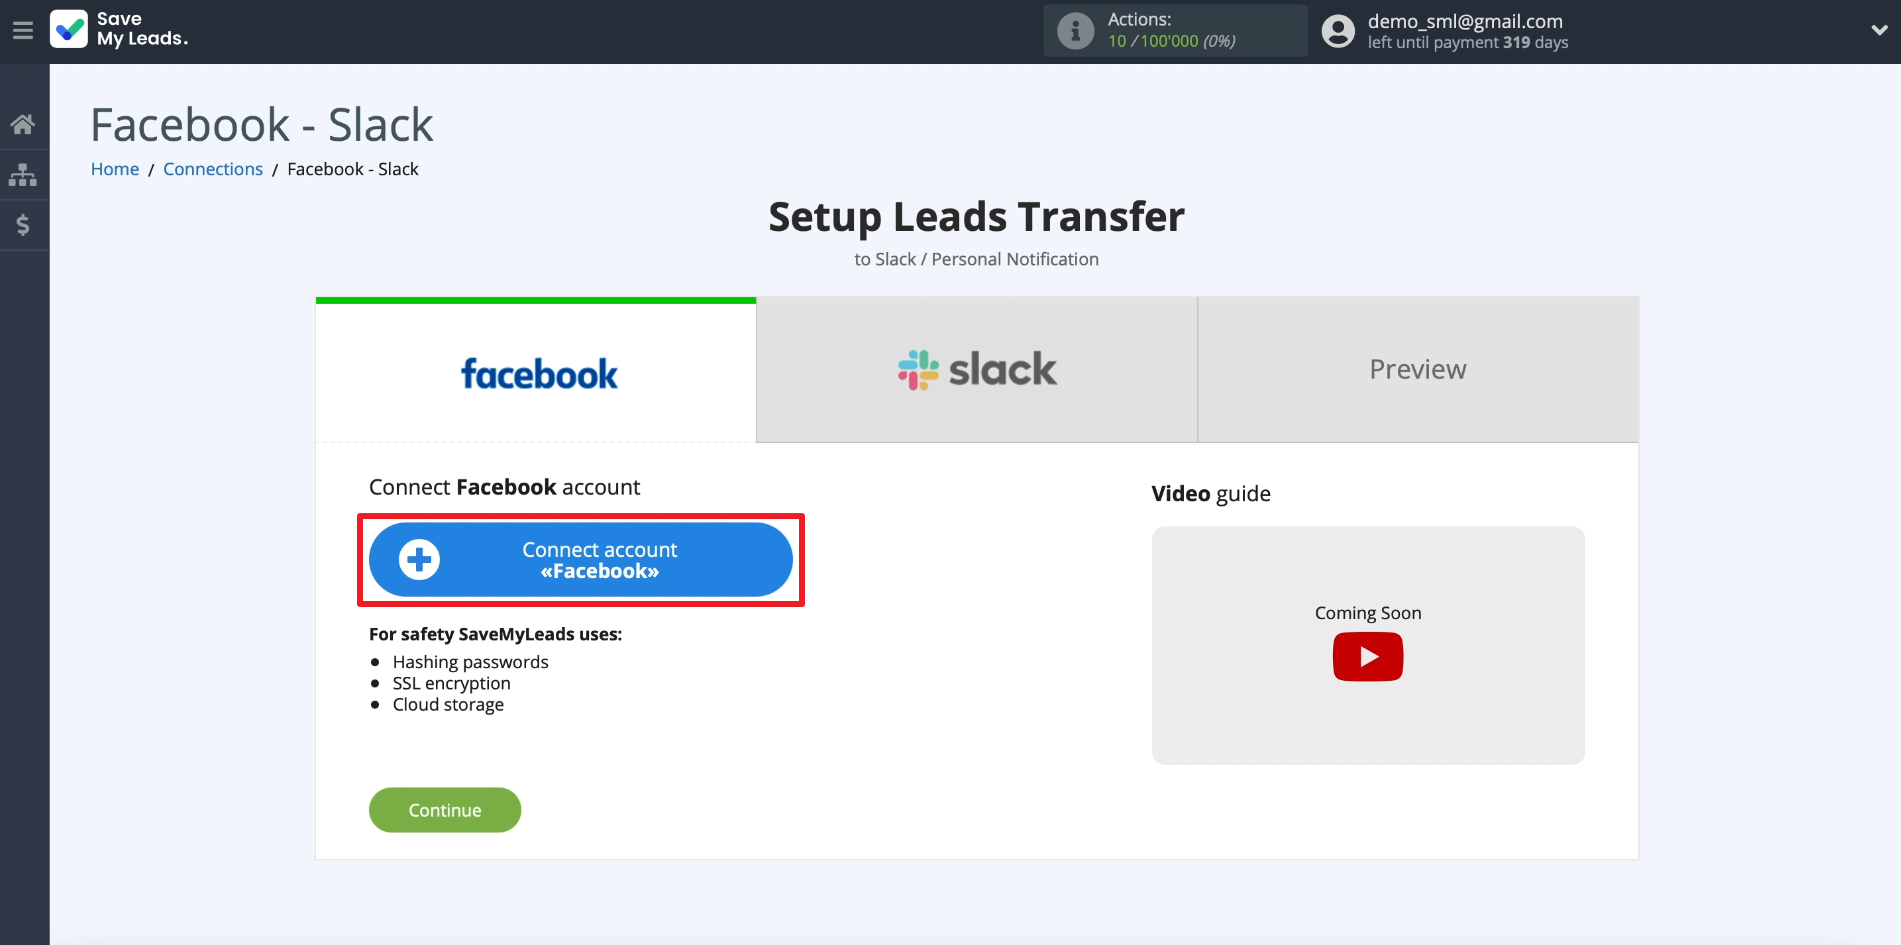
We click Connect account "Facebook" and enter the username and password from the Facebook profile, which we use to manage ads.
We connect a business page for which we launch advertising forms.
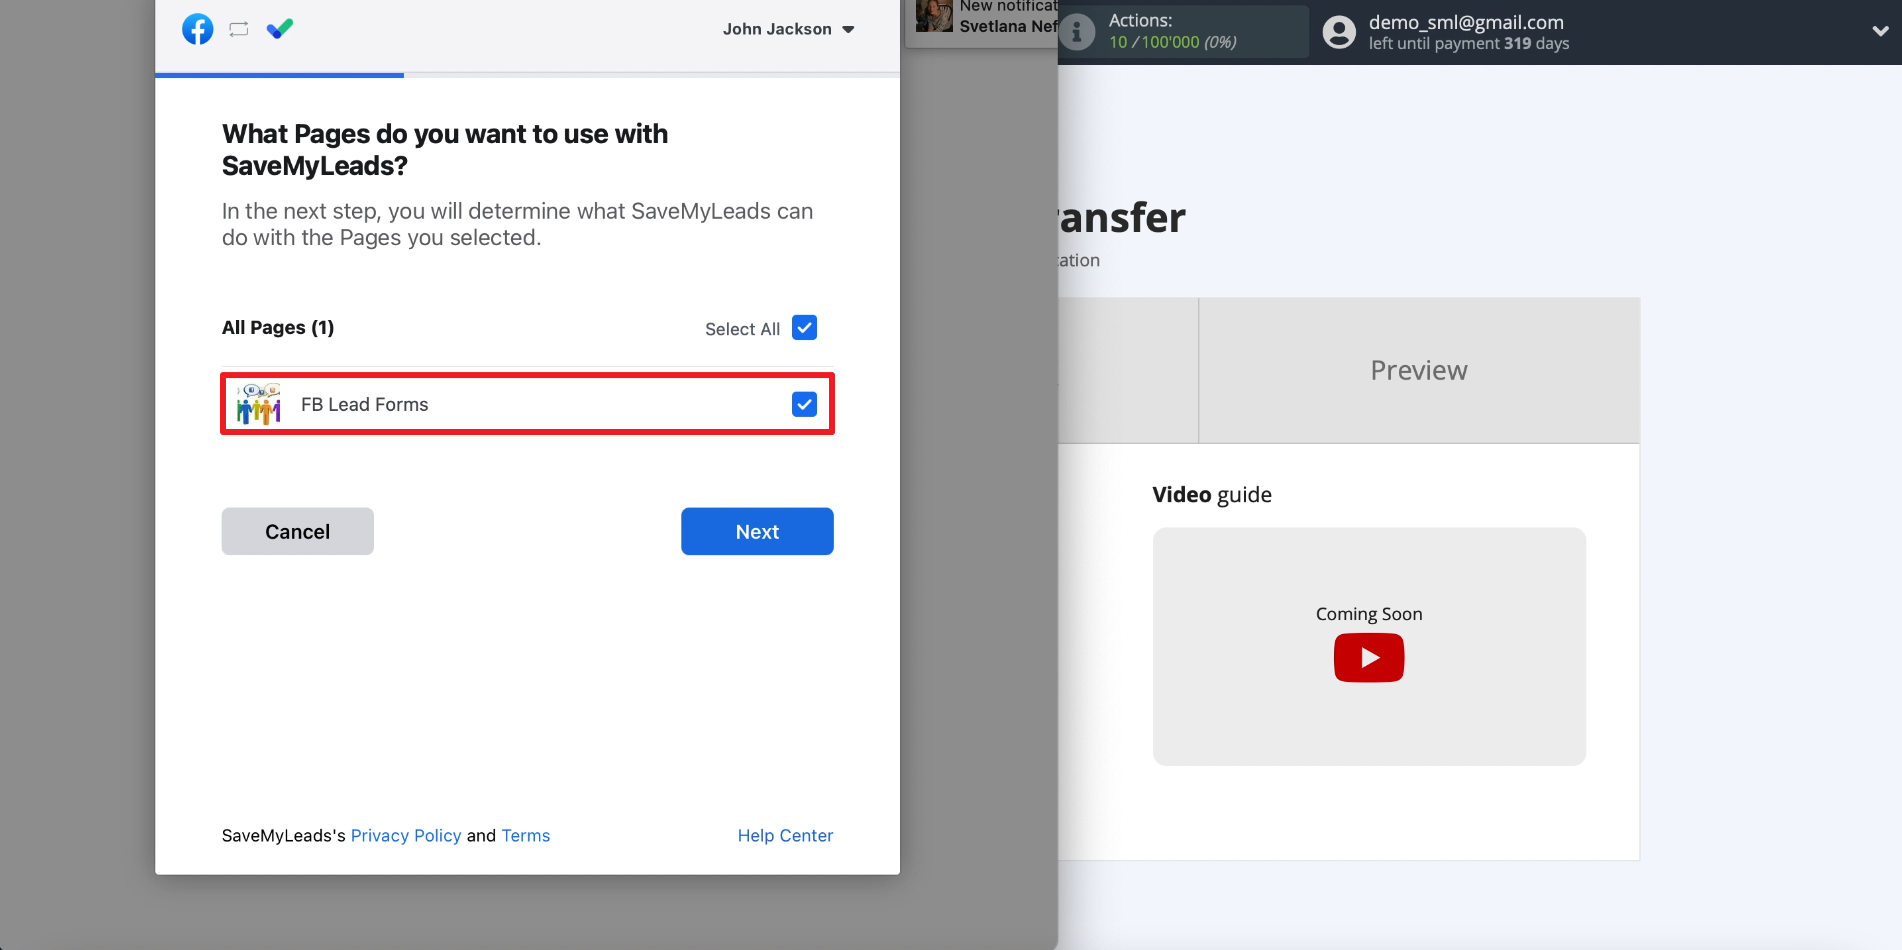
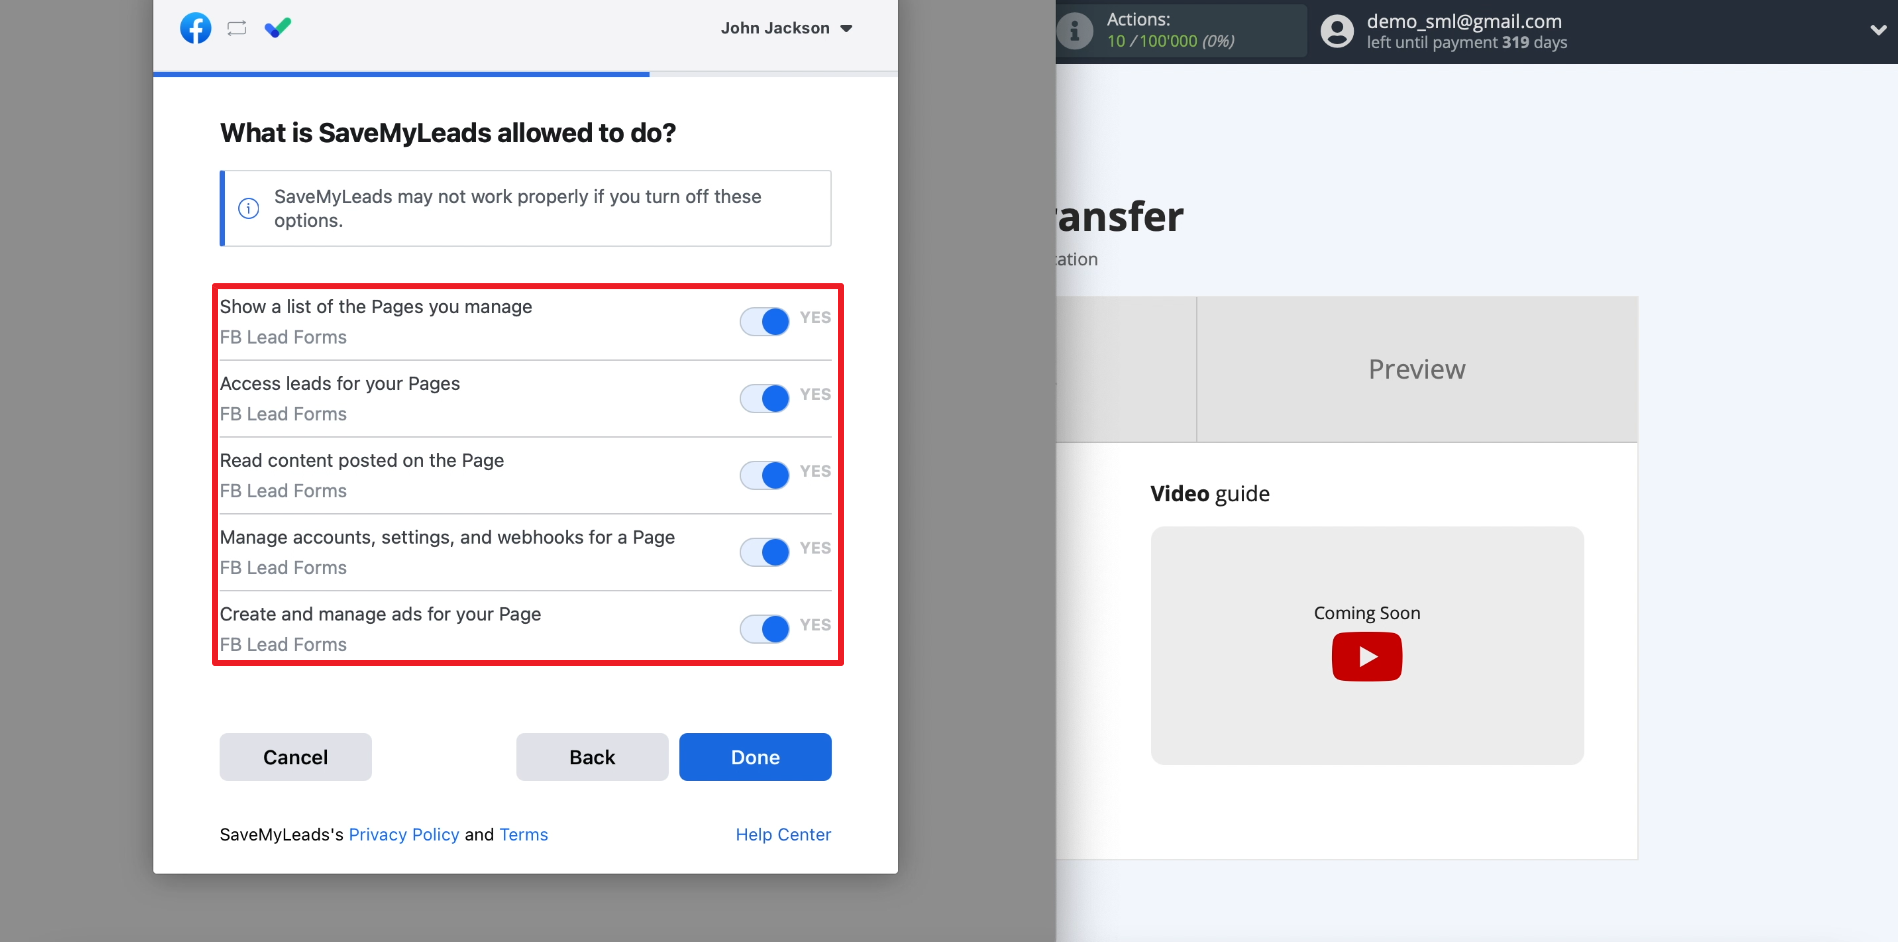
We grant SaveMyLeads permissions for all the listed actions. This is necessary so that the service can unload leads from Facebook forms.
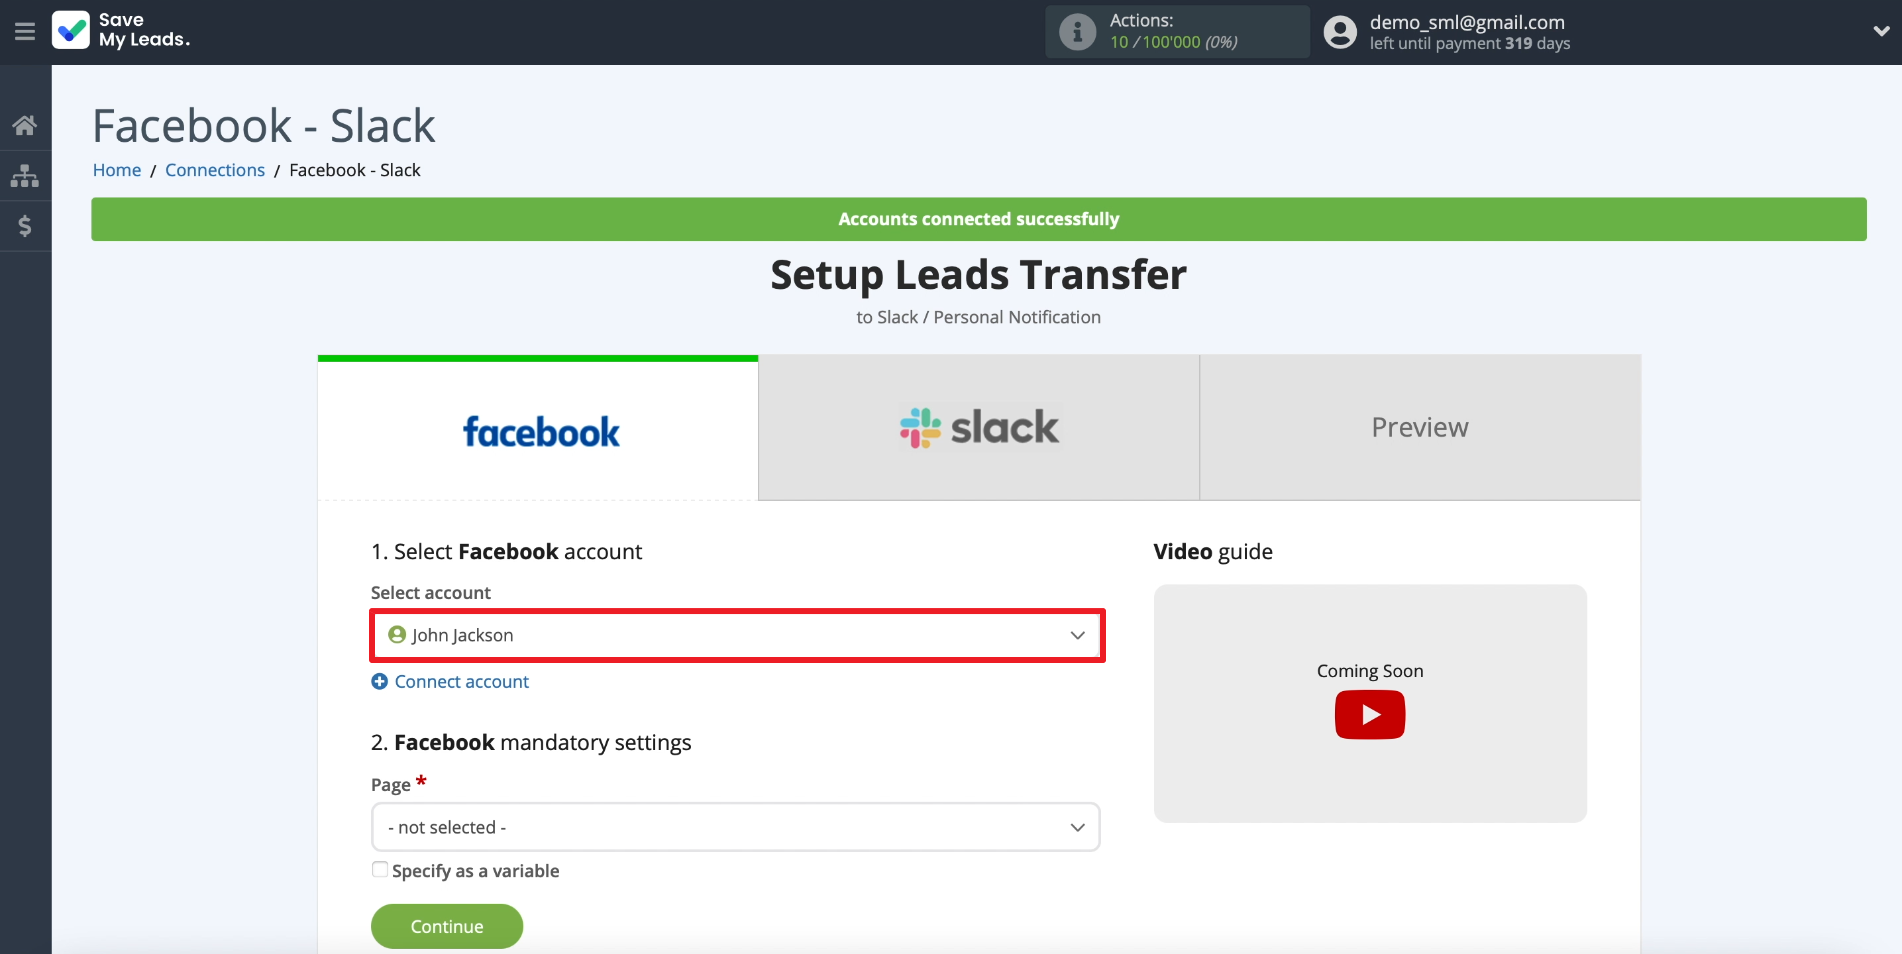
Select the newly connected ad account.
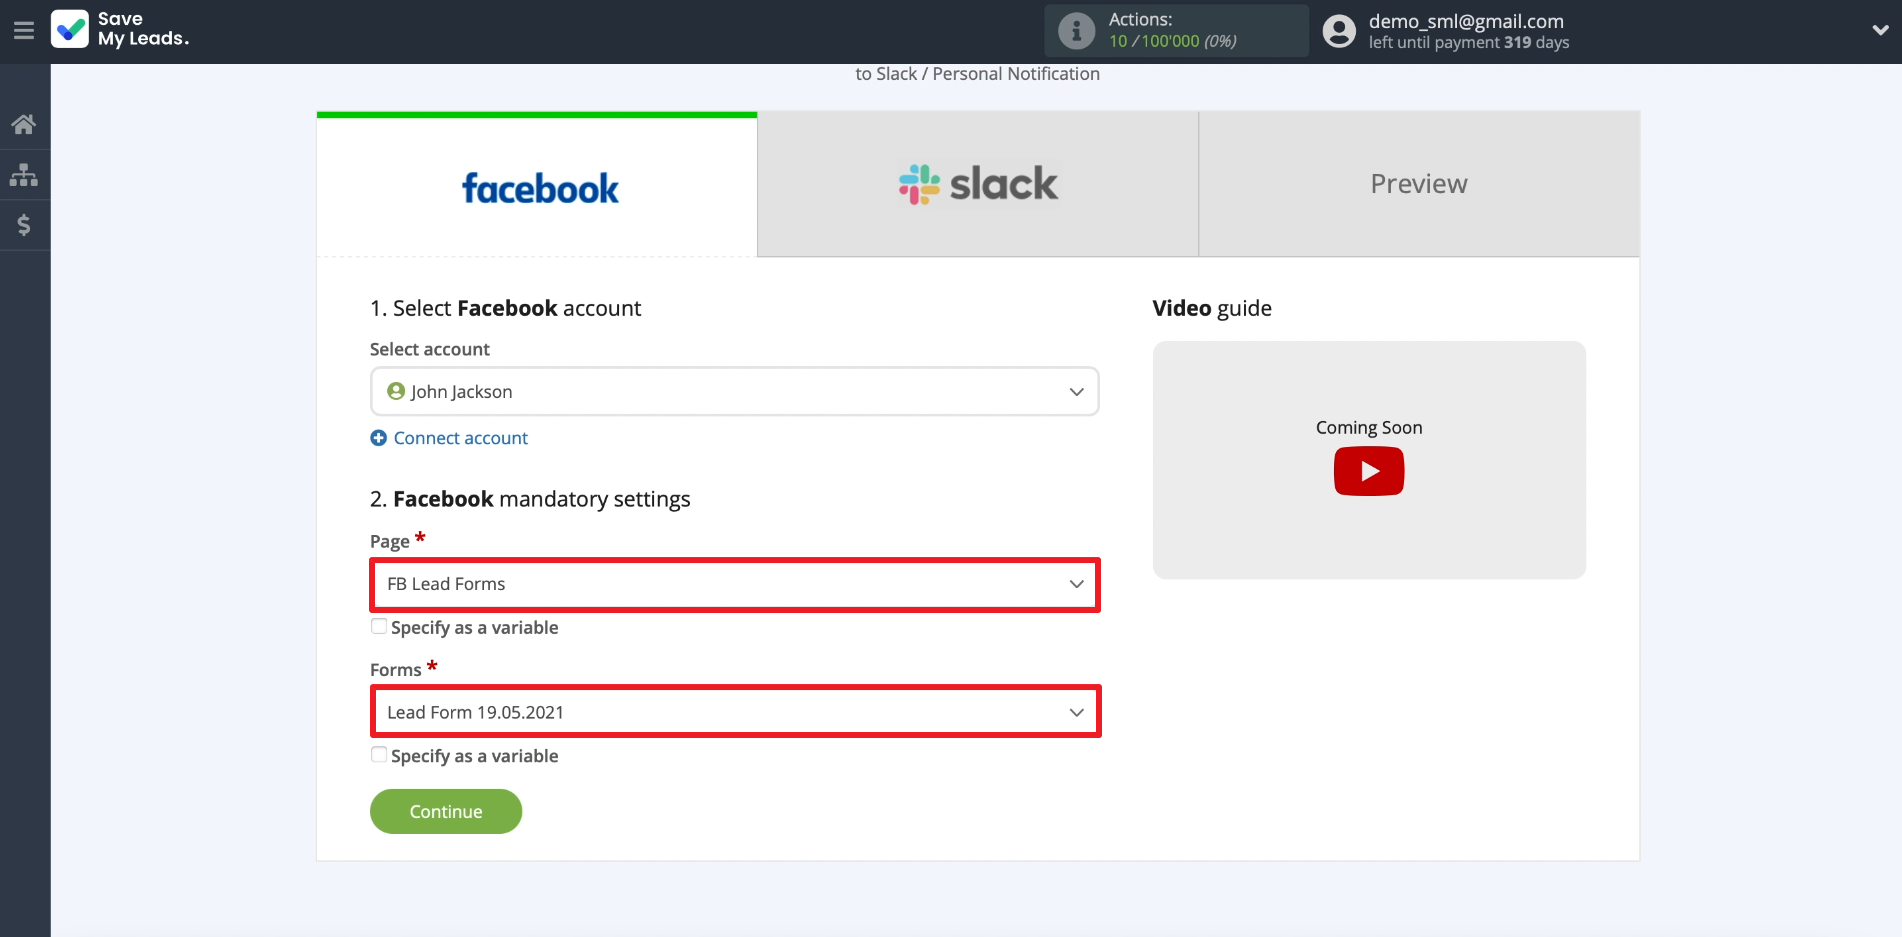
We select our business page, and below we connect the required form. Only one form can be selected within one connection. If you need to customize the unloading of leads from several forms, for each you need to create a separate connection between Facebook and Slack.
Connect Slack
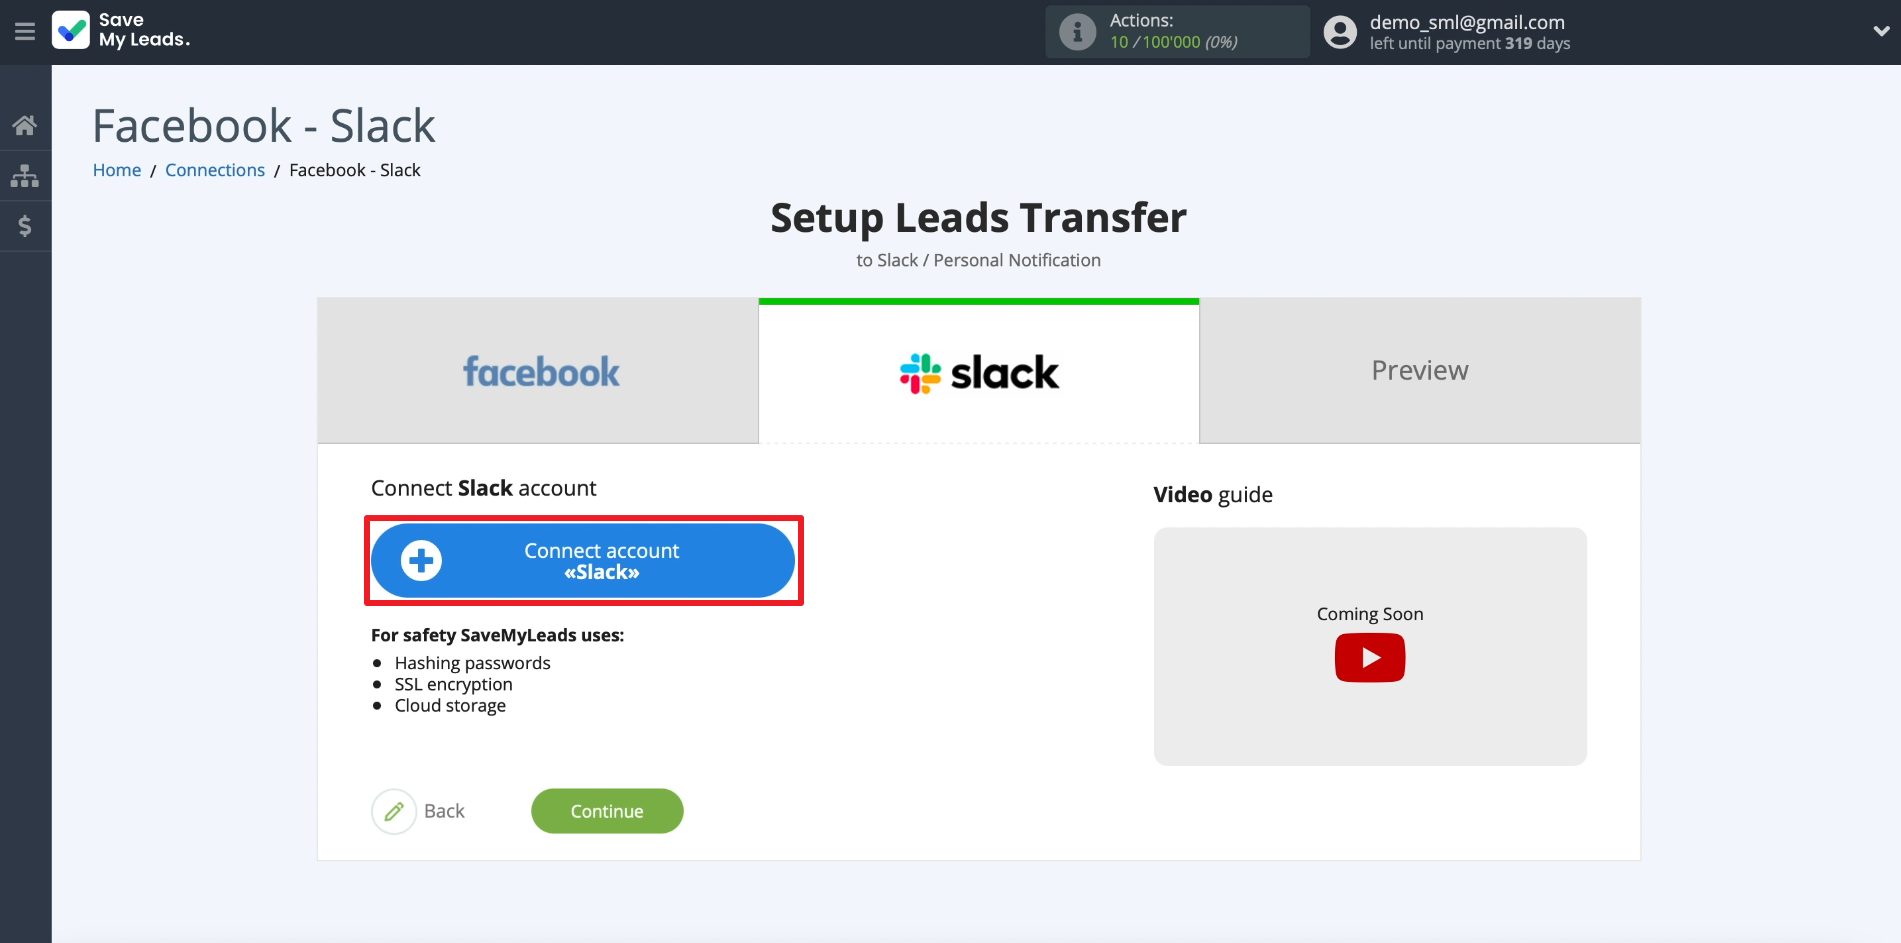
Click Connect account "Slack". After that, we enter the address of our account, as well as the mail and password to enter.
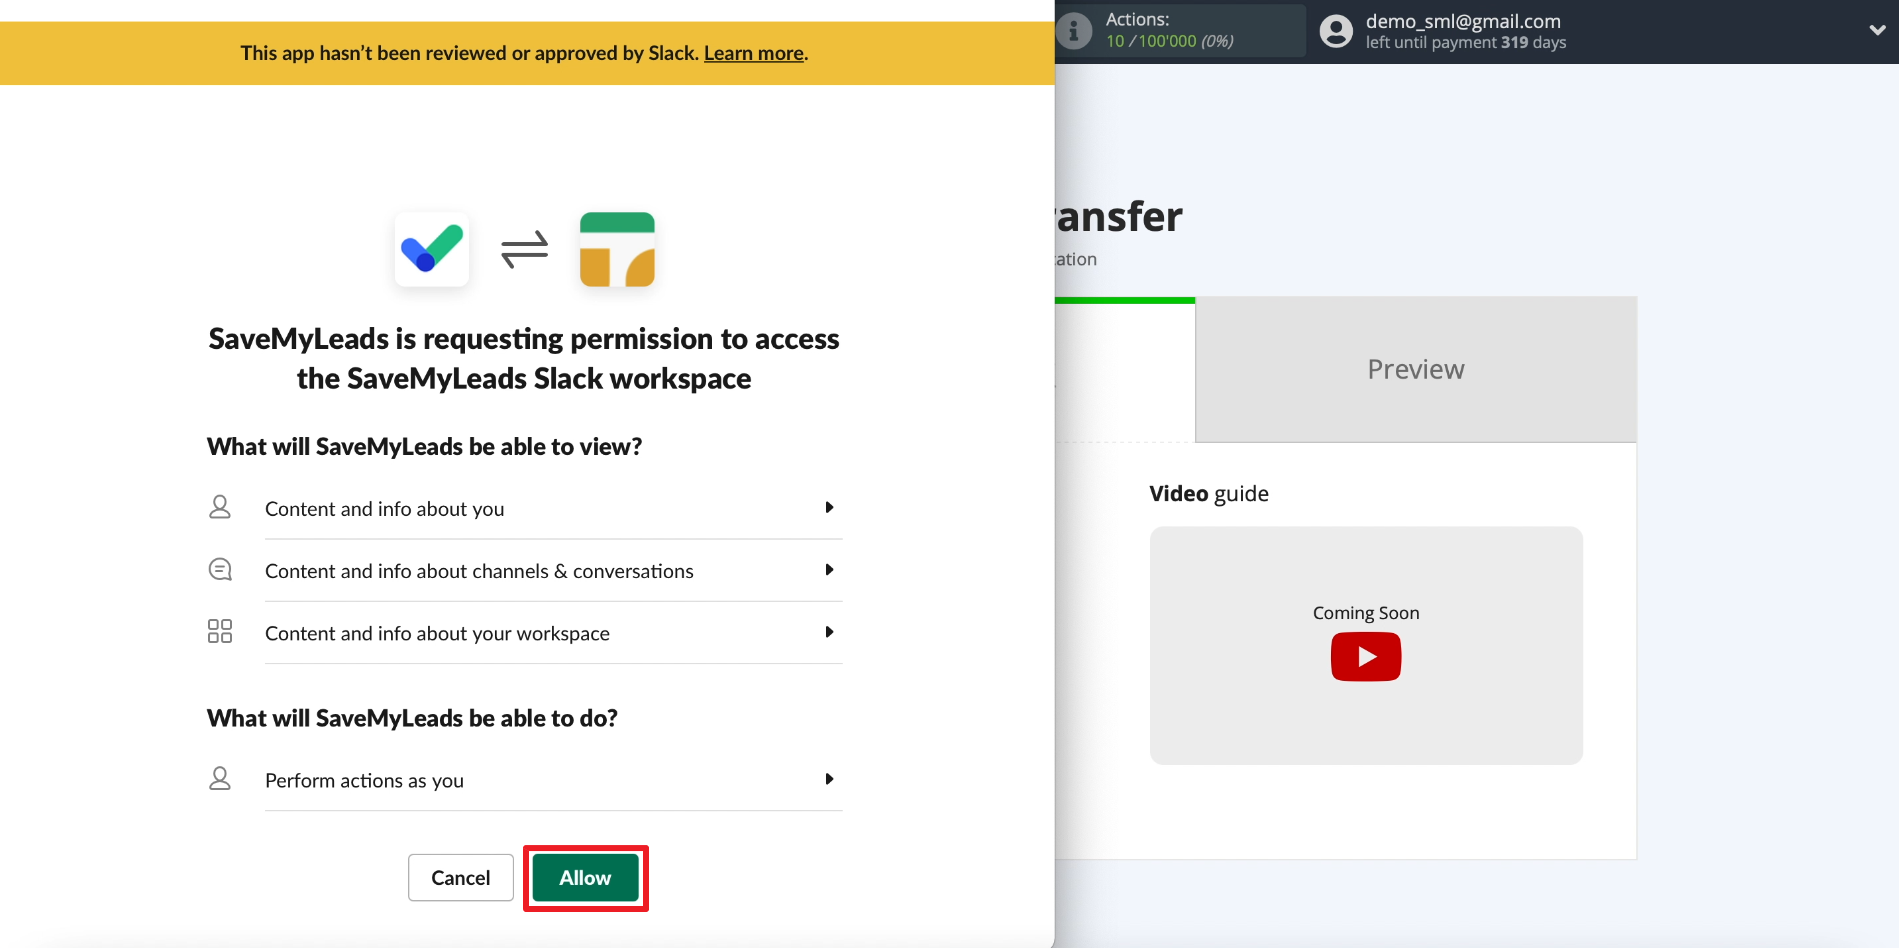
We grant SaveMyLeads permission for the requested actions. This is necessary so that the service can send leads to private messages.
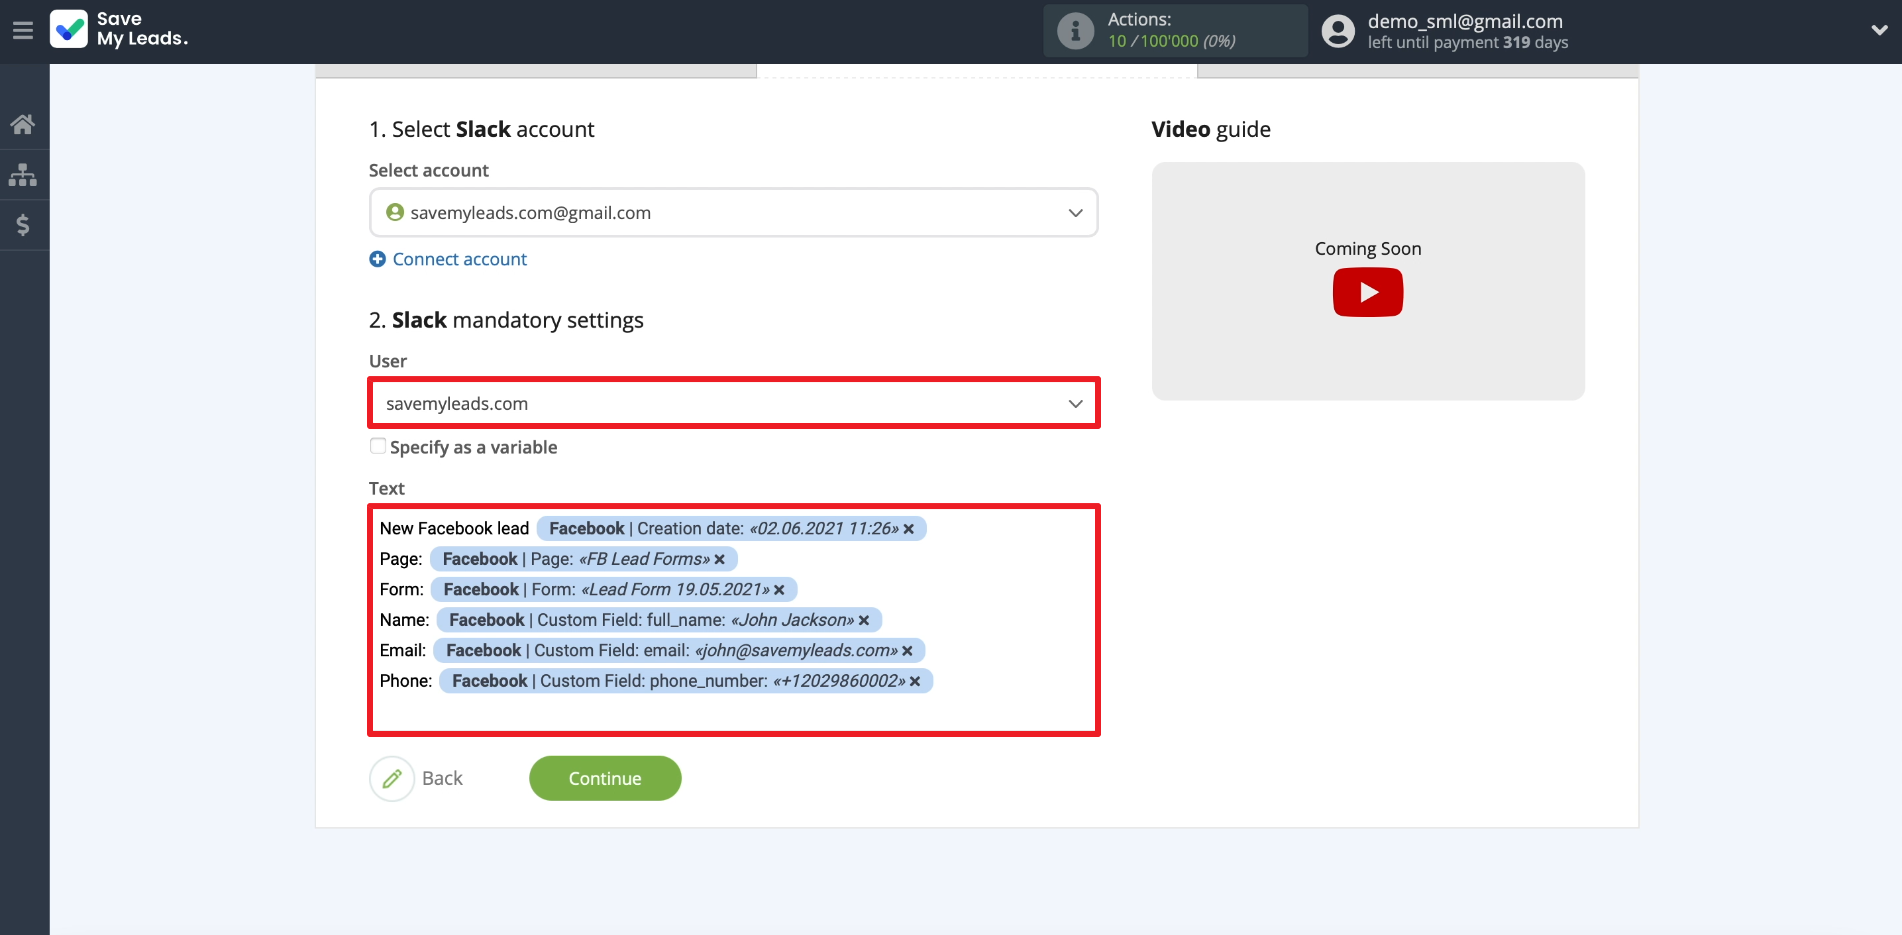
Select the newly connected Slack account.

Enter the name of the user to whom the leads should come. Below we indicate which details of the lead should be in each message: name, email, phone number, and so on. You can leave the data selected by default, or specify your own. In the second case, just click on the field and select the appropriate data type from the list. You can also enter arbitrary text here.
Chek the results
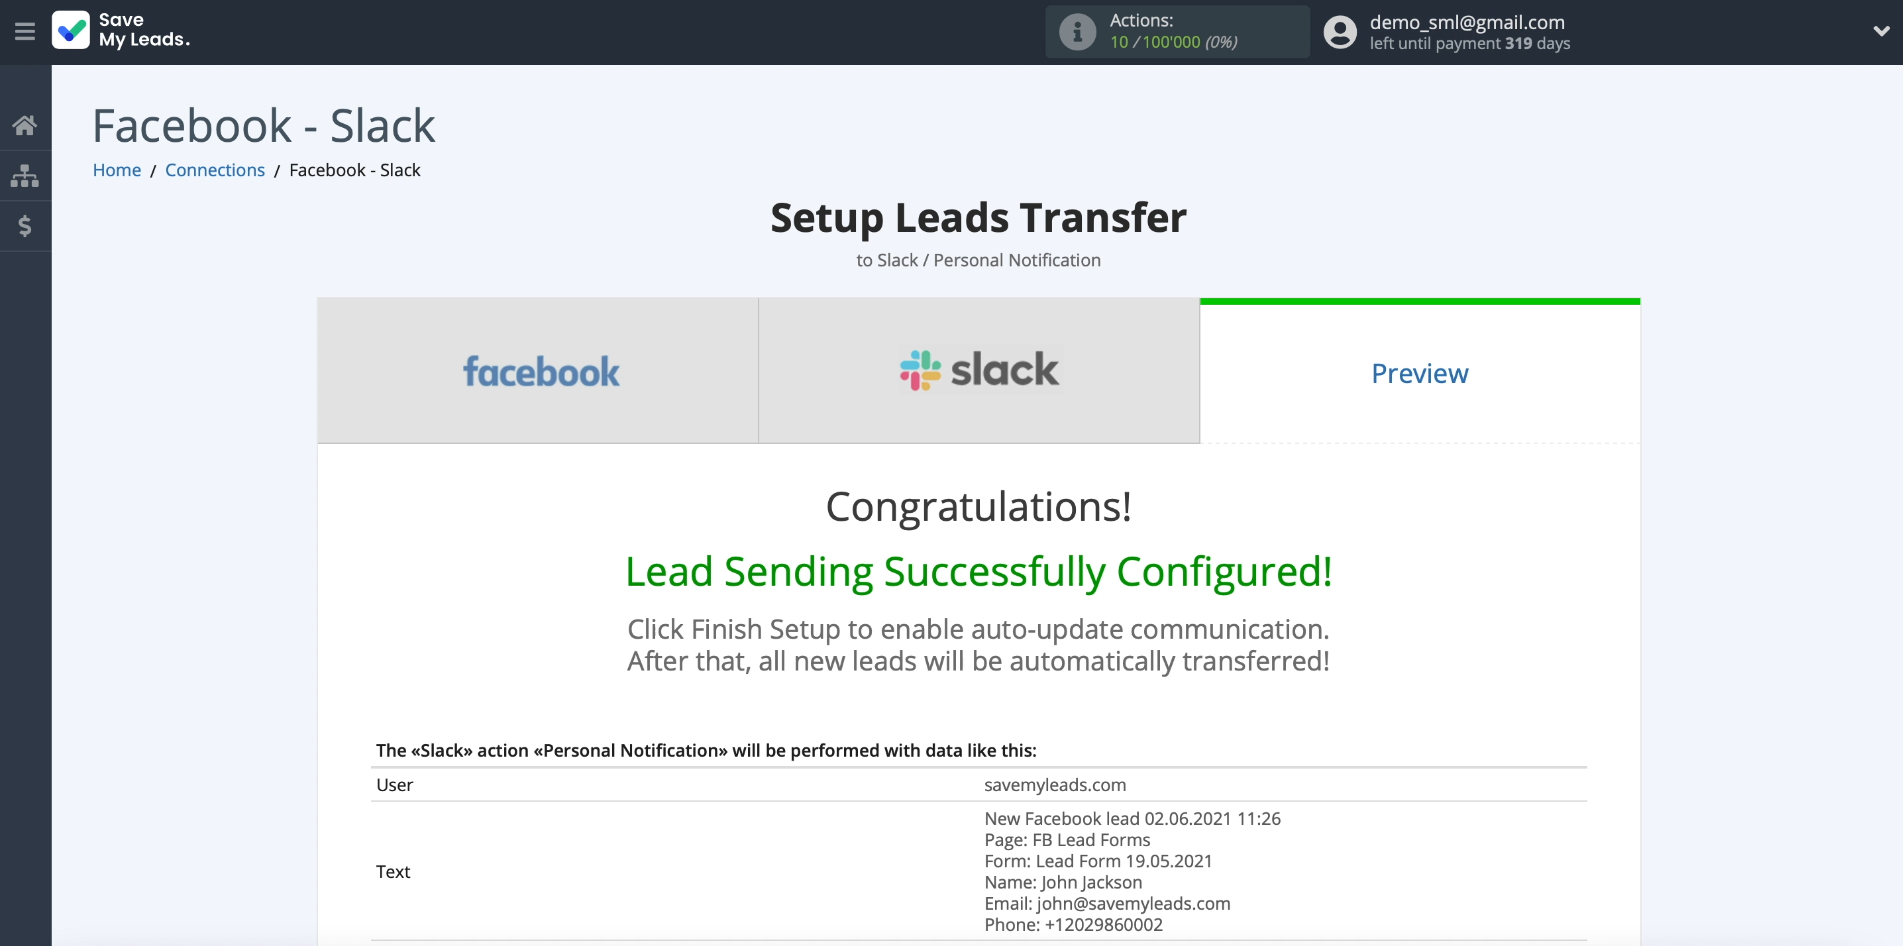
If there are already leads in the form, the details of one of them will appear on the screen for verification. If the data is not displayed, you need to log into your Facebook advertising account, send a test application through the form and refresh the SaveMyLeads page.
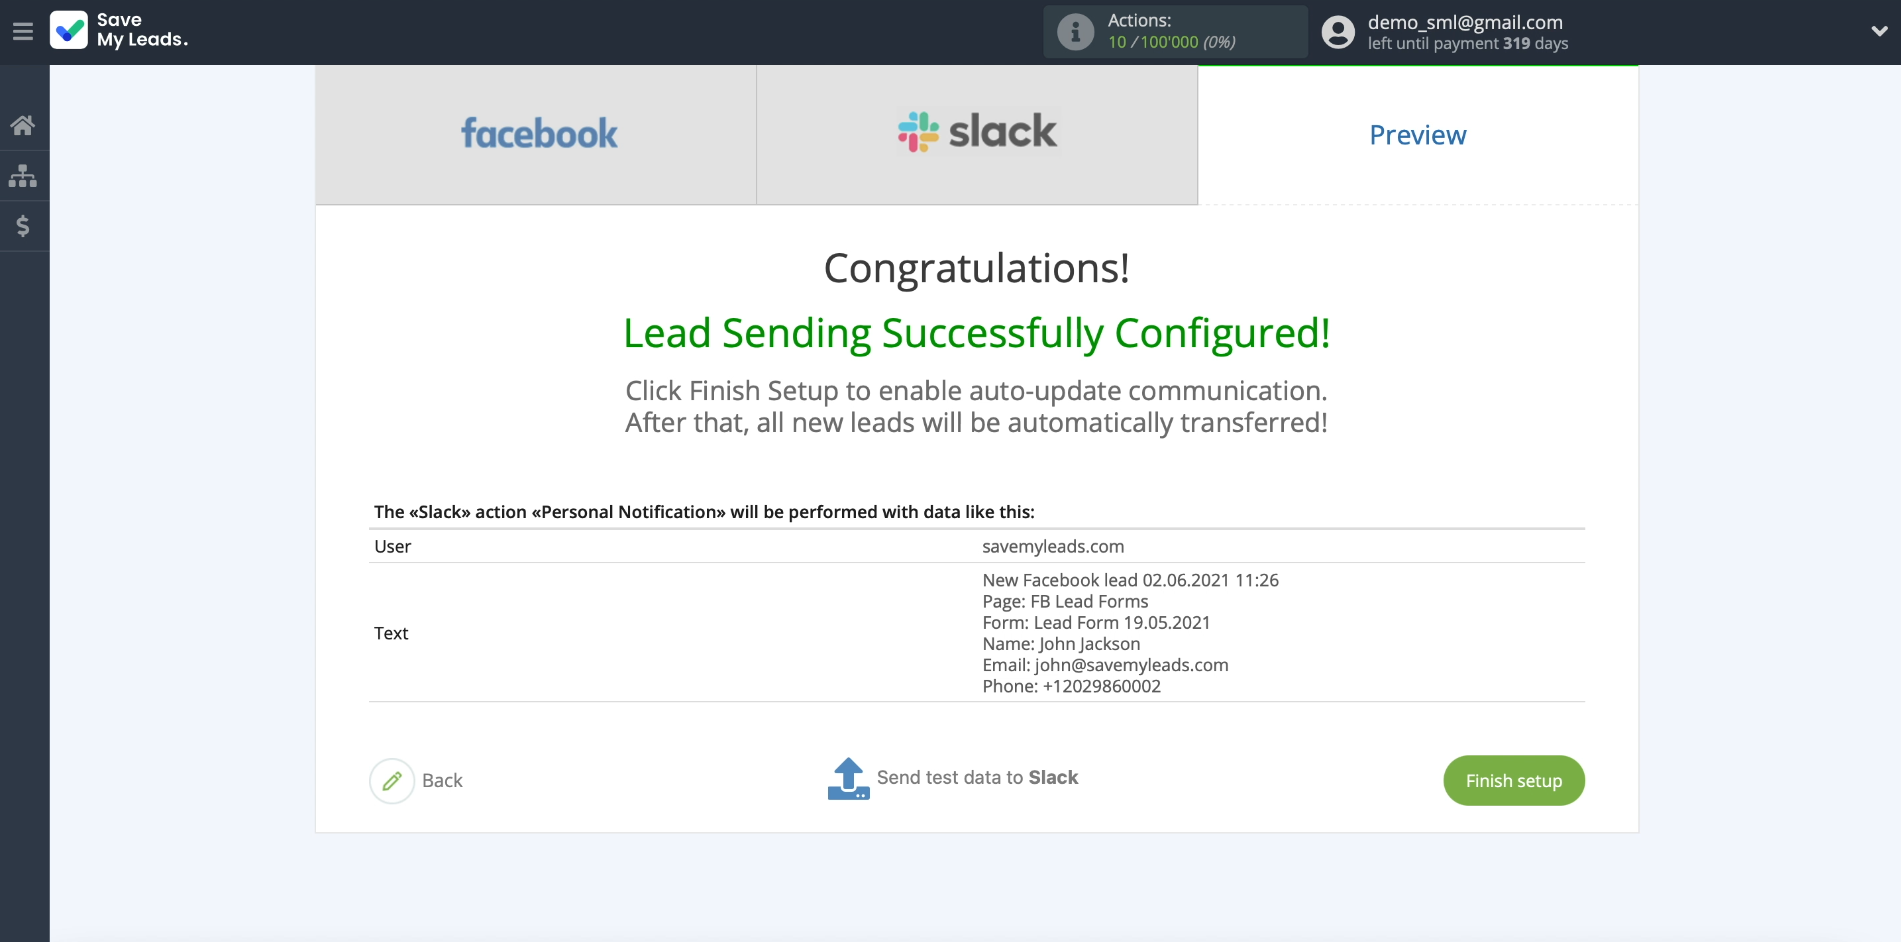
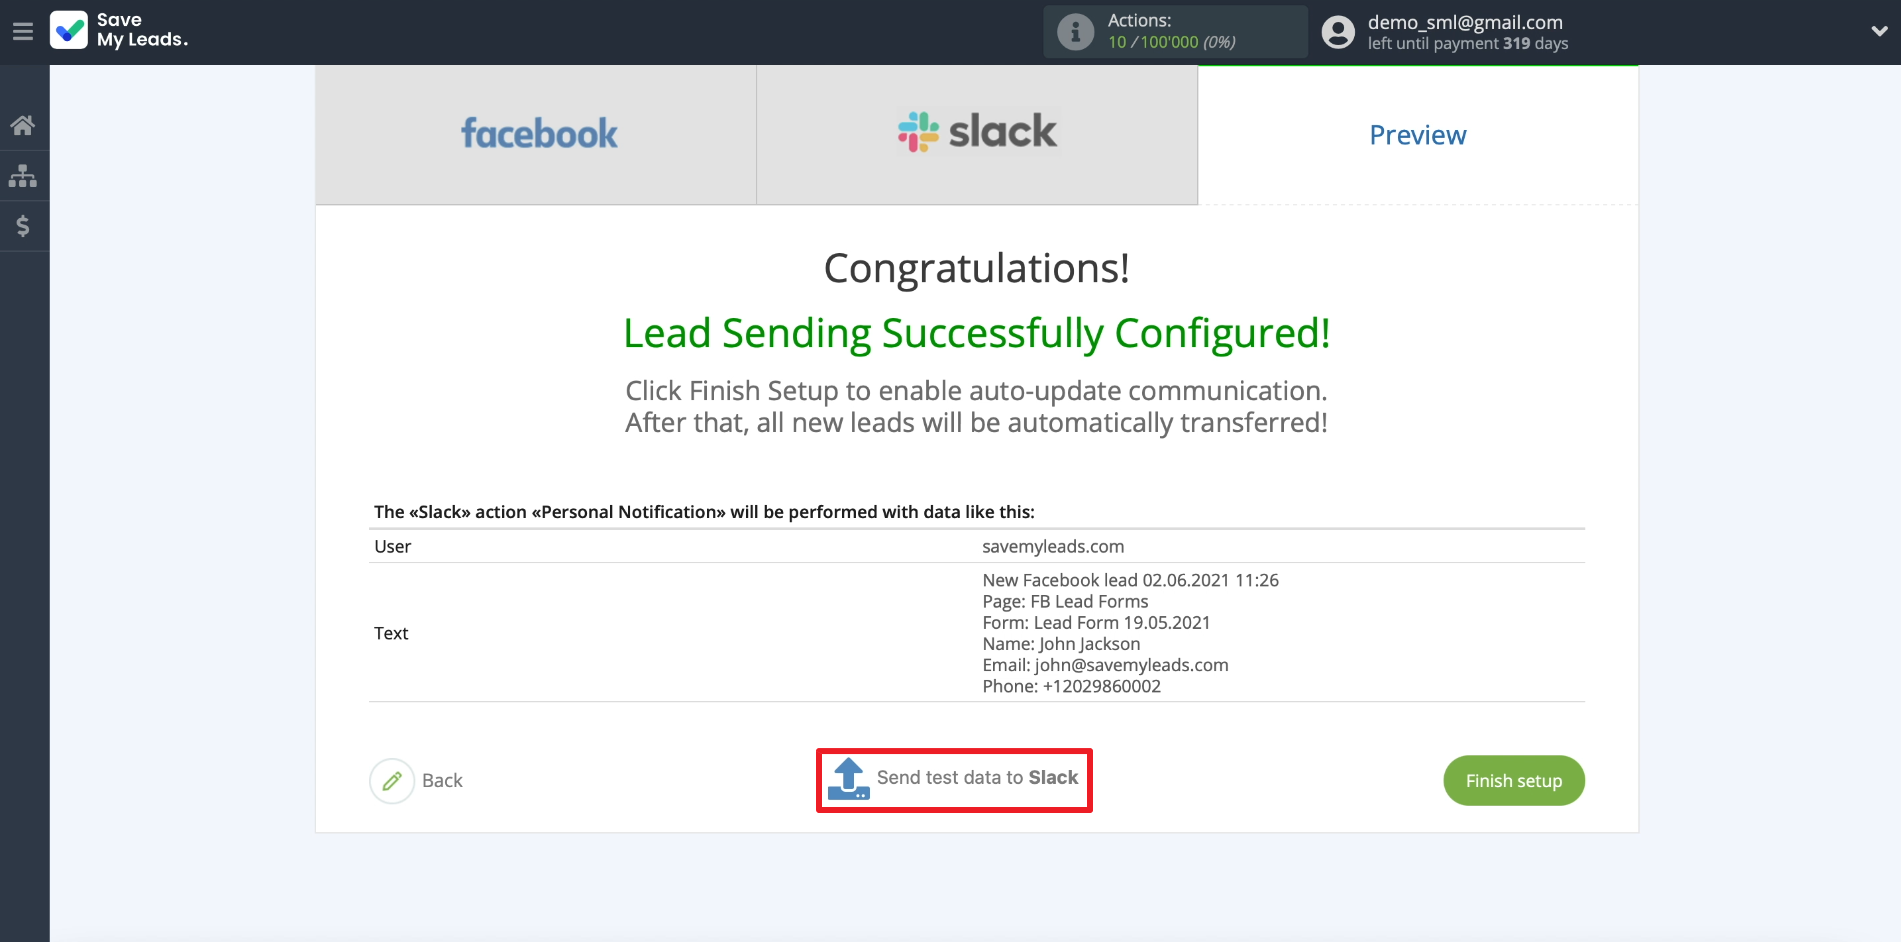
Now let's send this data to Slack as a test: click Send test data to Slack.
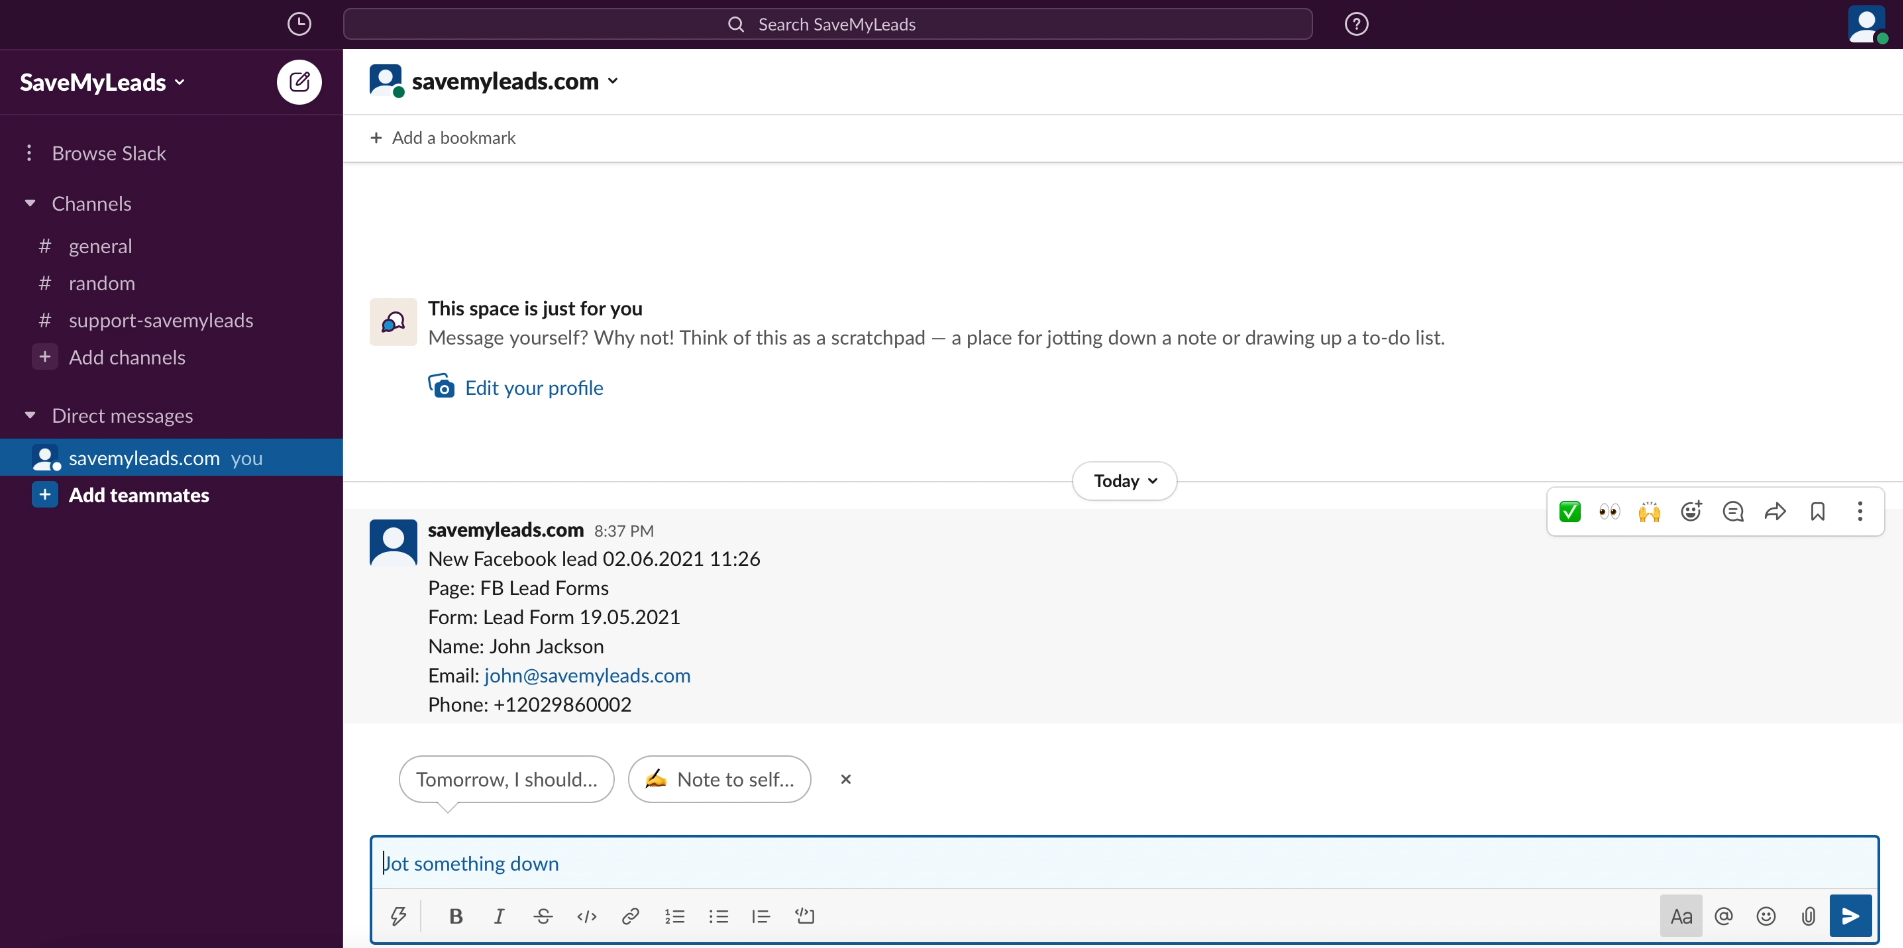
The sent lead should appear as a message in the messenger. If this did not happen, go back and check the previous configuration steps.
Finish the setup
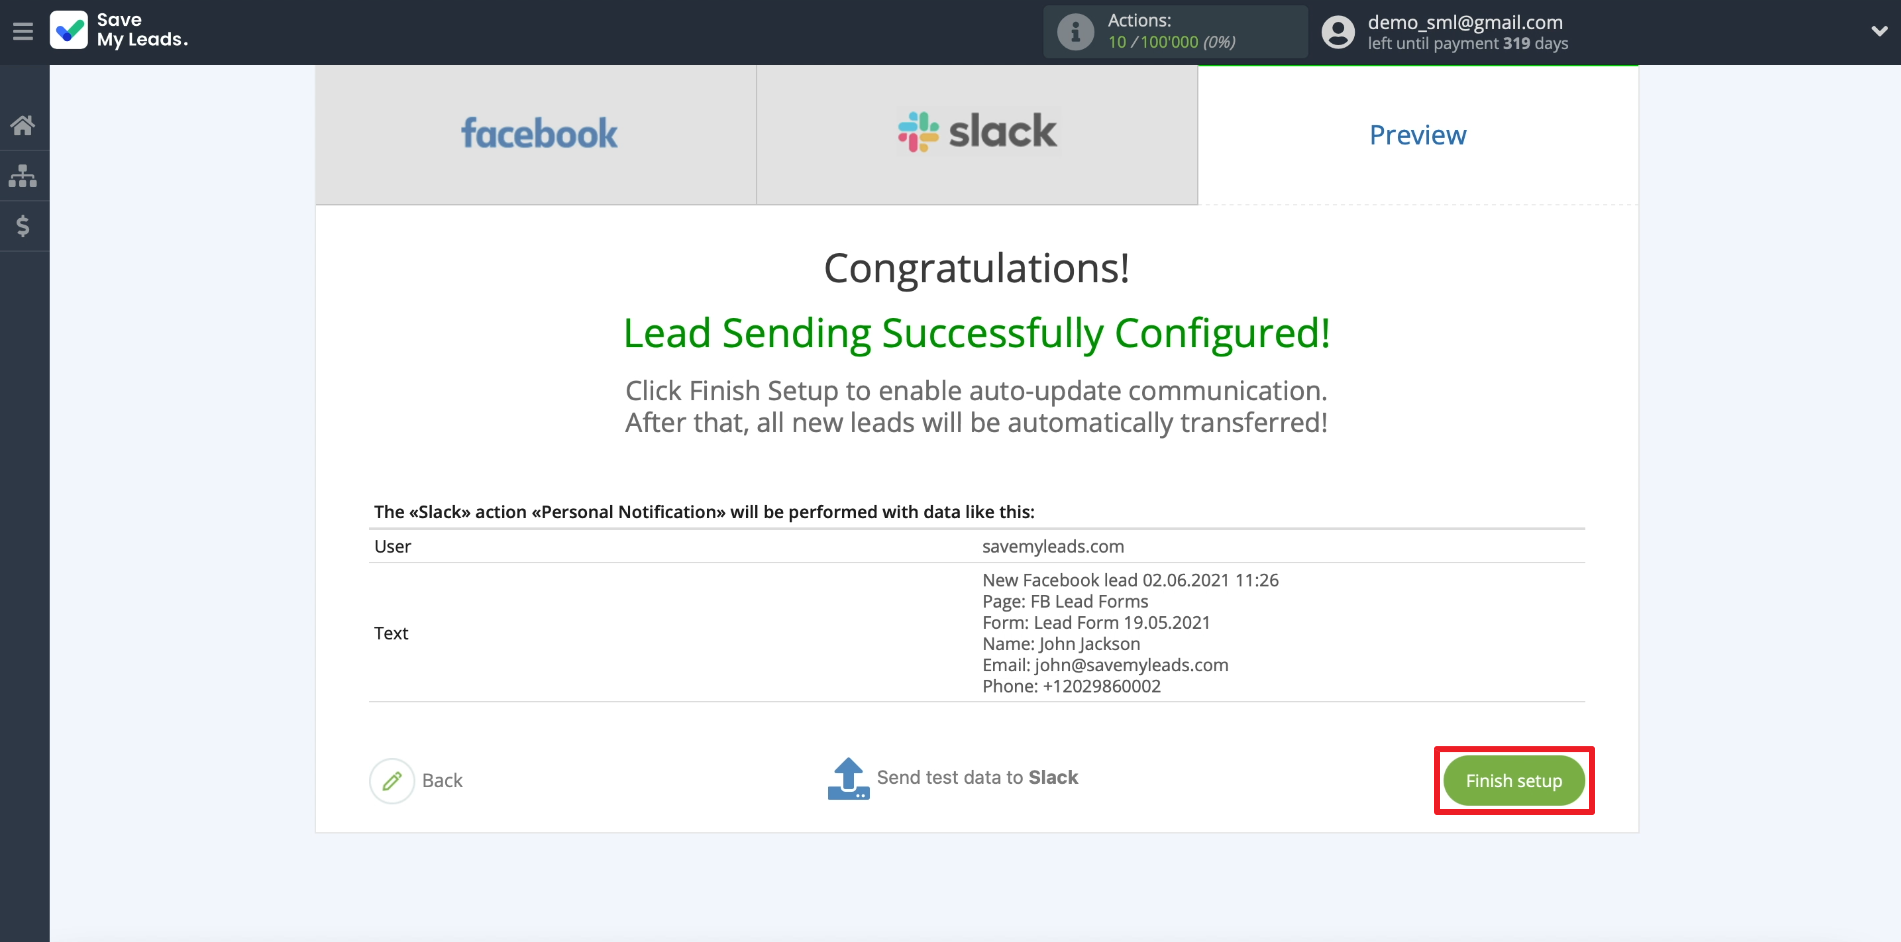
Click Finish setup to enable automatic data transfer.
If you need to change the name of the created connection, click on the gear and enter the required text in the appropriate field.
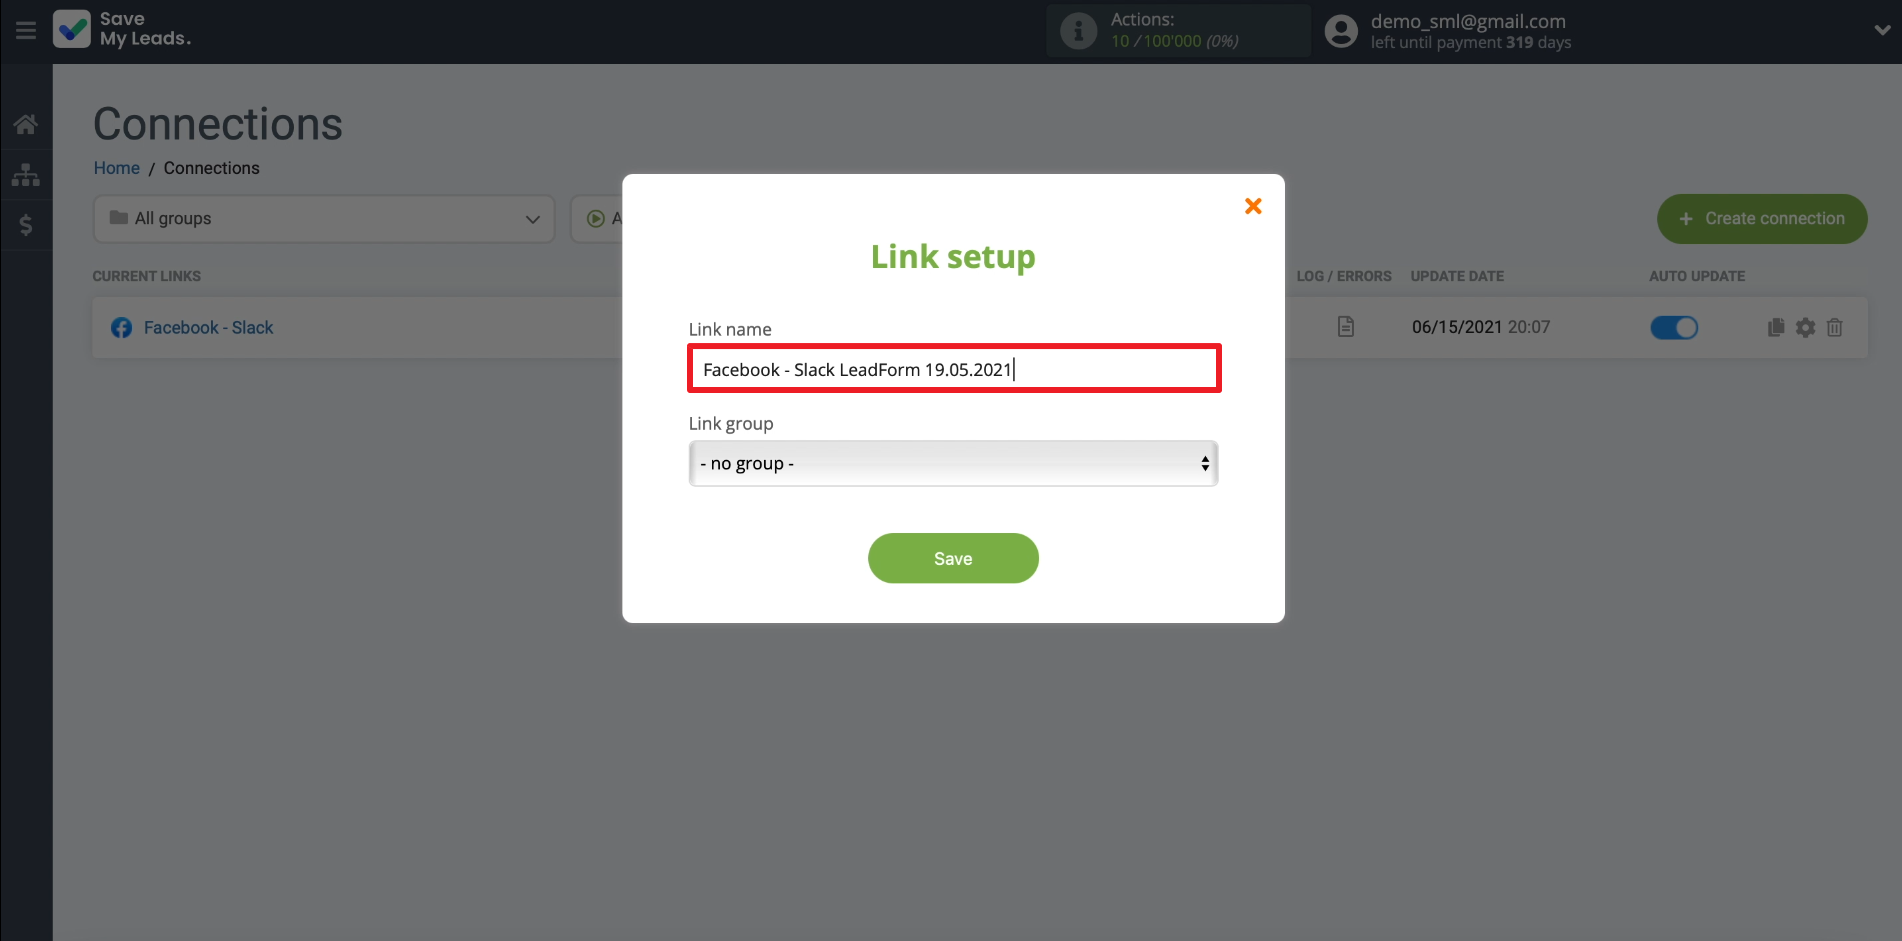
That's all. Now SaveMyLeads will automatically upload leads from Facebook to Slack according to the specified settings. On the SaveMyLeads website, you can edit, stop or delete the current connection, or create a new one at any time. Good luck with your work!
