In this guide, we will tell you how to use the SaveMyLeads service to set up automatic uploading of leads from an advertising account on Facebook to the eSputnik email newsletter service in 5 minutes without any programming knowledge.
Content:
1. How to set up Facebook and eSputnik integration
2. Connect Facebook Leads Ads
3. Connect eSputnik
4. Automate data update
5. Conclusion
Promotion of the company and products in social networks is very popular all over the world. Facebook, thanks to its multi-million audience, has become one of the most attractive social networks for online commerce. Business owners can create accounts here and set up targeting through the advertising office for more effective trade in goods or services. In addition, the capabilities of the advertising office allow a business to generate new leads, thereby expanding its client base.
You need to constantly work with new and existing leads so that they do not lose interest in your products or services and do not go to competitors. There are many ways to interact with customers, one of them is email newsletter. There are a large number of services providing such a service. With their help, you can effectively work with leads, constantly stir up interest in your company and products. One of these services is eSputnik.
Its functionality allows you to set up automatic omnichannel mailings not only to mail, but also to Viber and SMS.
It implements an advanced system for segmenting the customer base, including by events. Thanks to this, you can create separate groups for mailings on almost any perfect potential customer action or on certain parameters. In addition to working with clients, the capabilities of the service allow you to monitor the online receipt and reading of sent letters, analyze the effectiveness of advertising email campaigns. To set up automatic uploading of leads from Facebook to the eSputnik email marketing service, you need to integrate them via API.
How to set up Facebook and eSputnik integration
To combine the work of an advertising account on Facebook and the eSputnik email newsletter service, you will need programming knowledge or the help of an IT specialist. If you do not understand programming, and the company does not have such a specialist, you can use the services of hired programmers, but it can take a lot of time to find a qualified specialist who can properly set up the integration. As a result, you can lose some of the leads that were left unattended.
To prevent this from happening, use the SaveMyLeads online connector. The service has an intuitive interface, thanks to this, you independently, even without programming skills, will be able to integrate your Facebook advertising account and the eSputnik email newsletter service. The whole process will take you no more than 5 minutes.
Connect Facebook Leads Ads
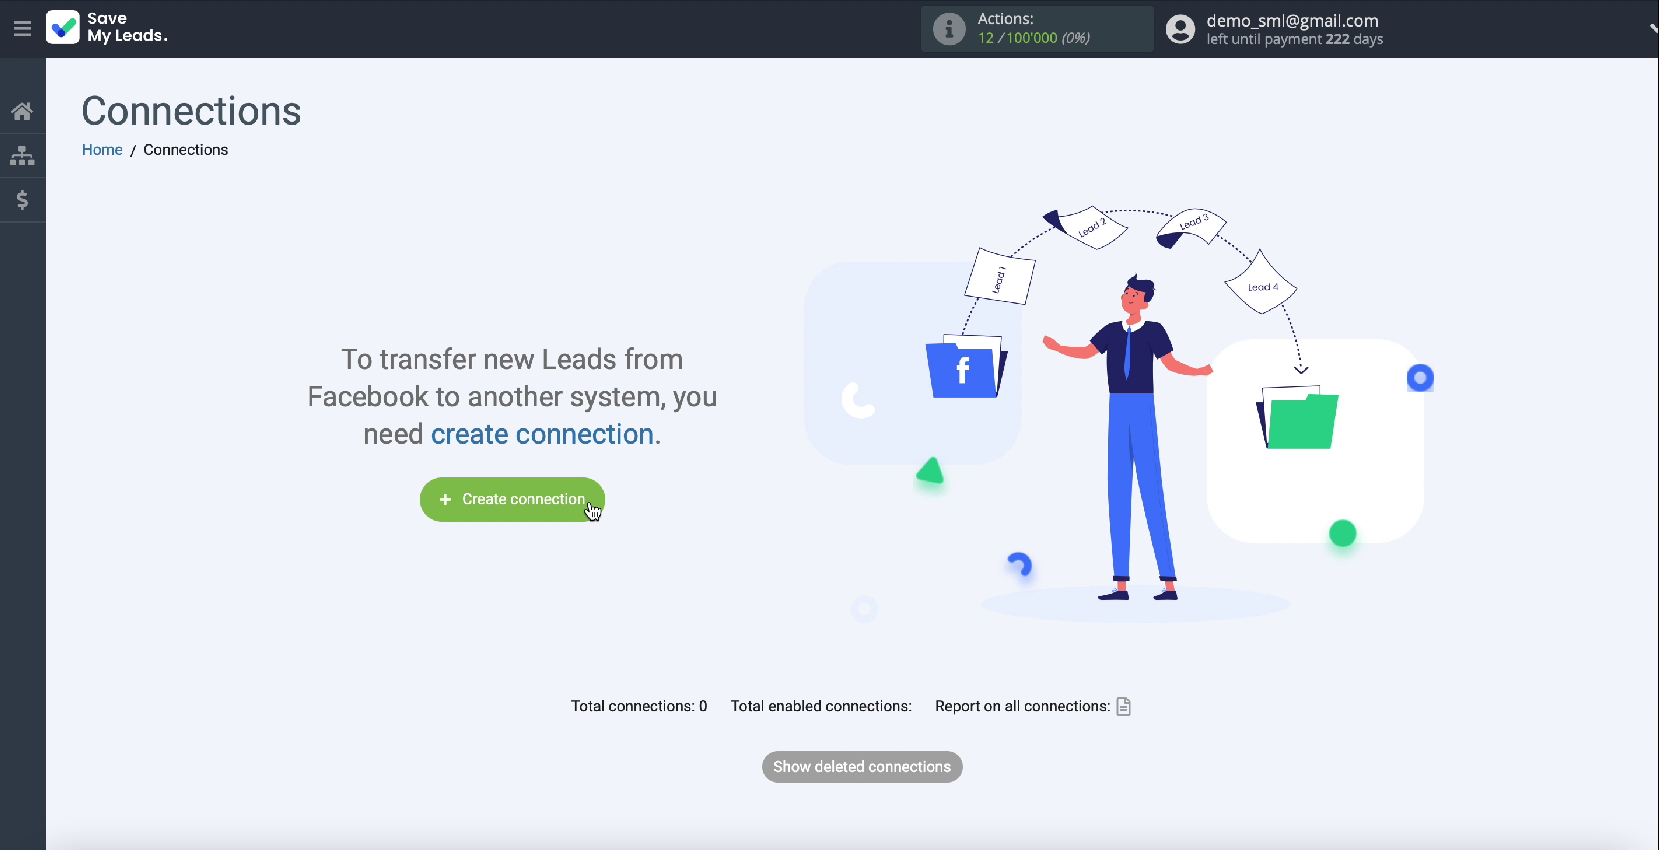
First, create a new connection.
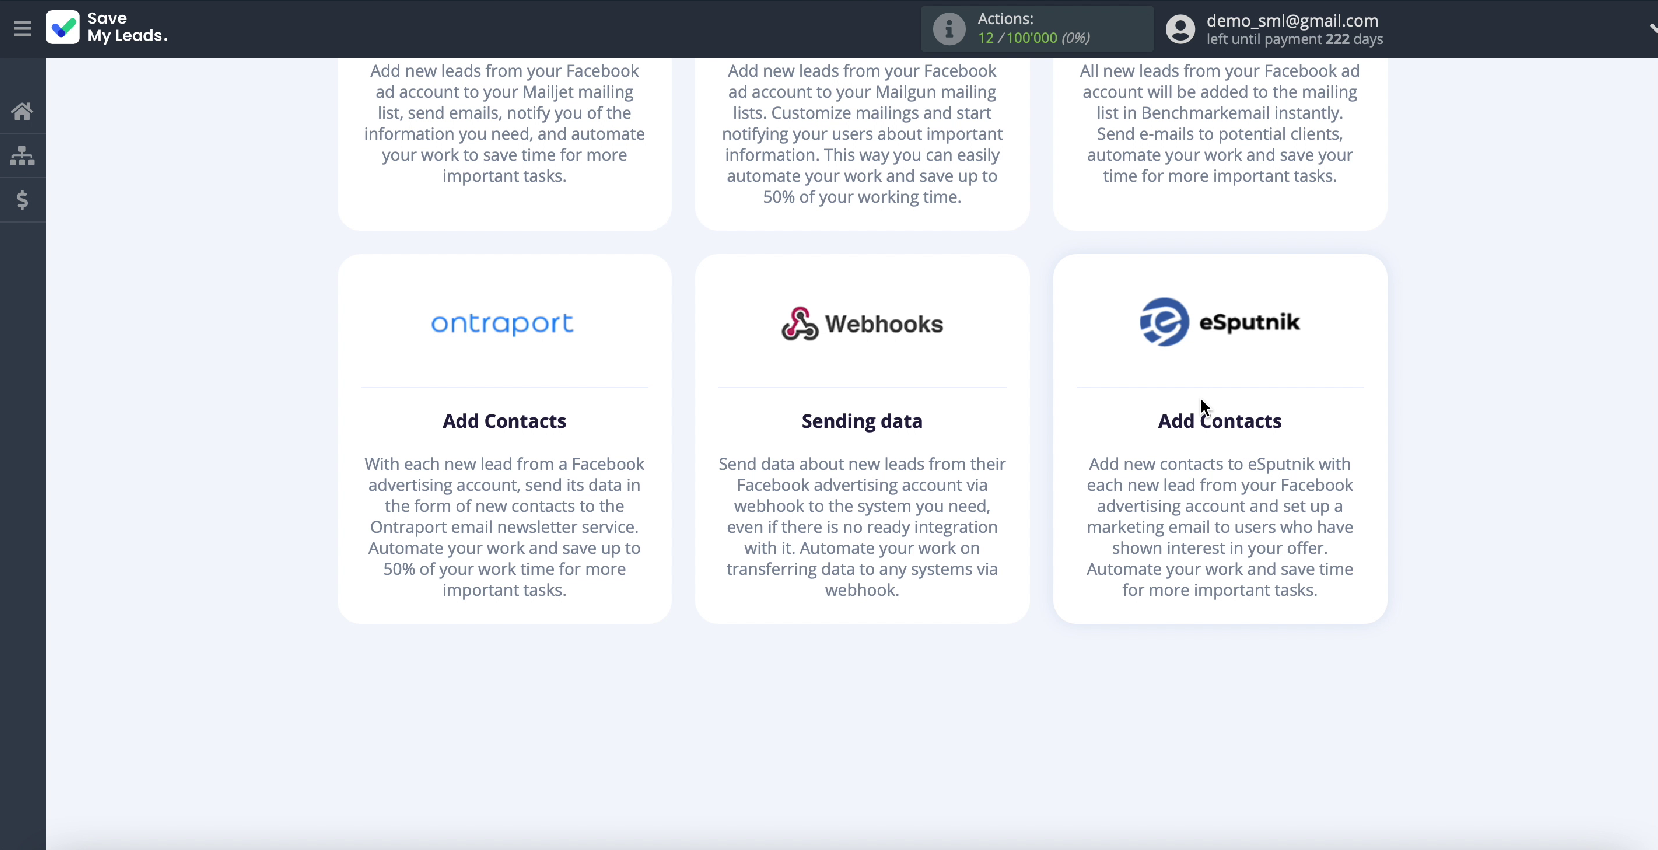
Among the ready-made templates for systems to which you can transfer data, choose eSputnik
Connect your Facebook advertising account to the SaveMyLeads service
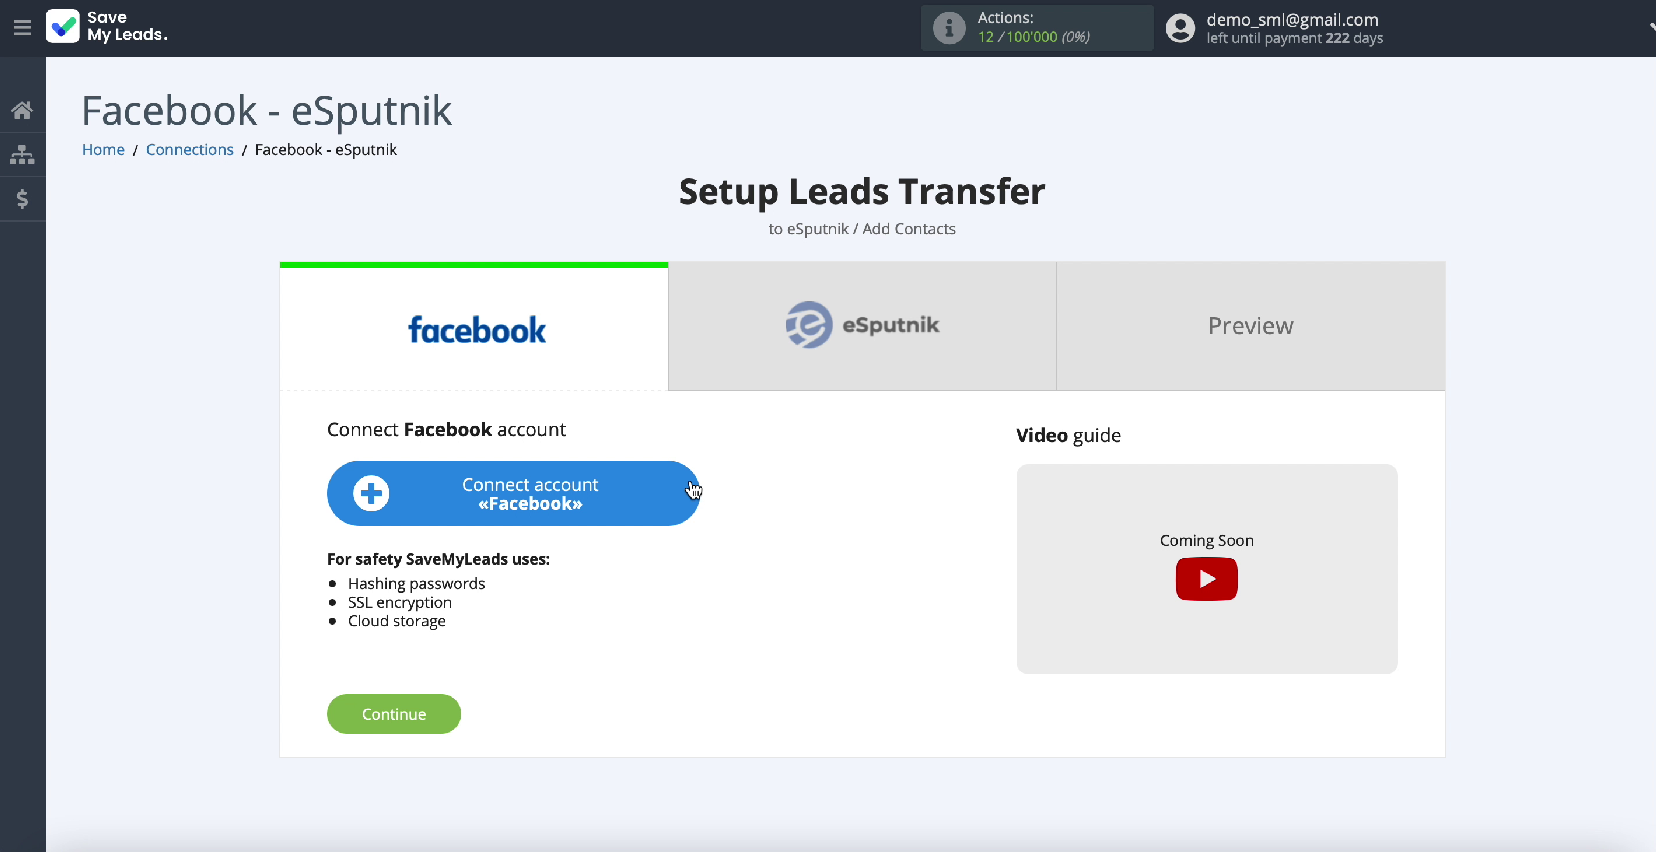
In the new window, enter your username and password for your Facebook advertising account.
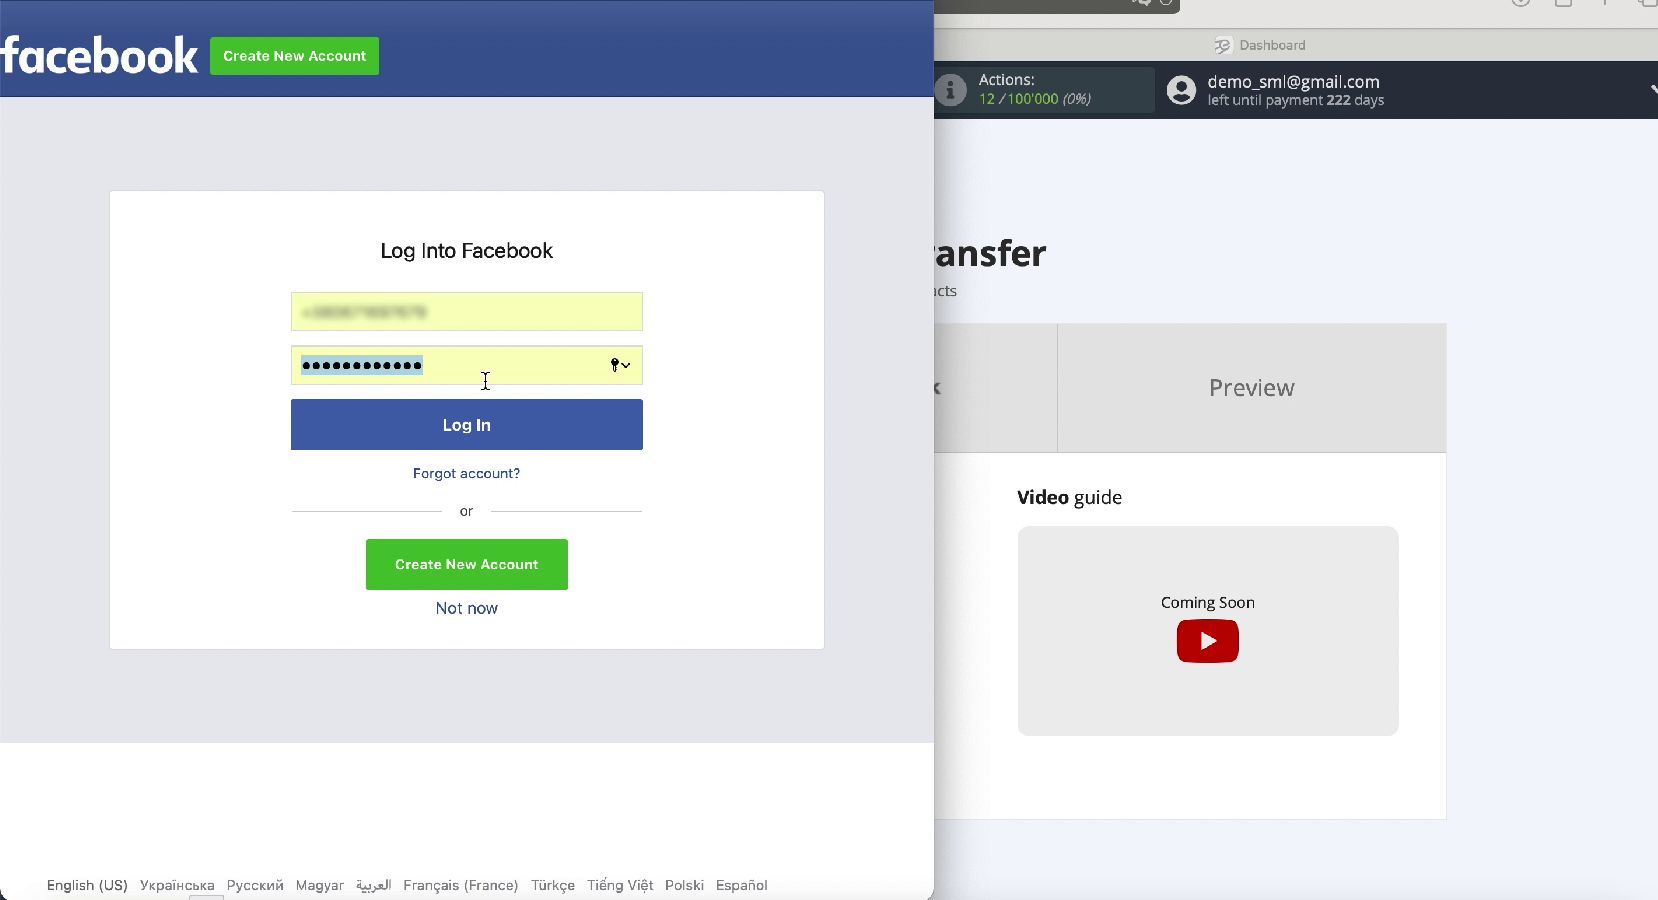
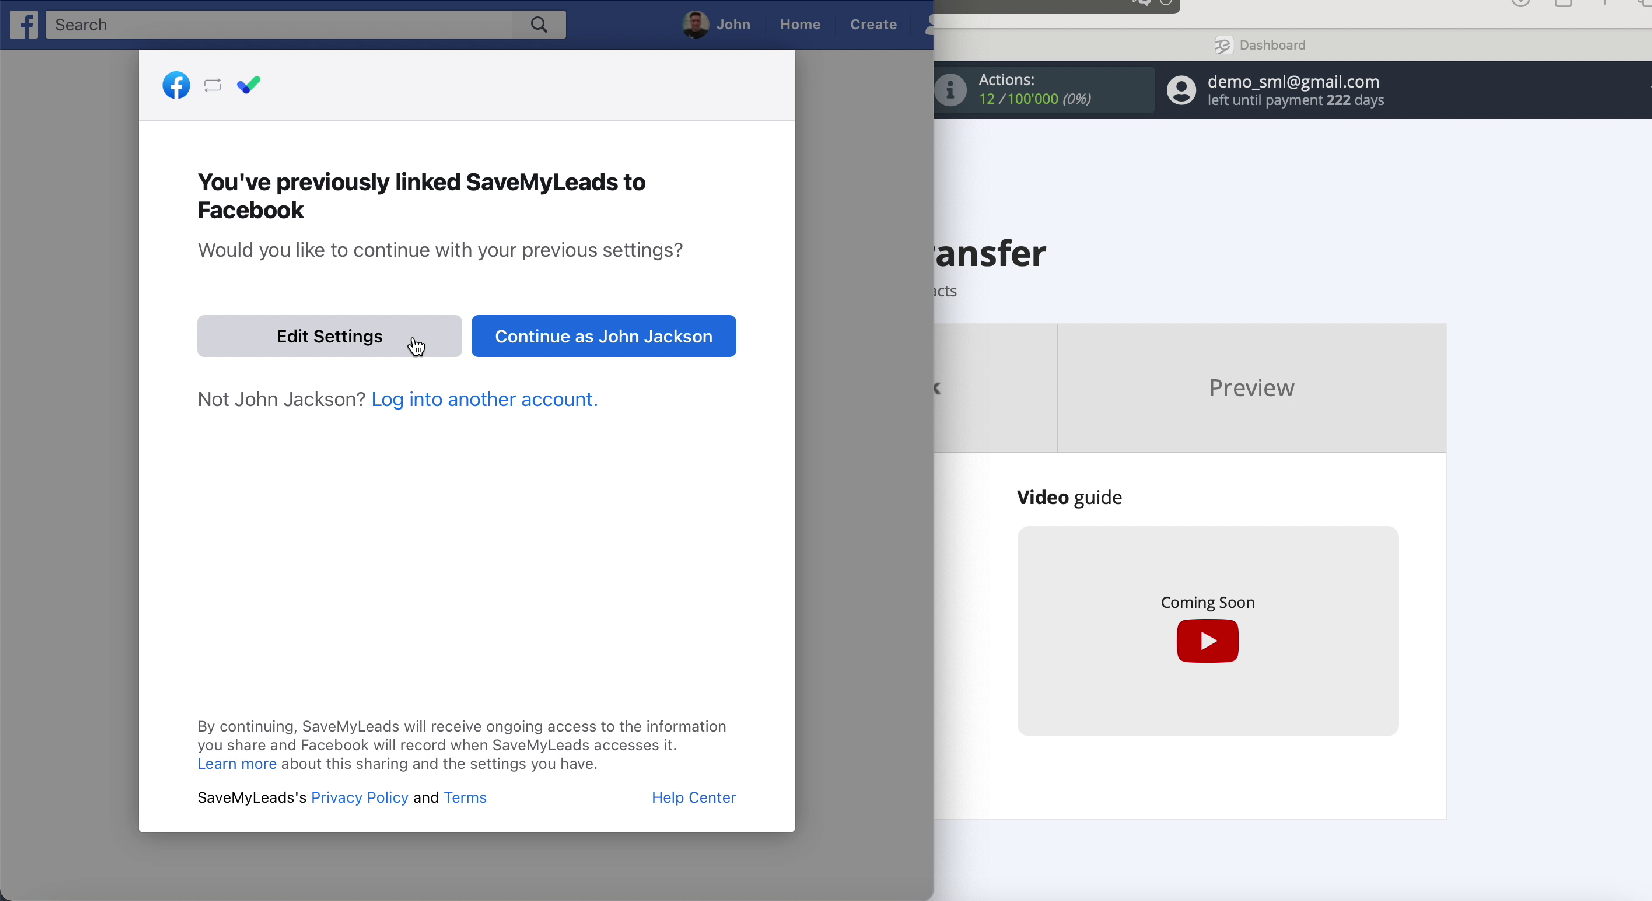
Click Edit Settings to continue setting
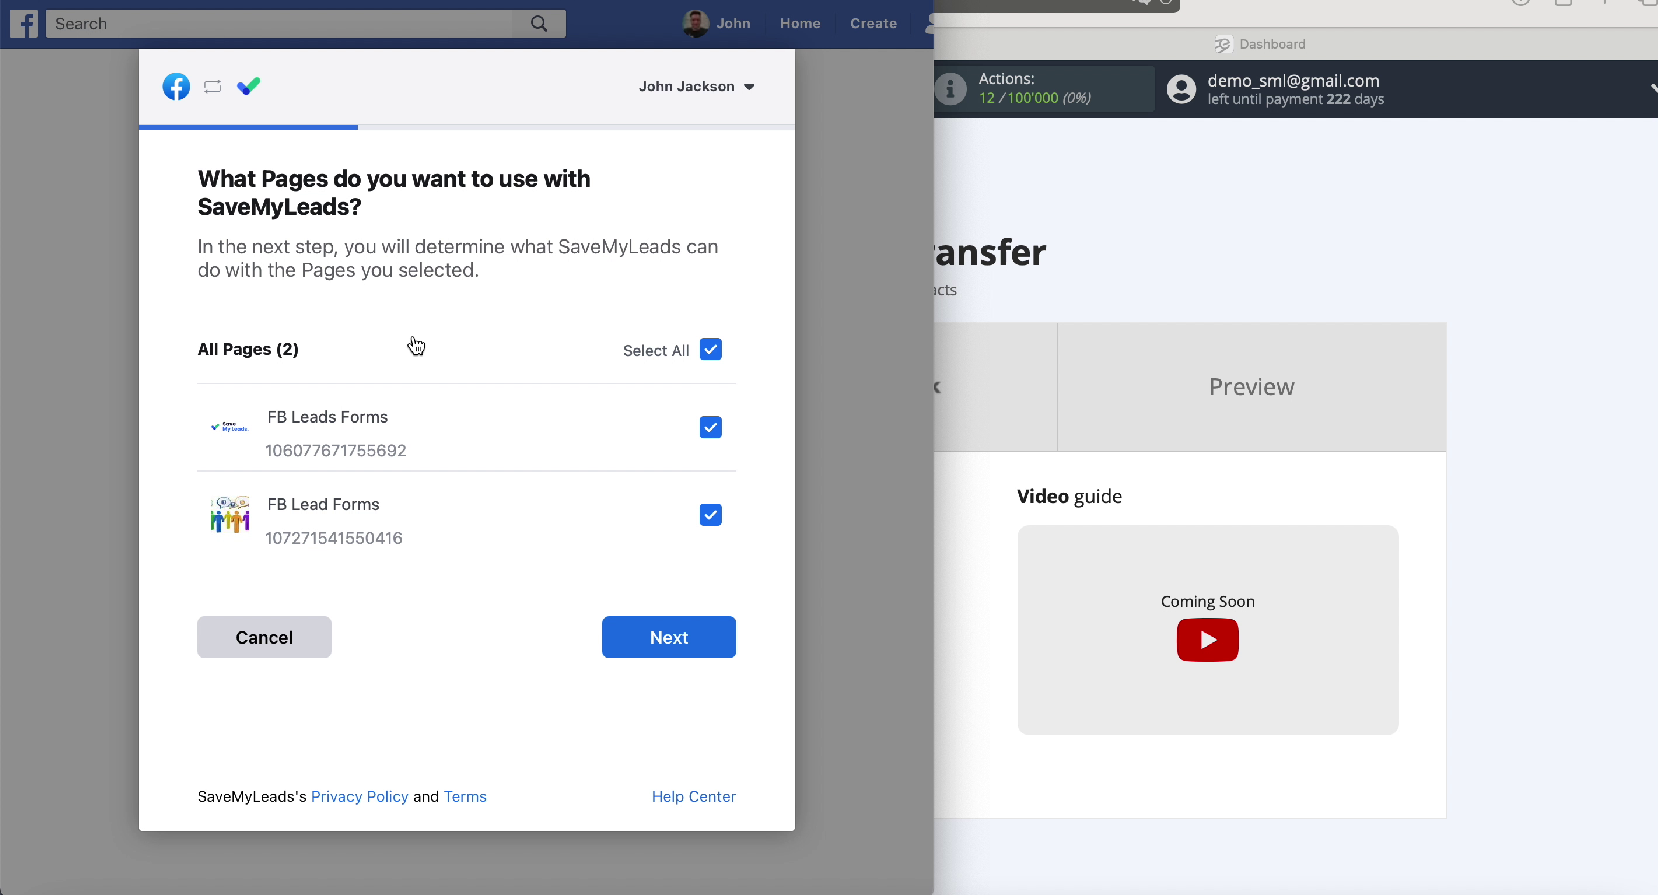
In a new window, you will see all the advertising pages available to you. Check these boxes so you can work with them in the future.
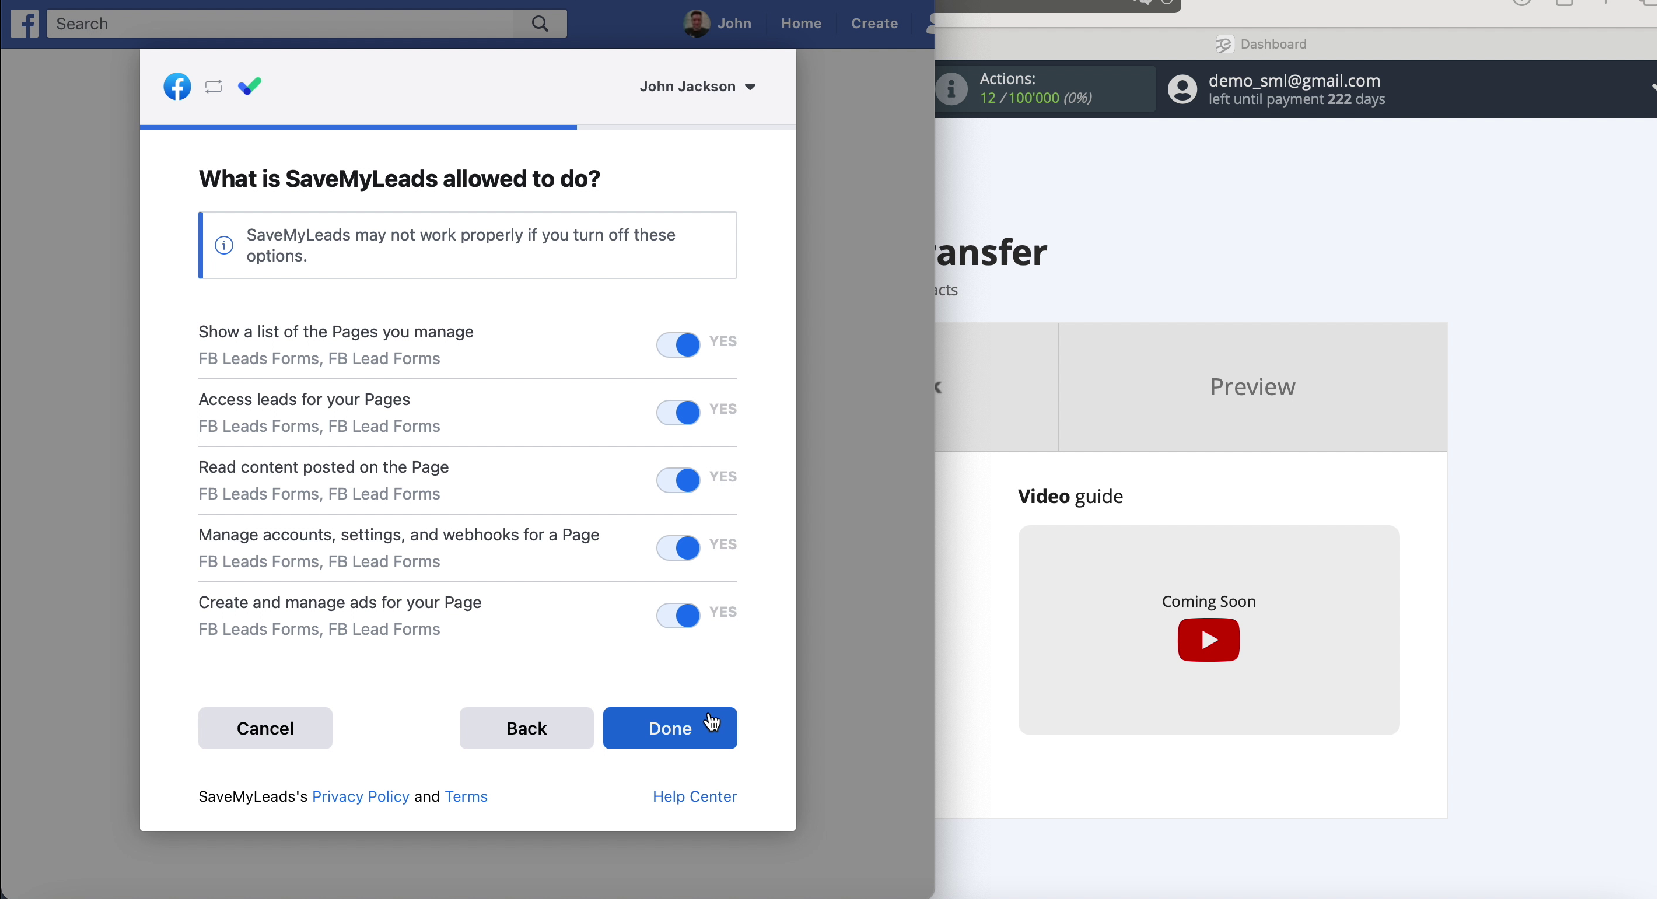
Leave all access checkboxes enabled
Yours should appear in the list of connected accounts, select it
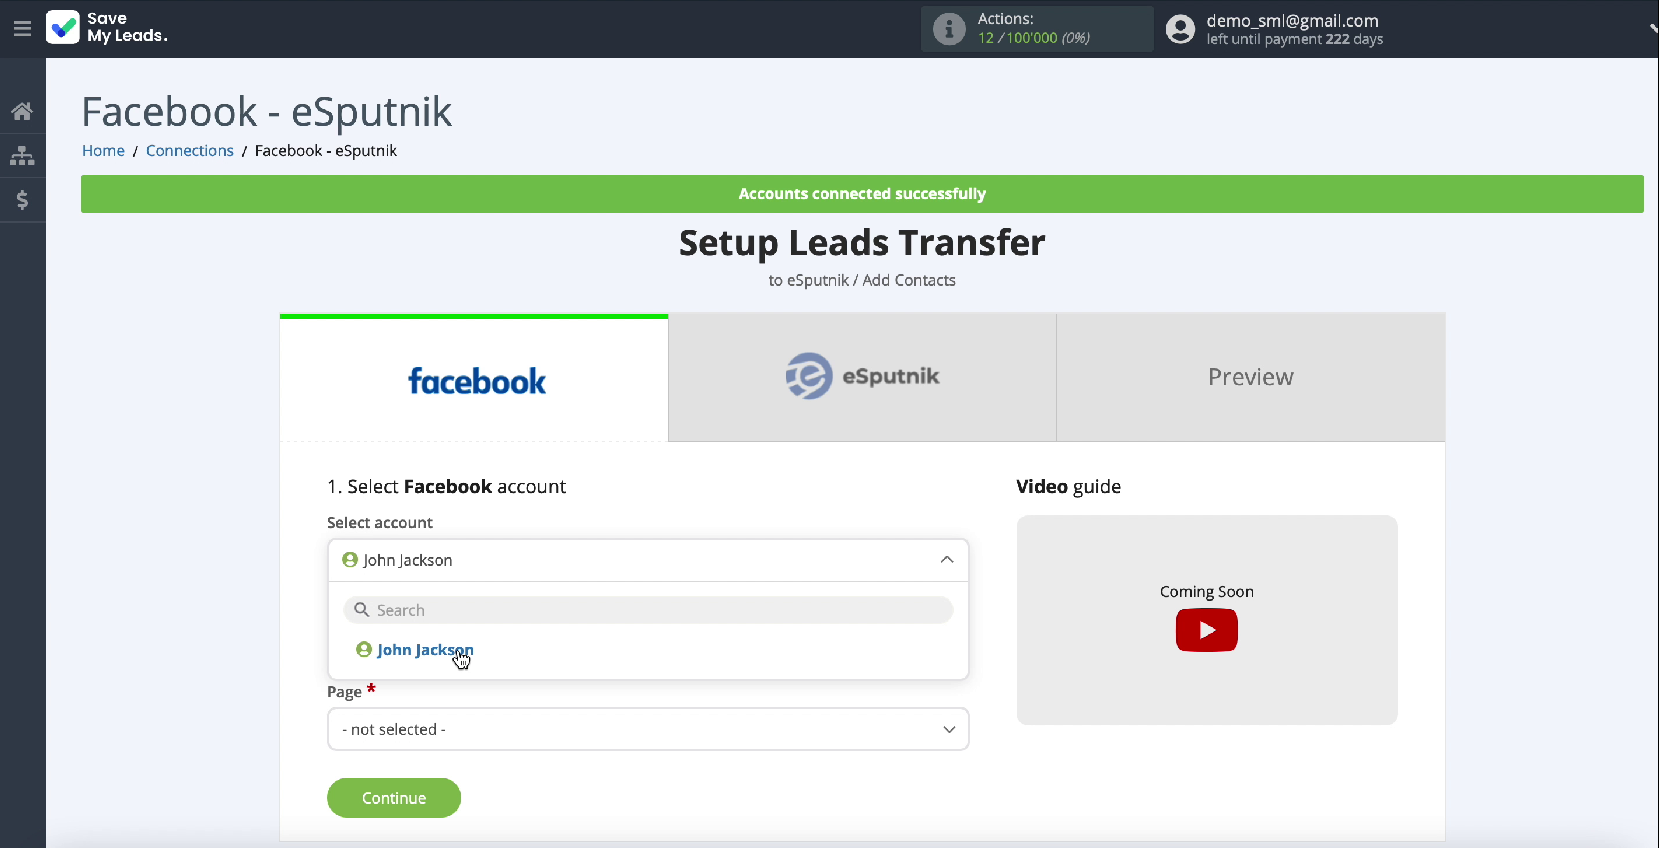
Select the ad page where the leads will be sent
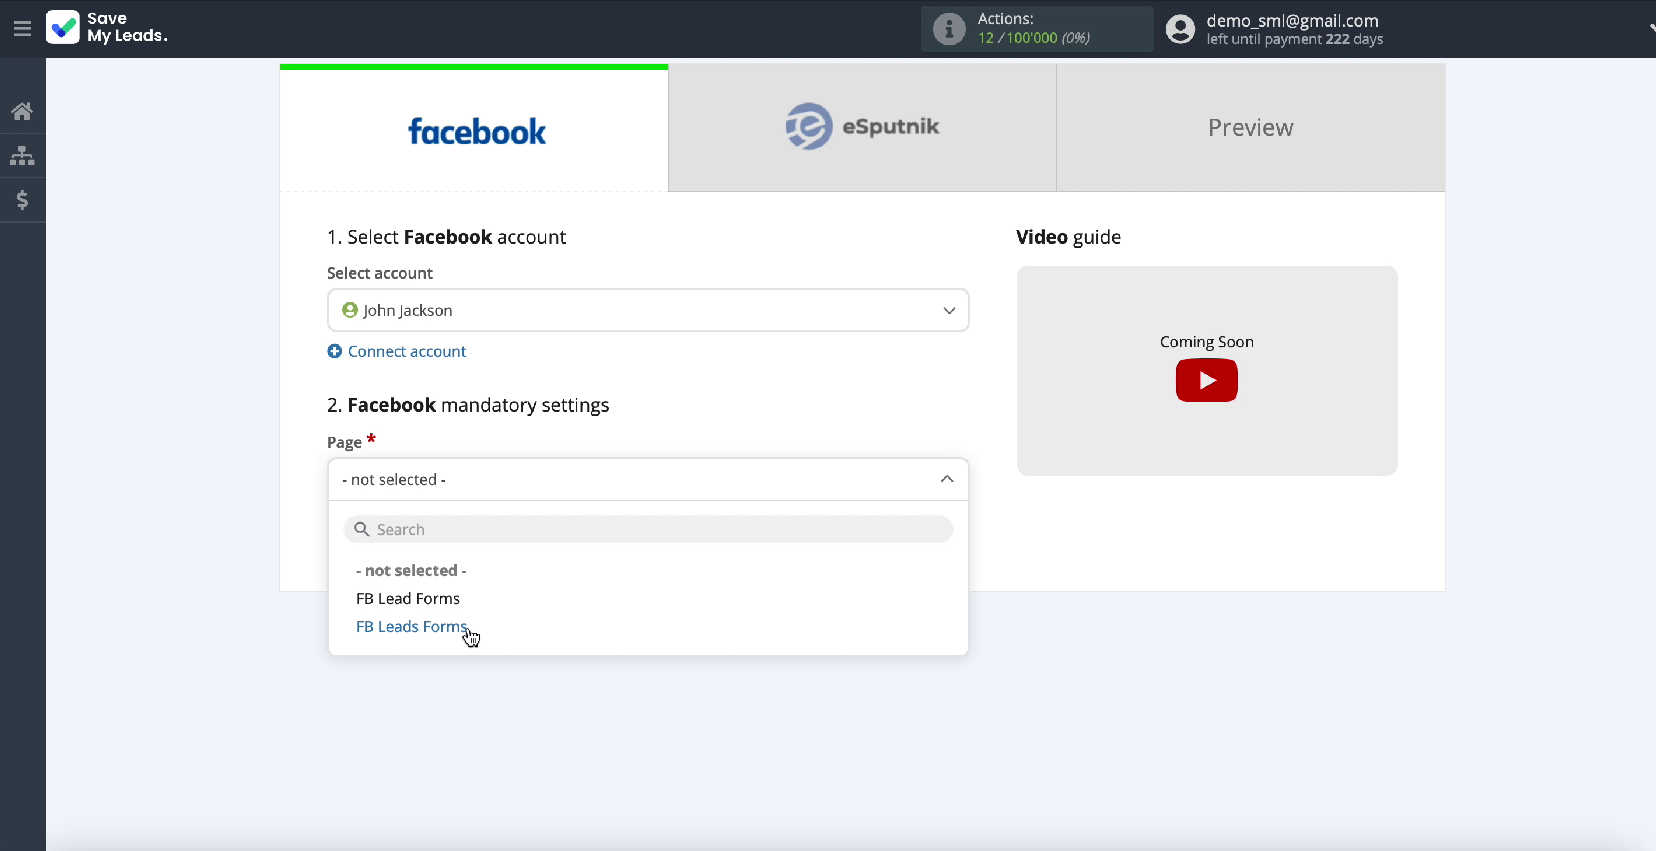
In the same window, specify the forms by which the data will be downloaded. If you have several forms, then for each of them you will need to create a separate connection
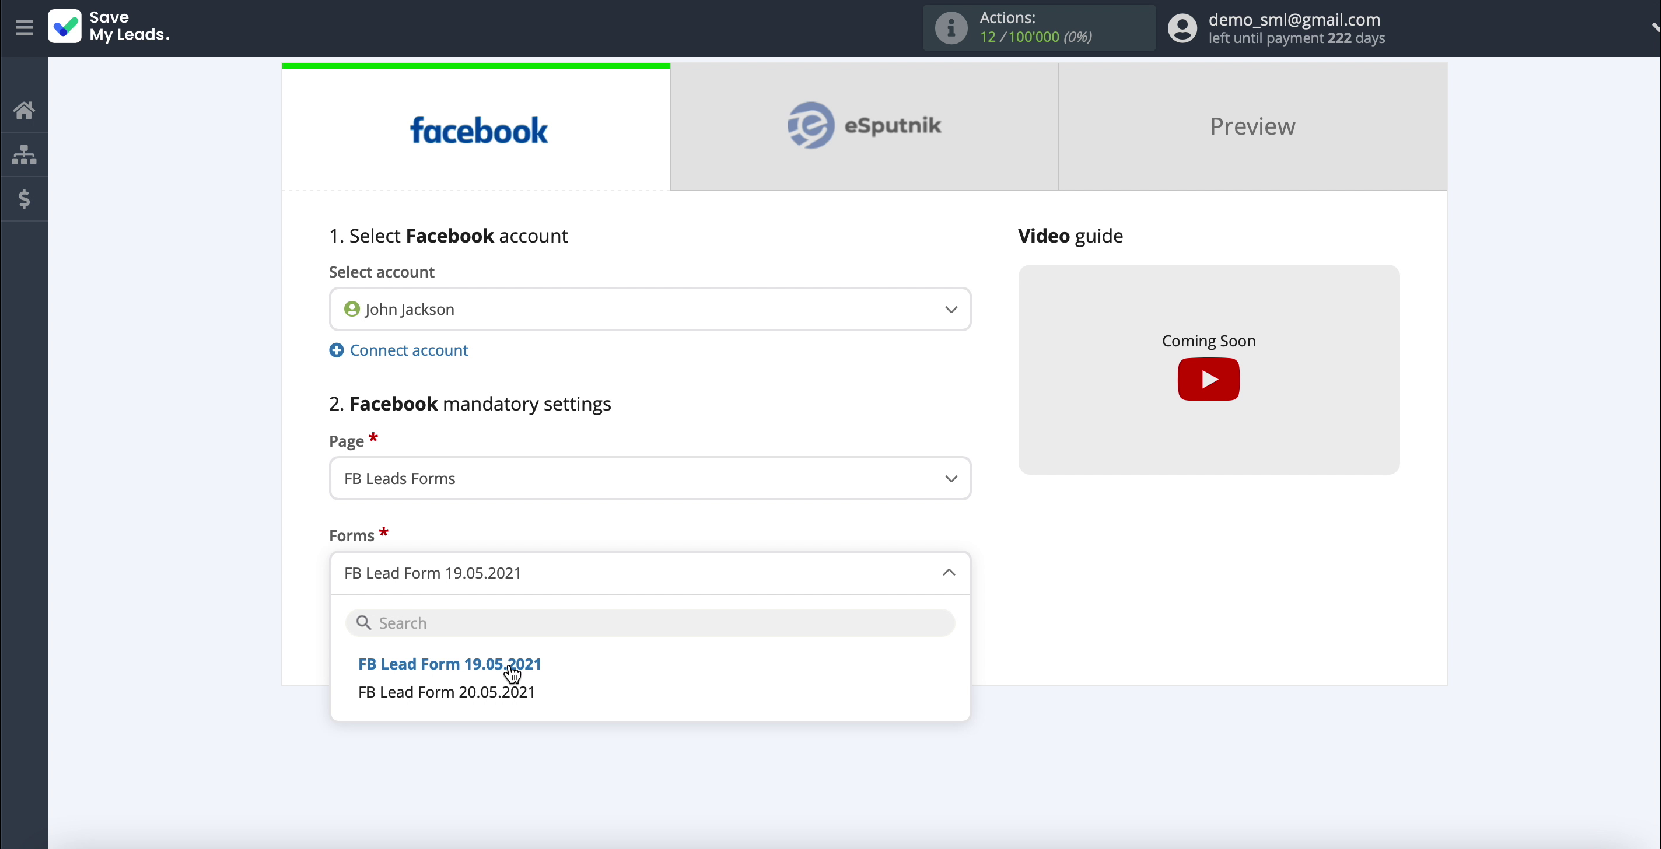
At this stage, you have completed the setup of connecting your Facebook advertising account to the SaveMyLeads service.
Connect eSputnik
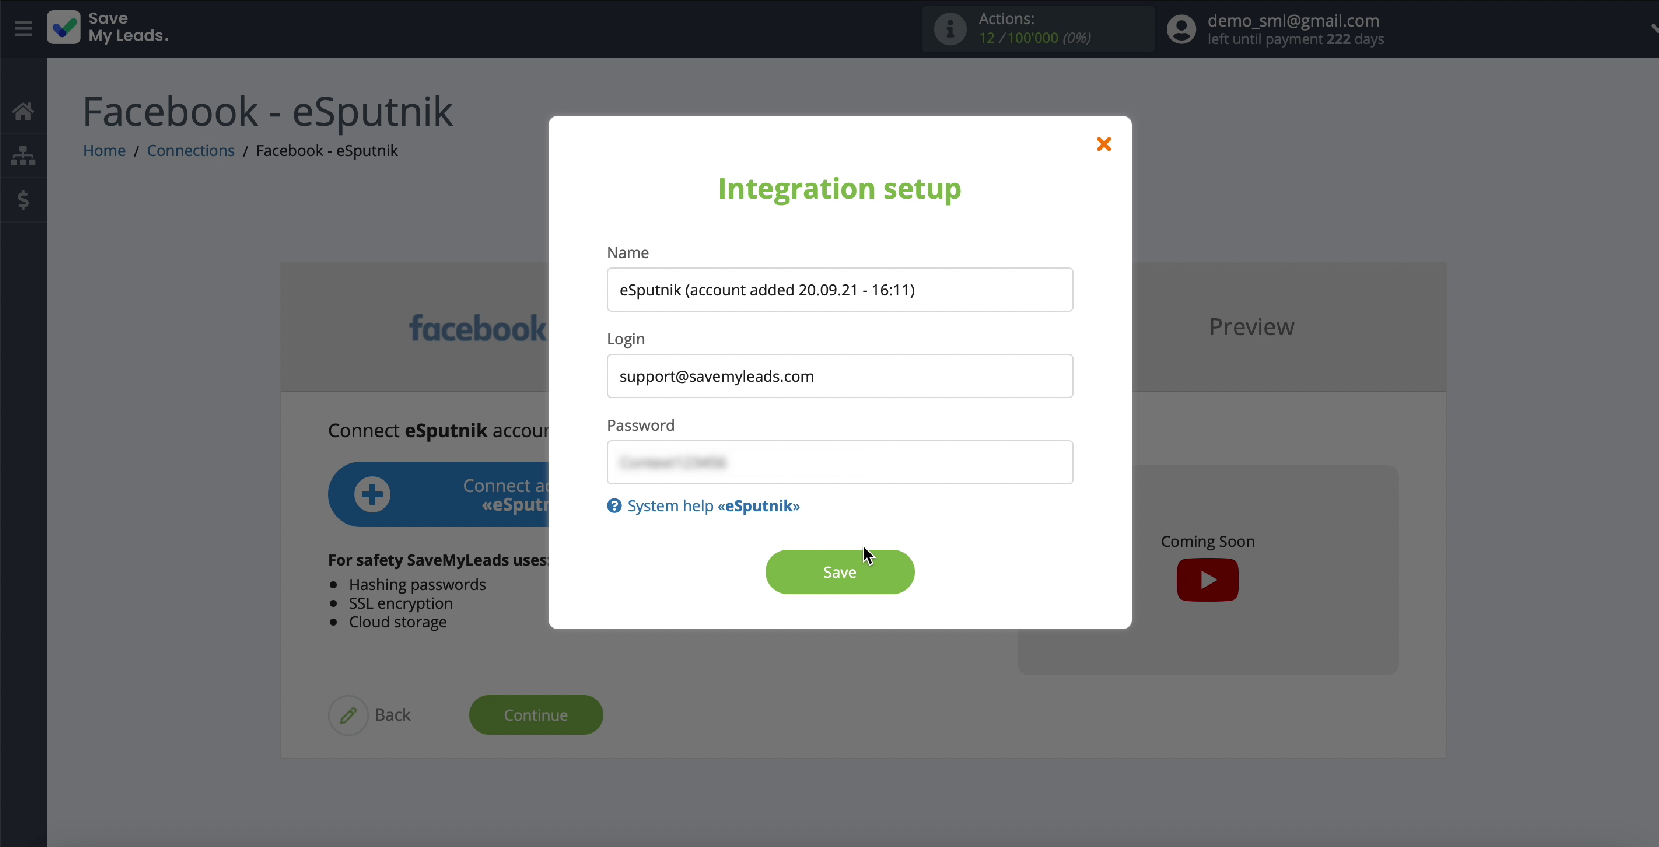
Connect your eSputnik account to the SaveMyLeads system
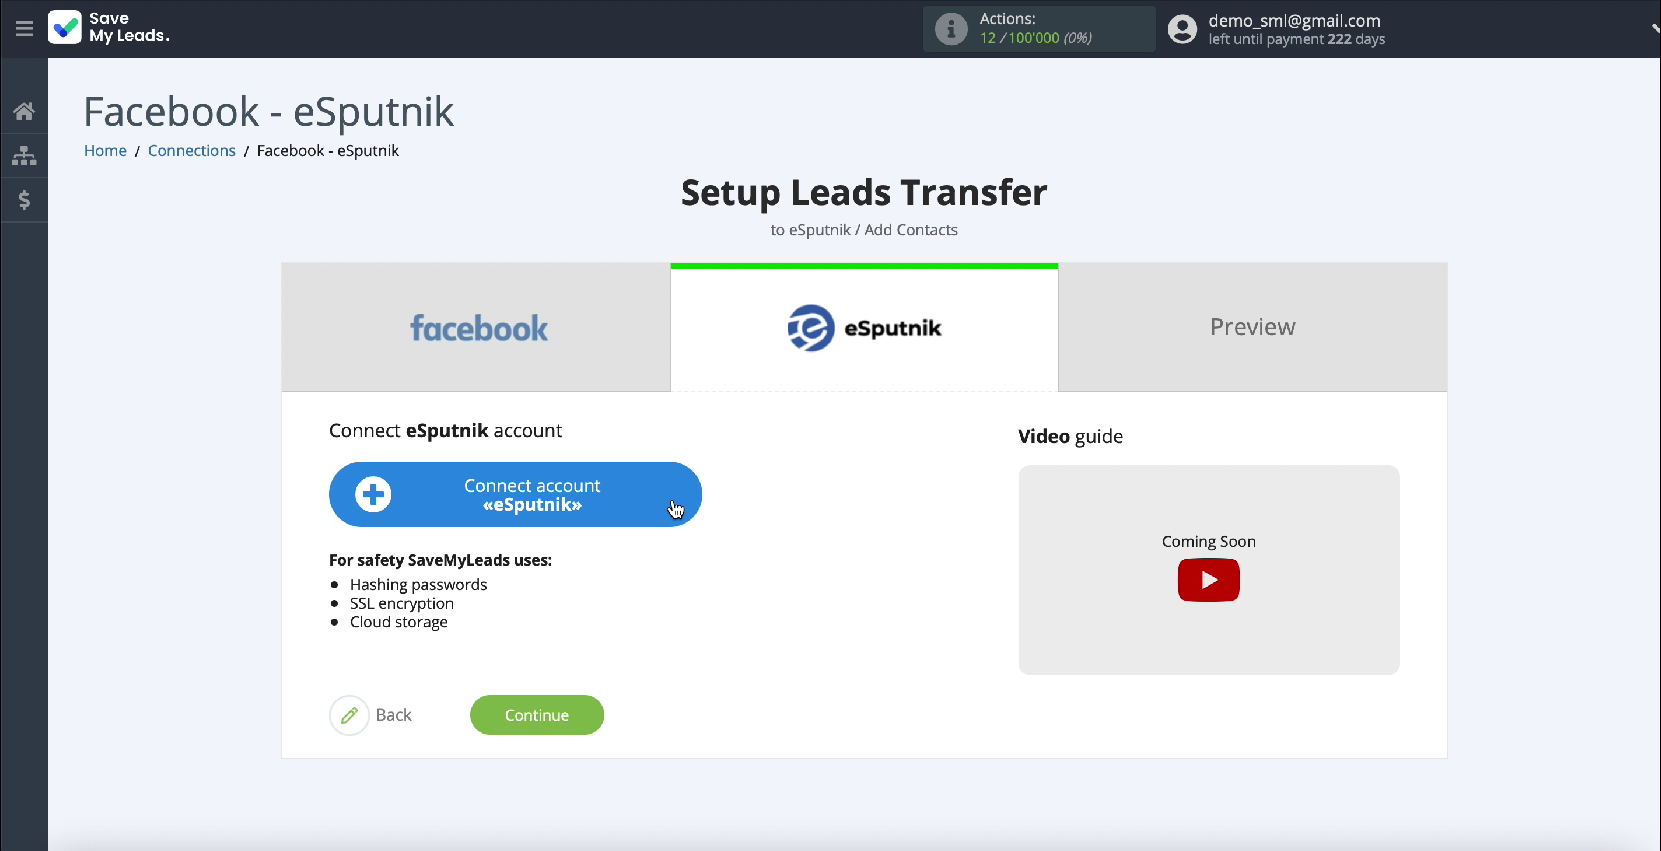
In the window that appears, enter your eSputnik username and password. After filling in all the fields, click Save.
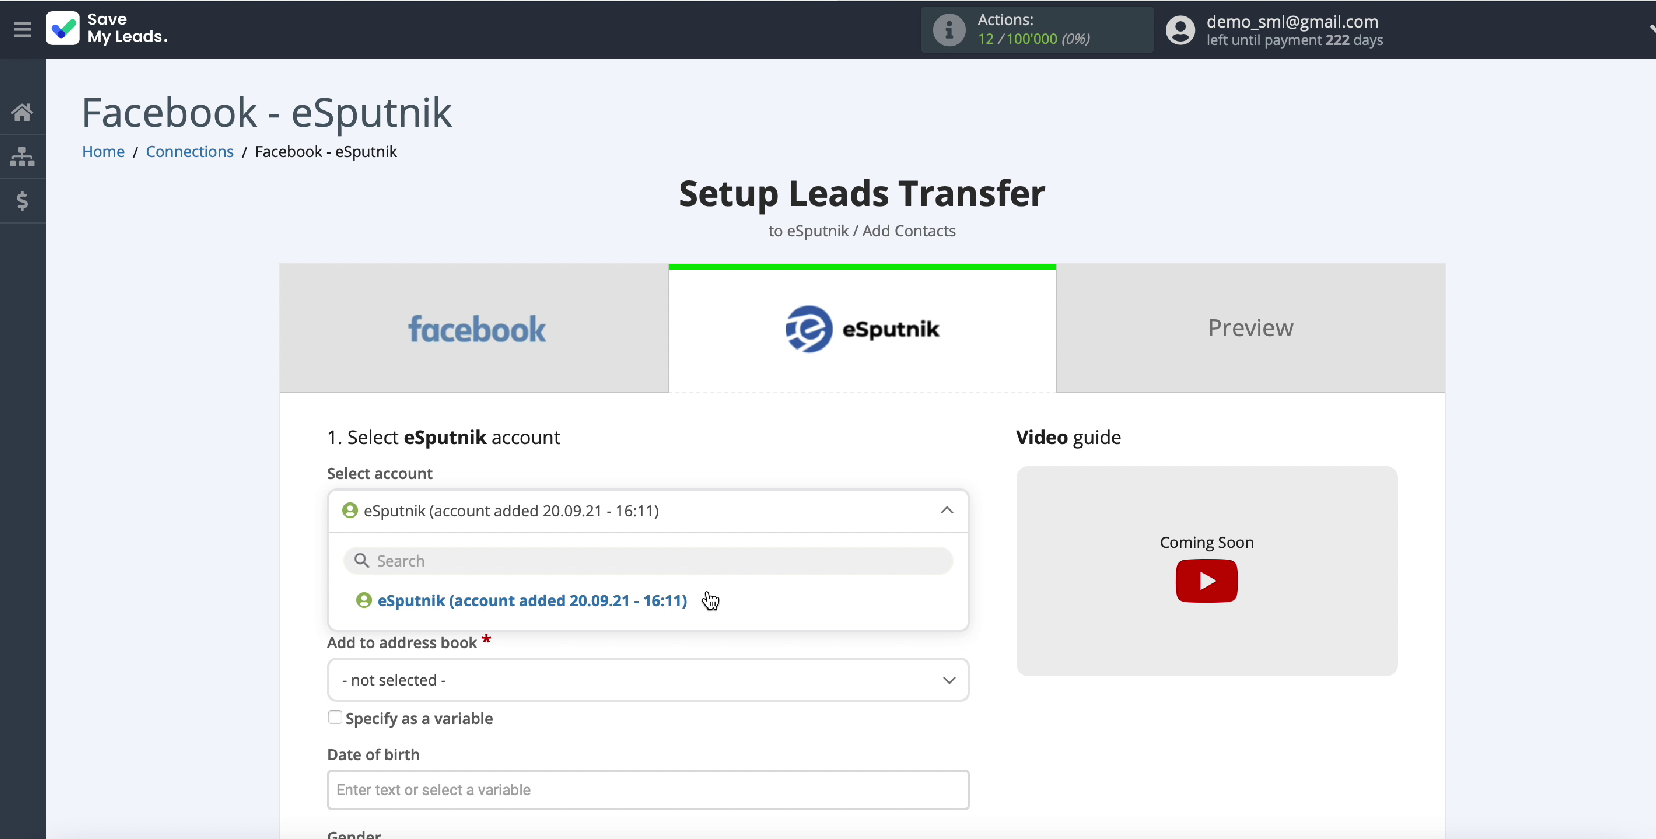
Next, in the list of connected accounts, select your
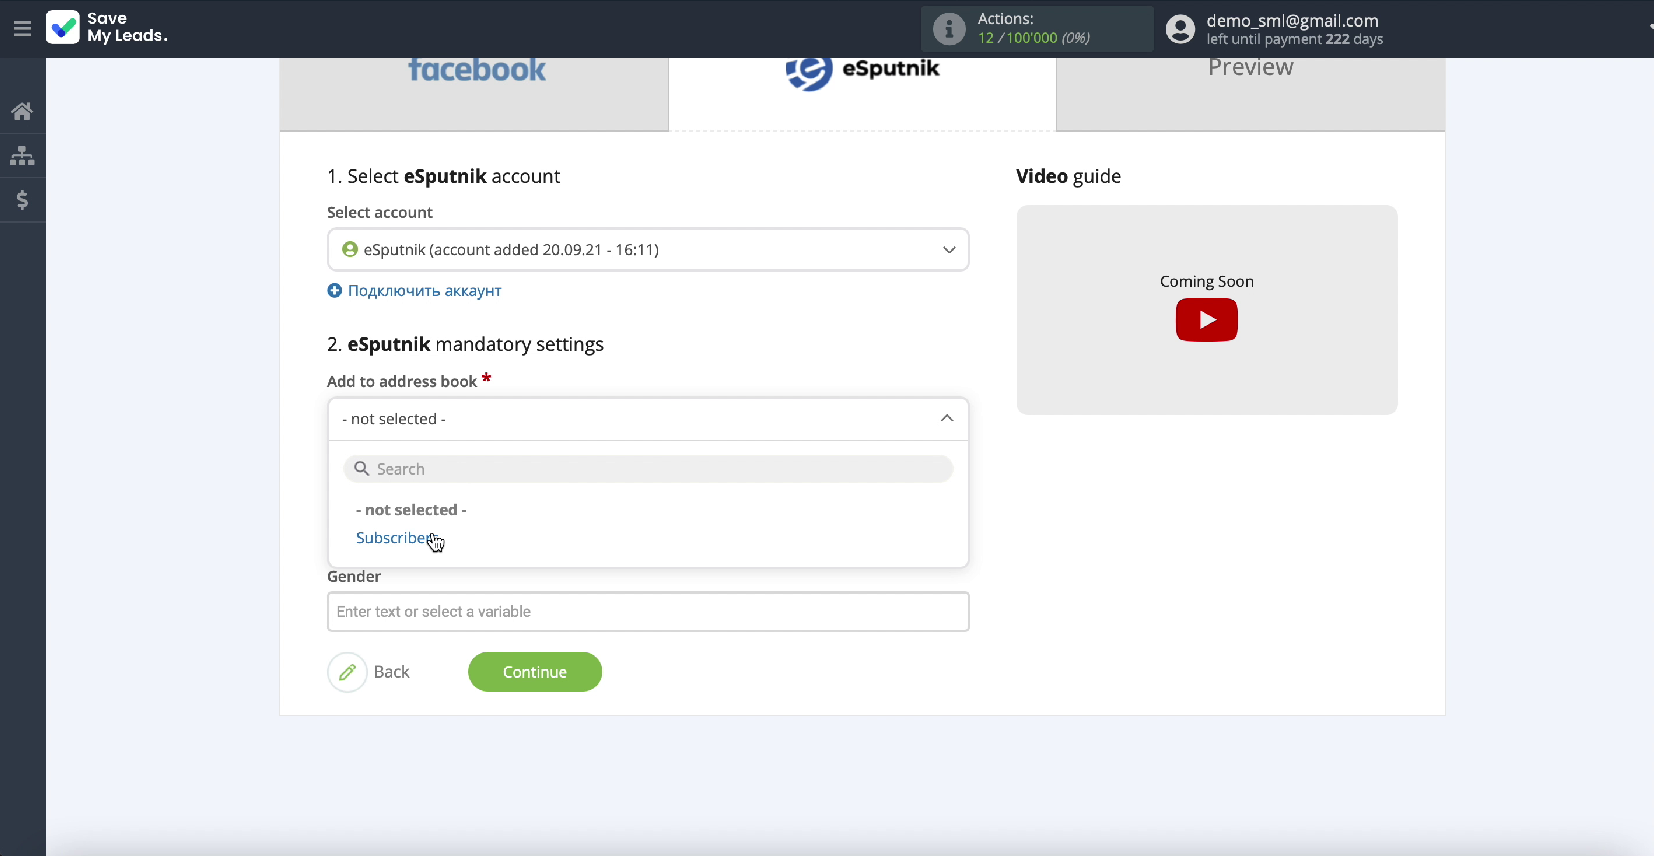
Specify the book to which new contacts will be added.
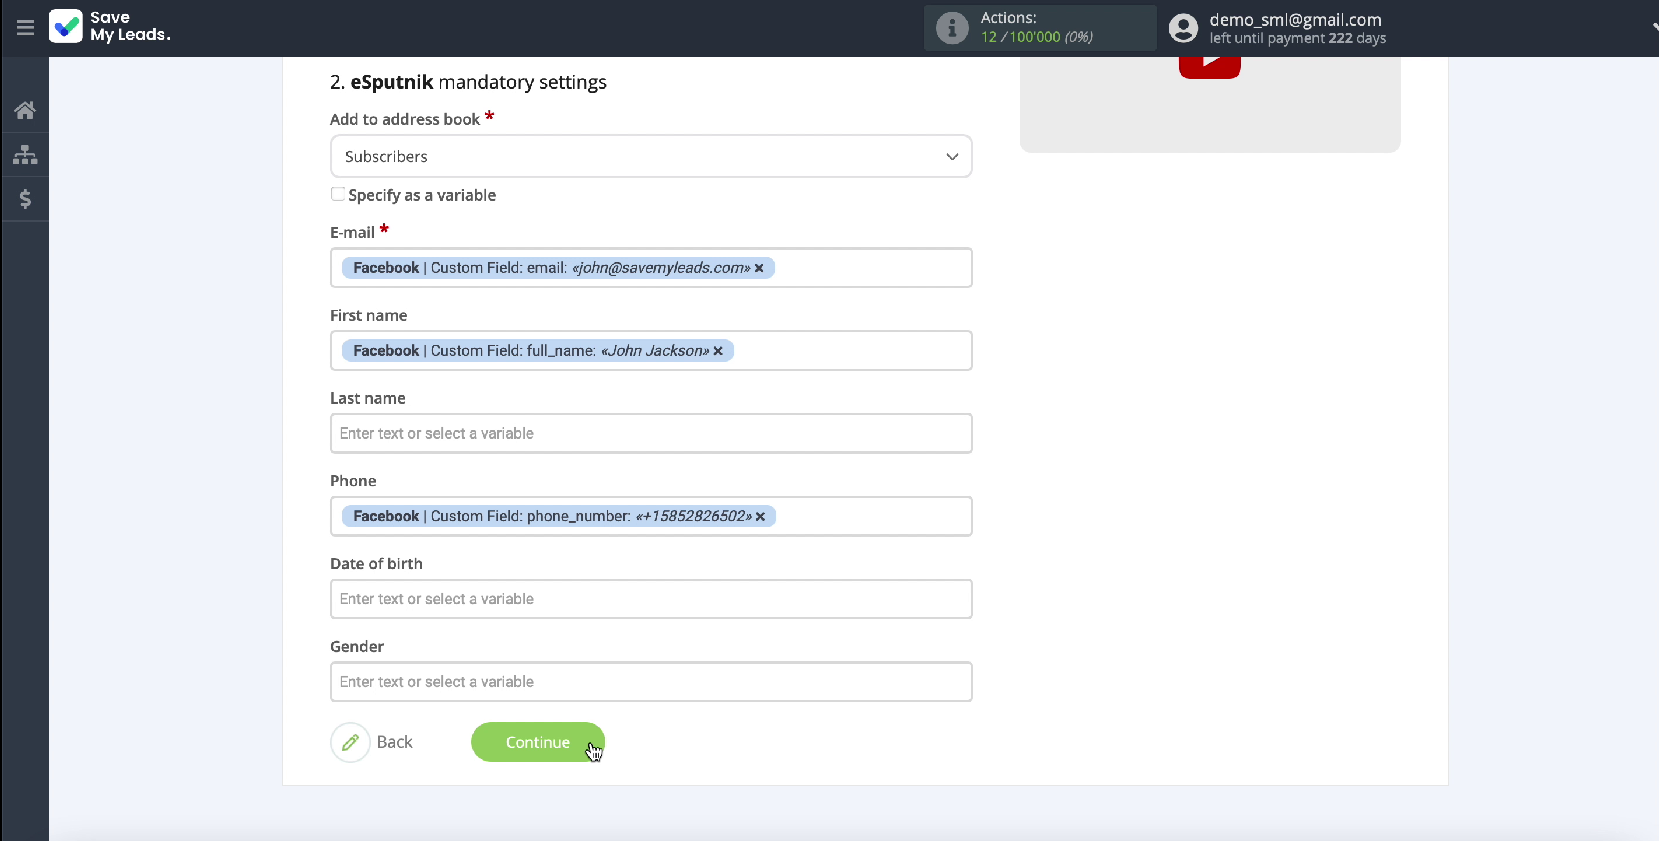
In the same window, you will see fields for adding a new contact. To add variables from Facebook to the required field, click on it and select a variable from the drop-down list. If you are satisfied with the presetting of the fields, you can leave them unchanged. After filling in all the fields, click Continue.
Next, you will see an example of data that will be transferred from Facebook in the form of new contacts to the eSputnik service. If you want to check the correctness of the settings, click Send test data to eSputnik.
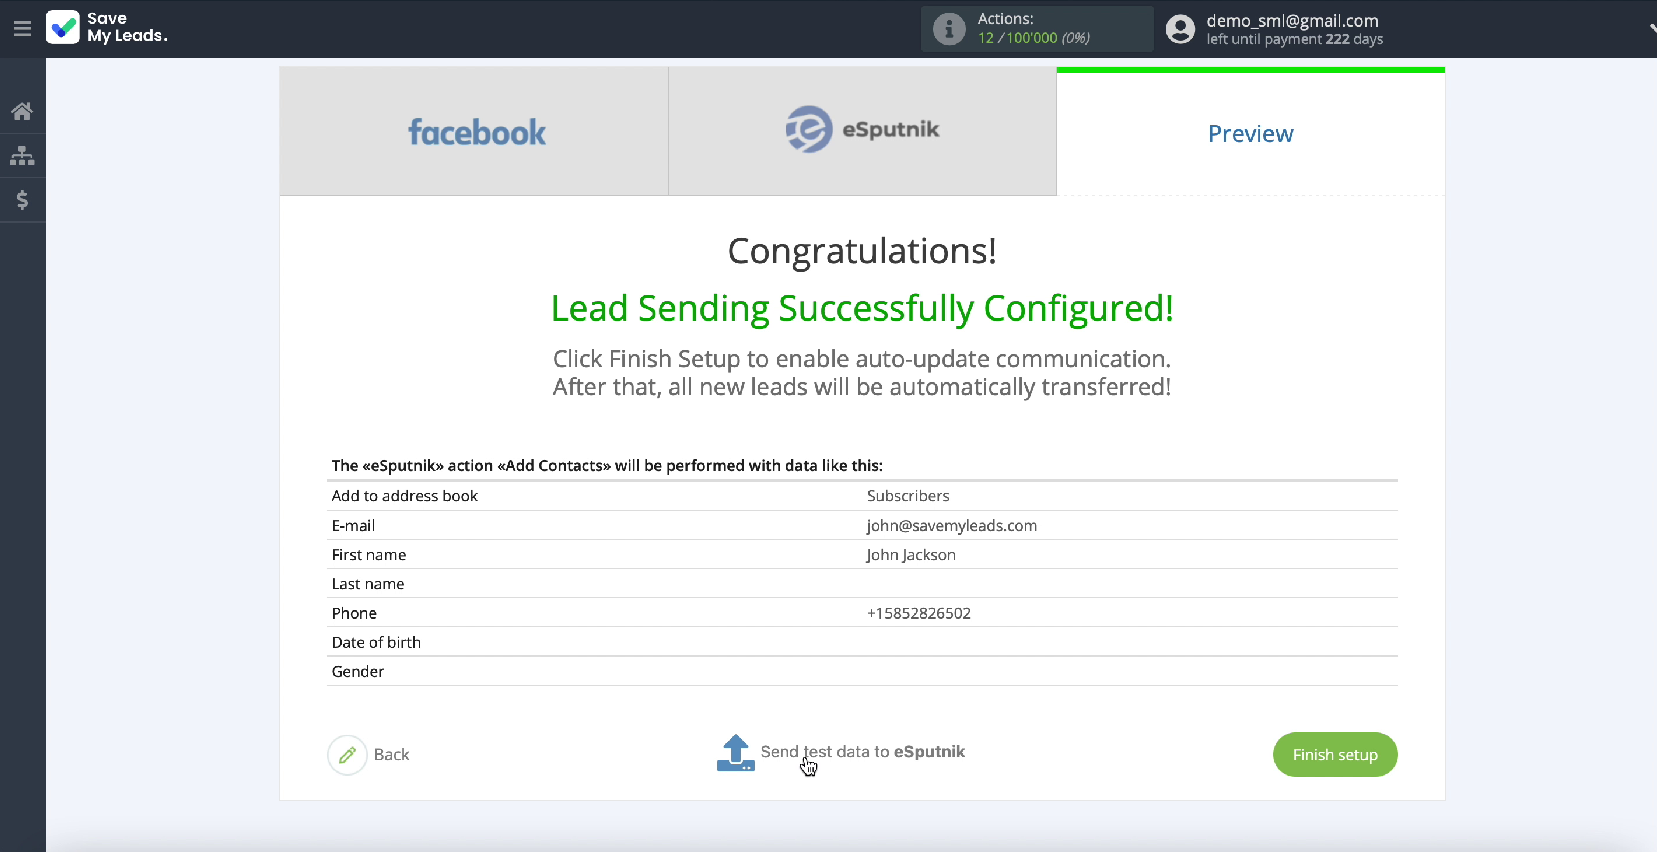
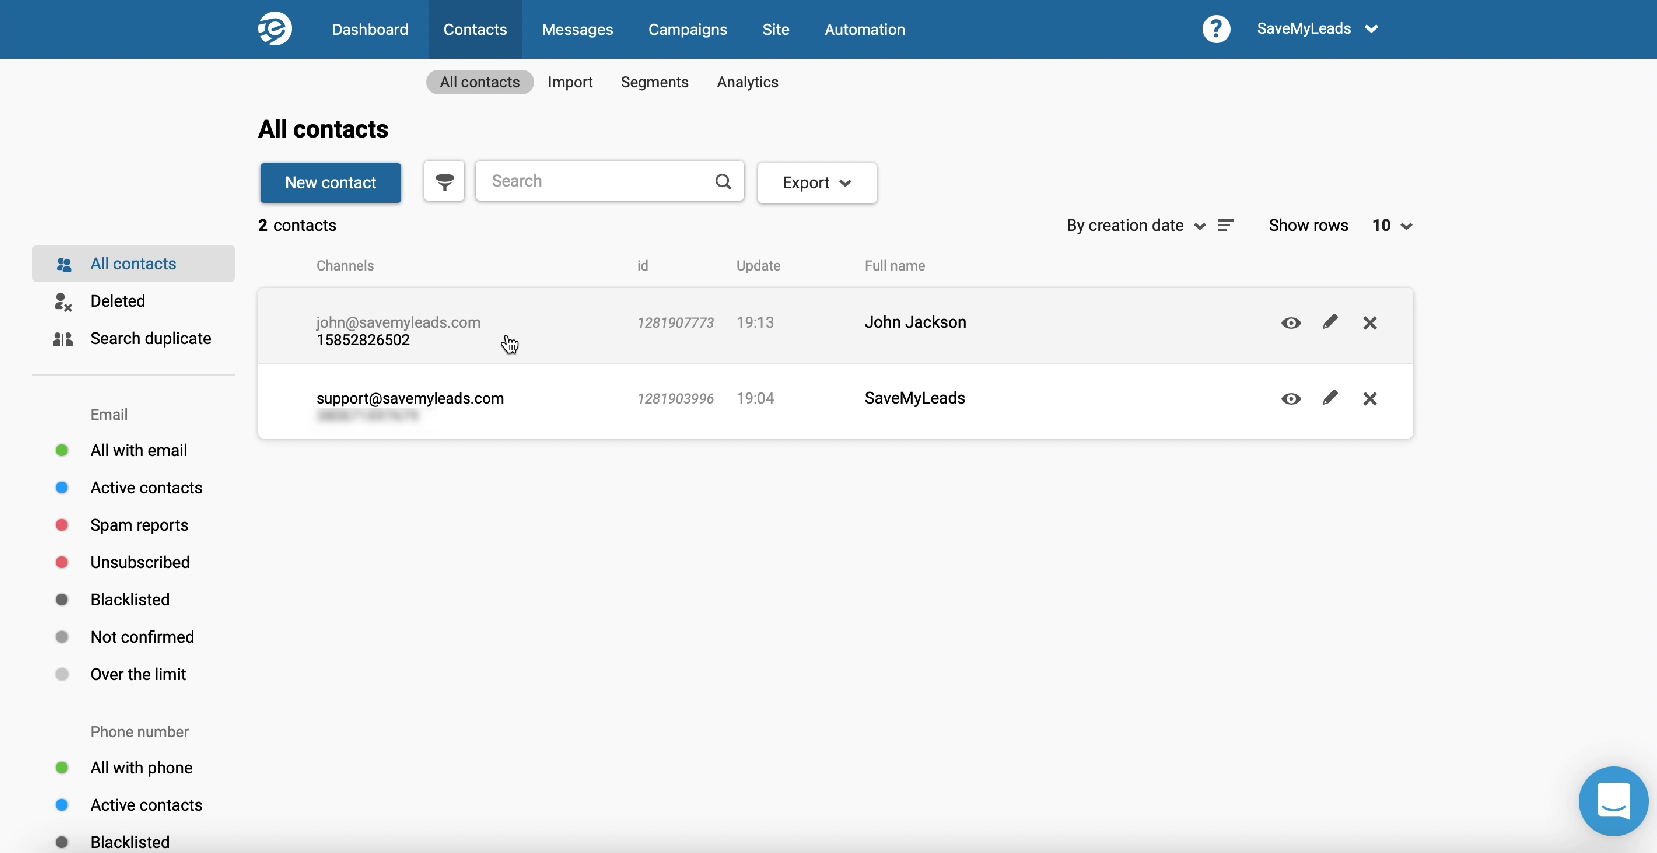
To check the result, go to the eSputnik service tab. If everything suits you, return to the SaveMyLeads service and complete the setup
Automate data update
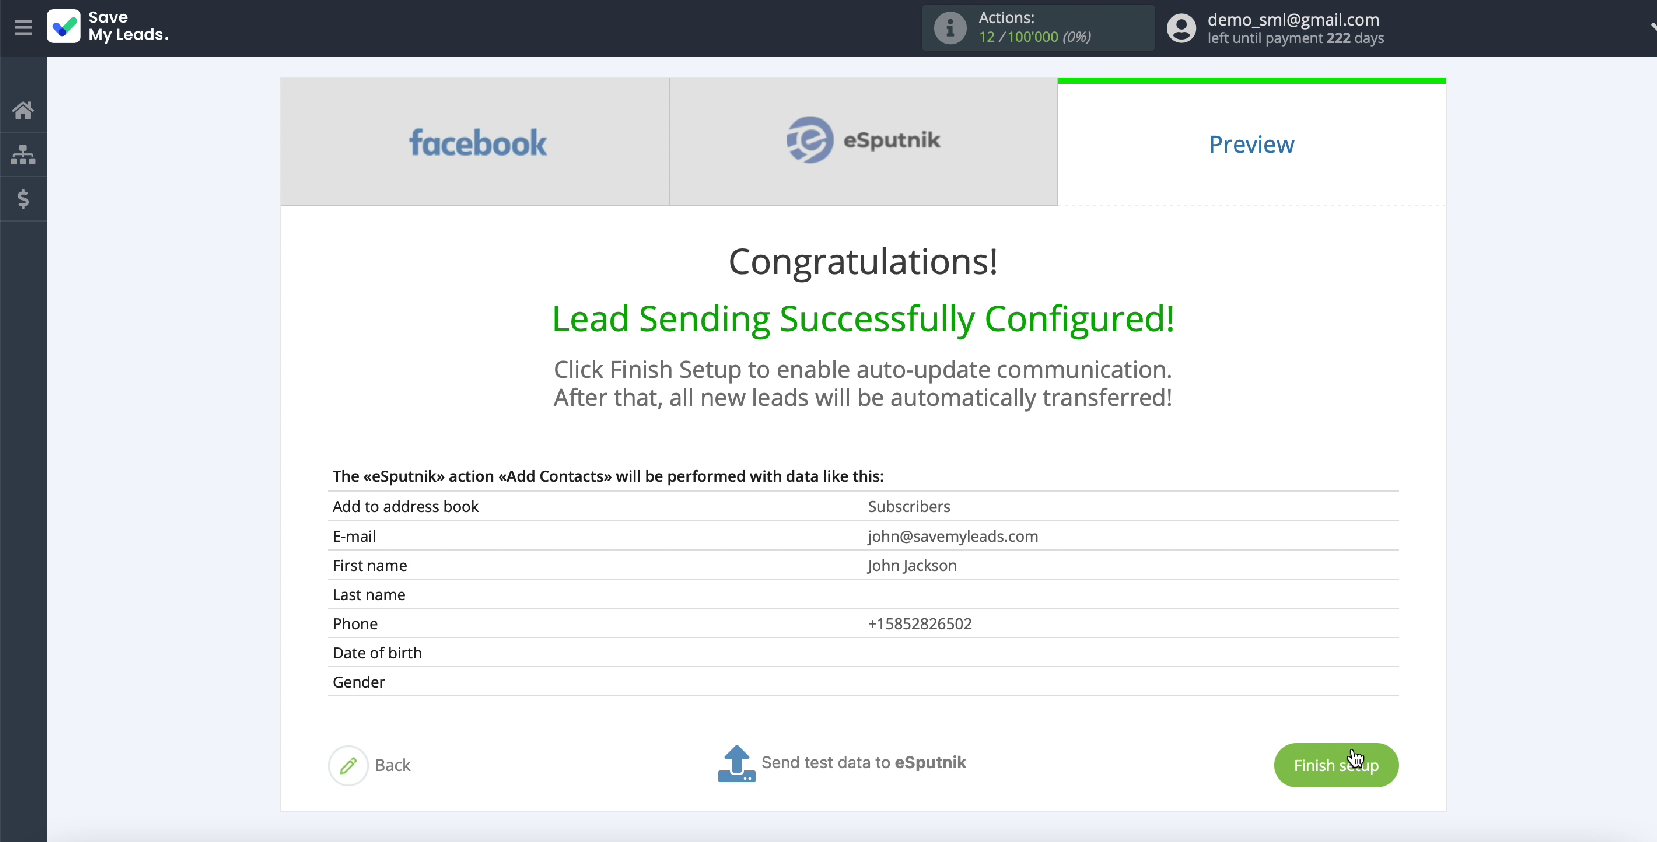
Click Finish Setup. to enable auto-update. This is necessary so that new leads from Facebook are instantly transmitted to the eSputnik service in the form of new contacts.
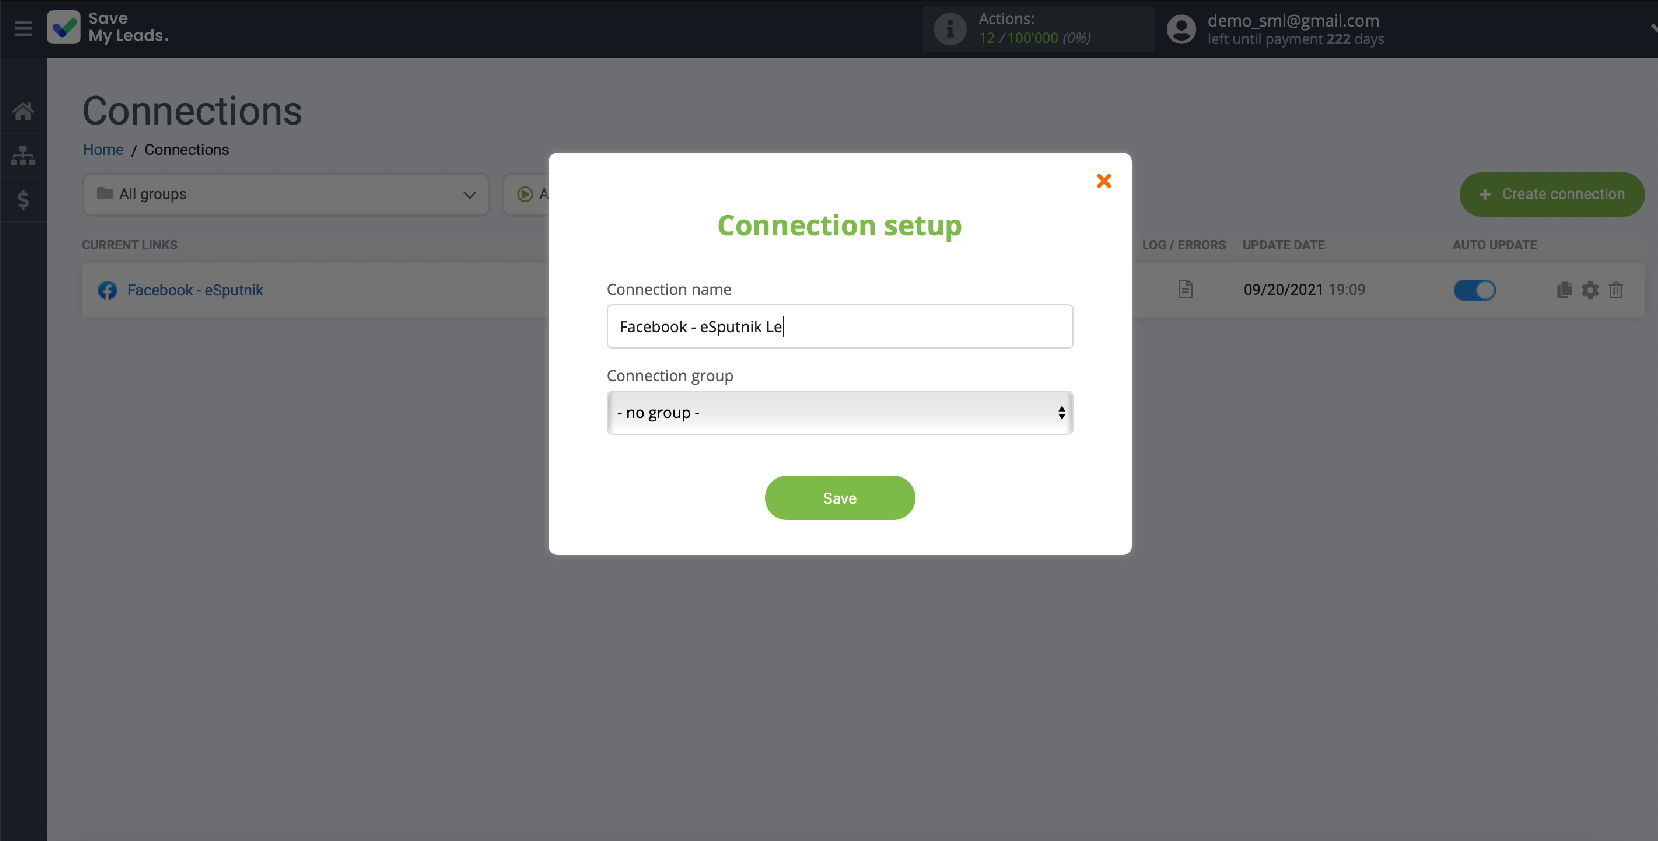
If necessary, you can change the name of the link. To do this, go to its settings.
Conclusion
Integration of an advertising account on Facebook and the eSputnik service will significantly increase the efficiency of staff and business as a whole, since some of the routine processes will be automated. You can automatically upload leads, and then set up email campaigns for them in a convenient interface.


With the help of SaveMyLeads you will complete the integration within 5 minutes even without knowledge of programming. You do not have to waste time and money on paying for the services of hired specialists.
