Simla is a service that allows you to work in a single interface with clients from WhatsApp, Facebook and Instagram. The platform offers a wide range of tools for communicating with customers, managing a client base, and organizing teamwork. In this article, we will show you how to set up automatic transfer of new leads from Facebook to the Simla system in the form of orders.
Contents:
1. How to setup Simla and Facebook integration
2. Connect Facebook Lead Ads account
3. Connect Simla account
4. Enable auto-update
5. Integration result
WhatsApp, Facebook, and Instagram are heavily used for sales, marketing campaigns, and customer communications. The Simla platform allows you to efficiently process requests from all three channels in a single workspace. Orders, contacts, interaction histories and other information are concentrated in one system. Using Simla allows you to control and monitor all chats, which has a positive effect on the speed of responses and the quality of service in general.
Simla is a tool for improving the efficiency of business communications and increasing sales conversion. Users of this platform get rich functionality to convert customer interest into a successful deal. “Order” is one of the key elements in the Simla structure. You can create orders in various ways: from the list of orders, from the customer card, during a call or chat. Records can be filtered and sorted by various parameters. From the order card, it is possible to send letters or messages, print documents, view history, etc.
Using the Simla service, you can efficiently process leads from different sources. For example, requests received through Facebook lead forms. It is important to process inquiries and orders from social networks as quickly as possible. The longer the user waits for feedback, the lower the probability of a successful deal. If you set up the integration of Facebook and Simla, you can provide automated transfer of data from the FB advertising account to the service for processing leads. Each new request from the social network will be quickly and without human intervention converted into an order in Simla.
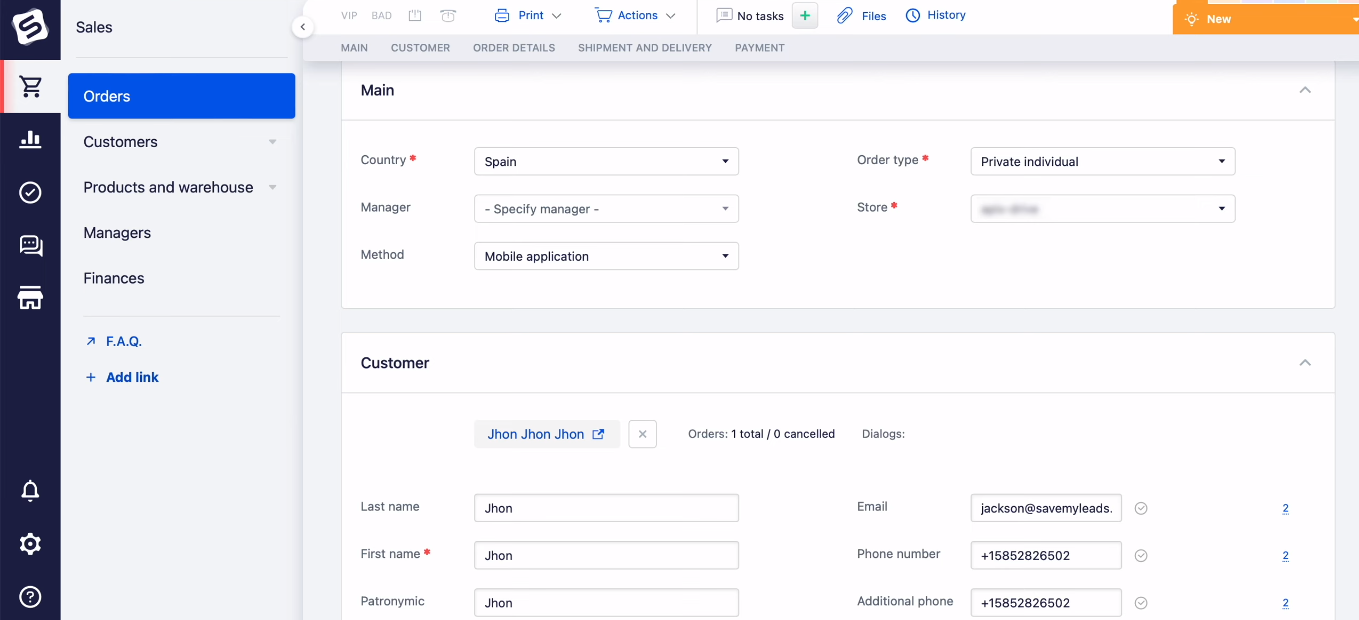
How to setup Simla and Facebook integration
To get rid of the manual transfer of data from Facebook to Simla, you need to link the systems. You can do this using the SaveMyLeads online connector. This is a no-code tool that helps to integrate Facebook with various services without API knowledge or programming skills. In a few minutes, through the web interface, you can create an integration and automate the process of transferring new leads from the Facebook advertising account to CRM systems, chat bots, instant messengers, Google services, etc.
With the SaveMyLeads system, you can get rid of routine operations and increase the efficiency of business processes. Integration of Facebook and Simla will ensure smooth and error-free transfer of data from one system to another. Let's take a closer look at the setup procedure.
Connect Facebook Lead Ads account
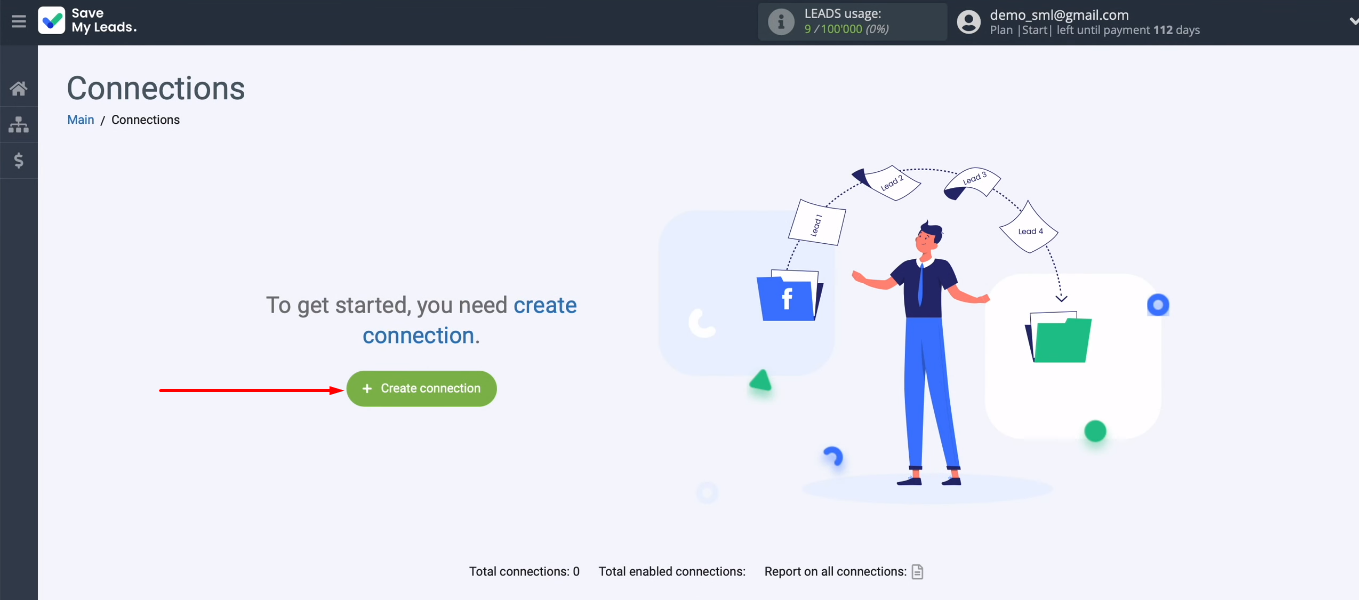
Register on our website and go to your personal account. Create a new connection.
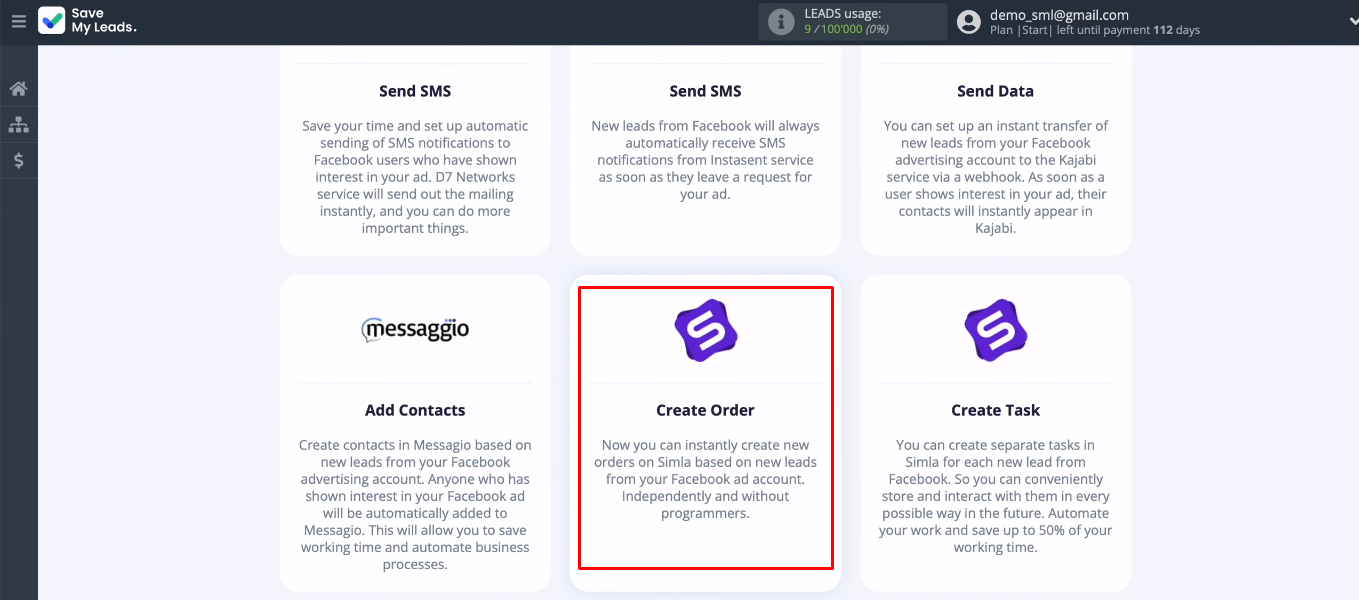
Select “Simla (Create Order)” from the list of customization templates.
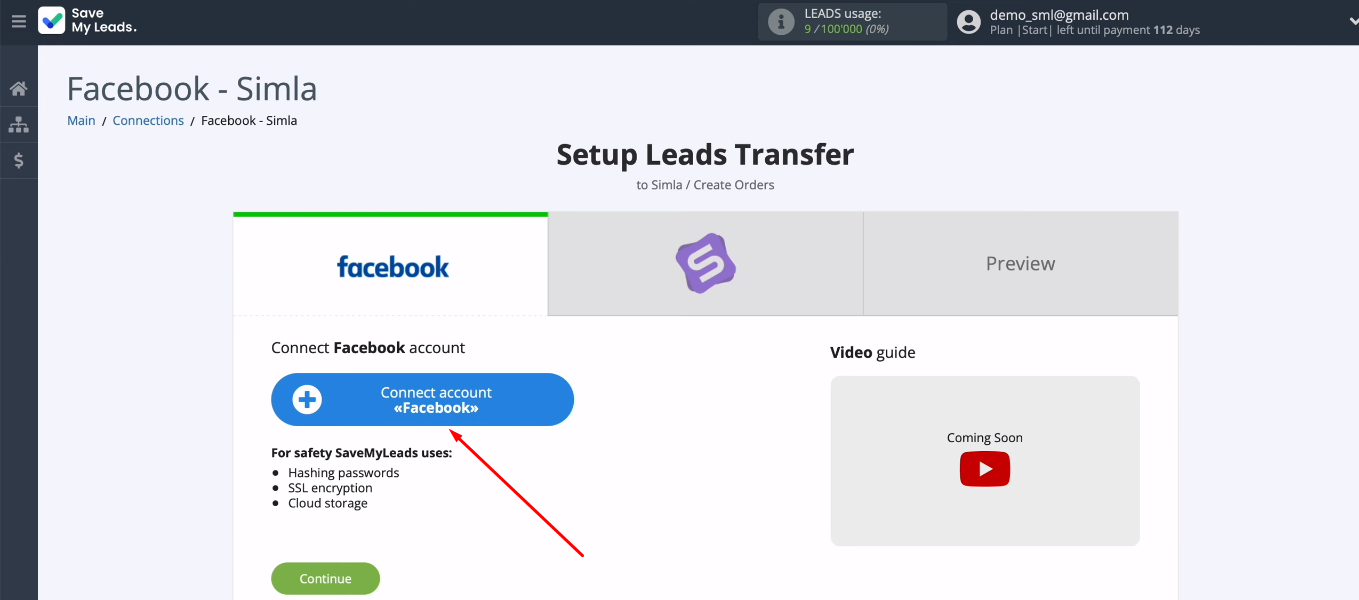
Connect your Facebook account to the SaveMyLeads system.
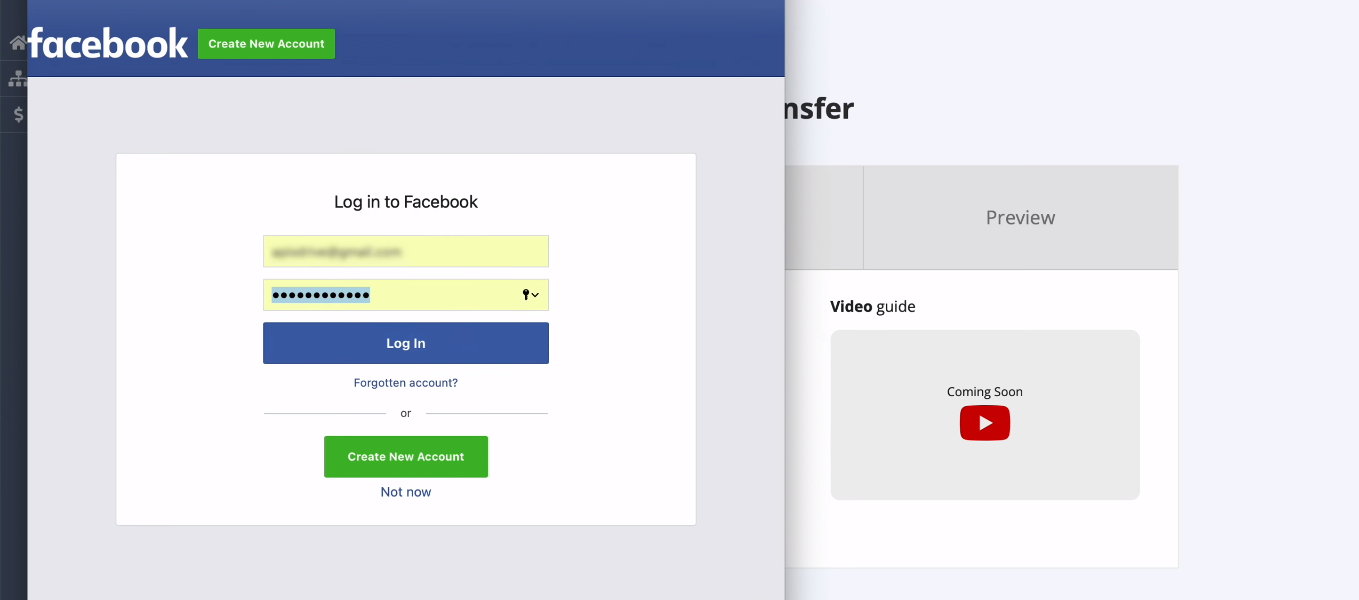
Enter username and password for your FB account.
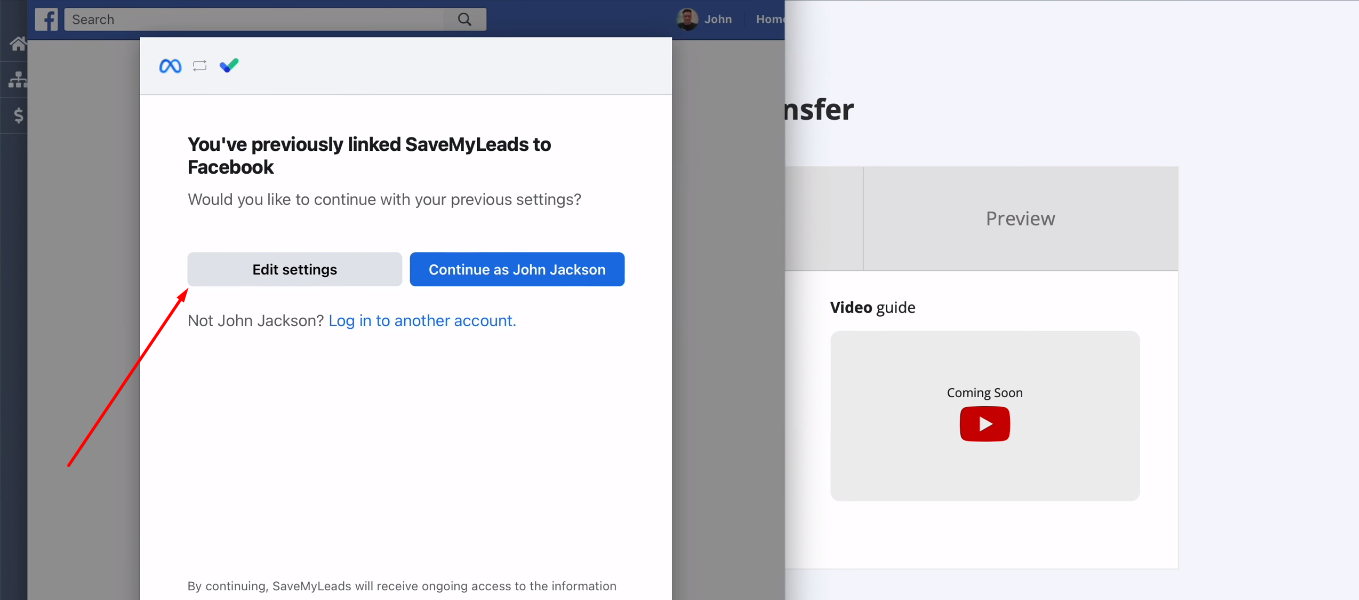
Go to settings.
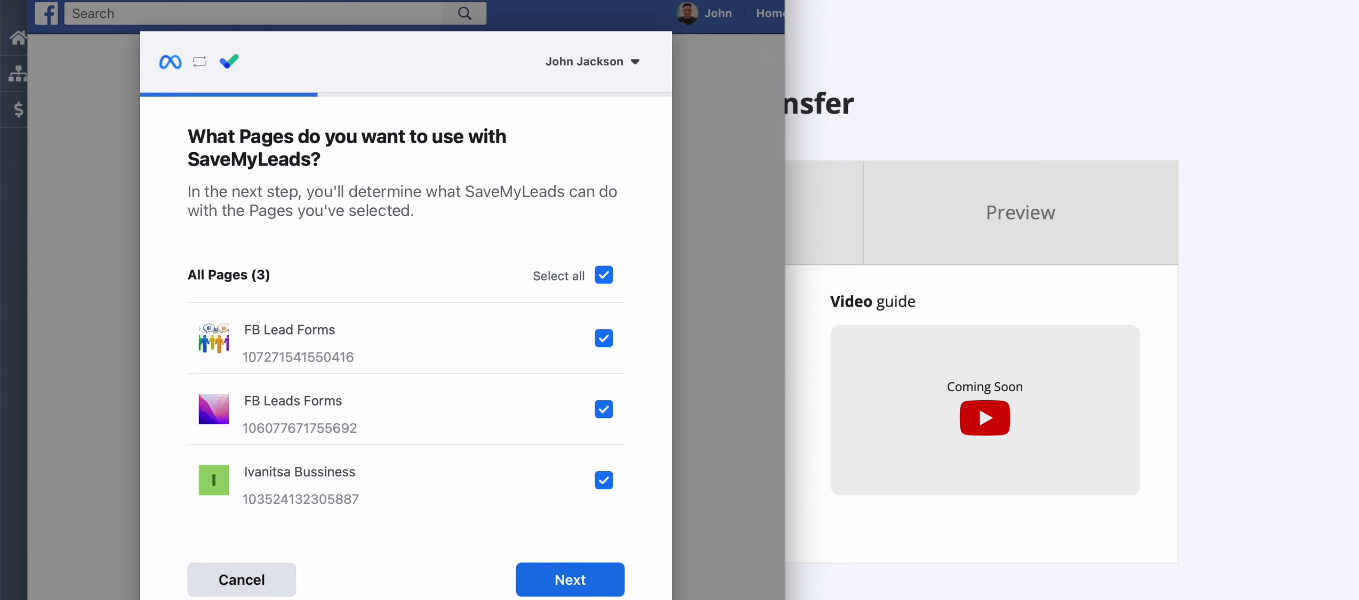
Check the advertising pages you want to work with in the SML system. We recommend marking all available pages at once.
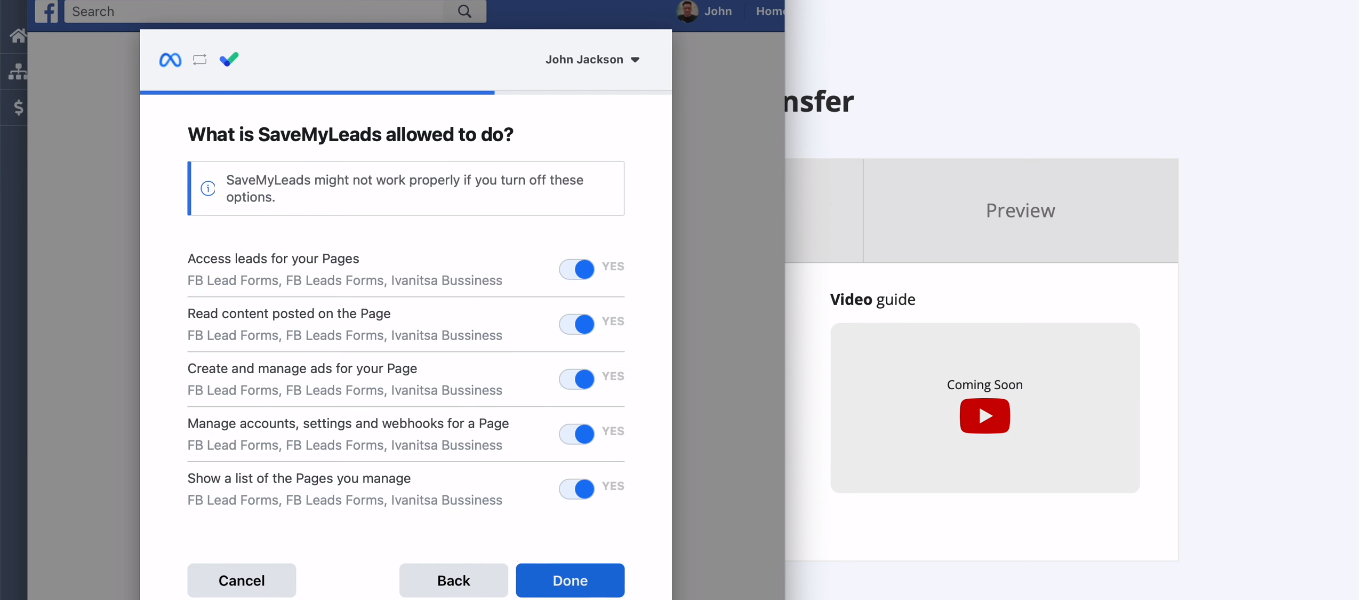
All access permissions must be set to “Yes”.
Facebook account has been successfully added to the SML system.
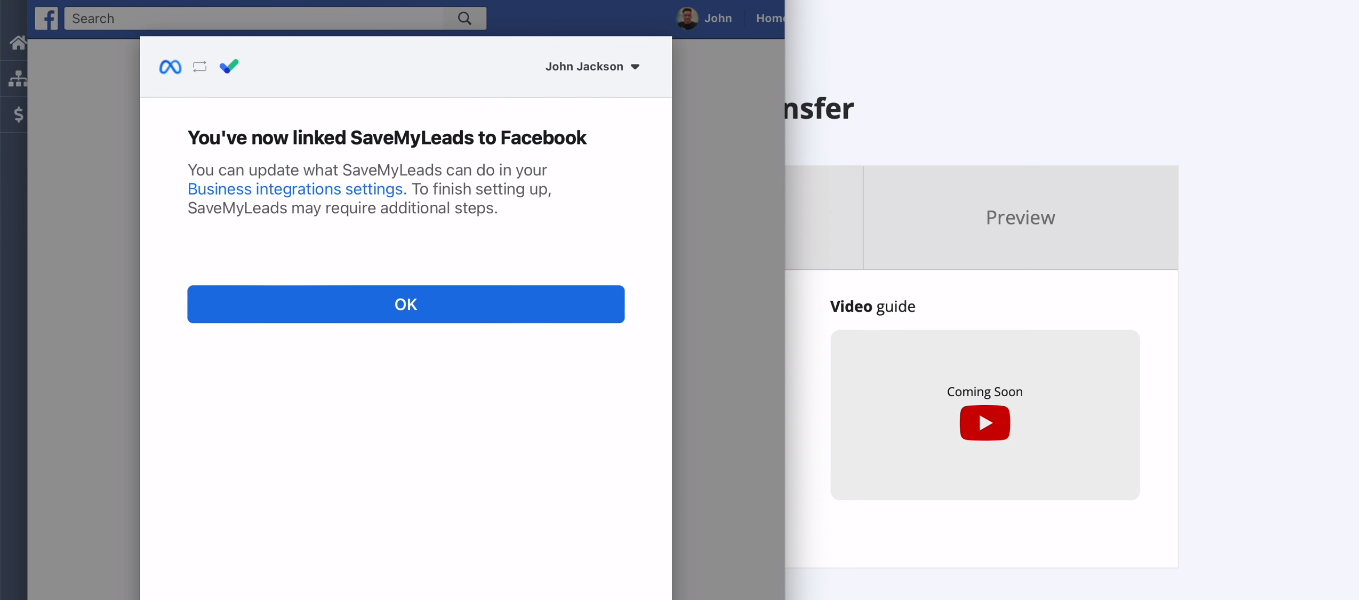
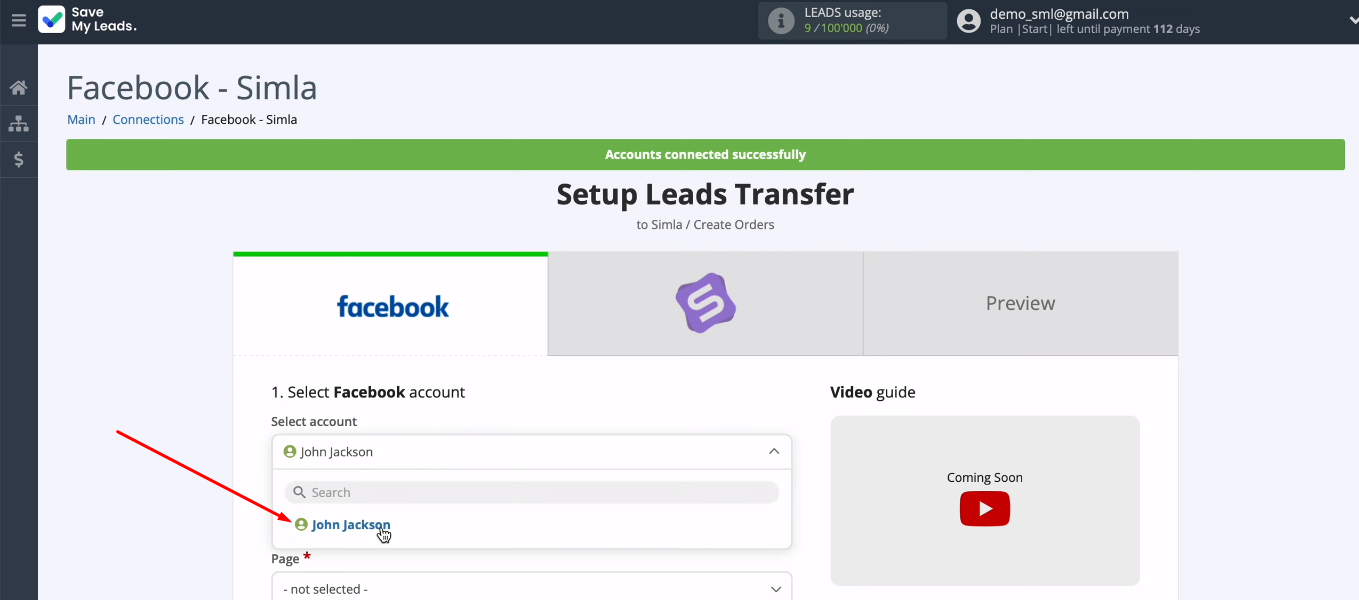
Select an FB account from the list of available logins.
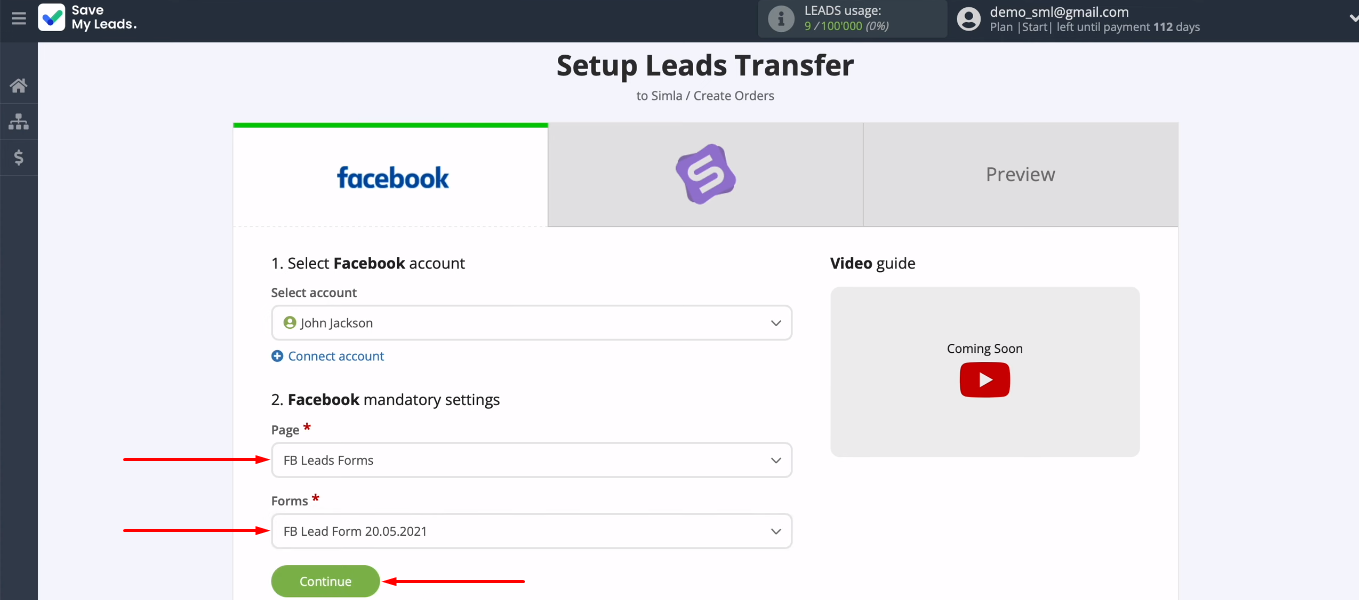
Select an advertising page and a lead form for uploading results. Click "Continue".
Connect Simla account
Now let's set up the receiving system. Click "Connect account Simla".
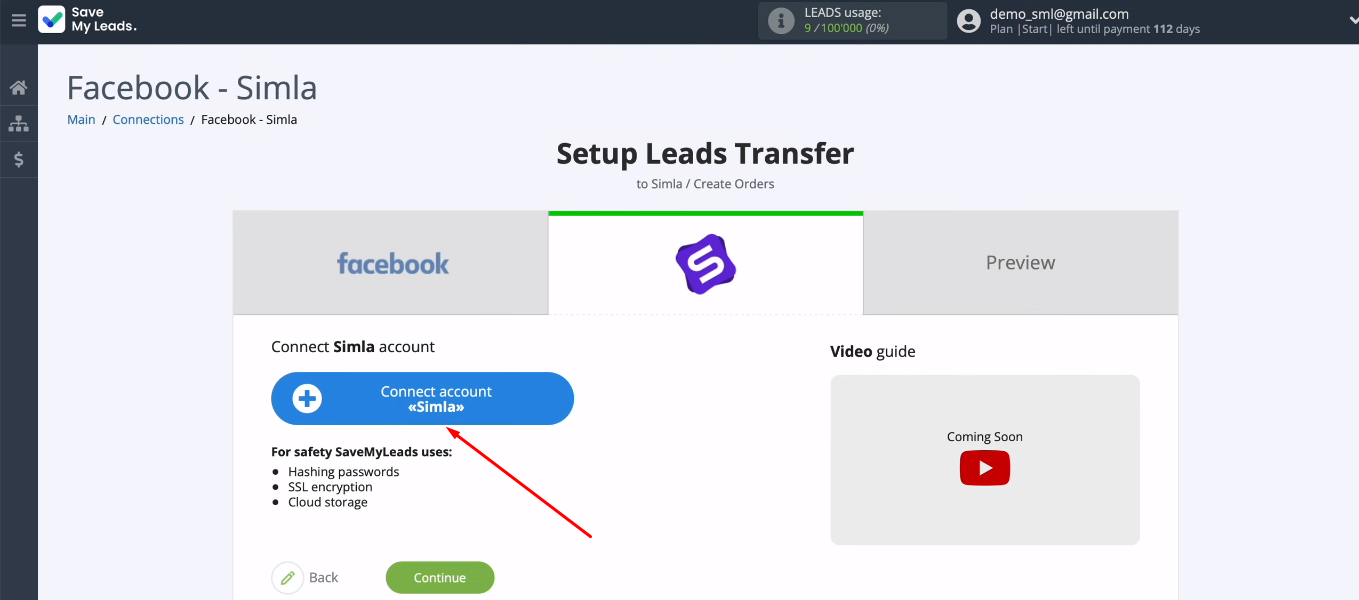
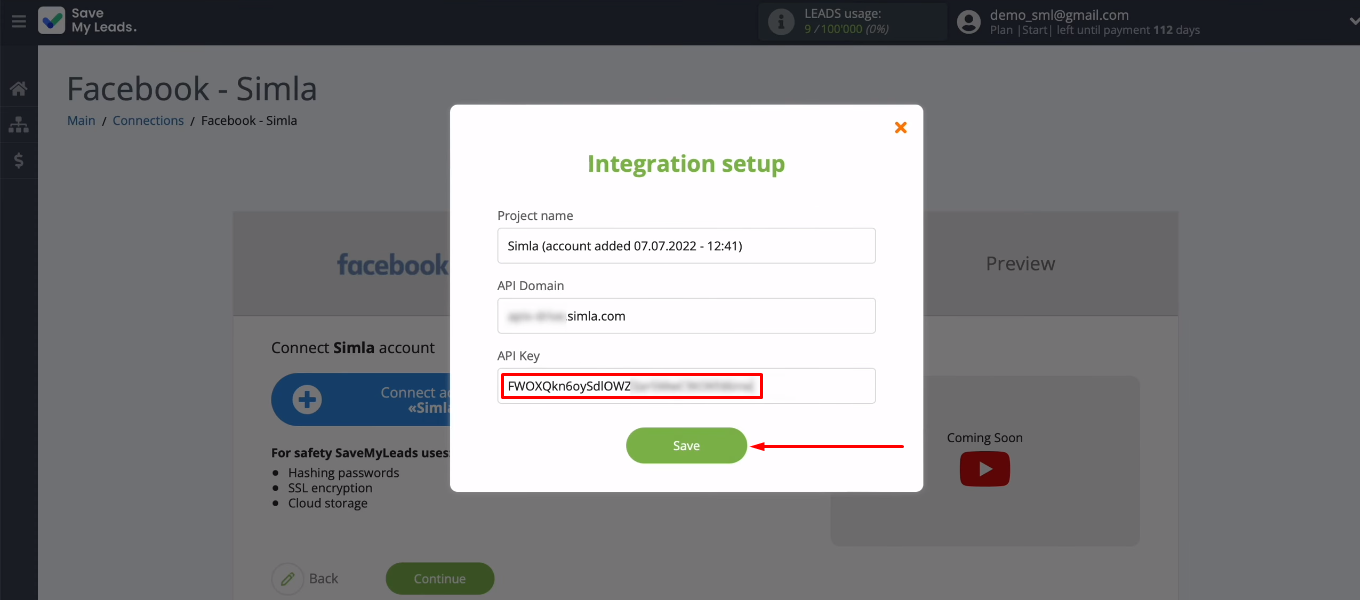
To add a Simla account to the SaveMyLeads system, you need to fill in the “API Domain” and “API Key” fields.
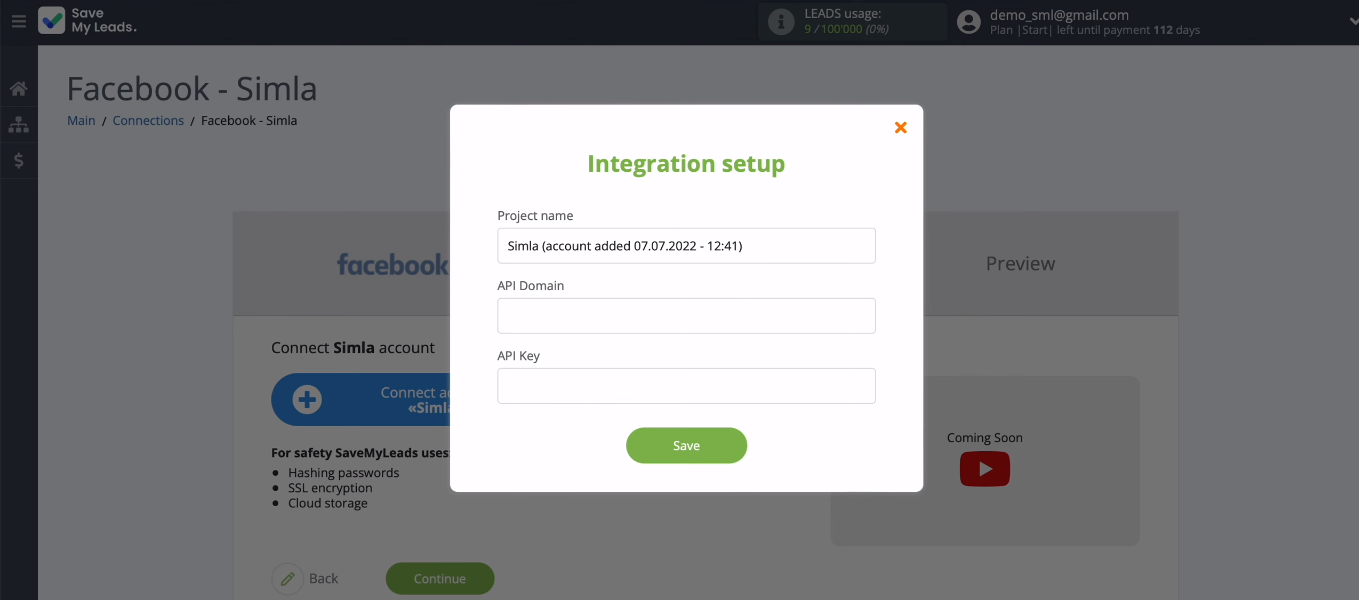
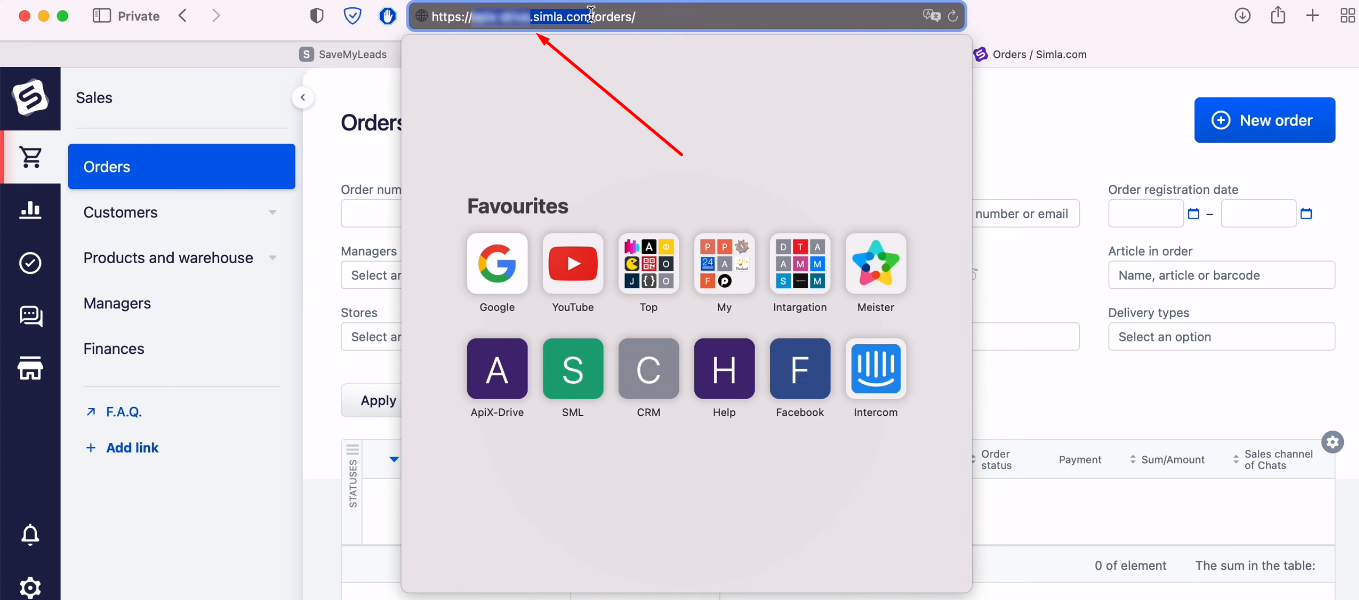
To get the data you need, go to your personal Simla account. Copy the value in the address bar without additional characters.
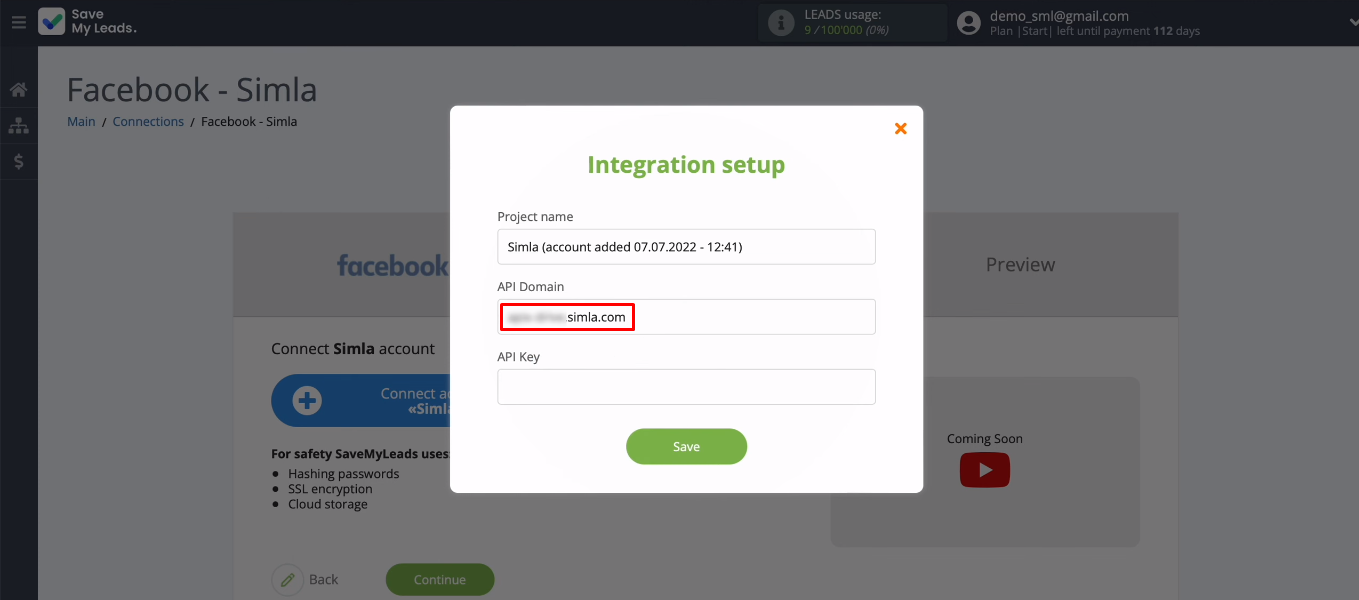
Go to the SaveMyLeads system and paste the previously copied value into the “API Domain” field.
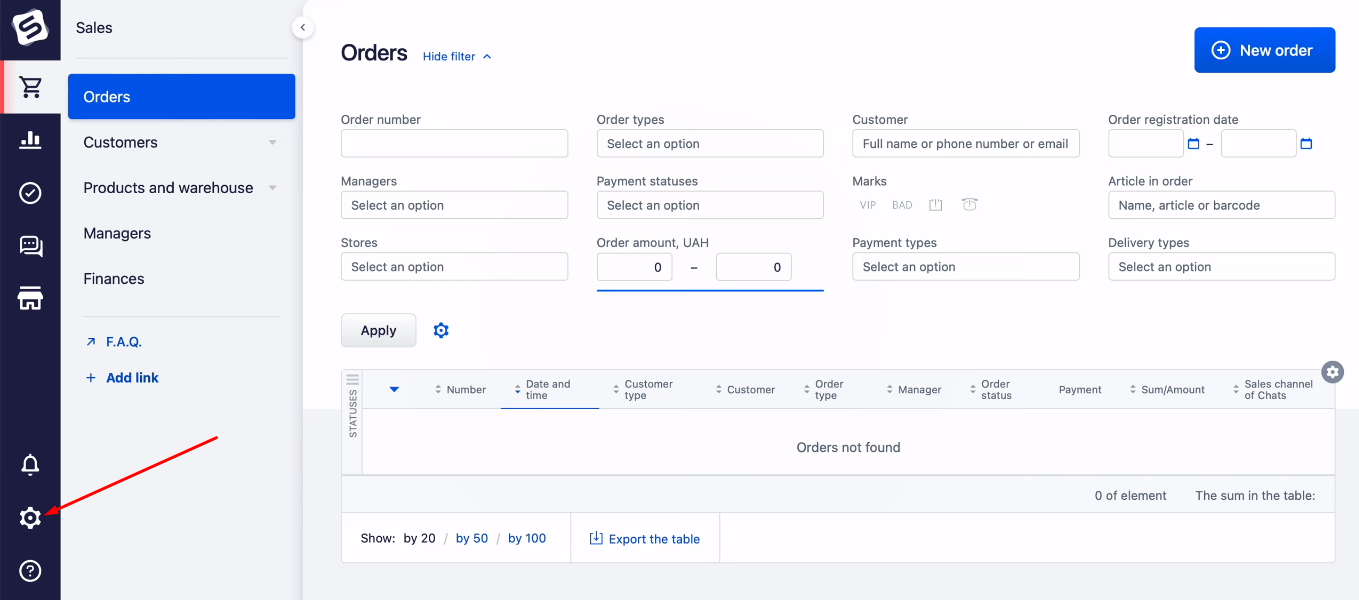
Now we have to deal with the “API Key” field. In your personal Simla account, go to settings.
Find the “Integration” section and select the “API access keys” subsection. In this tab, you can add an API key. Click on the active API key.
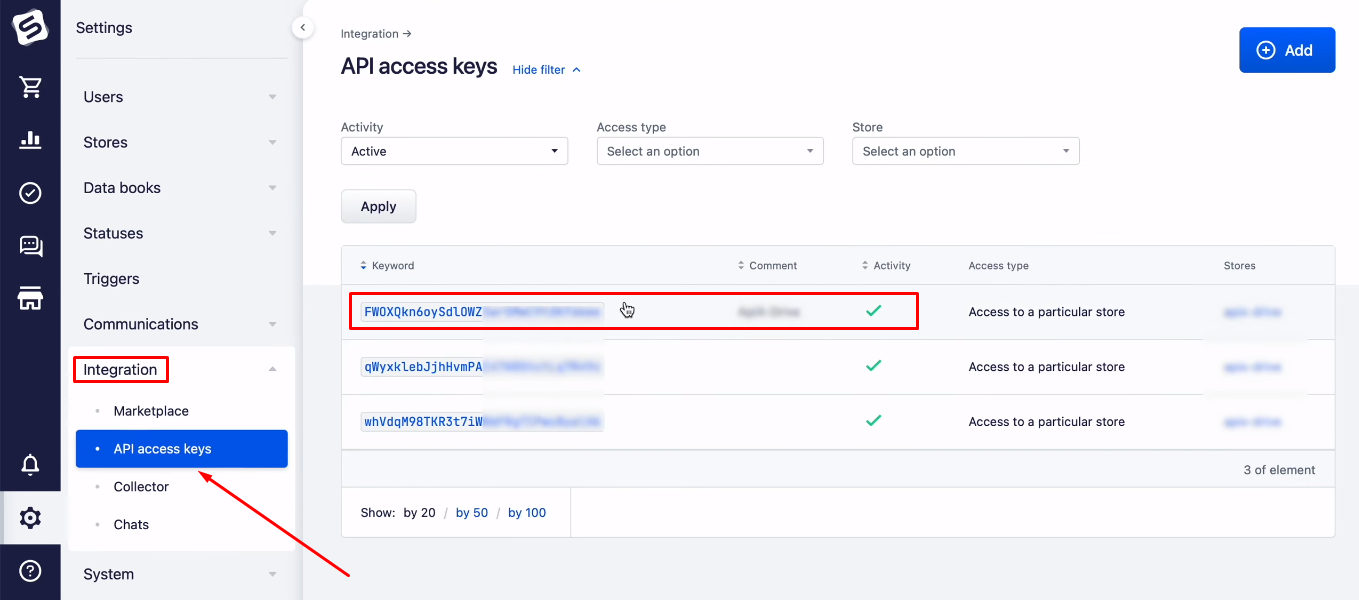
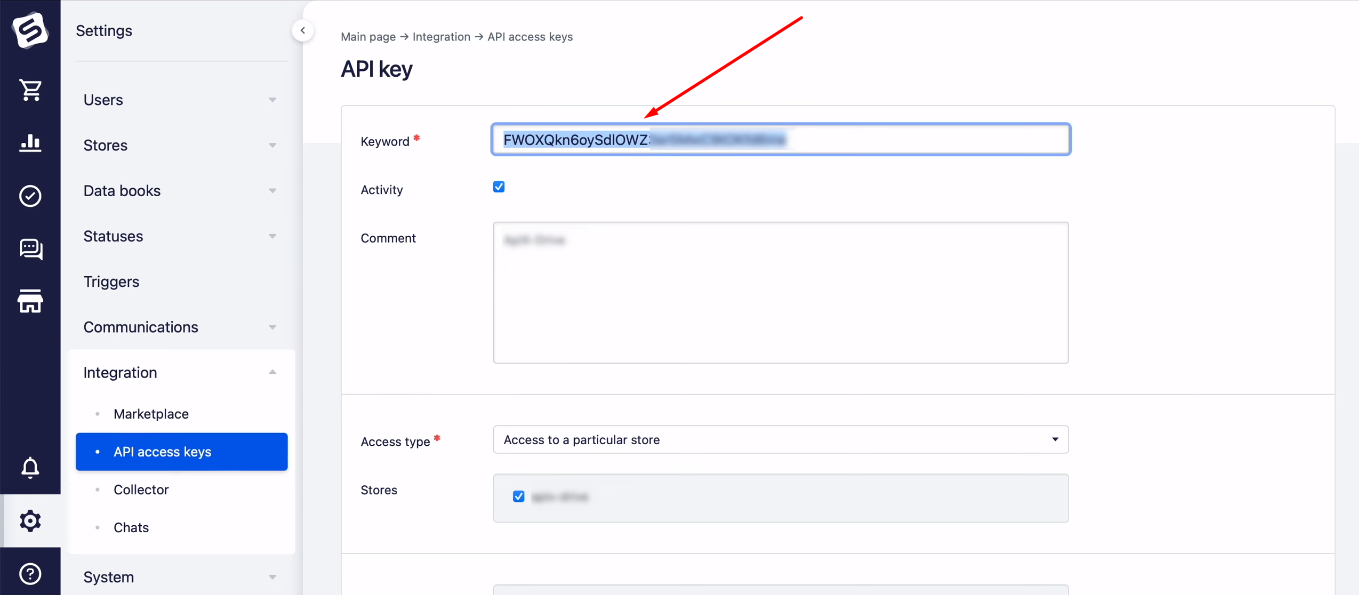
In the window that opens, copy the API key.
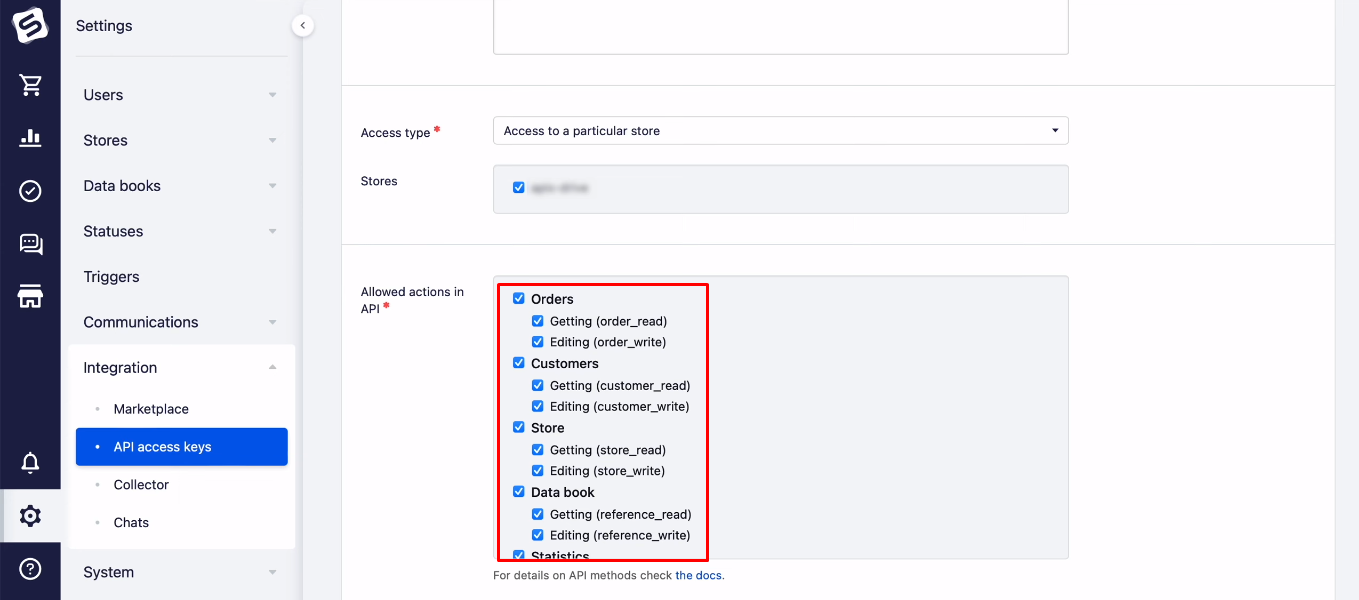
Make sure all checkboxes in the "Allowed actions in API" field are enabled.
Return to the SaveMyLeads workspace, paste the copied API key and click “Save”.
The connected Simla account appears in the list. Select it.
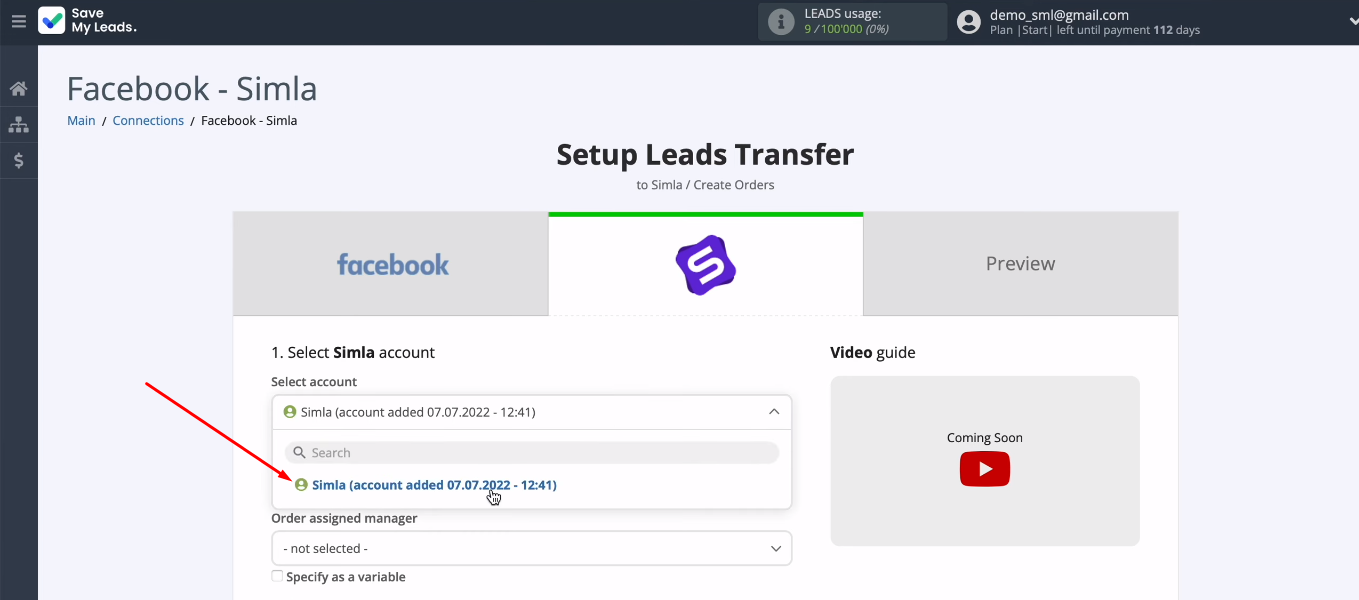
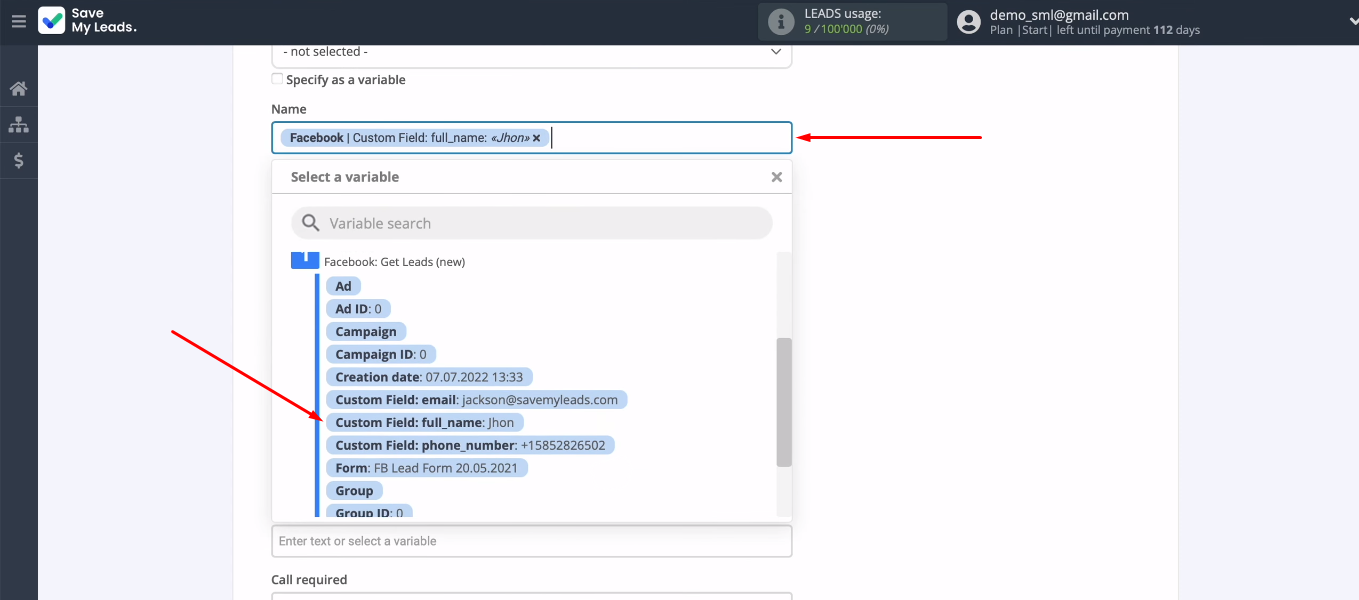
Assign variables to Simla fields whose data will be used to create new orders. Click in the field and select a variable from the dropdown list.
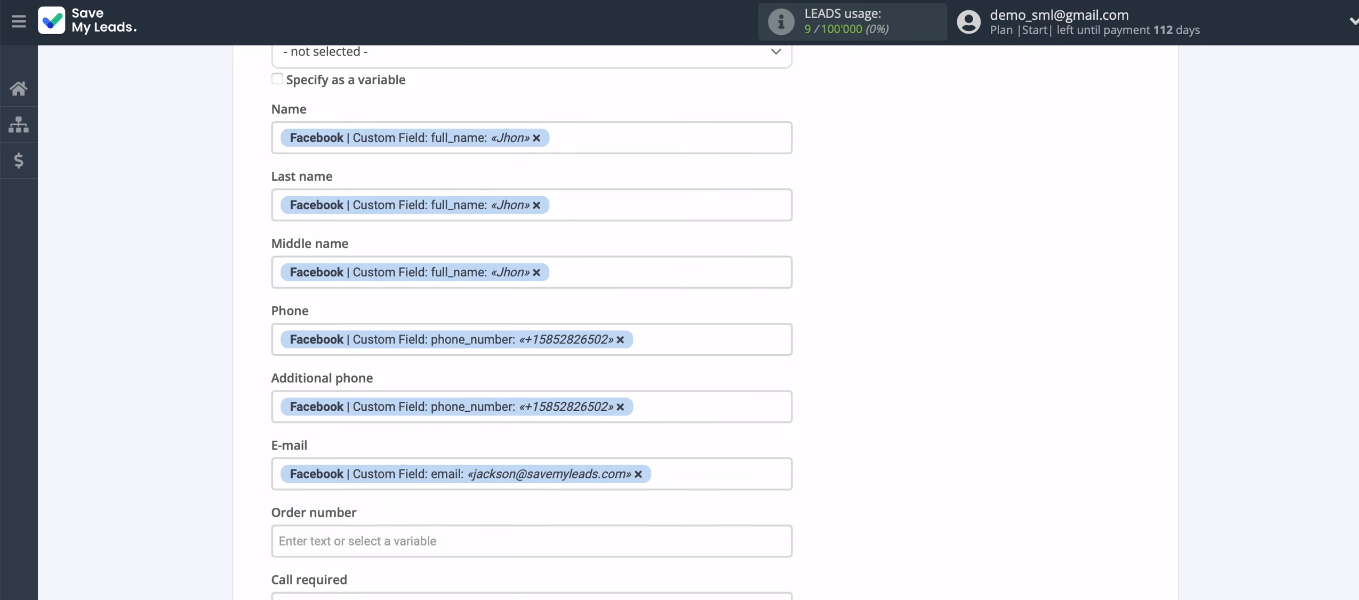
If you are satisfied with the preset values, you can leave everything unchanged and click “Continue”.
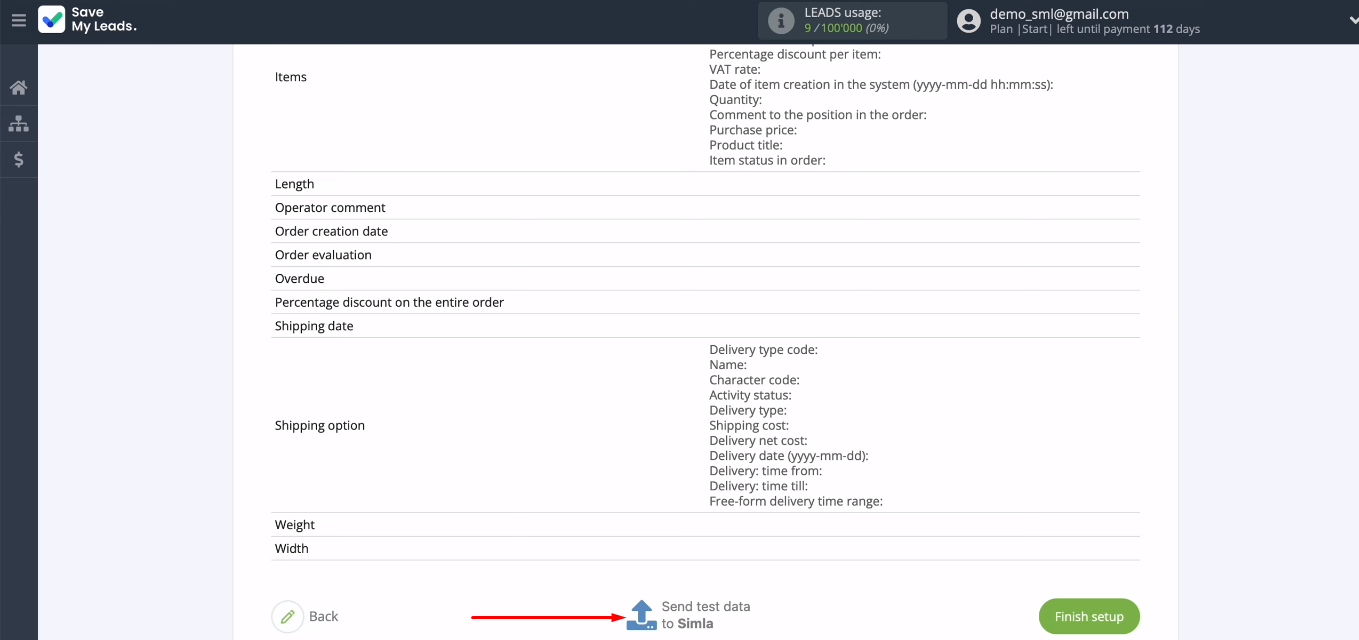
In the next step, we see the test data.
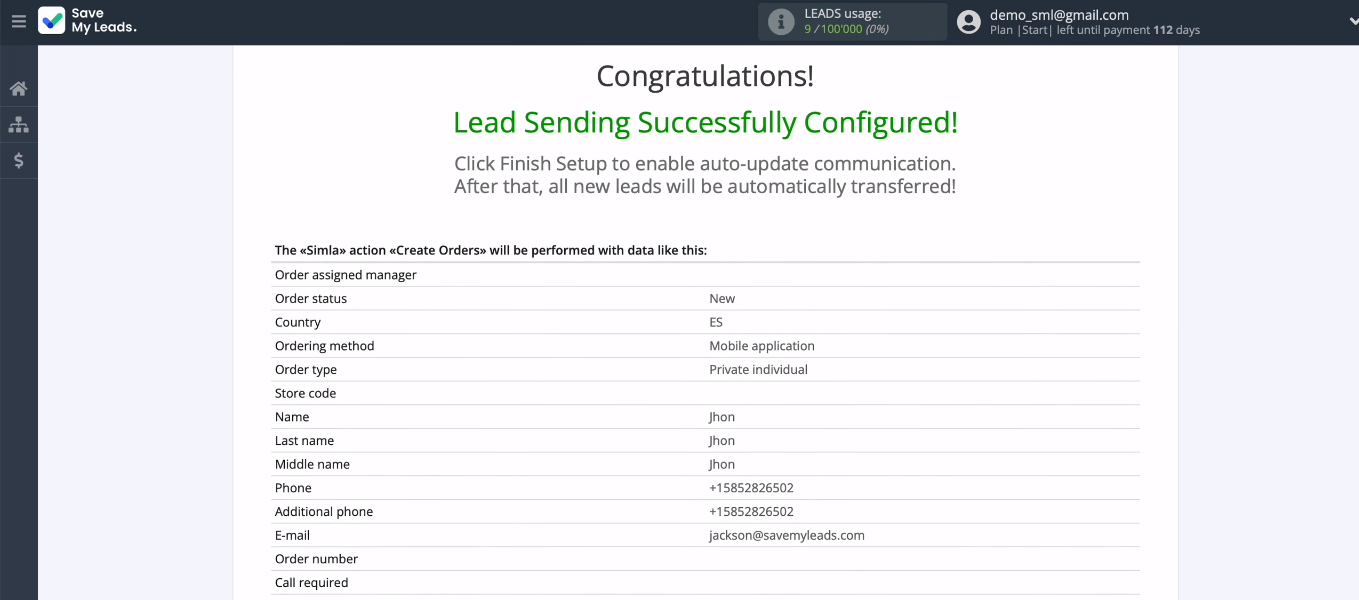
Click "Send test data to Simla".
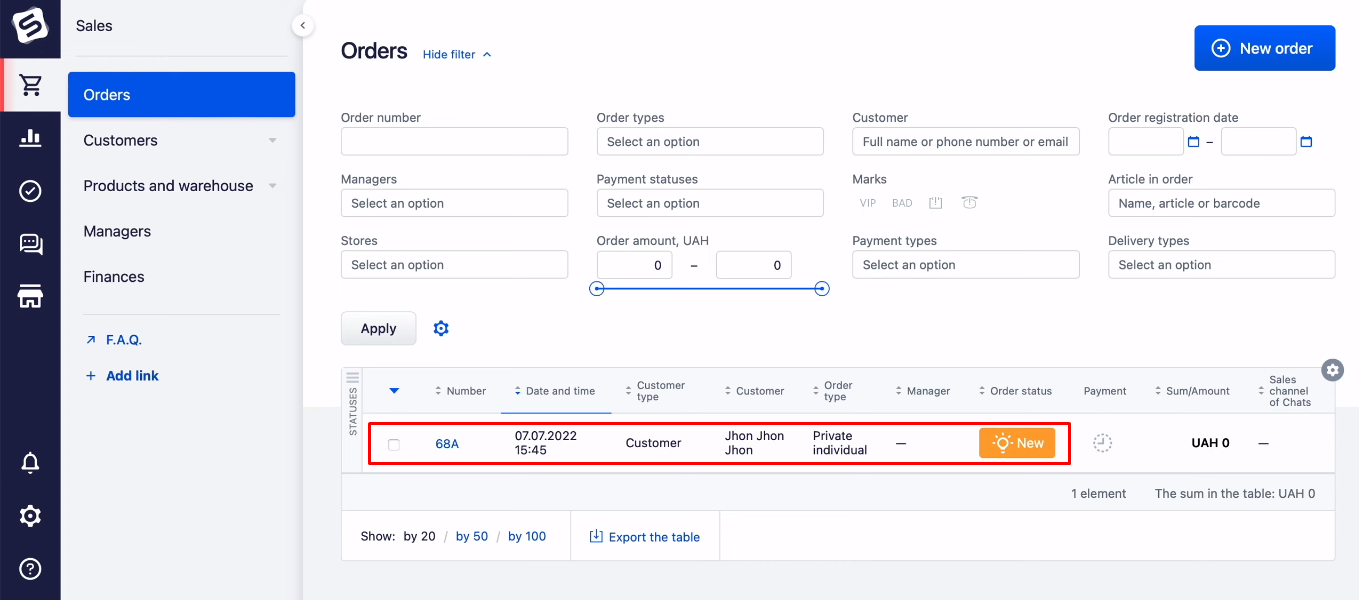
Go to Simla and check for a new test order.
Enable auto-update
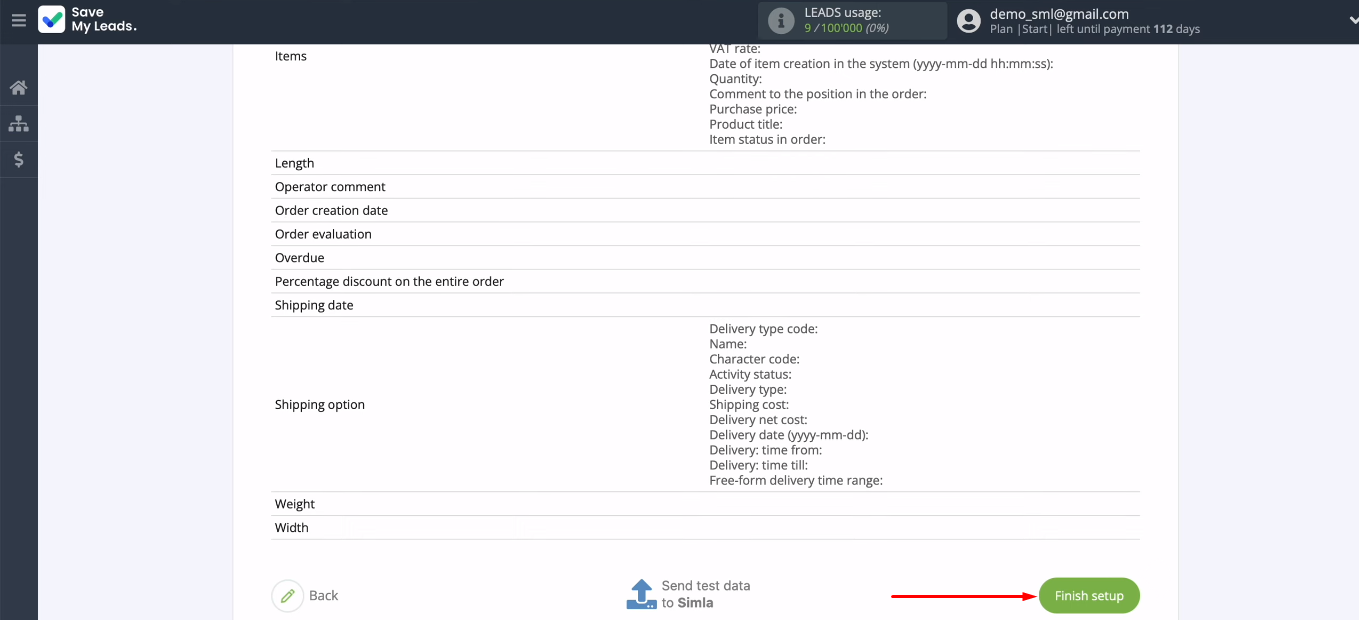
Return to the SaveMyLeads service and click “Finish setup”. This action starts the auto-updating of the data — the integration is activated.
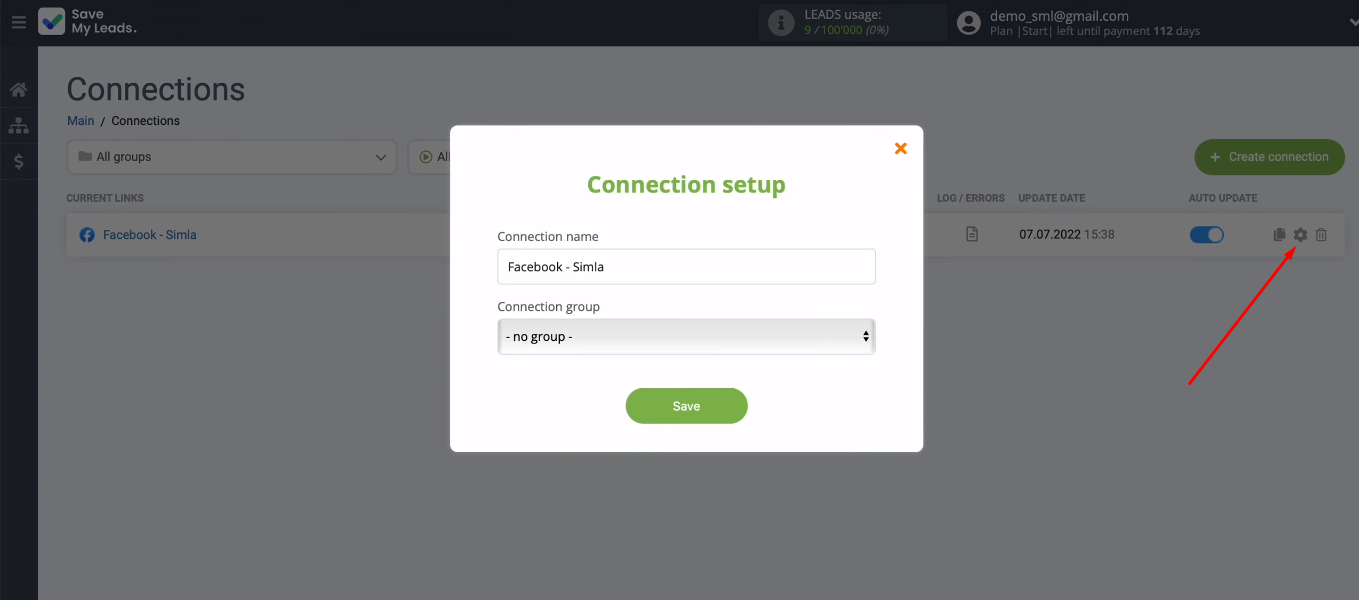
In the communication settings, you can change the name and add integration to the group.
Integration result
We took a detailed look at the process of setting up Facebook and Simla integration. The result of our efforts is the prompt and automatic transfer of data from completed Facebook lead forms to the Simla service. In the SaveMyLeads system, integration is created in just a few minutes. Special training or programming knowledge is not required. Communication is configured via the web interface. All you need is an SML workspace and access to Facebook/Simla accounts.
- Automate the work with leads from the Facebook advertising account
- Empower with integrations and instant transfer of leads
- Don't spend money on developers or integrators
- Save time by automating routine tasks
If you are actively working with Facebook Lead Ads, then you probably face the challenges of transferring new leads to various services and applications. The SaveMyLeads online connector offers dozens of ready-made solutions for setting up Facebook integrations. Search for the right service in the list, create a connection, automate routine work and increase your productivity.
