Do you use Facebook for customer acquisition and Microsoft Dynamics 365 as your CRM? This means that among your permanent tasks is the transfer of data from one system to another. In this article, we'll show you how to automate lead creation in Microsoft Dynamics 365 based on new leads from Facebook.
Content:
1. How to set up Facebook Ads and Microsoft Dynamics 365 integration
2. Connect Facebook
3. Connect Microsoft Dynamics 365
4. Enable auto-update
5. Conclusion
Billions of users regularly visit Facebook for various purposes. The popular social network is an active business platform. Companies promote their products and services through Facebook, and customers in a convenient format get information about offers, make orders and various subscriptions.
For a company focused on a small number of customers and one-time sales, the Facebook advertising account may be quite enough for work. However, if we are talking about a large number of orders, the B2B segment, high-quality customer service, a sales funnel, then a more sophisticated tool for processing and storing leads will be needed.
Microsoft Dynamics 365 is a line of solutions for organizing sales and marketing activities. The applications of this system are integrated with other Microsoft products, which allows you to create a custom set of related programs for almost any set of tasks.
The CRM system is one of the basic functionality of the Microsoft Dynamics 365 platform. Sales managers can create leads, add organizations, assign tasks, schedule meetings, work with price lists, send offers to customers, etc. Microsoft Dynamics 365 is a complete set of tools for customer interaction and sales funnel implementation. One of the main entities of a CRM system is lead. In Microsoft Dynamics 365, you can automatically create leads based on Facebook cases and tickets. To do this, you need to link these two services.
How to set up Facebook Ads and Microsoft Dynamics 365 integration
Many programs come with a set of ready-made integrations. It is also not uncommon for developers to provide an API that other IT professionals can use to create links to the systems they need. An easier way to create integrations is through no-code connectors, with which you can connect various services without programming knowledge and special training.
The SaveMyLeads online connector offers a wide range of ready-made integrations for Facebook. In particular, you can connect a social network with the Microsoft Dynamics 365 service. The integration is created in a few minutes. Any experienced PC user can handle setting up a connection between Facebook and Microsoft Dynamics 365.
Connect Facebook
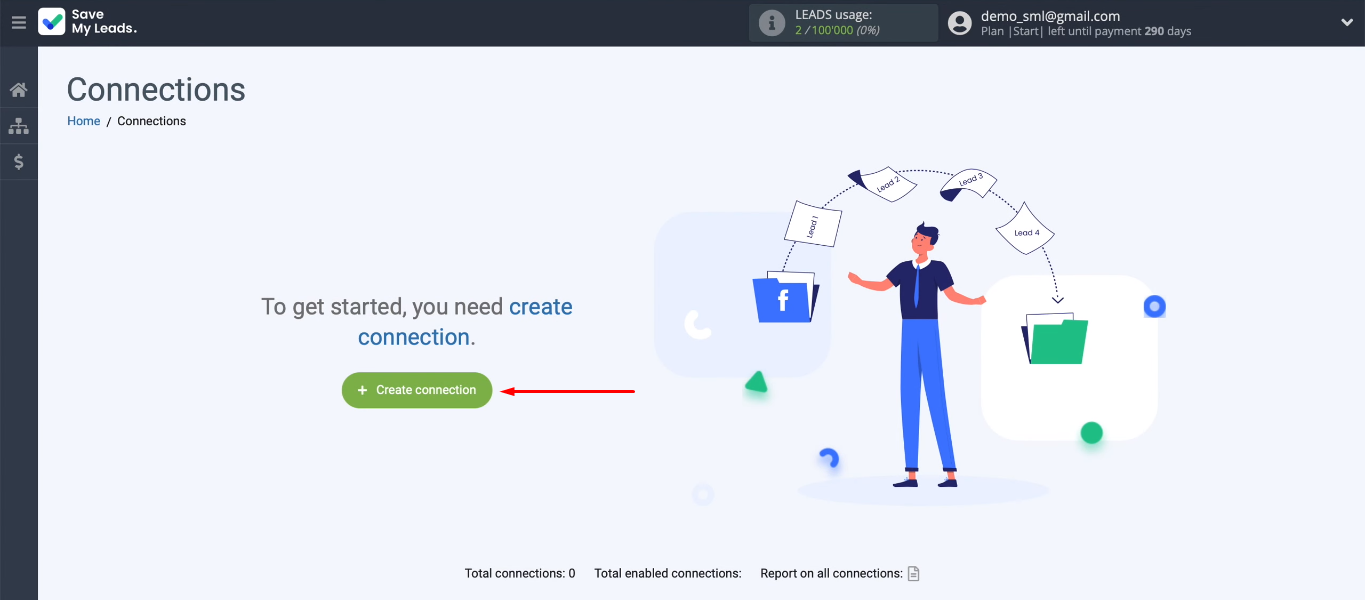
To create an integration, we need to connect the Facebook advertising account to the SaveMyLeads system as a data source, and Microsoft Dynamics 365 as a receiver. First, register on the website of the online connector and create a new connection in your personal account.
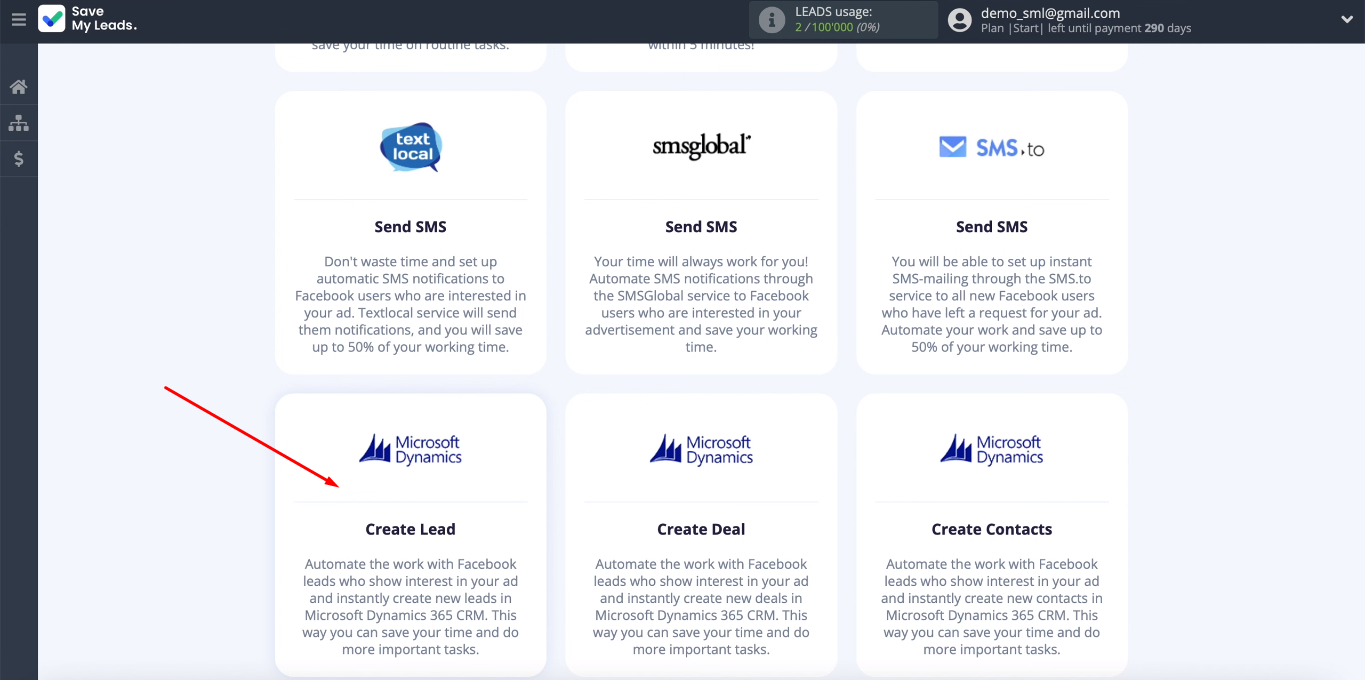
We choose an integration template that is suitable for our task — Microsoft Dynamics 365 (Create Lead).
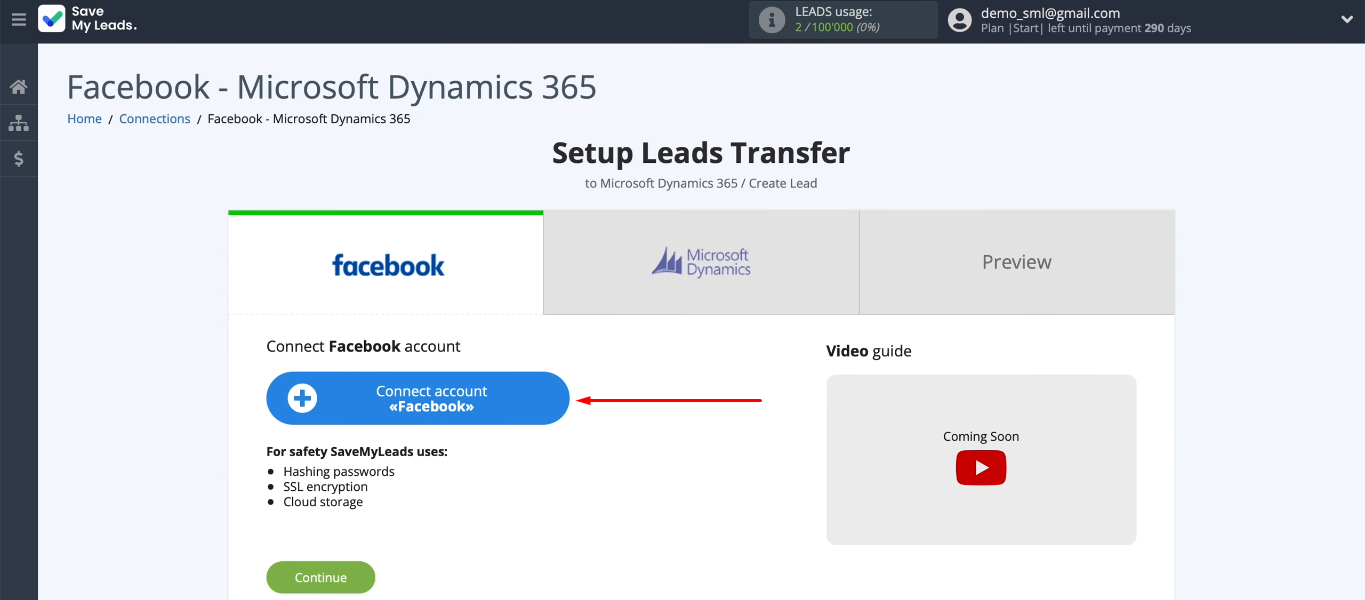
The next step is to set up the data source. Connecting a Facebook account.
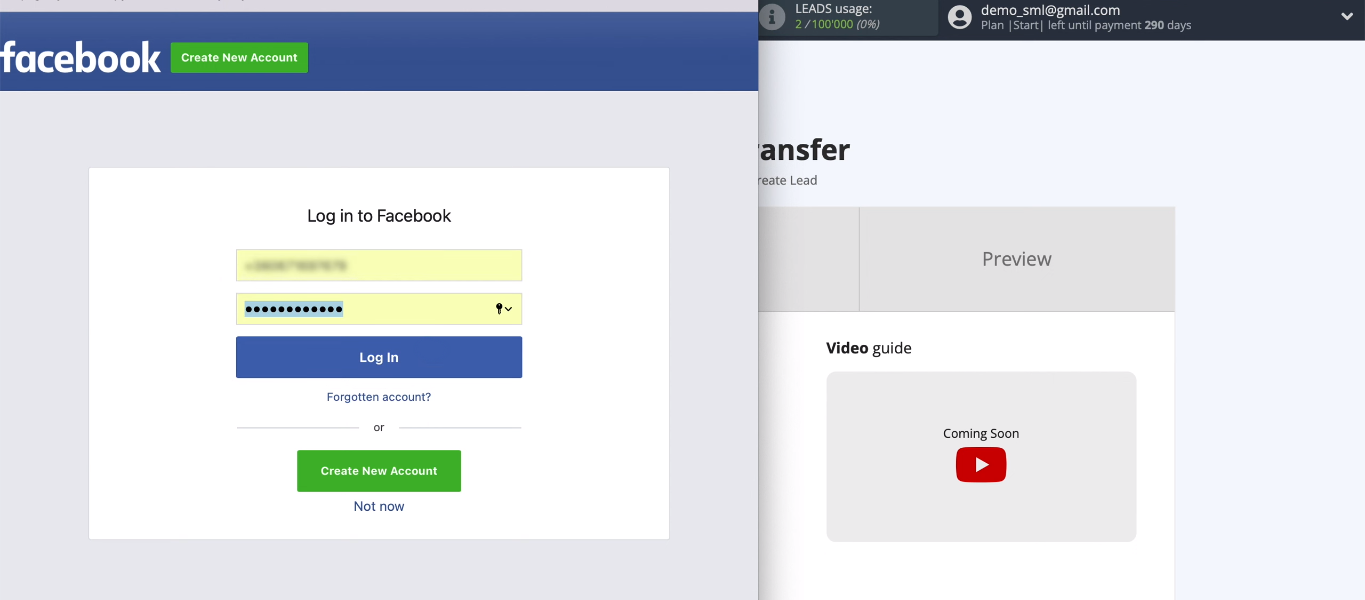
Log in to Facebook.
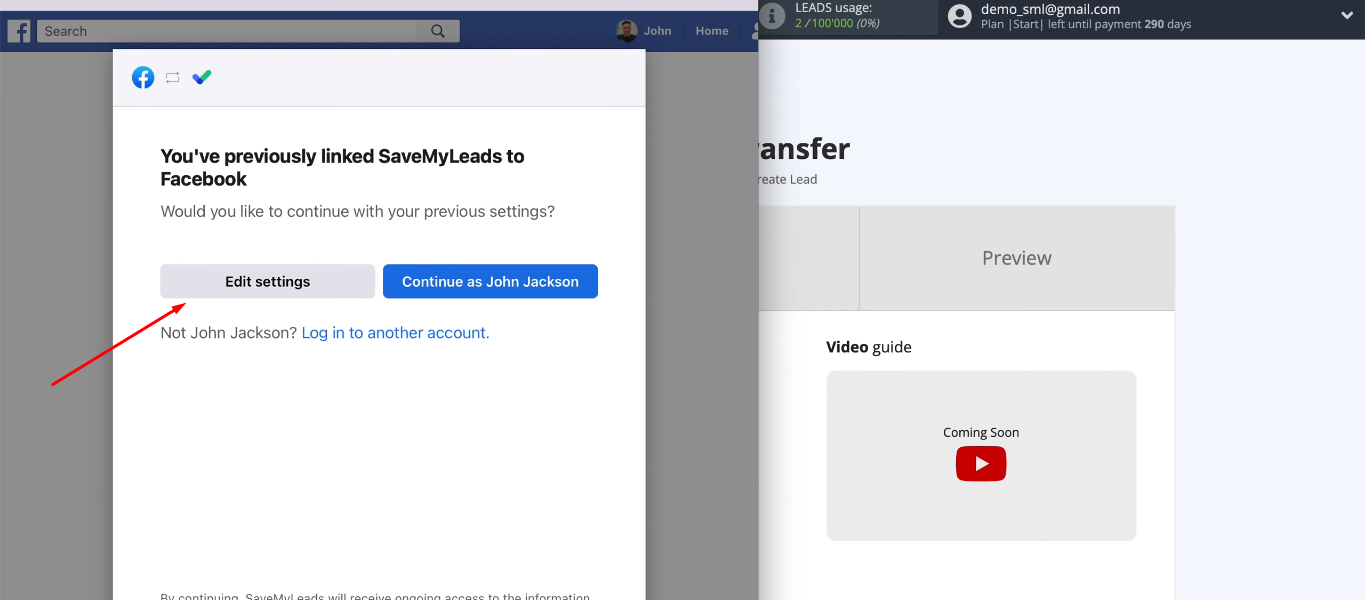
Next, we move on to additional settings.
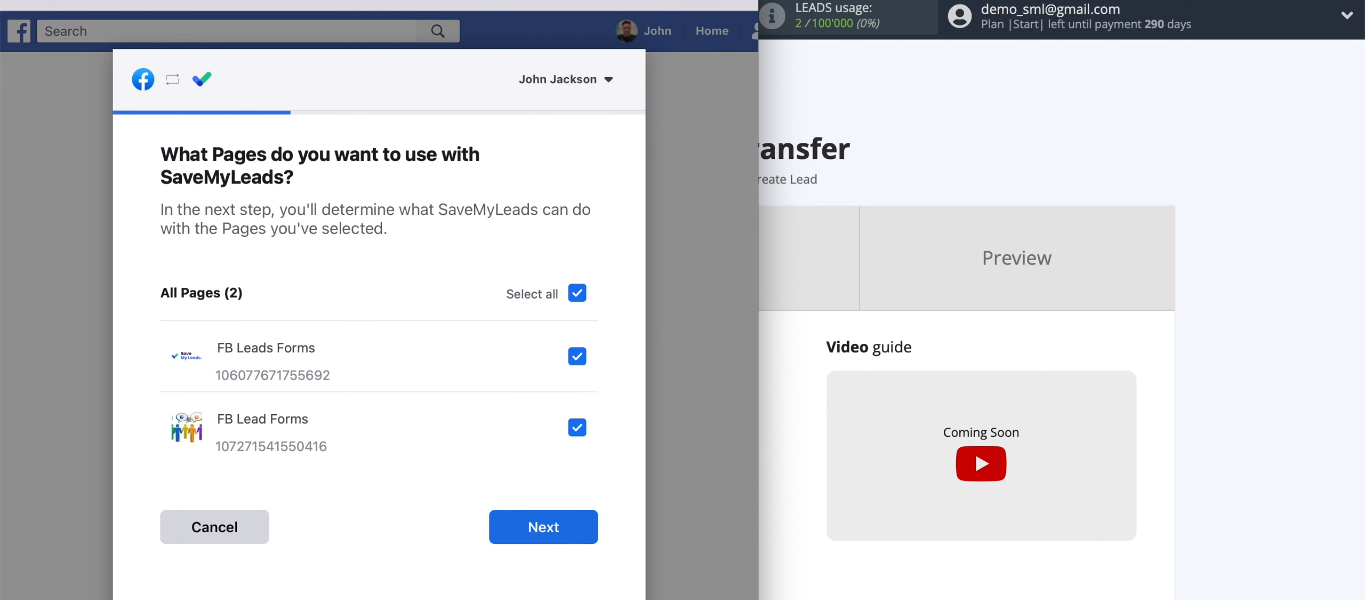
We need to select advertising pages for which we can set up the unloading of leads. You can select all available pages at once.
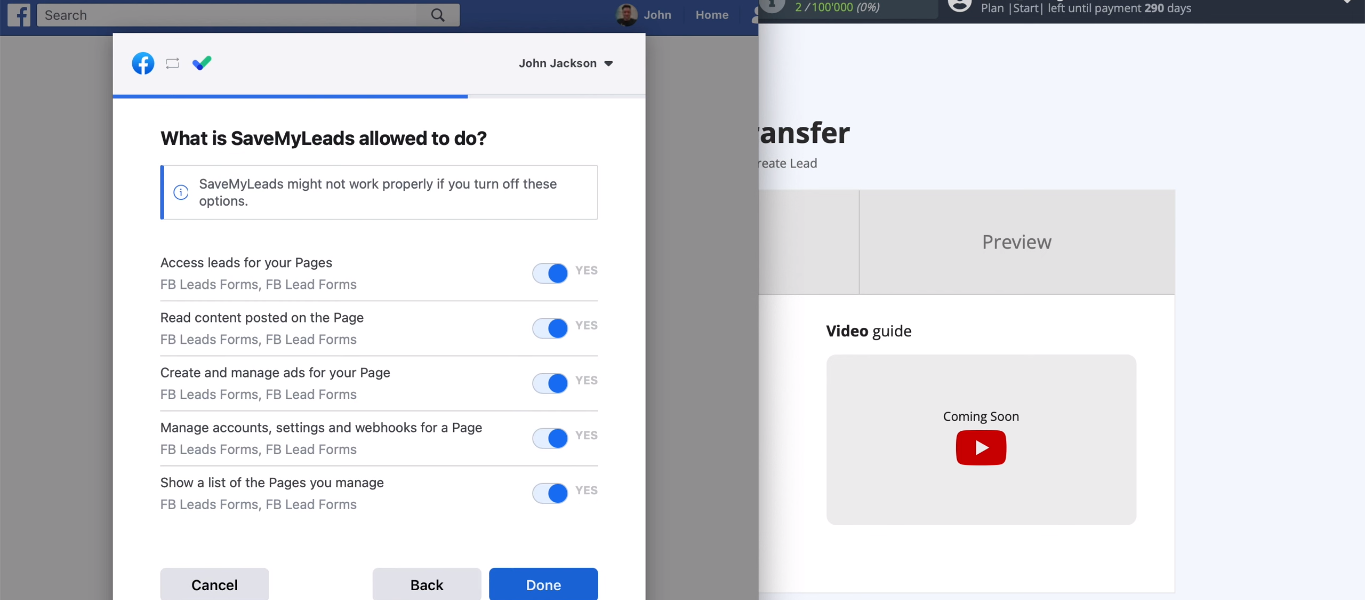
Leave all checkboxes enabled.
We linked Facebook and SaveMyLeads. Press the "OK" button.
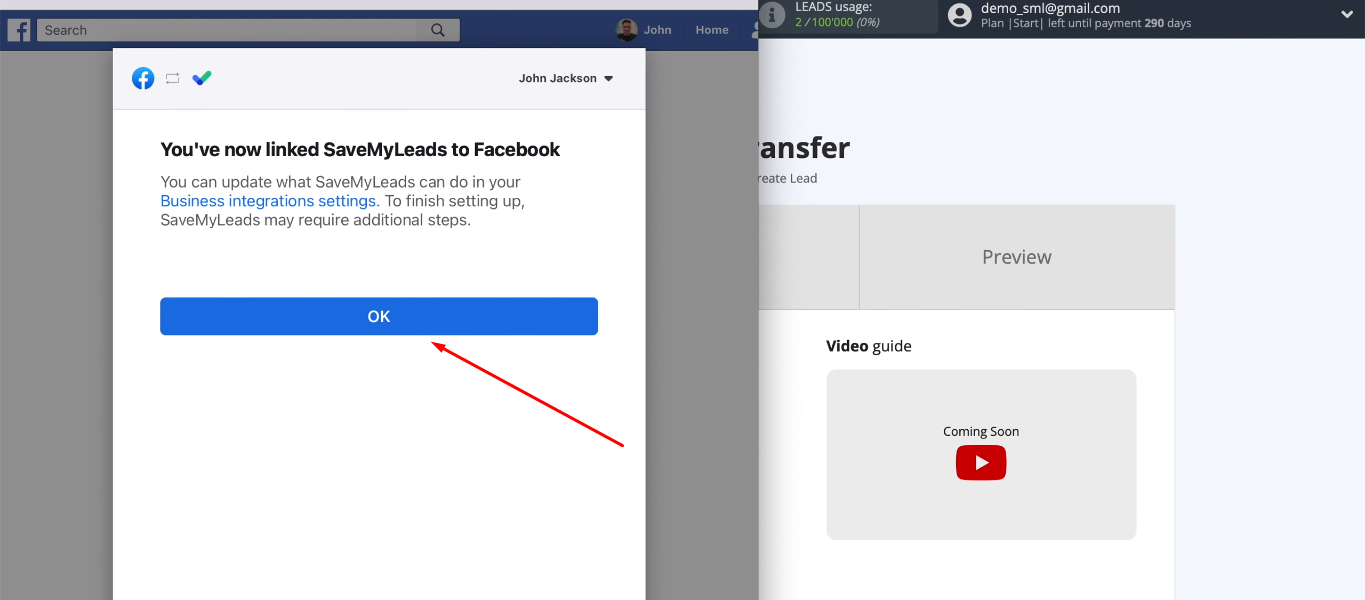
Select the added Facebook account.
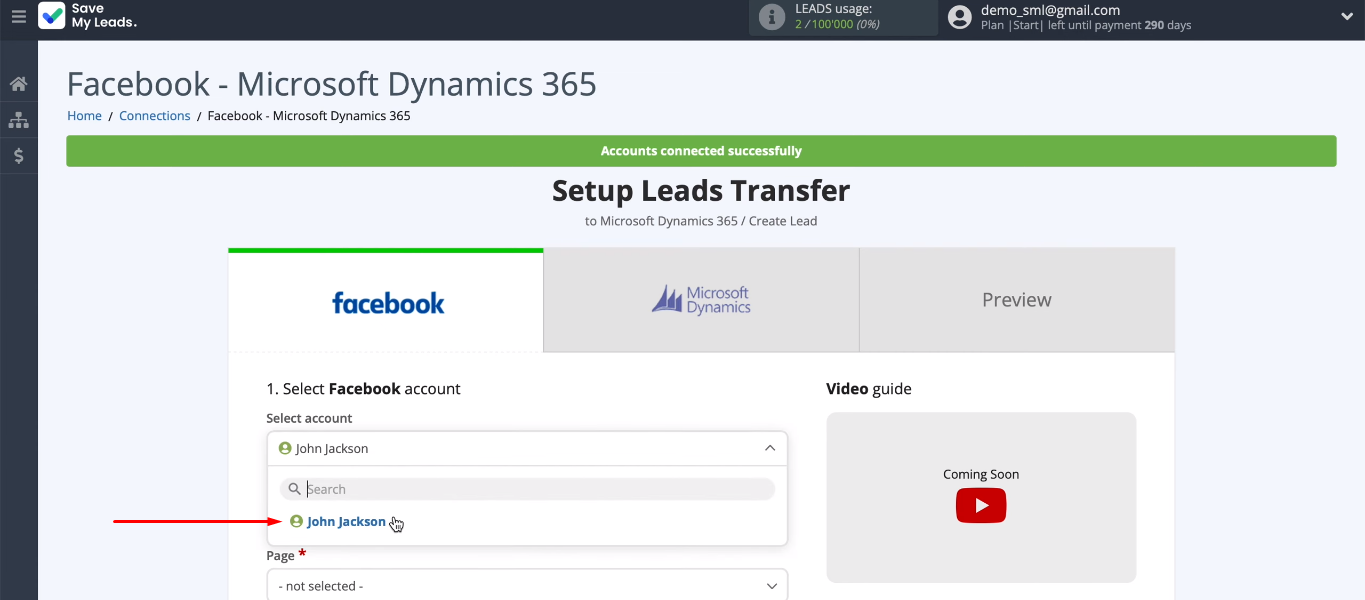
We define the advertising page and form. If you need to transfer leads from different forms, then you need to create a separate connection for each form.
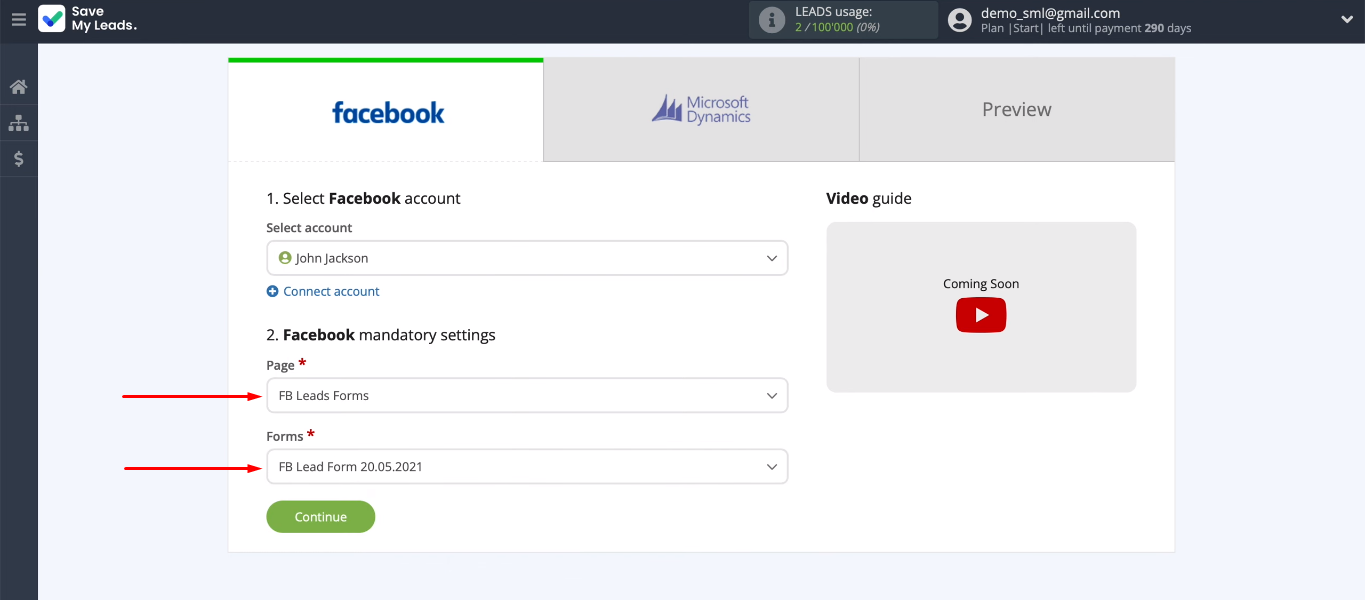
Connect Microsoft Dynamics 365
Connect Microsoft Dynamics 365 account.
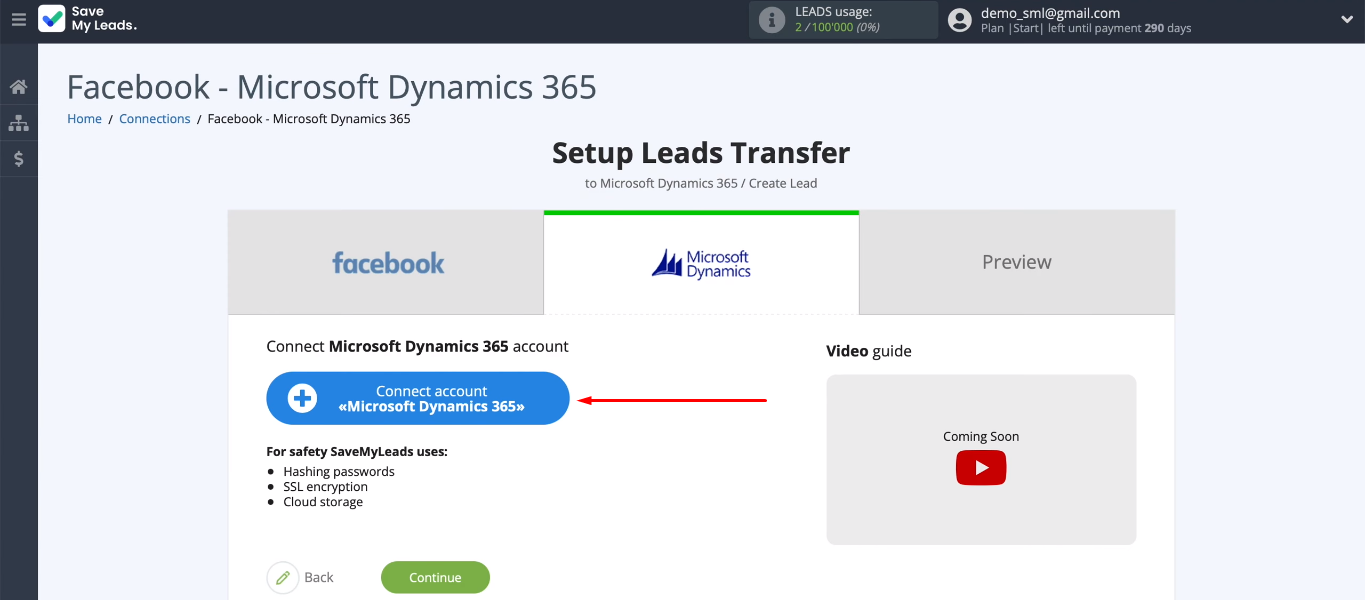
We need to fill in the “Domain” field.
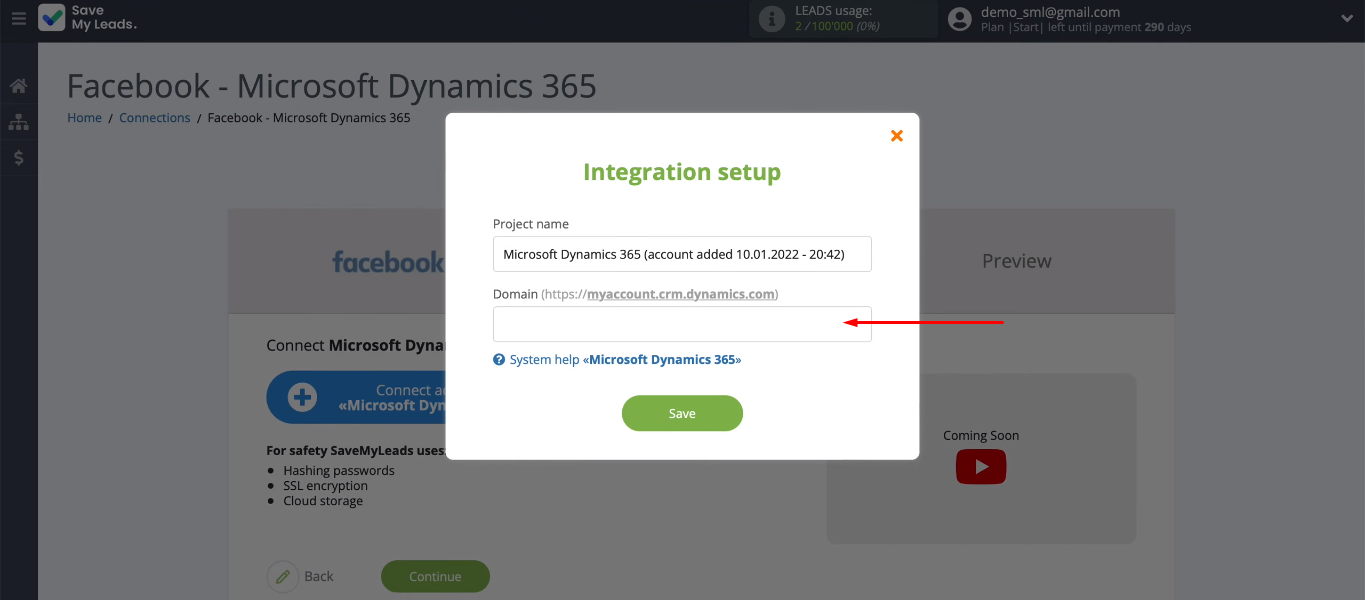
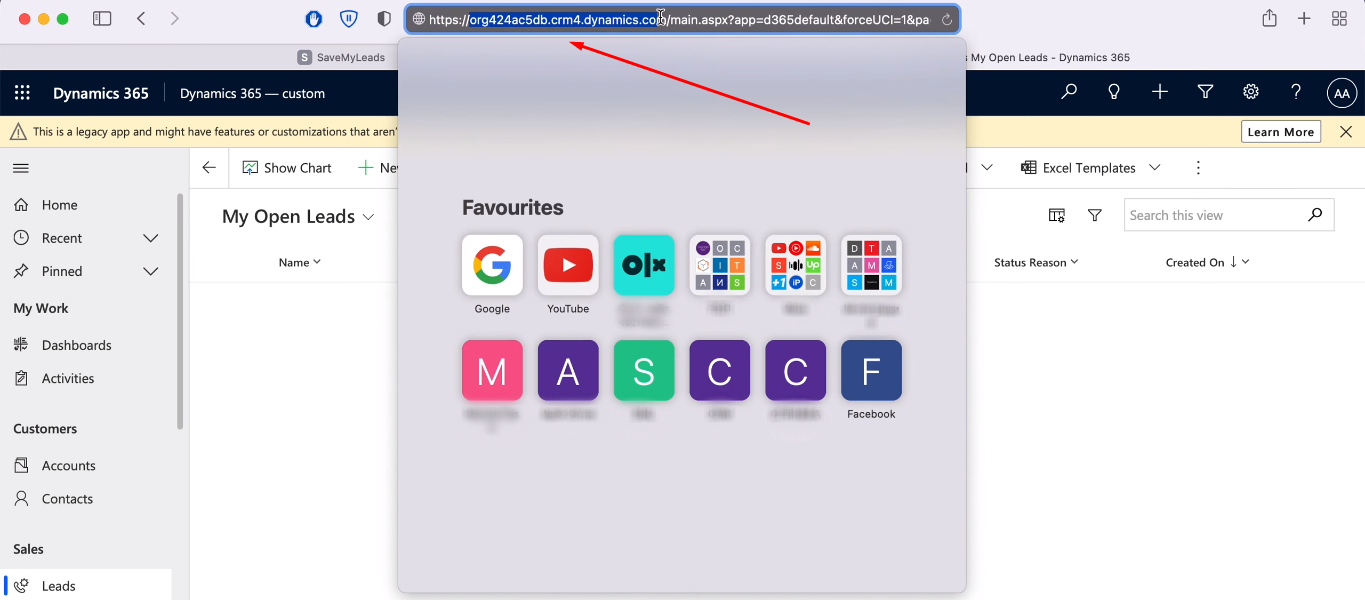
Go to your Microsoft Dynamics 365 personal account and copy the domain in the address bar (without additional characters).
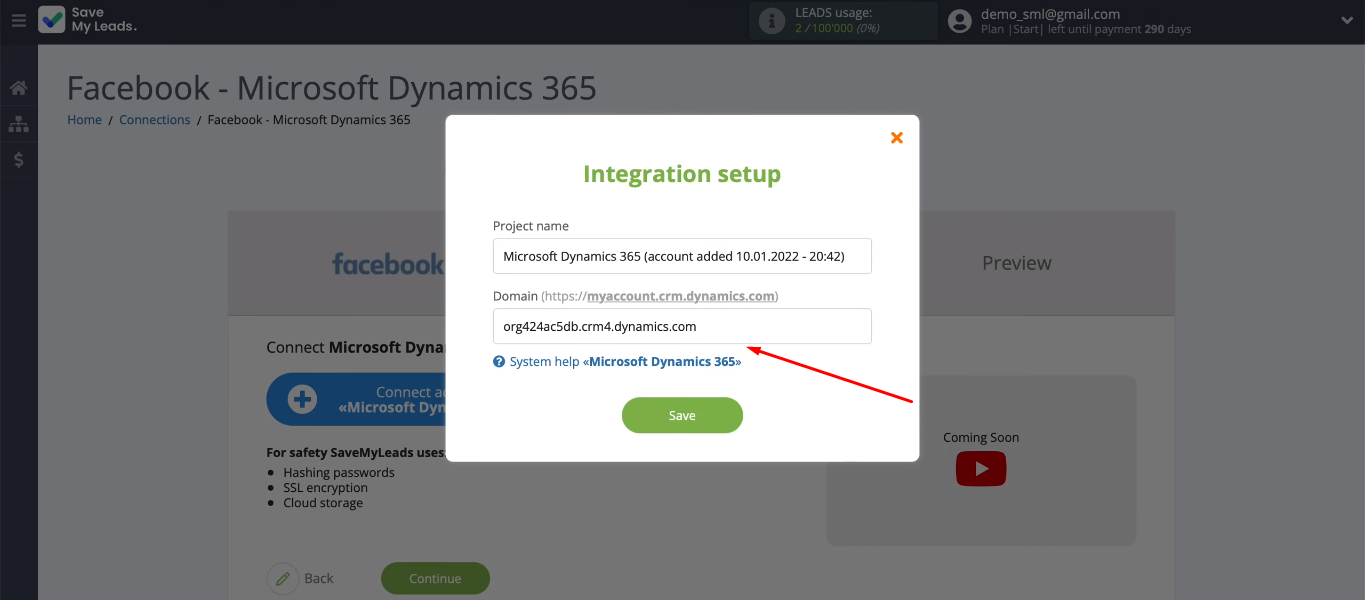
Return to the SaveMyLeads system, paste the copied domain and click the “Save” button.
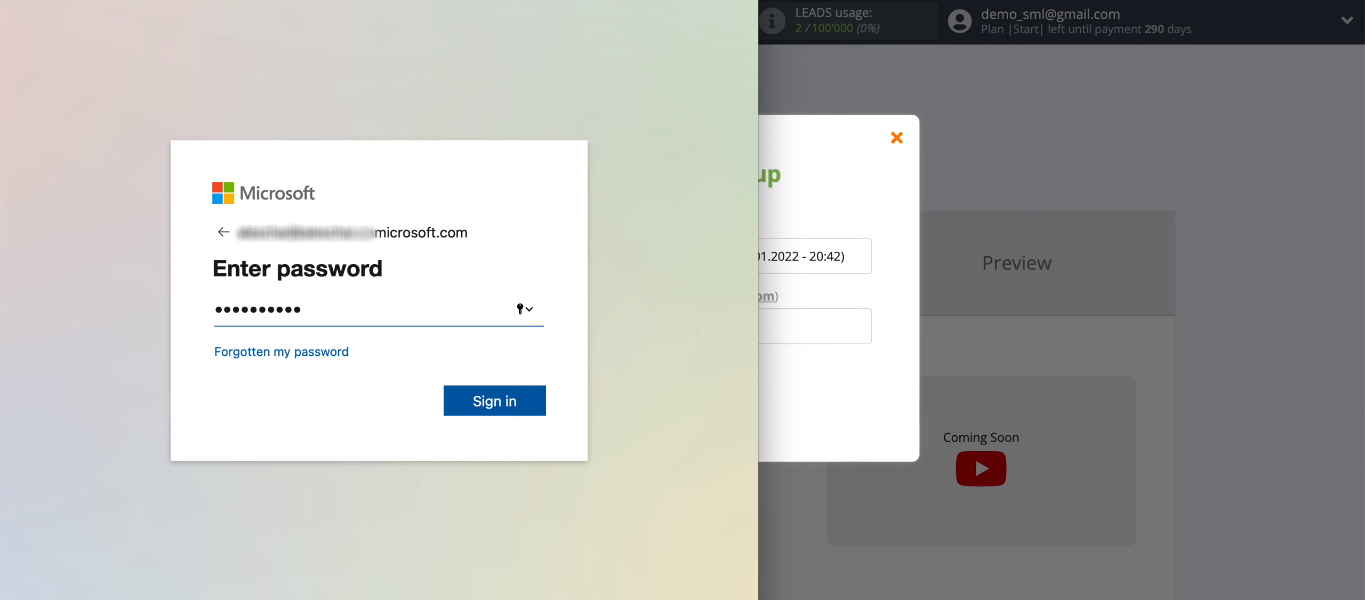
In the next window, we need to specify the login of the personal Microsoft Dynamics 365 account.
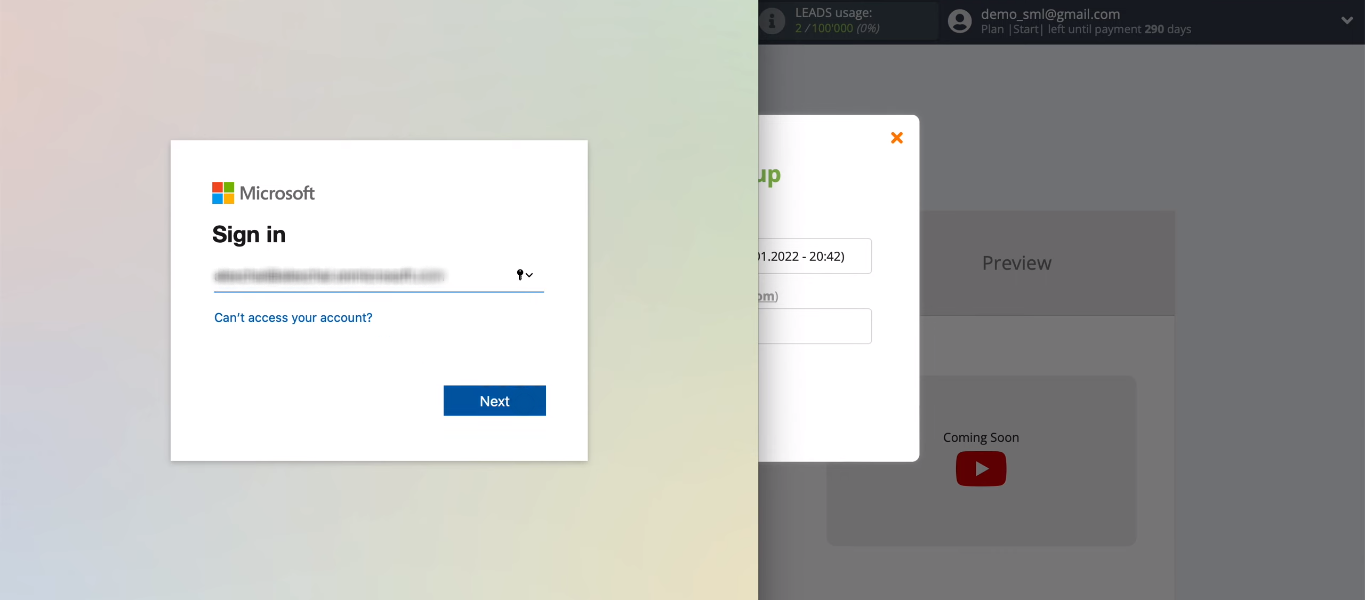
Enter the password.
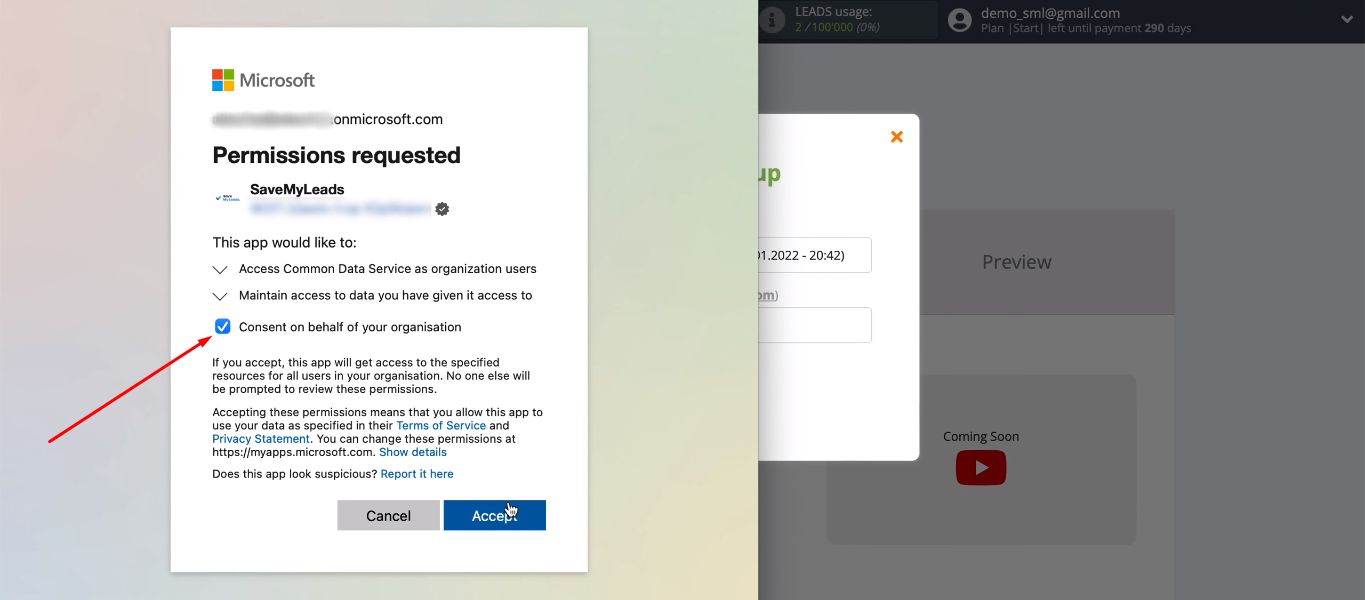
Provide the necessary access to the SaveMyLeads service to work with Microsoft Dynamics 365 account.
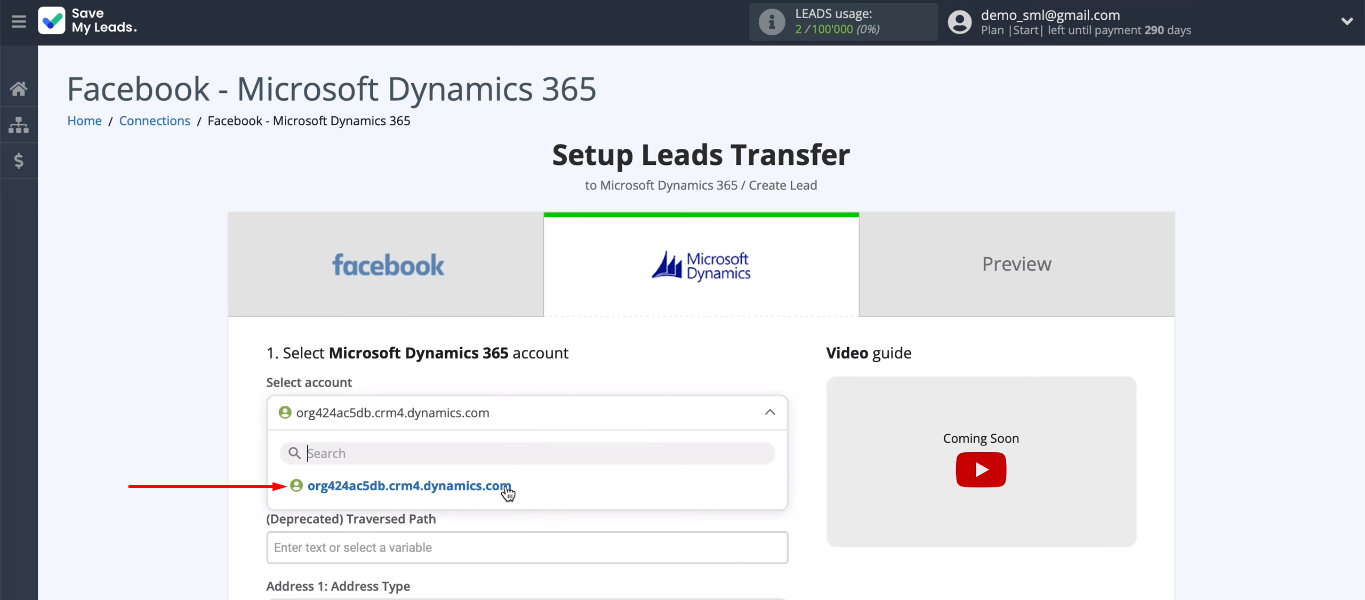
The added account appears in the list. Now it can be selected for further customization.
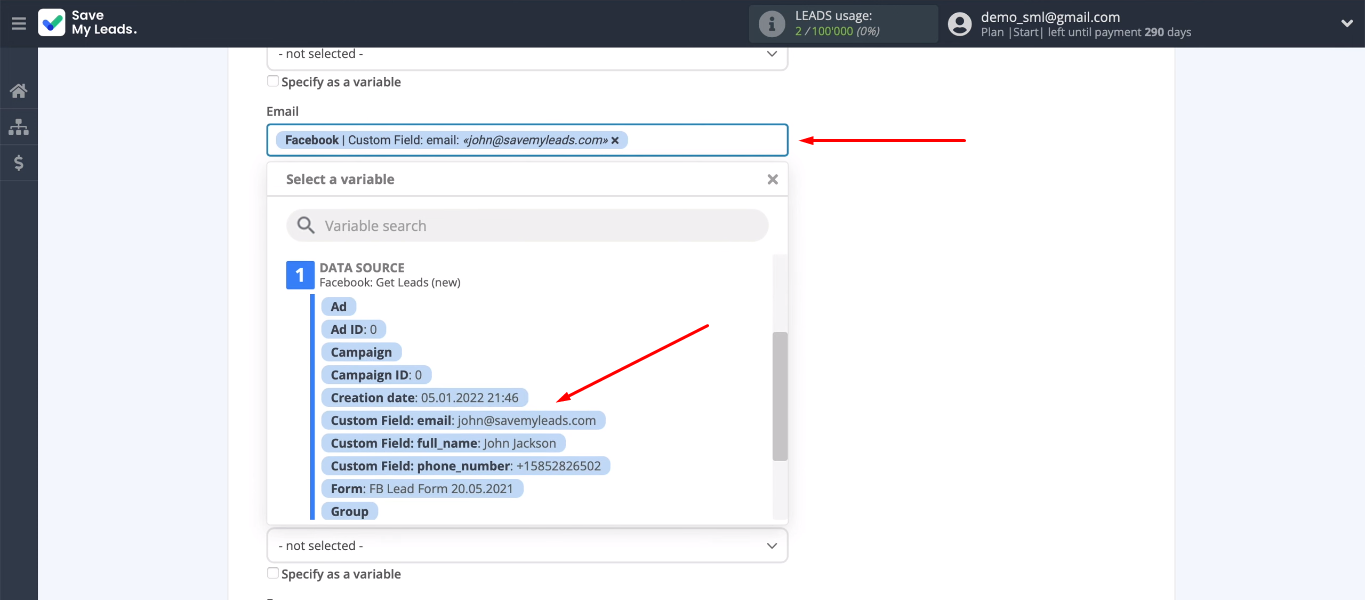
We need to define the data that will be used when creating a new lead in Microsoft Dynamics 365. To do this, we use variables received from Facebook. The SaveMyLeads system suggests default values for some fields. It is also possible to manually enter data and add your own text to variables. When we have decided on the content of the fields, click the “Continue” button.
We can now examine an example of the data that will be sent to Microsoft Dynamics 365 to create a new lead.
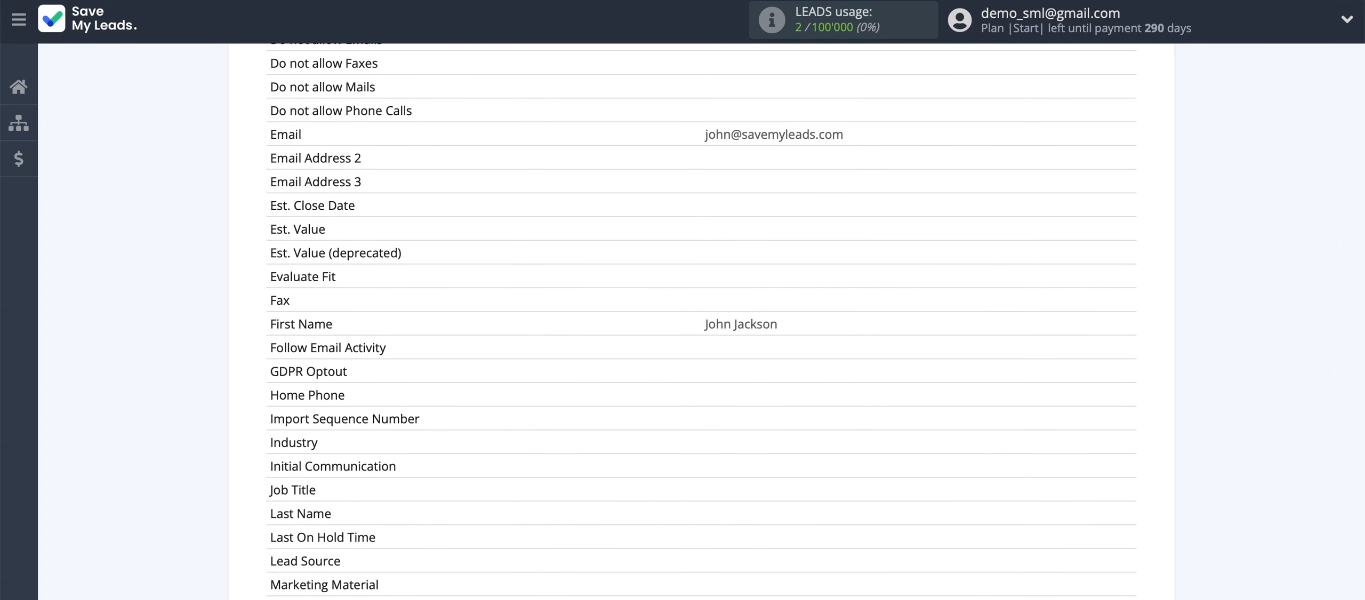
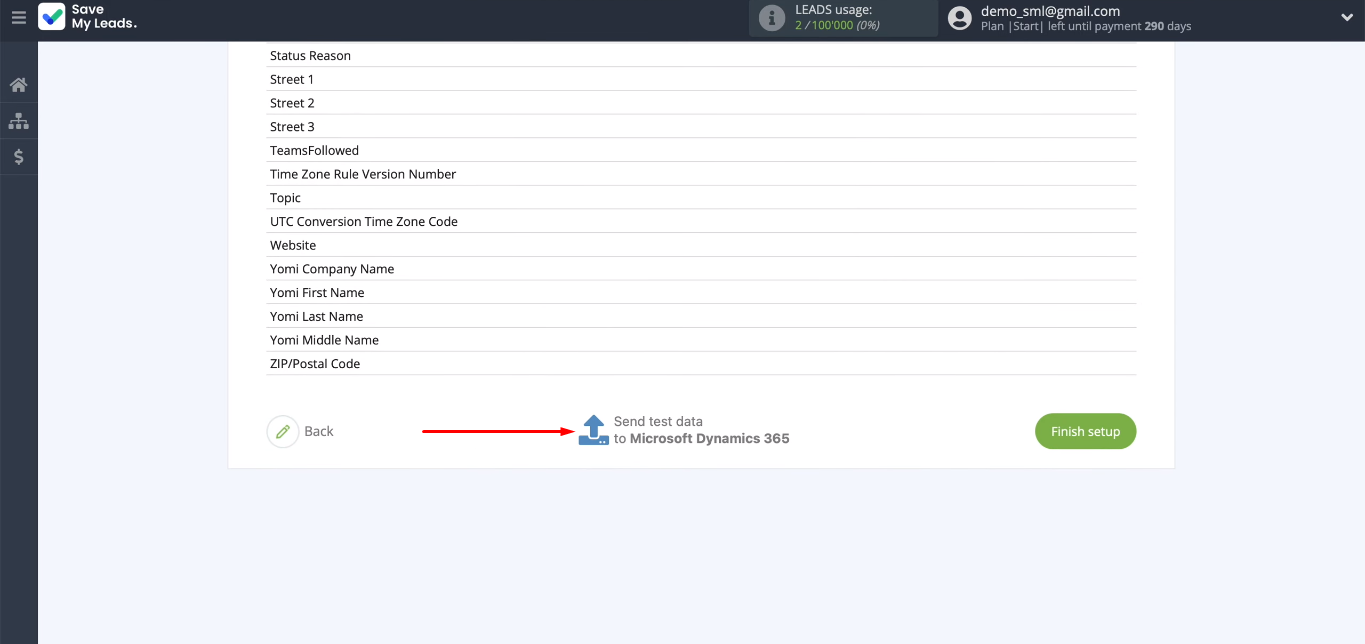
Check the connection. Send test data to the Microsoft Dynamics 365 CRM system.
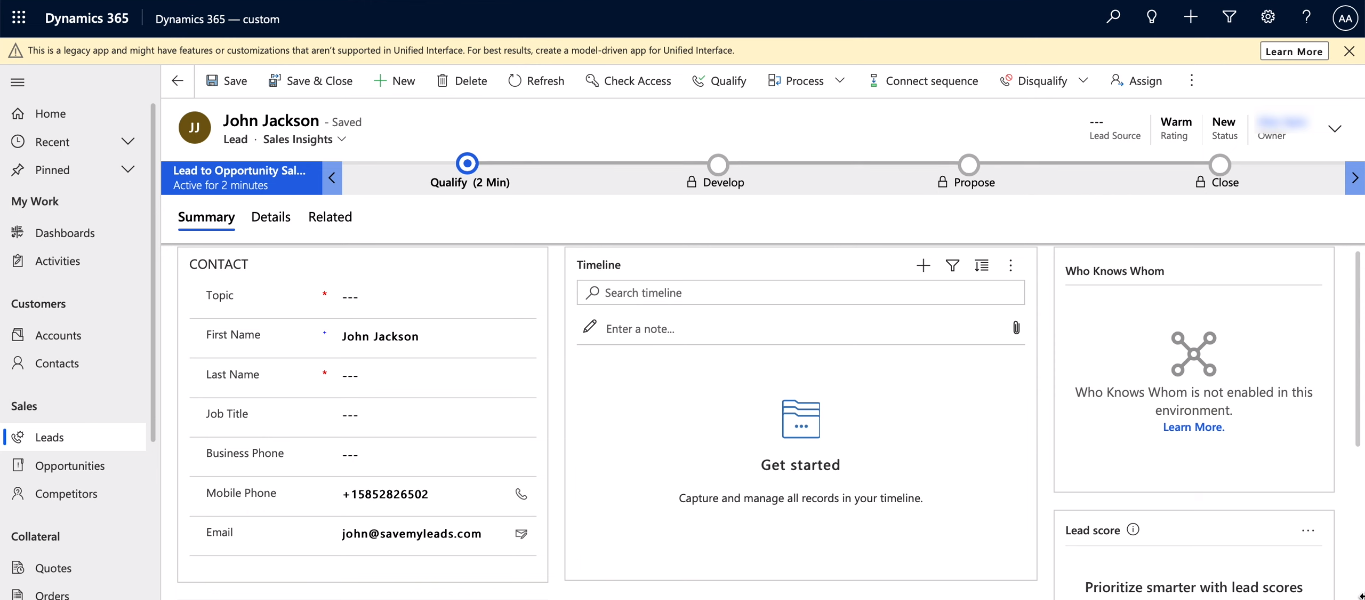
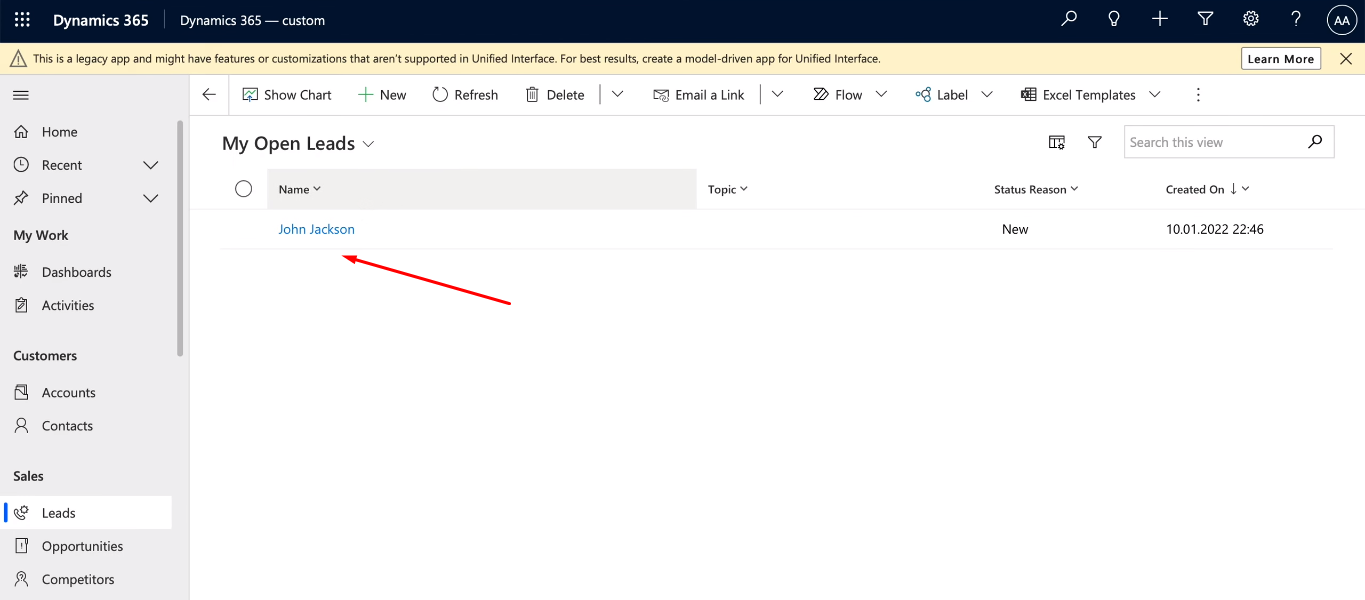
Go to the Microsoft Dynamics 365 personal account and check for a new lead.
Enable auto-update
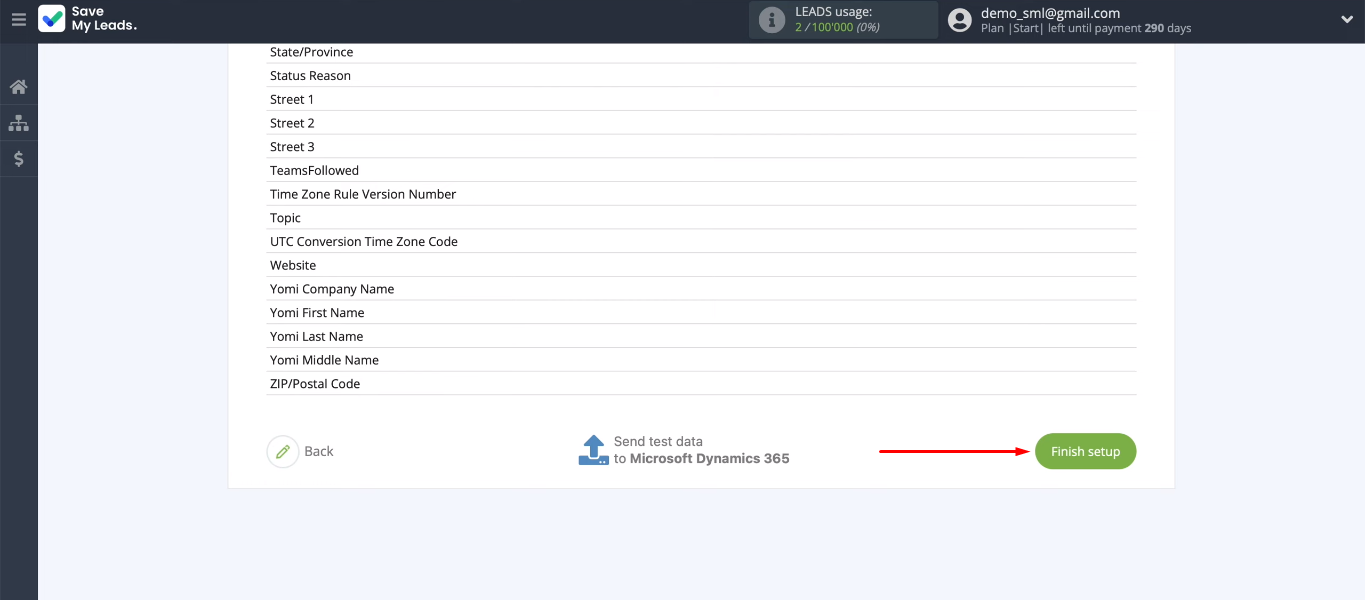
The connection works, the new lead was added correctly in the Microsoft Dynamics 365 system. Now we have to activate the integration so that each new lead on Facebook is automatically tracked and added to Microsoft Dynamics 365. To enable auto-update, click the “Finish setup” button.
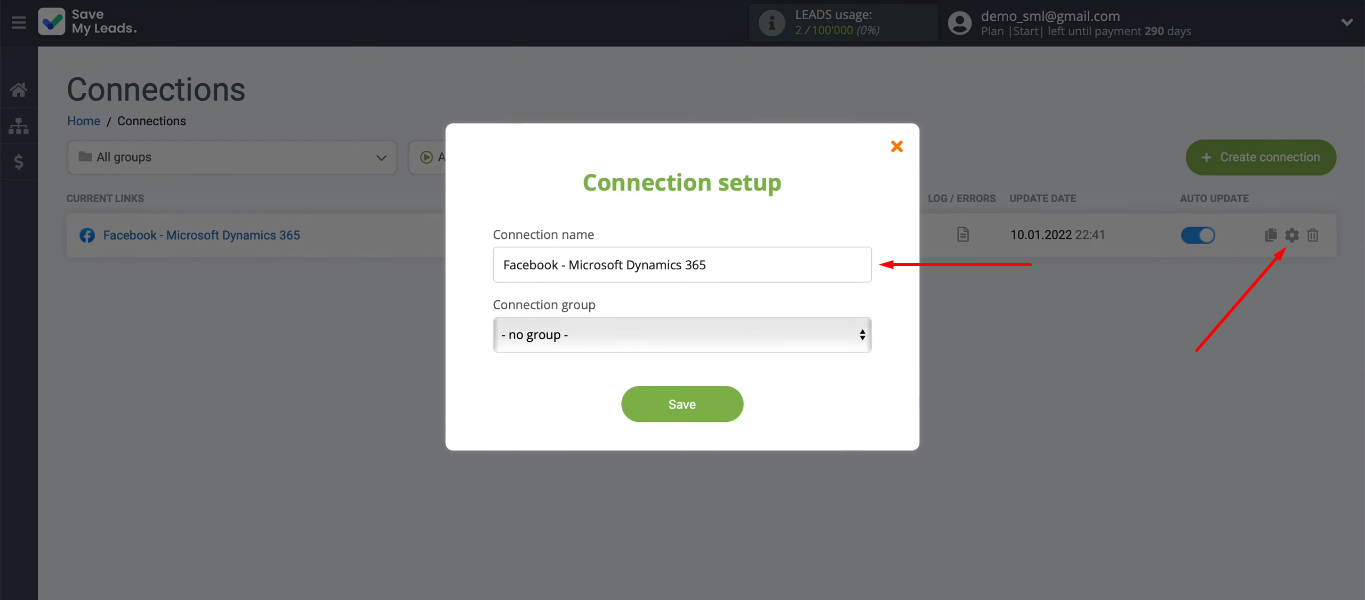
You can change the name of the integration as you wish. Go to the connection settings, specify the desired name and save the changes.
Conclusion
Automation of work processes and minimization of routine operations allow employees of the sales department to increase their productivity. Facebook and Microsoft Dynamics 365 integration provides automatic transfer of leads from the social network to the CRM system. Employees do not need to regularly check for new orders in their Facebook account and manually transfer data to Microsoft Dynamics 365.


To set up this integration, we used the SaveMyLeads online connector. It is a no-code tool that offers a simple interface and a clear communication setup procedure. Creating integrations with SaveMyLeads does not require special knowledge and skills. Following simple instructions, you will connect Facebook with the right system in just a few minutes.
