Manual data import is a time-consuming and boring job. Automate it to improve business efficiency. To do this, you do not need to hire a programmer, just use the simple SaveMyLeads service.
Content :
1. How to set up Facebook and Freshworks integration
2. Getting Started with SaveMyLeads
3. Connect Facebook Leads Ads
4. Connect Freshworks
5. Testing data transfer
6. Finish the setup
Let's take a look at what your business will gain if you set up automatic lead uploads with SaveMyLeads.
First, you will save yourself from routine activities. Our service will monitor Facebook every second for new leads and upload them to Freshworks without any effort on your part. And no matter how many applications leave customers, the system will cope with any flow of leads. You no longer have to spend energy on these time-consuming processes. Instead, you can do other work activities or just relax.
Secondly, you will be able to respond to customers faster. As soon as a client leaves a request in the Facebook lead form, SaveMyLeads instantly copies it to CRM. The service works without interruption. Thus, with any flow of leads, they always appear on time in the system for working with clients. Therefore, you will be able to respond to customers without delay. So, you will not lose even the most impatient of them.
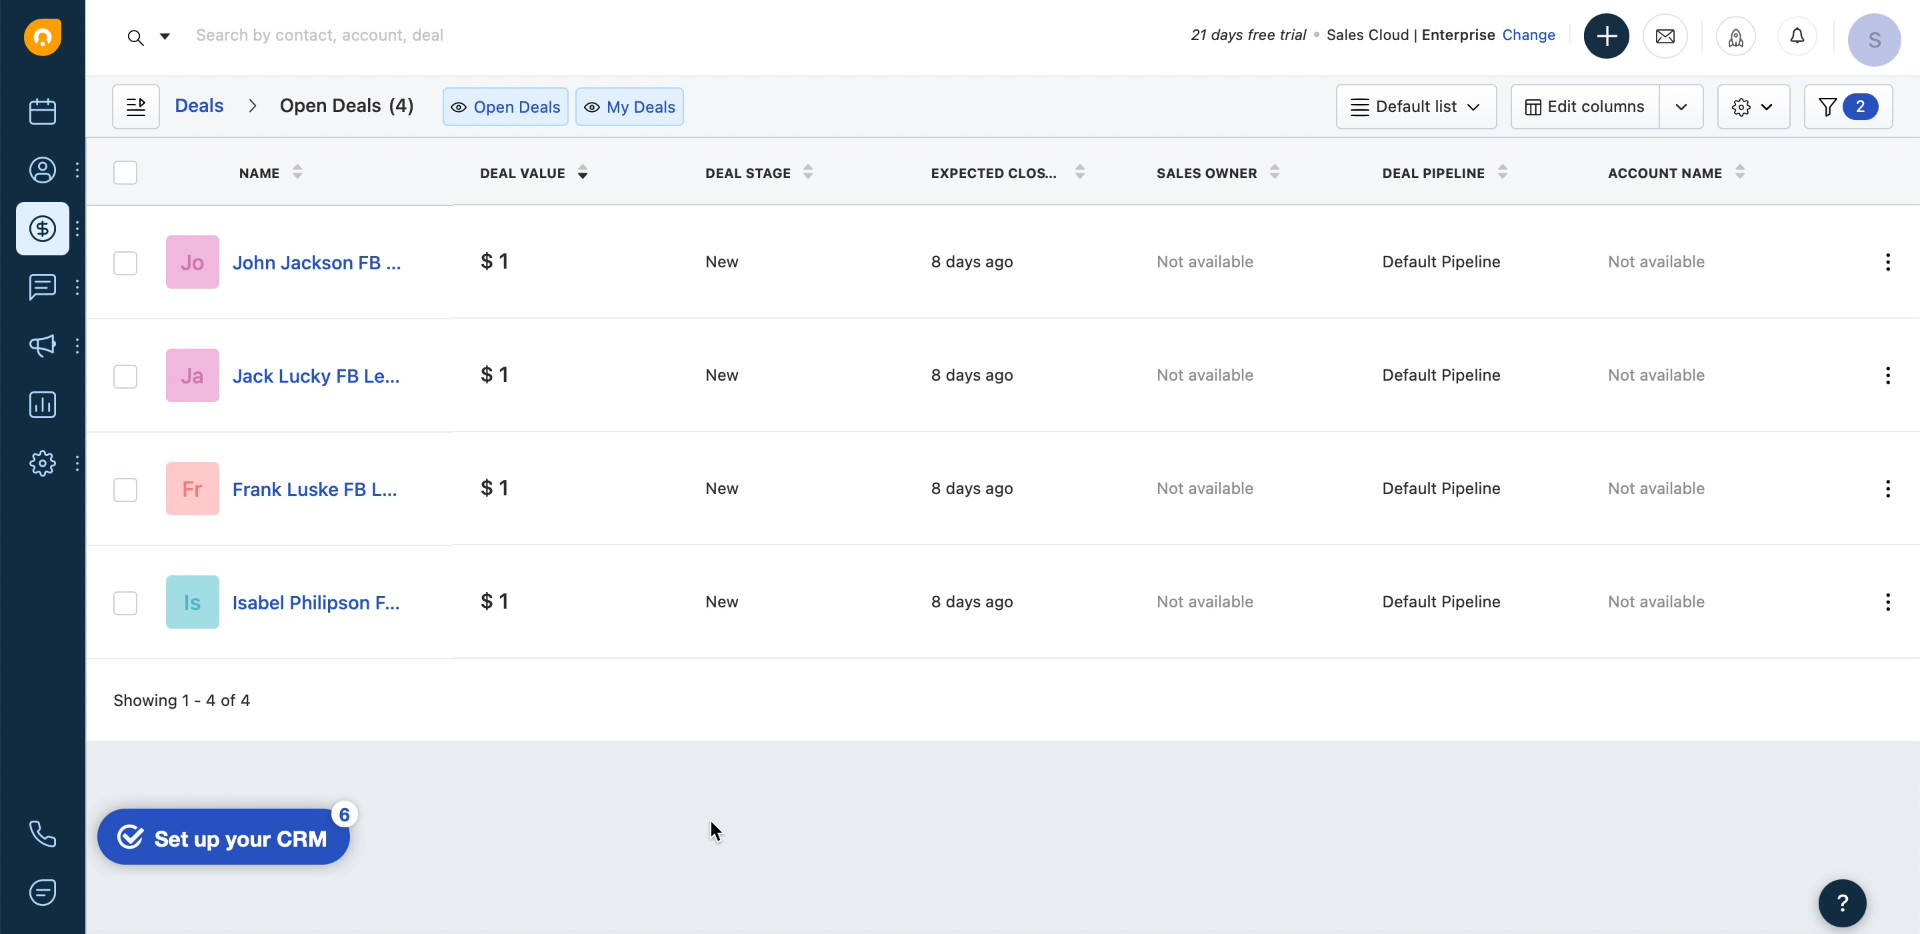
Moreover, automation will reduce the chance of errors. Our service does not lose data along the way, transfers them to CRM without distortion and in full. This eliminates typical problems that can occur when manually uploading data: accidentally losing important contacts and confusing addresses or customer names.
Plus, you get full control over data transfer. SaveMyLeads can pass any text data that the user leaves in the form, be it email, name, phone number, whatever. You can choose what kind of information and in which CRM fields you want to upload.
How to set up Facebook and Freshworks integration
No special knowledge is required to work with SaveMyLeads. To set up automation, just register on the service website, select Freshworks from the list of connections and follow the prompts on the screen. The whole process takes about 5 minutes of time. Our step-by-step guide will help you figure it all out.
Getting Started with SaveMyLeads
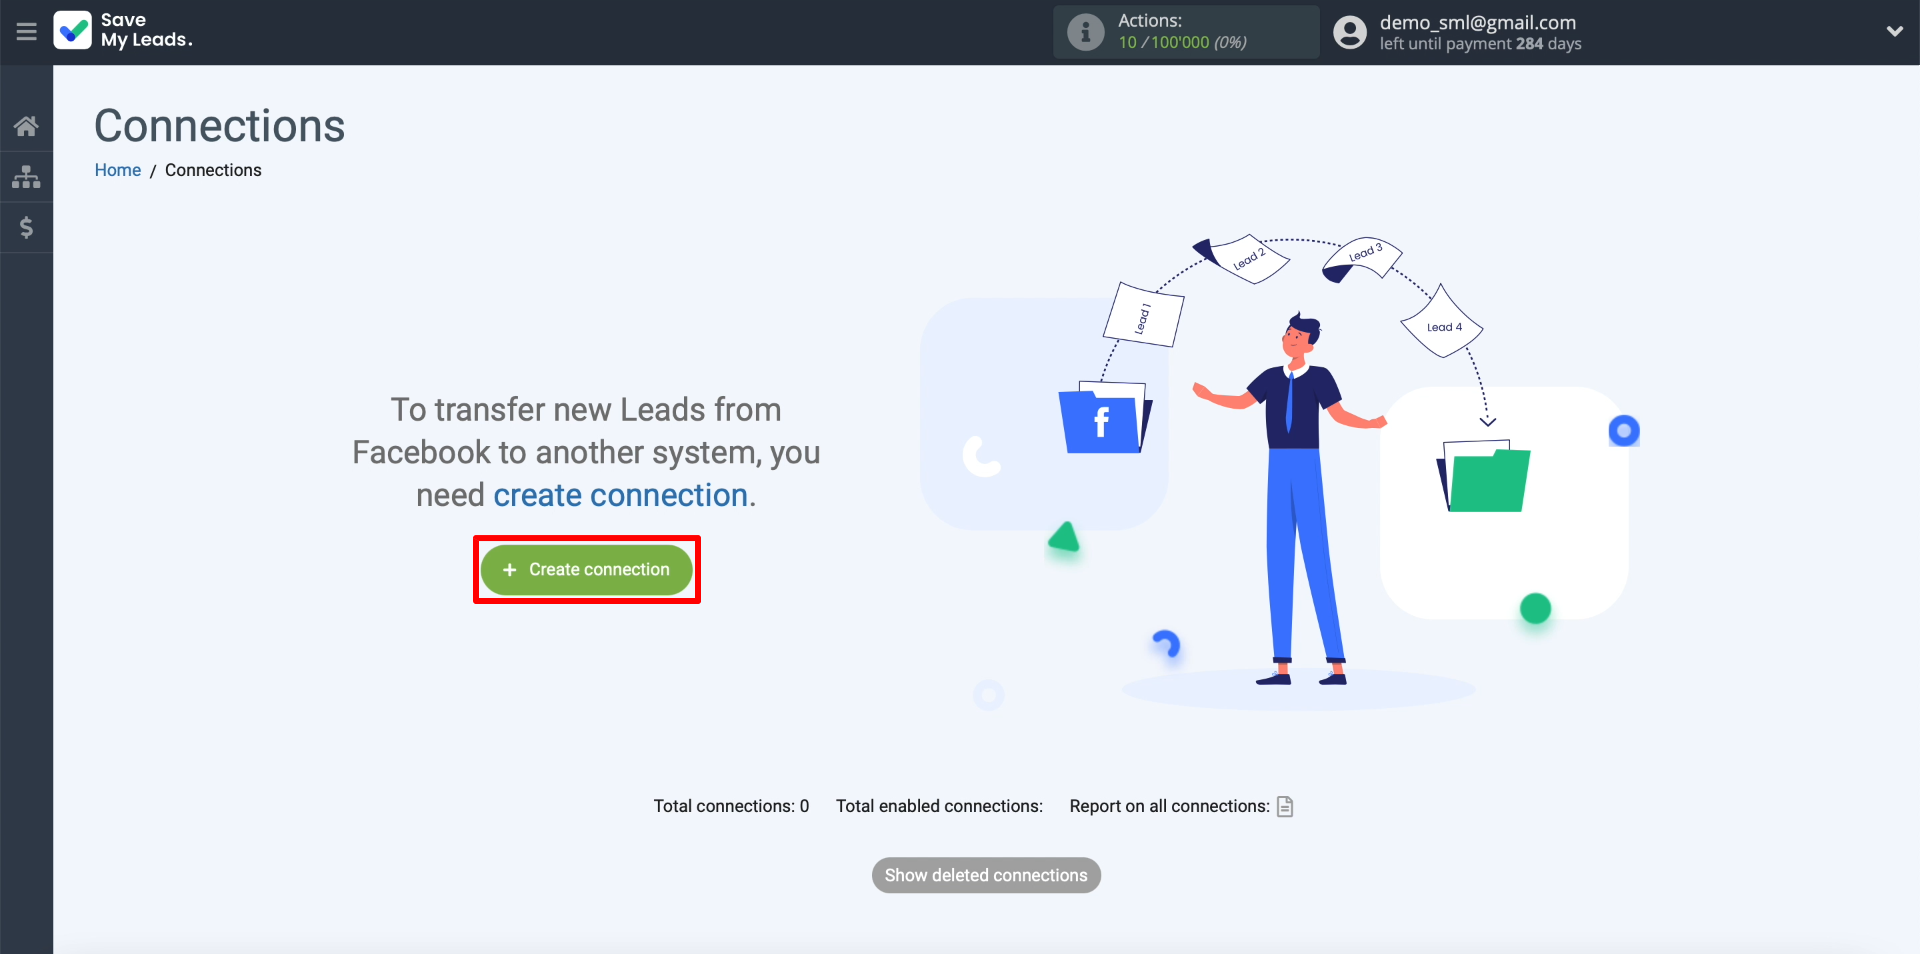
Let's assume that our Facebook form is already set up and ready to receive leads. Now we register in SaveMyLeads and click "Create Connection".
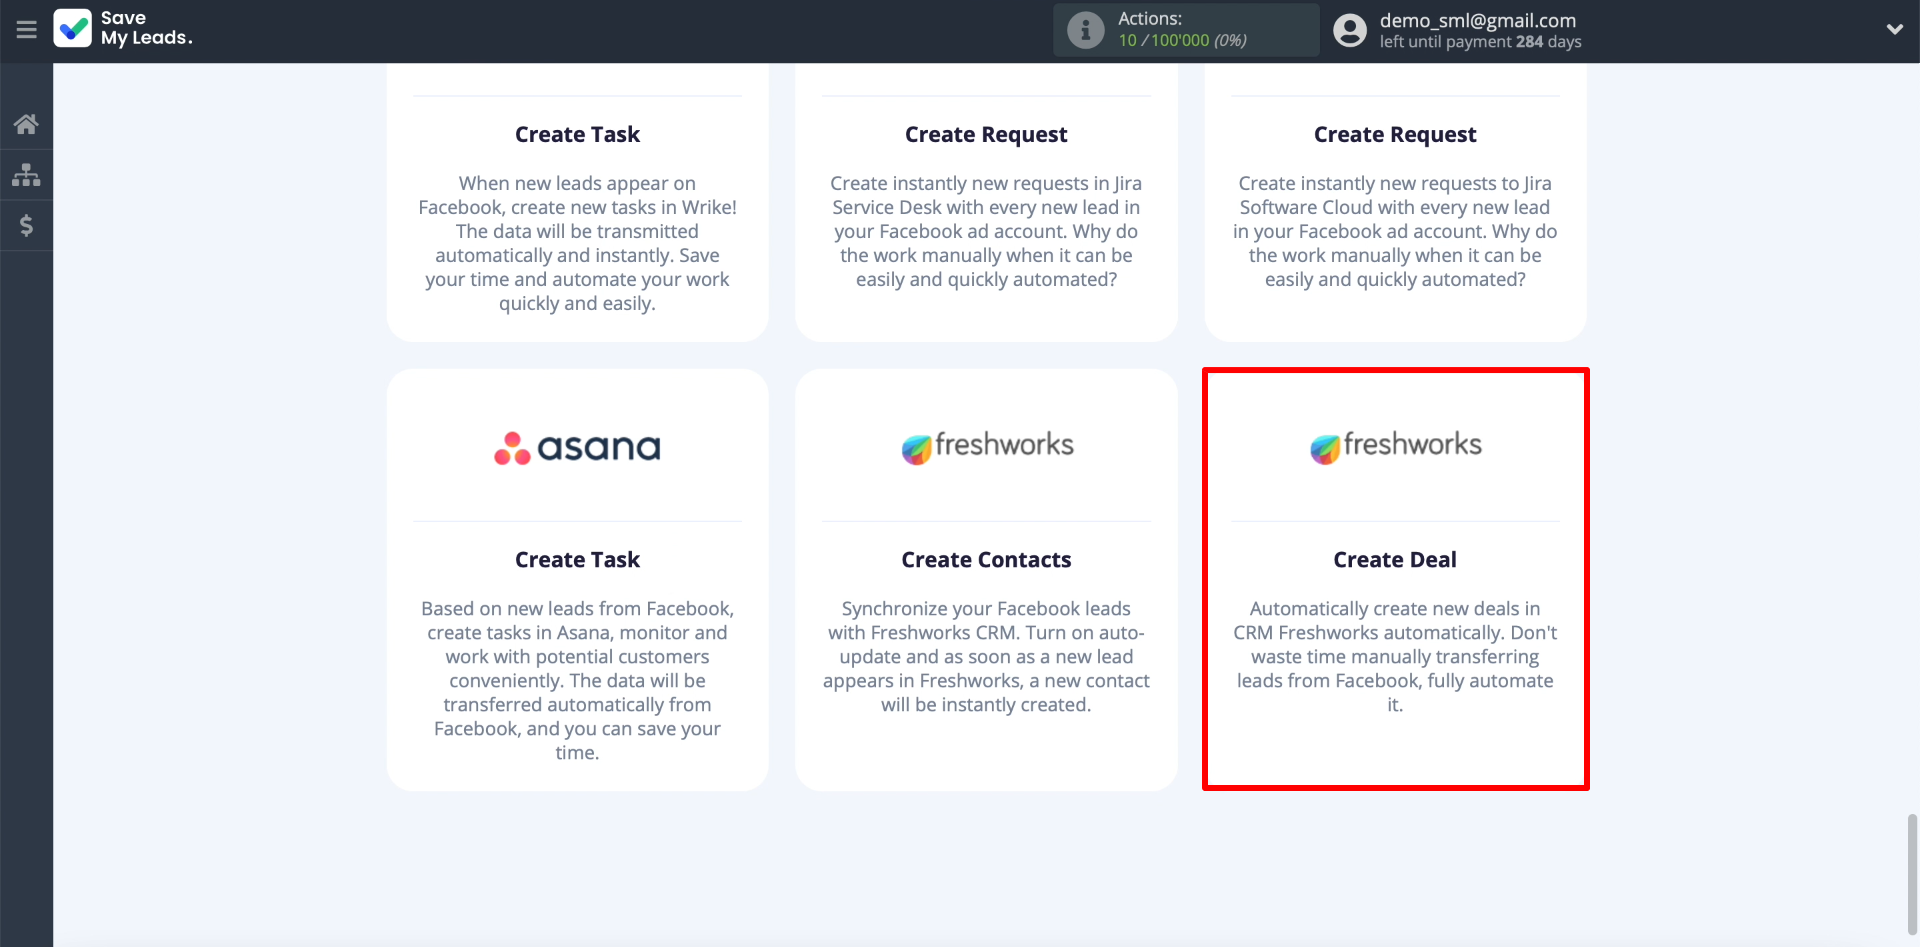
Select the connection with Freshworks from the list. Two options are available: the first is for transferring data in the form of contacts, the second is in the form of deals. We need the latter one.
Connect Facebook Leads Ads
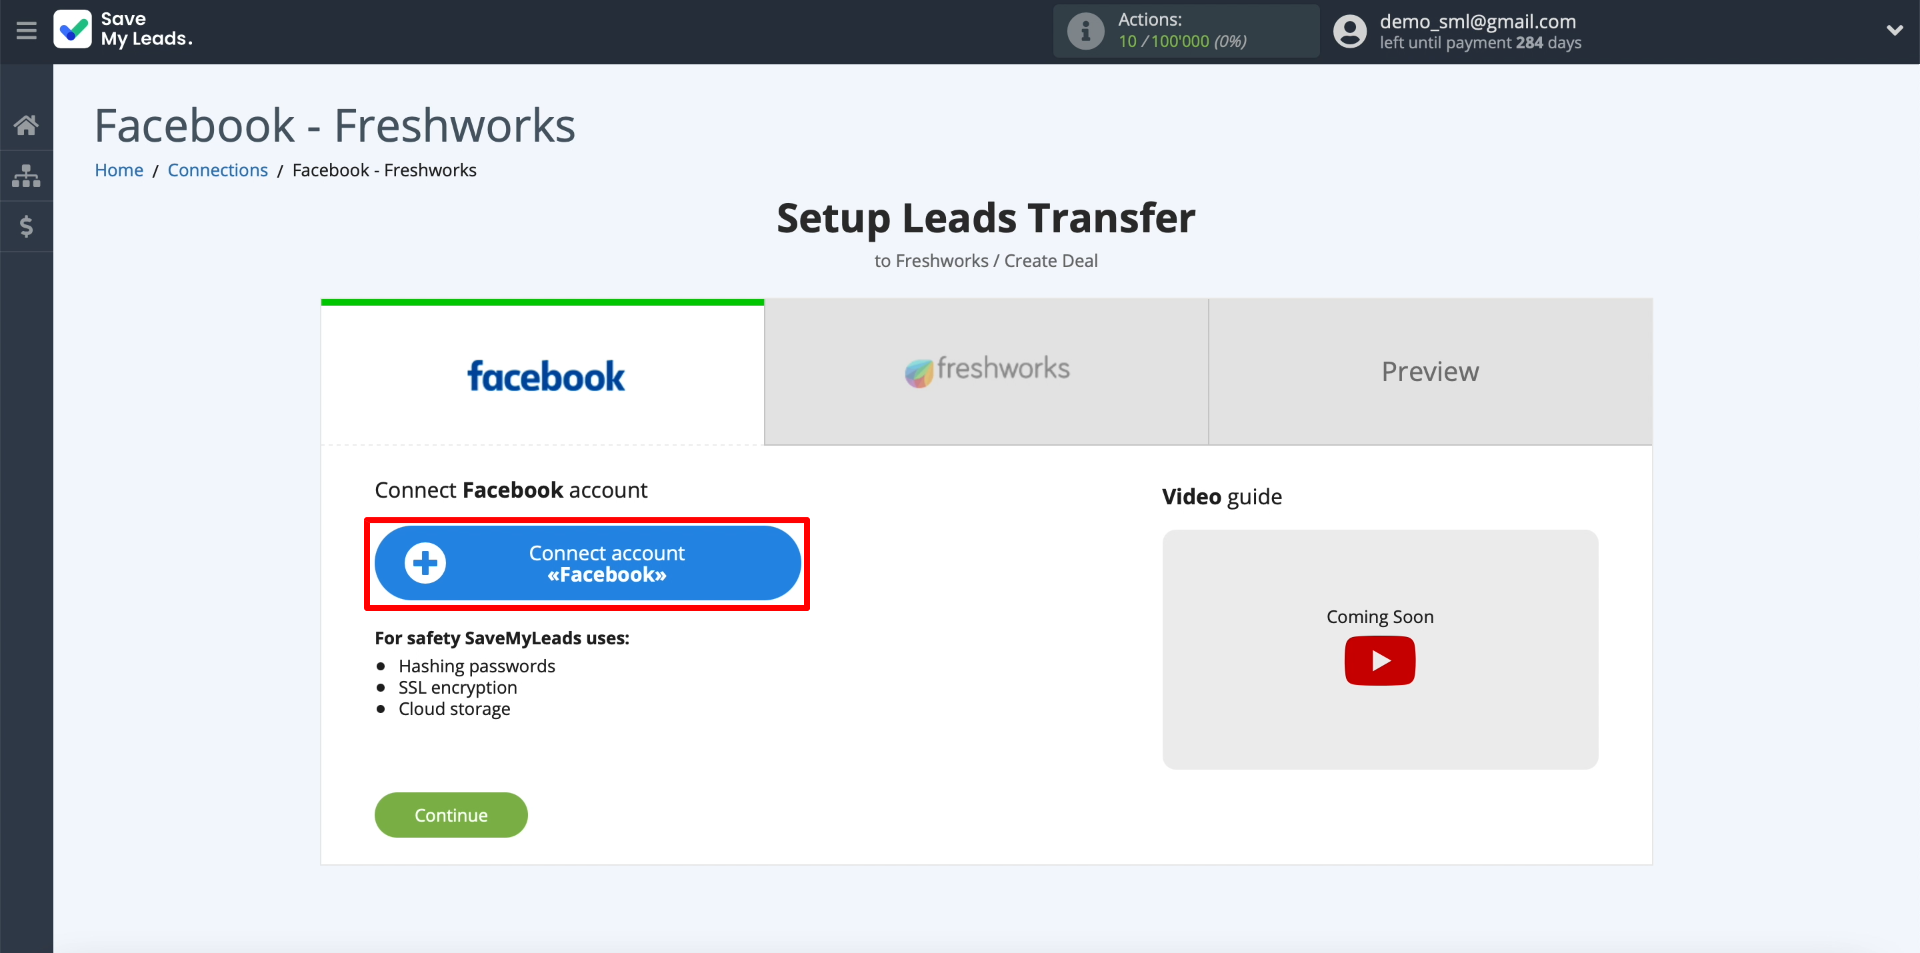
Click on the connect button and enter the login and password from our Facebook account. Then we give the system all the requested permissions so that it can access the leads in the ad account.
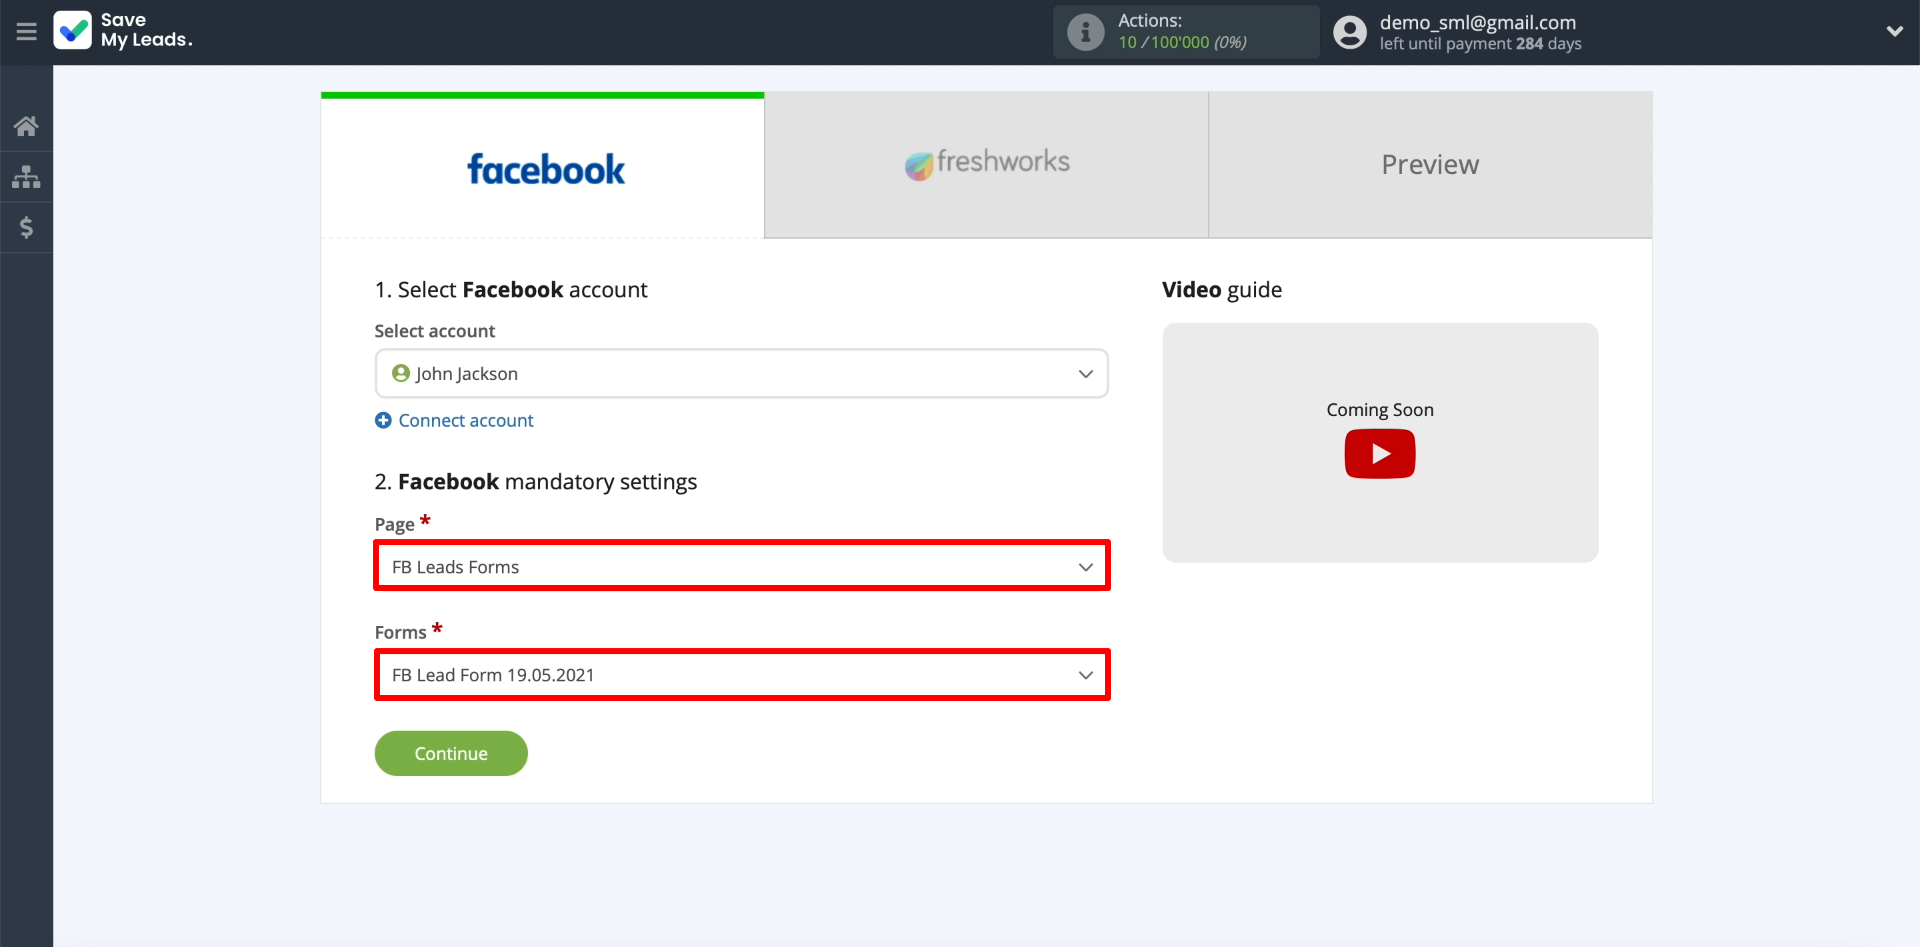
Now we need to show SaveMyLeads where it should upload leads from. To do this, specify the business page for which advertising is configured, and the lead form. Within one connection, you can select only one form. If you want to set up automatic uploading of leads from several forms, you need to create a separate connection for each.
Connect Freshworks
Click on the connect button.
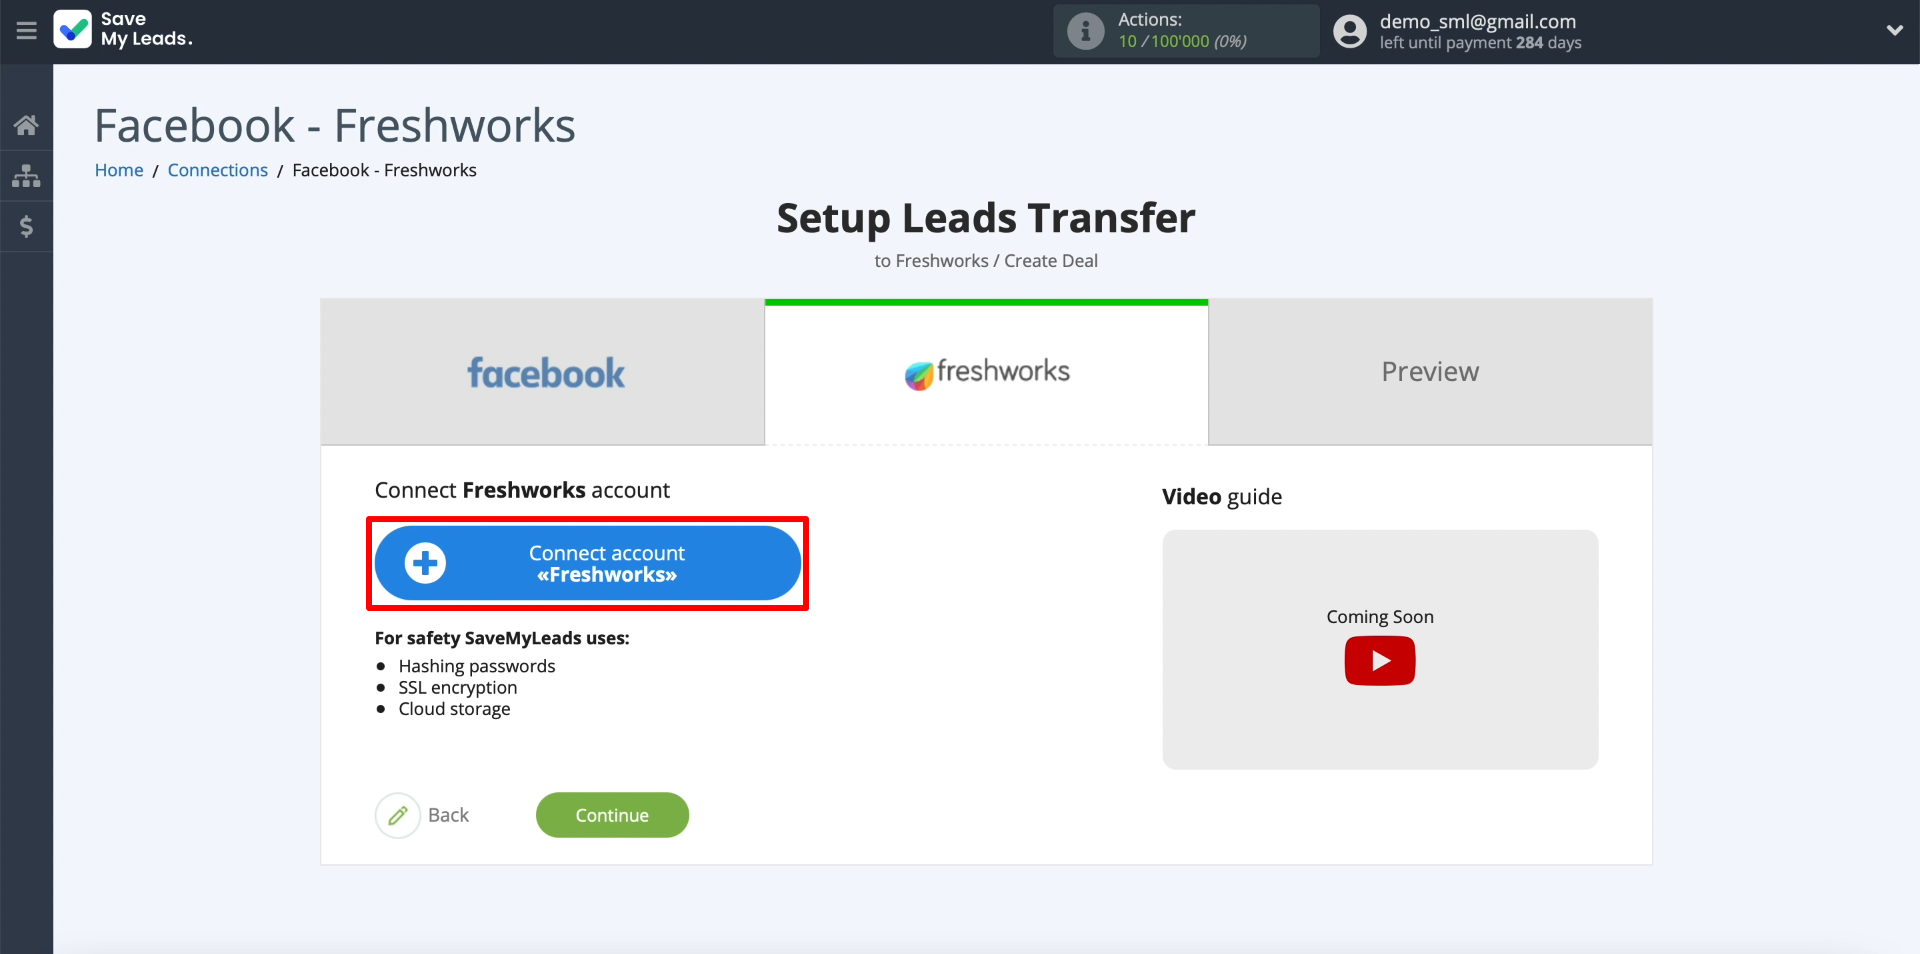
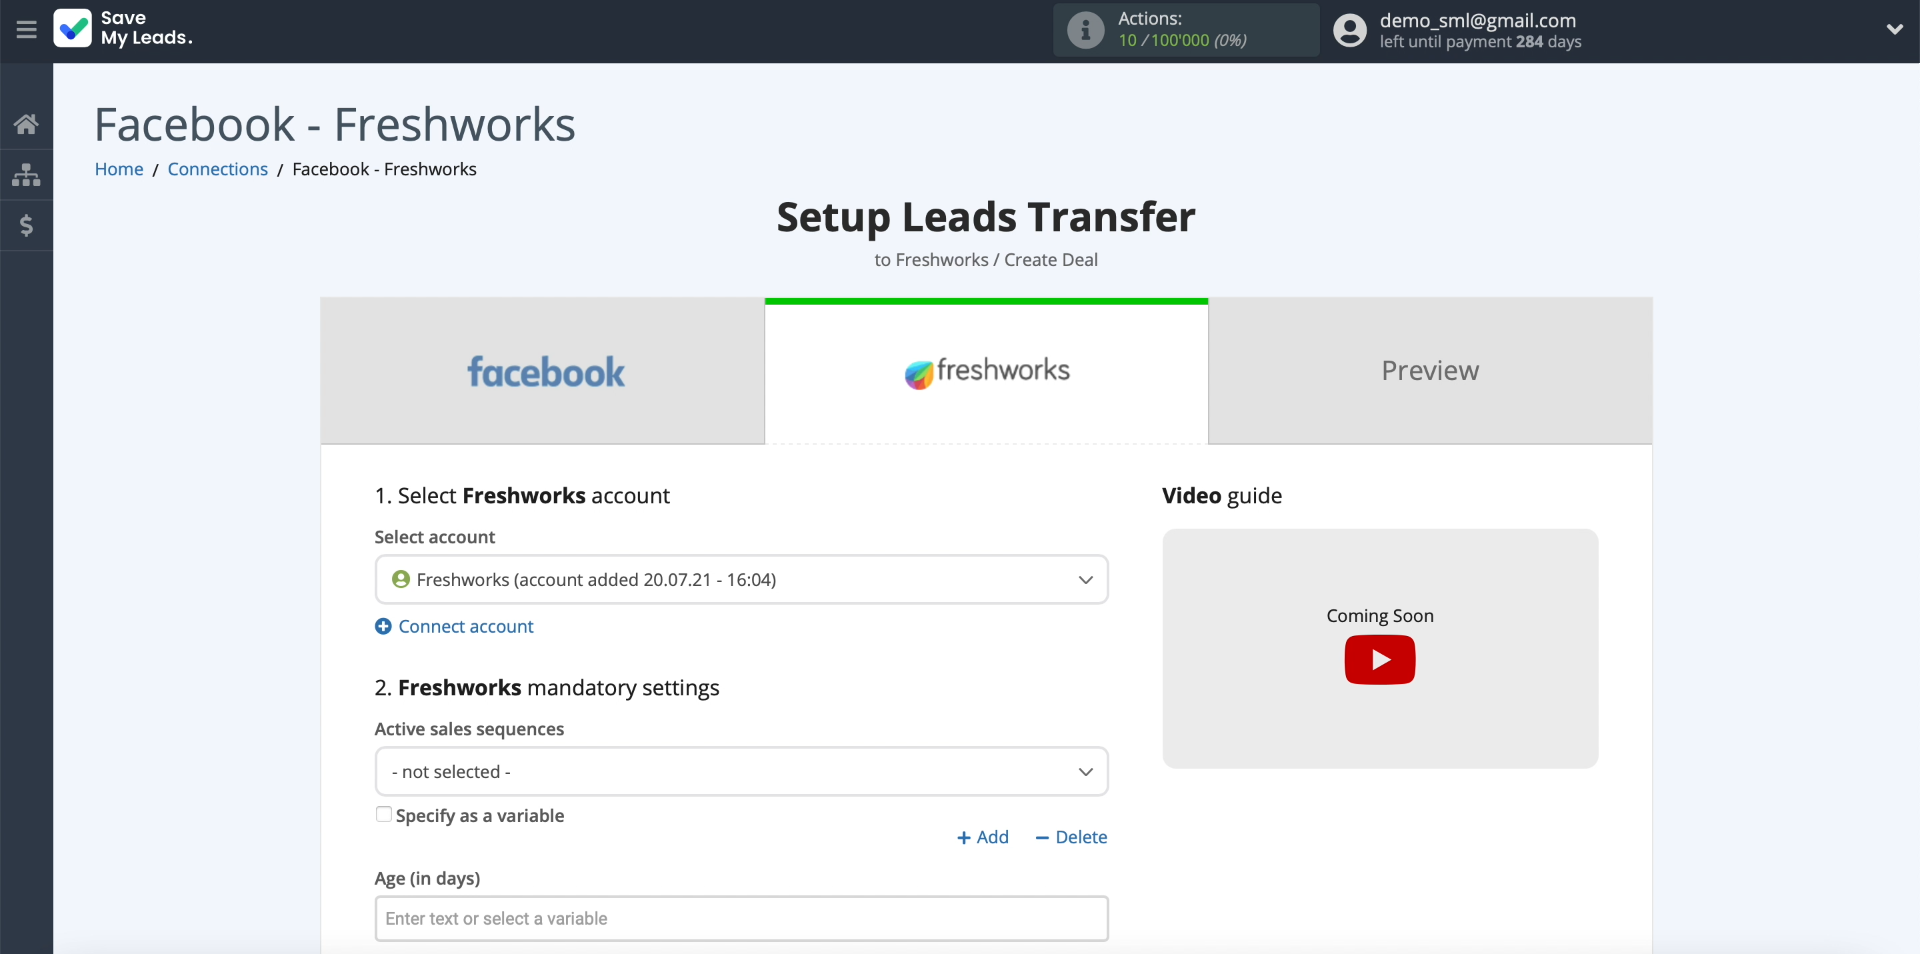
Now you need to copy the key that you will need to connect. To do this, open our Freshworks personal account in a new tab. Go to the "Settings" - "API Settings" section and copy the API key.
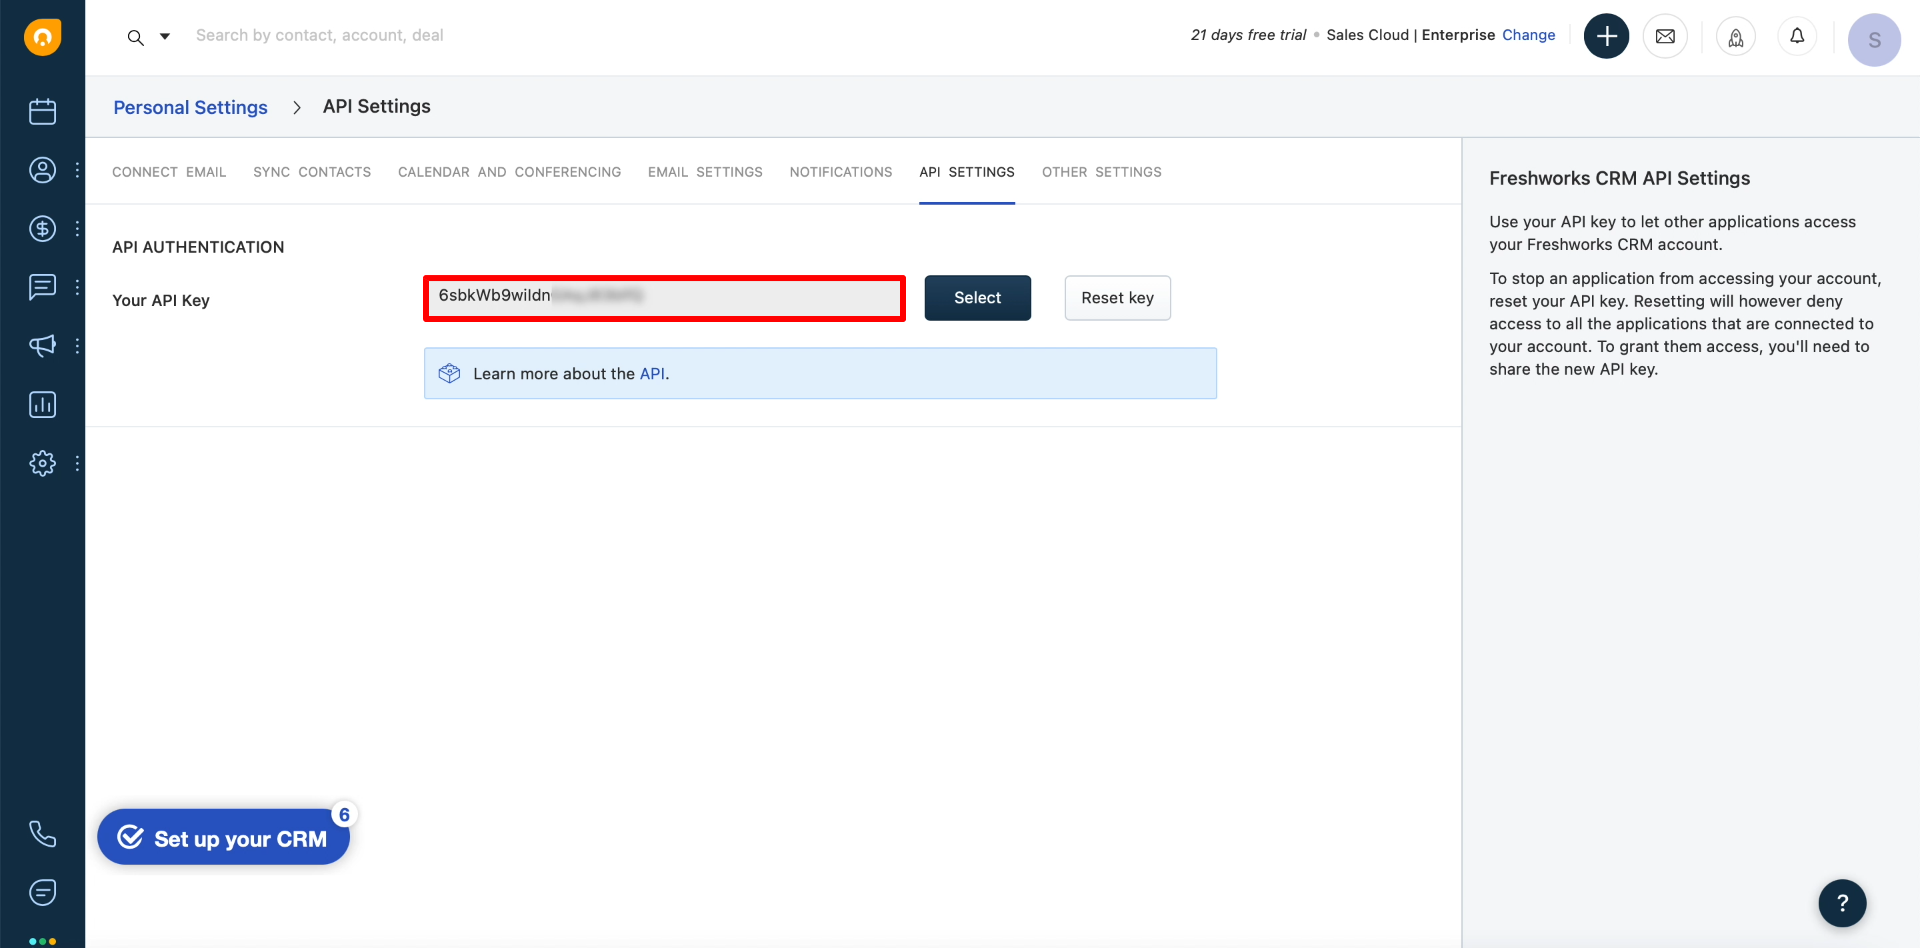
We return to the SaveMyLeads setting. Paste the newly copied key into the "Domain" field and a link to our Freshworks personal account in the "Token" field.
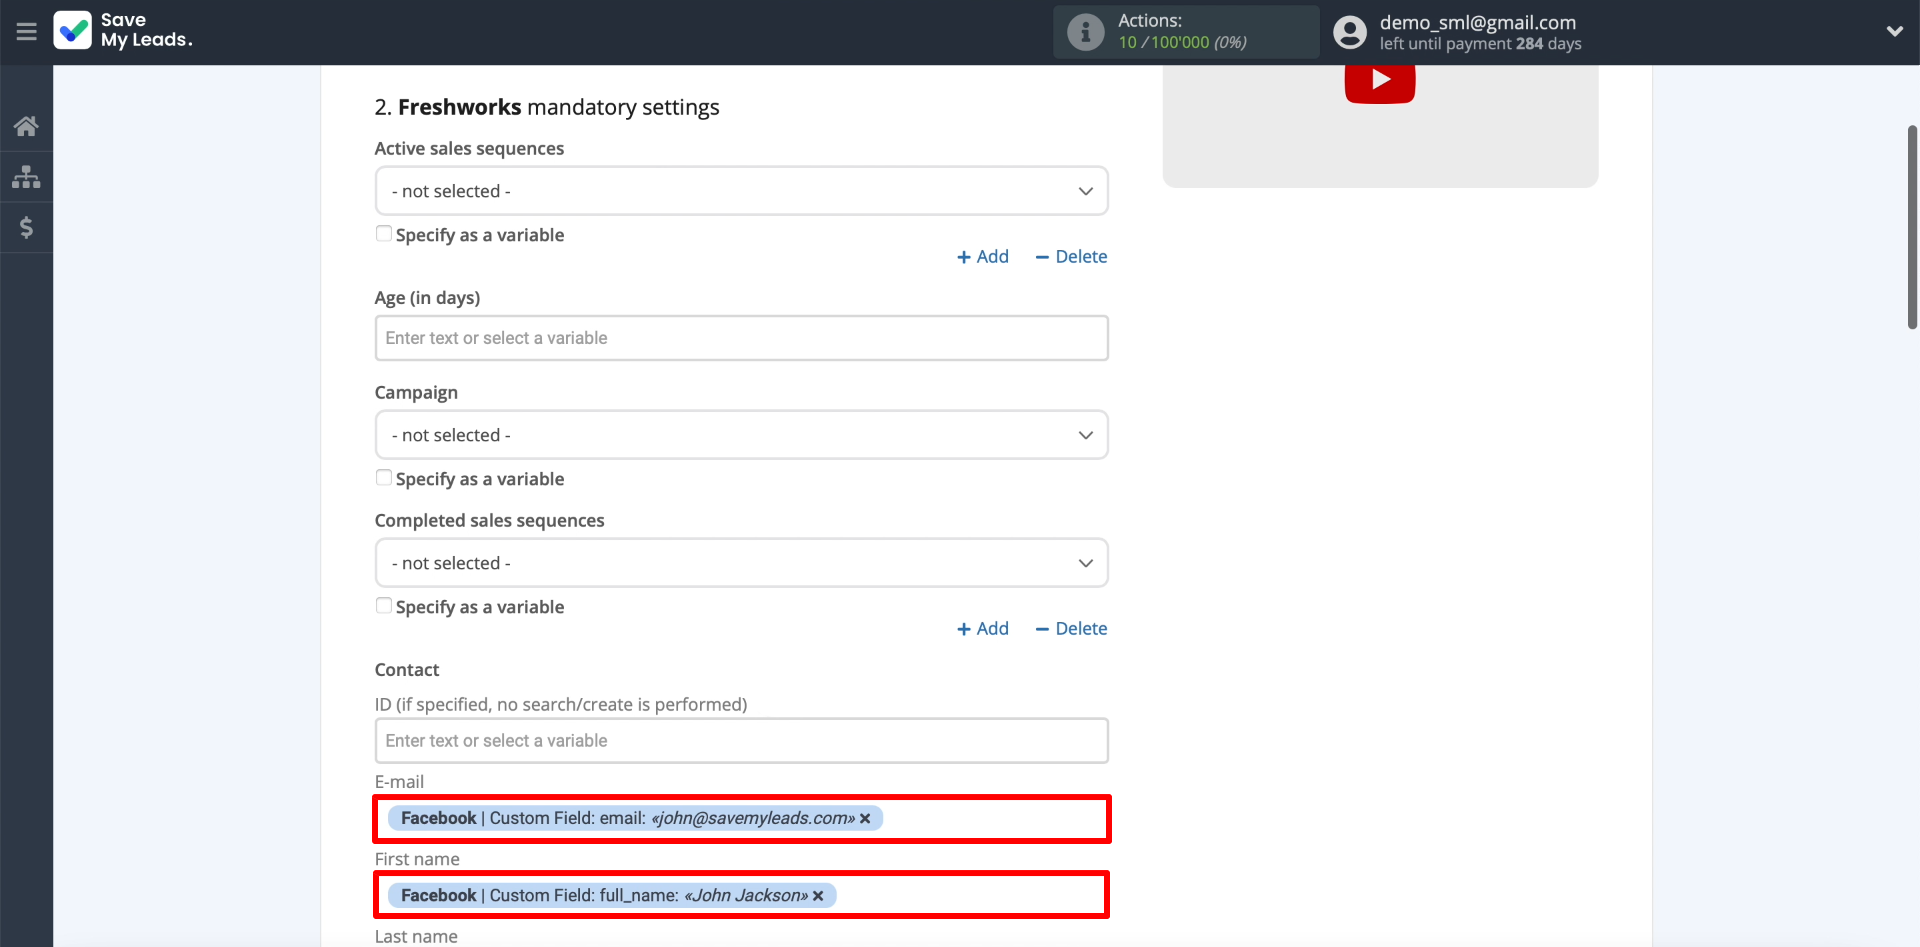
Now we specify which lead data SaveMyLeads will upload to the CRM deal fields. To do this, click on the required fields and select the appropriate data. For example, if we want to send names and addresses, we fill in the "E-mail", "First name" fields. Leave the extra fields blank.
Testing data transfer
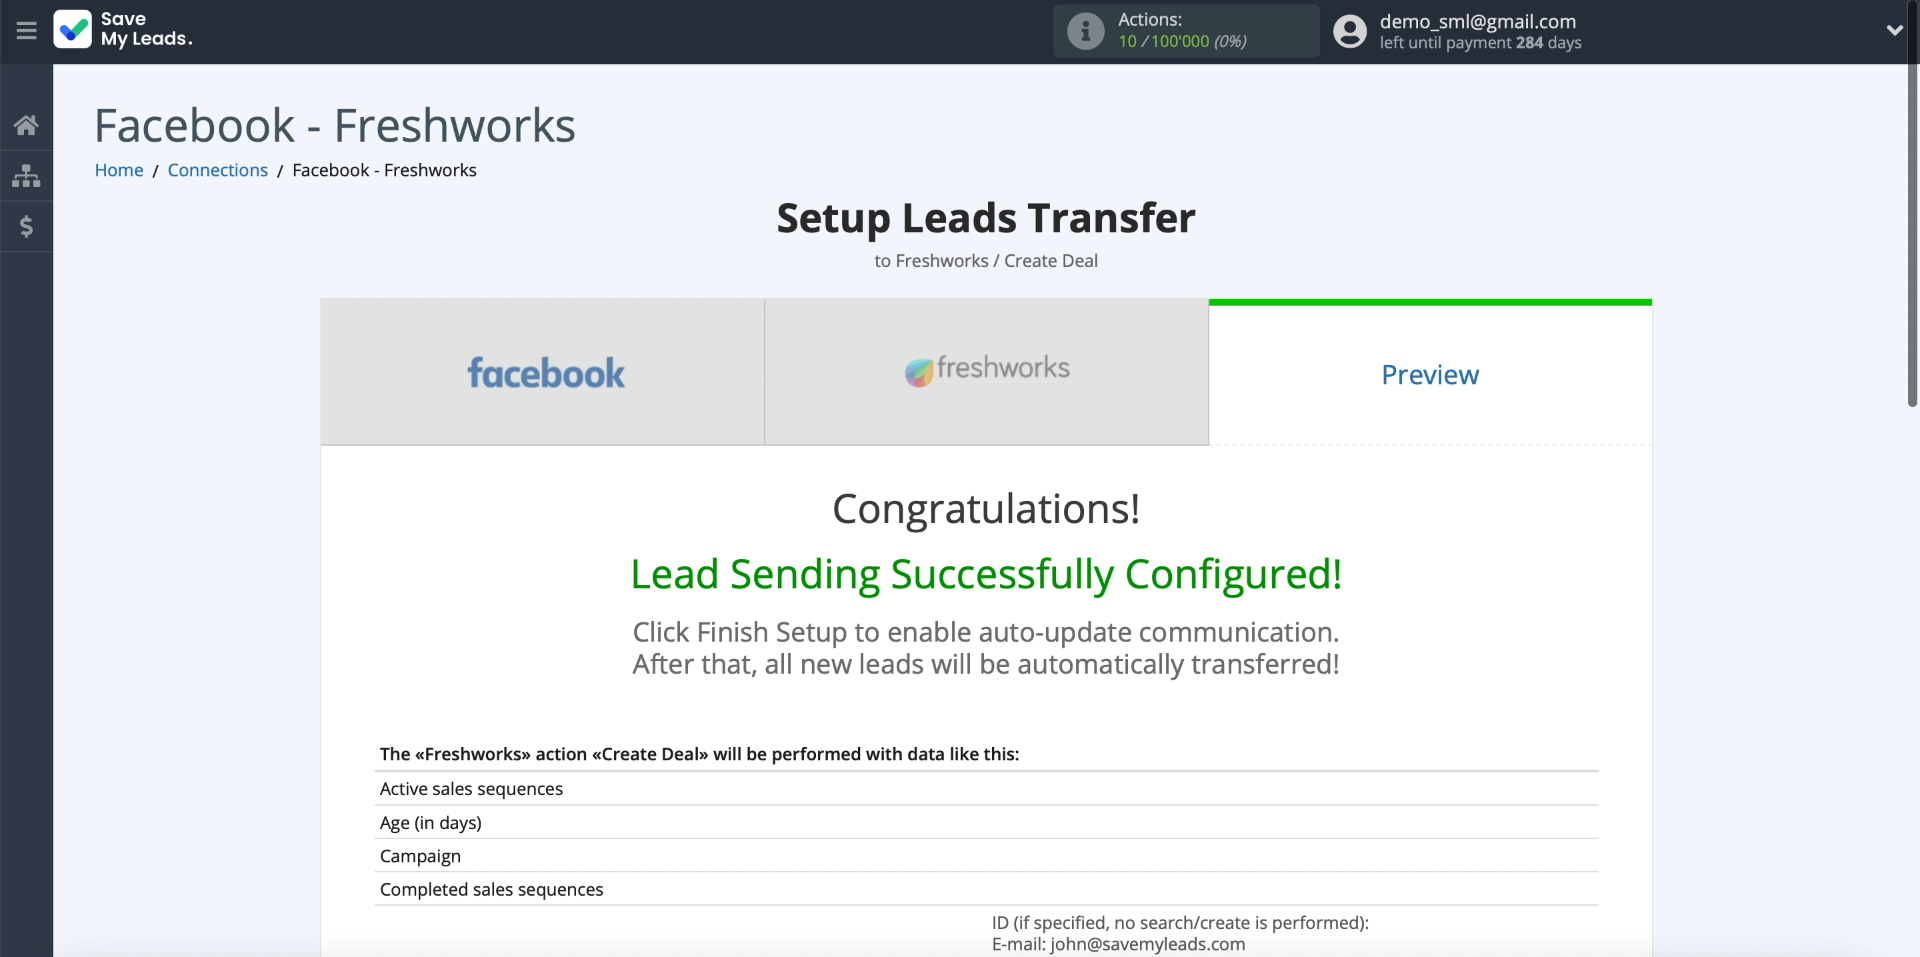
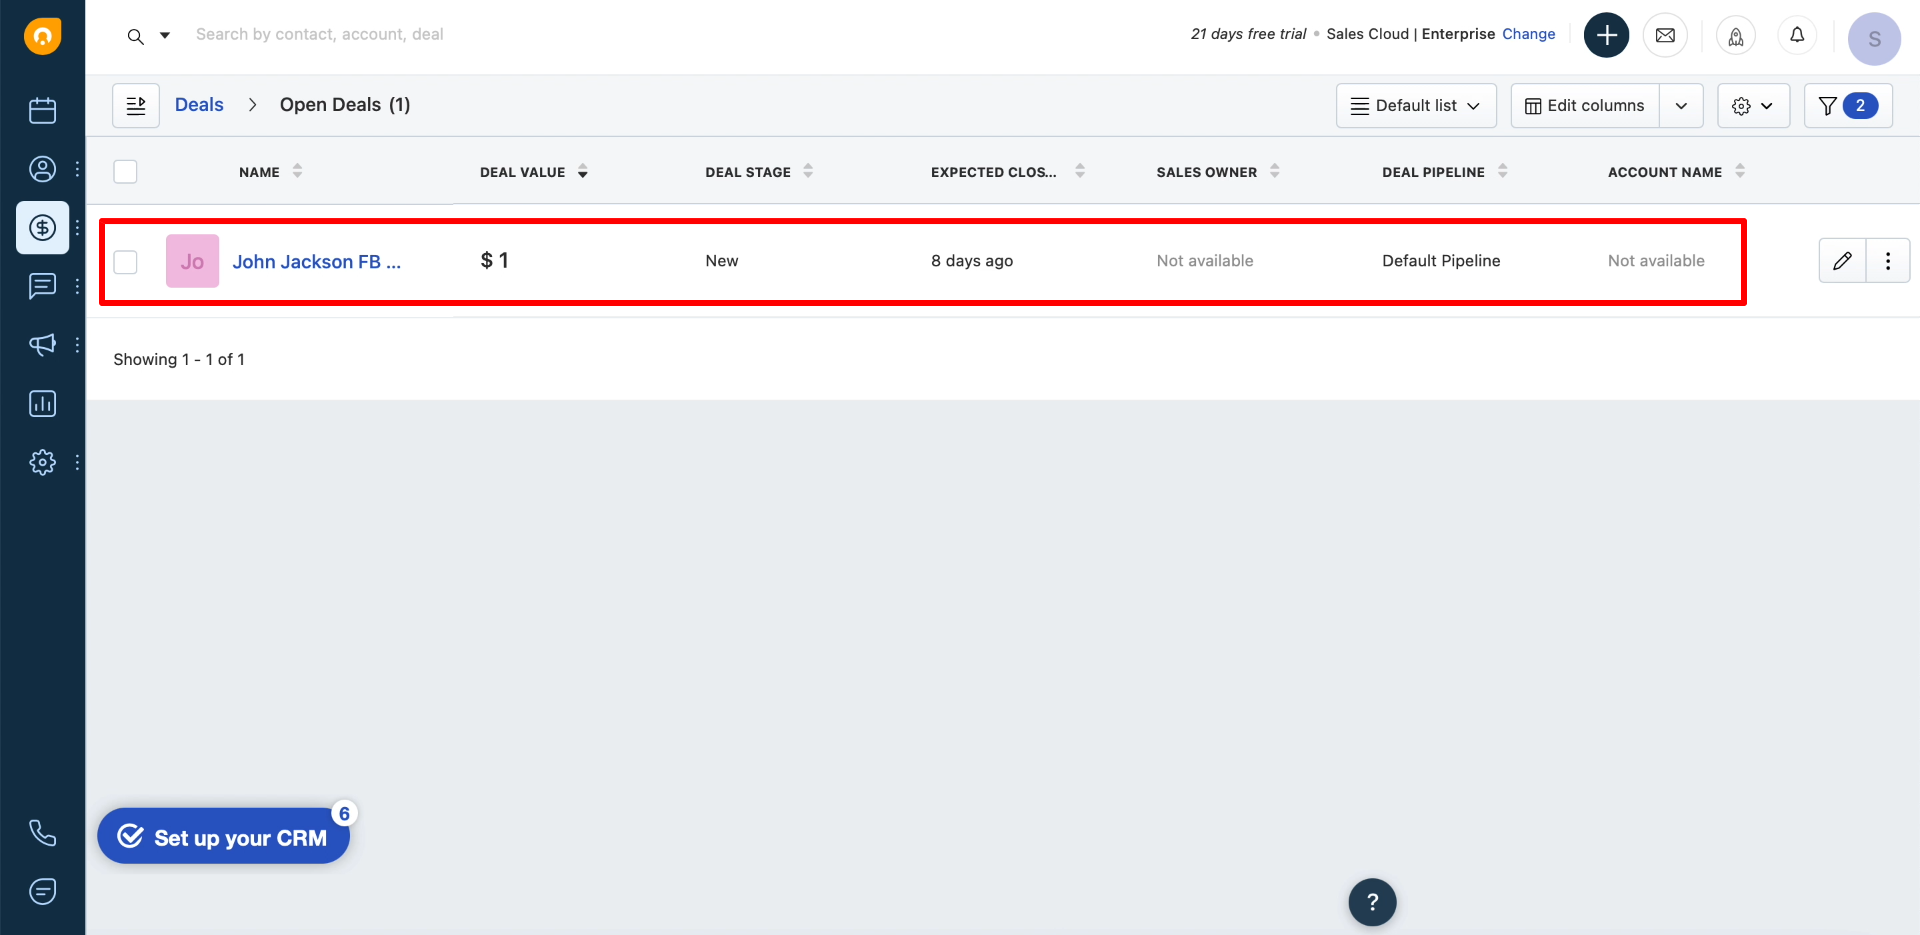
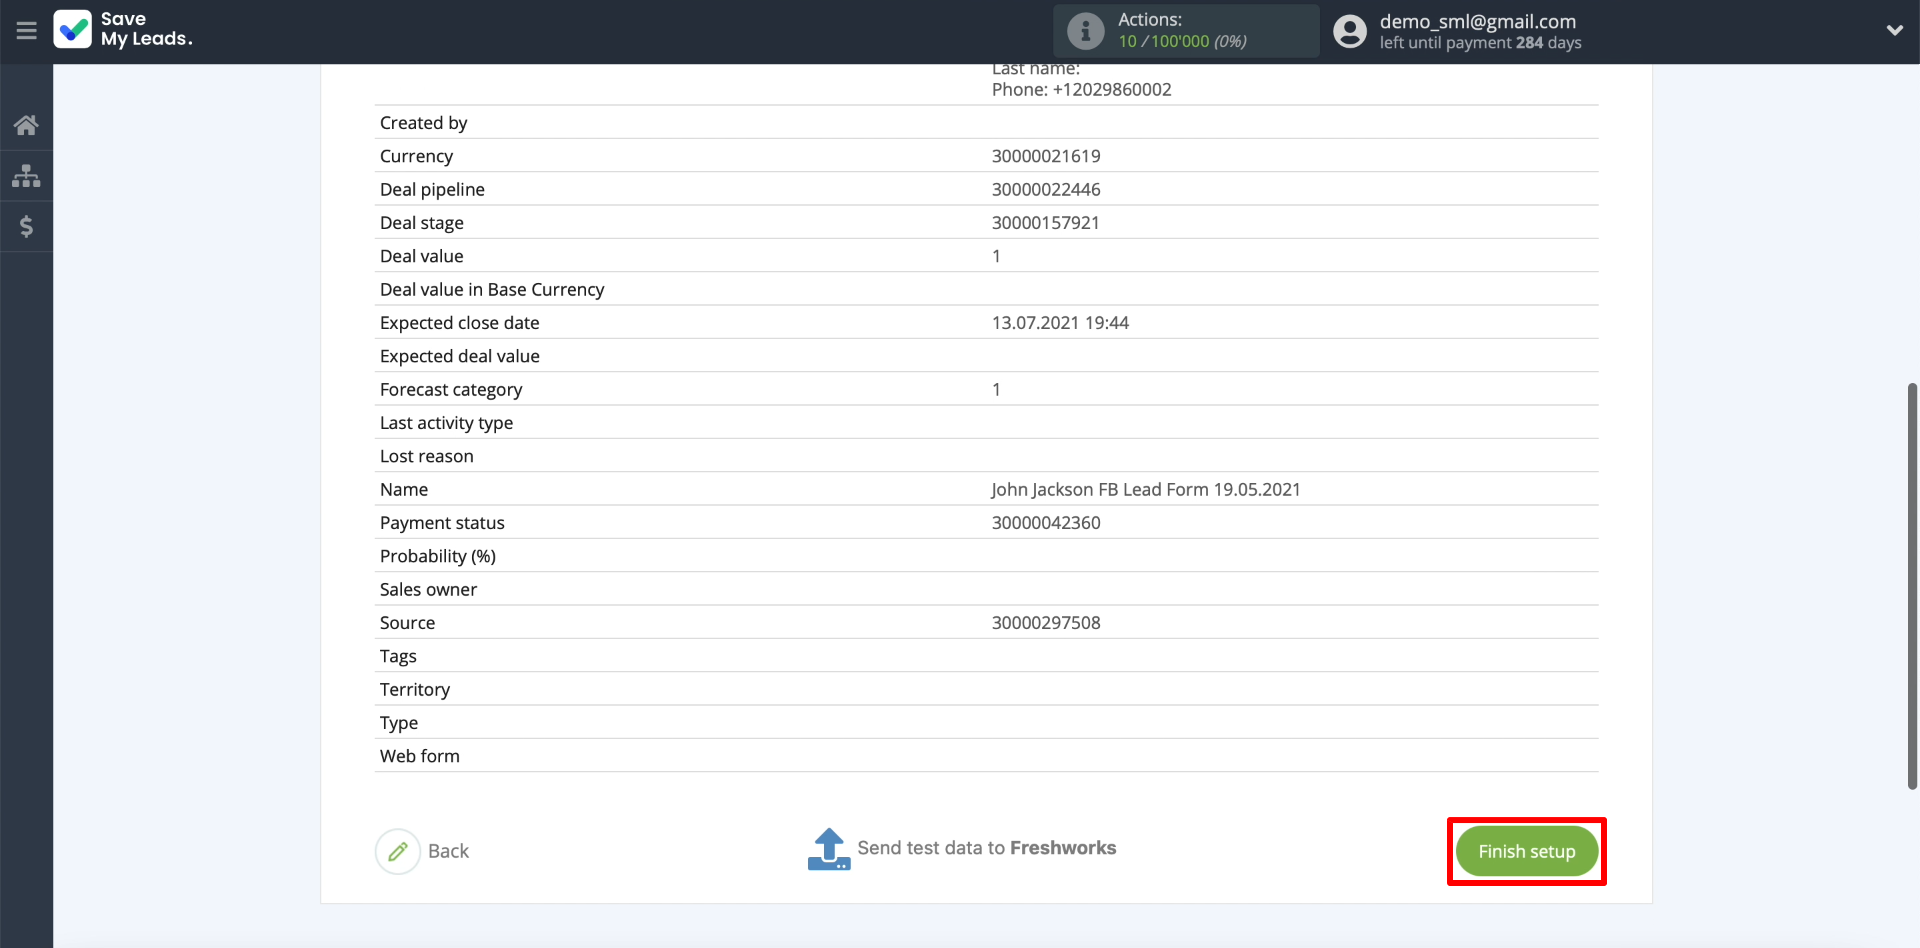
On the next screen, the system will show an example with the data of the last lead that will be included in the deal. If nothing is displayed, open the form on the Facebook website and submit any application through it. If the data is displayed, send it to CRM to test the connection.
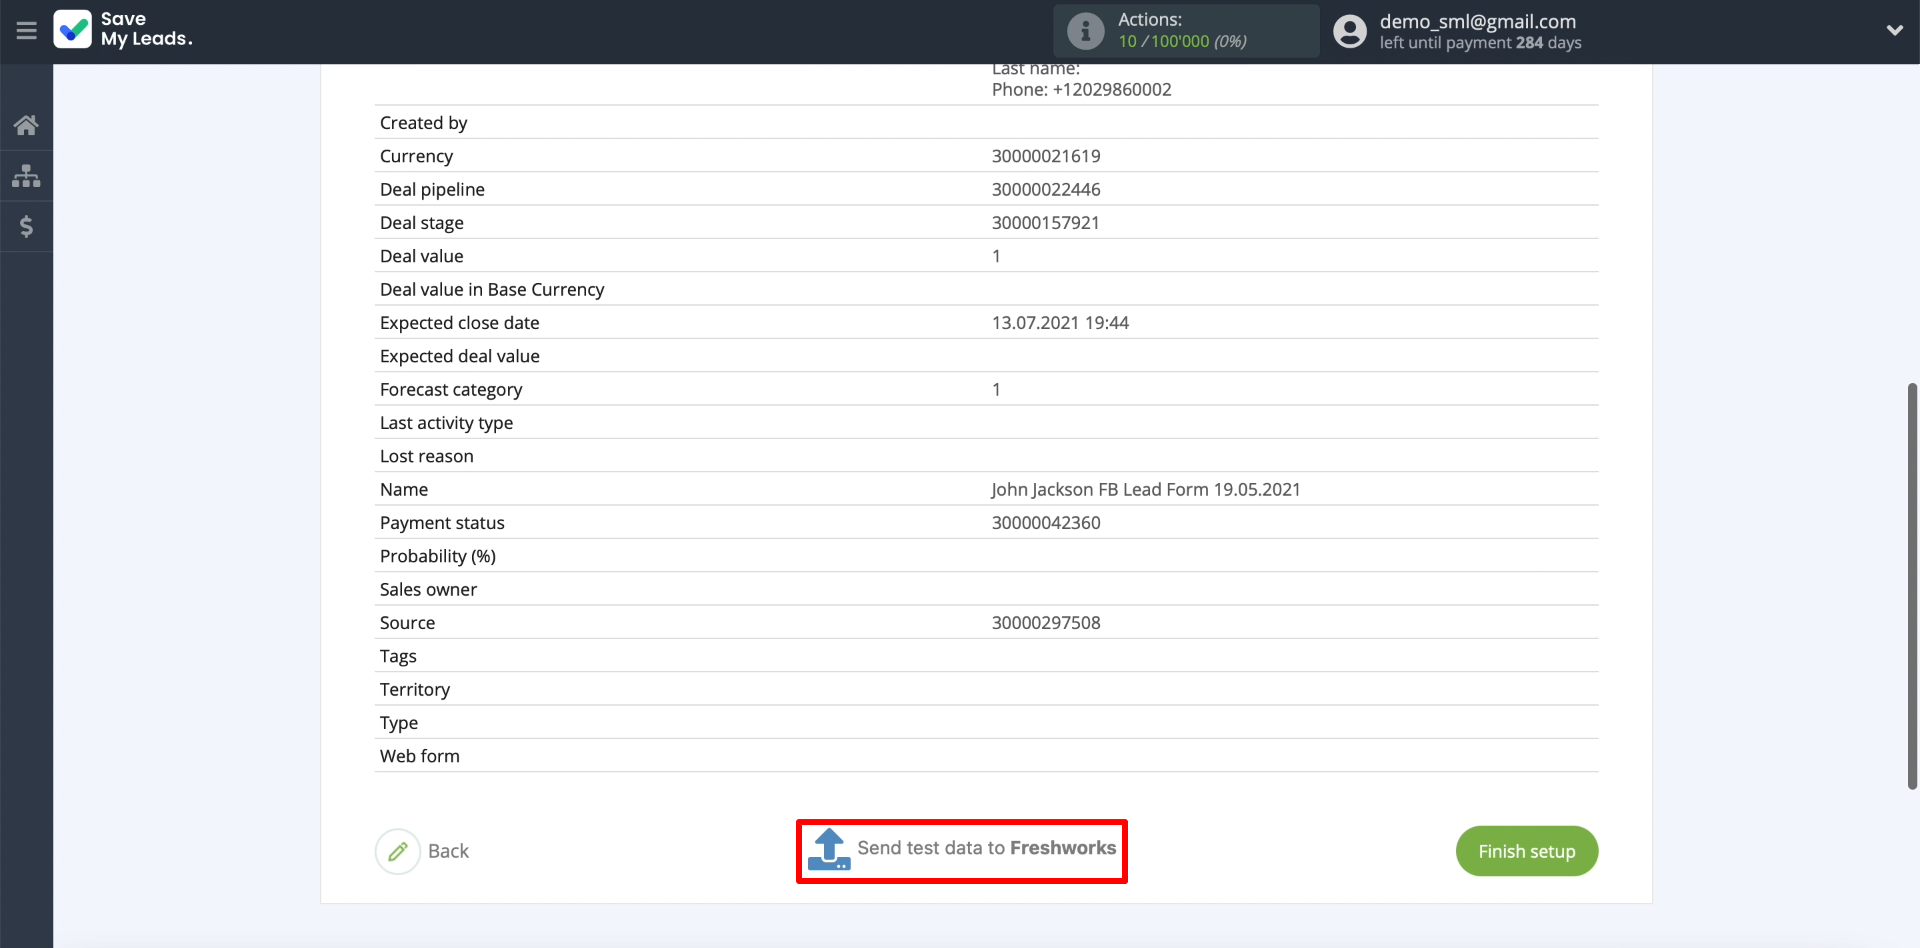
The submitted data should appear in Freshworks as a new deal. If this does not happen, check the correctness of the previous steps. If everything is displayed, we proceed to the final stage of configuration.
Finishing the setup
We return to the SaveMyLeads website and click "Finish setup" to start automatic data transfer.
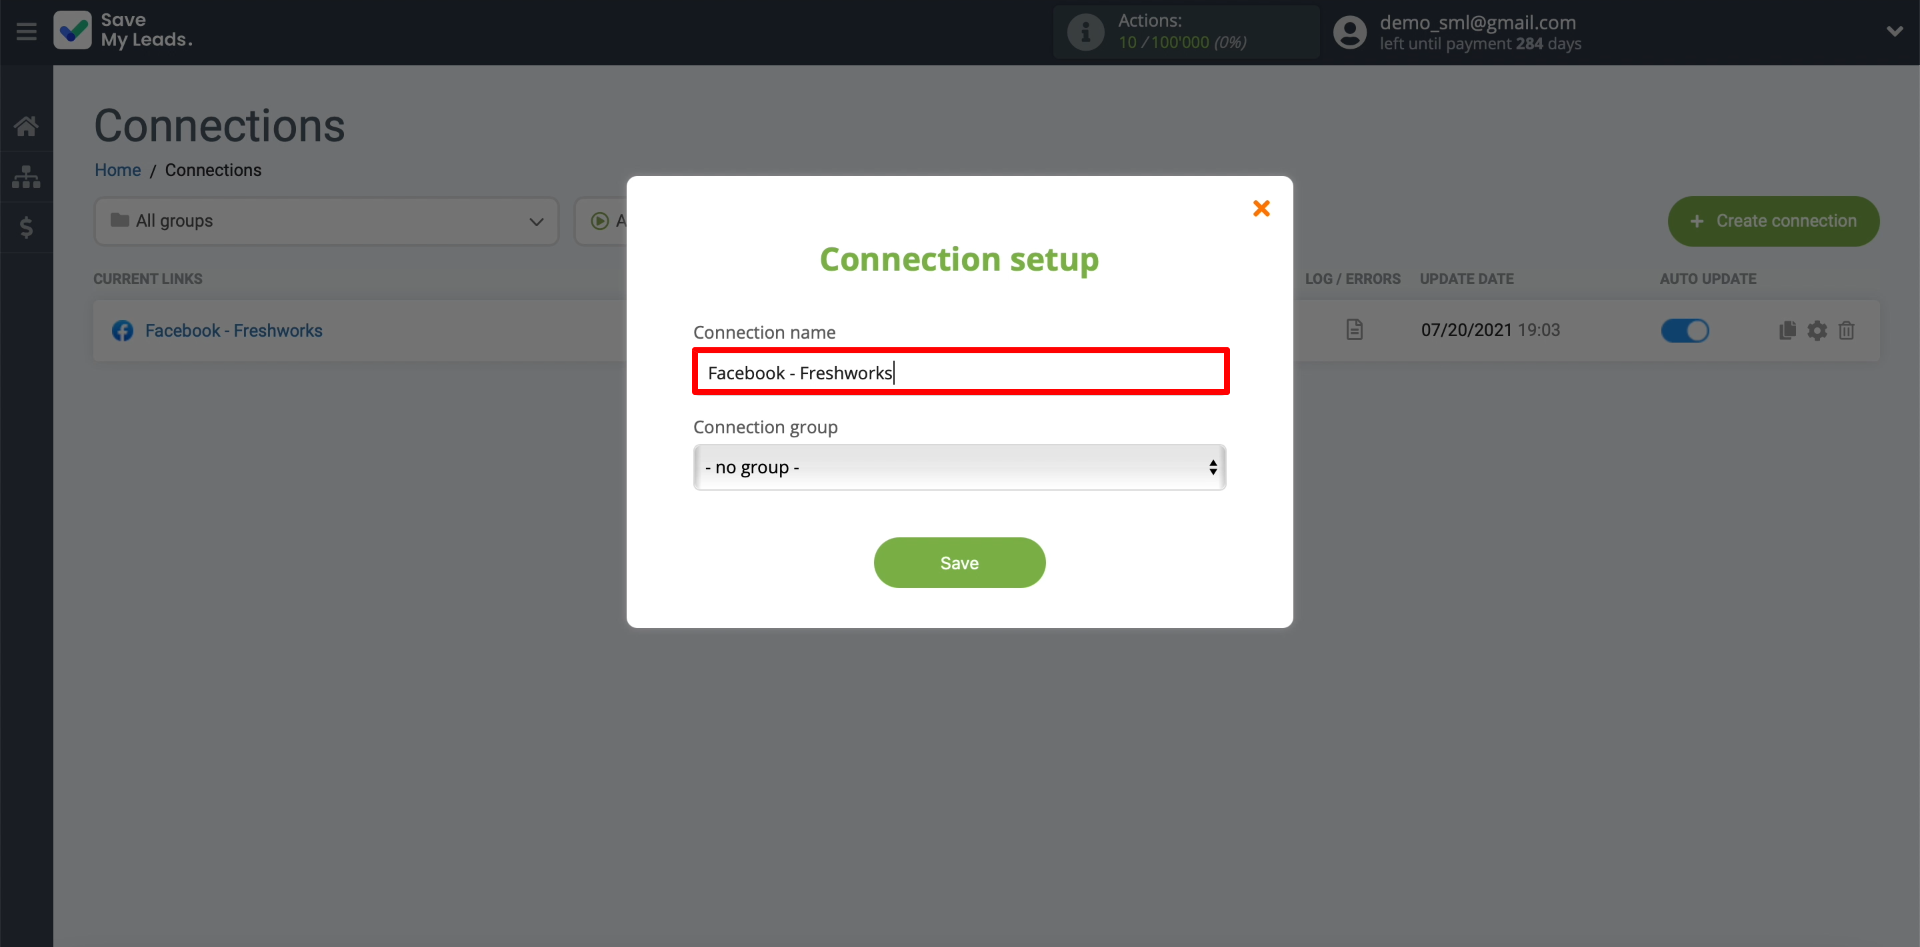
If necessary, you can change the name of the connection. To do this, click on the gear on the right and enter the required text. If you create multiple integrations, custom titles will help you distinguish them.
That's all. SaveMyLeads will automatically upload leads from Facebook to Freshworks according to your settings. Similarly, you can set up integrations to import leads into other systems. Good luck with your work!
