Freshdesk is a cloud platform for providing customer support services. Suitable for any company, regardless of its size. It processes requests that come from users from different communication channels (email and phone, websites, social networks and chats) into convenient tickets. In this way, unification and acceleration of the process of solving consumer problems are achieved. In this article, we'll show you how to set up Freshdesk and Facebook integration so that Freshdesk automatically generates tickets based on new leads received from Facebook.
Facebook Lead Ads is an advertising tool that increases the efficiency of attracting leads. It is usually used by marketers and those who promote businesses on social networks. It is a lead form that gives Facebook users a convenient opportunity to indicate in a couple of seconds their readiness to purchase a product, service, or attend a planned event, leaving personal contact information in it. Such forms are original and contain a commercial proposal that should interest a potential client. The main goal of any lead form is to encourage a social network user to fill it out and thus transfer their personal data to the business (usually their name, phone number, and email address).
Freshdesk is a cloud service that allows you to streamline and significantly accelerate customer support processes by automating a number of tasks, in particular by effectively distributing incoming requests. It is used by companies seeking to reduce the number of man-hours spent on work and wishing to focus the attention of their employees on tasks of the highest importance. Freshdesk gives businesses of any size (from startups to large corporations) the ability to provide their customers with the highest level of support.
If you use Facebook Lead Ads and Freshdesk in your work or are just planning to connect the latter, eventually you will have to think about the need to synchronize data in both systems. Manually creating tickets for each lead will take too much time, so automating the transfer of data from one to another is the optimal solution for increasing productivity. This process can be done by linking these systems through the SaveMyLeads online connector. After successfully setting up the Facebook and Freshdesk integration, tickets will be created immediately when a new lead appears on Facebook. And all this without your participation.
How to Connect Facebook Lead Ads and Freshdesk Services
To set up the Freshdesk integration with Facebook Lead Ads via API, you can invite an outside programmer or assign the task to a full-time specialist if you have one. But why wait until your master finds time to complete it or pay a separately hired person if there is already a faster and more economical solution – the SaveMyLeads online connector? Our service will help you set up the necessary connection in just a few minutes. The intuitive interface and operating principles will make it easy to do this, even if you have never used such services.
Schematically, the Facebook integration with Freshdesk can be represented as follows: “source-connector-receiver”. The SaveMyLeads system vigilantly monitors the emergence of new leads on Facebook and sends them to Freshdesk, where they are immediately turned into tickets. To automate this process, you only need to take a few steps. We suggest you start right now.
Setting up a Data Source – Facebook Lead Ads
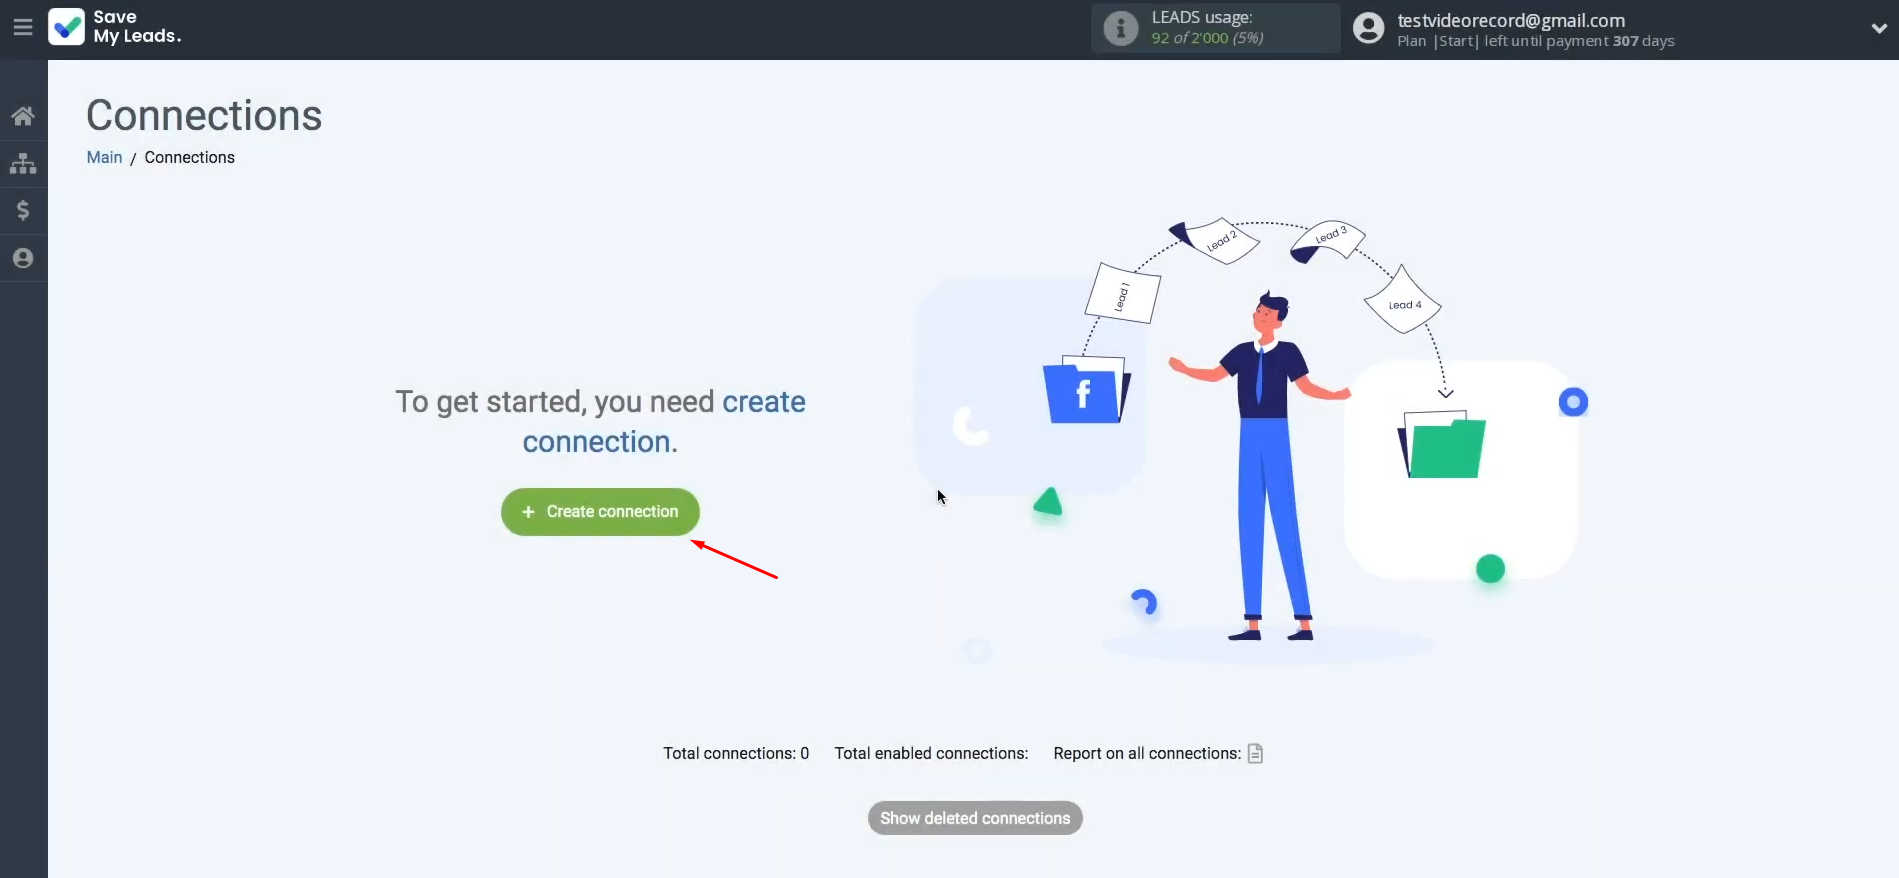
To set up Facebook Lead Ads and Freshdesk integration, first you need to create a connection. To achieve this, click on the green button.
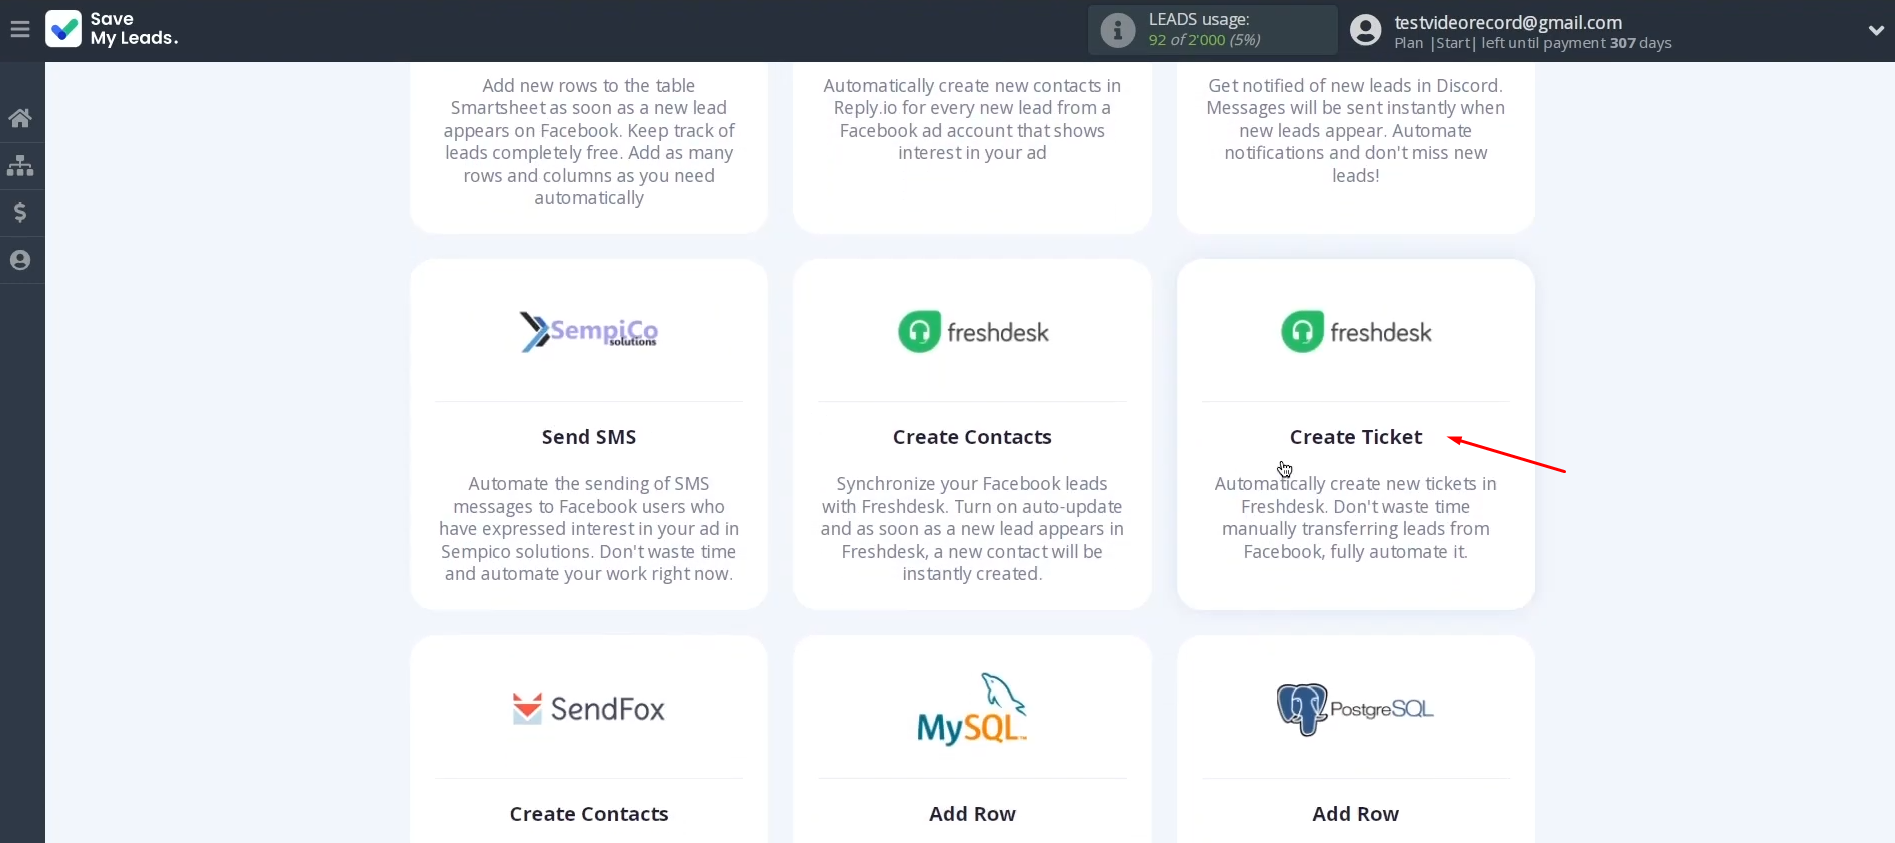
At this stage, you can choose one of the ready-made
templates where you want to send leads from Facebook. In this case, you have to select “Freshdesk Create Ticket”.
Then, you must to connect your Facebook
account to the SaveMyLeads system. Click on
the blue button.
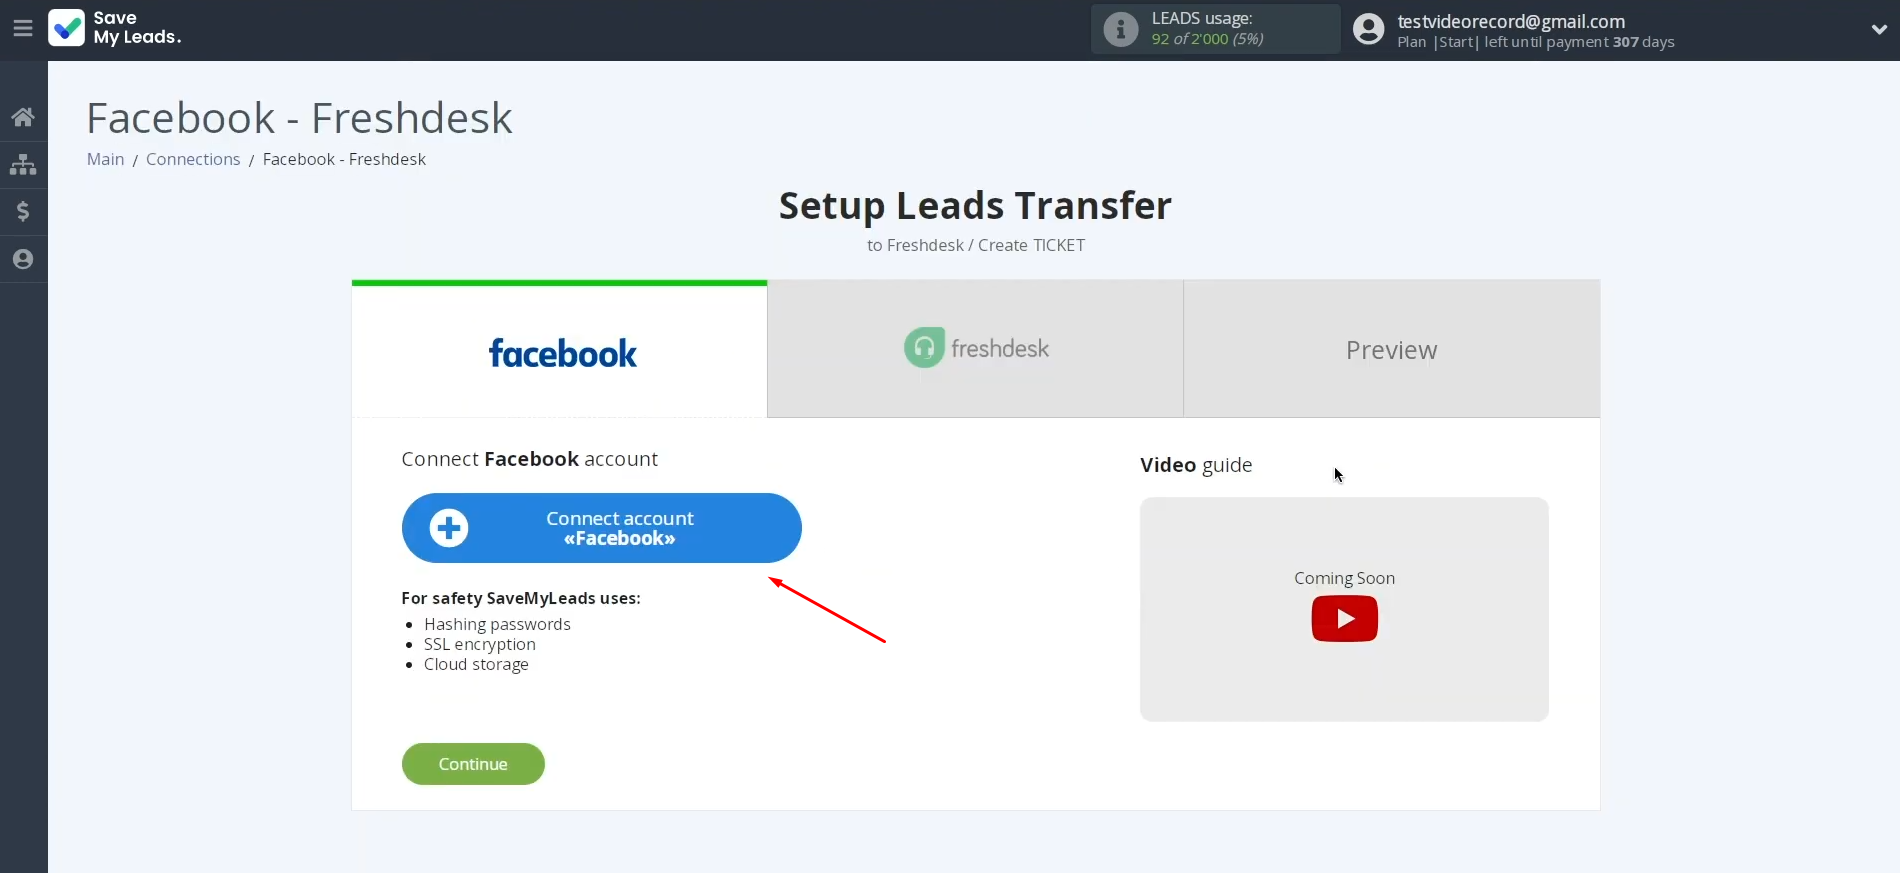
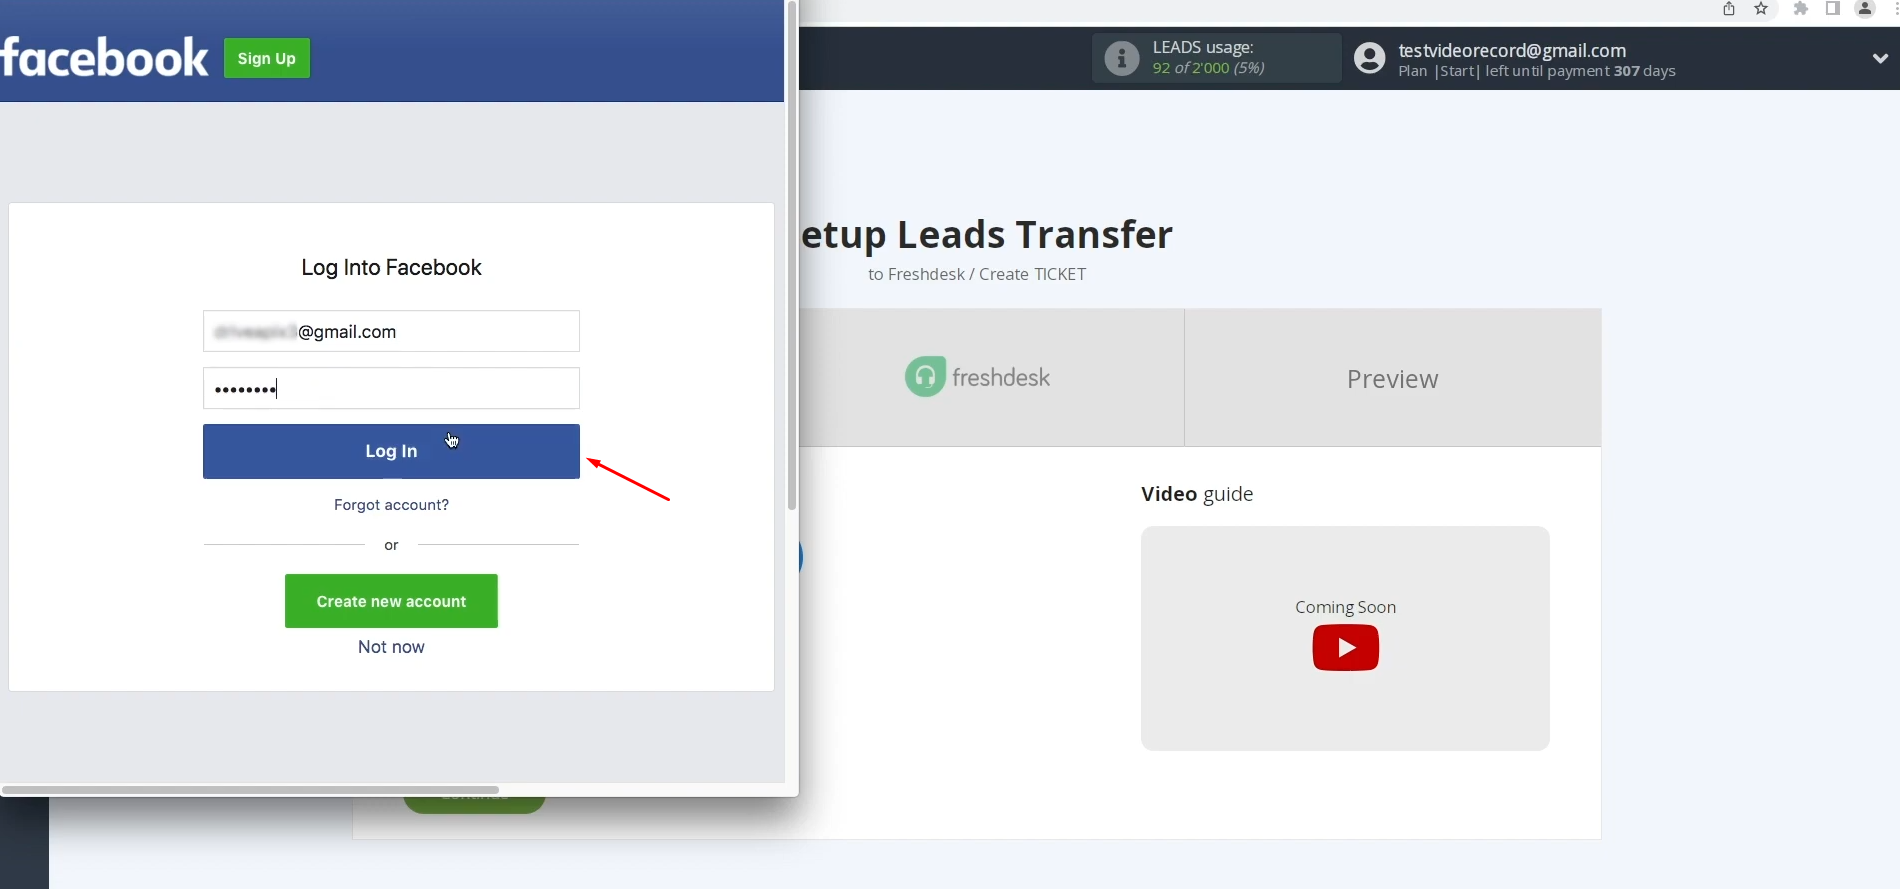
In this
window, you have to specify the username and password of the Facebook personal
account. Click “Log in”.
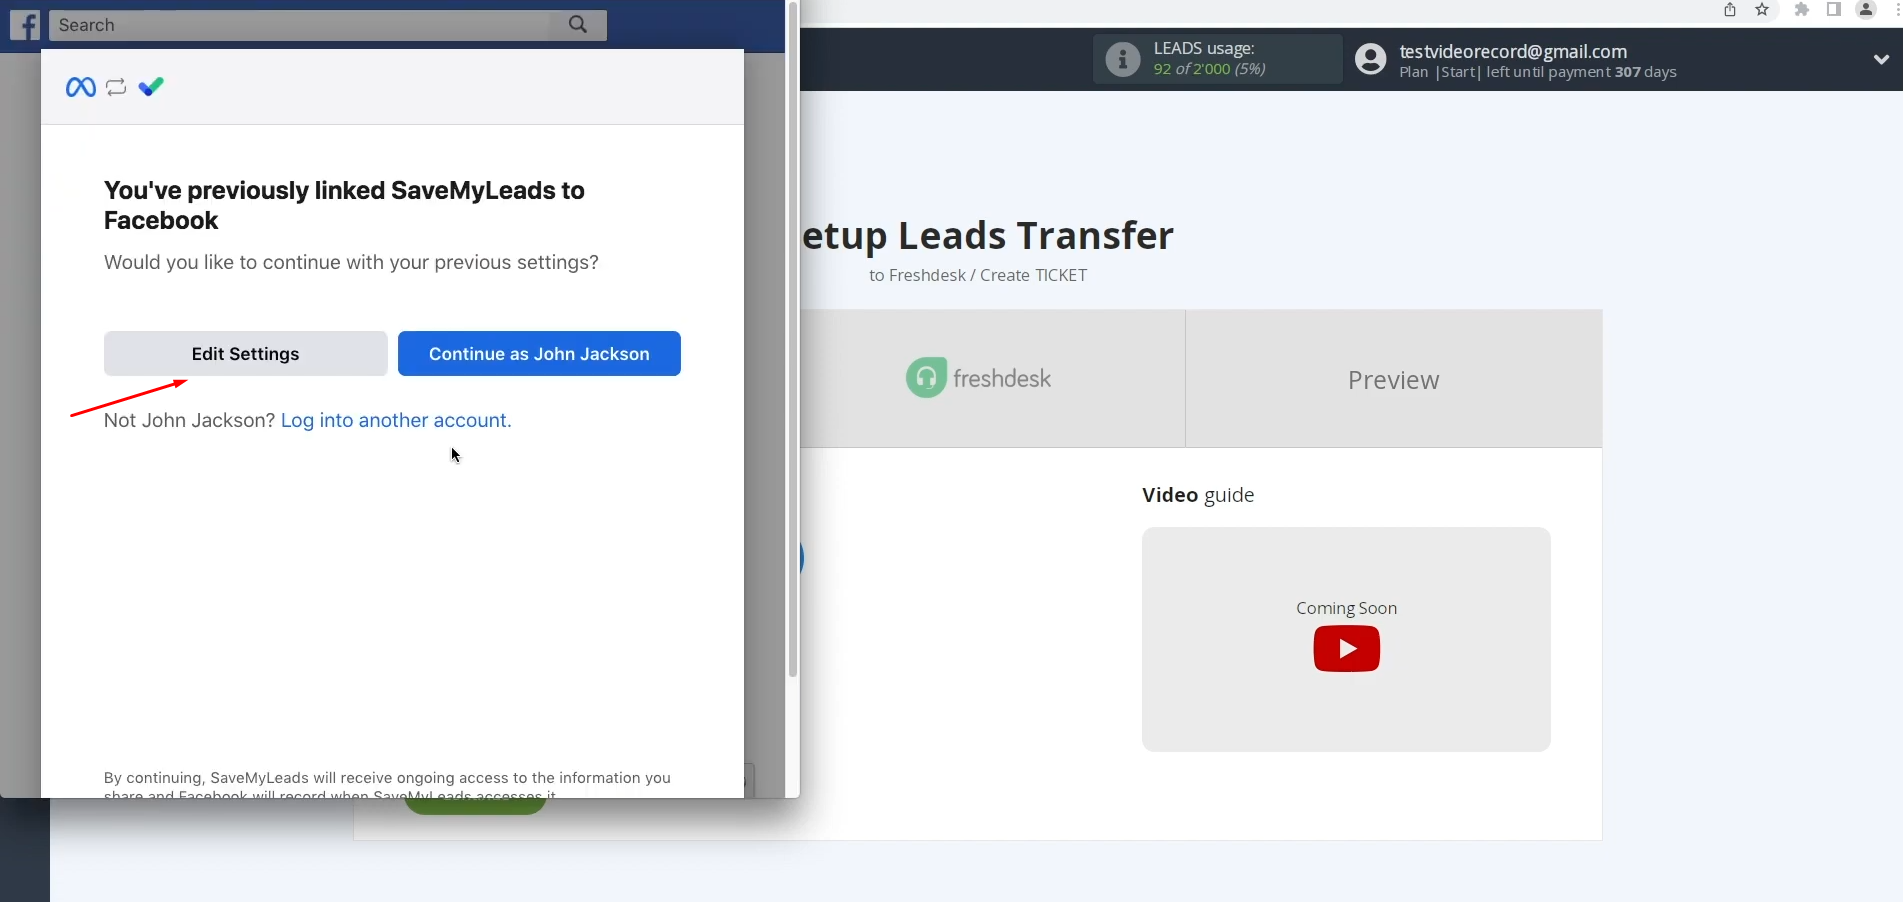
Next, go to "Edit Settings".
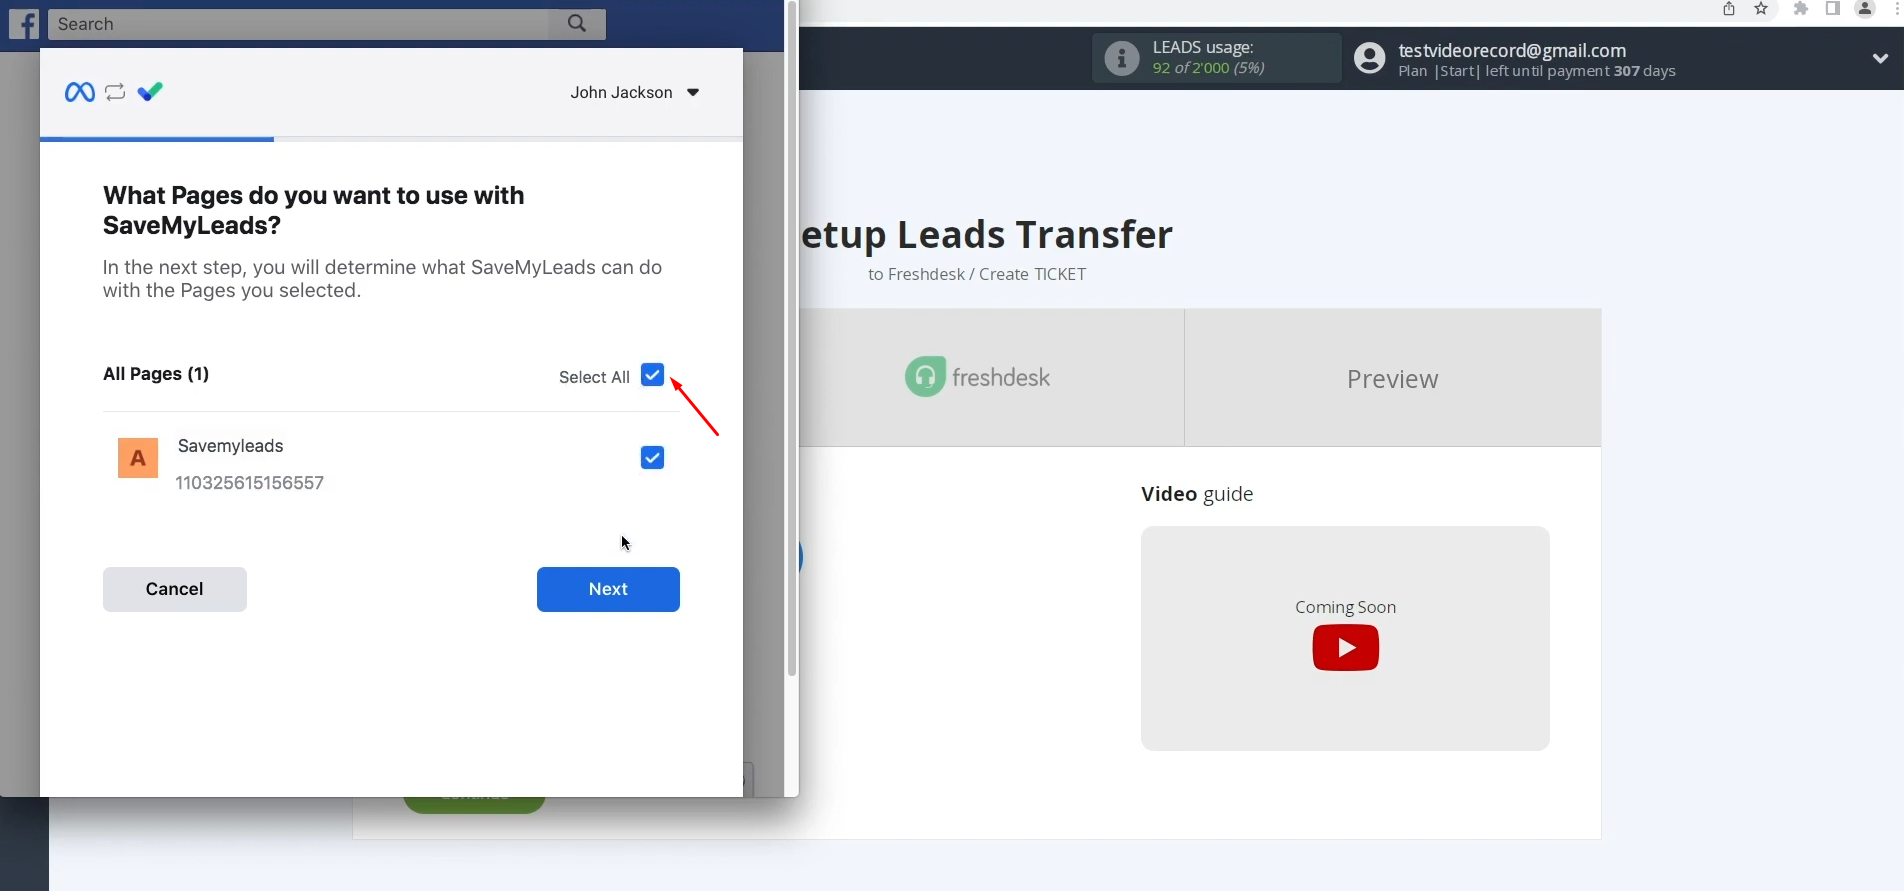
At this stage, you see the promotional pages that
you have access to. Pages for which you want to receive leads must be ticked. We recommend marking all advertising pages at once at this stage to be able to
work with them in
the future. Click “Next”.
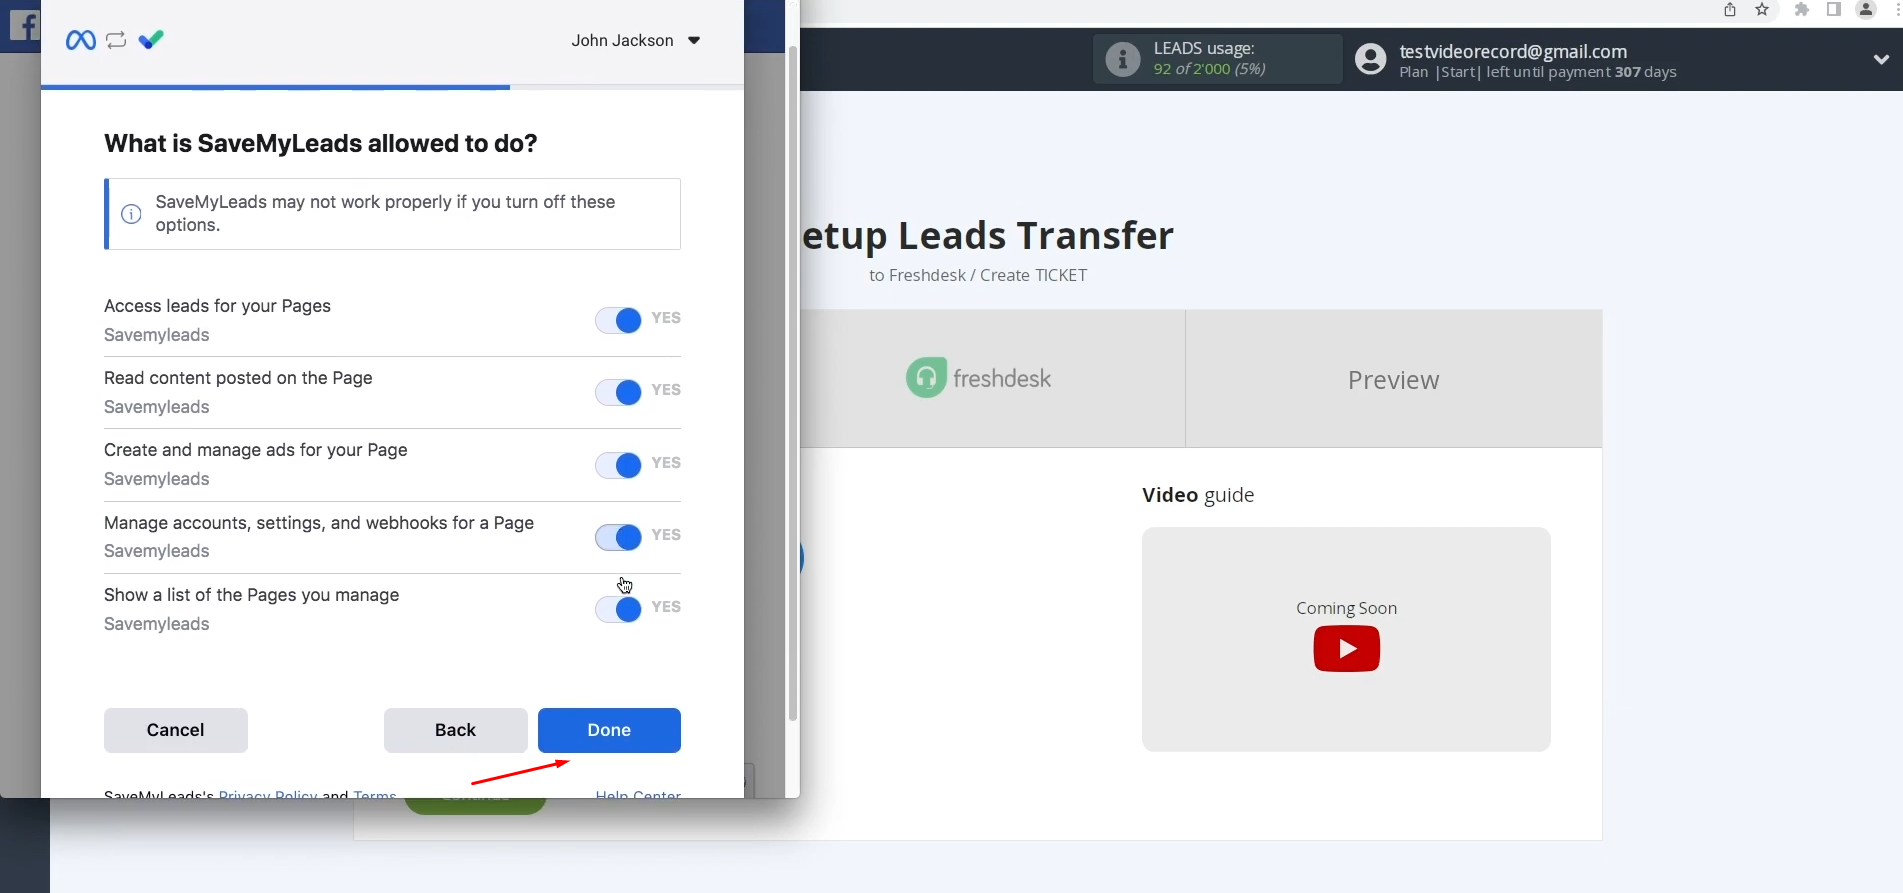
In this
window, leave all
access check boxes enabled and click “Done”.
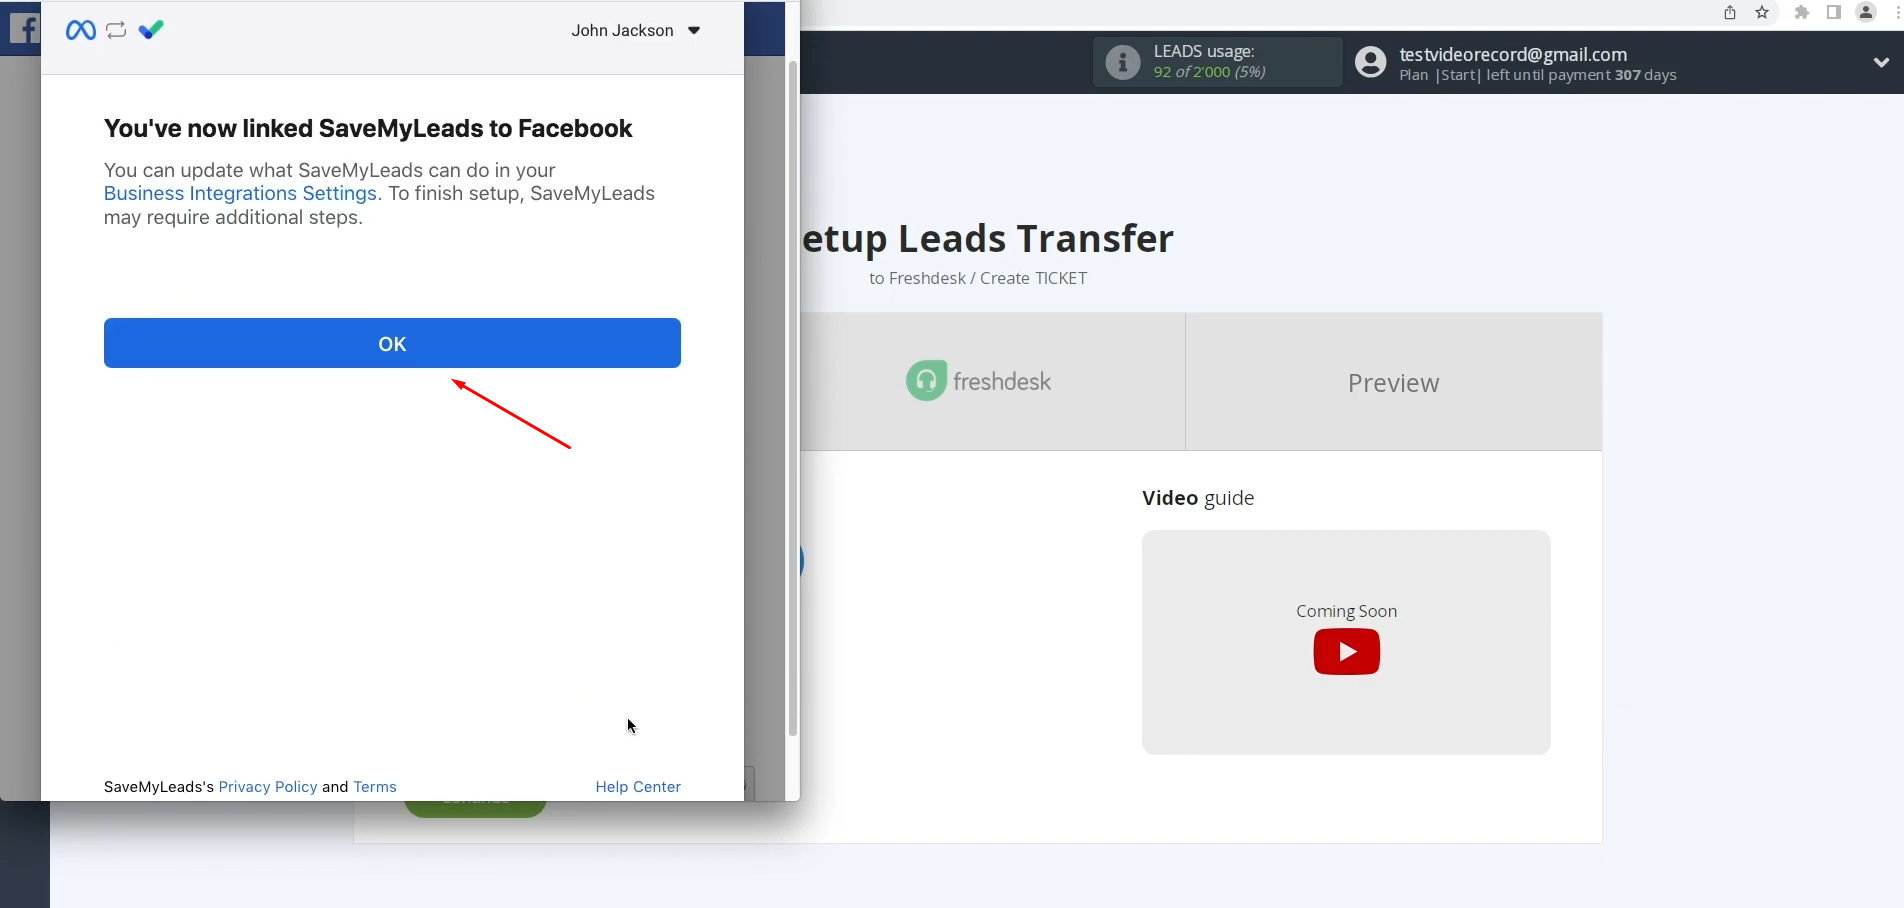
Click “OK”.
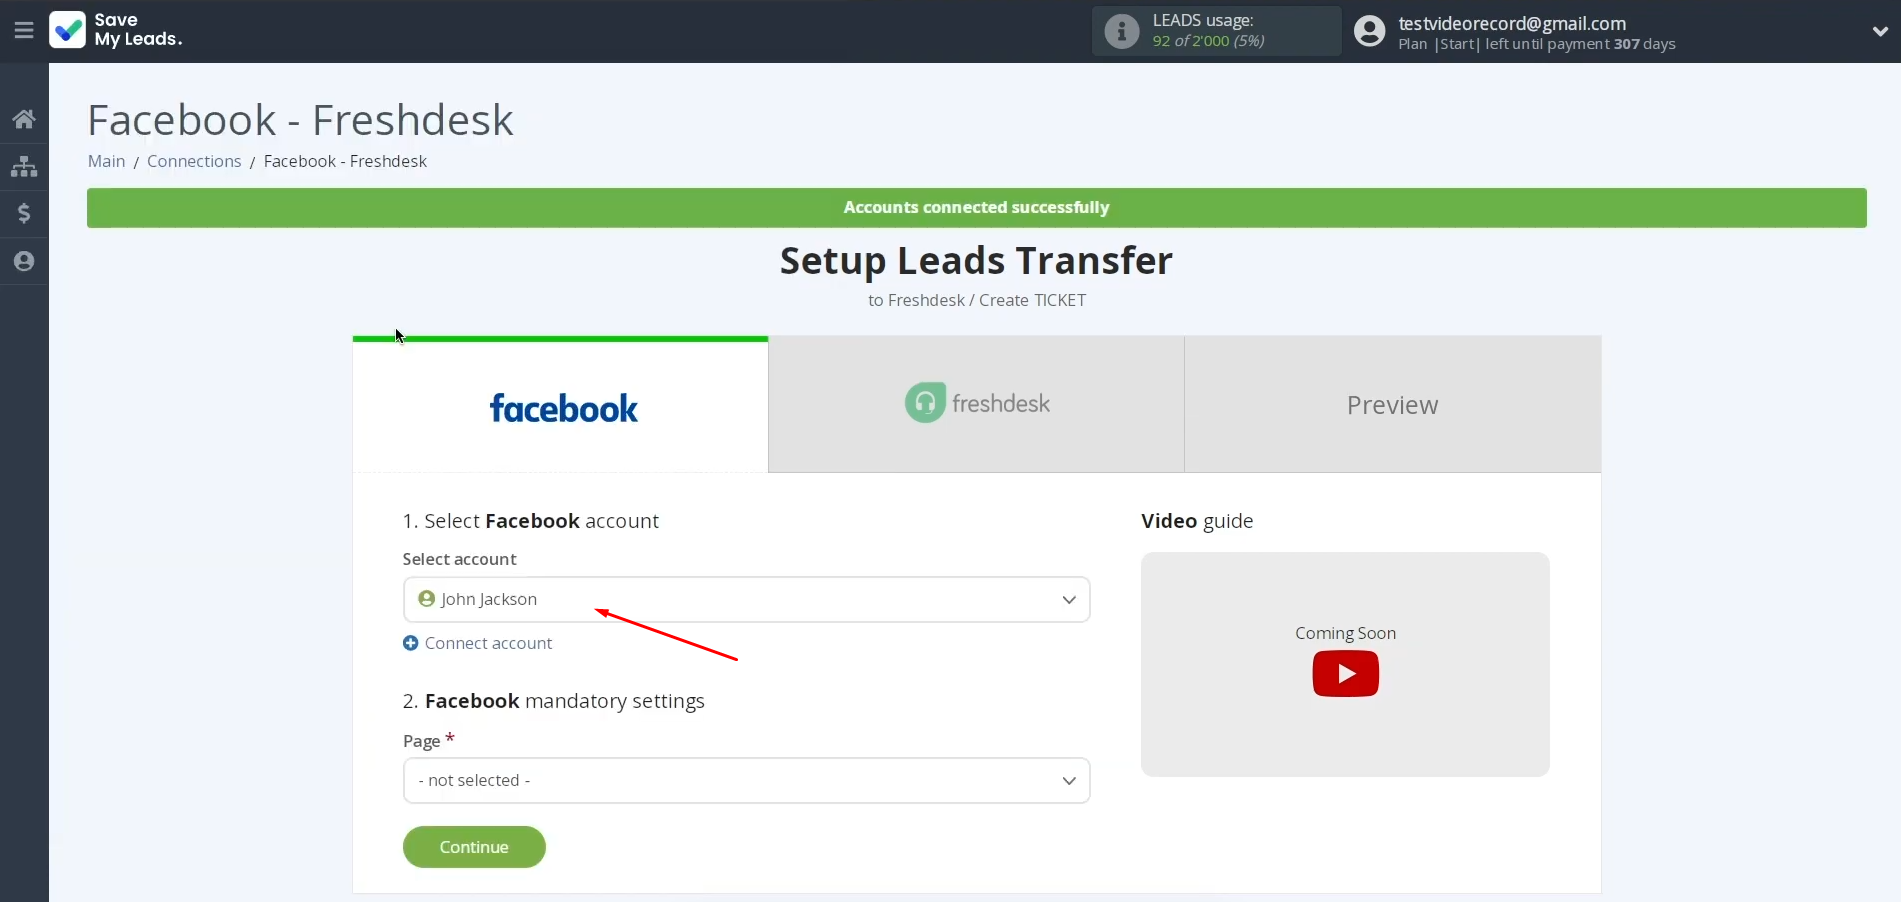
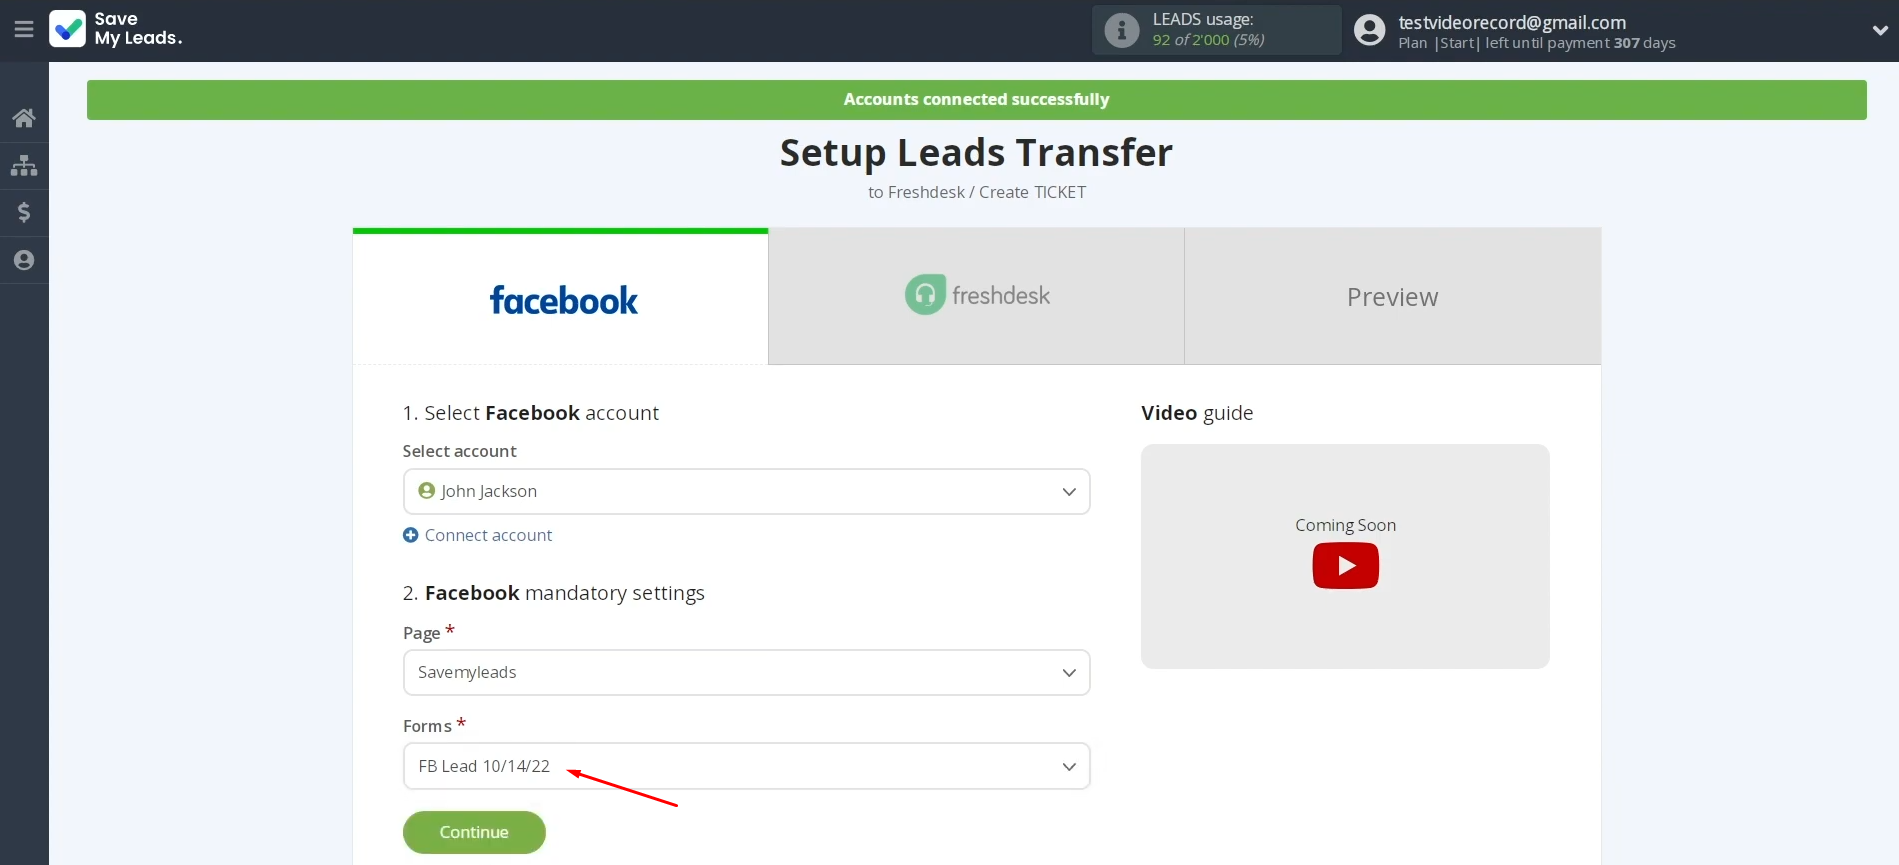
When the newly created login is displayed in the list, select it.
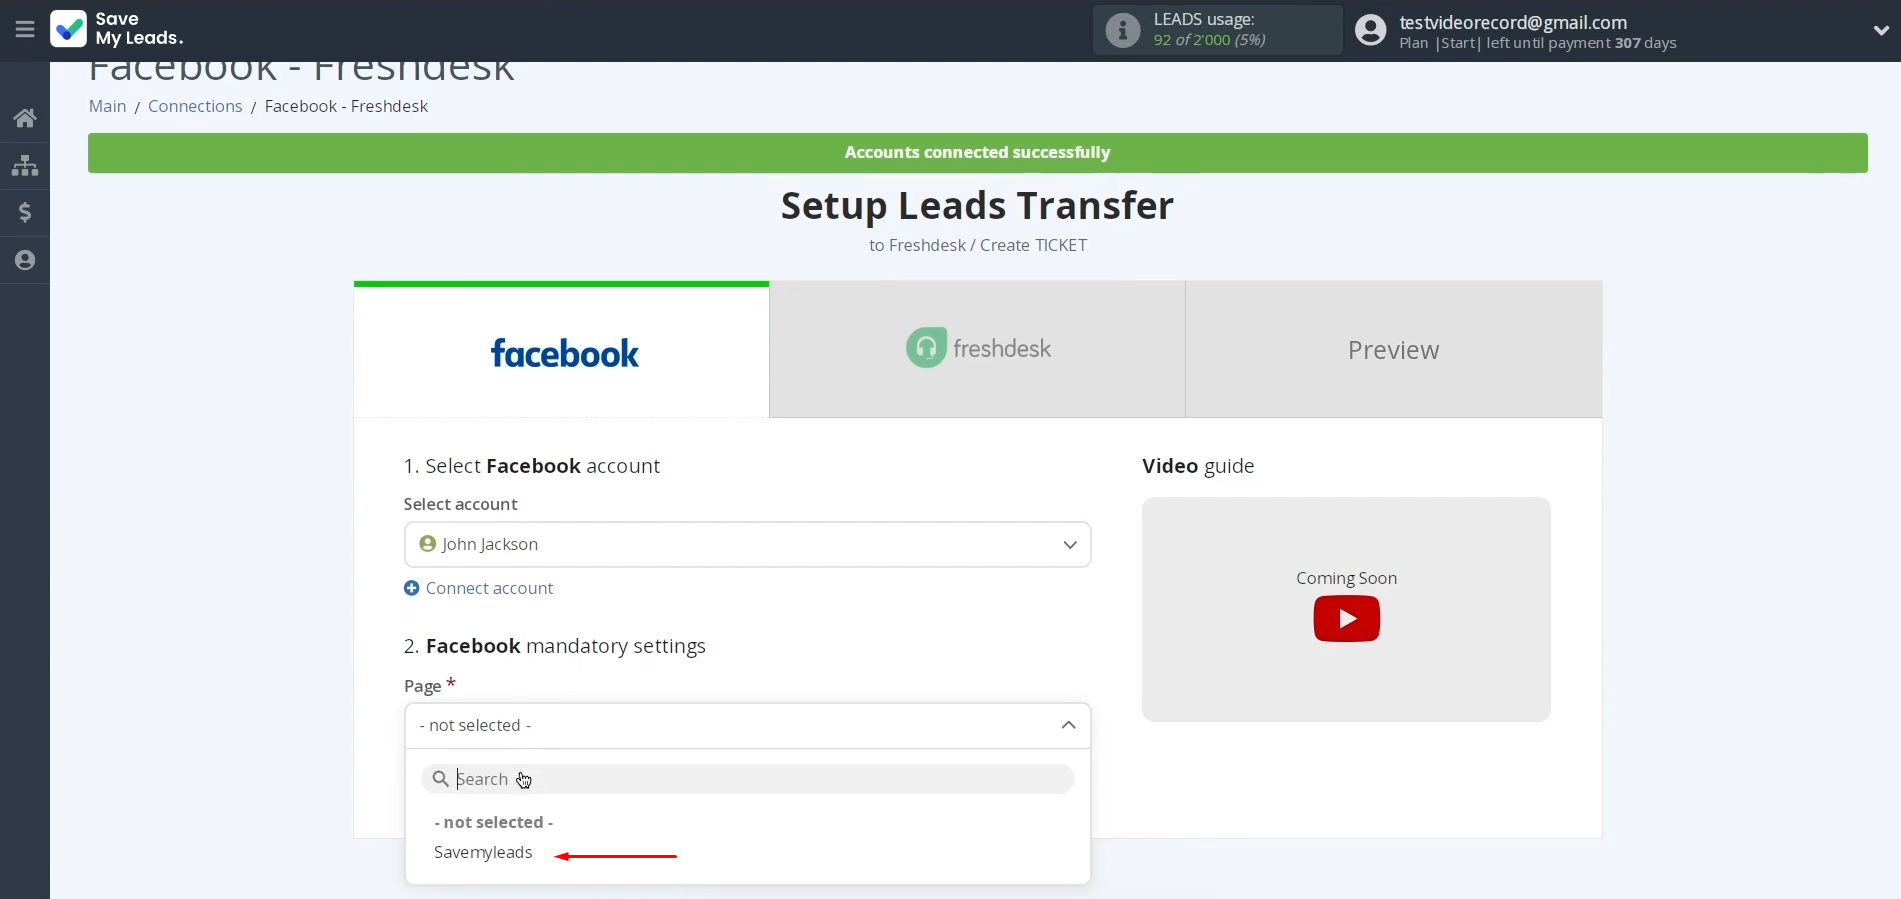
After that, you need to select the advertising
page from which you want to receive new leads.
Next, you need
to select the forms from which the
data will be loaded. If you would lke to receive data from several forms, you have to create several connections for each of them. Click “Continue”.
Setting up a Data Receiver – Freshdesk
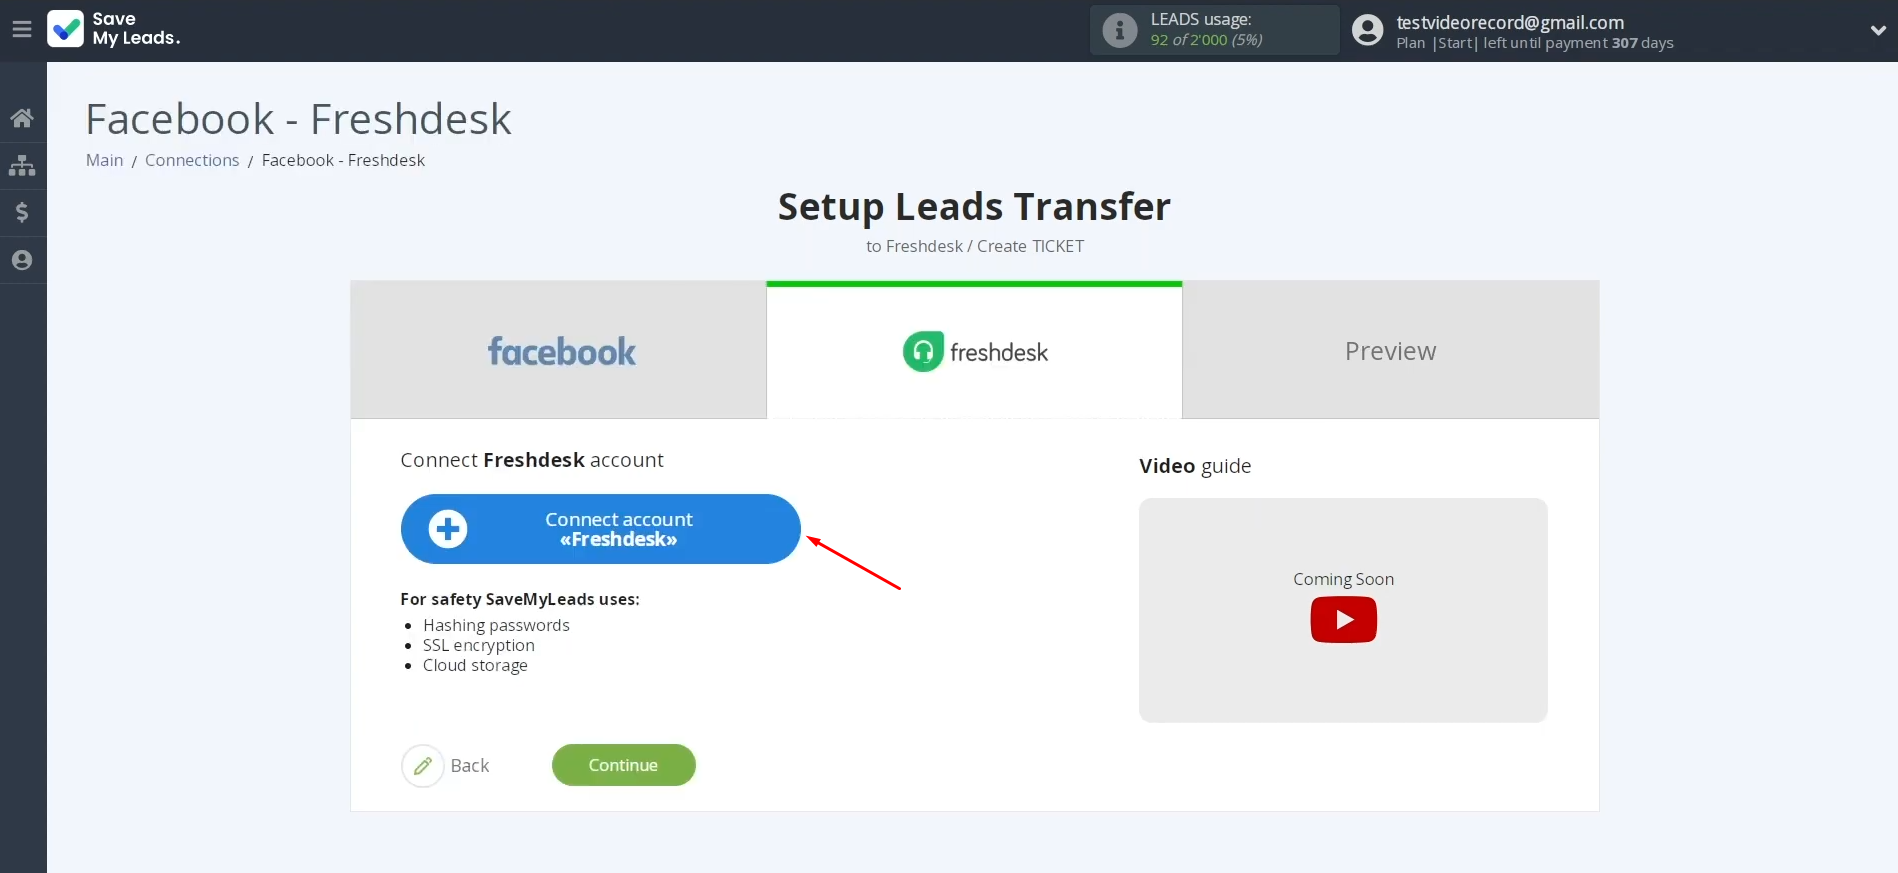
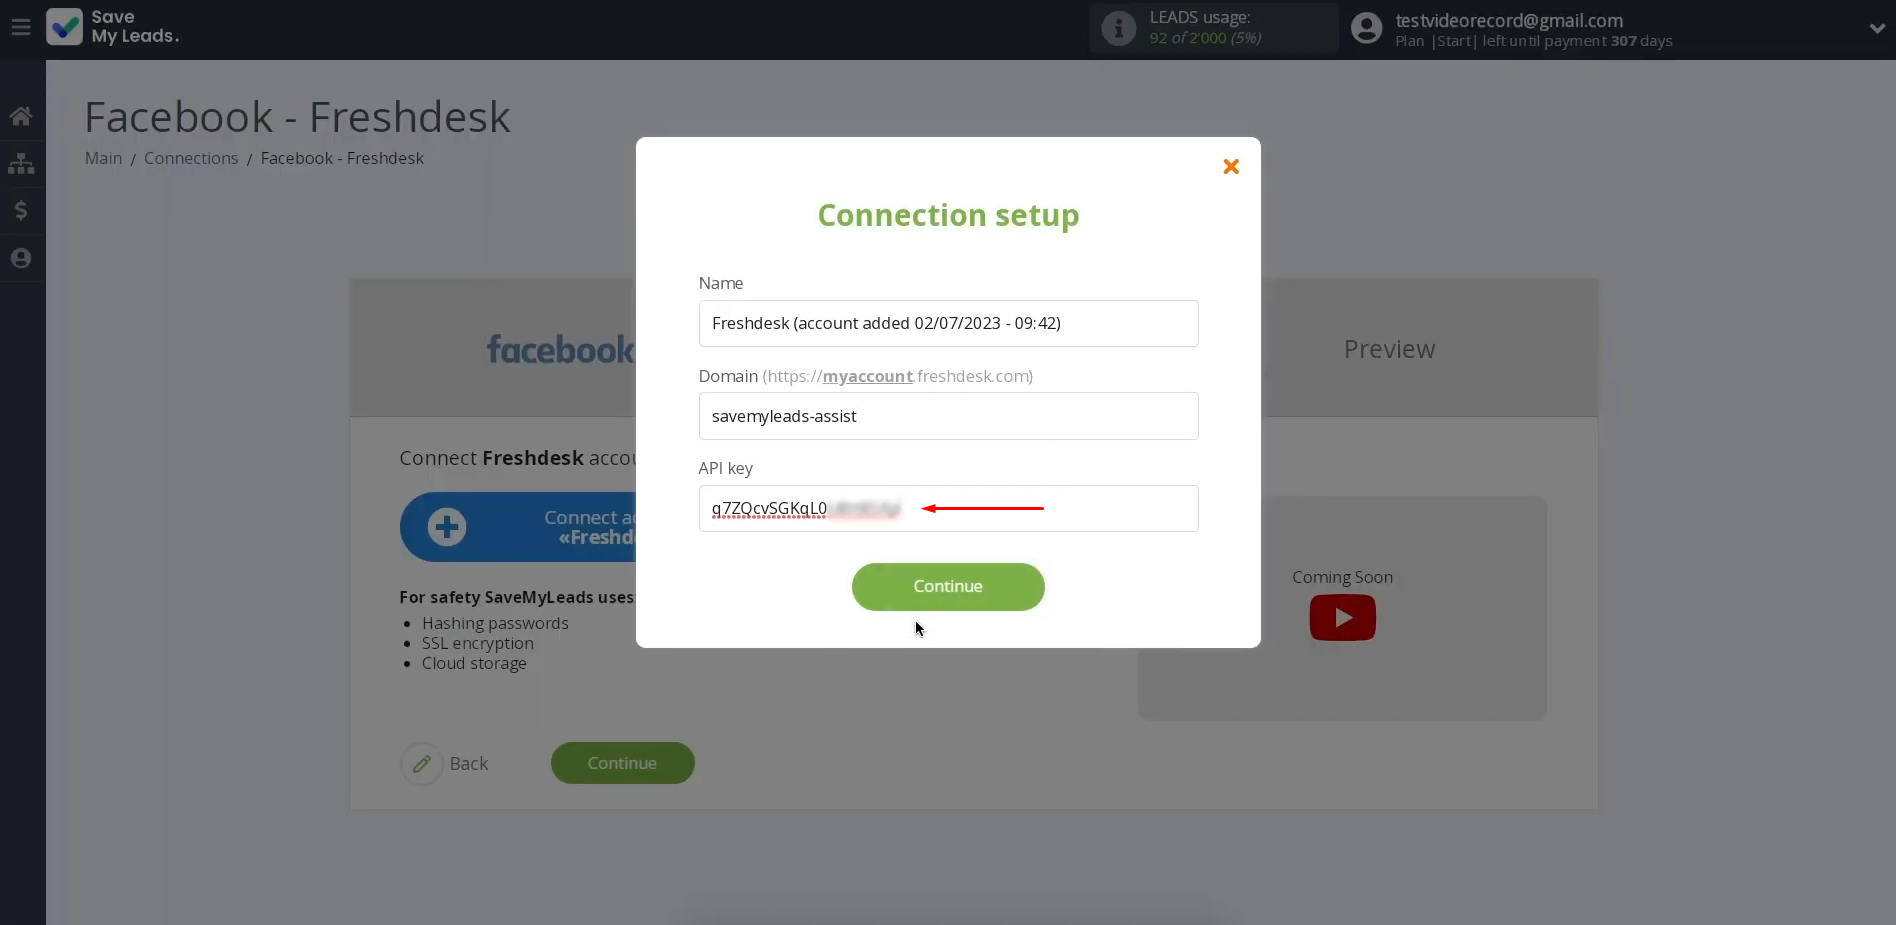
To continue setting up the Facebook-Leads and Freshdesk integration, you have to connect your Freshdesk account to the SaveMyLeads system. Click on the blue button.
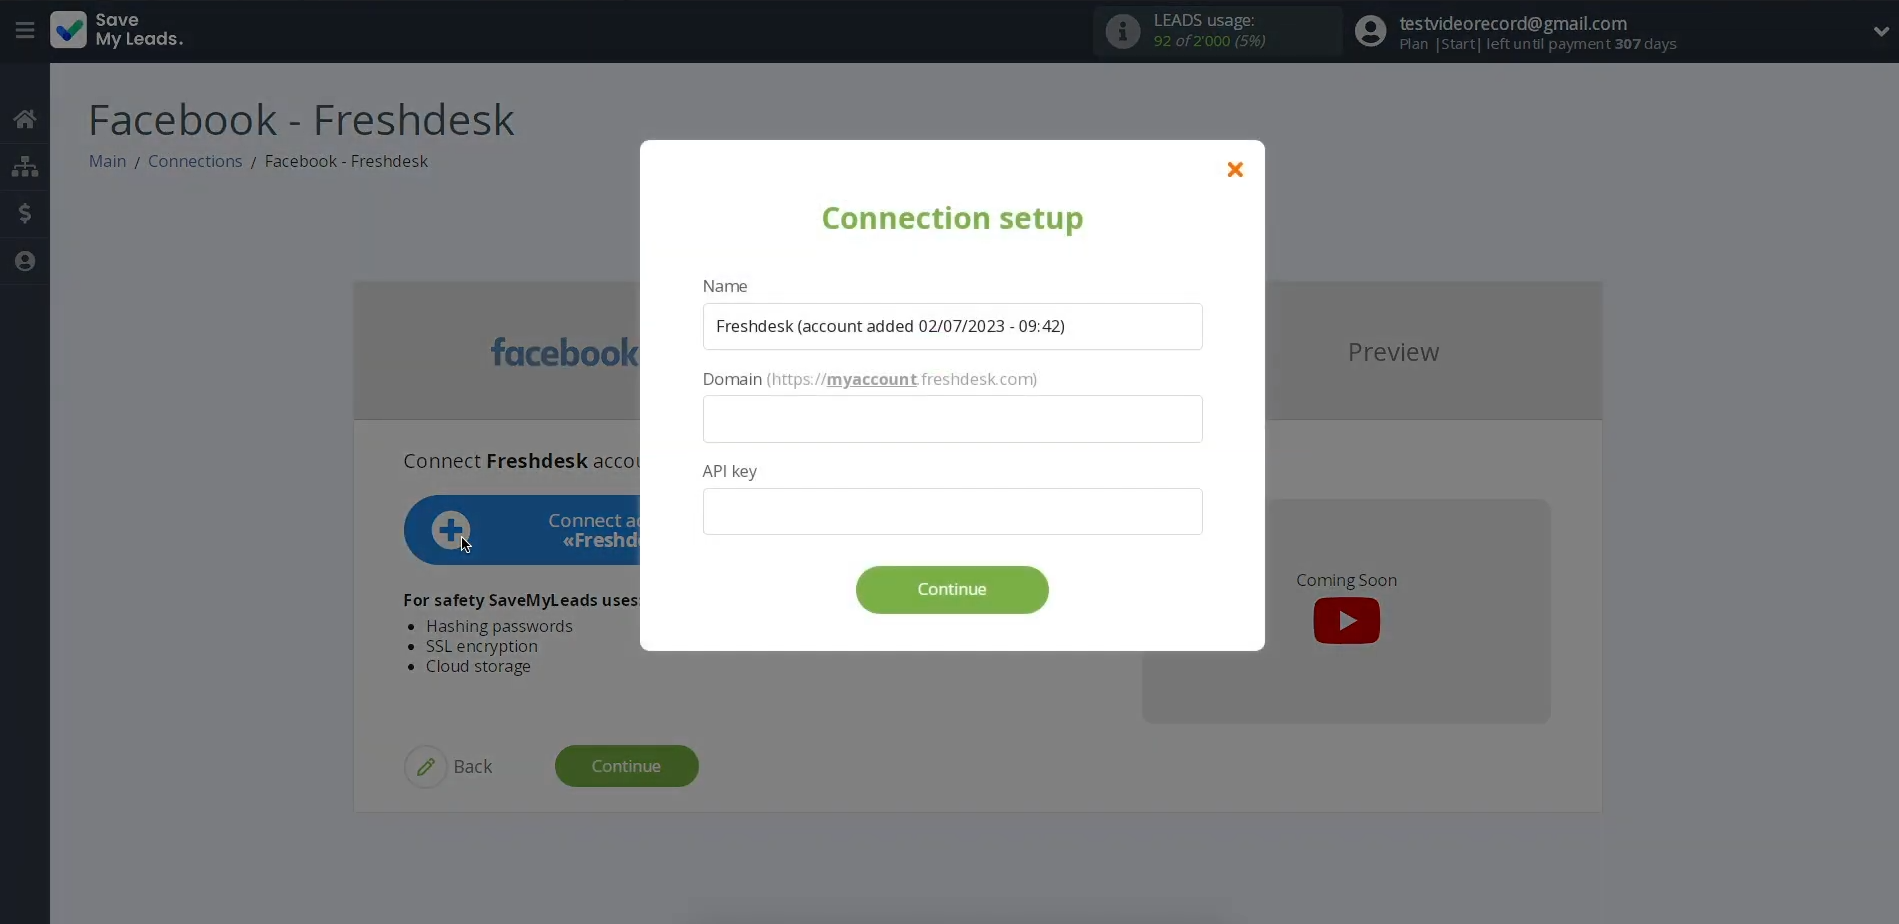
In this
window, you must specify the domain and API key.
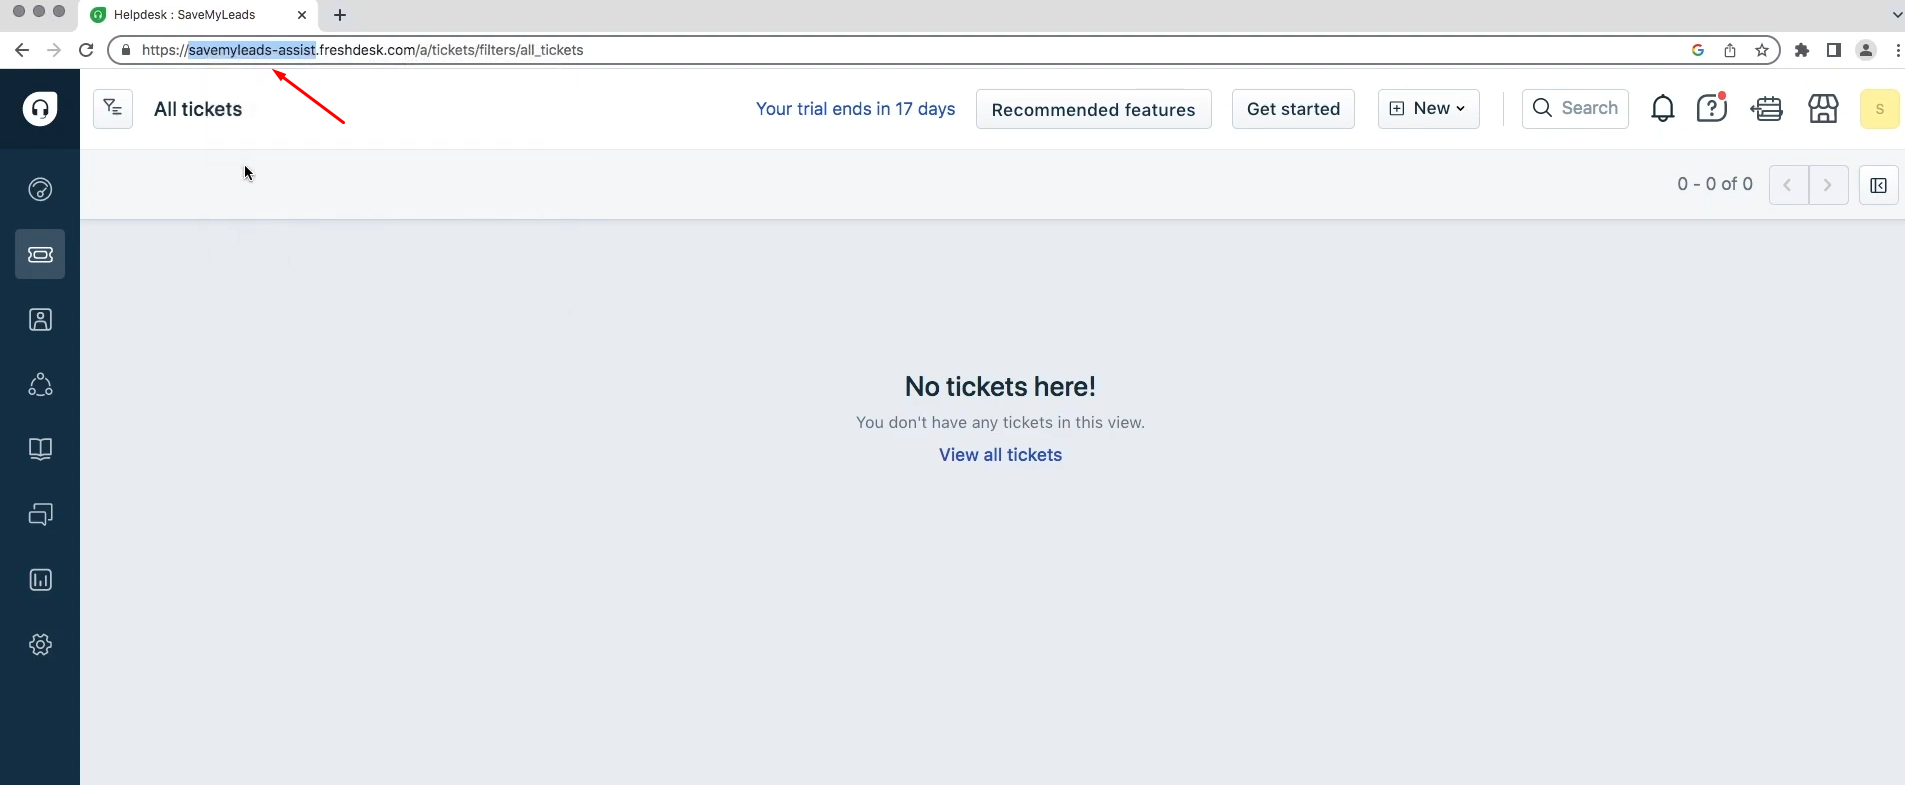
To get them, go to your Freshdesk personal account. Copy the domain from the address bar. Please note that the domain must be copied without extra characters.
Paste it into
the appropriate field in the SaveMyLeads system.
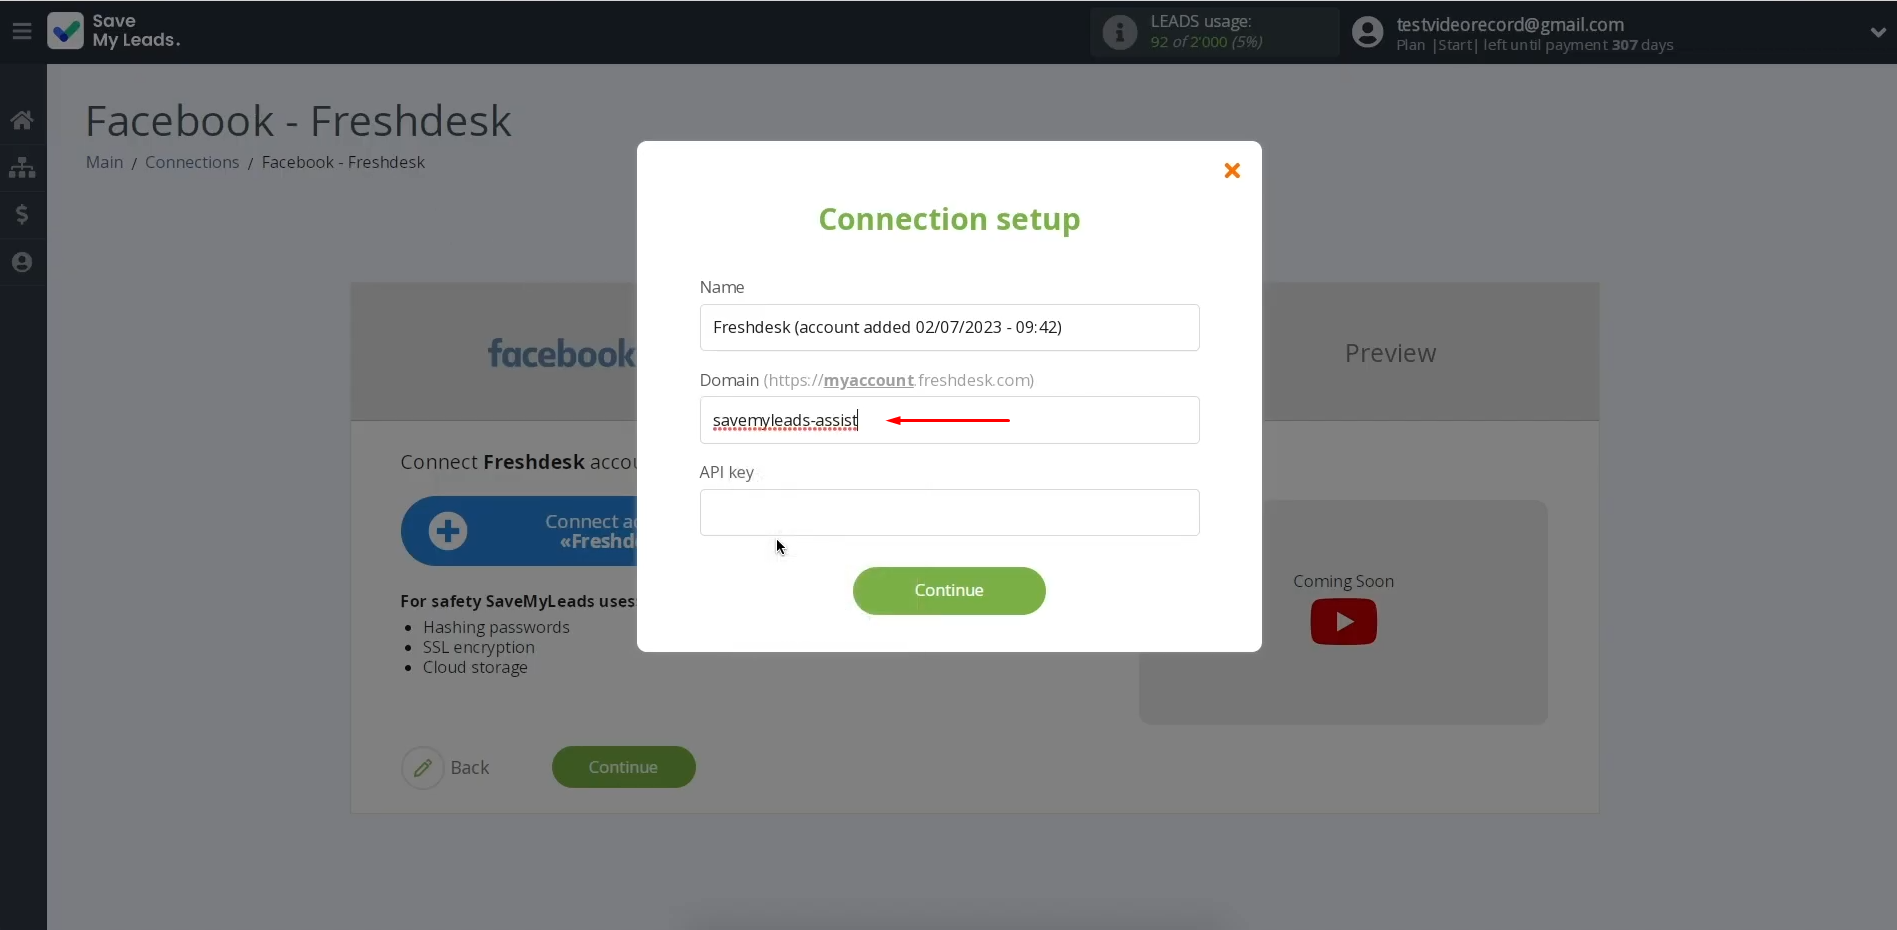
Next, you need to specify the API key. Return
to the Freshdesk system. Go to the profile settings
section.
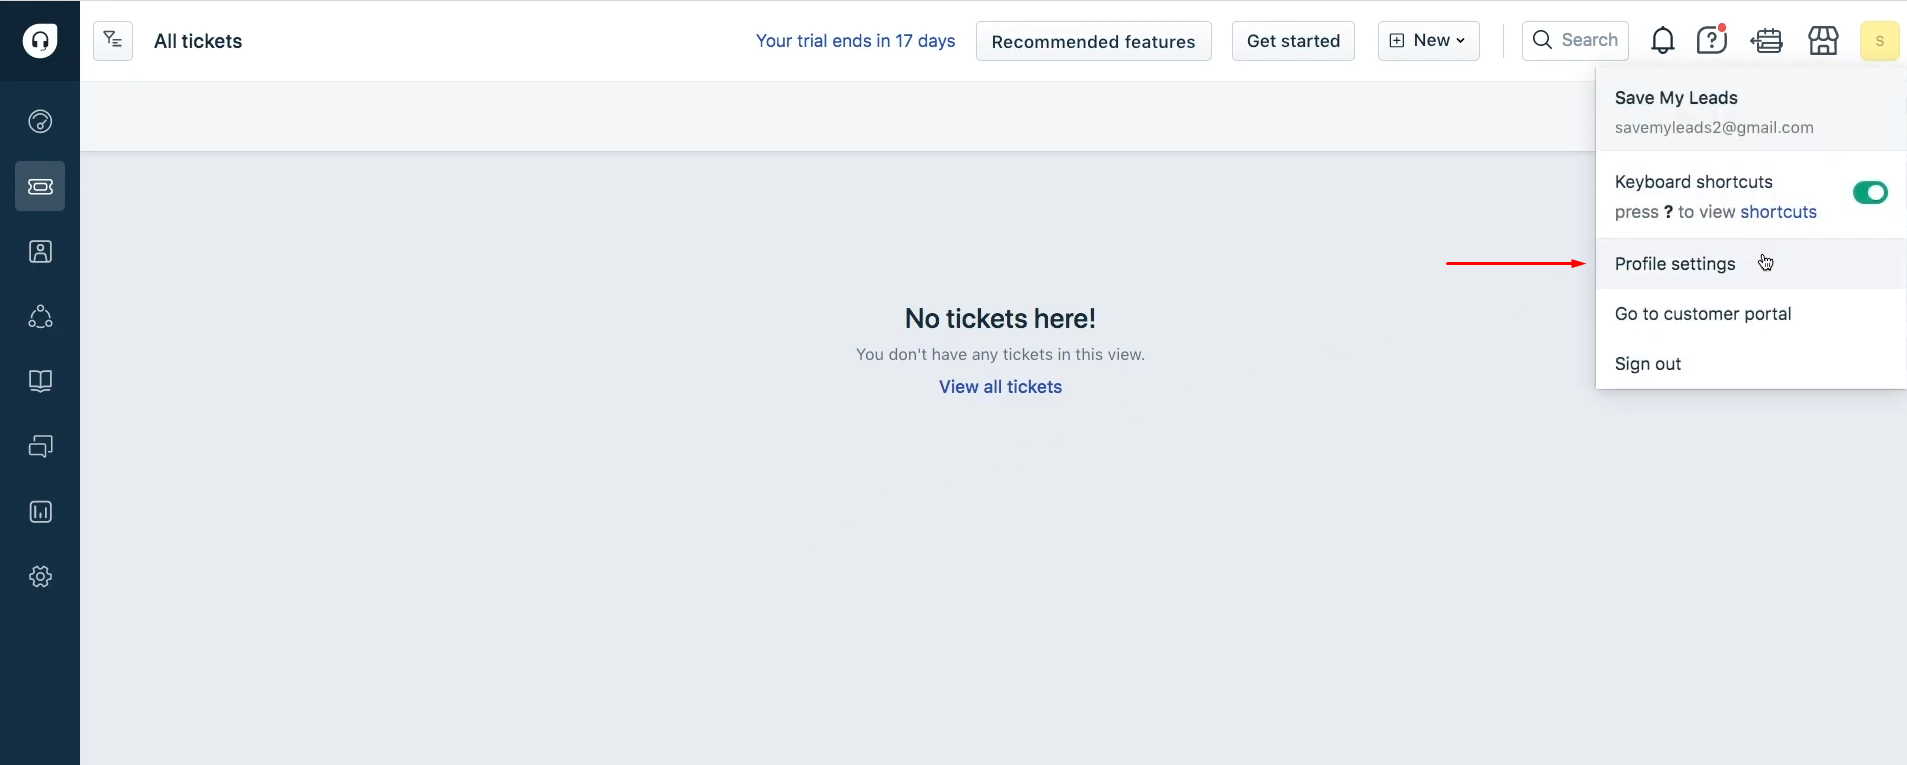
Click “View API key”.
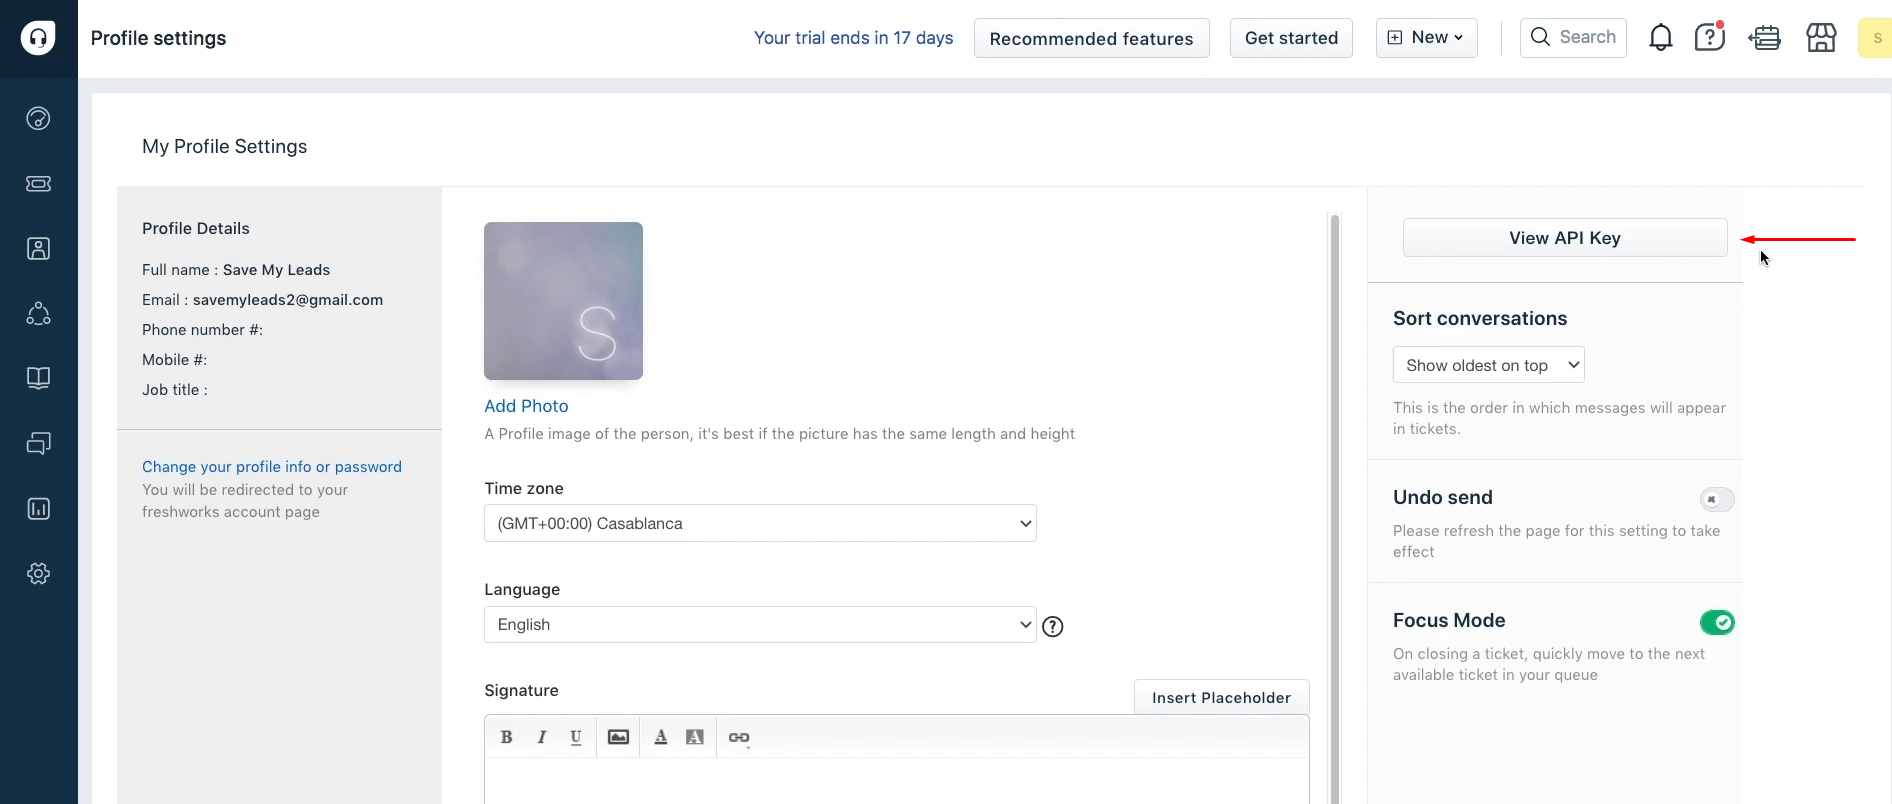
Copy the API
key.
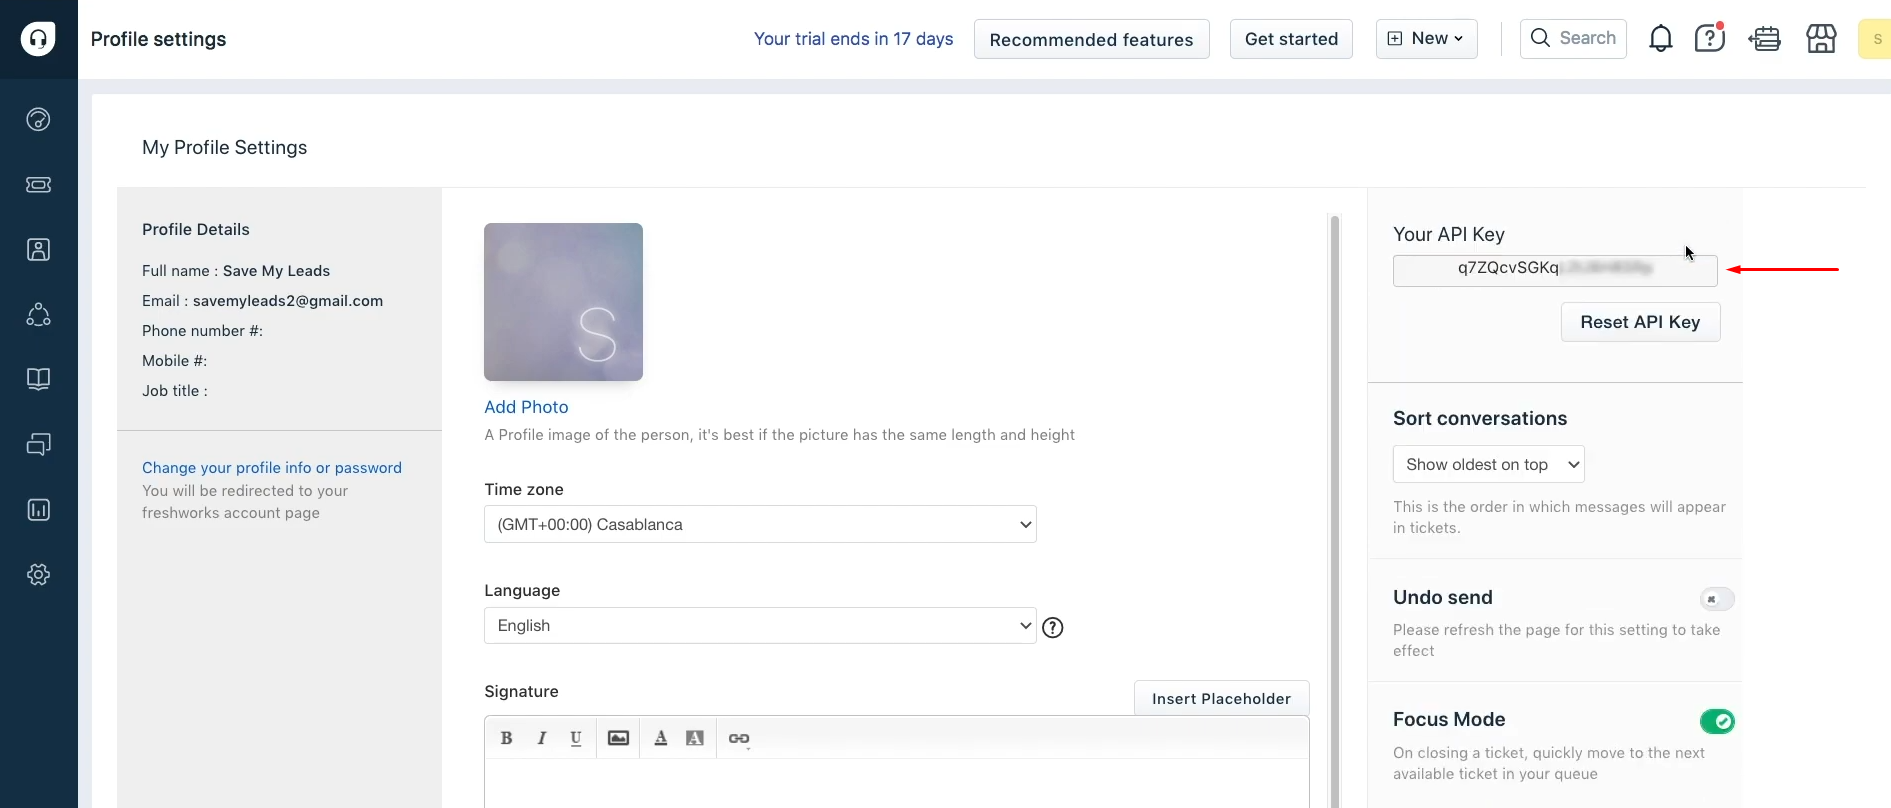
Paste the API
key into the appropriate
field in the SaveMyLeads system. When all required fields are filled
in, click “Continue”.
When the newly created login is displayed in the list, select it.
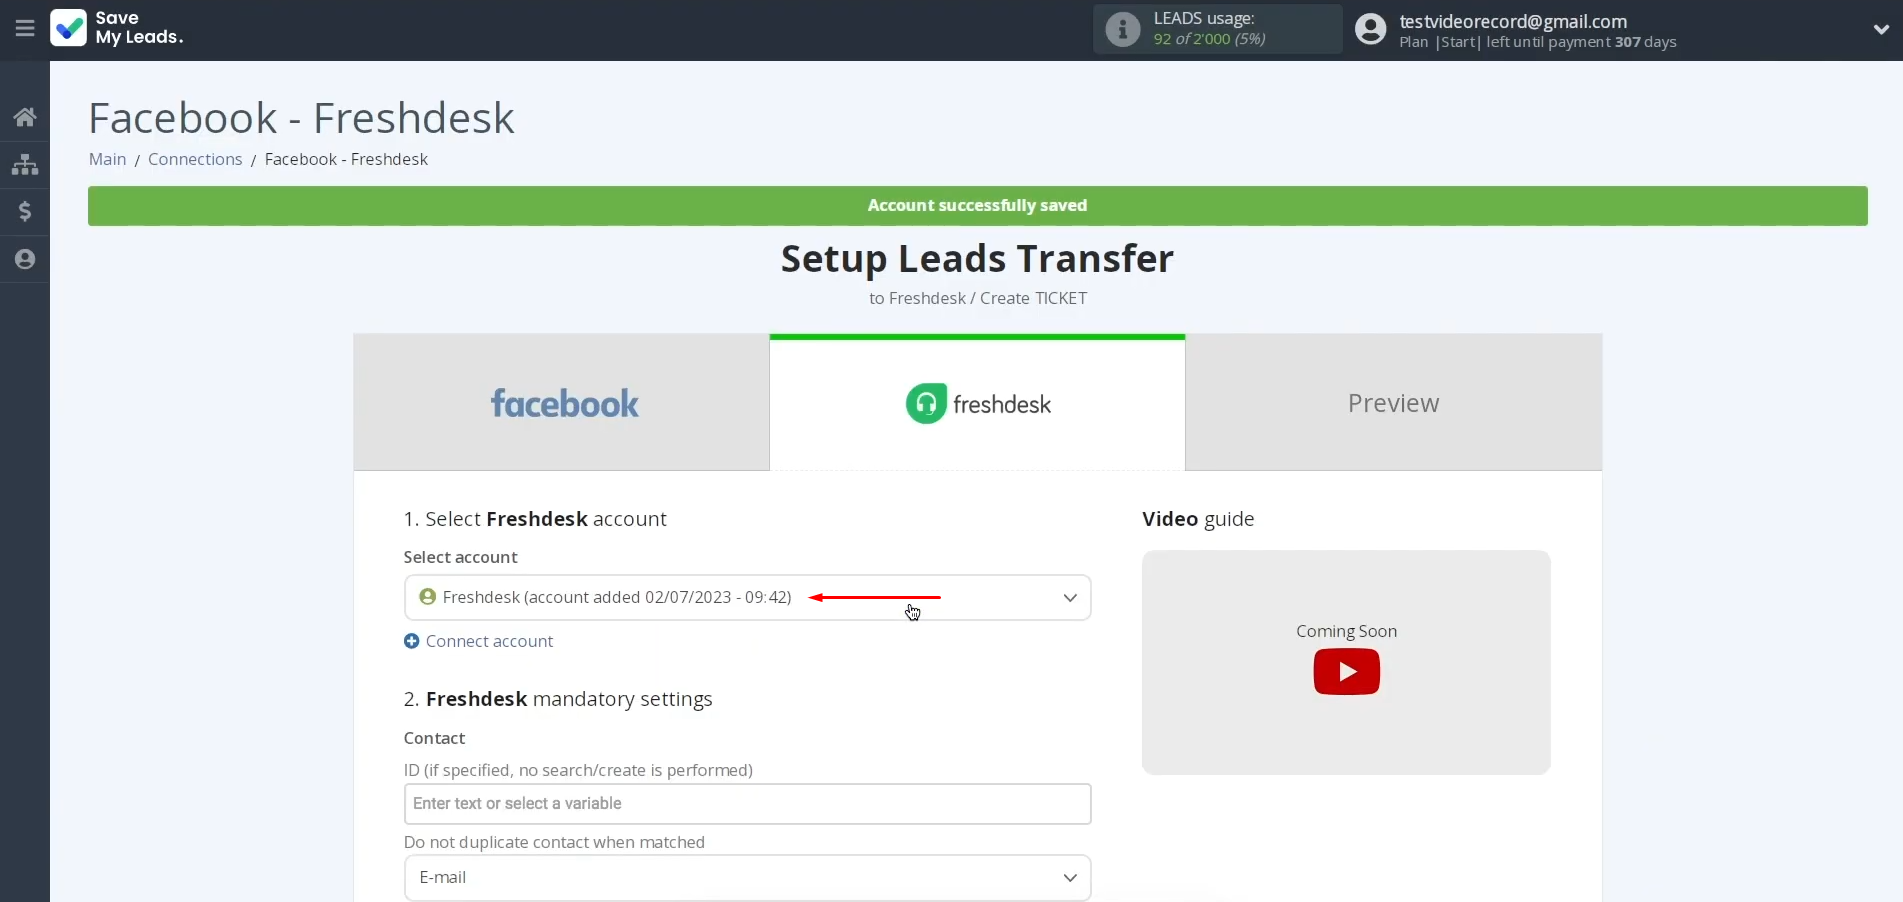
Next, you see Freshdesk fields where you can assign variables from Facebook. We have already done this.
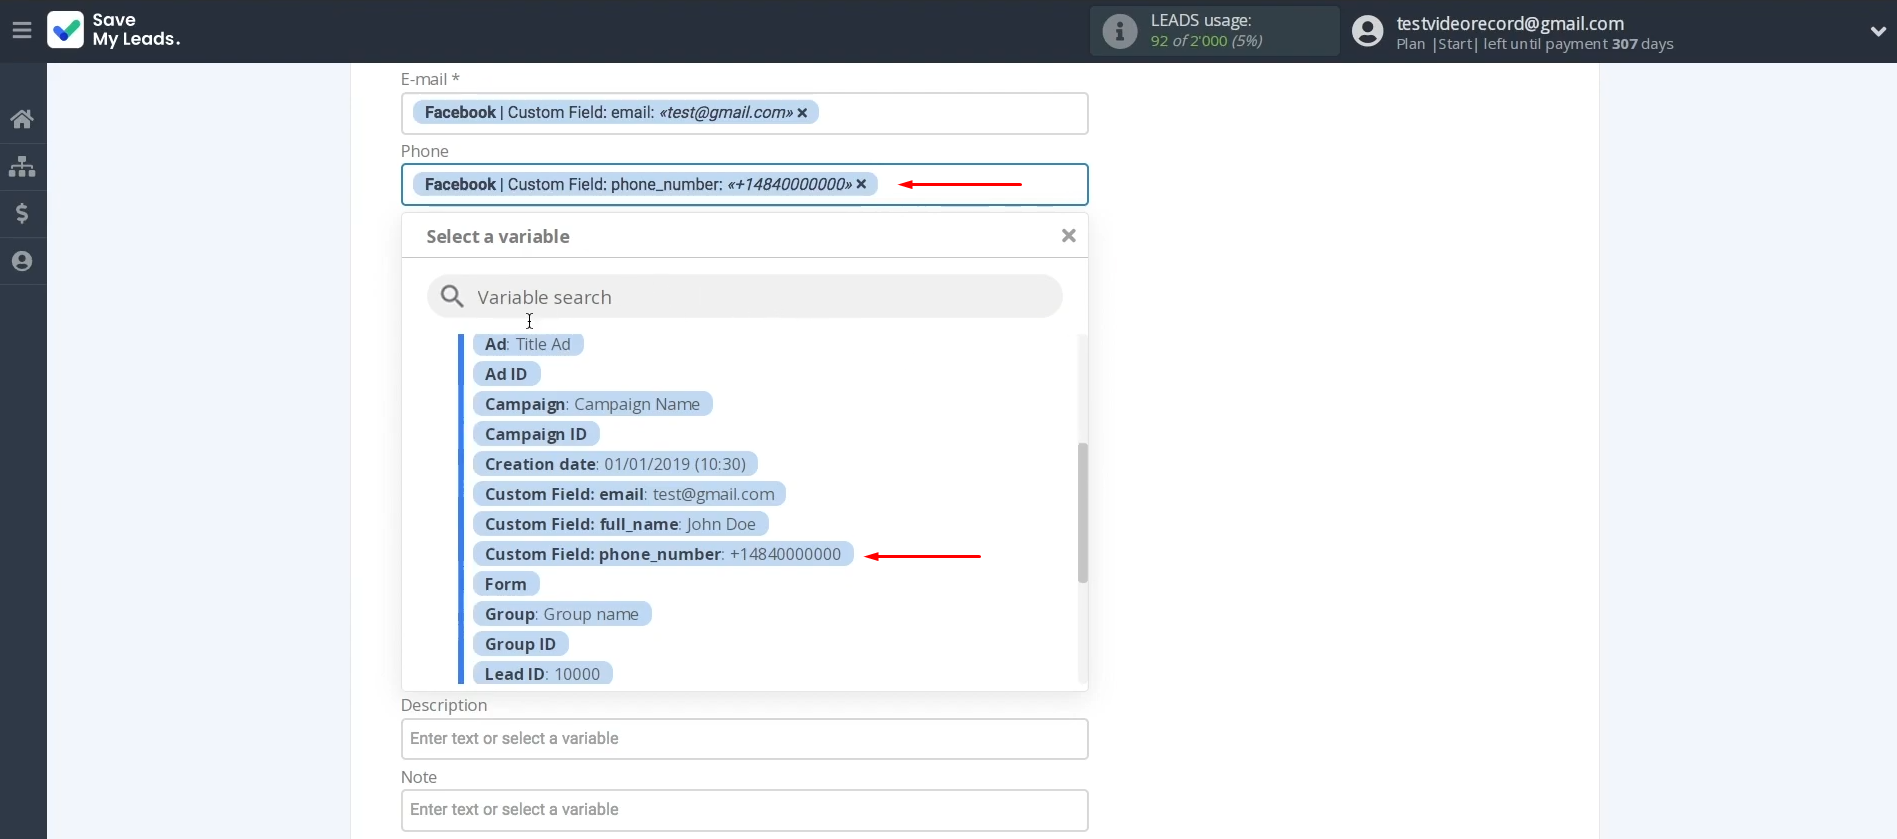
But if
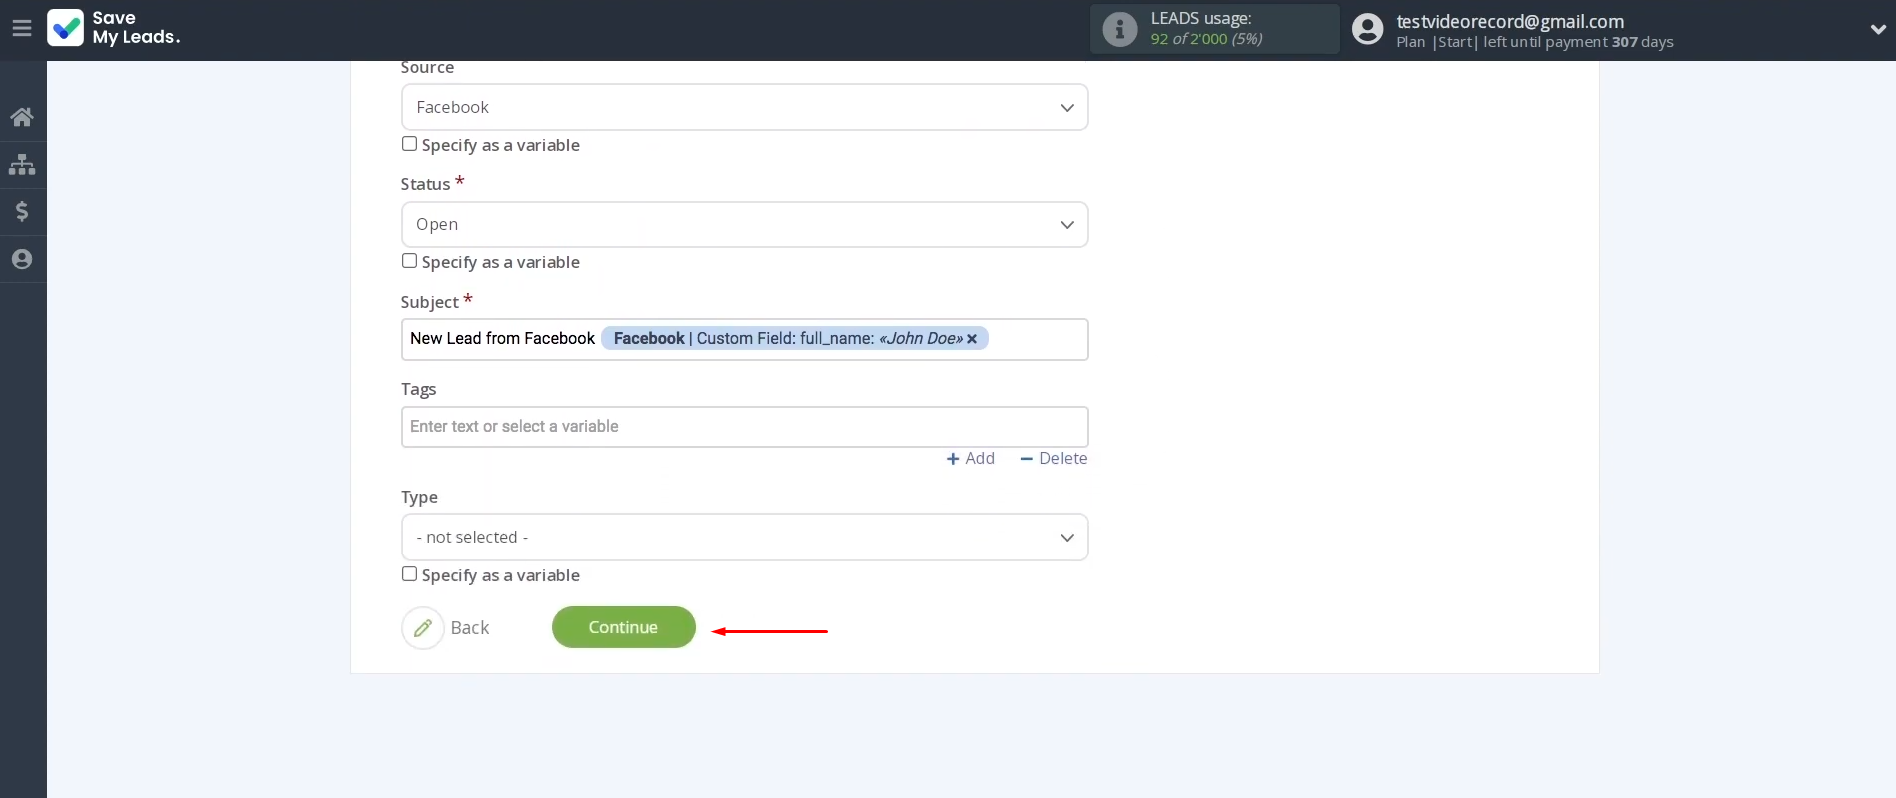
something does not suit, you can add variables from the dropdown list. When all the necessary data is
assigned, click “Continue”.
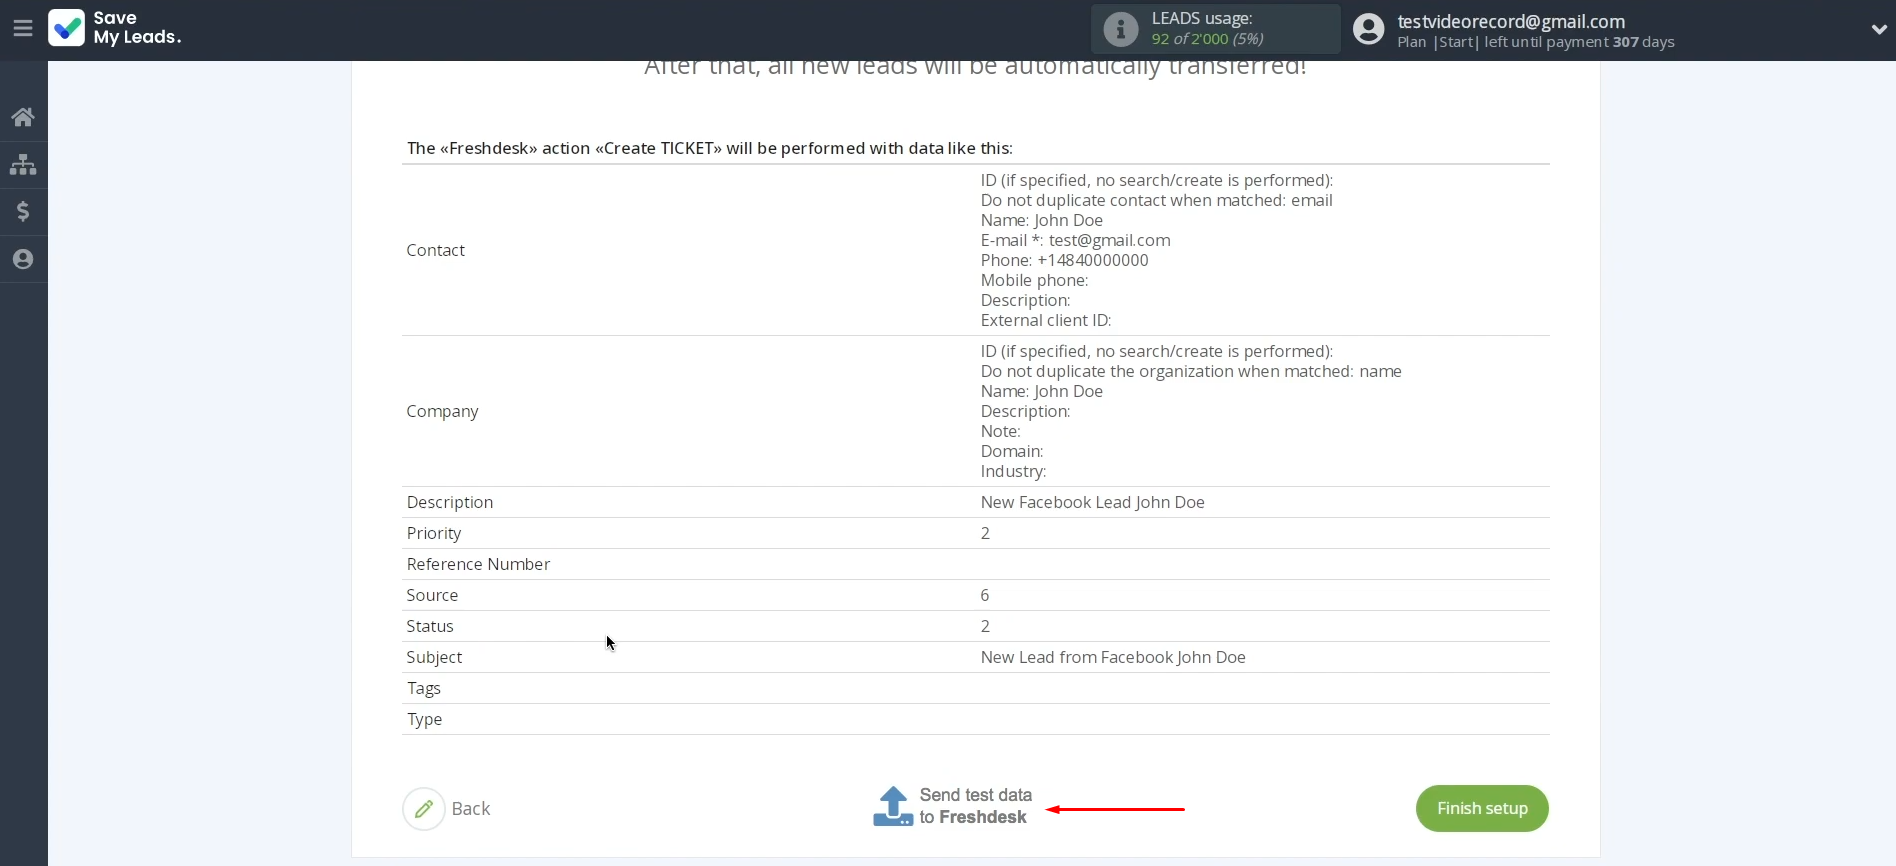
At this point, you see an example of the data that
will be sent to your Freshdesk with each new Facebook lead. If everything suits, click “Send test data to Freshdesk” to check if the settings are correct.
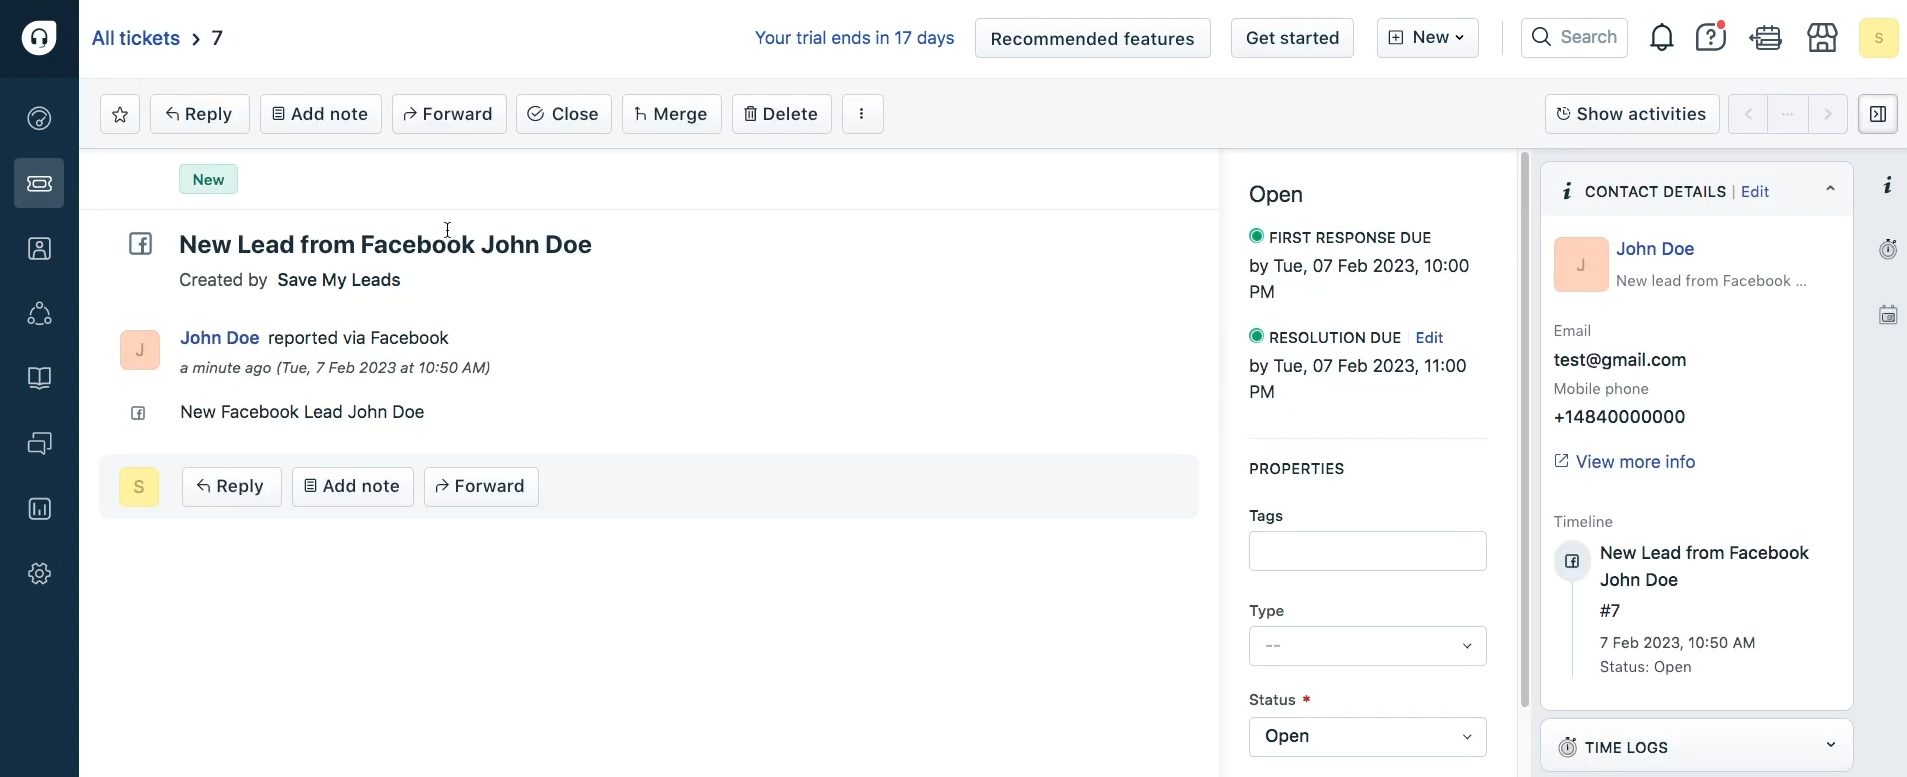
To check the result, go to Freshdesk.

If everything
suits, return to the SaveMyLeads system and continue setting up.
Enable Auto-update
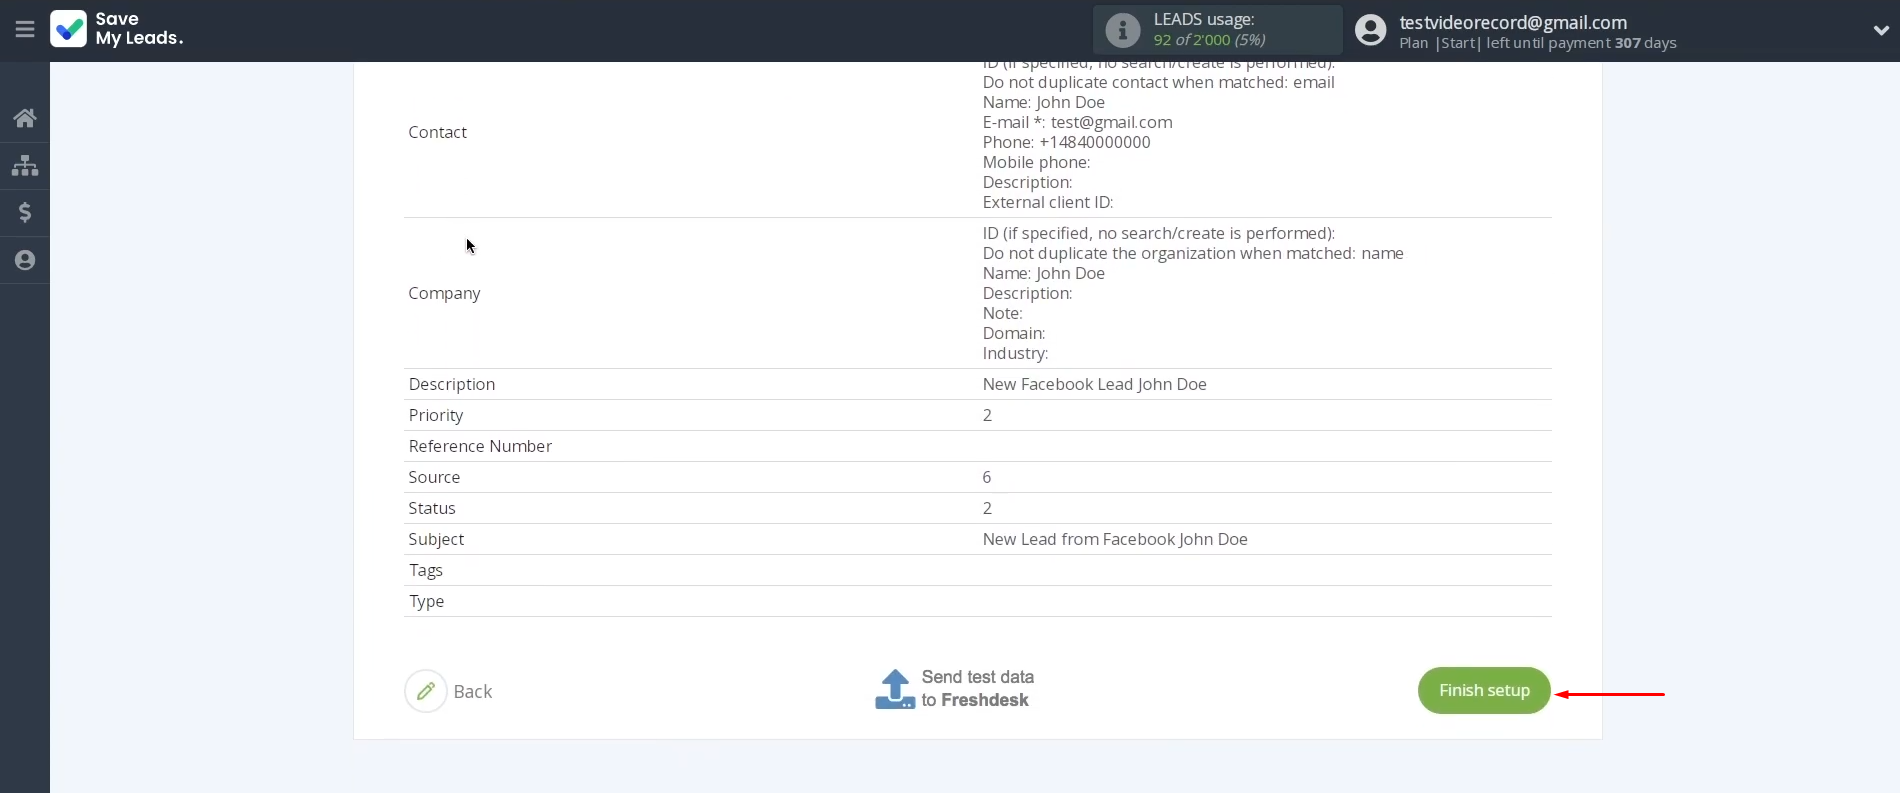
To activate the integration, click "Finish setup".
In the window
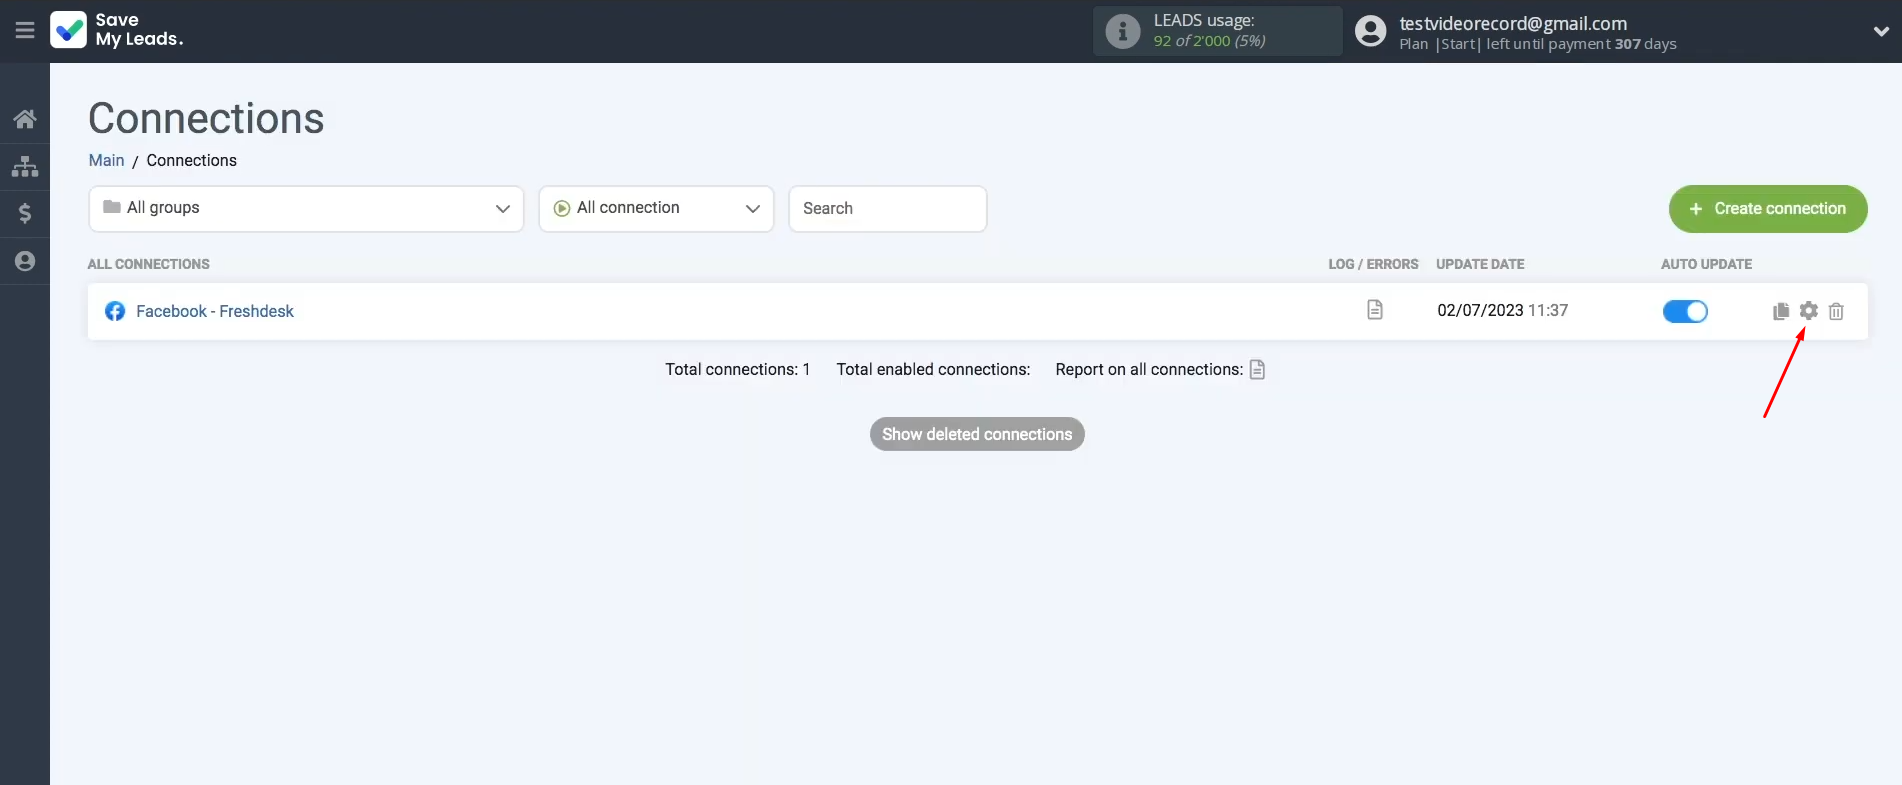
“Connections”, click on the gear icon.
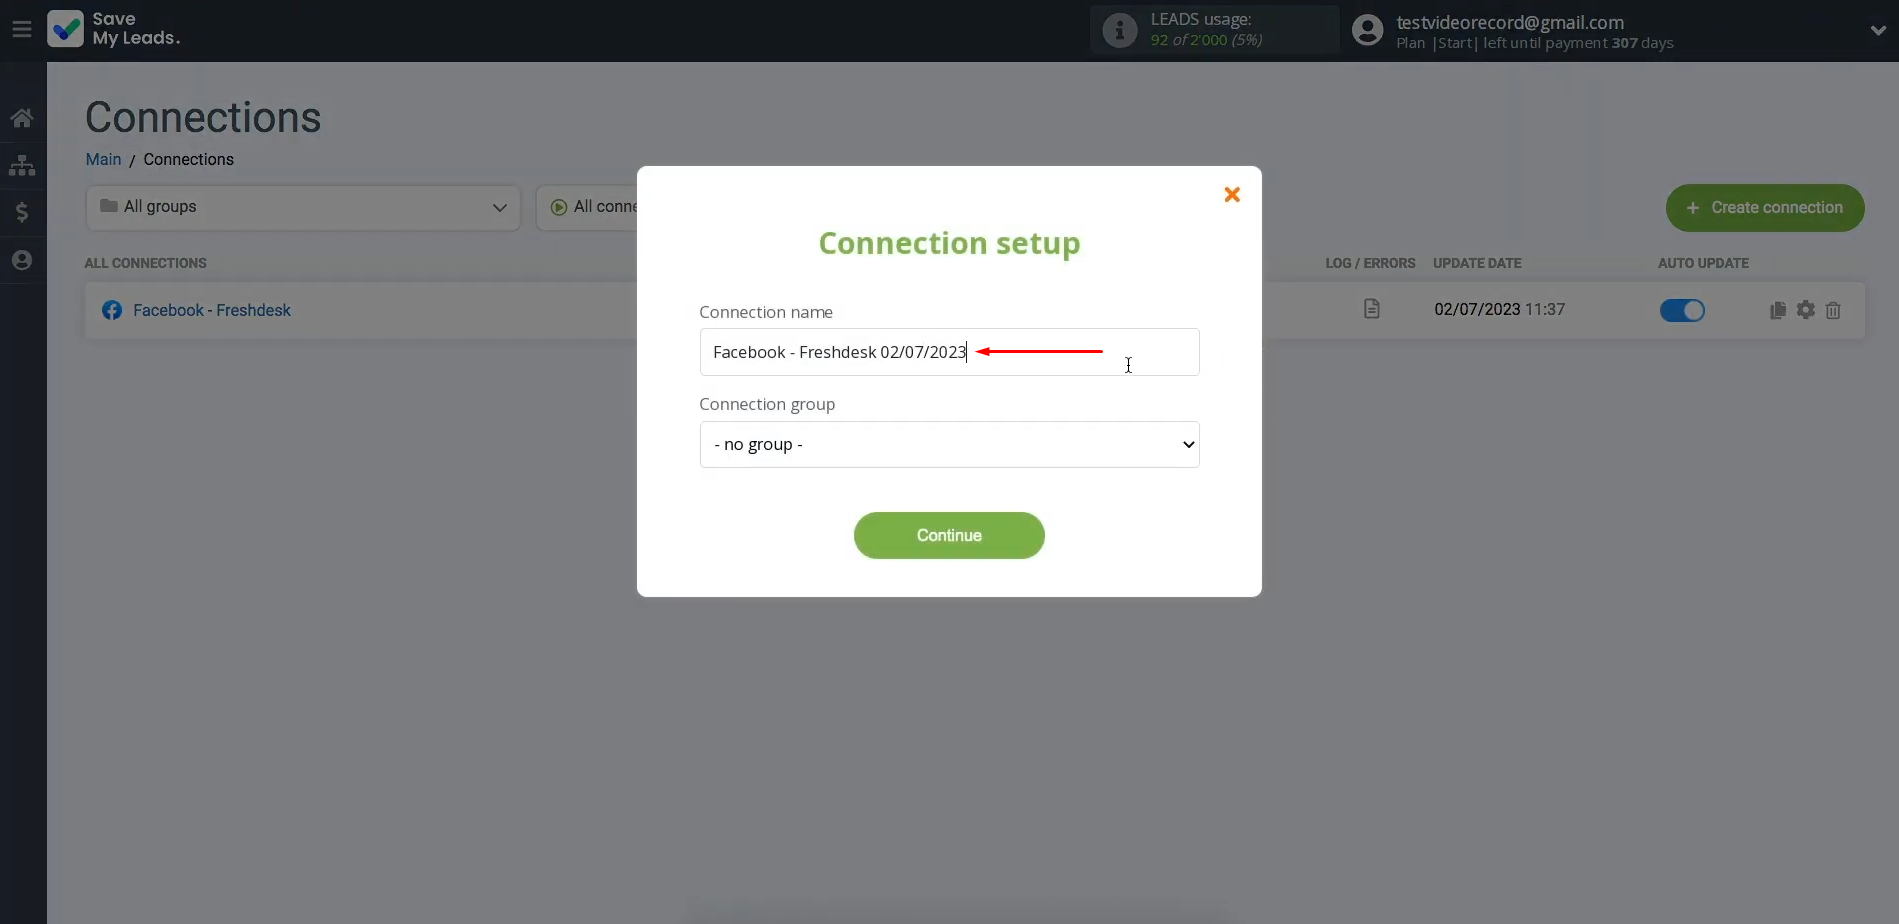
If you want
to change the name of the connection, you can do it here.
Then click “Continue”.
Result of the Freshdesk + Facebook Integration
By following our instructions, you will successfully set up a Facebook + Freshdesk integration, which automates the process of sending new leads from Facebook to the helpdesk platform. The entire setup procedure using the SaveMyLeads connector will take you no more than 10 minutes. This integration will save you from the need to transfer data manually each time, creating a ticket for a new potential client yourself. Thus, you will save valuable time that can be spent on other non-routine tasks and will significantly increase the speed and efficiency of your work.
If you use Facebook Lead Ads, then you should know what it means to regularly download CSV files and transfer data to various support services. How many times a day do you check for new leads in your ad account? How often do you transfer data to a CRM system, task manager, email service or Google Sheets? Try using the SaveMyLeads online connector. This is a no-code tool with which anyone can set up integrations for Facebook. Spend just a few minutes and you will receive real-time notifications in the messenger about new leads. Another 5-10 minutes of work in SML, and the data from the FB advertising account will be automatically transferred to the CRM system or Email service. The SaveMyLeads system will do the routine work for you, and you will surely like it.
