Are you using Facebook Lead Ads for lead generation and ActiveCampaign for sales management? Then this article will be useful for you. Most likely, you are regularly faced with the task of transferring new leads from the Facebook advertising account to the ActiveCampaign system. With the SaveMyLeads service, the data synchronization process can be easily automated. In this guide, we will show you how to set up Facebook and ActiveCampaign integration in just a few minutes.
Content:
1. How to set up Facebook and ActiveCampaign integration
2. Connect Facebook
3. Connect ActiveCampaign
4. Enable automatic data transfer
5. Integration result
ActiveCampaign is an effective solution for marketing automation and sales management. The CRM module of the platform allows you to process customer/order data and promote deals through the sales funnel. With ActiveCampaign, you can set up transparent workflows and increase employee productivity. CRM-system offers a clear structure and user-friendly interface.
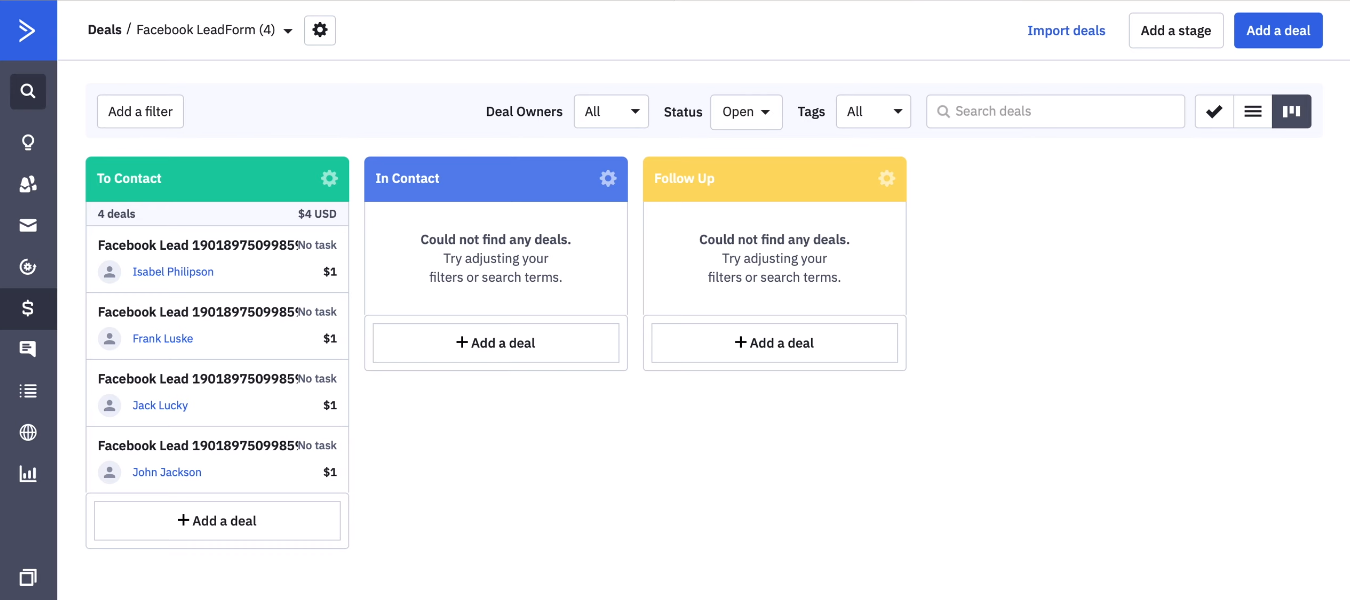
Deals are one of the most important sections of the ActiveCampaign CRM system. This is where the data on customers and requests is located, and the lead moves through the stages of the sales funnel. The ActiveCampaign platform offers a wide range of functionality for working with deals. Users can track progress on a Kanban board, set up sales pipelines, use tags, create tasks, add notes, and more.
Deals in ActiveCampaign can be created manually. Press the “New Deal” button, enter the data and save. But if you manually enter tens and hundreds of leads, the process will take a lot of working time. And do not forget that this is a regular task. The solution to the problem is the introduction of automation. For example, you use Facebook Lead Ads for lead generation and transfer information from the Facebook advertising account to the ActiveCampaign CRM system. If you create an integration of these two platforms, you can set up automatic data transfer. As a result, new Facebook leads will be converted into ActiveCampaign deals without human intervention.
How to set up Facebook and ActiveCampaign integration
Our task is to create an automated process “uploading data on new Facebook leads - creating deals in ActiveCampaign”. To set up the integration, we will use the SaveMyLeads service. This is an online connector that allows you to connect Facebook ad account with other systems. In our case, ActiveCampaign CRM acts as a data receiver. The SaveMyLeads service will track new Facebook leads, upload the necessary data, and initiate the creation of a deal on the ActiveCampaign side.
Integration is configured through a web interface. Working with the SML system does not require special knowledge or skills. To get rid of the manual transfer of leads from Facebook to the ActiveCampaign CRM system, you will need access to these two platforms and a little time.
Connect Facebook
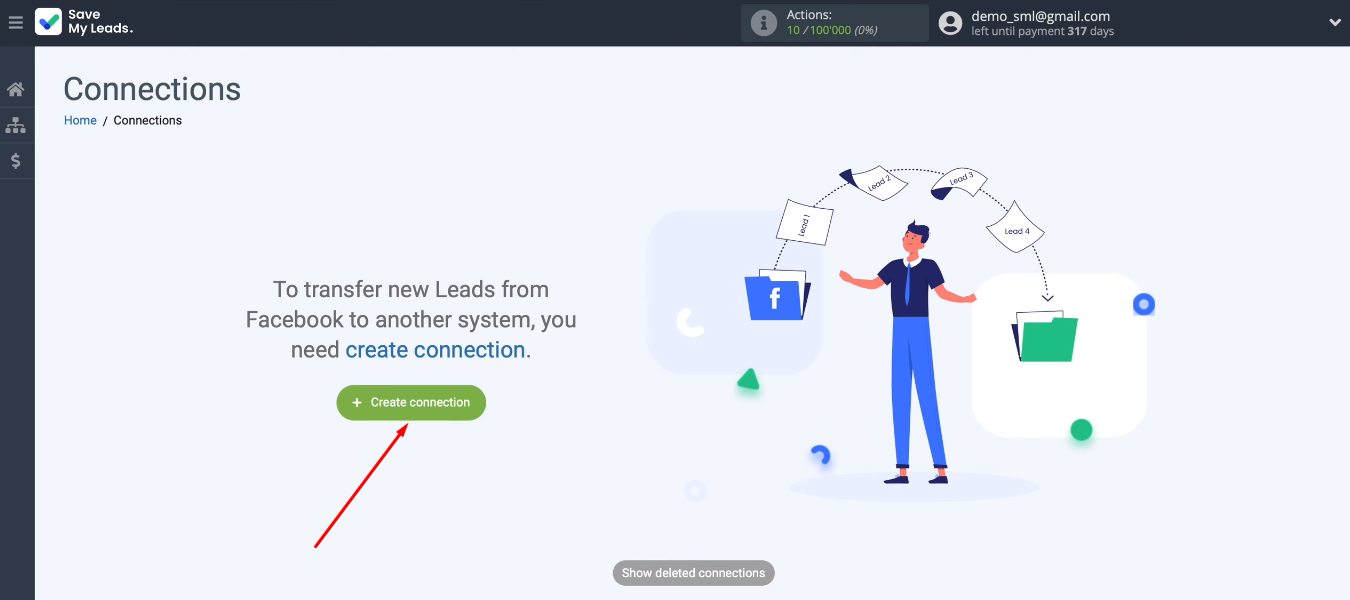
To get started with the SaveMyLeads system, you need to register or log in using your Facebook or Google account. The integration setup process is extremely simple. Let's consider it step by step. First, create a new connection.
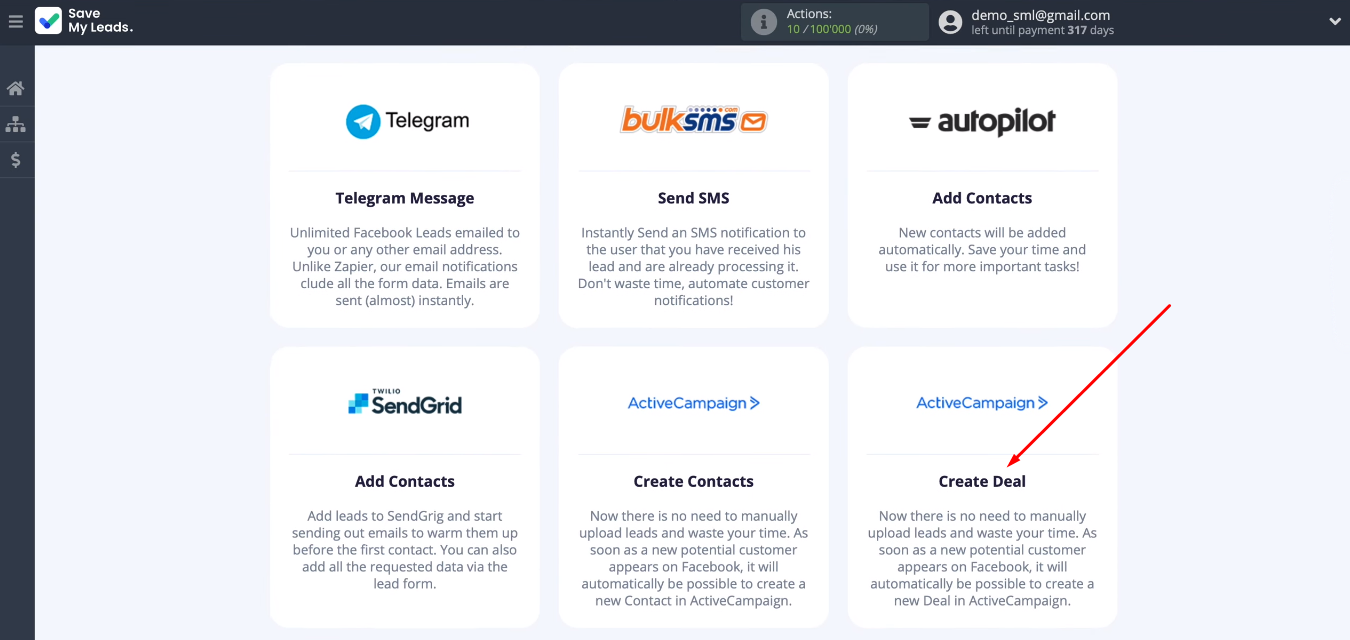
Select the appropriate customization template. For our task, this is “ActiveCampaign (Create Deal)”.
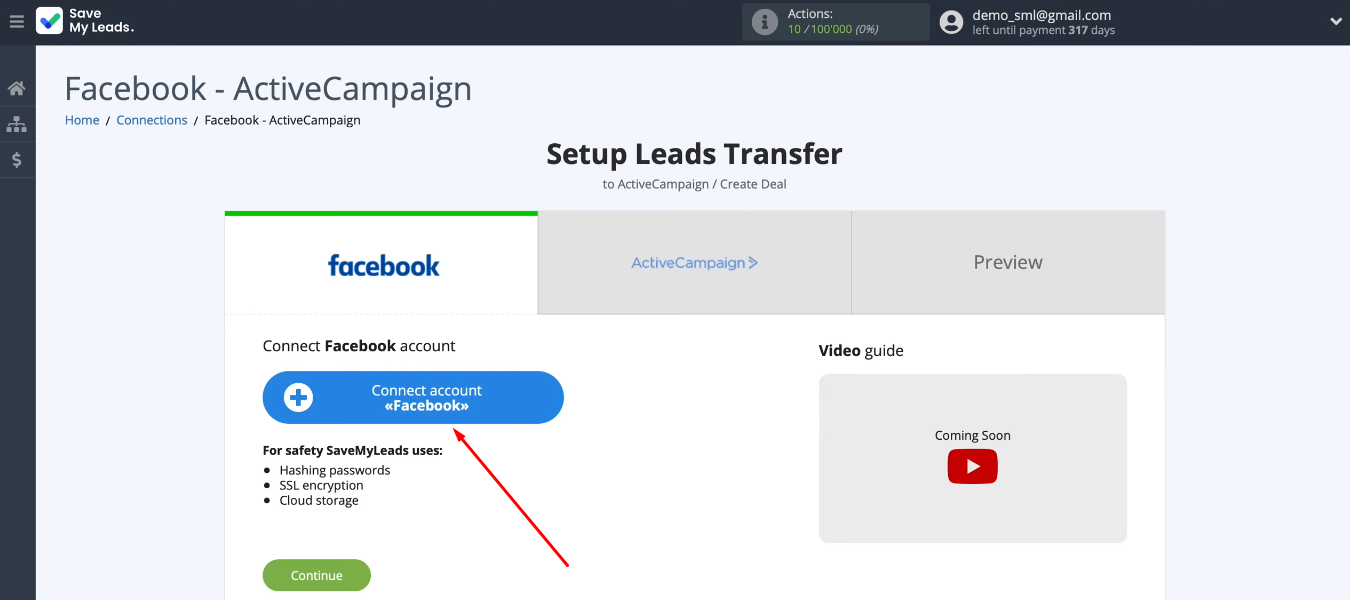
Let's set up a data source — a Facebook advertising account. Connect the FB account to the SaveMyLeads system.
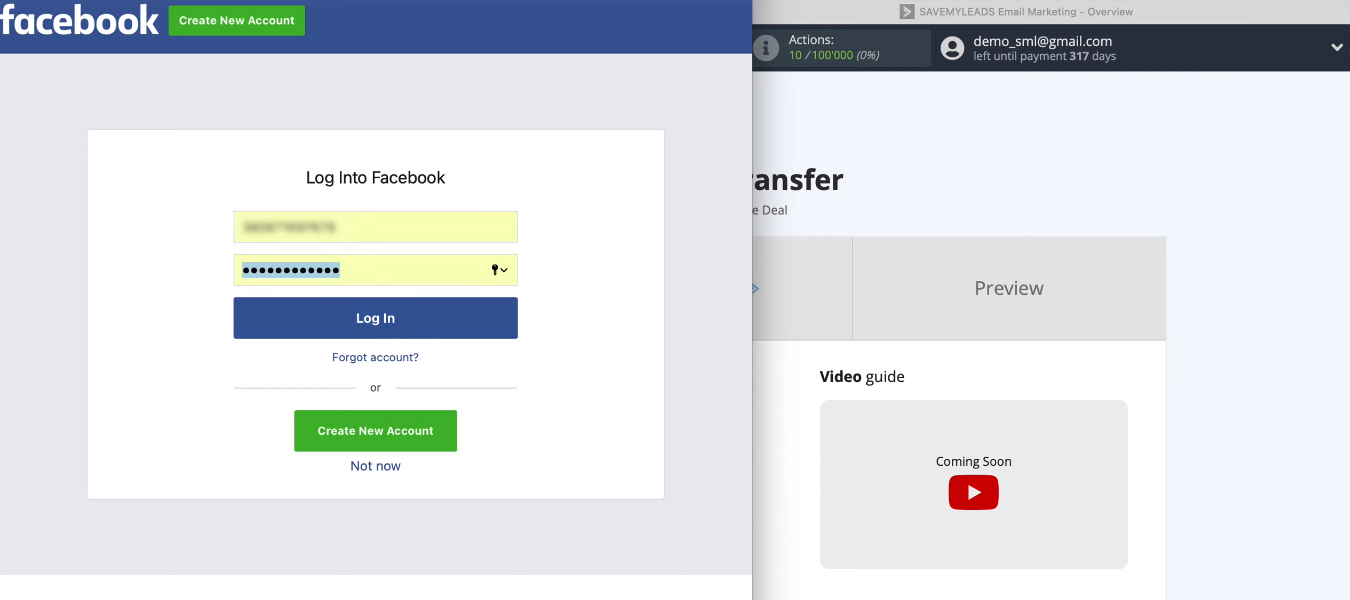
Specify login and password.
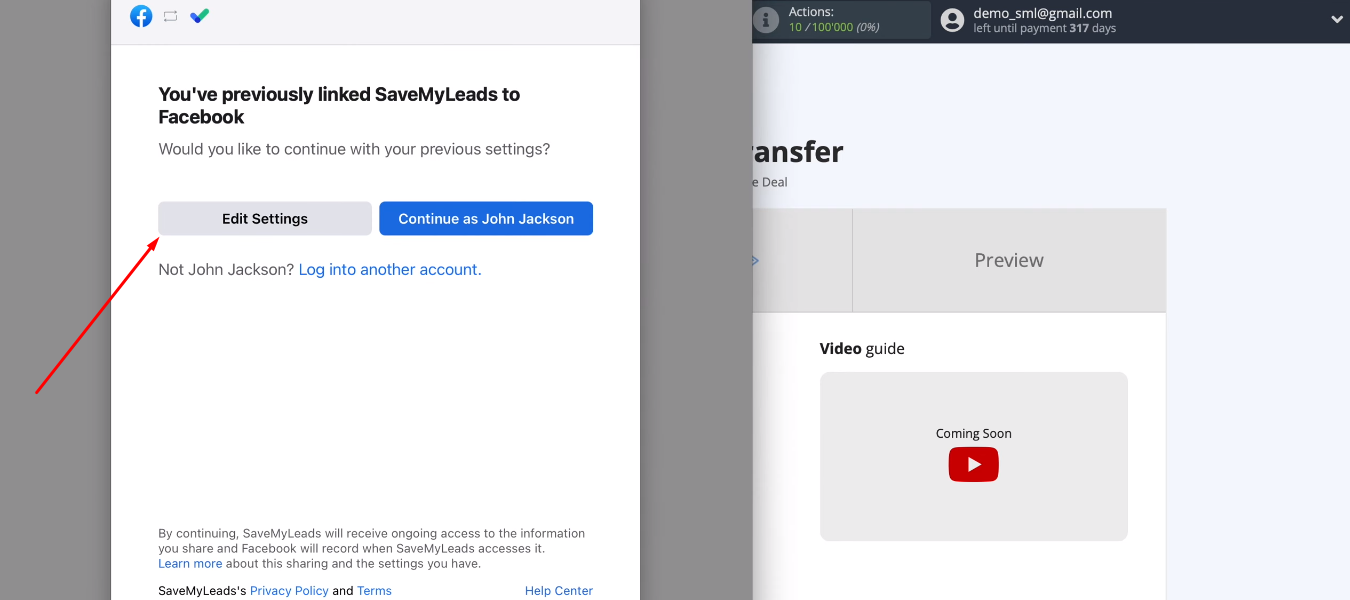
Go to the settings.
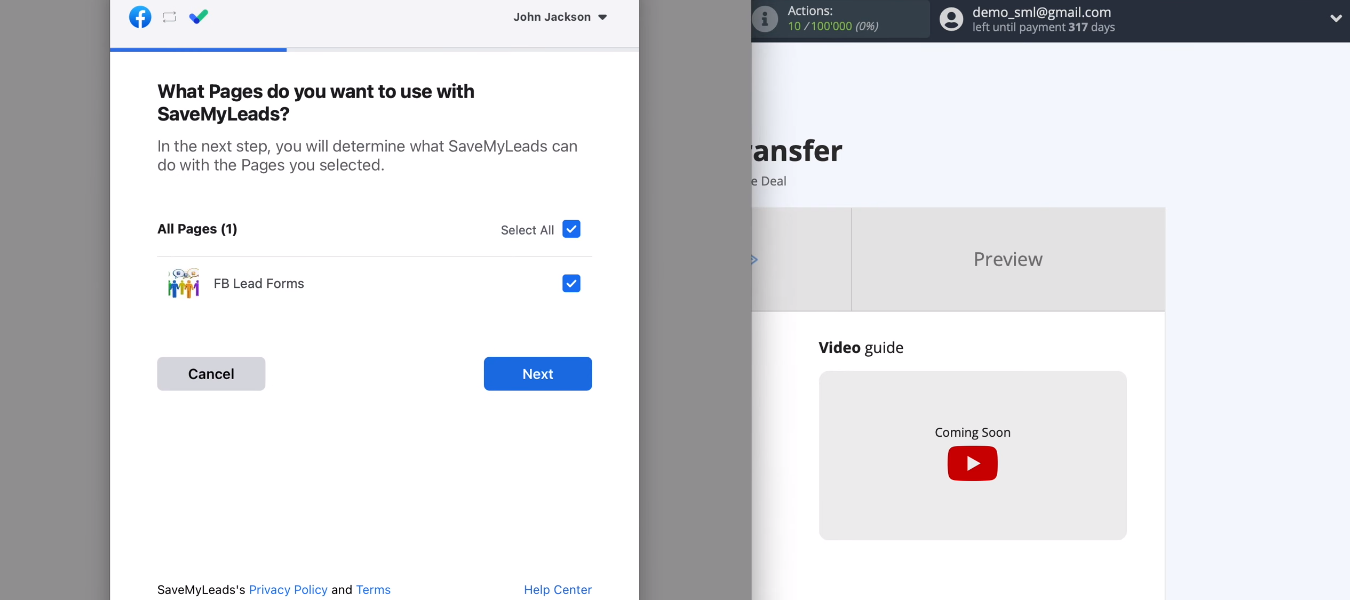
We see a list of advertising pages. Select those from which you want to upload data on leads. You can mark all available pages at once.
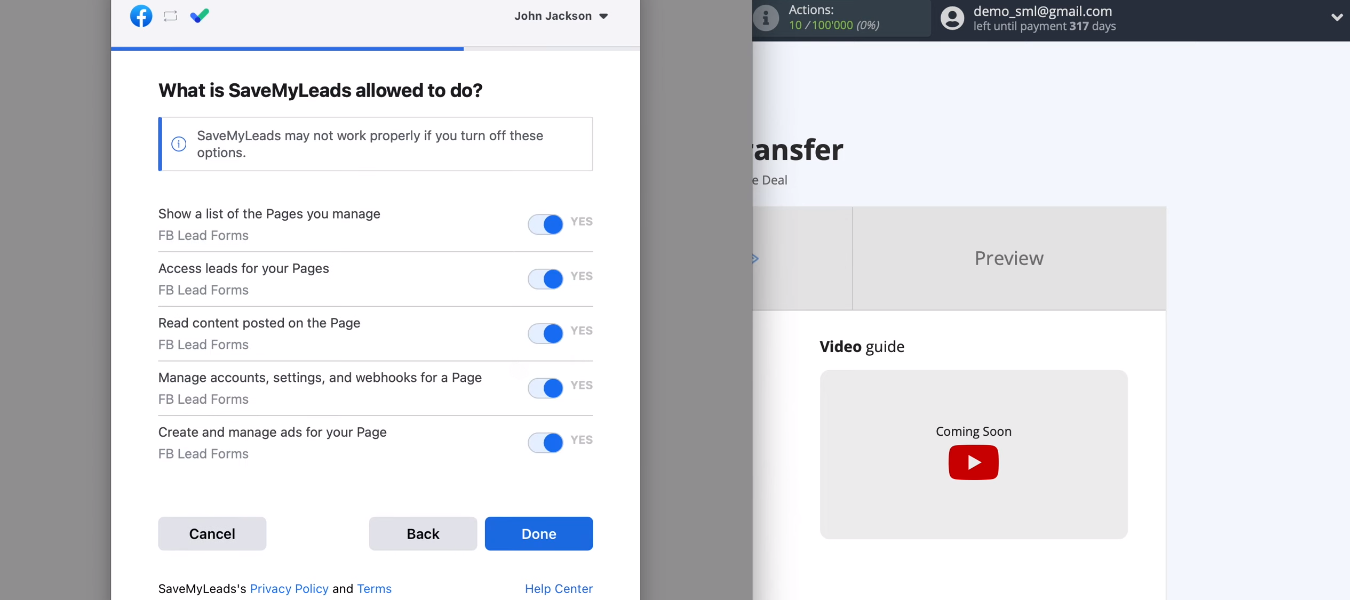
Leave all checkboxes enabled.
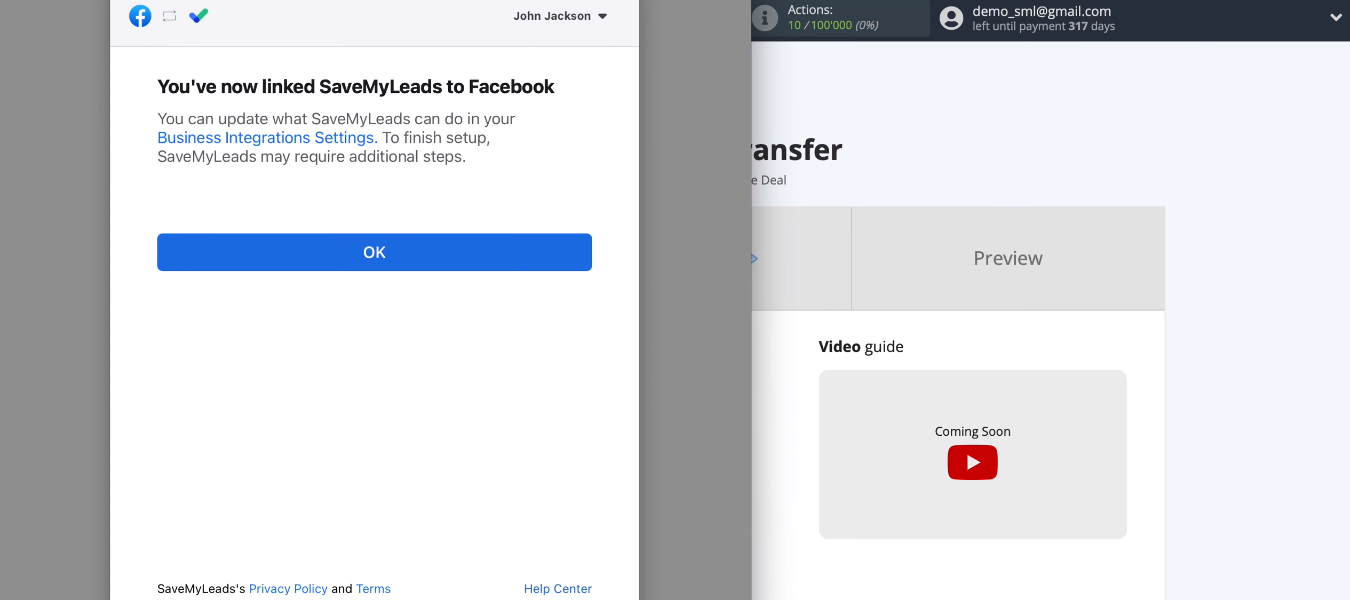
The Facebook account is connected to the SML system.
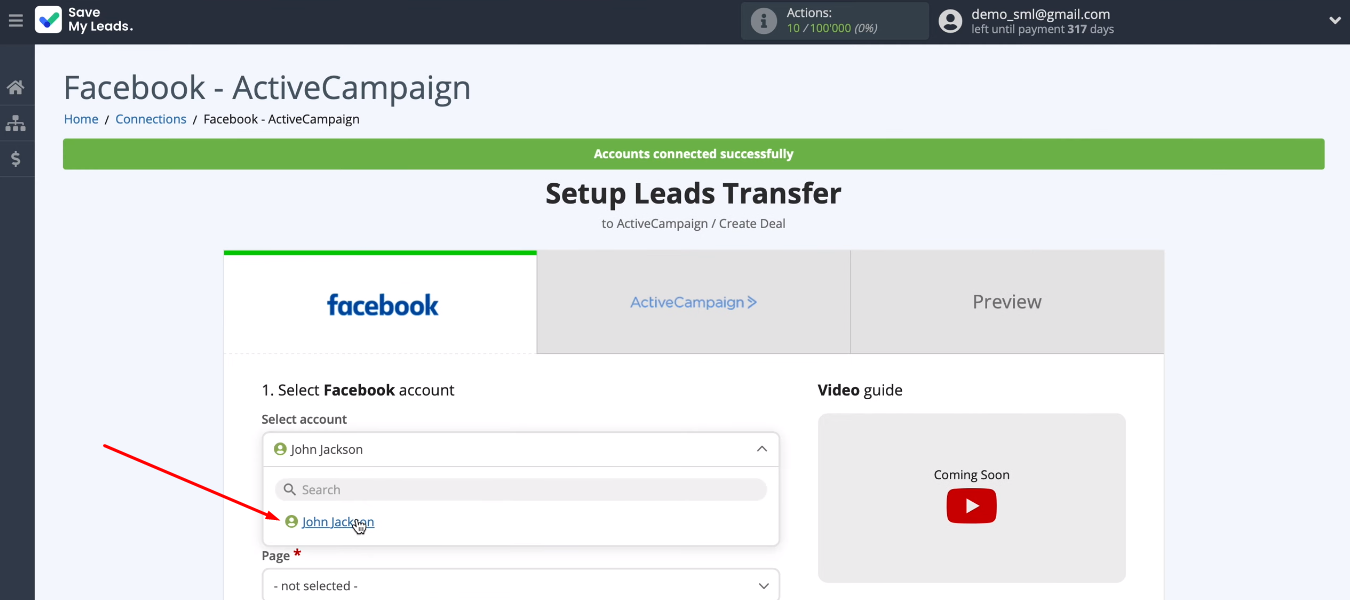
Select the desired account from the list of available ones.
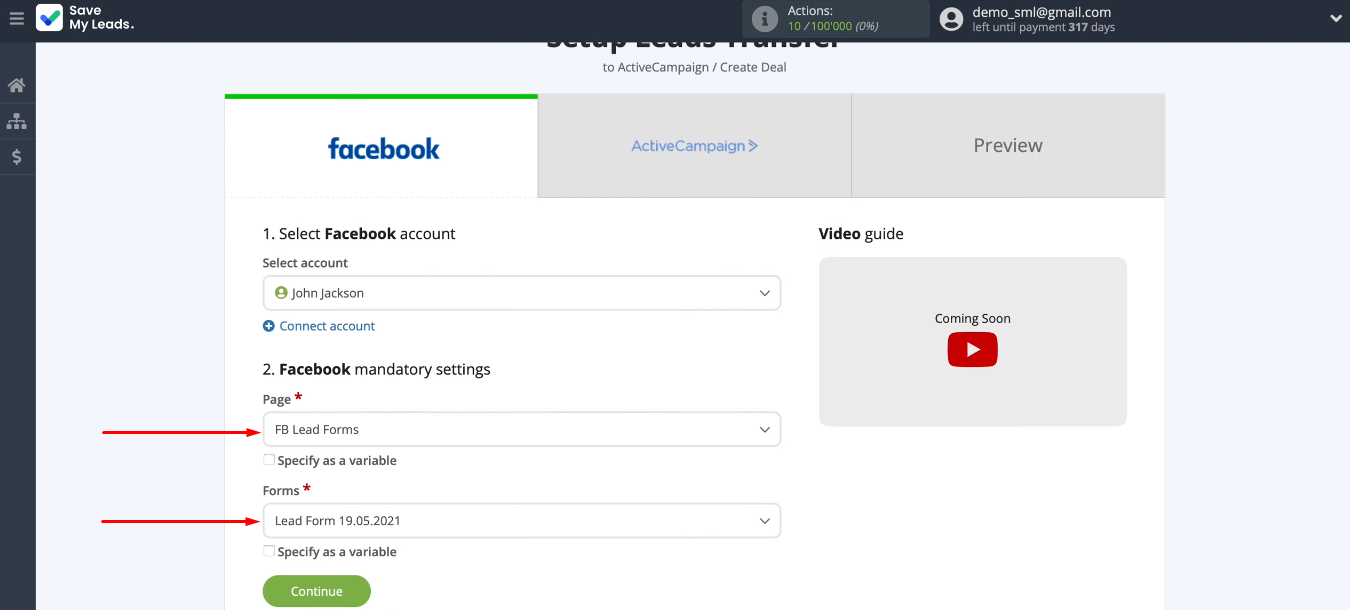
Select an advertising page and a lead form, the results of which will be uploaded to the system. If you need to receive data from different lead forms, you need to create a separate connection for each of them. When all required data source parameters are defined, click “Continue”.
Connect ActiveCampaign
Add an ActiveCampaign account to the SaveMyLeads system.
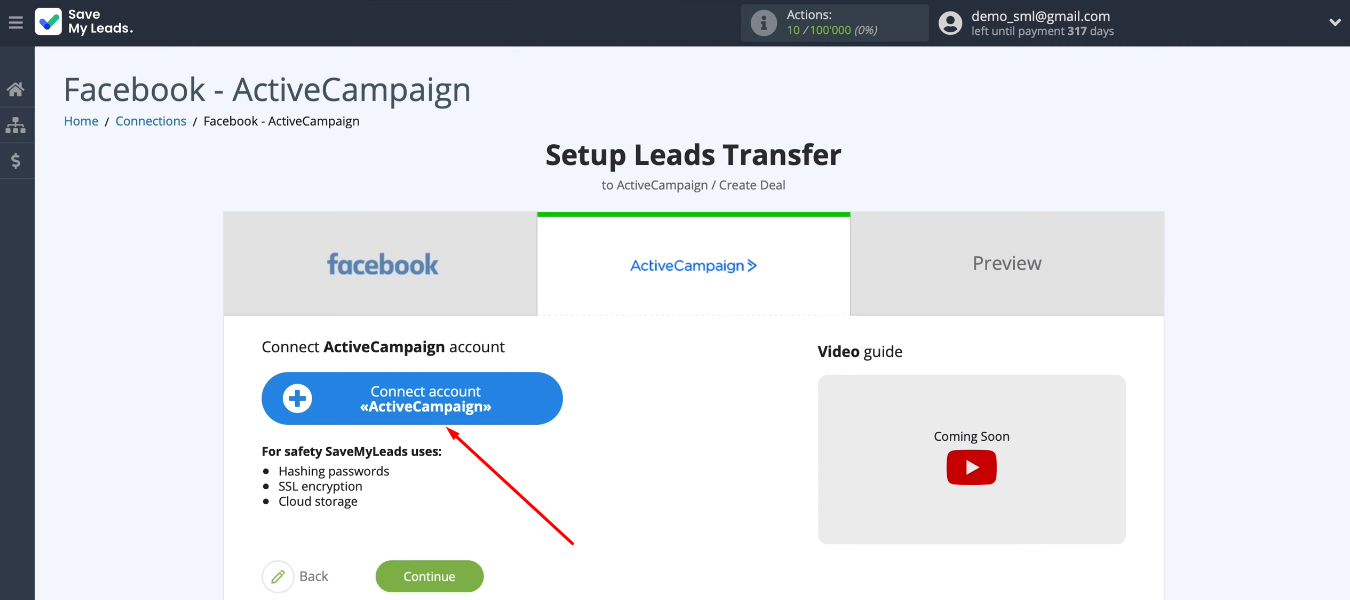
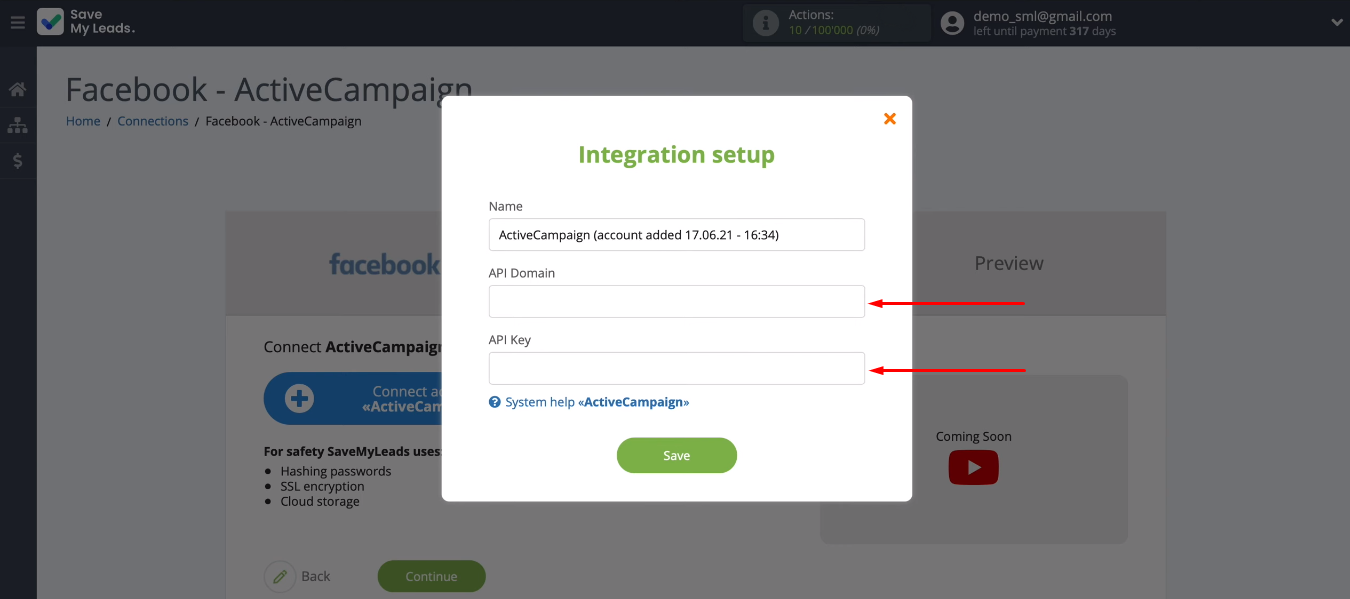
We need to fill in two fields “API Domain” and “API Key”.
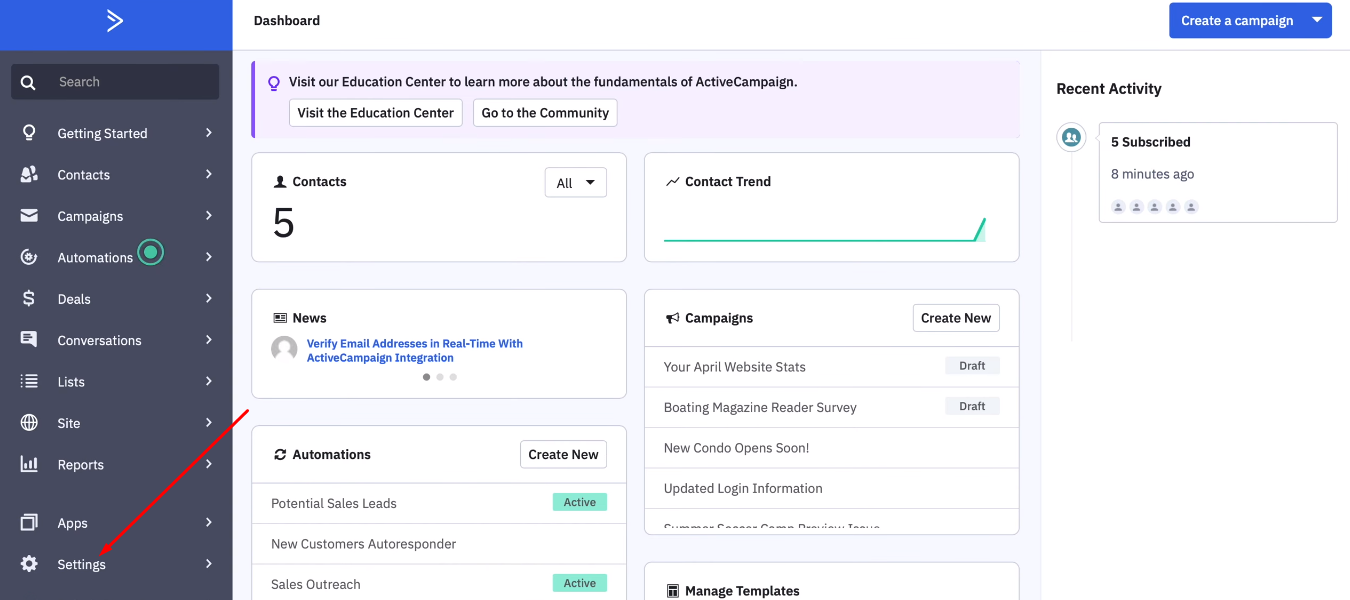
In the ActiveCampaign account, go to the “Settings” section.
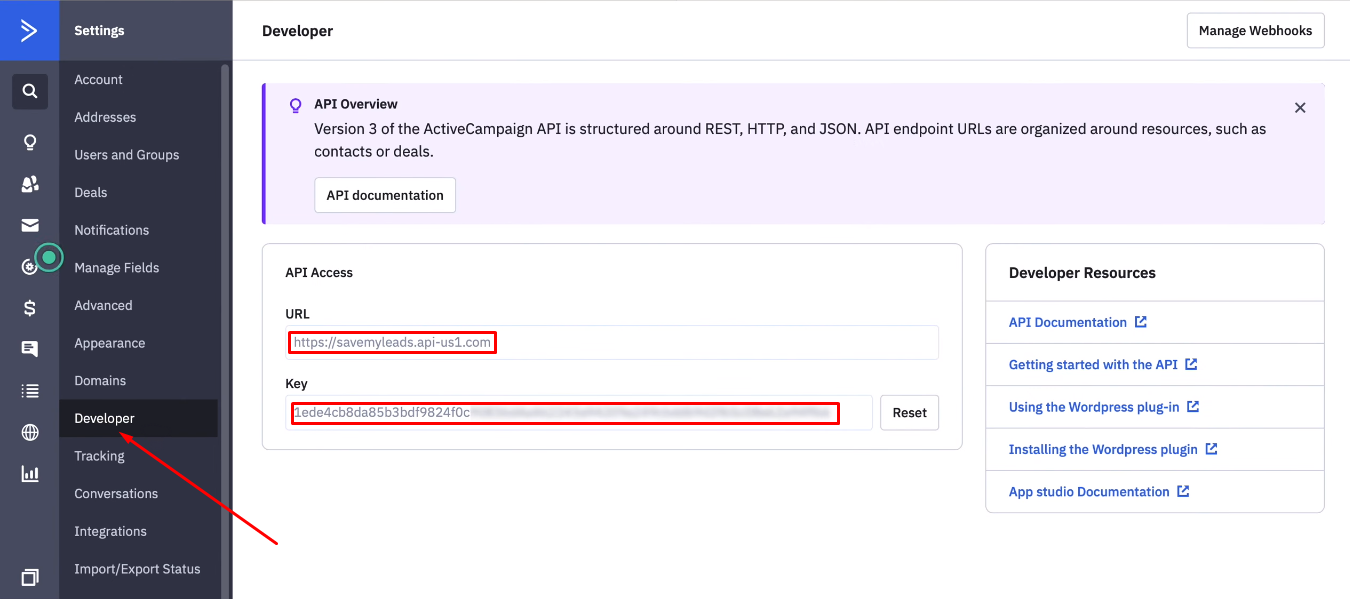
Open the "Developer" section. We need values in the "URL" and "Key" fields.
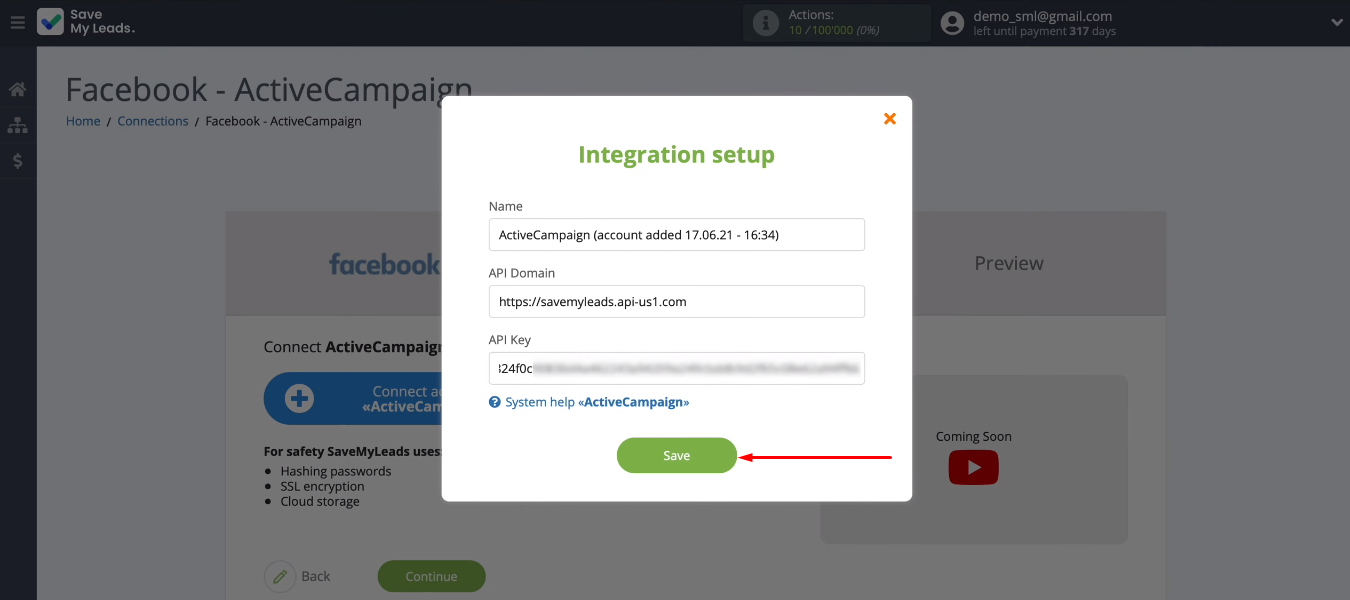
Copy and paste the contents of the “URL” and "Key" fields into the SaveMyLeads system (into the “API Domain” and “API Key” fields, respectively).
Select the connected ActiveCampaign account.
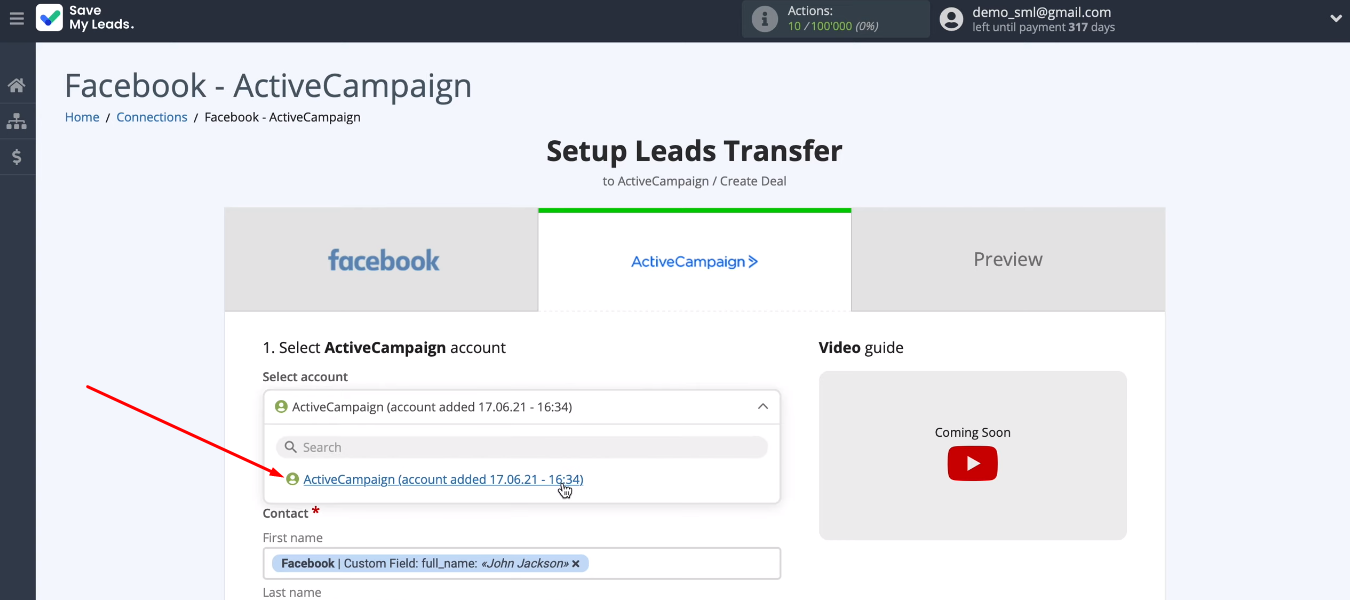
The SaveMyLeads system offers a preset option to fill in the ActiveCampaign fields to create new deals.
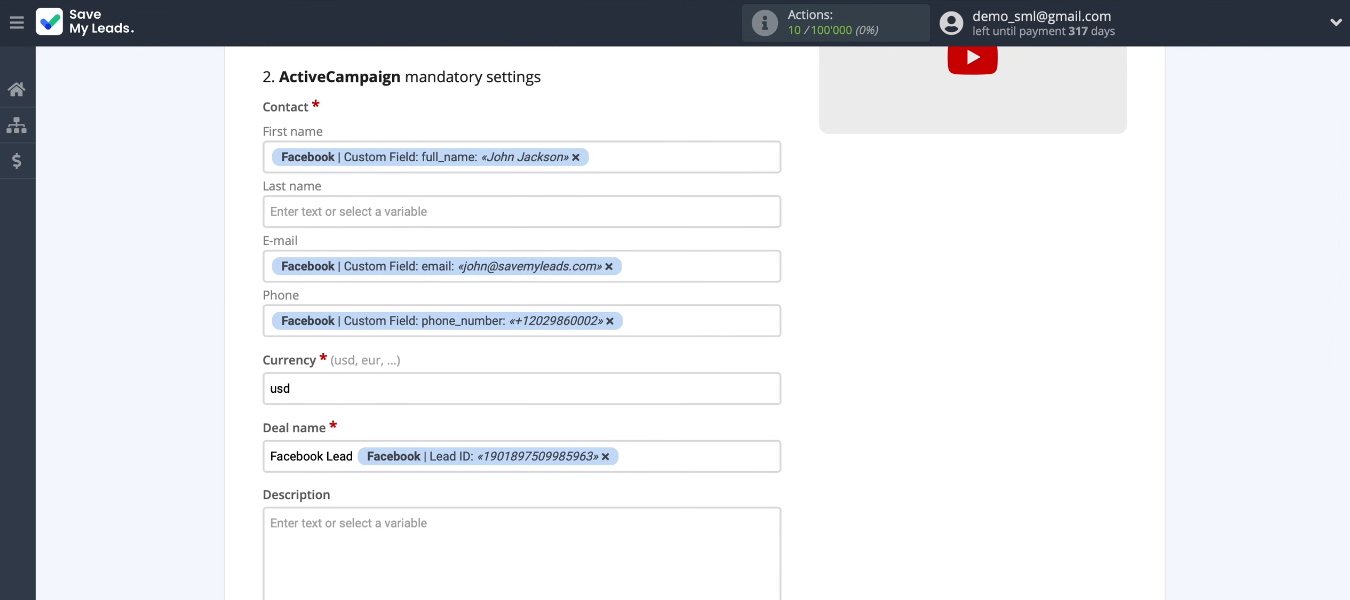
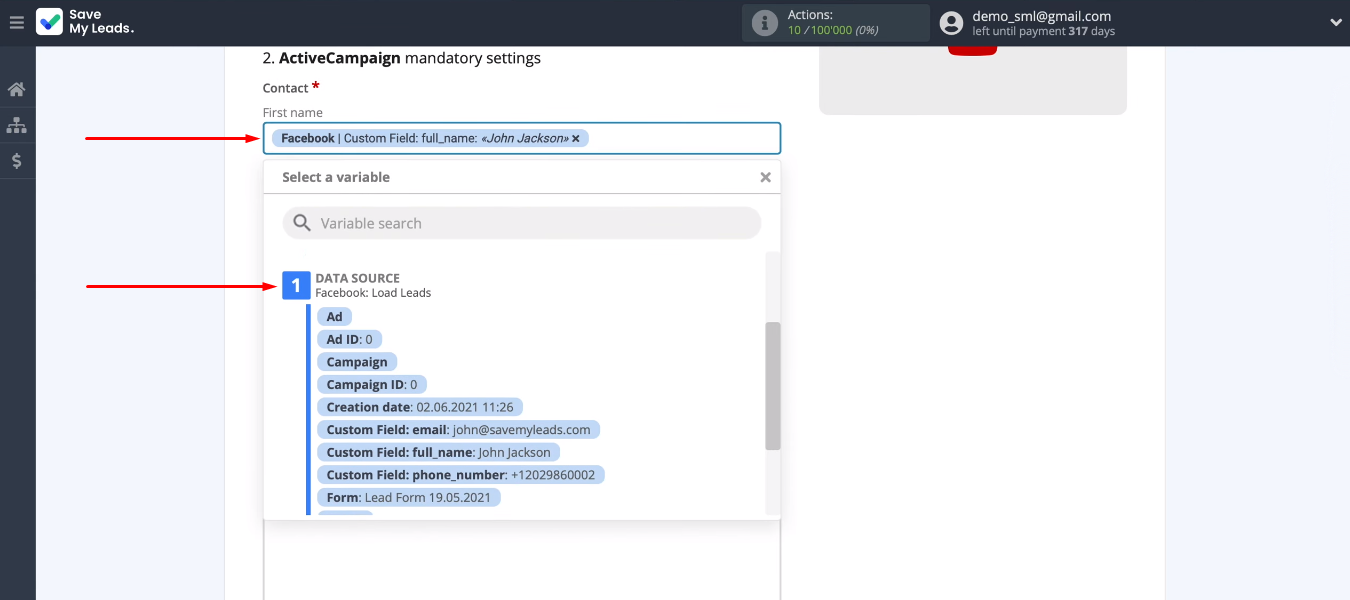
To define the contents of the field yourself, click in it and select the Facebook variable from the list. You can also enter text manually. When all required fields are configured, click “Continue”.
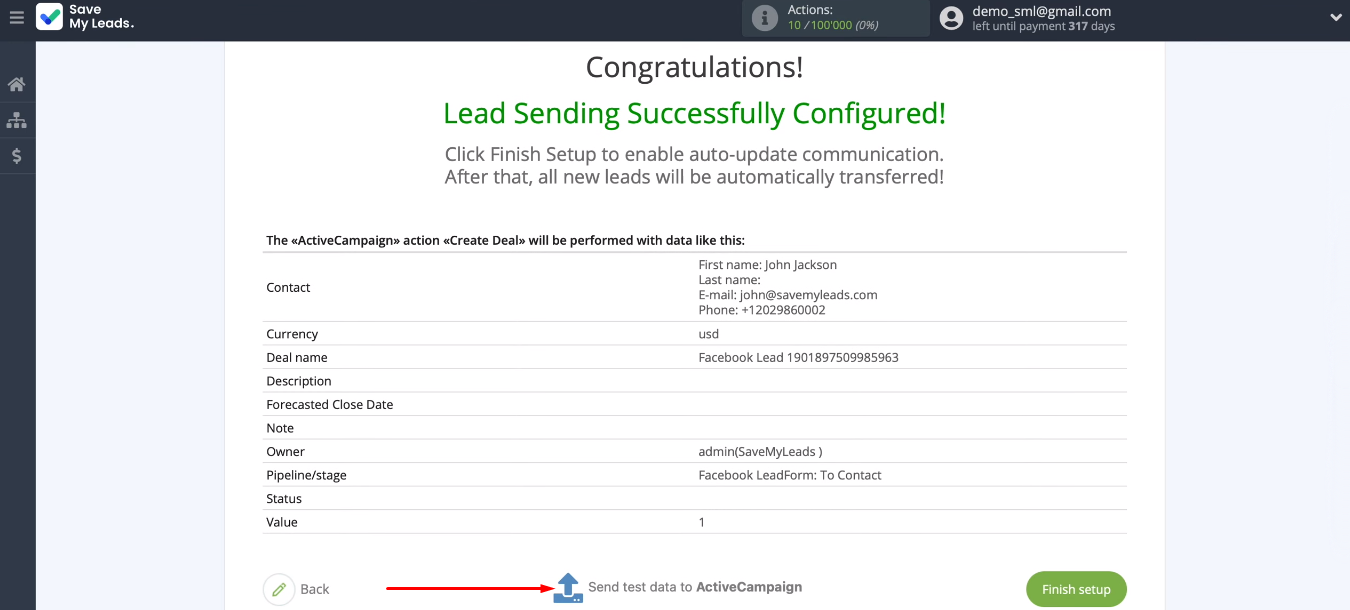
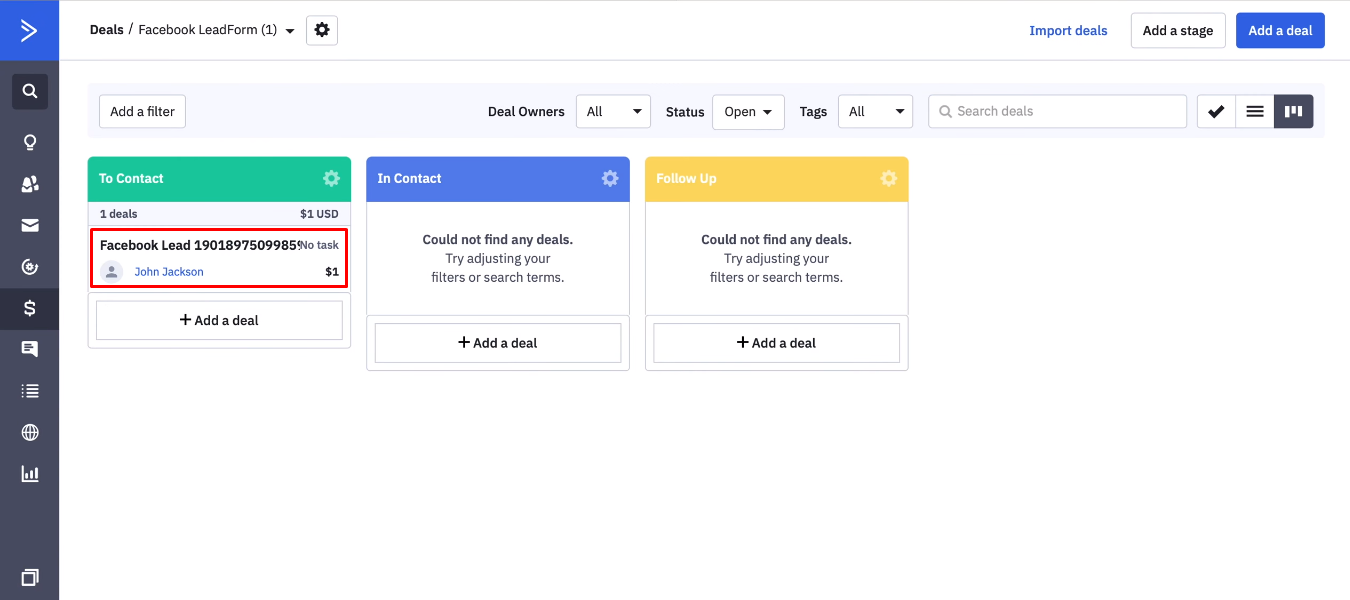
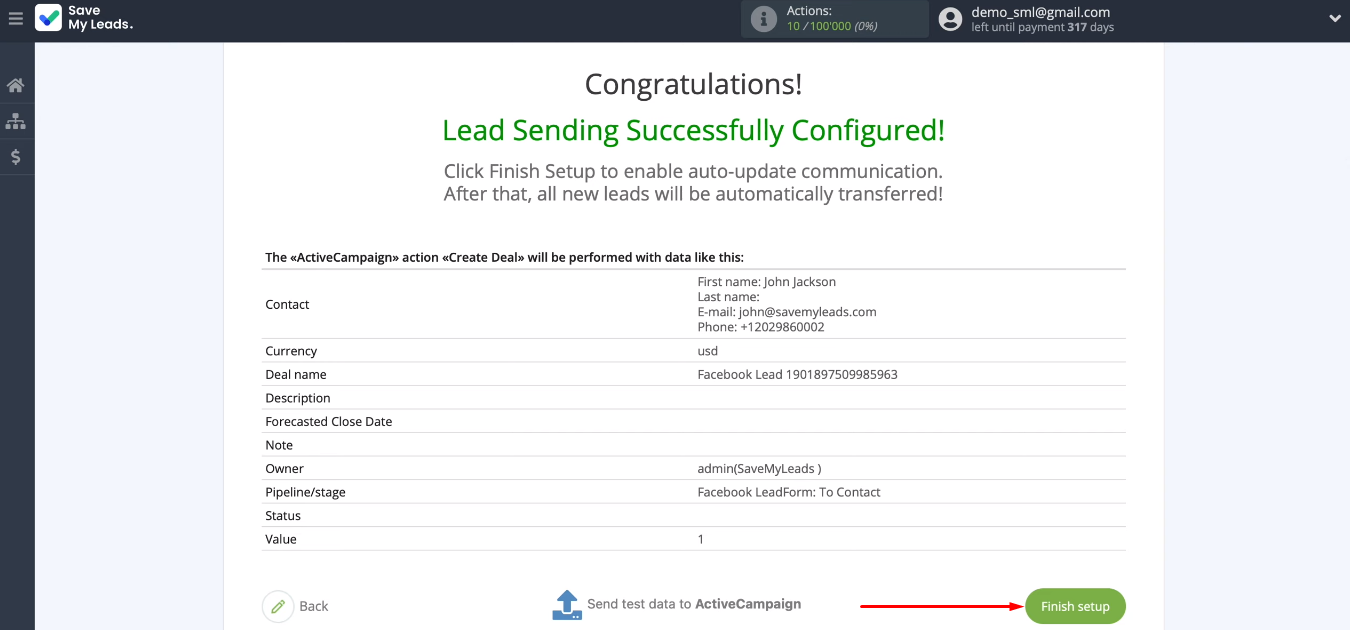
In the next step, we see a table of data that will be passed to ActiveCampaign to create a deal. Click "Send test data to ActiveCampaign".
Go to the CRM system and check for a new card in the “Deals” section.
Enable automatic data transfer
Now we need to enable auto-update. Return to the SaveMyLeads system and click “Finish setup”.
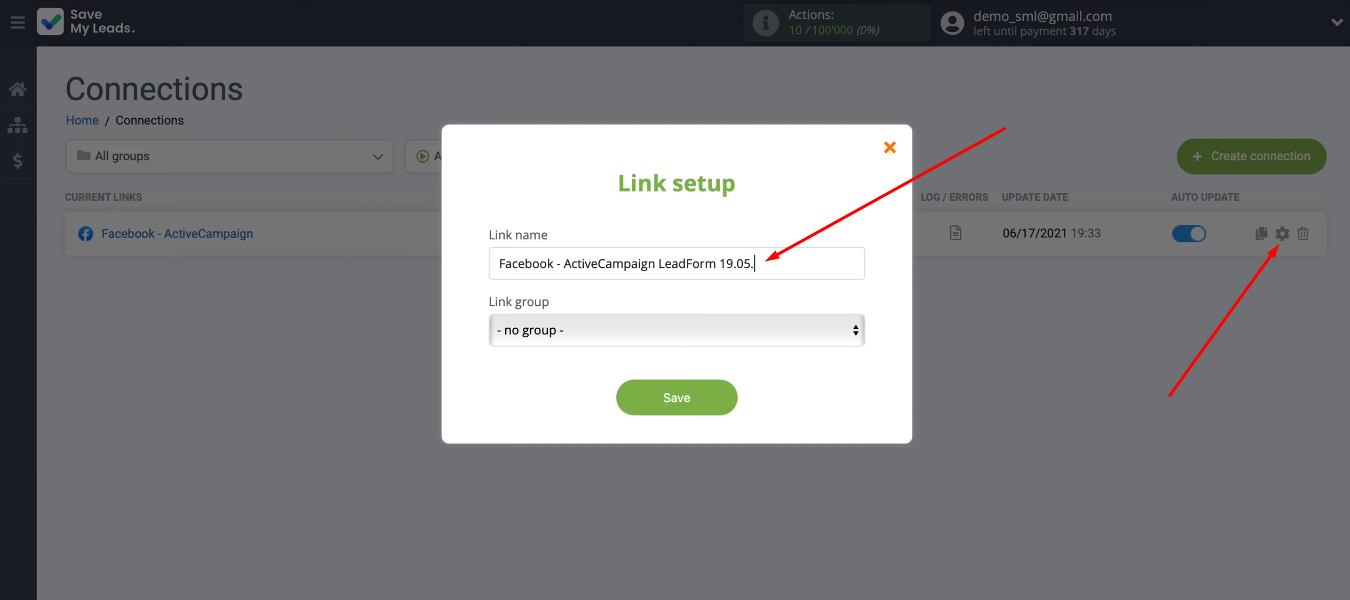
If necessary, you can change the name of the integration. Go to the settings, specify a new name and save the changes.
Integration result
The SaveMyLeads service helps to automate the transfer of leads from Facebook to other systems. In this guide, we took a detailed look at how to set up the integration of the ActiveCampaign CRM and a Facebook ad account. As a result, the SML service tracks every completed lead form on the social network and passes the data to ActiveCampaign, where a new deal is automatically created.


Automating the transfer of data from Facebook to ActiveCampaign is an effective solution that positively affects the productivity of employees and also helps to increase the speed of lead processing. By taking a few minutes to create an integration, you get a fully automated workflow that implements several routine operations at once and allows you to shift your attention to more important tasks.
