In this manual, we will tell you how to set up the upload of leads from an advertising Facebook account in the form of deals to a CRM system AgileCRM using the online connector SaveMyLeads.
Contents:
1. How to set up Facebook and AgileCRM integration
2. Connect Facebook Leads Ads
3. Connect AgileCRM
4. Automatic data update
5. Finish the setup
Facebook is not only one of the most popular social networks in the world, but also a useful platform for doing business. By creating advertising pages, company owners or private entrepreneurs will be able to significantly expand their client base, generate new leads and work with them in the future.
The functionality of Facebook allows you to work directly from your business account, but this is not very convenient, since most of the operations will have to be performed manually, it takes a lot of time. Plus, customers can come to you not only from this social network, but also from others, from the site, from advertising systems.
To process them in one place, a Facebook ad account needs to be integrated, for example, with the CRM system AgileCRM. Thanks to this, you will be able to automatically transfer leads from Facebook in the form of deals to the CRM system and work with them in the future: create new deals, conduct through the sales funnel, form customer bases, etc. Integration allows you to automate business processes as much as possible and switch employees to perform more important tasks. In addition, the automation of routine processes helps to avoid various errors in the processing of incoming requests.
To configure the uploading of leads from Facebook to AgileCRM, you need to link the work of these systems via API. Facebook has ample opportunities for integration with other systems. If you have a developer on staff with skills in working with API requests, then the problem is solved. And if it is not there, you can set up the integration using the online connector SaveMyLeads, and so that you do not have any difficulties while working with this service, use this step-by-step instruction.
How to set up Facebook and AgileCRM integration
To set up the integration of Facebook and AgileCRM using the SaveMyLeads connector, you do not have to understand the intricacies of programming, API, or hire IT specialists. The whole process will take no more than 5 minutes. Thanks to the intuitive interface of the SaveMyLeads connector, users do not have any difficulties while working with it.
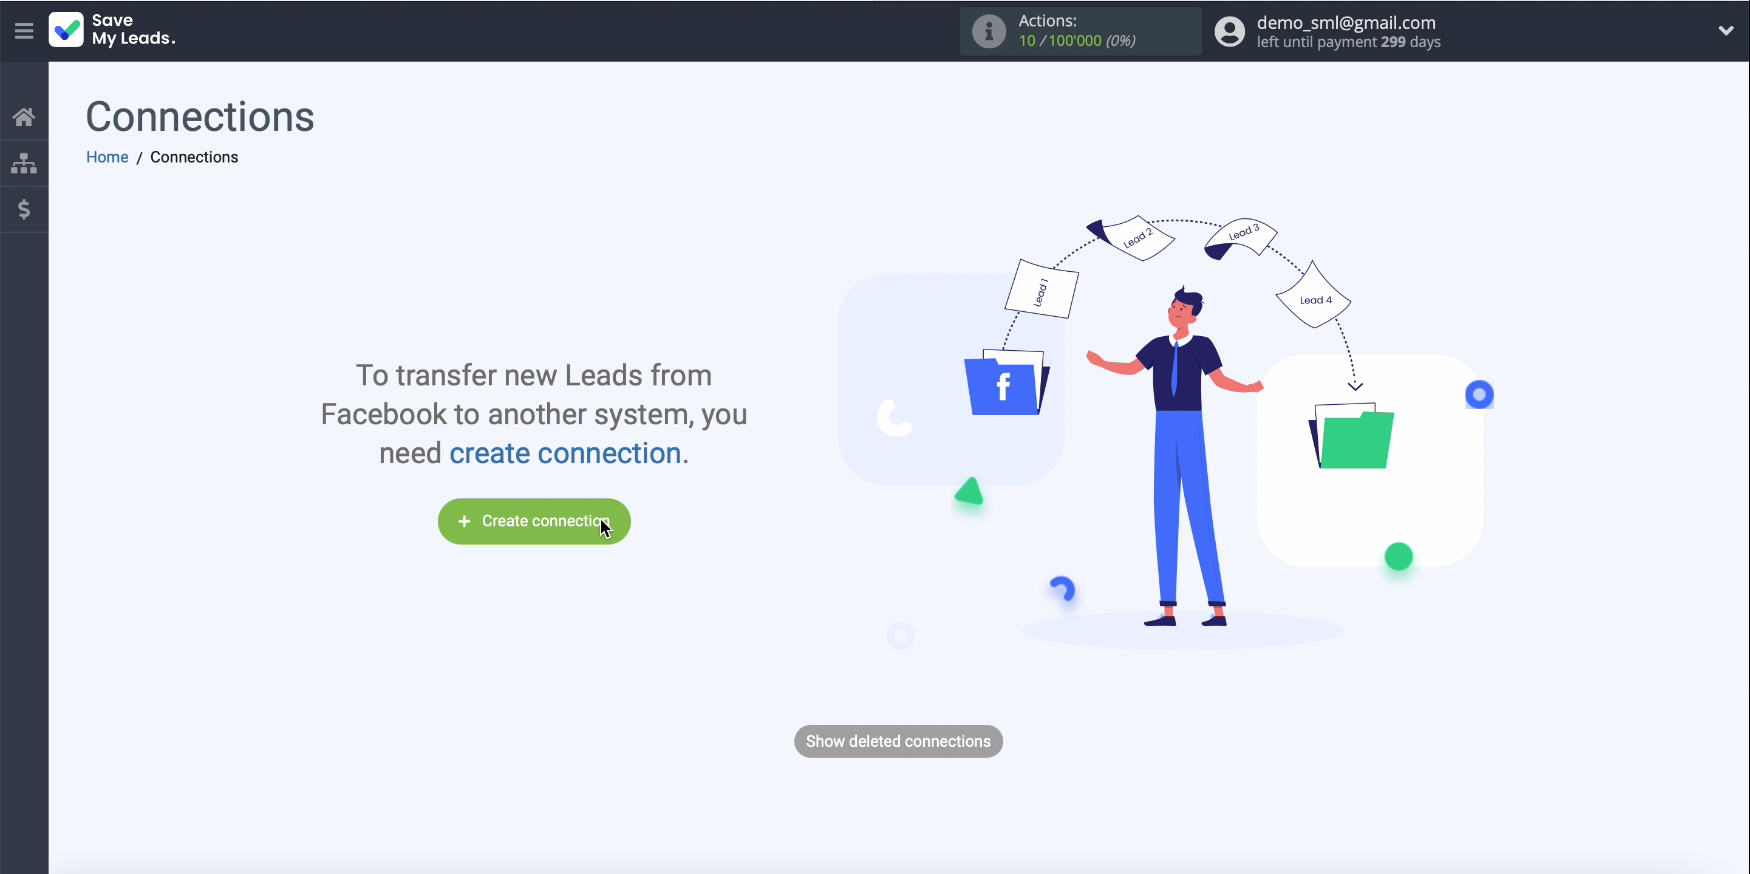
To start working with the service, you need to go through a simple registration: enter your email address and come up with a password for your personal account. After that, go to your personal account and click "Create connection".
Connect Facebook Leads Ads
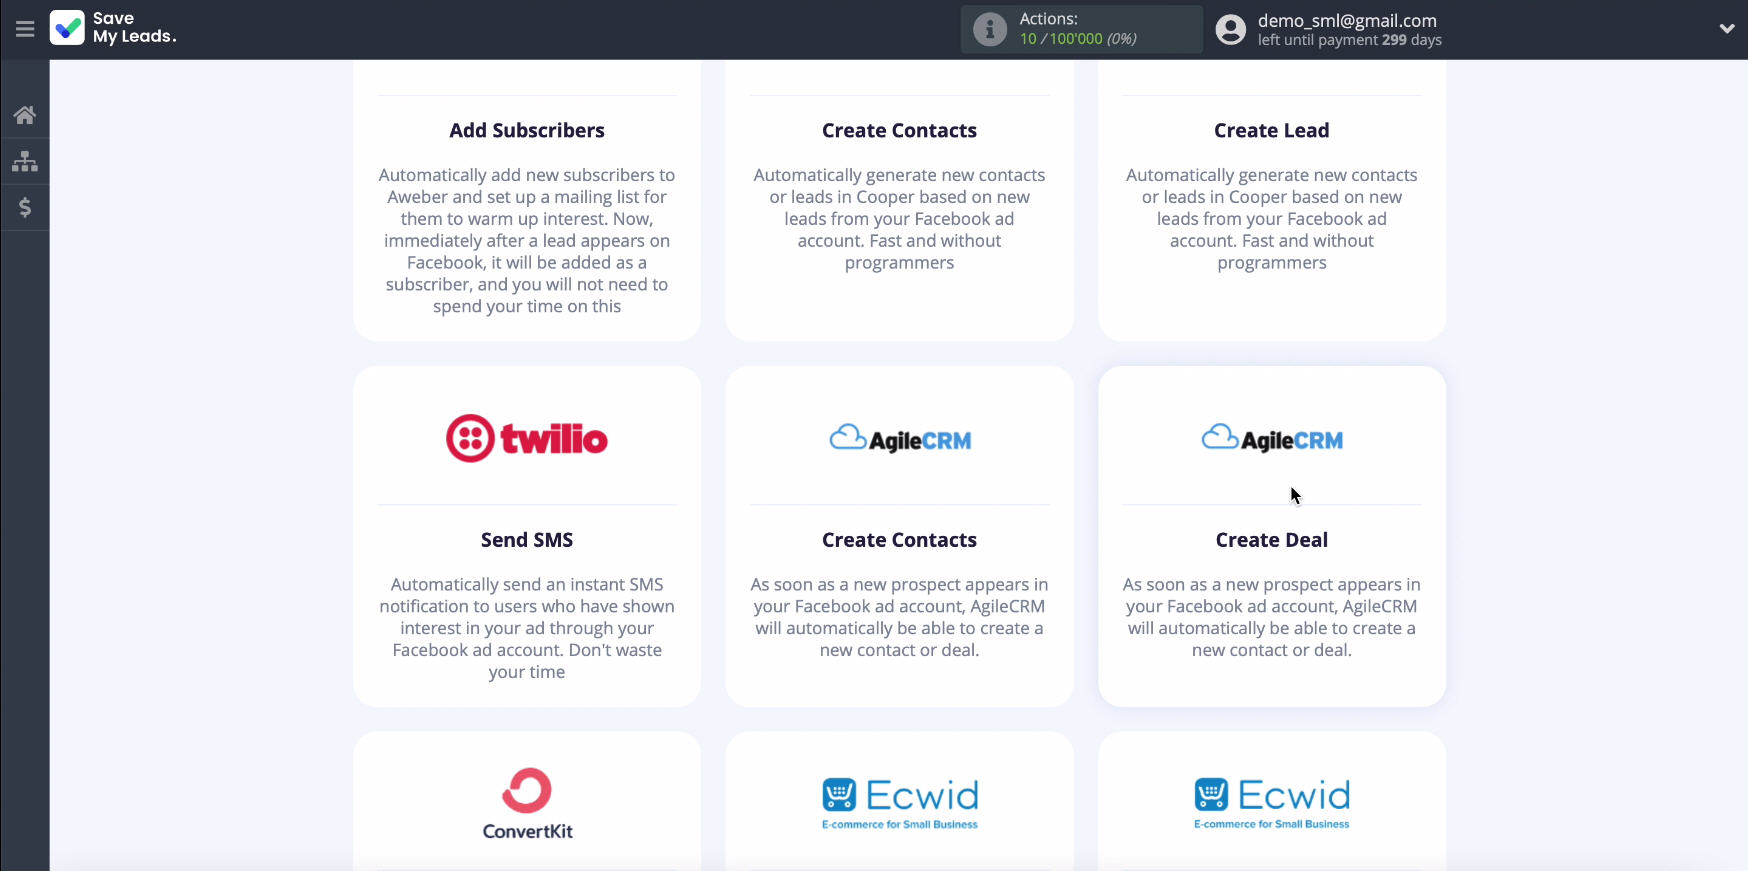
Choose one of the ready-made templates for the systems to which you want to transfer data. In our case, this is AgileCRM.
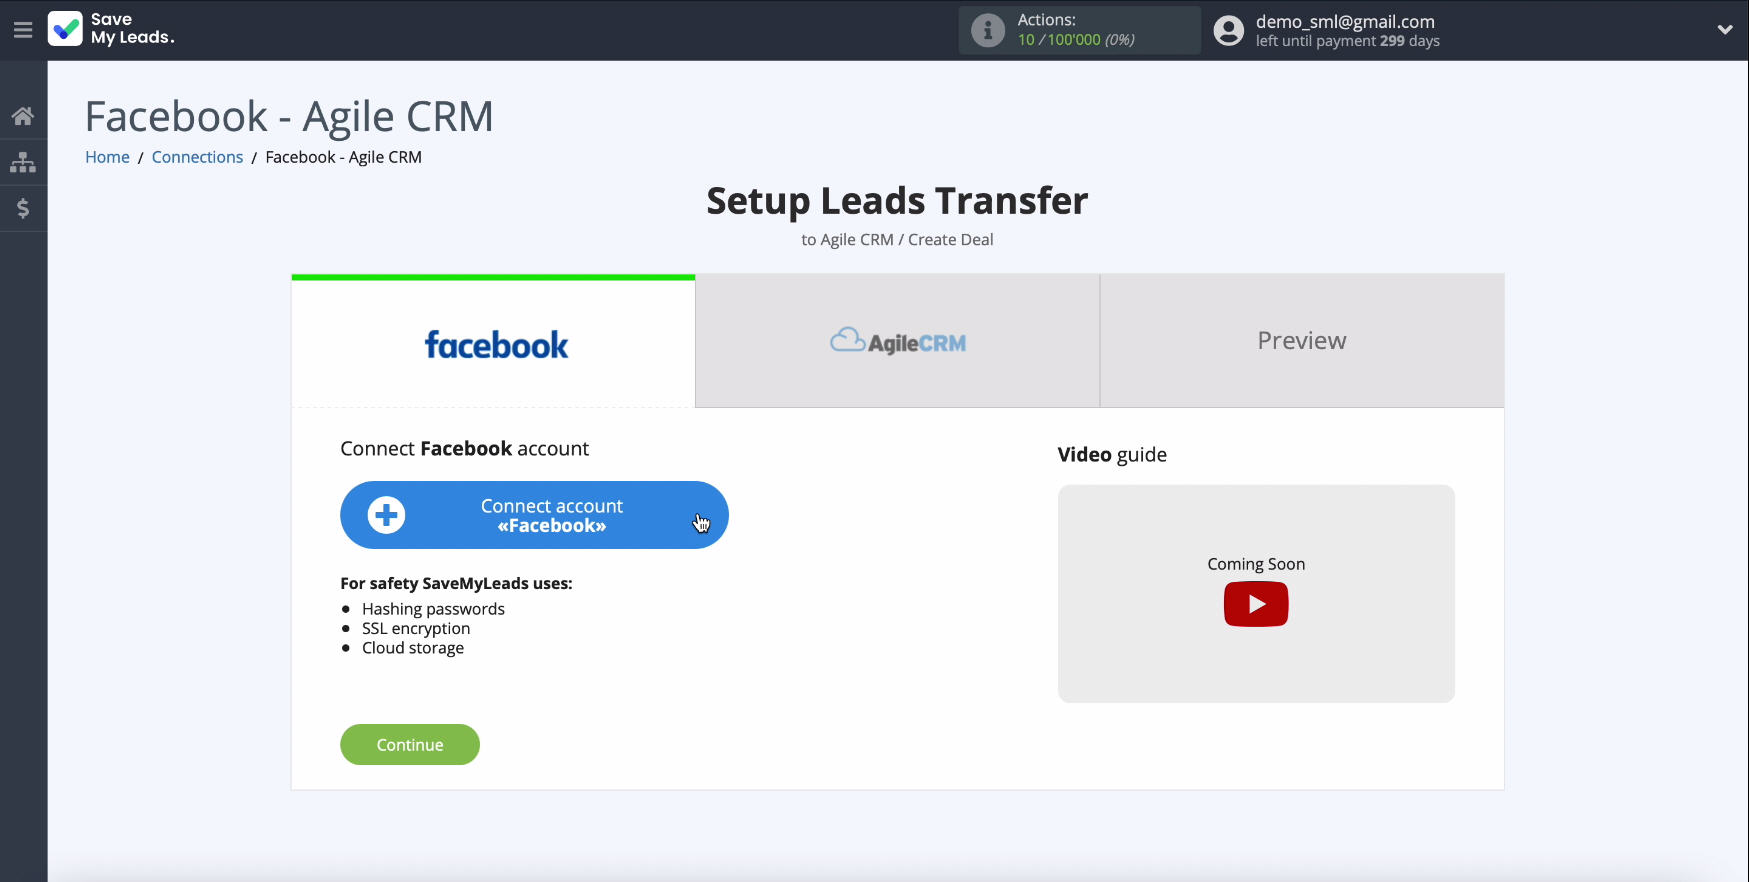
Connect your Facebook account to the system SaveMyLeads.
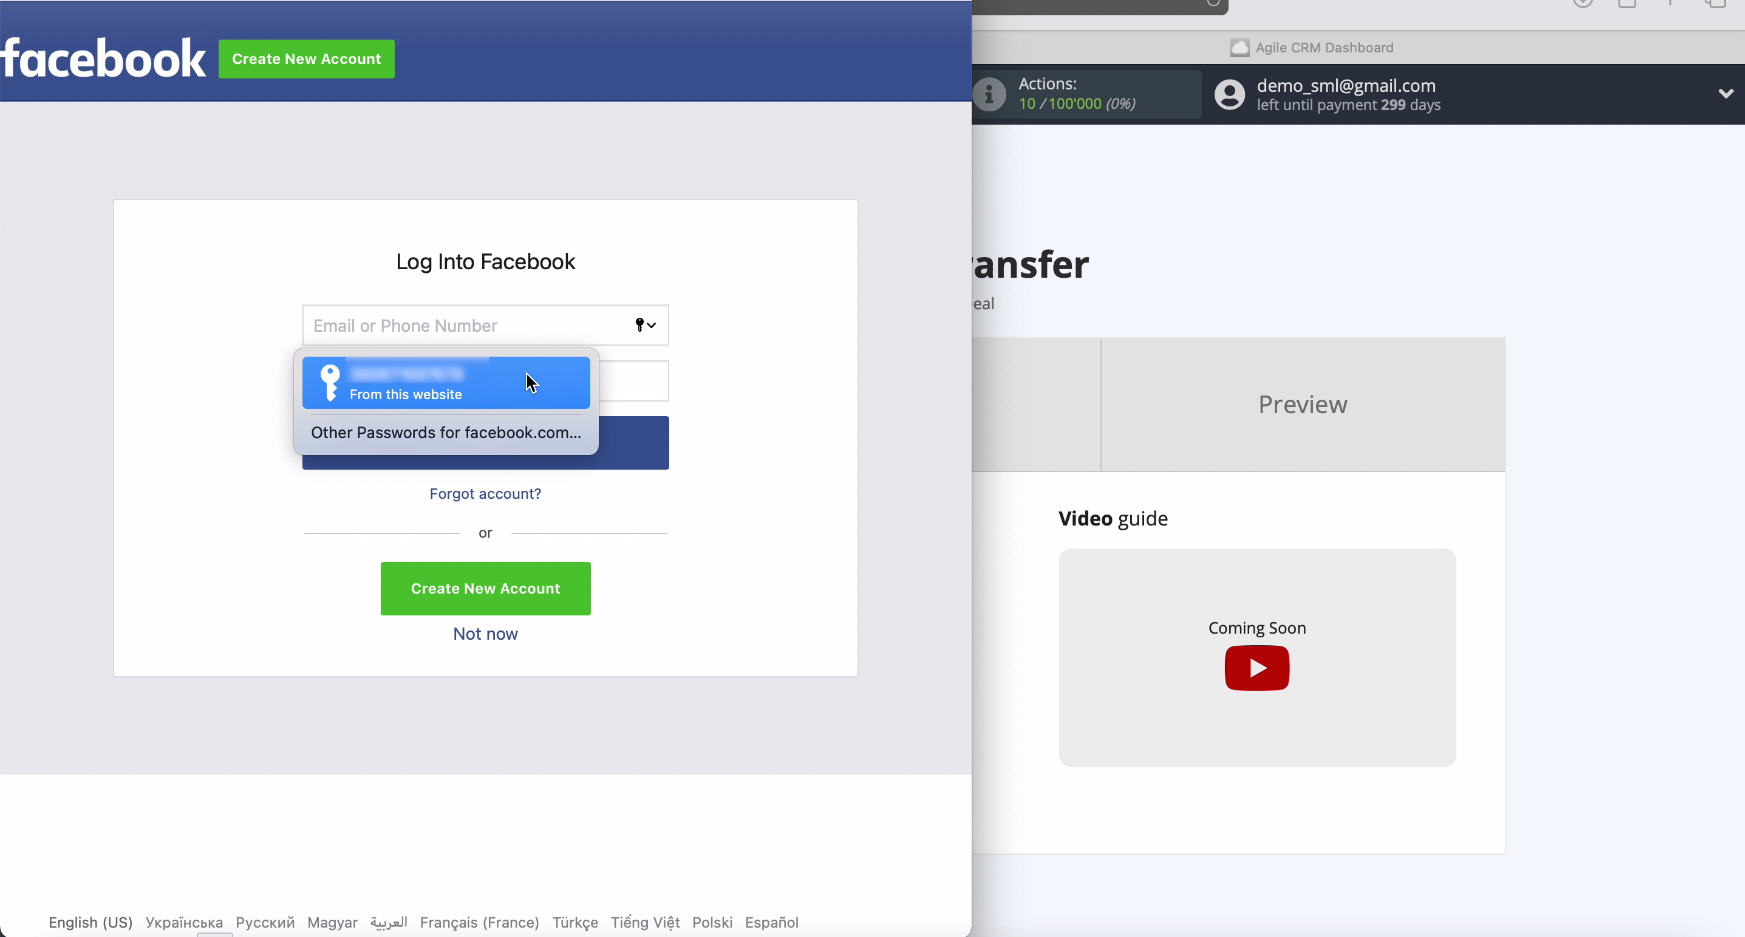
Enter the username and password of your personal account on Facebook.
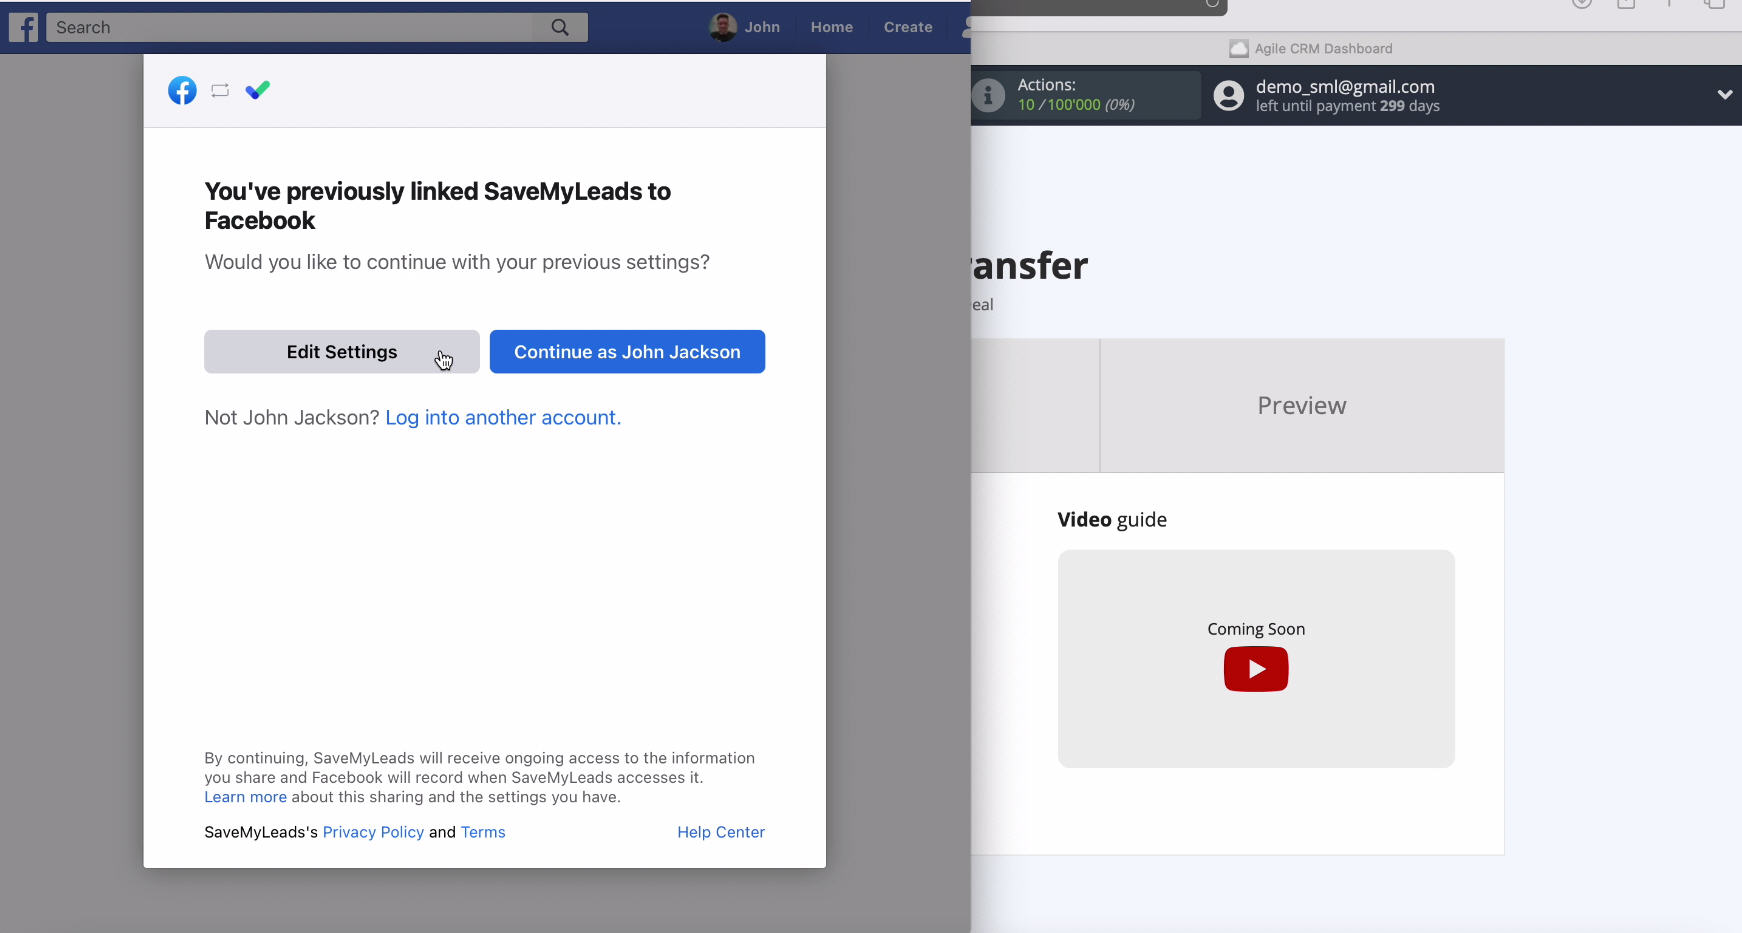
To continue setup, click Edit settings.
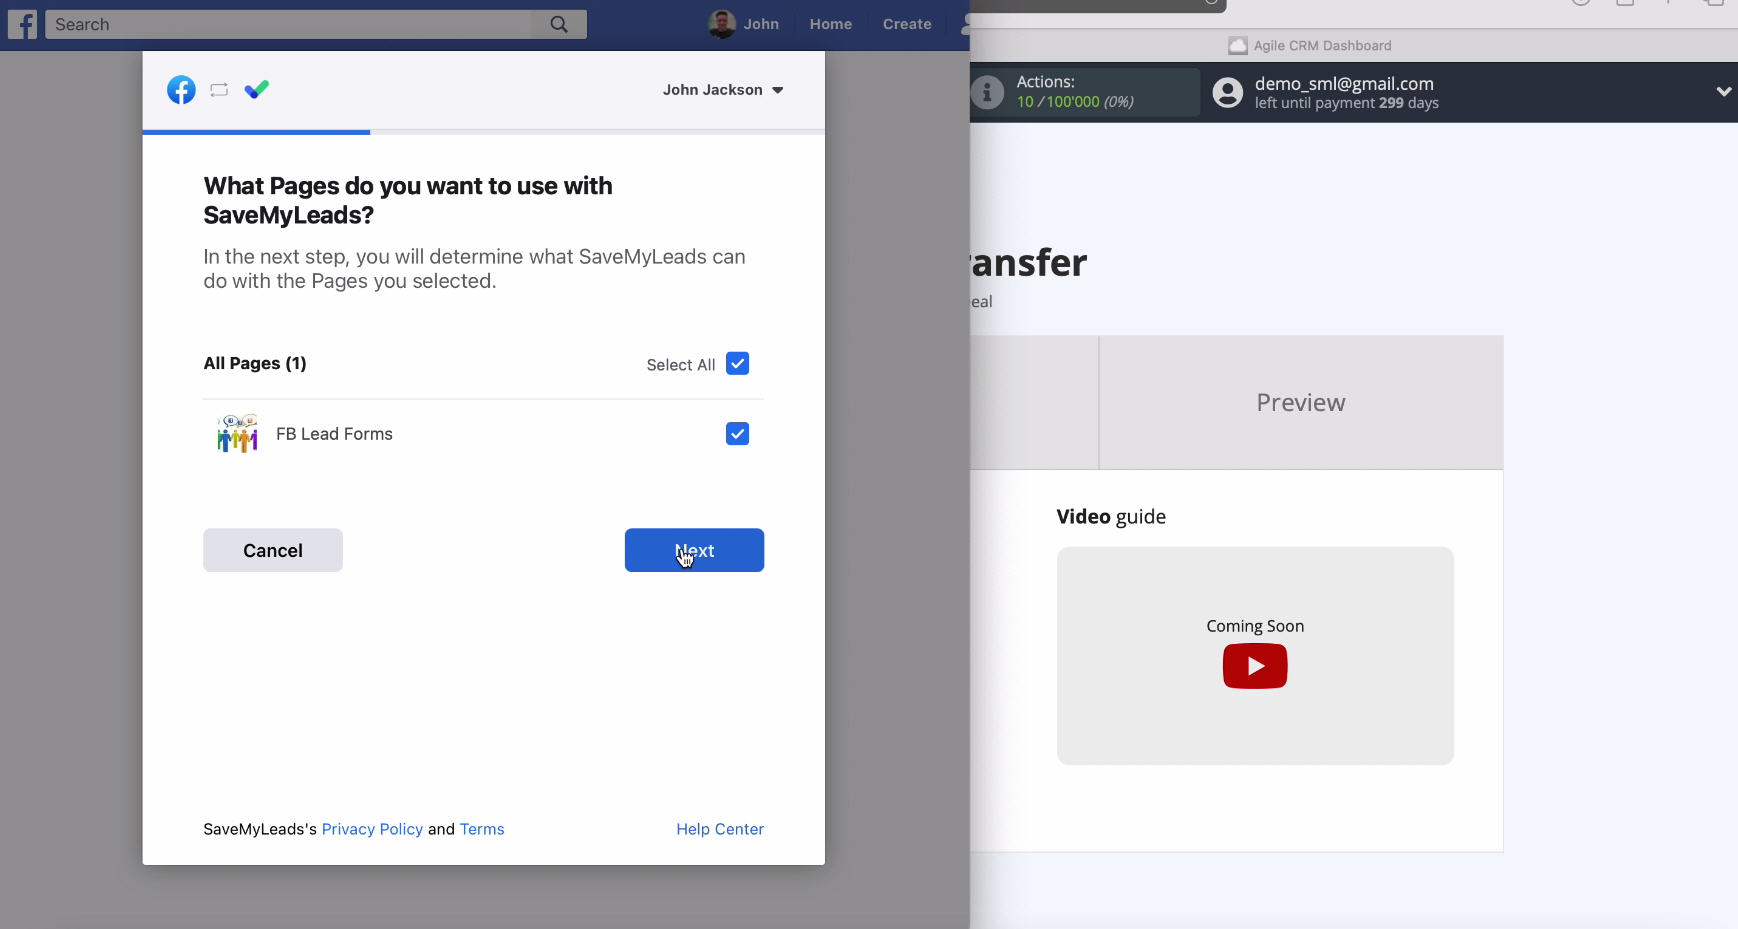
In a new window, you can see all the advertising pages available to you, it is better to tick all the boxes, thanks to this in the future you will be able to work with them.
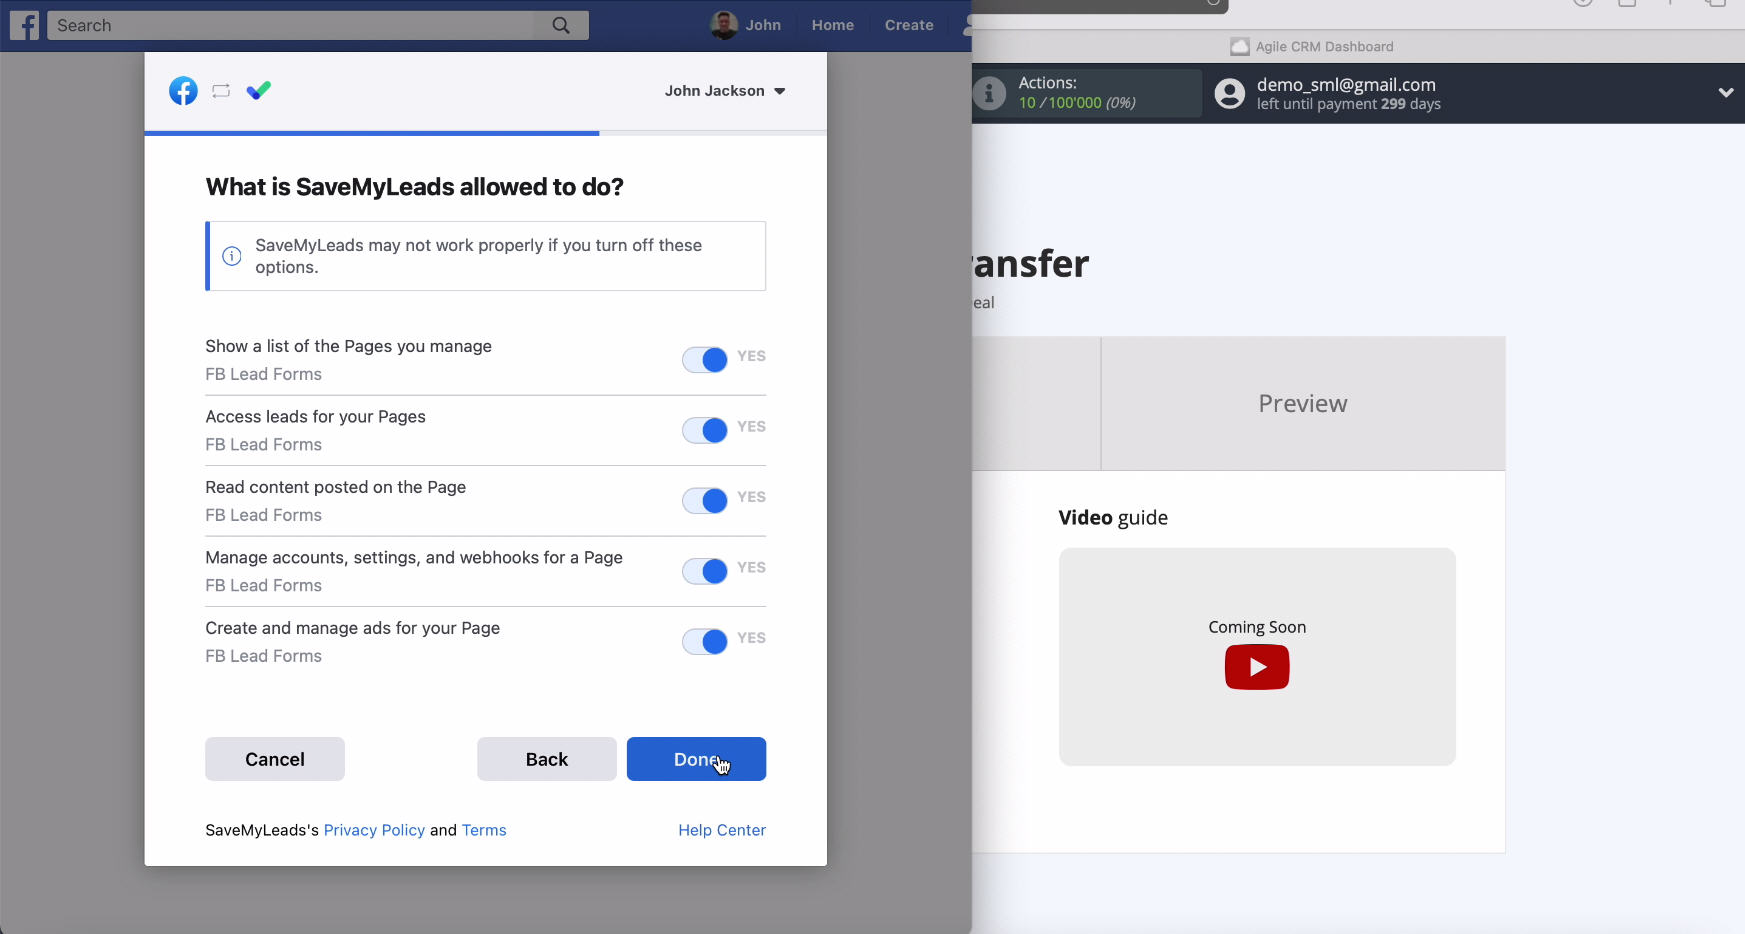
Check all access checkboxes.
Check if your connected account is displayed in the list of logins, select it
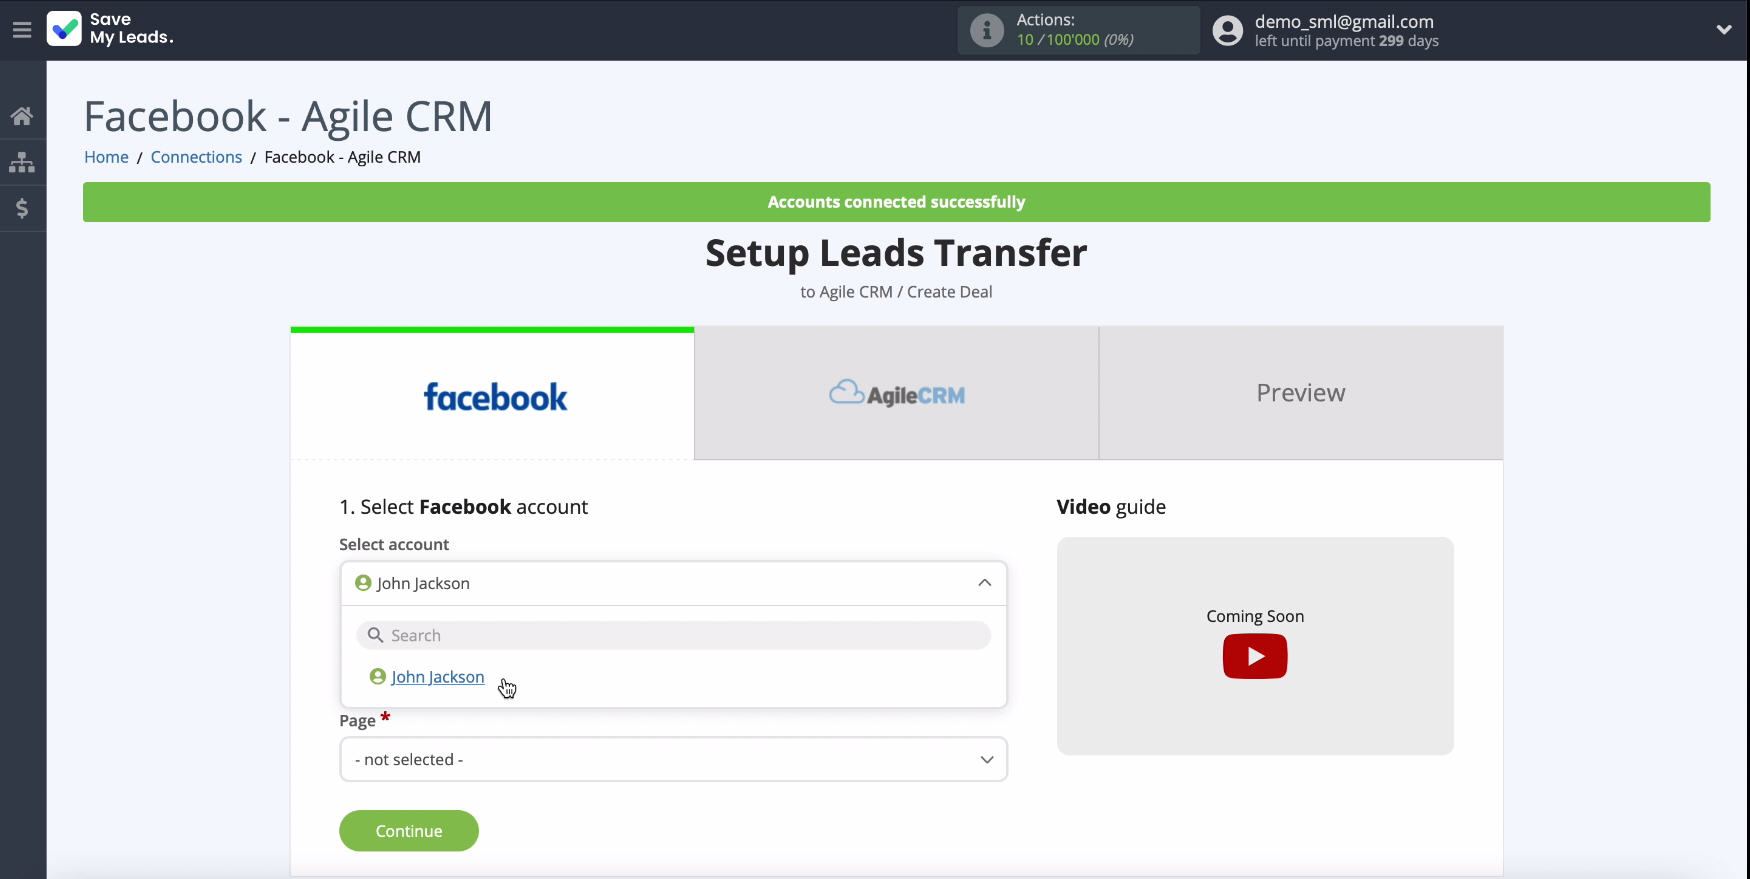
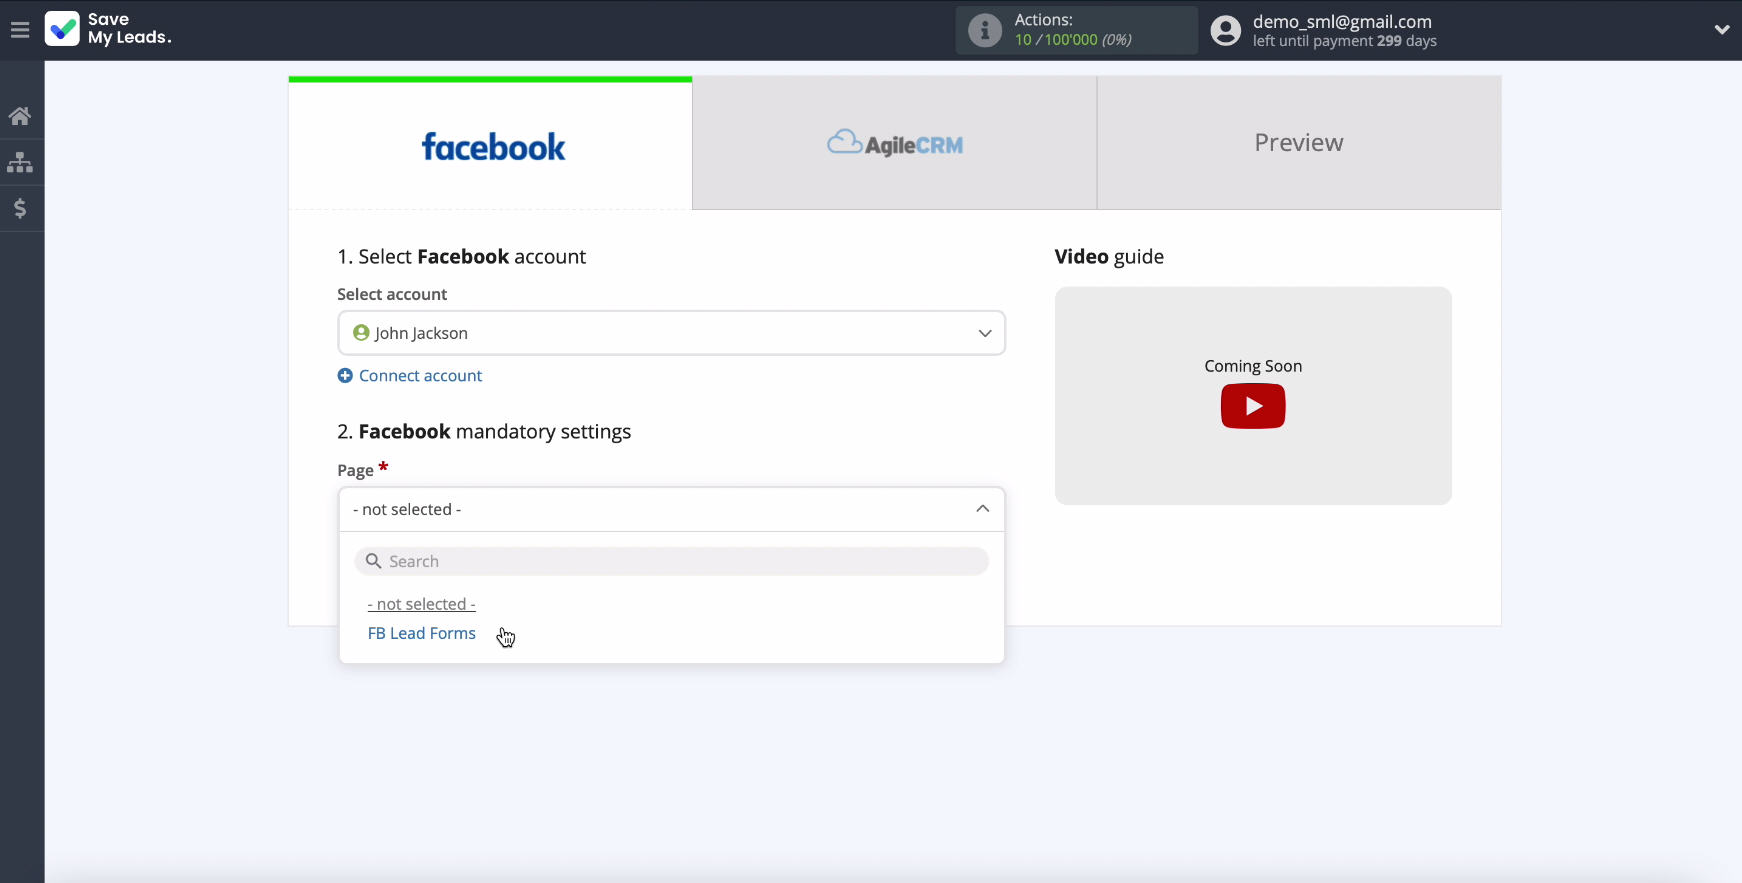
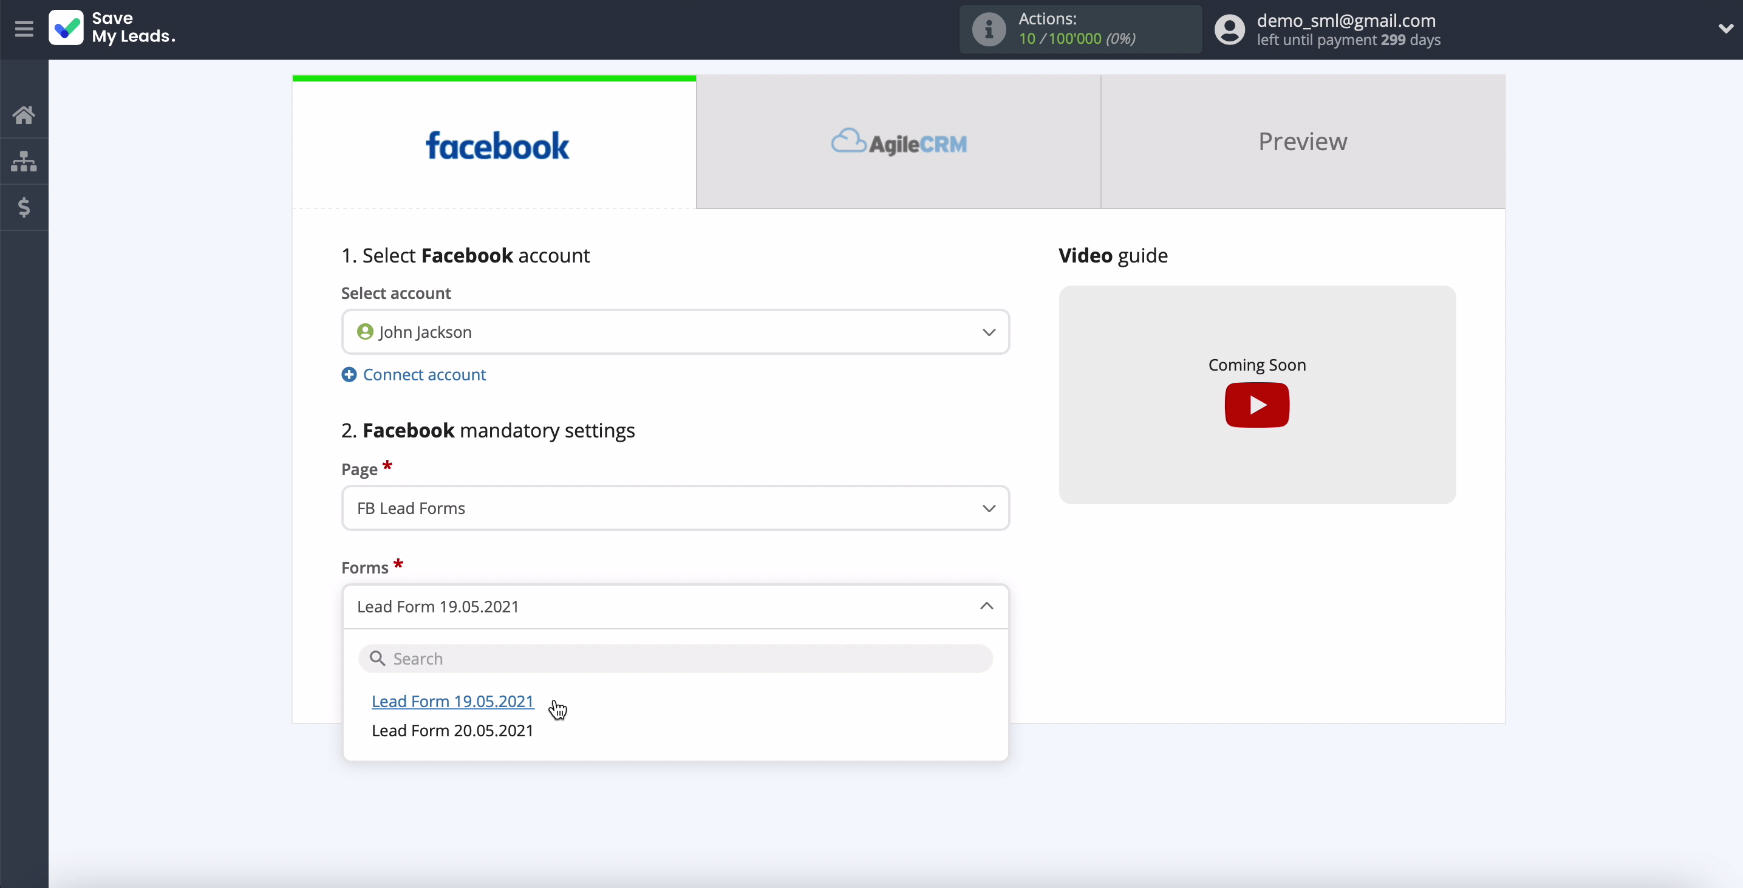
In the same window, select the advertising page on which you want to send leads. Specify the forms by which the data will be exported. If you have several forms, you need to create a connection for each of them.
Connect AgileCRM
To continue configuring, you need to connect your AgileCRM account to the SaveMyLeads service.
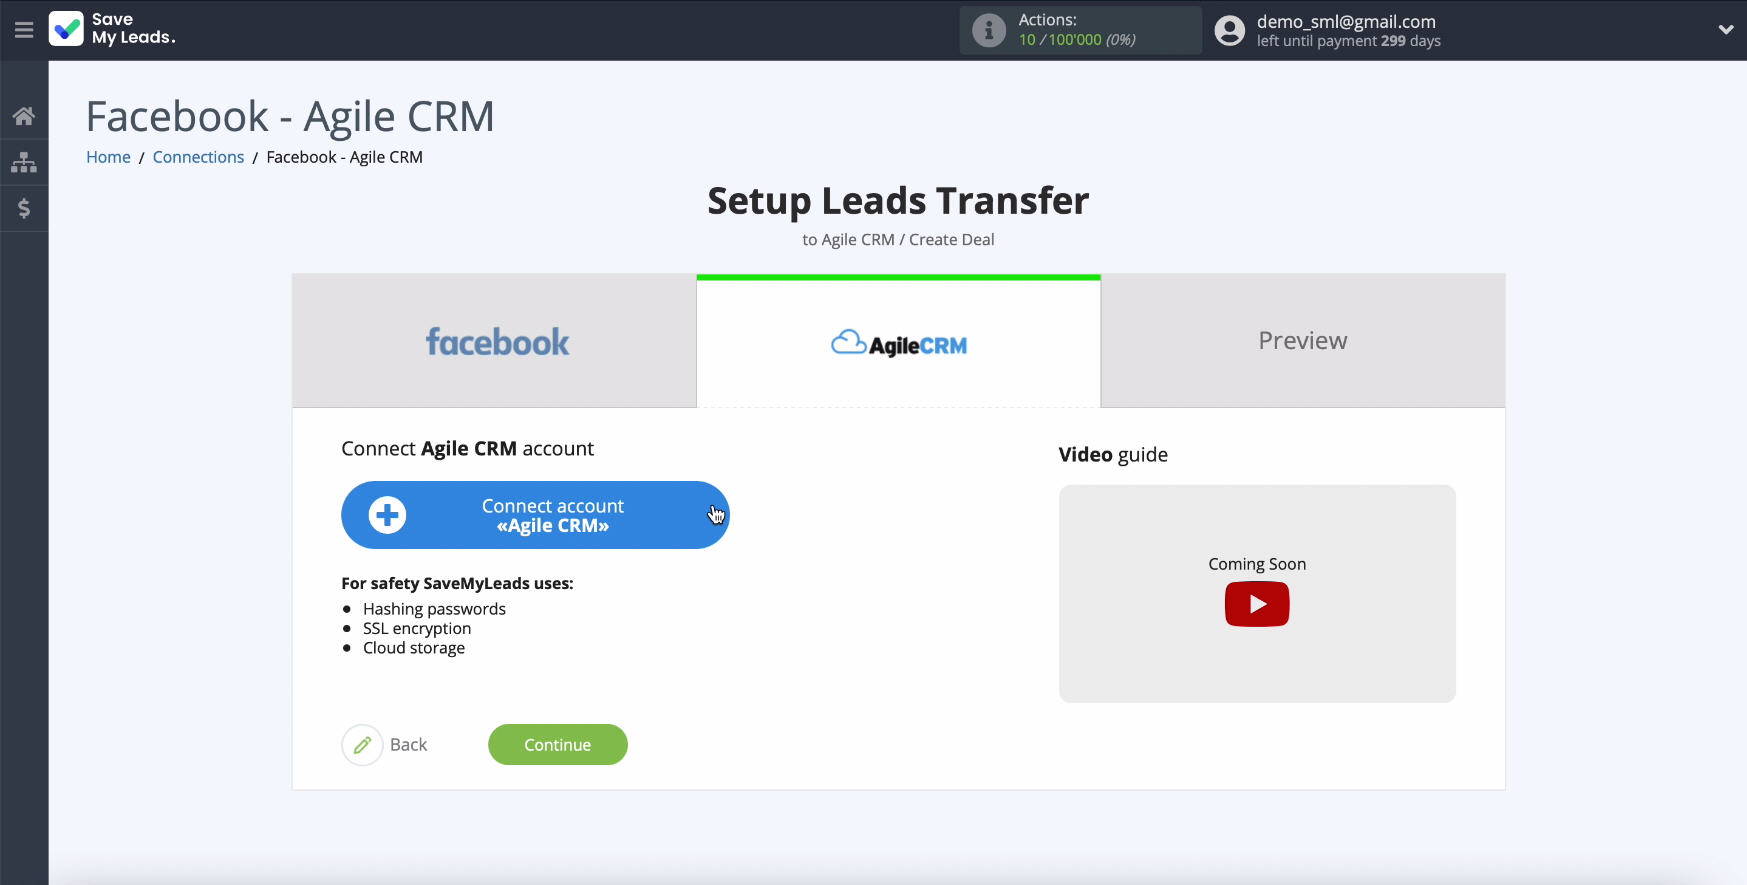
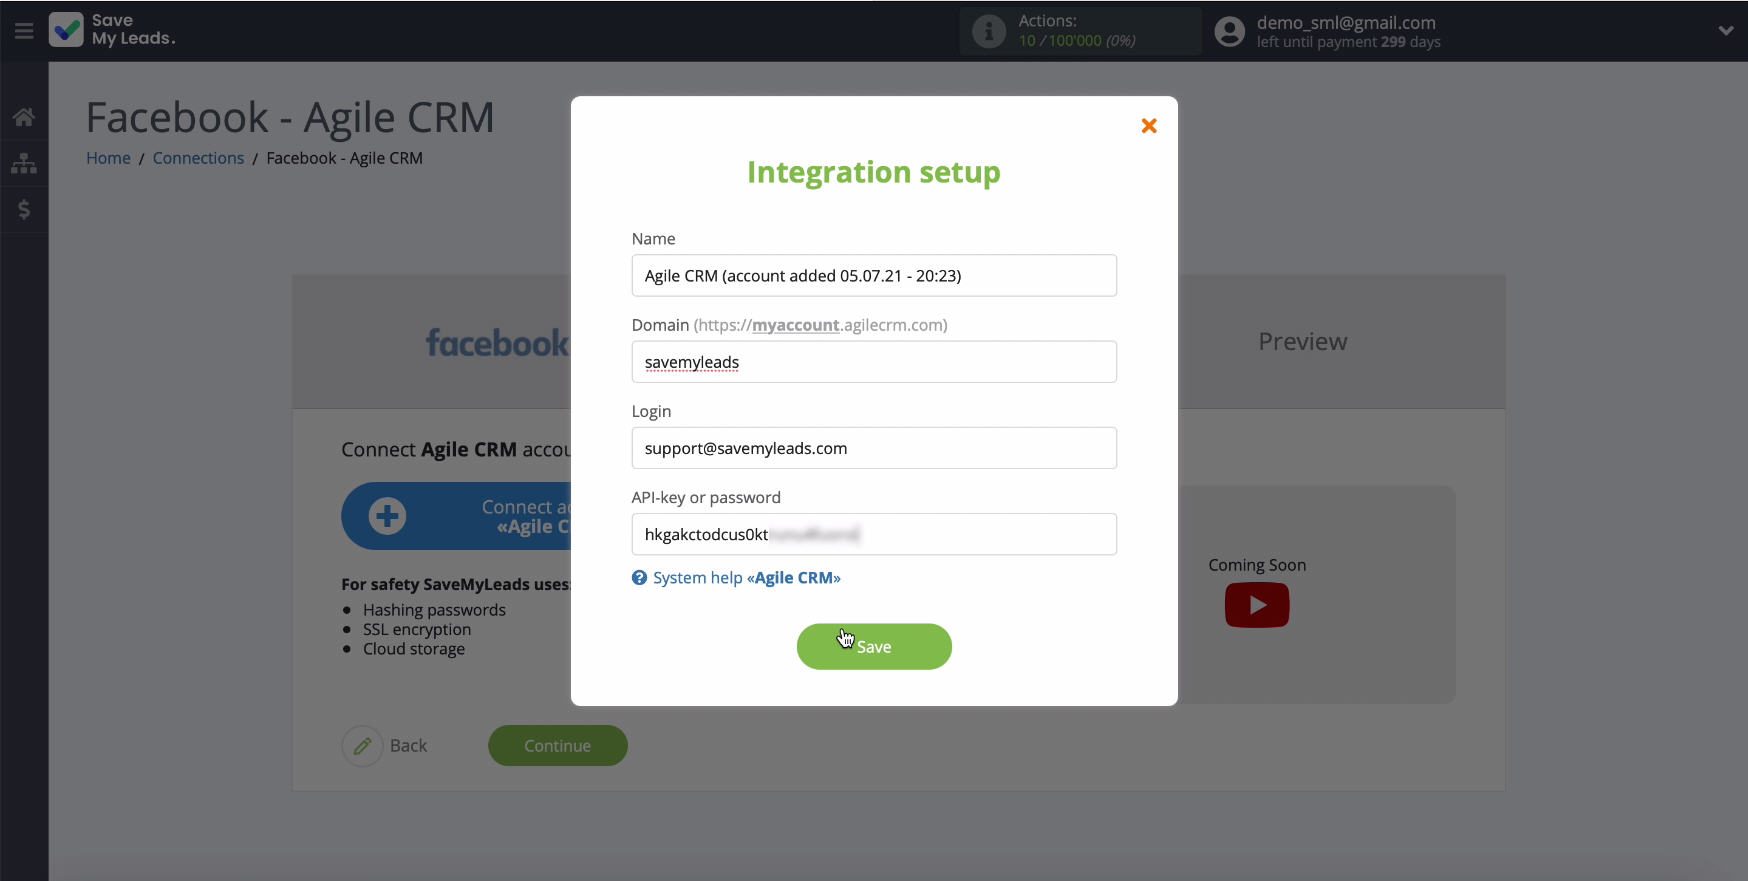
To connect AgileCRM to SaveMyLeads, specify the domain of your AgileCRM account, for this go to the personal account of this service. In the address bar, copy the domain without additional characters.
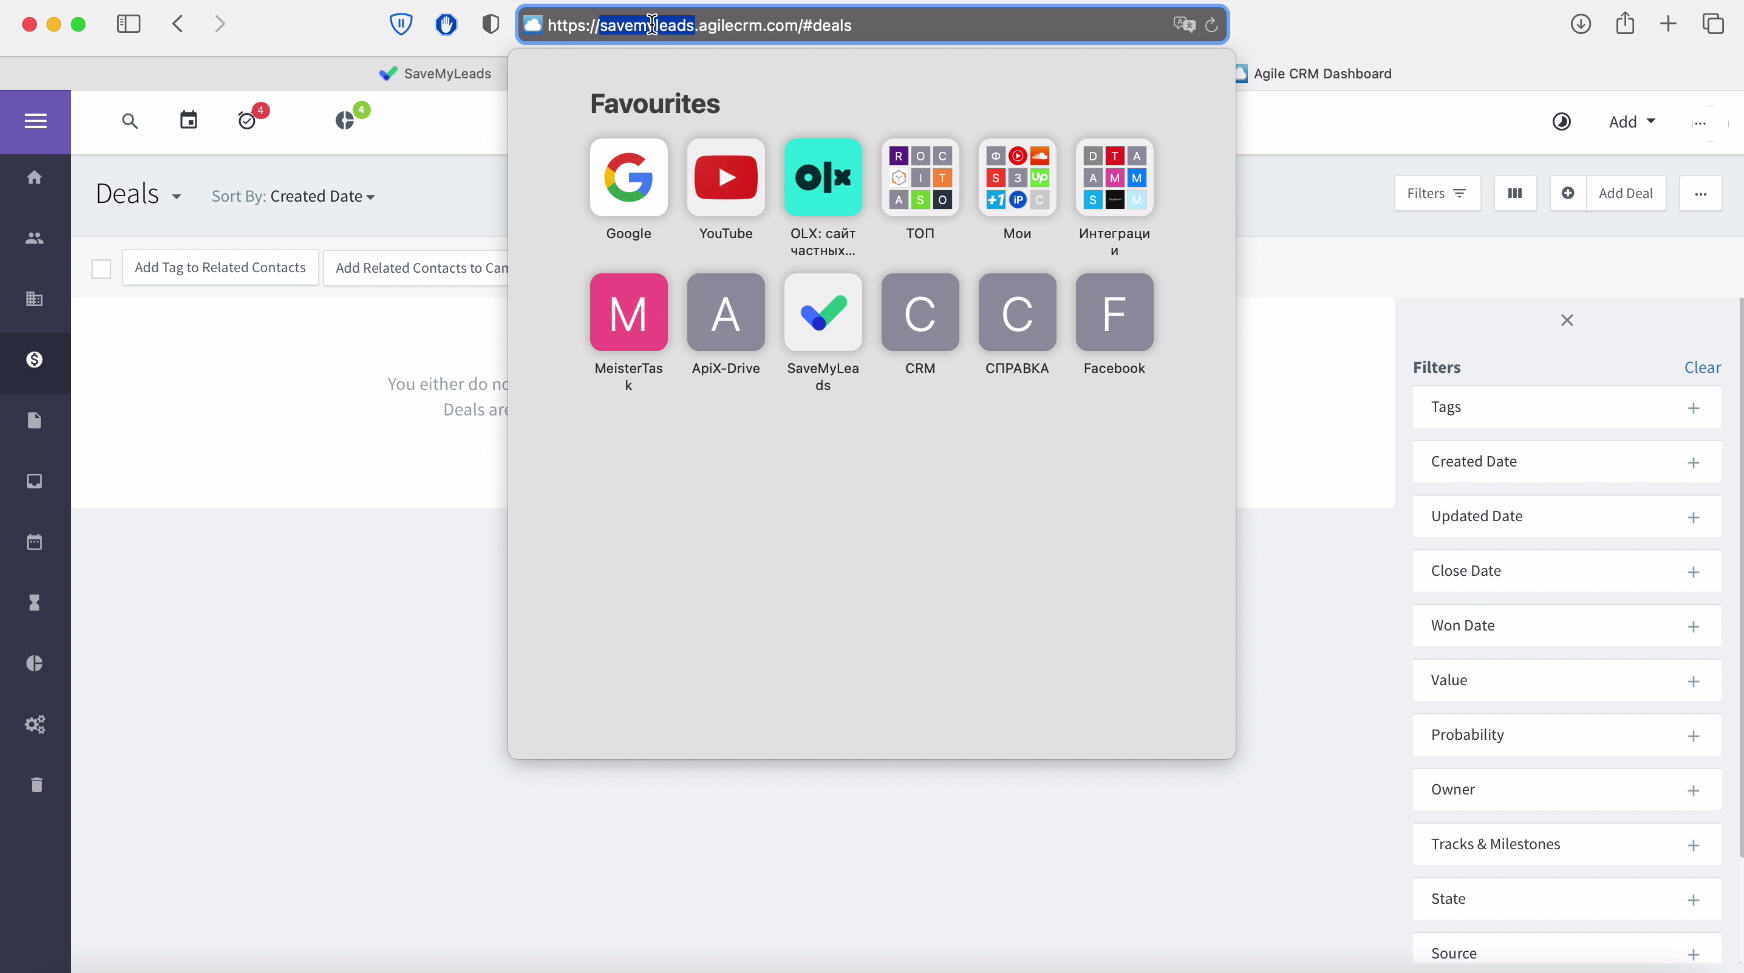
Return to the SaveMyLeads and paste the copied domain in the appropriate line.
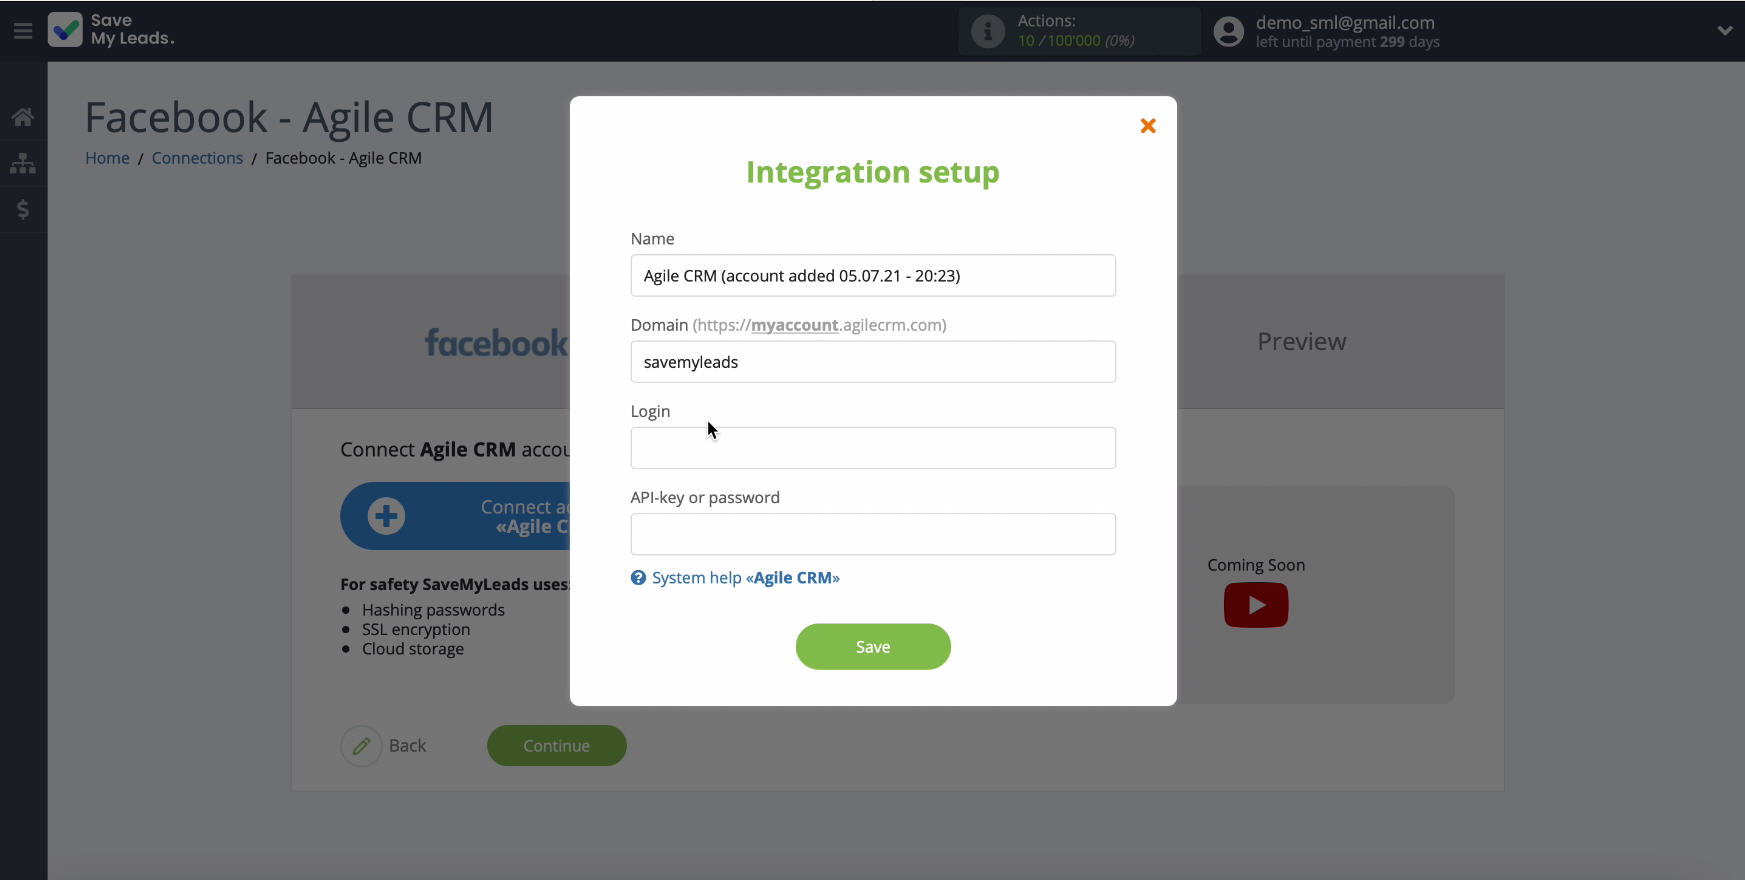
In the same window, in the corresponding line, you must enter the login under which you enter the CRM system.
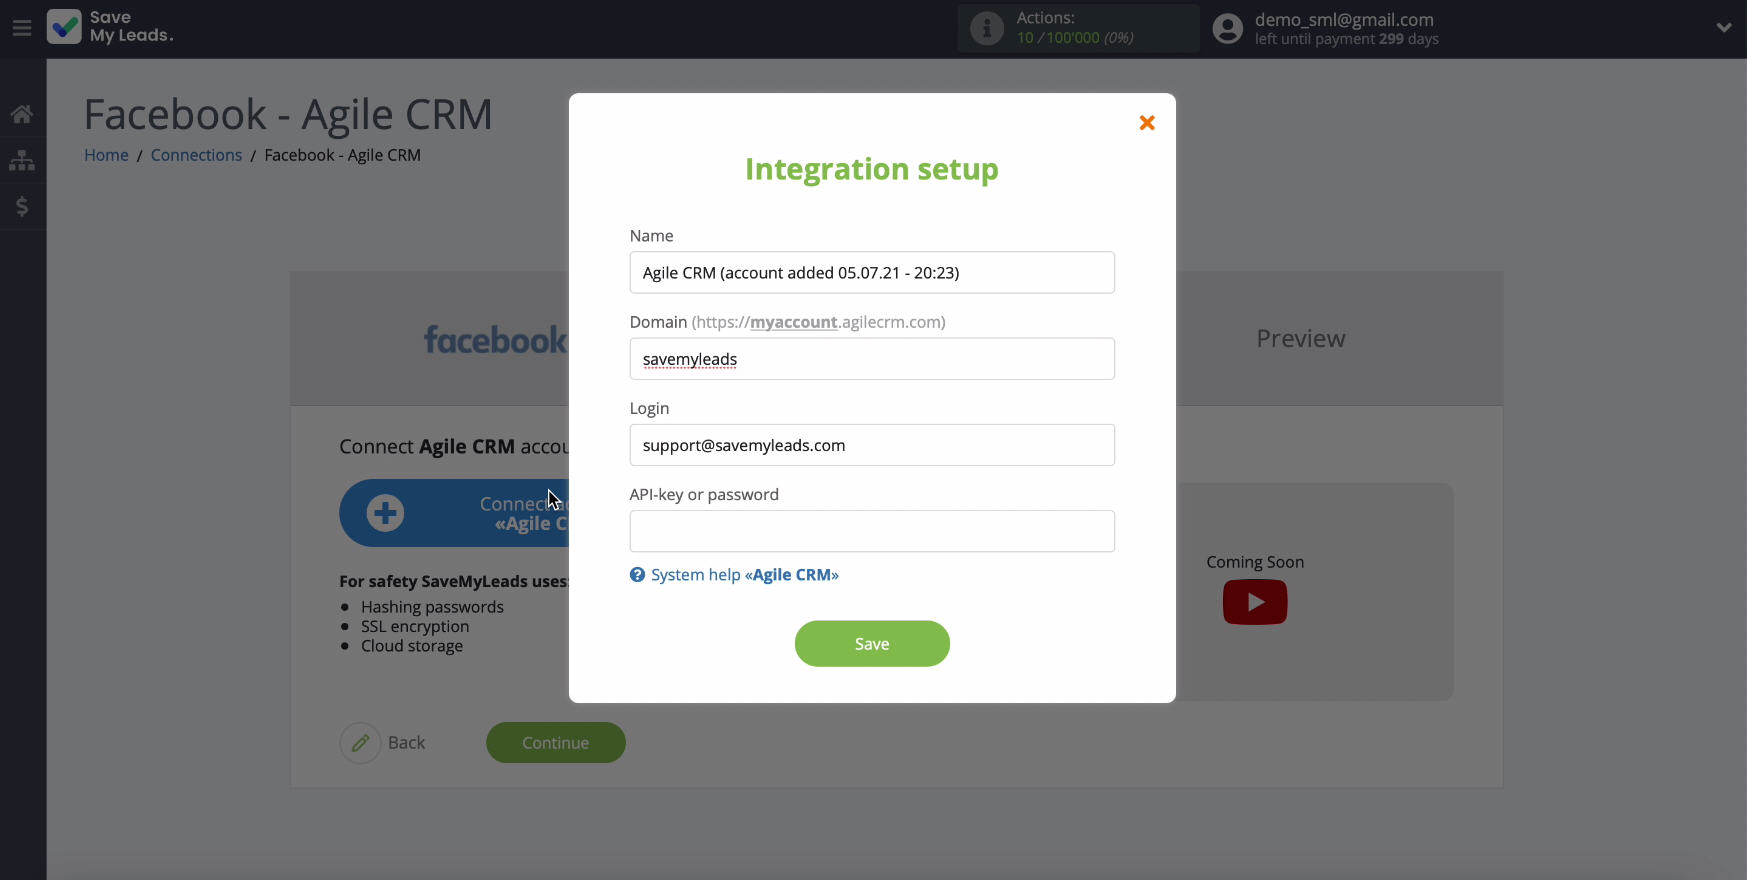
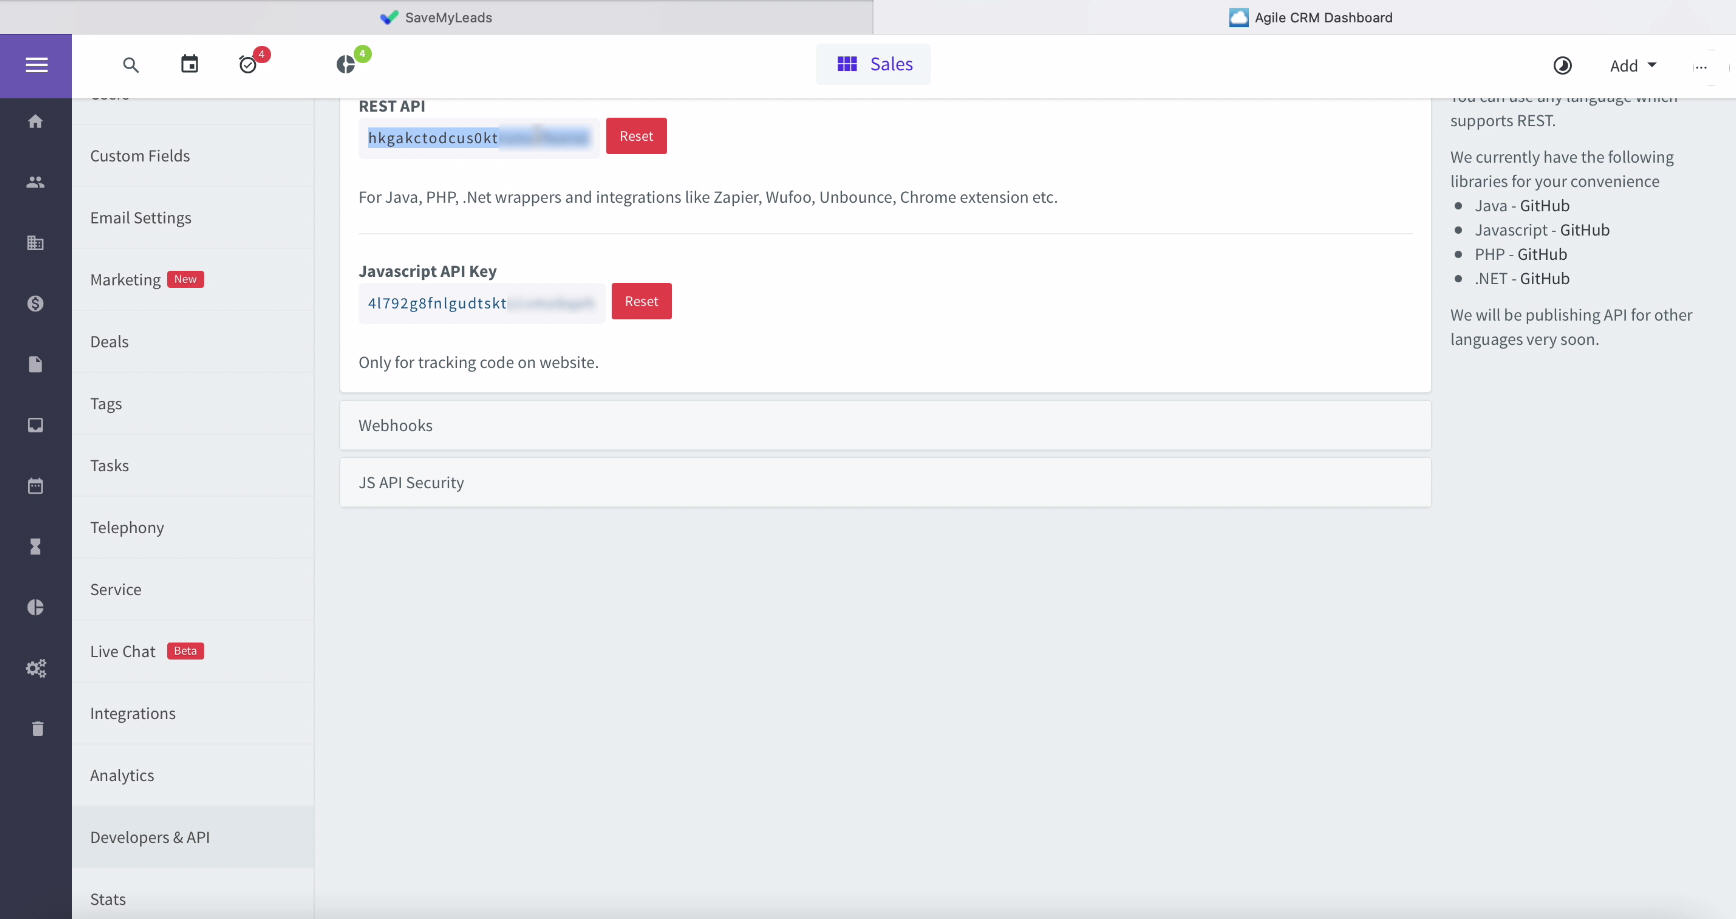
Next, enter the API key or password from your AgileCRM personal account. To do this, go back to your AgileCRM account.
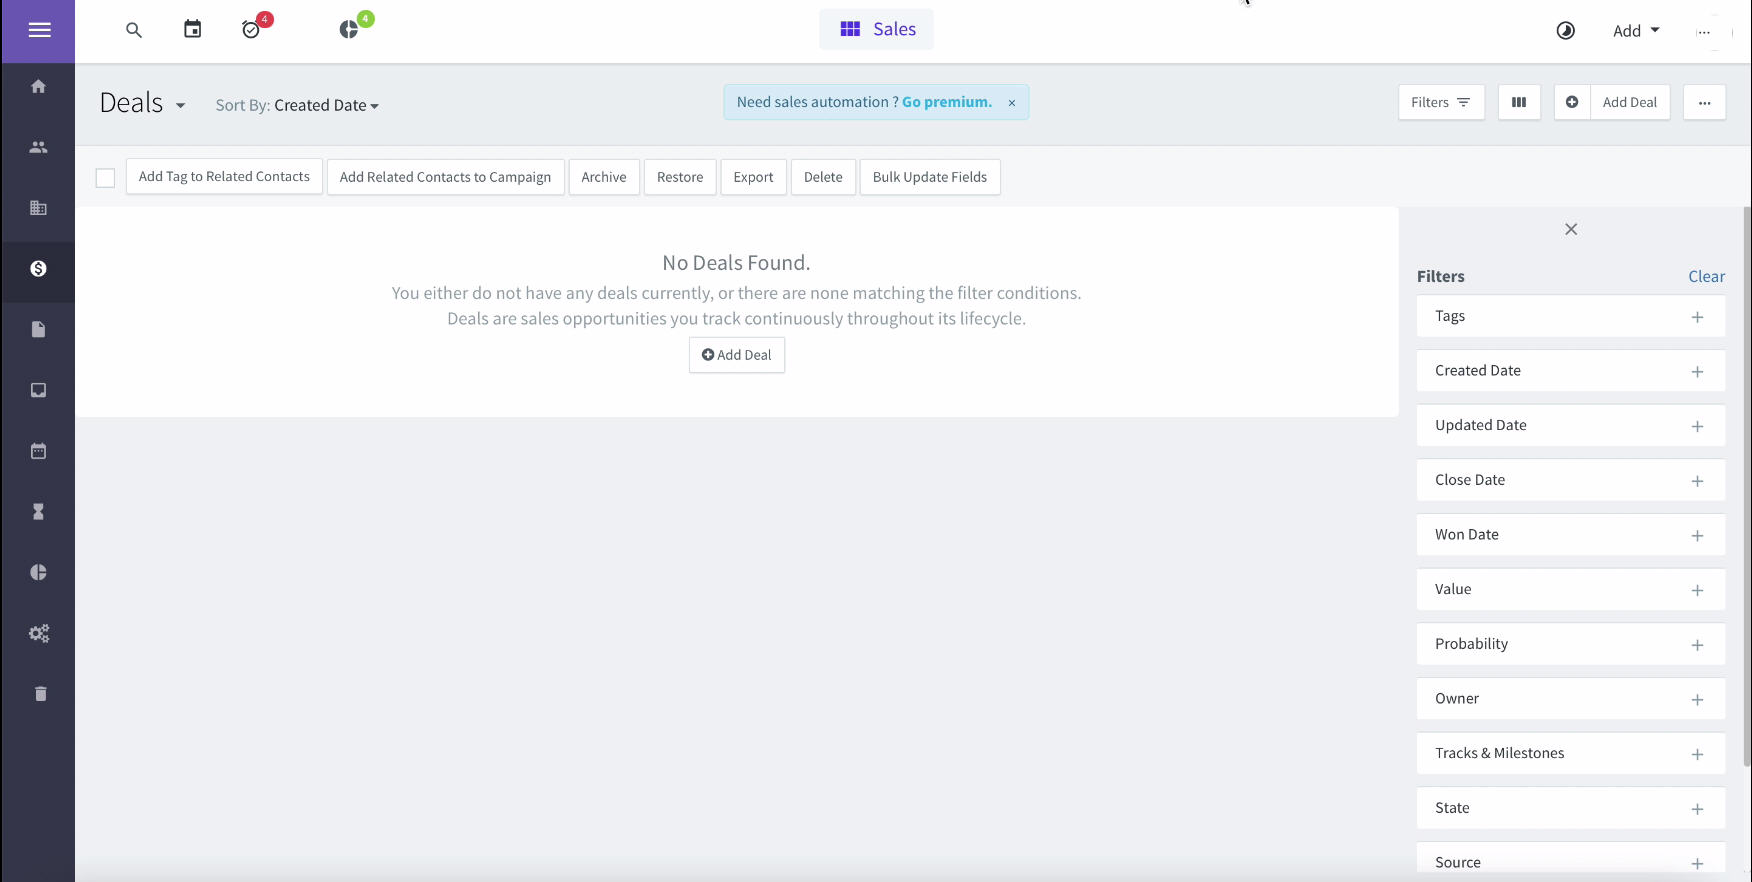
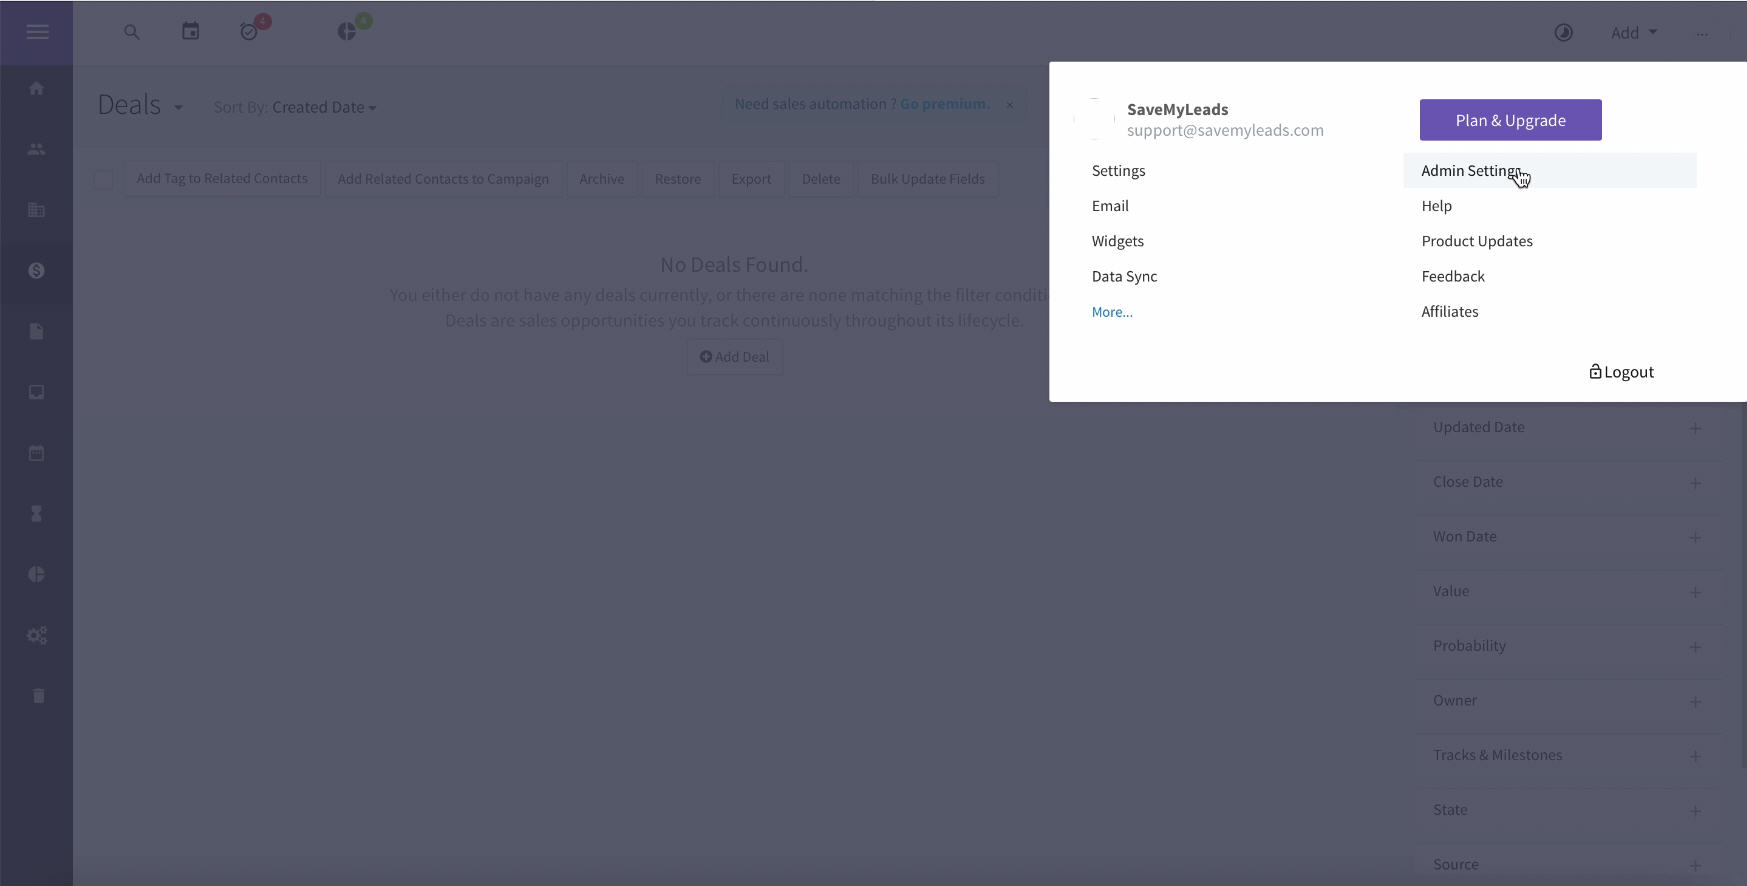
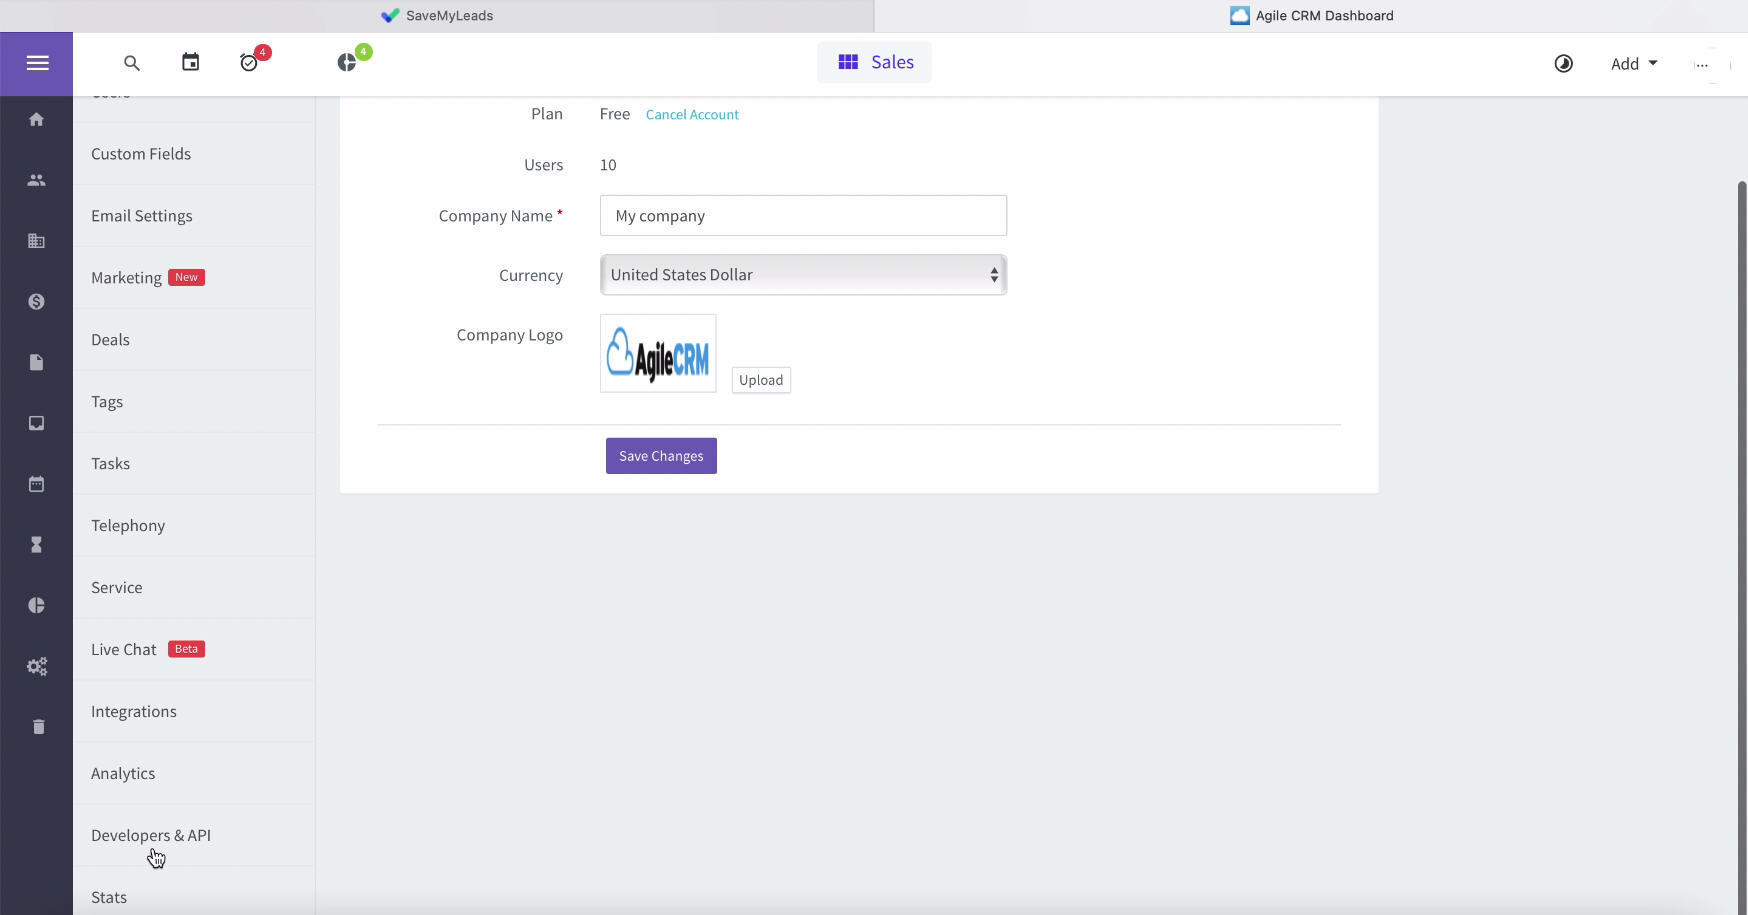
In your personal account go to the administrator settings, there - in the section Developers & API (in the left menu). In the window that appears, copy the API key and paste it into the corresponding field in SaveMyLeads.
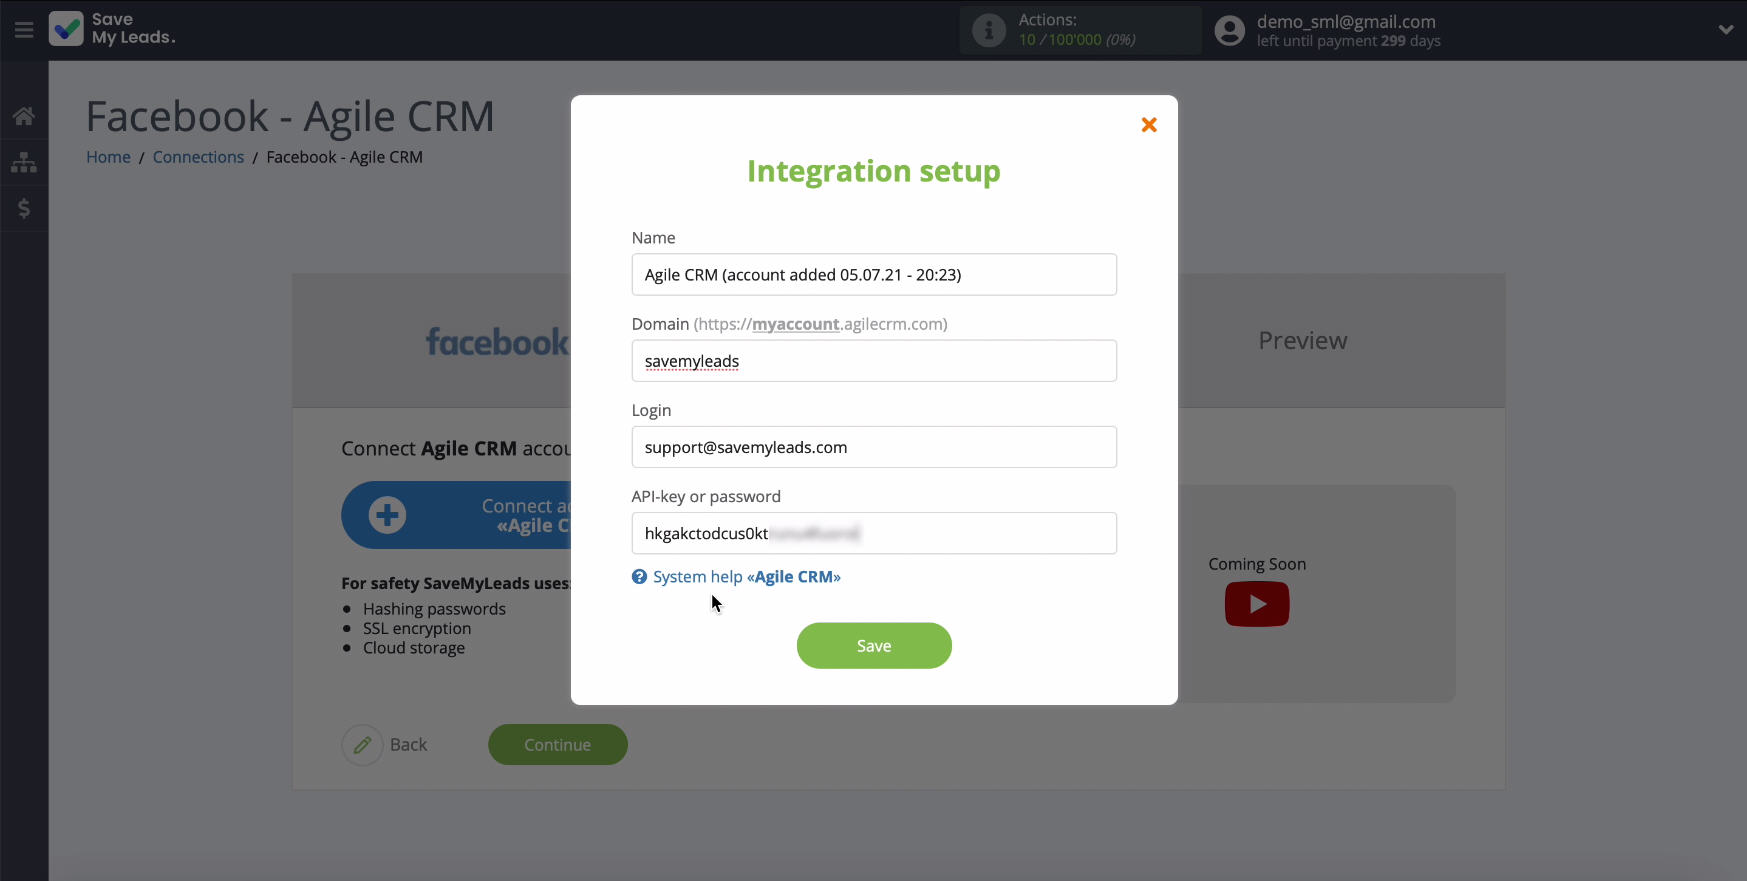
After filling in all the required fields in SaveMyLeads, click “Save” and continue setting ...
At this stage, yours should appear in the list of connected accounts, select it.
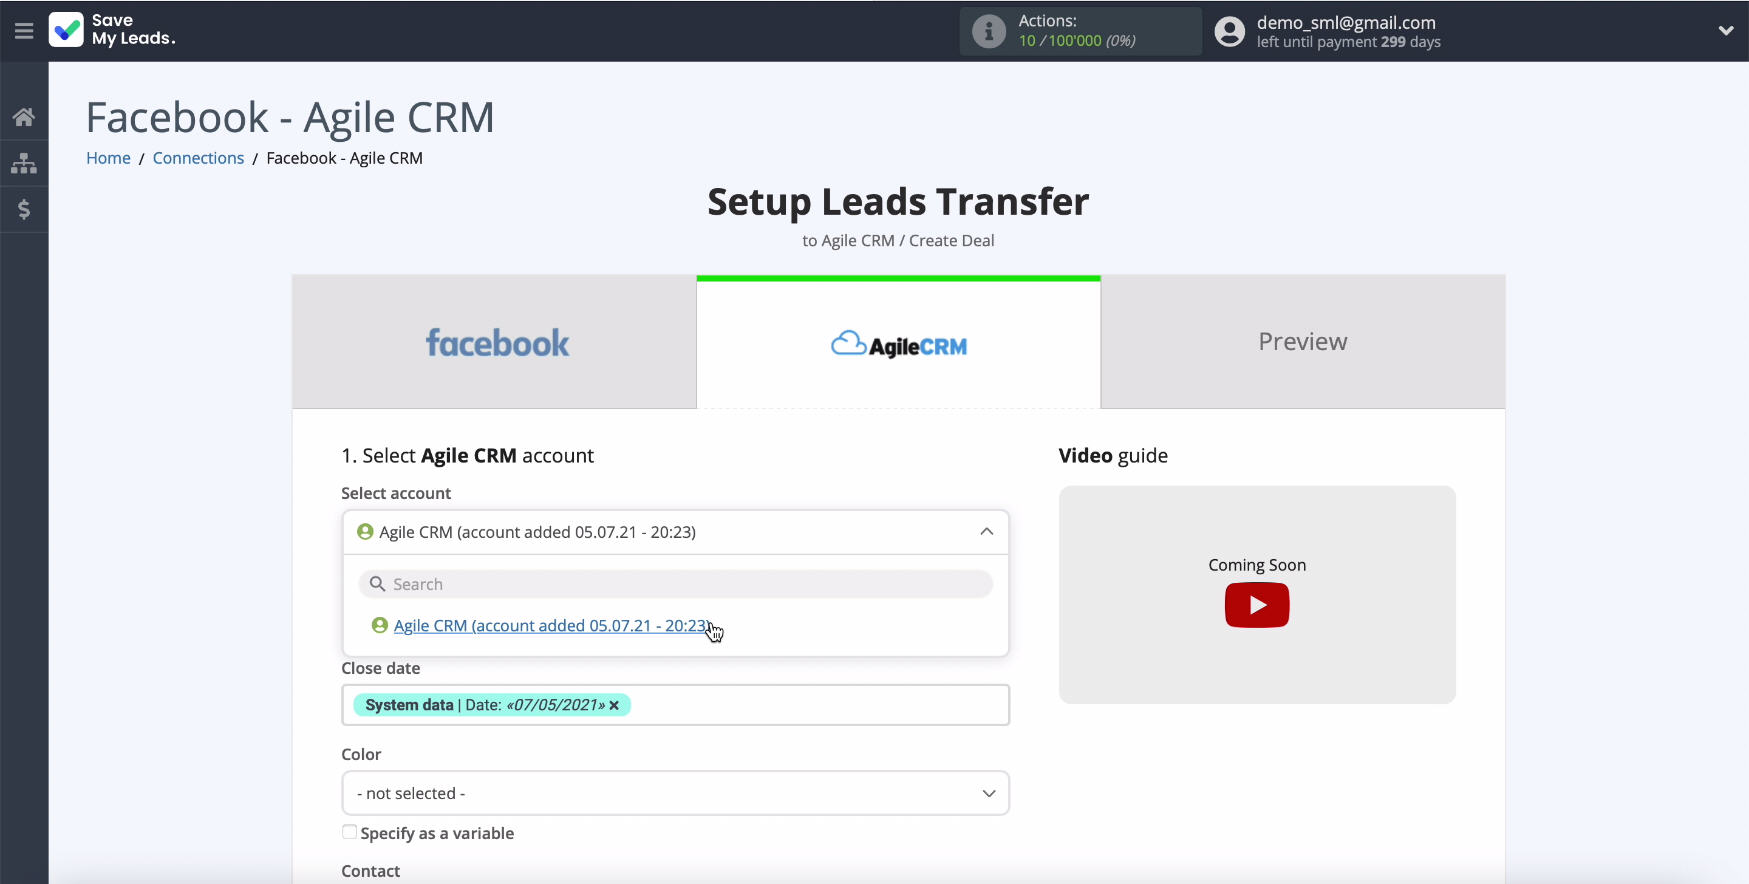
In the same window you will see the AgileCRM fields for creating a deal. In them, you can set variables from Facebook.
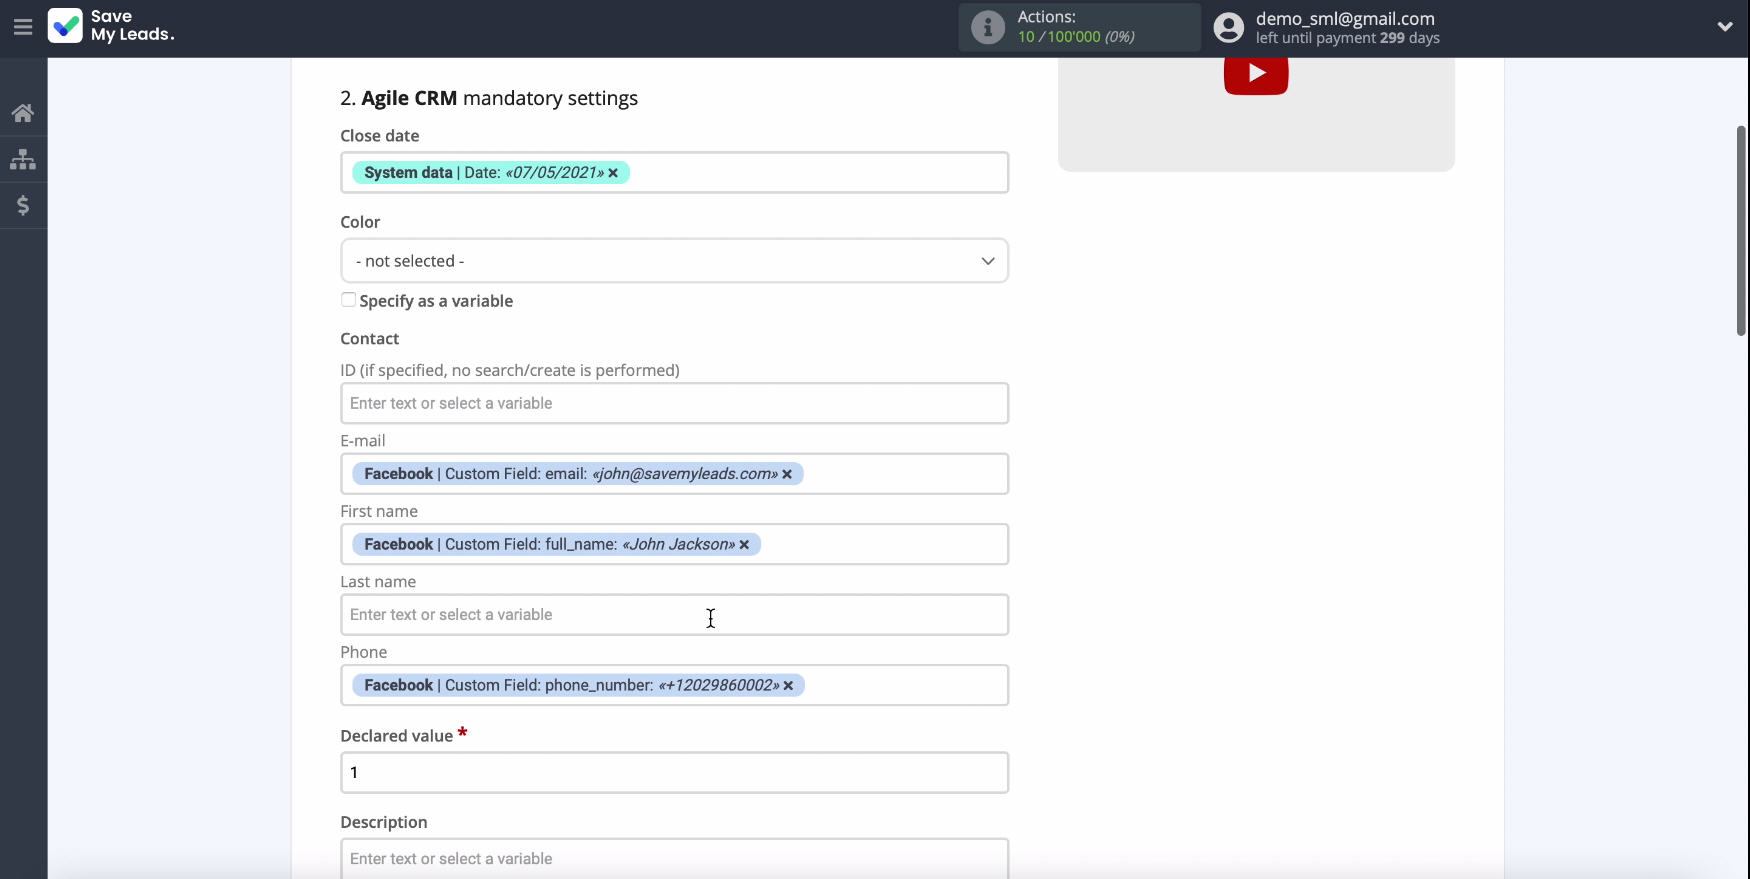
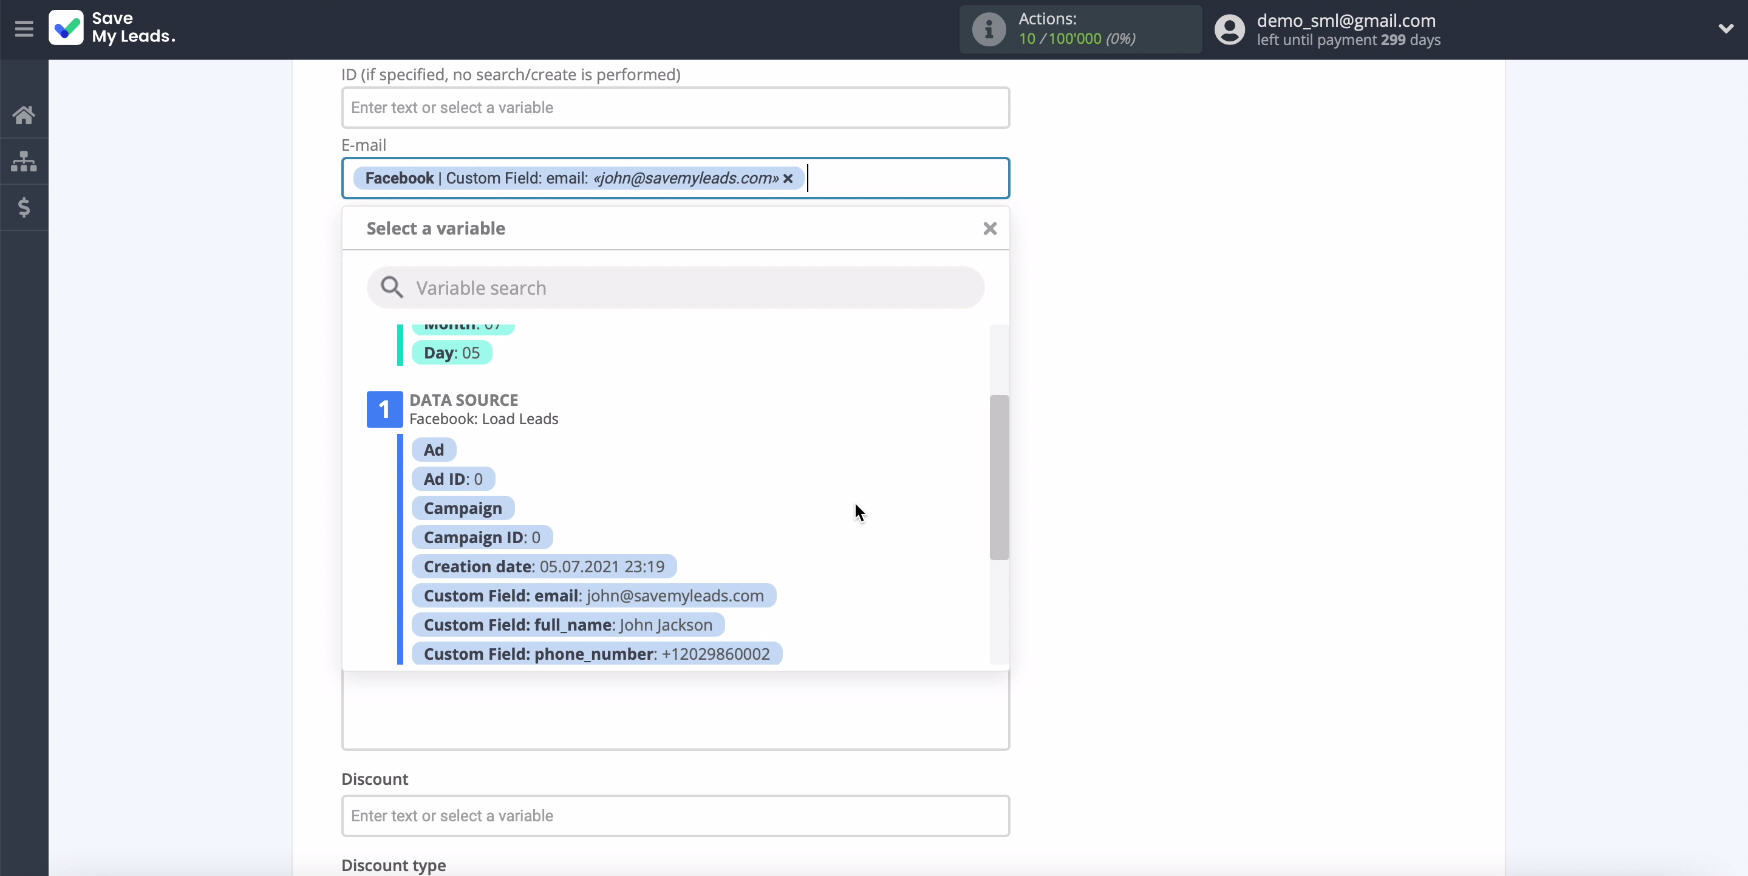
To define a variable, click in an empty field and select a variable from the drop-down list.
Press the "Continue".
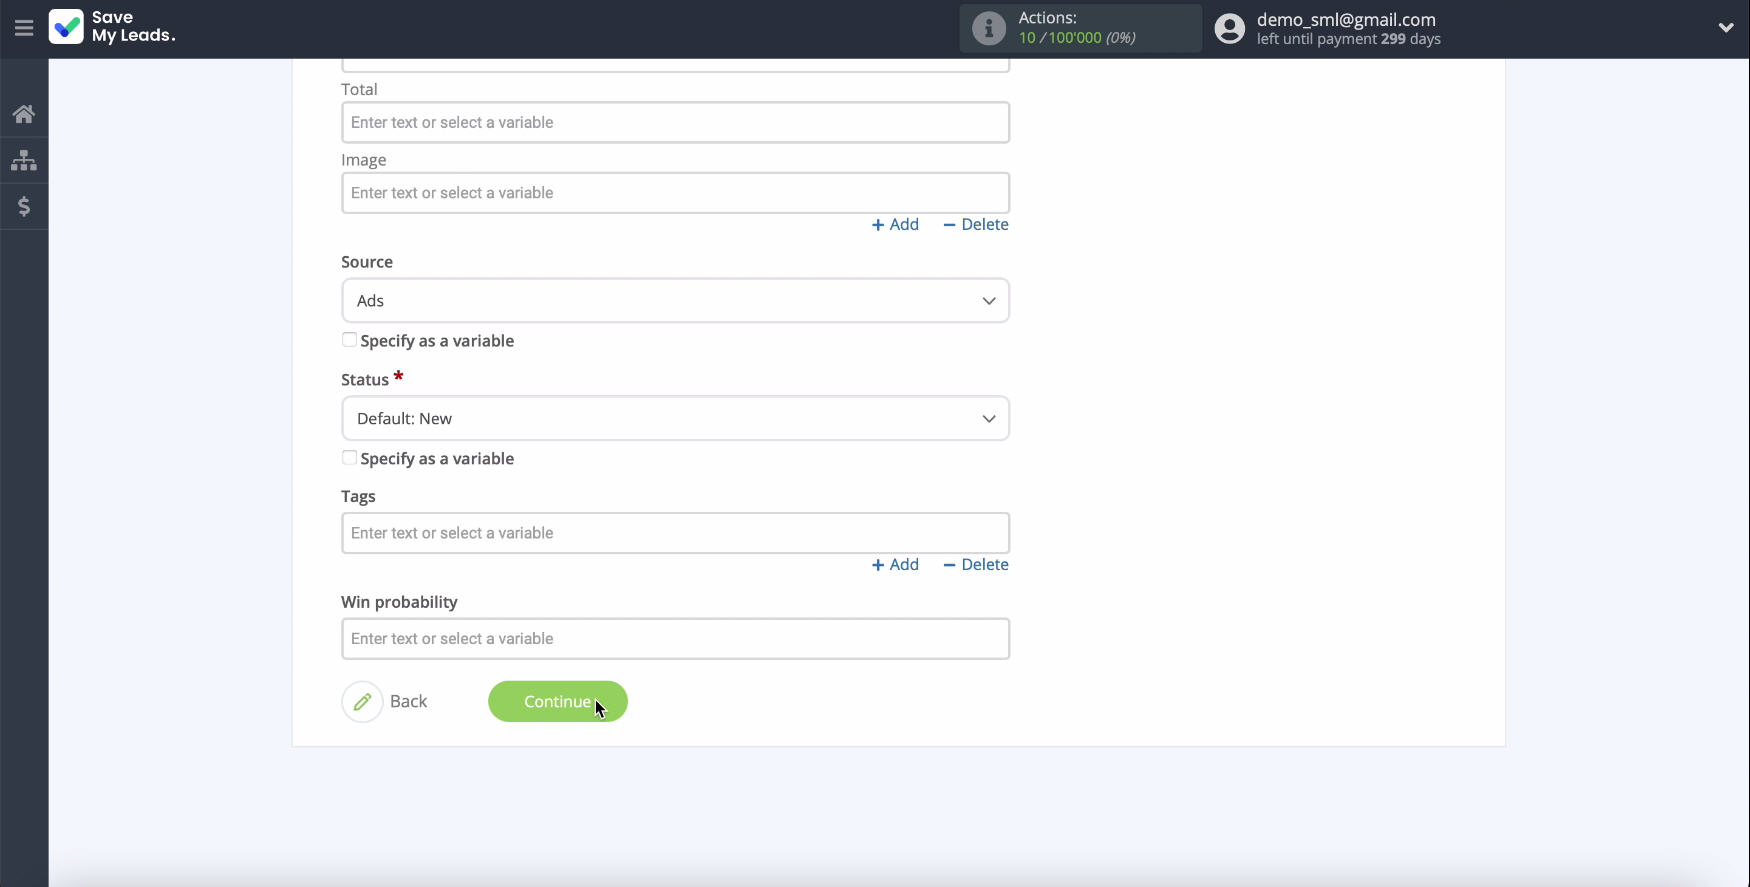
In the next step, you will see the preliminary configuration of the fields for creating a deal based on lead data from Facebook. If you want to check if everything worked out, click "Send test data".
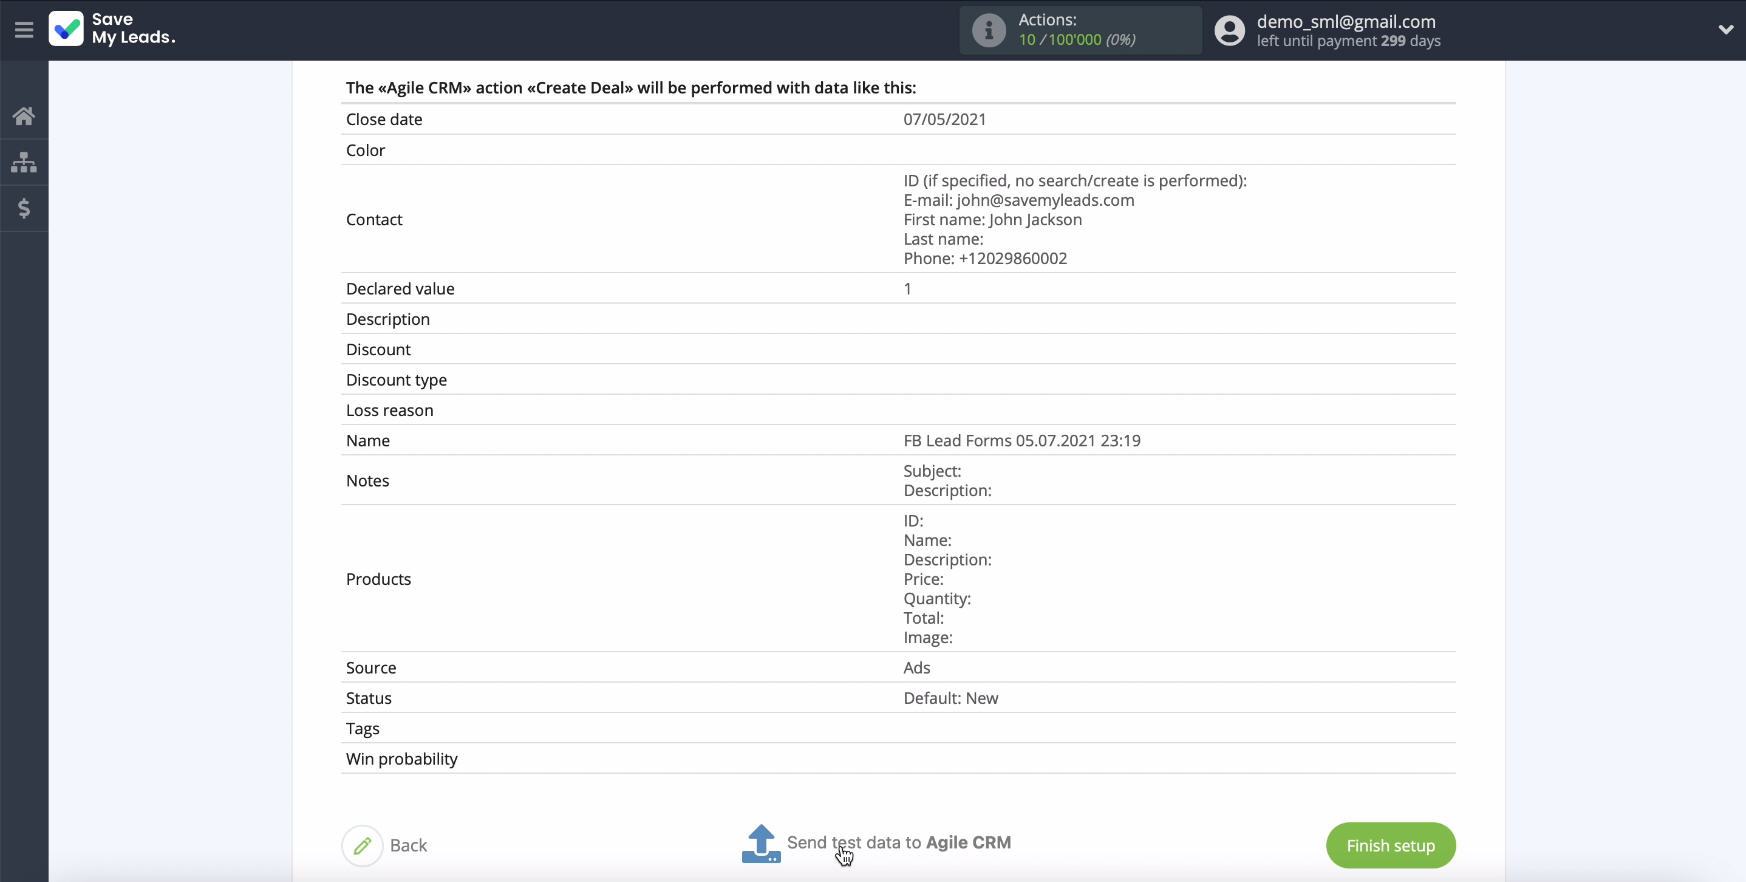
Go to AgileCRM to verify the results.
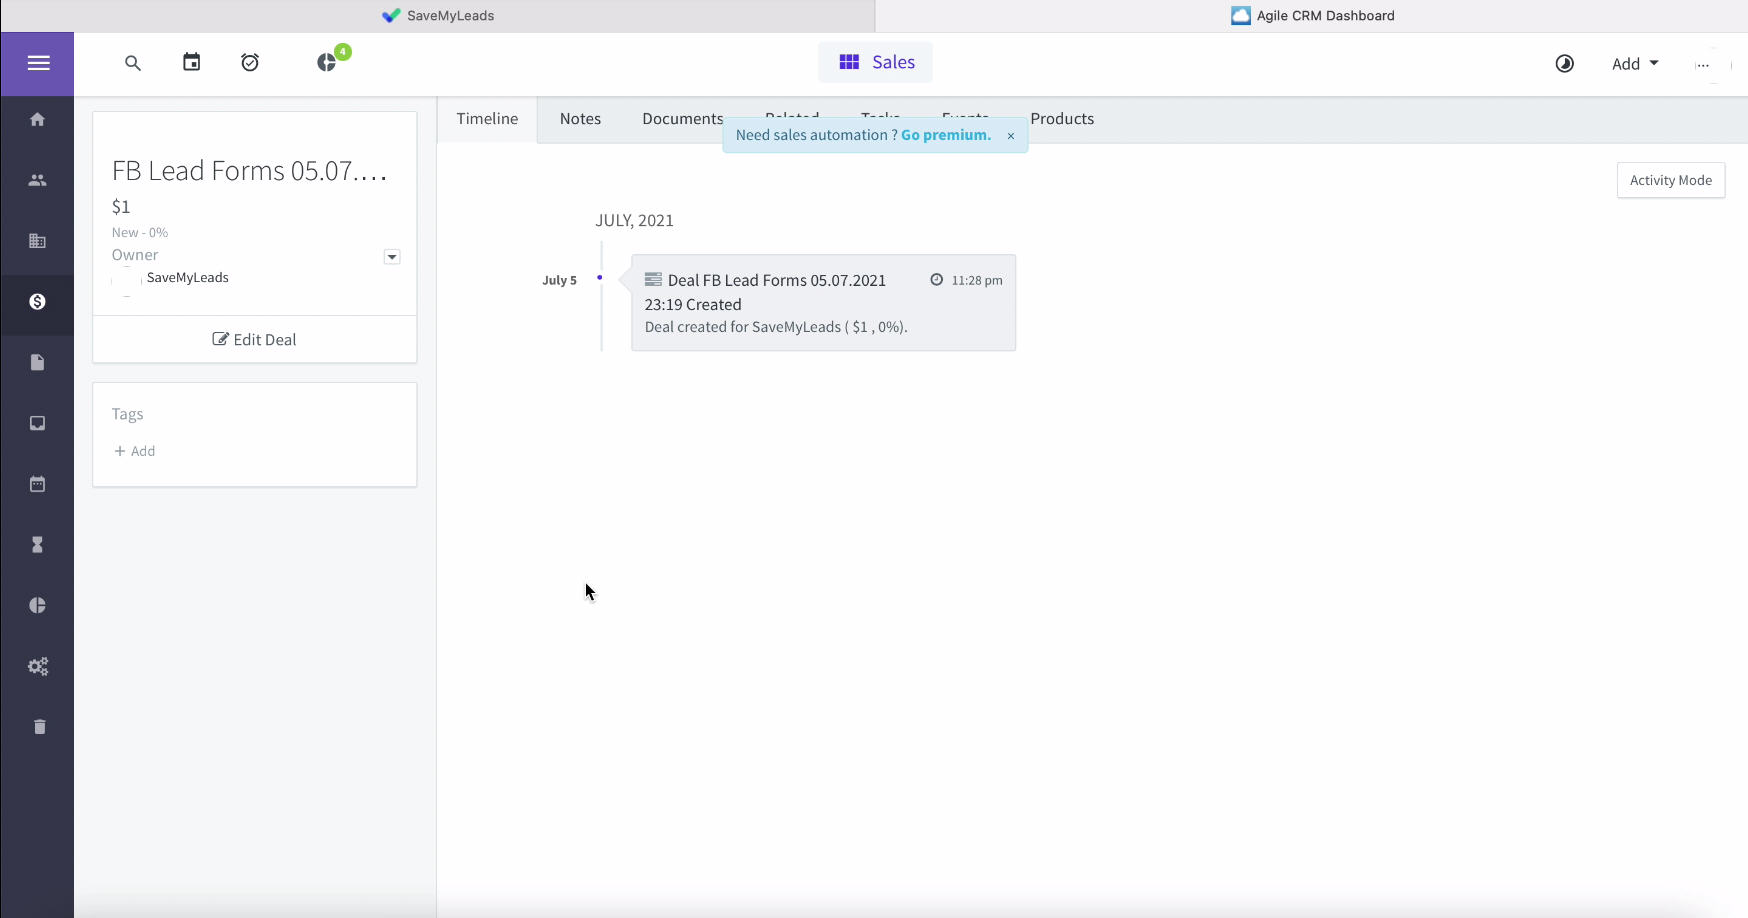
All data is displayed in the required fields. Return to the SaveMyLeads service and complete the setup.
Automatic data update
In order for leads from Facebook to be automatically transferred to AgileCRM as new deals, you need to enable auto-update of data. To do this, click Finish Setup.
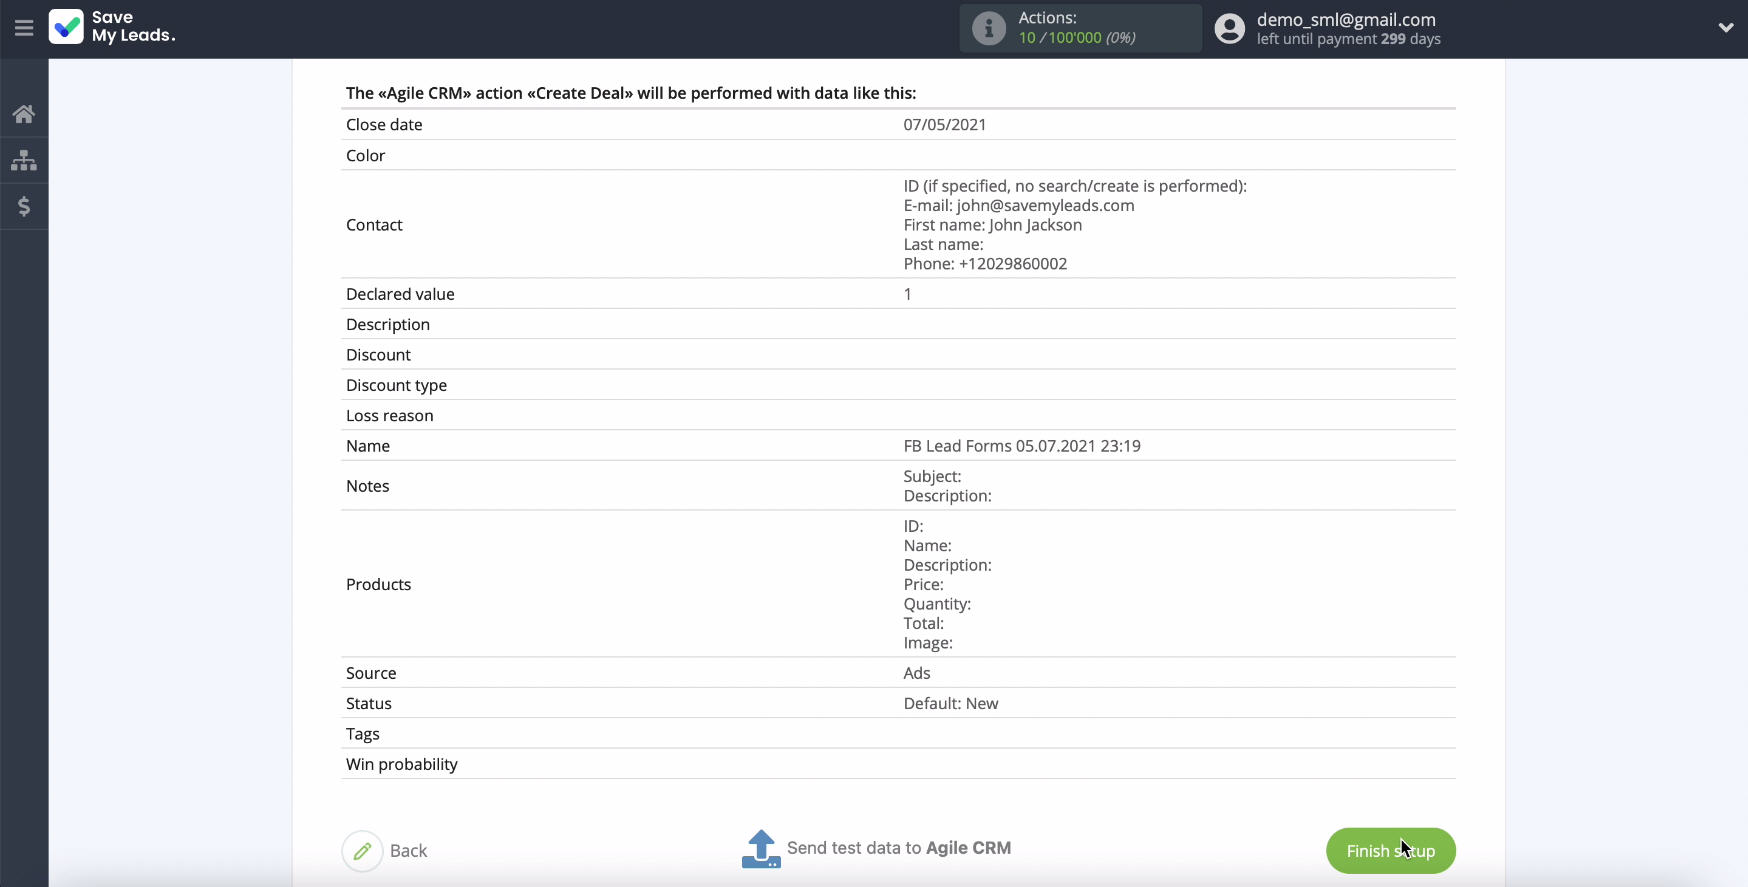
If necessary, you can change the name of the link in the settings - click the gear in the upper right, and in the next window change the name and click “Save”.
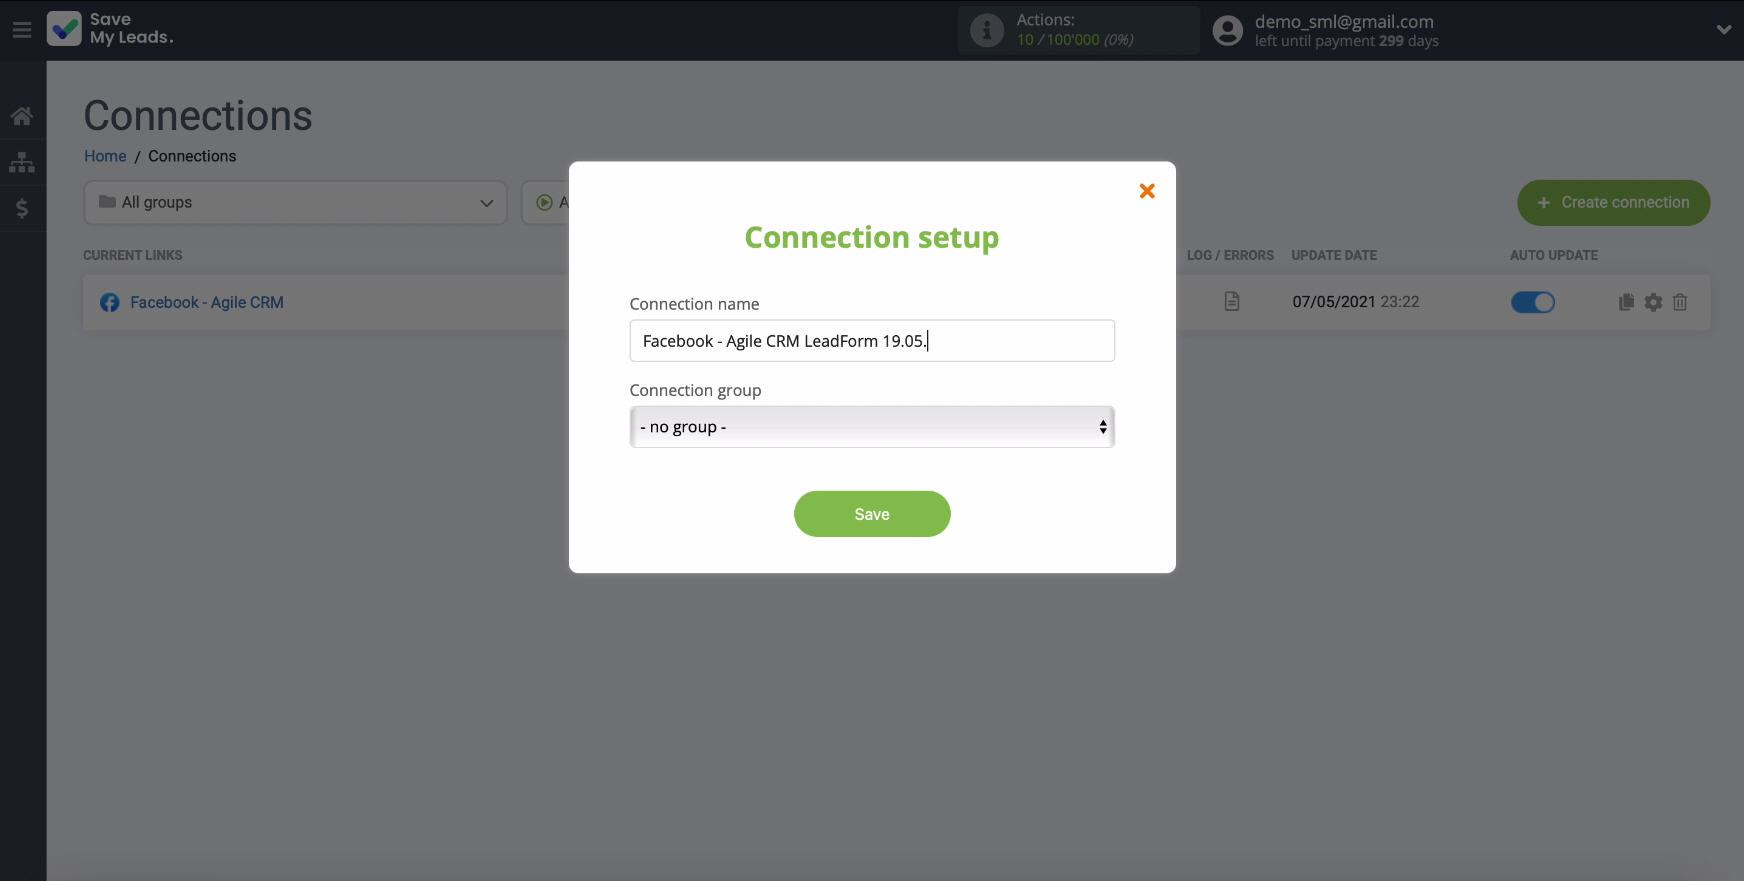
You have now completely completed the Facebook and AgileCRM integration.
Finish the setup
As you can see, it will not be difficult to set up the uploading of leads from a Facebook advertising account in the form of transactions to the AgileCRM CRM system using the SaveMyLeads service, even if you are not good at programming.


Thanks to the intuitive interface of the connector, you or your subordinate can set up the integration without spending even 5 minutes on it. Also, by analogy, you can configure the integration of an advertising account on Facebook and other services and systems.
