In this tutorial, we will show you how to set up automatic transfer of leads from Facebook to the Jira Software Cloud system. Initially, the Jira service was developed as a tool for tracking and handling bugs in IT products. However, Jira Software Cloud is currently a popular project management solution for a wide variety of industries. If you use Facebook Lead Ads for lead generation and Jira for workflow, then this article will be useful to you.
Content:
1. How to setup Facebook and Jira Software Cloud integration
2. Connect Facebook Lead Ads
3. Connect Jira Software
4. Turn on auto-update
5. Conclusion
Jira Software Cloud is a platform for organizing a corporate workspace. This service is no longer a tool focused exclusively on the IT-sphere. Jira Software offers a wide range of project templates for different areas and business tasks. In addition, the platform is highly customizable, which makes it possible to create customized work environments for specific tasks of the company/team/department.
The Jira Software Cloud platform allows you to effectively implement Scrum and Kanban methodologies. Based on the functionality of the service, a transparent workflow and effective internal communication are created. Users are offered ample opportunities for processing, tracking and analyzing tasks. Using the Jira Software Cloud platform, you can organize the work of, for example, a sales or marketing department. Managers can use the Jira Software functionality to support deals, interact with colleagues, and report.
If Facebook advertising tools are used for lead generation. then it becomes necessary to regularly upload new leads from Facebook ad account and transfer data to the Jira Software Cloud system. To avoid doing this manually and get information about new leads as quickly as possible, you can set up Facebook and Jira Software Cloud integration.
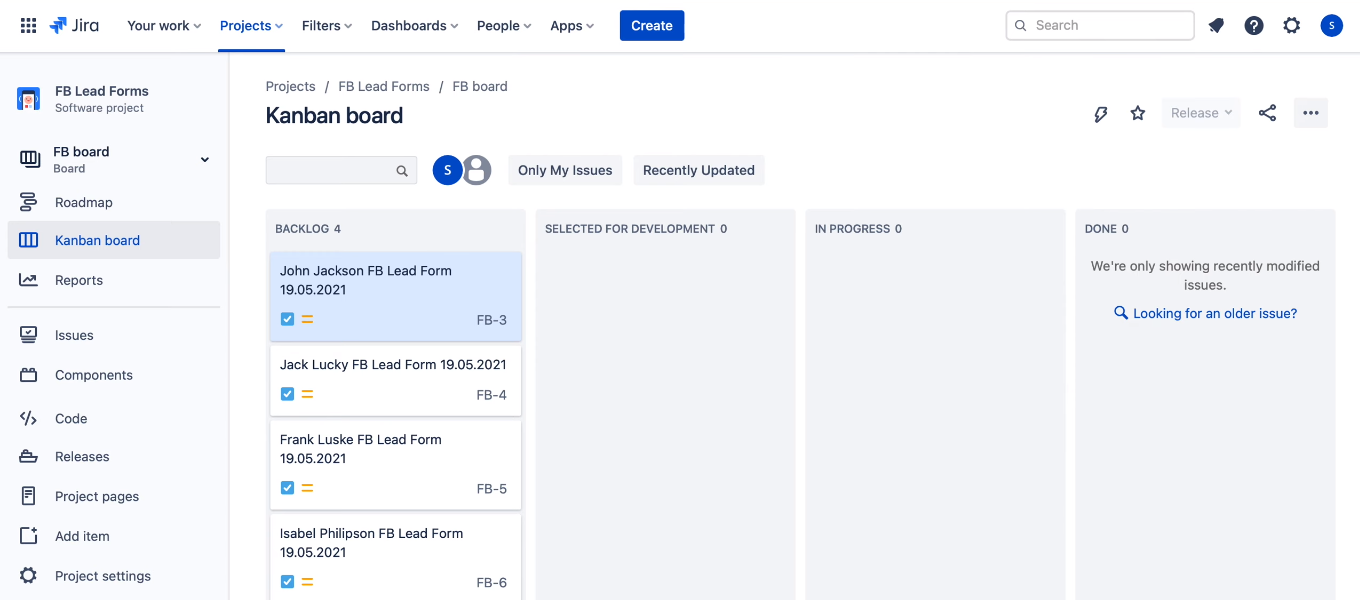
How to setup Facebook and Jira Software Cloud integration
As a rule, business processes require the use of a whole range of services. Some tools are responsible for lead generation, others for storing and processing data, others for implementing marketing strategies, etc. There is a regular task of synchronizing information in all these systems. Therefore, data transfer is one of the most common routine tasks. In our case, we need to convert new Facebook leads into requests on the Jira Software Cloud side. The more orders will be received through a social network, the more time will be taken by the work of transferring information. In addition, the risks of errors in data transfer and the likelihood of missing a lead increase.
The SaveMyLeads service is a simple tool for setting up automatic transfer of leads from Facebook to other systems. Communication is created in just a few minutes through the web interface. To set up Facebook and Jira Software Cloud integration, you do not need to involve programmers or learn the API. Now we will take a closer look at how to set up an automated data migration process.
Connect Facebook Lead Ads
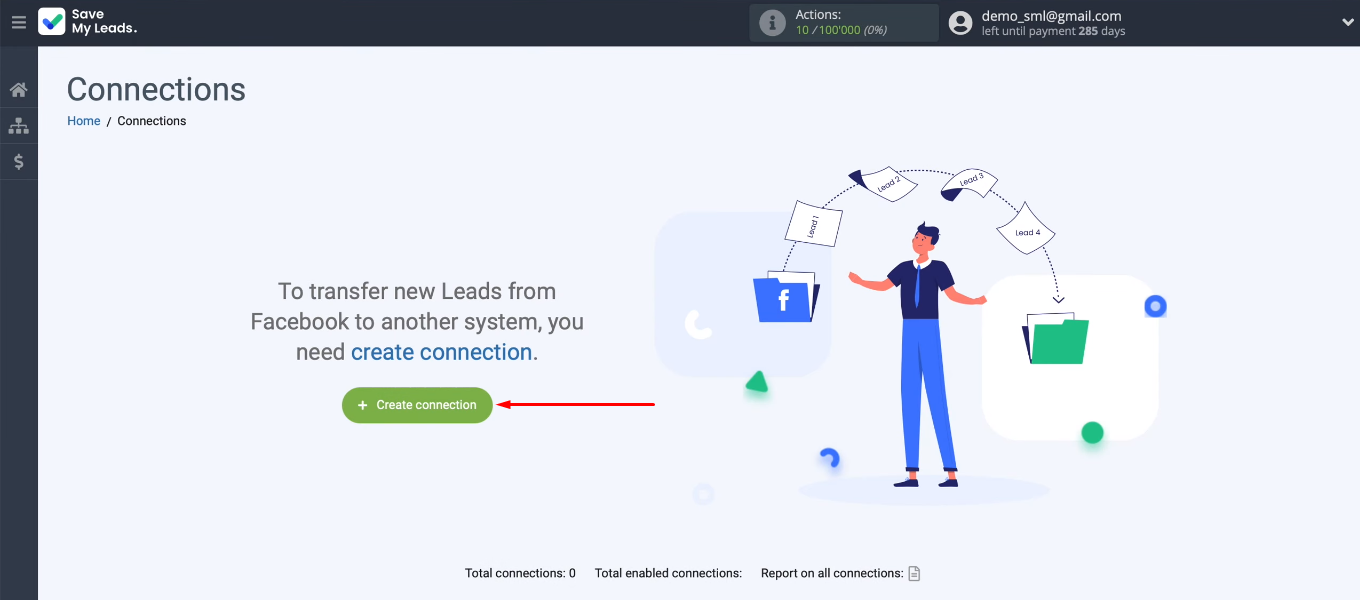
Create a new connection in the SaveMyLeads office.
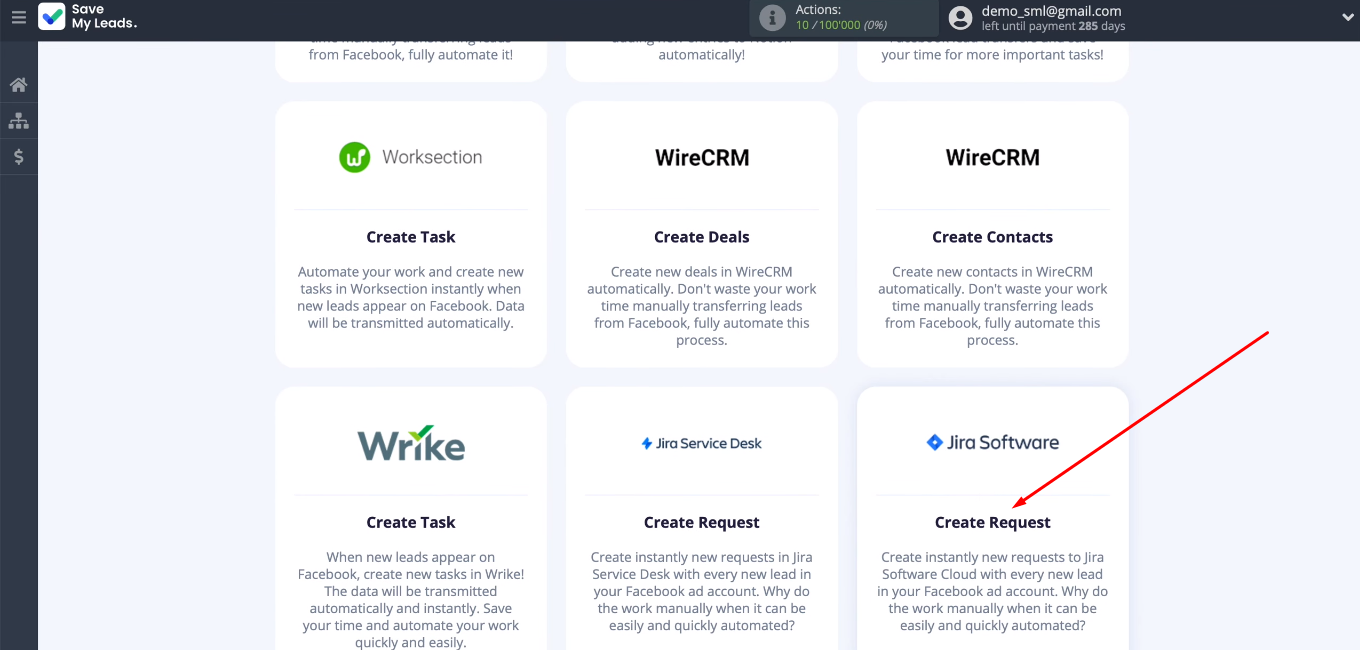
We need to choose one of the ready-made templates to set up the integration. For our task, this is “Jira Software (Create Request)”.
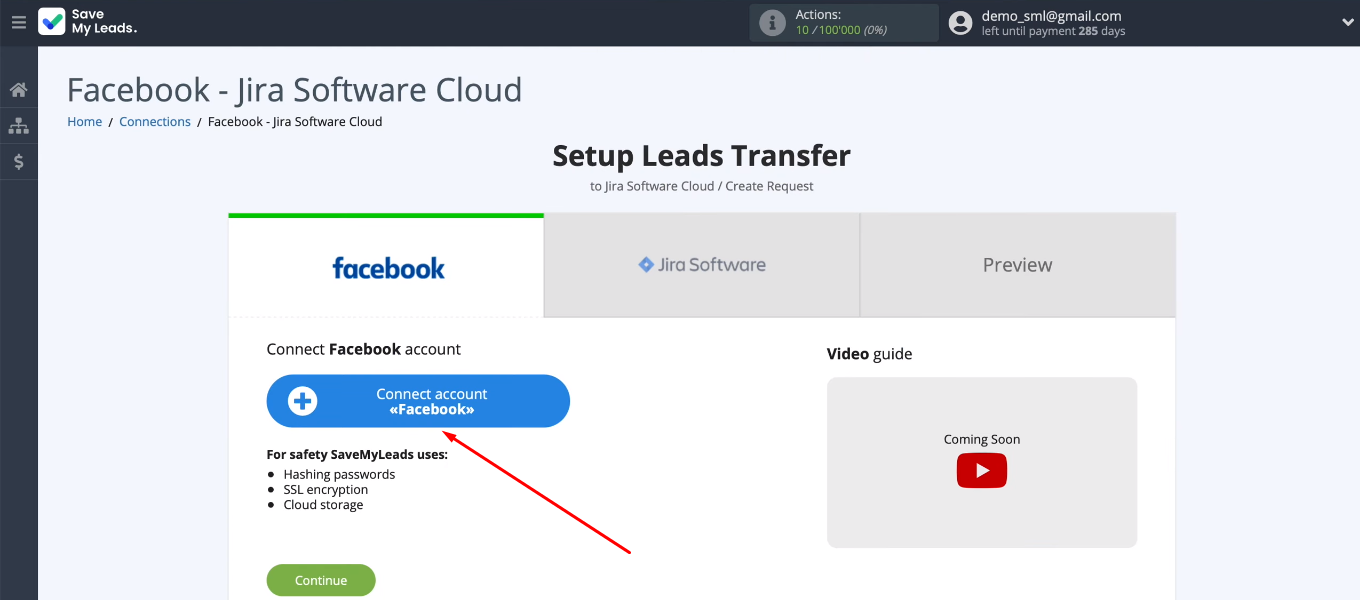
Connect the Facebook account to the SML system.
Log into Facebook.
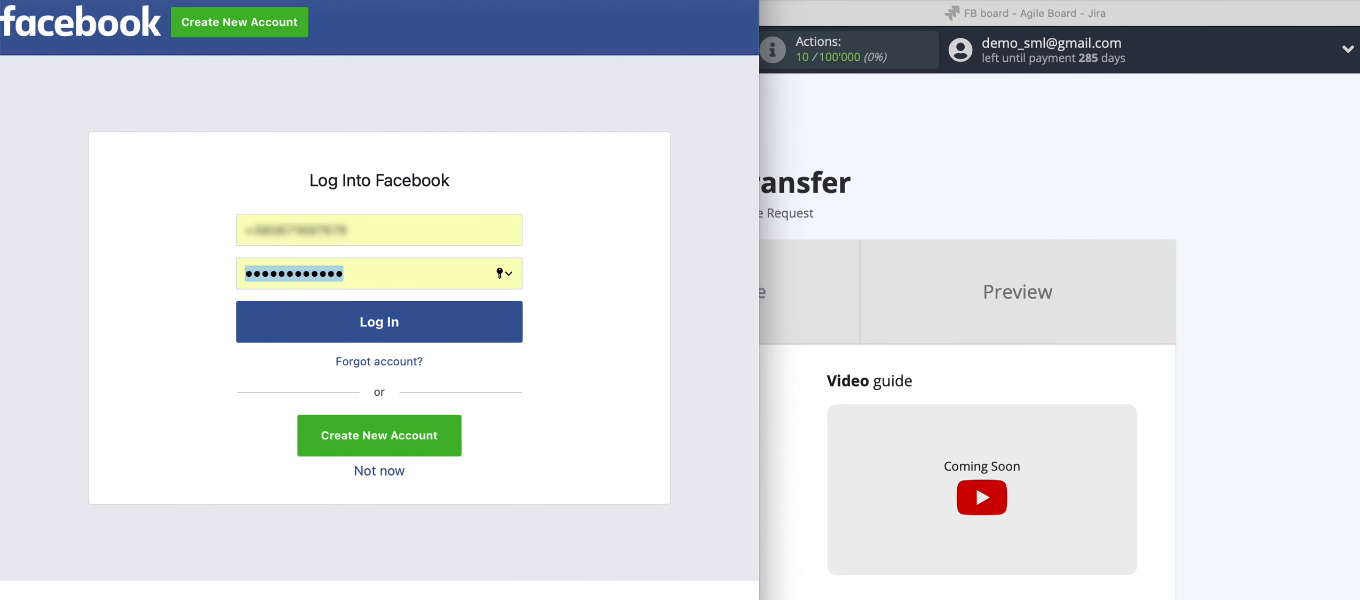
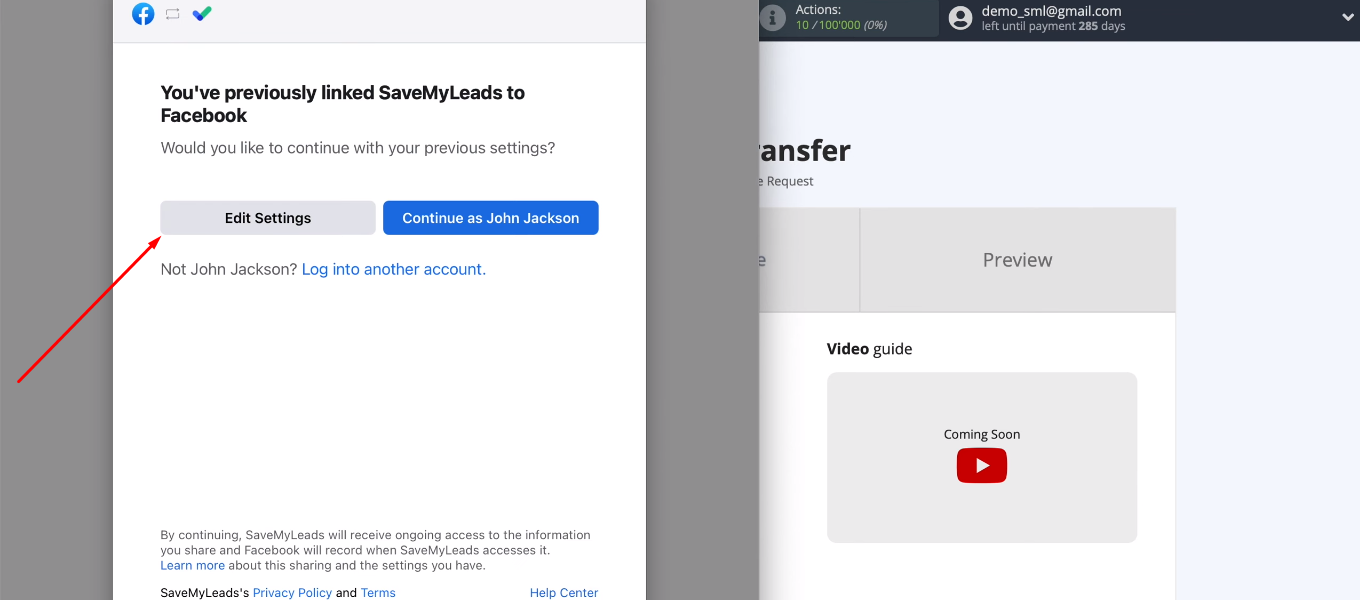
Click “Edit Settings”.
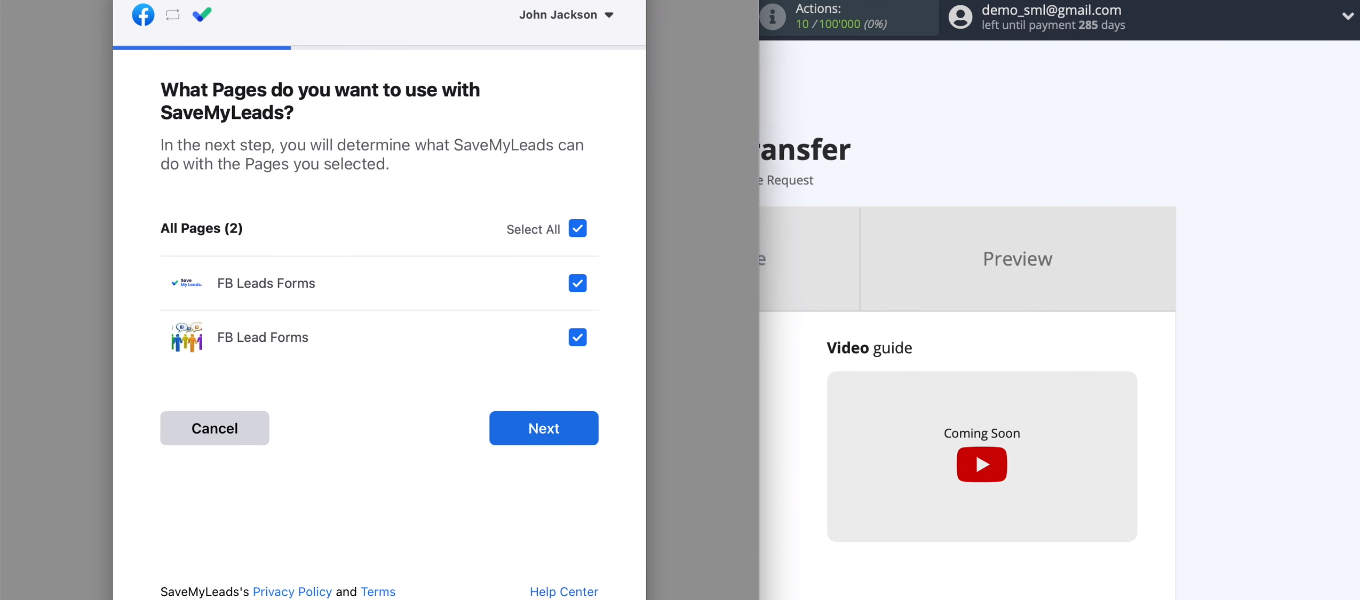
Select advertising pages with which we can work through the SML service.
In the next window, leave all the checkboxes enabled.
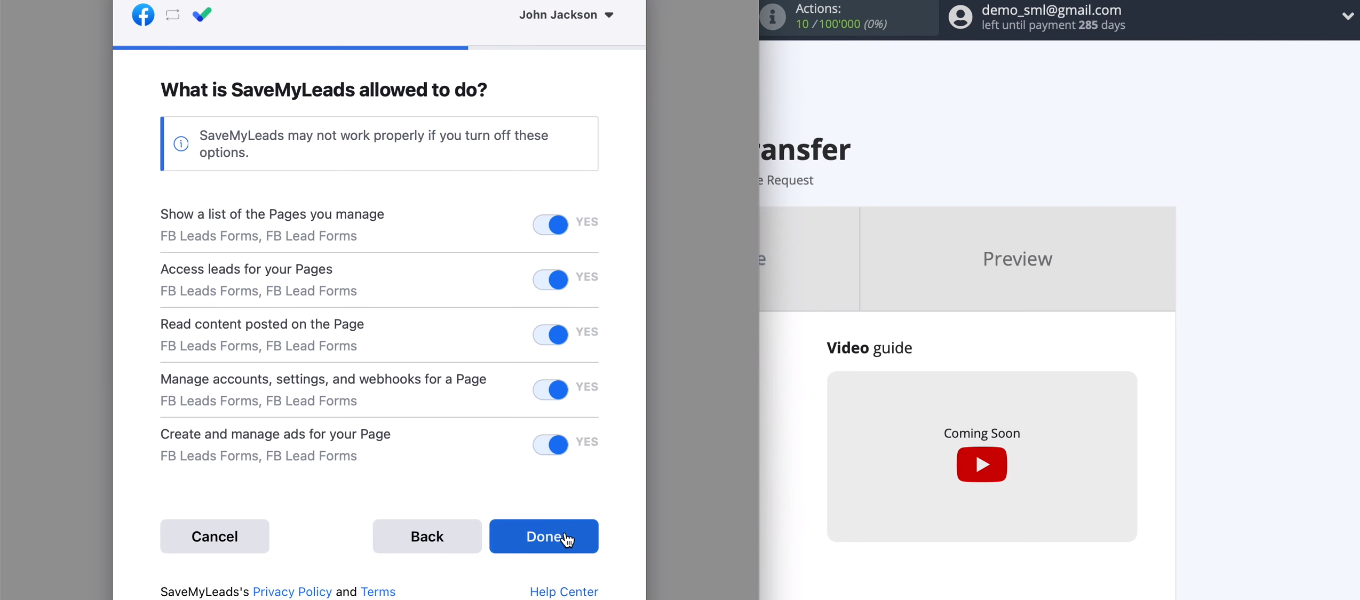
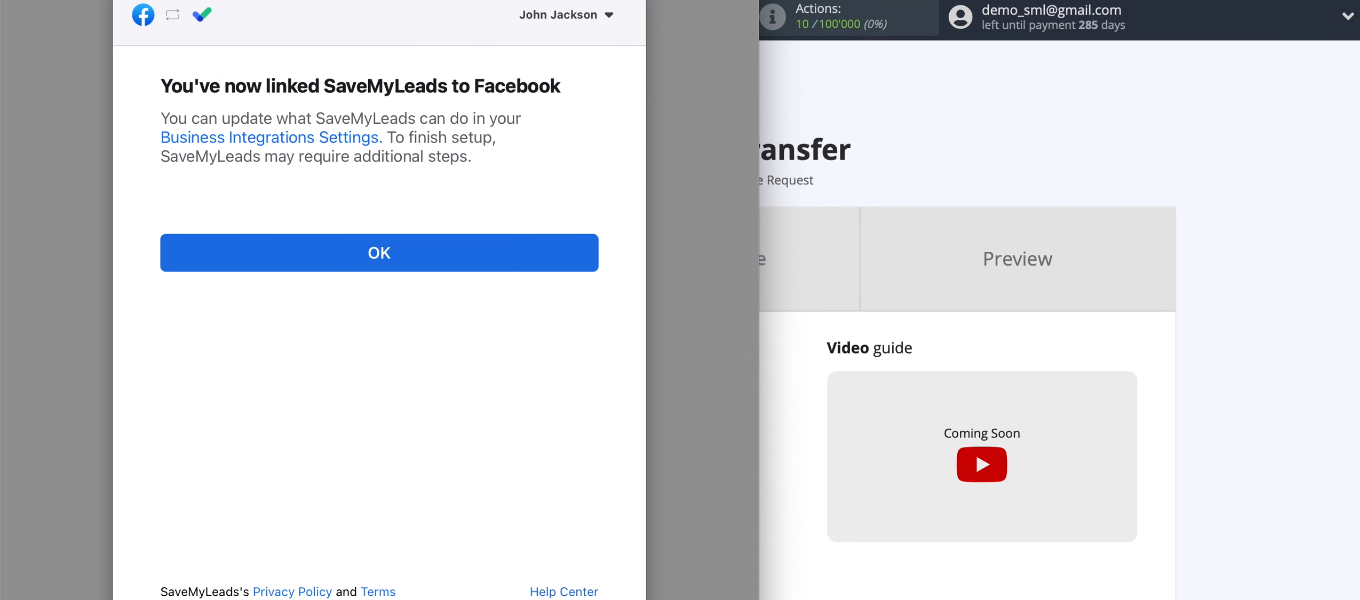
We have added a Facebook account to the SML system. Let's continue with the setup.
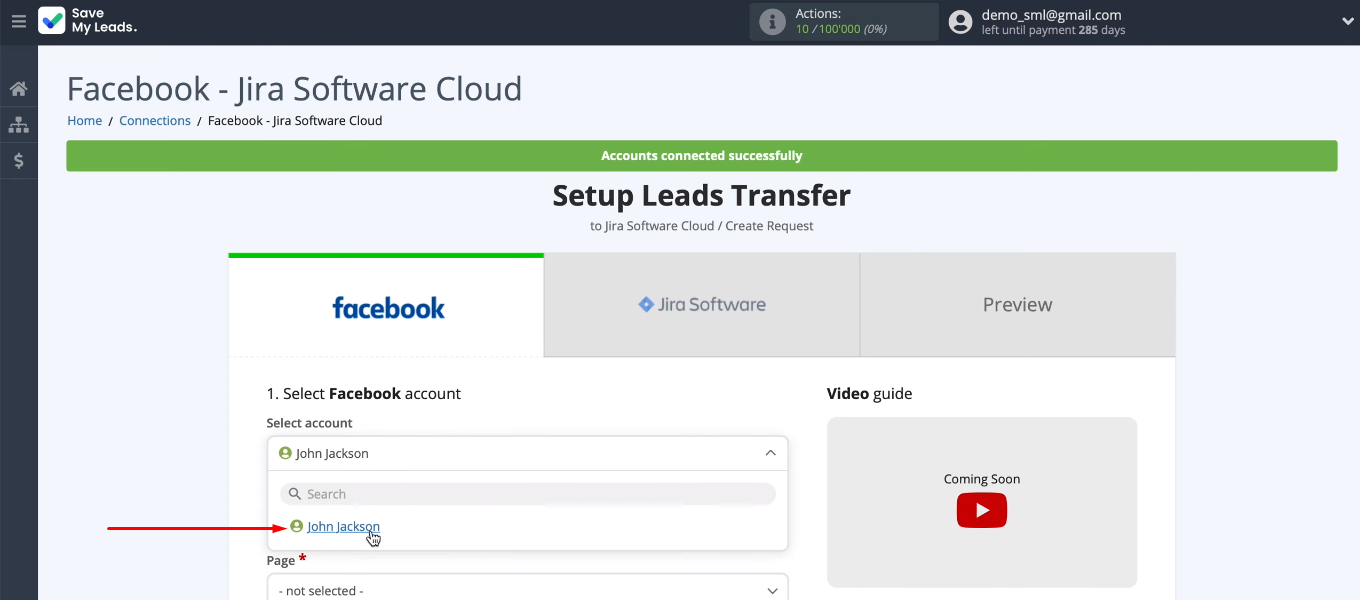
The added account appeared in the list of available ones. Select it.
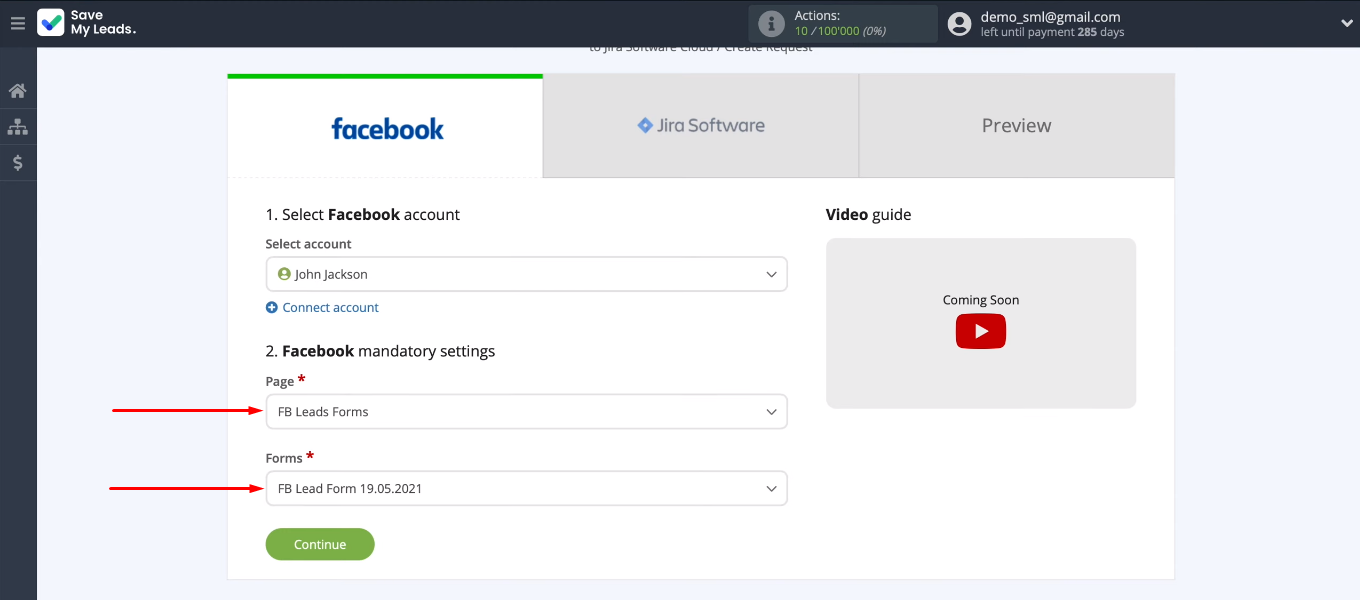
Now we need to select an advertising page and a lead form. If you need to receive data on several forms, then you need to create separate connections for each of them. Define the required settings and click “Continue”. This completes the work with the data source.
Connect Jira Software
Connect the Jira Software Cloud account to the SML system.
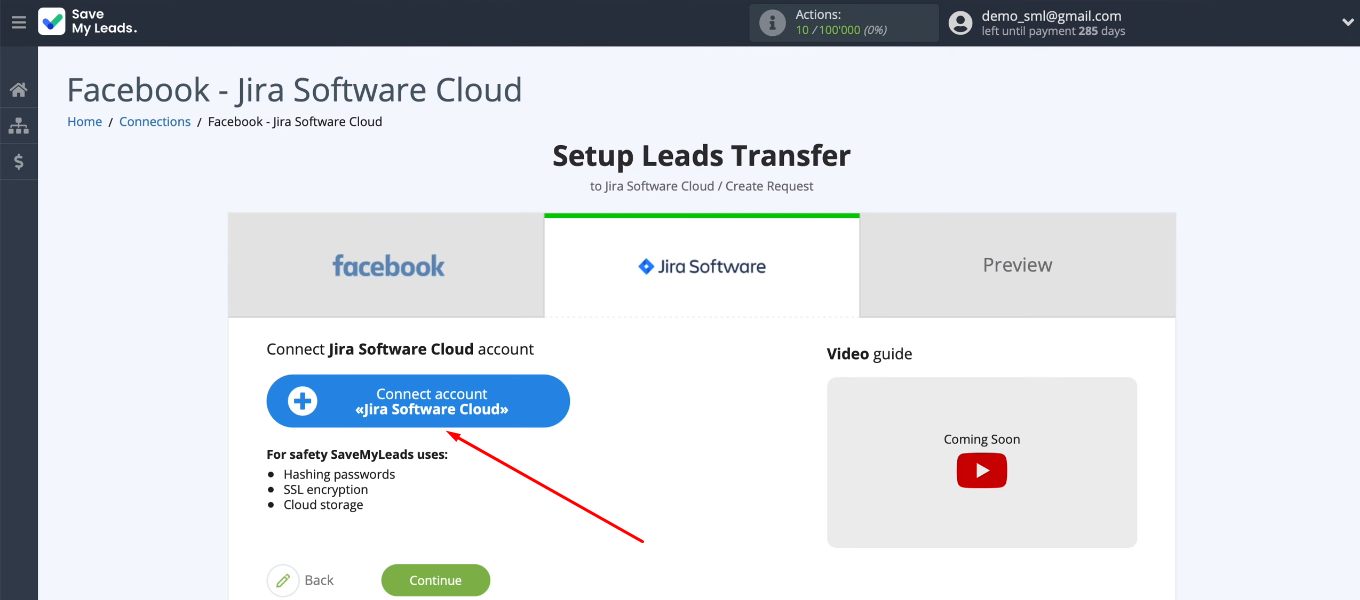
Login to Jira Software.
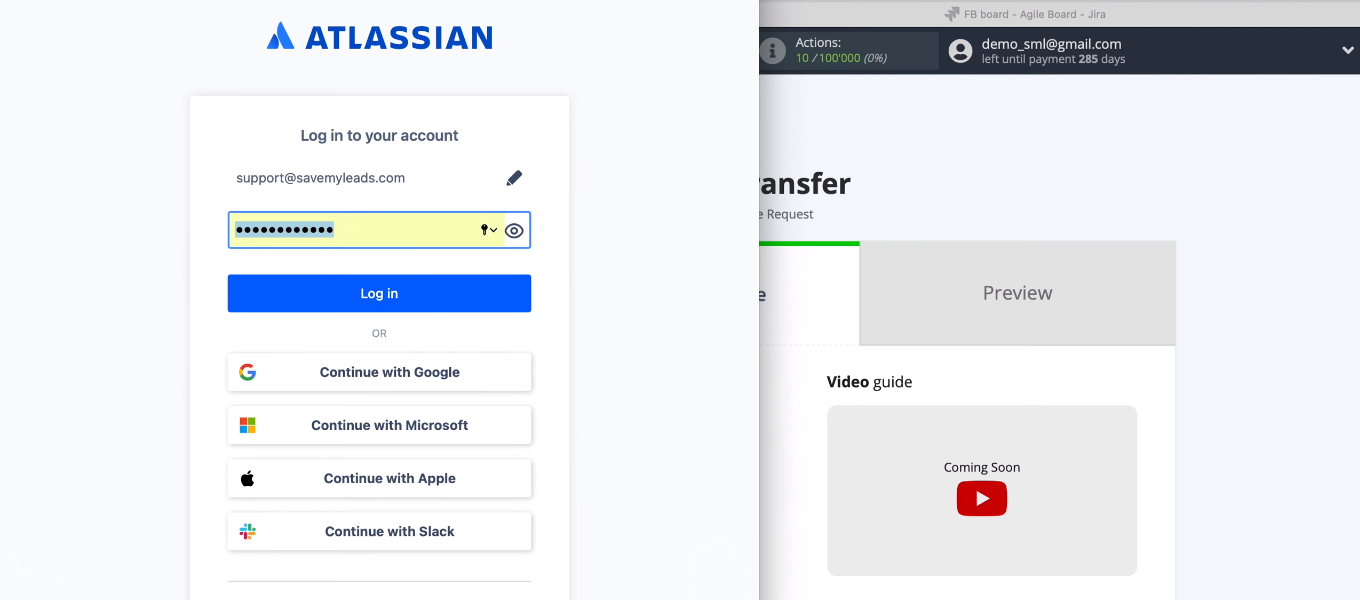
Now you need to grant permission to the SML service to work with your Jira account.
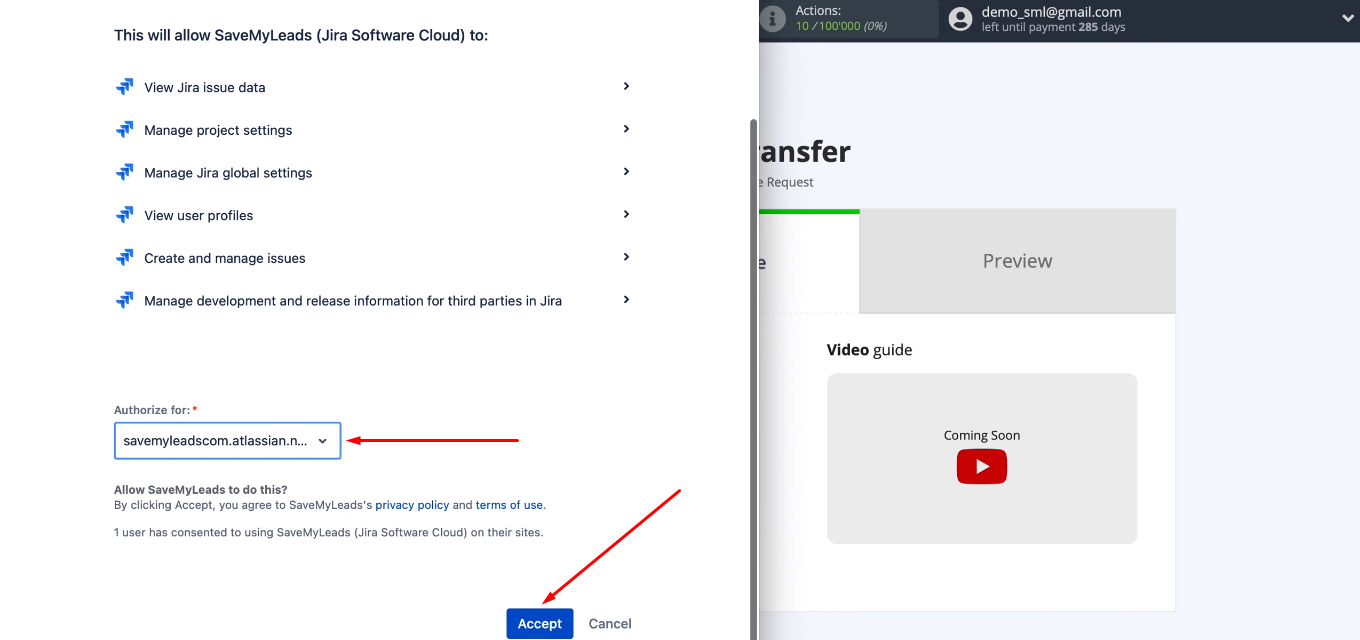
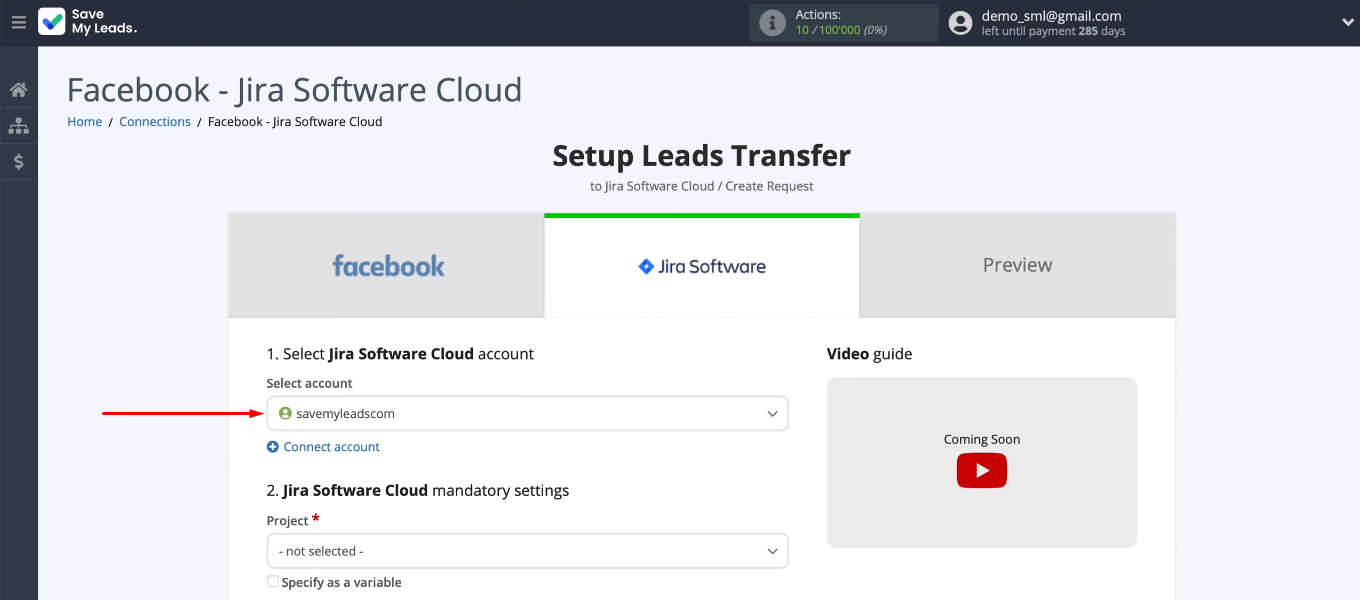
Select the connected Jira Software Cloud account.
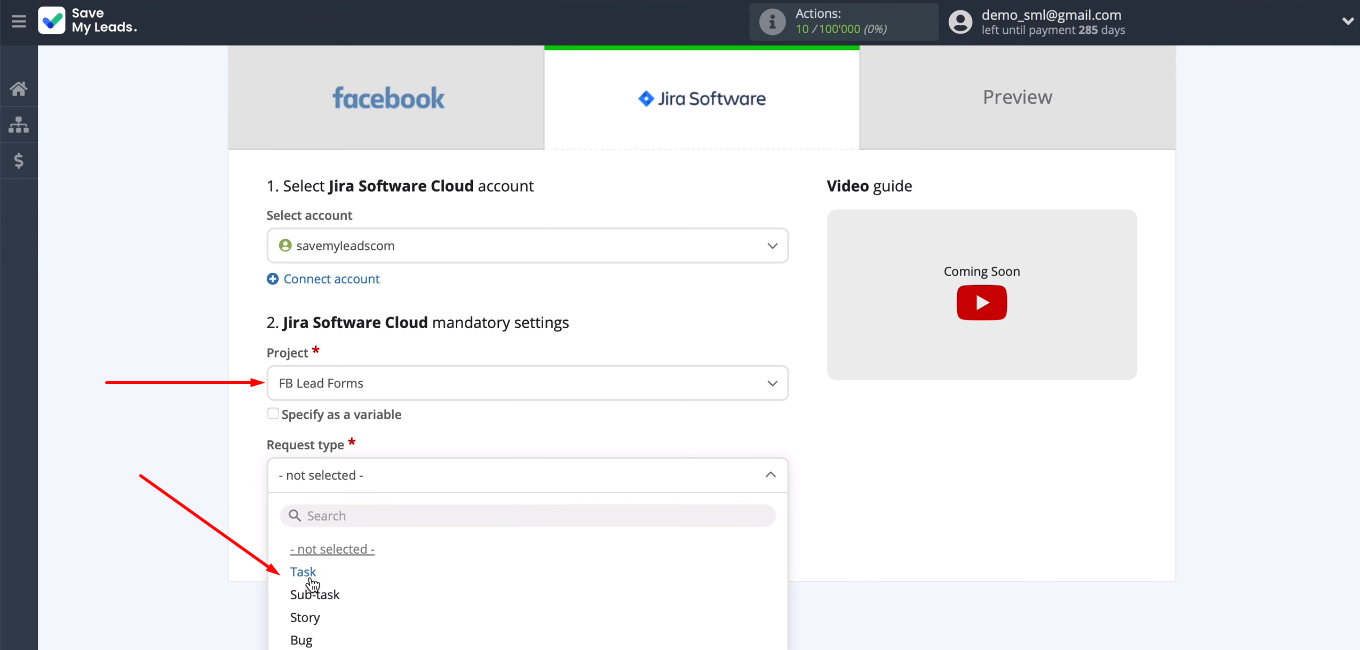
Select the project in which new requests will be created. Also define the request type.
We see the Jira fields, based on which new requests will be created. You can leave the preset values that the SML system offers by default.
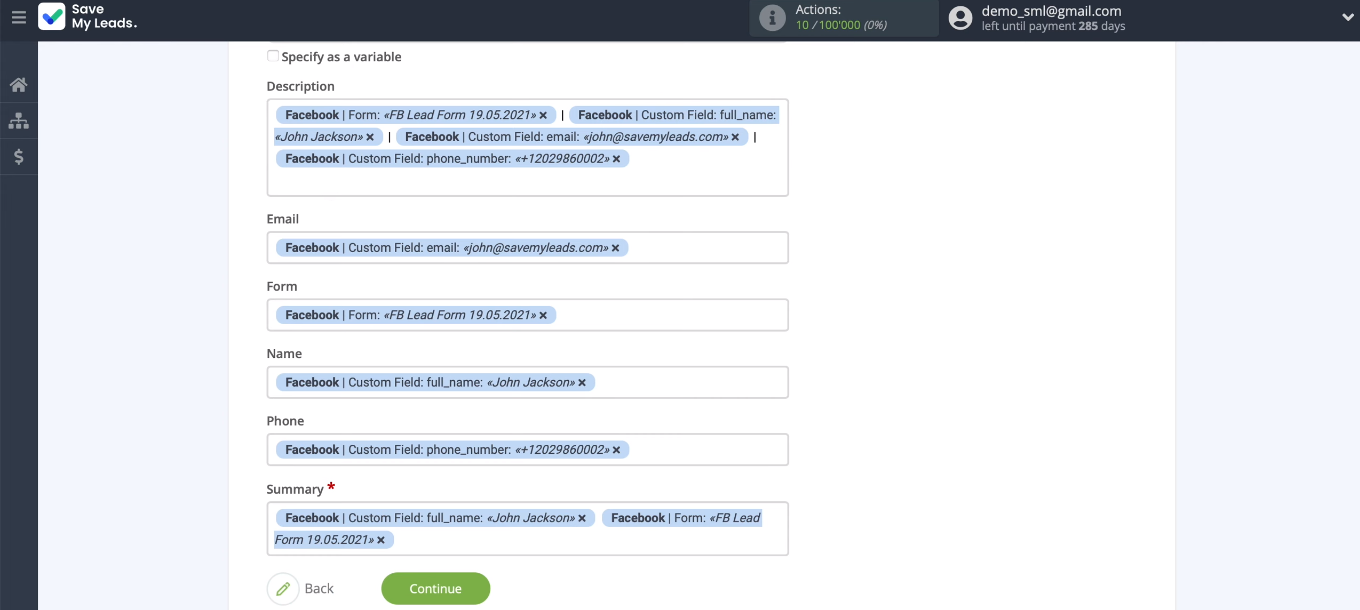
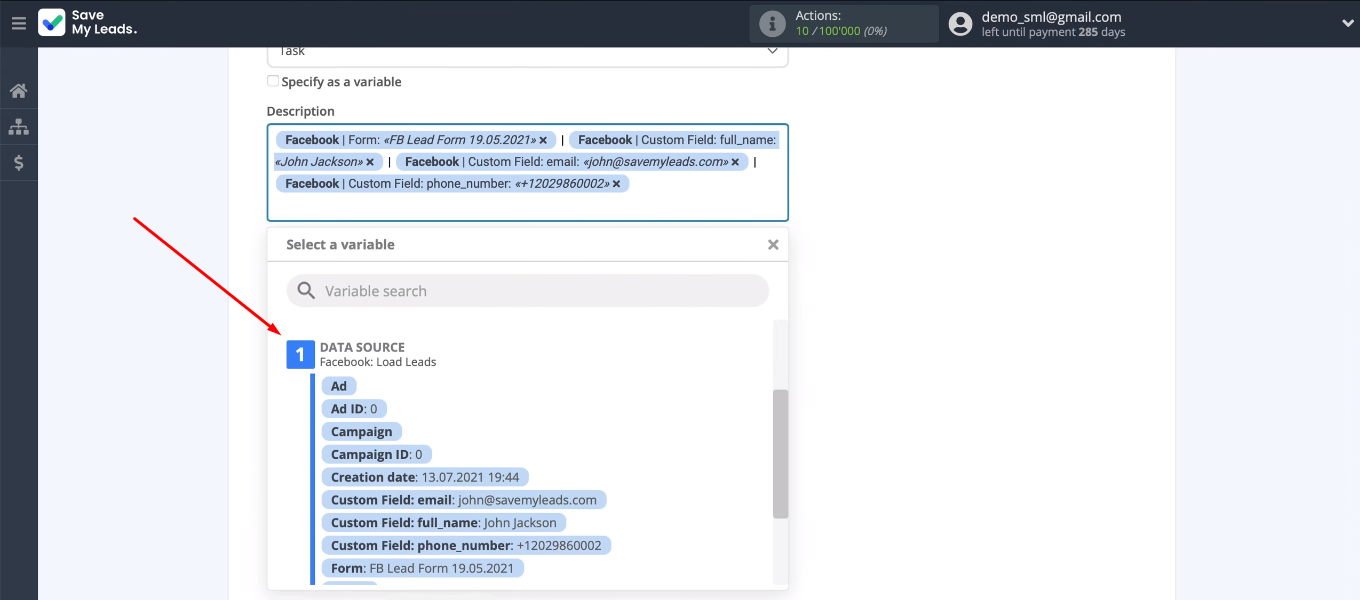
To assign a variable, click in the field and select the appropriate value from the dropdown list. You can also use manual entry. When all required fields are configured, click “Continue”.
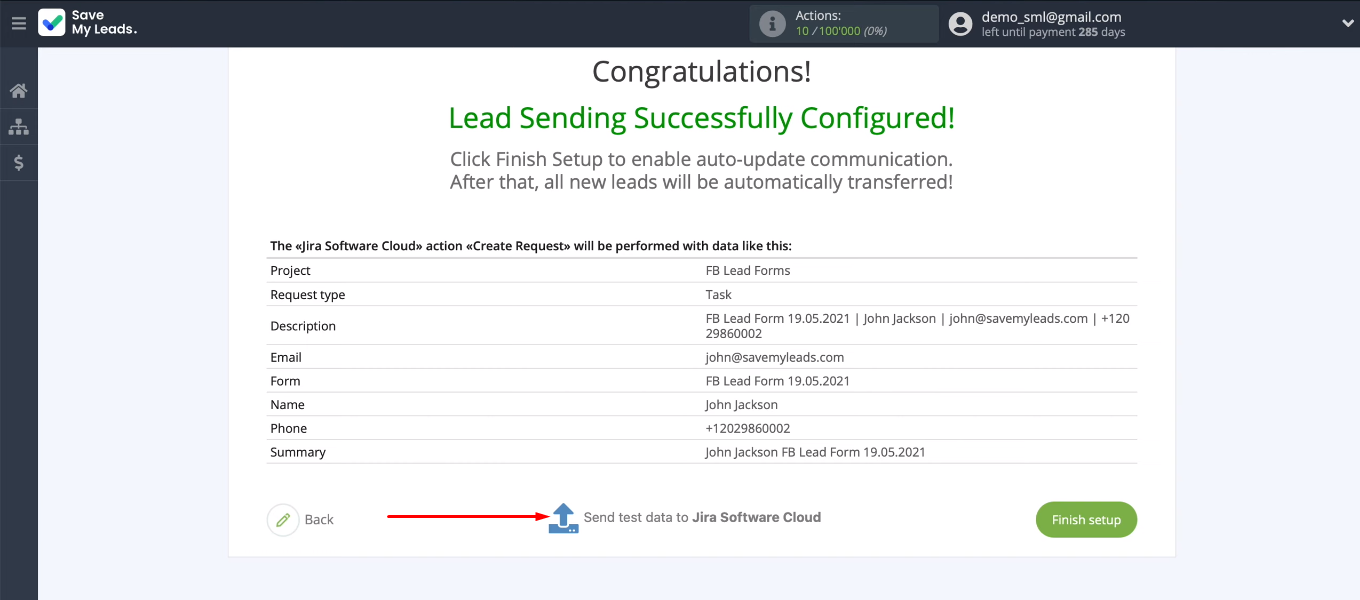
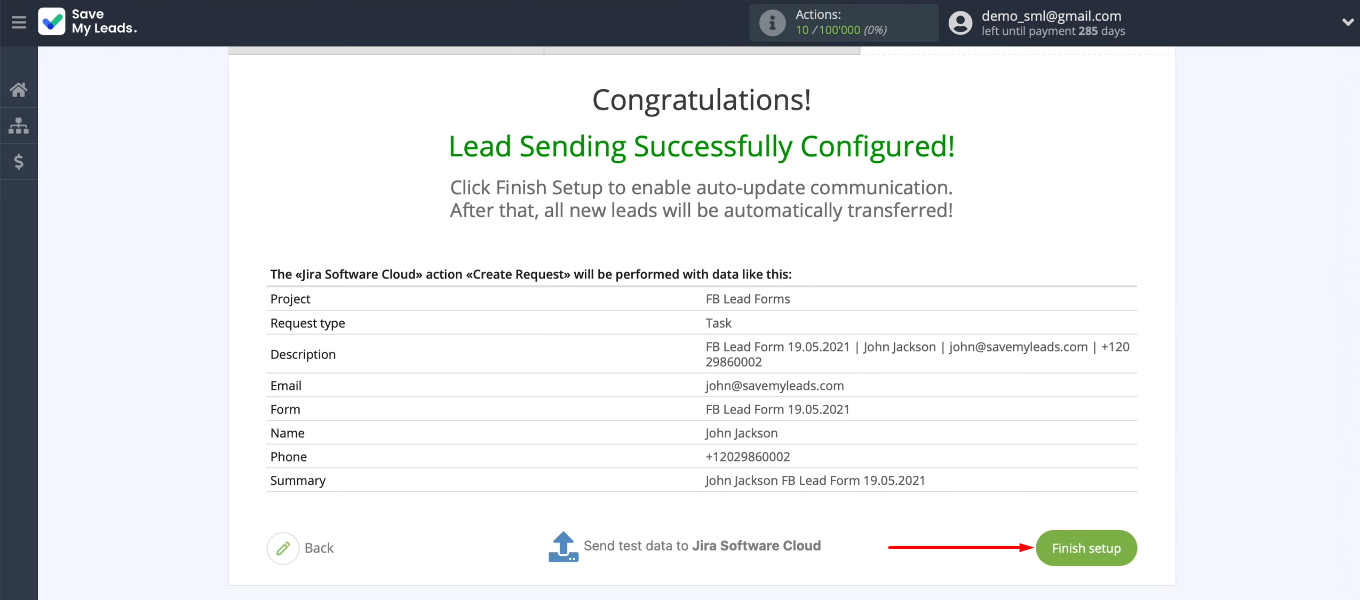
In the next step, study an example of the data that will be sent to Jira. Click “Send test data to Jira Software Cloud” to test the connection.
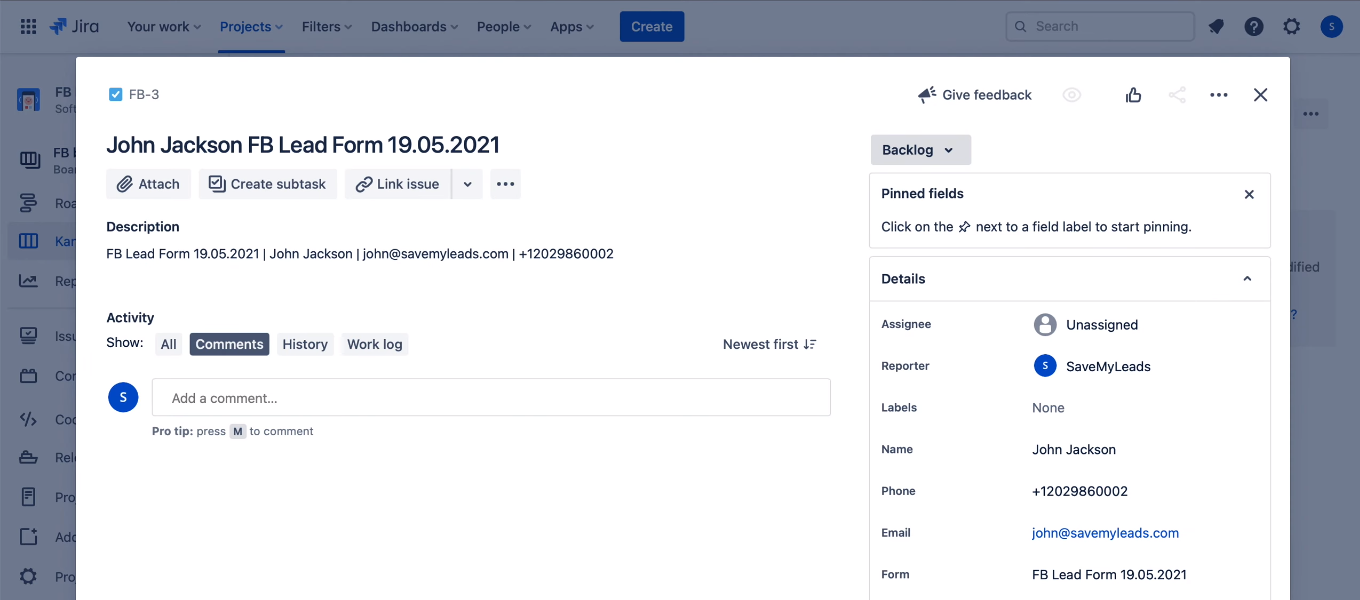
Go to the Jira Software Cloud personal account and check the correctness of adding a test request.
Turn on auto-update
Return to the SML cabinet and click “Finish setup”. Thus, we have enabled automatic update and activated the integration - new Facebook leads will be tracked and transferred to Jira Software Cloud.
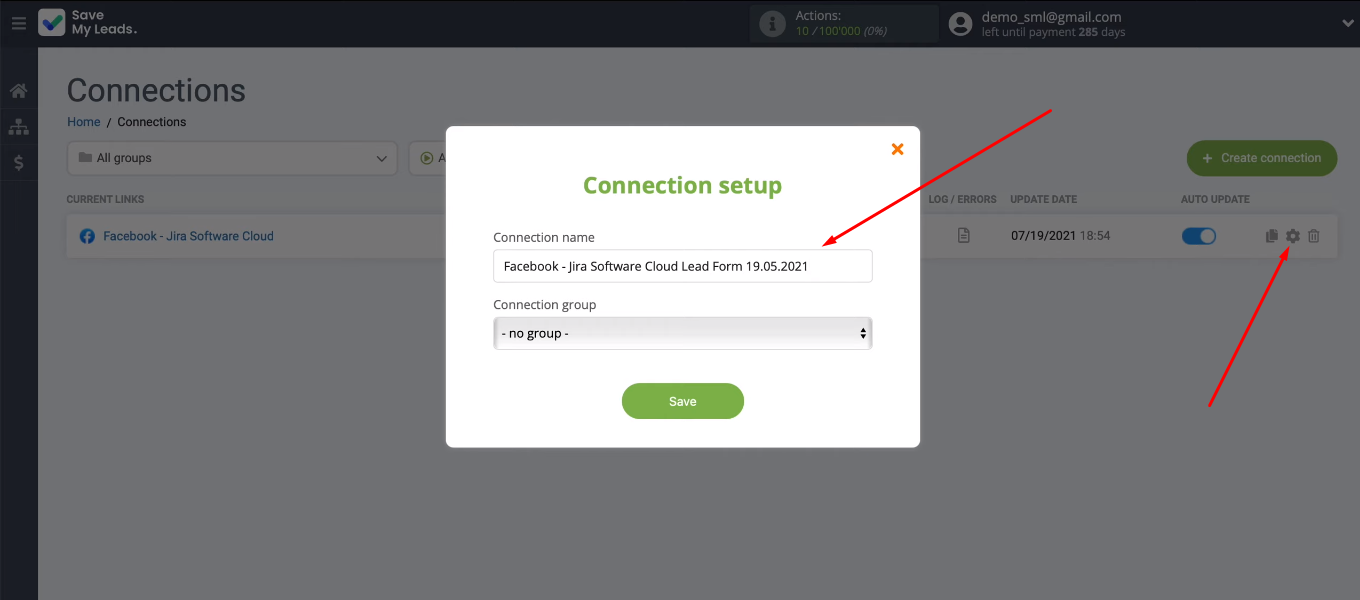
If necessary, you can change the name of the connection. Go to the integration settings, specify value in the “Connection name” field and save the changes.
Conclusion
We set up Facebook and Jira Software Cloud integration using the SaveMyLeads service. As a result, each new lead is unloaded from the Facebook advertising account, and based on the received data, a request is created in the Jira Software Cloud. All these processes are automated and do not require the participation of company employees.


The SaveMyLeads service is a no-code tool that can be used effectively without special knowledge or skills. Anyone can automate the process of transferring leads from Facebook to other systems. In just a few minutes, you can significantly simplify your work and increase your productivity.
