Jira Service Desk is a service that allows you to organize an effective help desk that meets the specific requirements of a team/department/company. The platform is actively used to control and process requests, as well as to create a single information base, automate business processes, maintain statistics, etc. In this article, we'll show you how to merge Jira Service Desk and Facebook ad account. This is necessary to quickly transfer new leads from Facebook to Jira Service Desk for further processing.
Content:
1. How to setup Facebook and Jira Service Desk integration
2. Connect Facebook Lead Ads account
3. Connect Jira Service Desk account
4. Enable auto-update
5. Conclusion
Jira Service Desk (Jira Service Management) is an effective solution for supporting IT projects. However, this service can also be useful in other areas (for example, in trade). Jira Service Desk provides functionality to ensure a transparent workflow and prompt processing of requests from customers or employees. The service offers tools for automation, analytics, organization of teamwork. Using Jira Service Desk helps improve service levels and employee productivity. Among the features of the system, you can also highlight the user-friendly interface and flexibility of customization.
We will consider a situation where the Jira Service Desk service is used to organize workflows, and the Facebook social network is one of the channels for attracting new customers. Facebook lead forms are often used to collect contacts and build a customer base. This is an effective tool that allows you to present a service/product and get quick feedback from the target audience. Users, in turn, can fill out an order in a convenient format and in just a few clicks.
Requests received through Facebook Lead Ads must be processed promptly. It is important to quickly transfer the data to Jira Service Desk so that a support worker or sales manager can take the ticket to work. Transferring new leads manually is inconvenient and time consuming. In addition, do not forget about the human factor and the likelihood of lost orders or errors during data transfer. Facebook and Jira Service Desk integration solves several problems at once:
- no need to check Facebook account for new leads;
- lead data is uploaded automatically;
- new requests in Jira Service Desk are created automatically.
How to setup Facebook and Jira Service Desk integration
To provide automated data synchronization between Facebook and Jira Service Desk, you need to combine these two services. The SaveMyLeads online connector offers functionality that anyone can use to set up Facebook and Jira Service Desk integration. Communication is created through the web interface in just a few minutes. Special knowledge in programming is not required.
The SaveMyLeads (SML) system will automatically track the appearance of new leads in the Facebook advertising account. The data for each completed lead form will be uploaded, processed and used to create a new request in Jira Service Desk. Let's take a step-by-step look at how to set up such an automated process.
Connect Facebook Lead Ads account
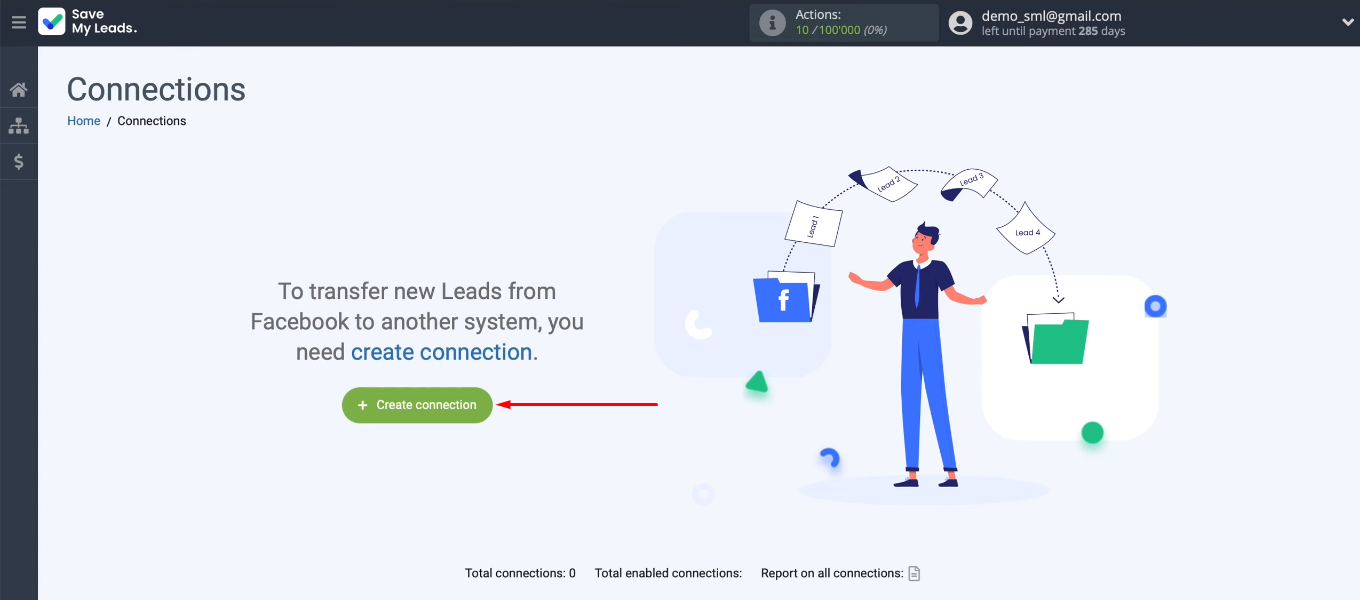
Complete the standard registration at savemyleads.com. Create a new link in your workspace.
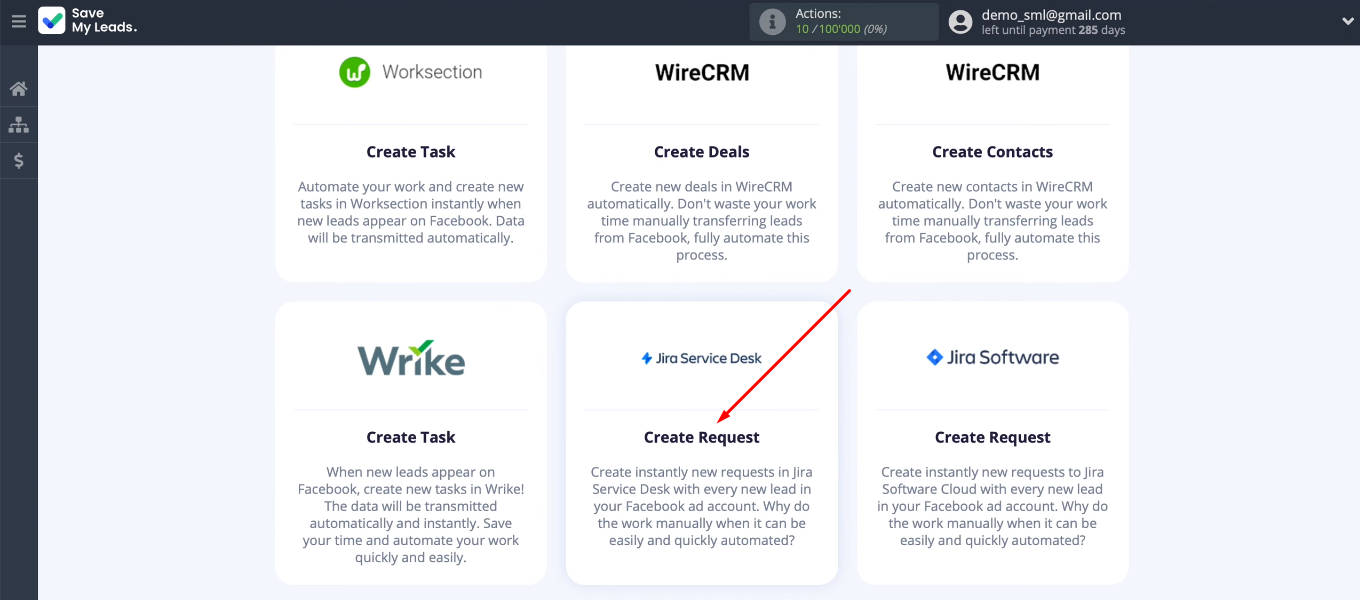
Choose the appropriate template to set up the integration. In our case, this is “Jira Service Desk (Create Request)”.
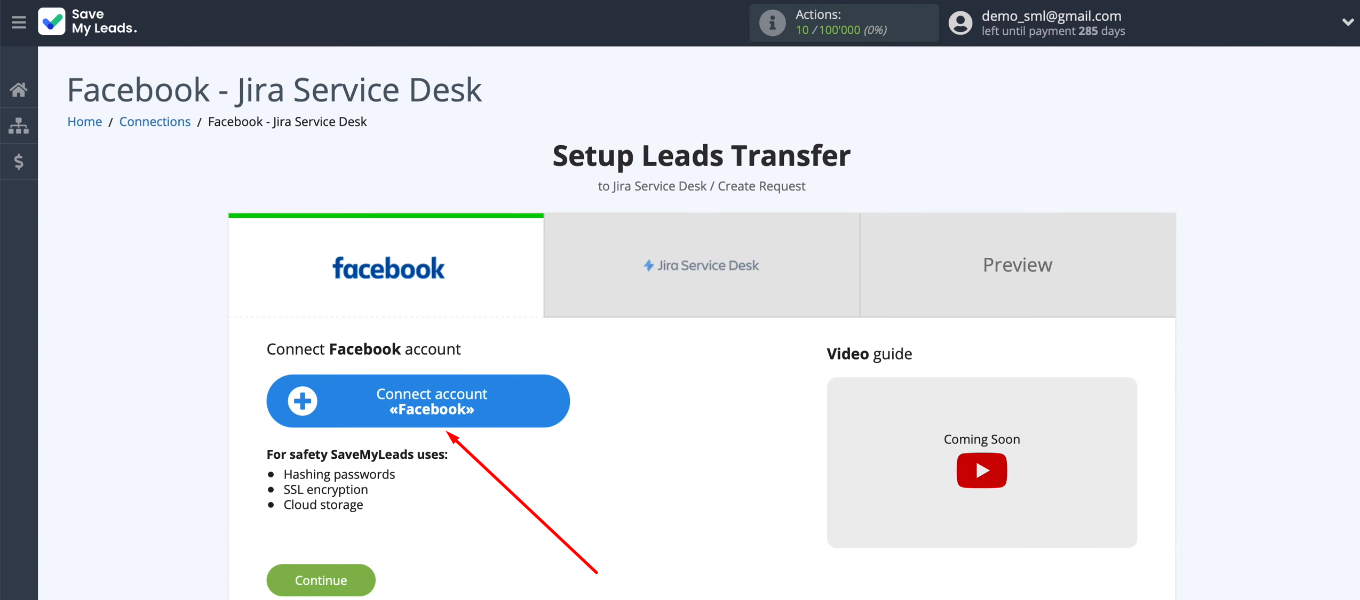
Connect a Facebook account.
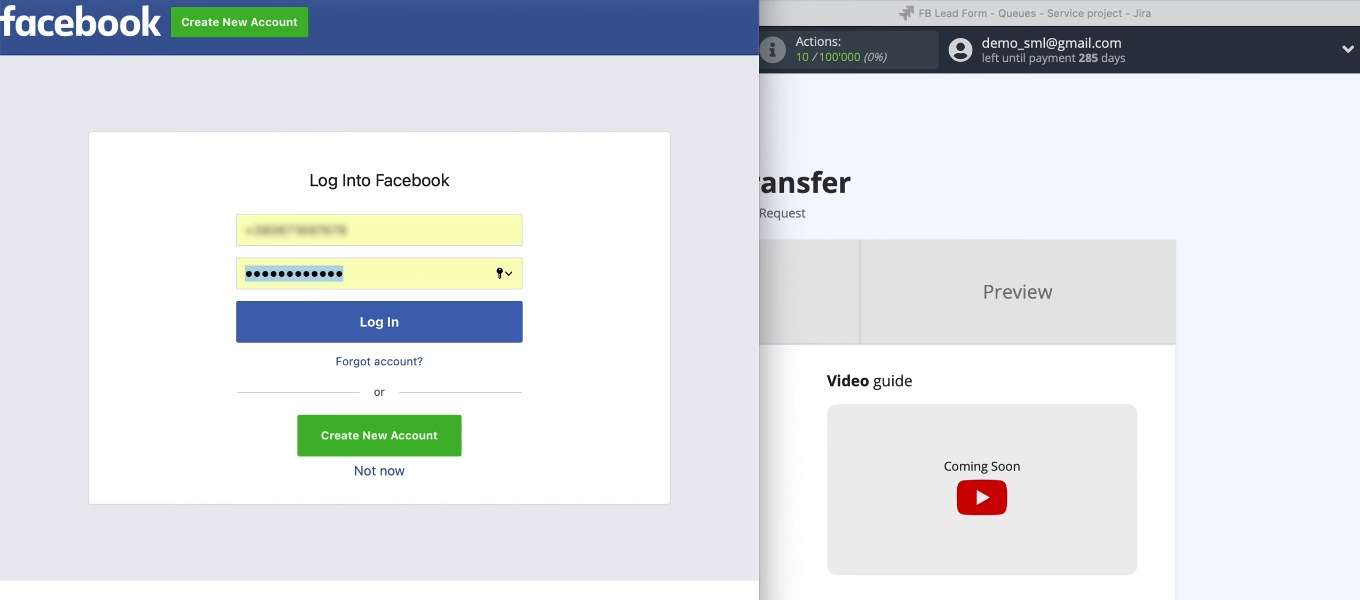
Login to FB.
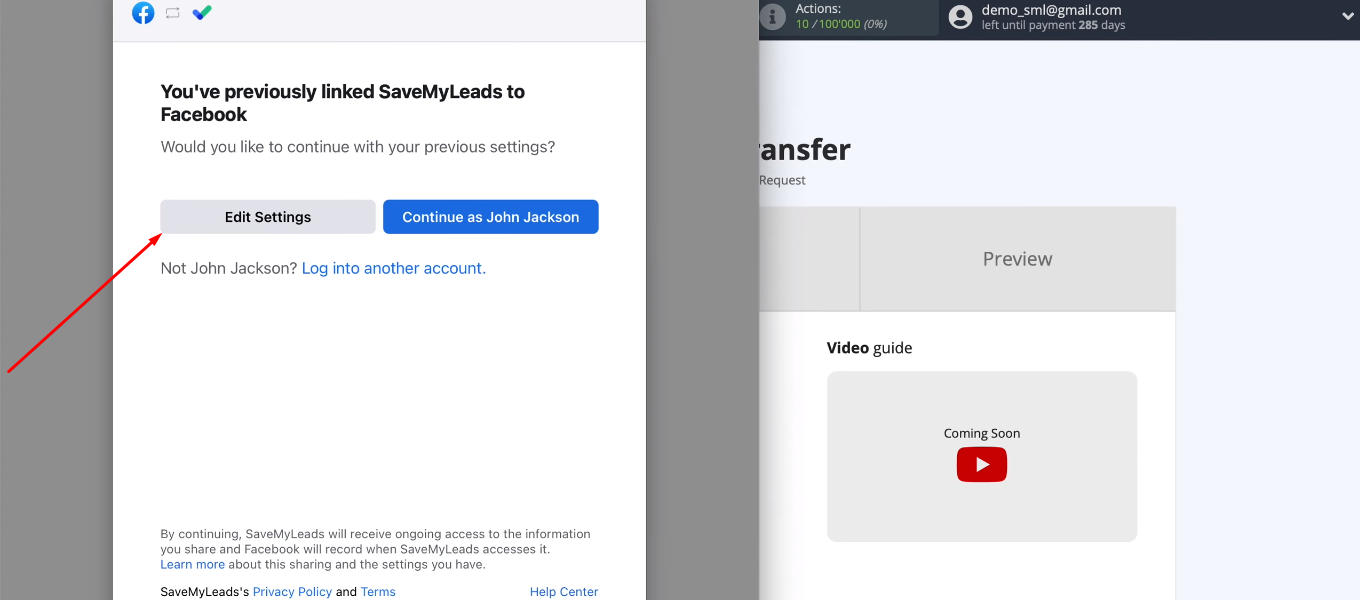
Click "Edit Settings".
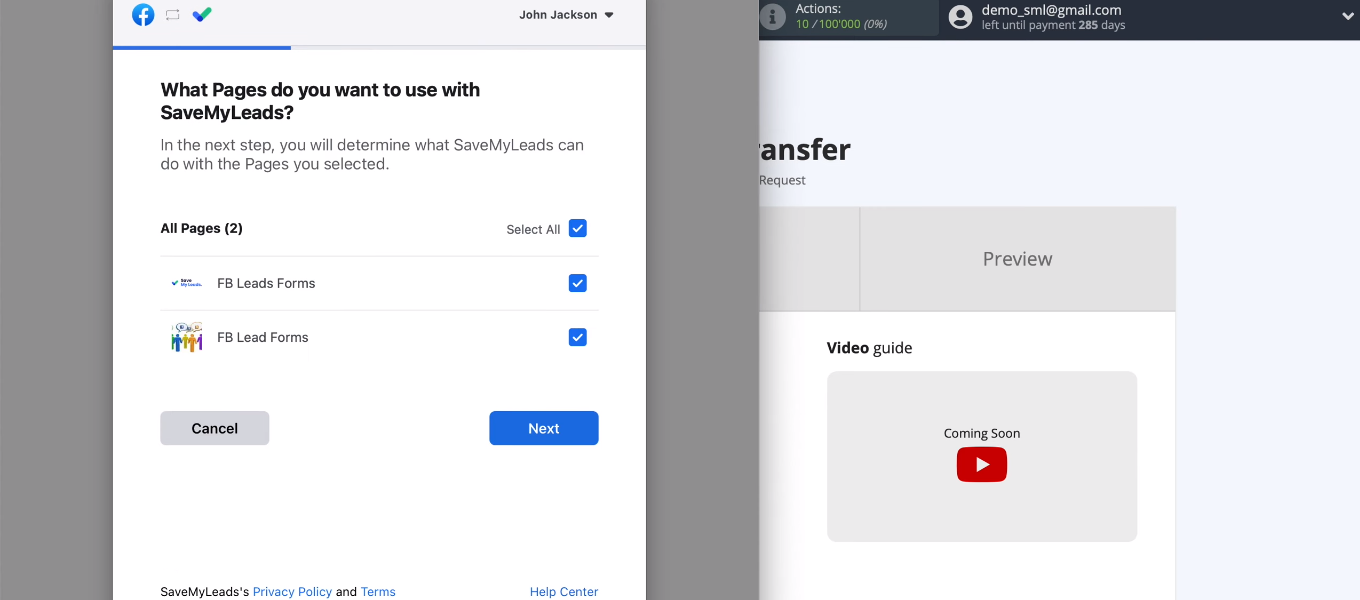
Select advertising pages with which the SaveMyLeads service will be able to work in the future.
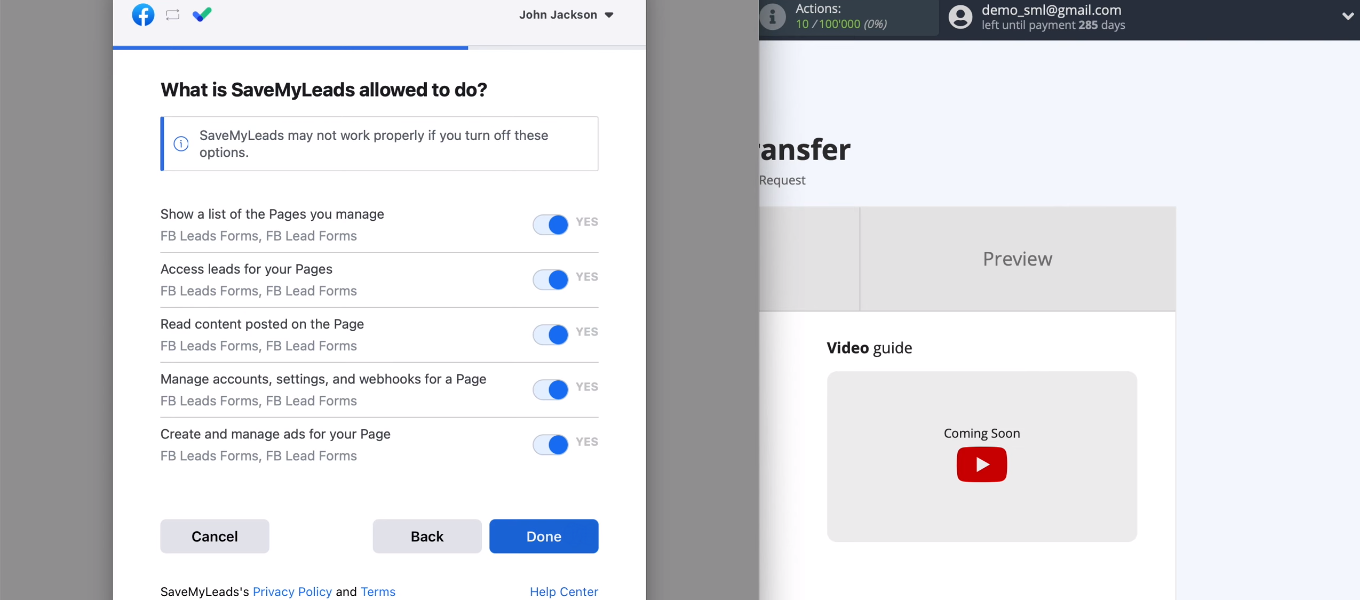
Leave all checkboxes enabled.
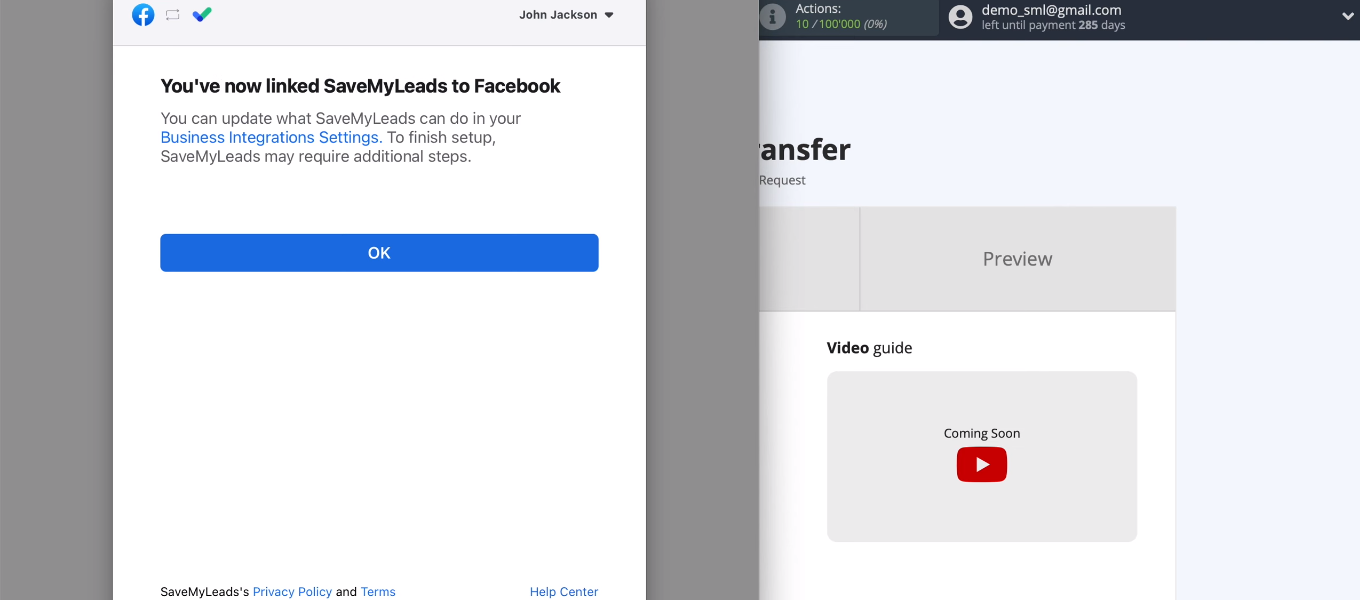
We have added a Facebook account to the SML system. Click "OK".
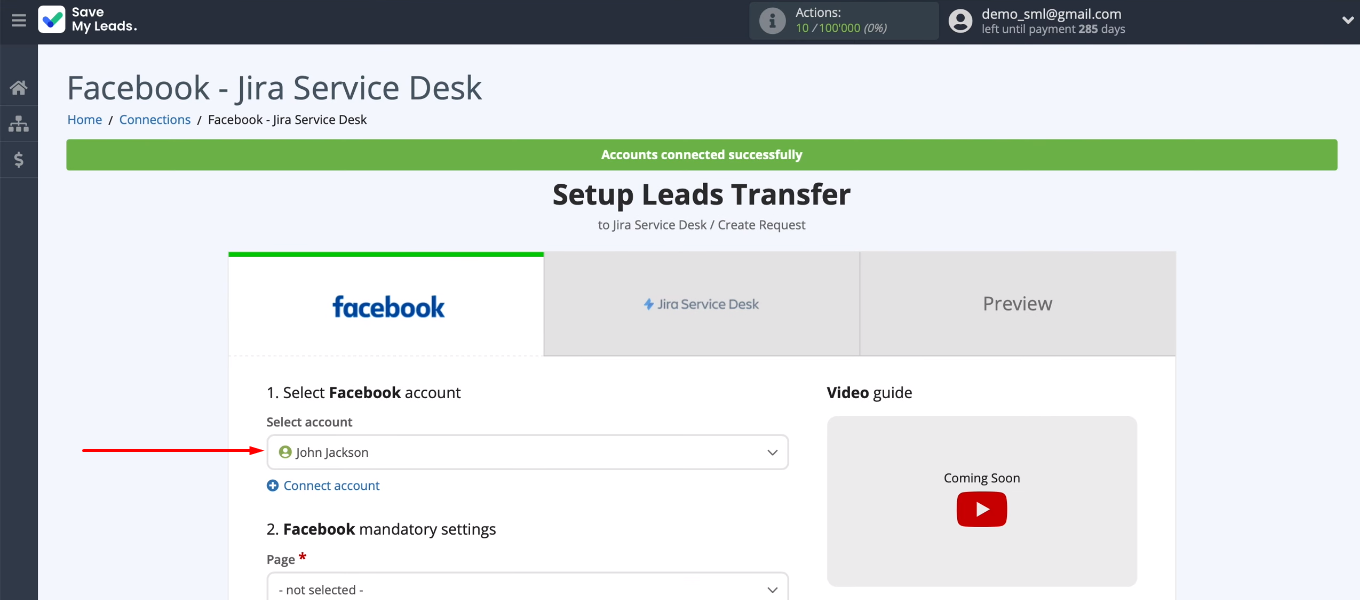
The connected FB account appeared in the list. Select it.
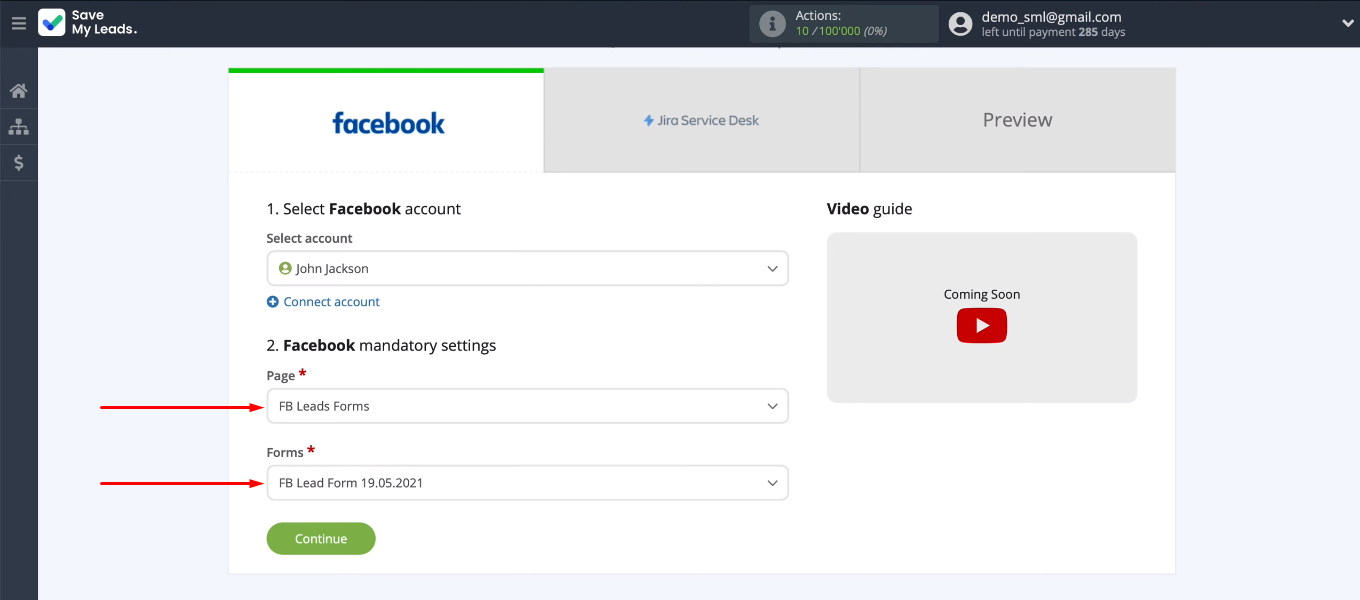
We need to specify an advertising page and a lead form. If you need to upload data for several lead forms, then you need to create separate connections. After the advertising page and lead form are defined, click “Continue”.
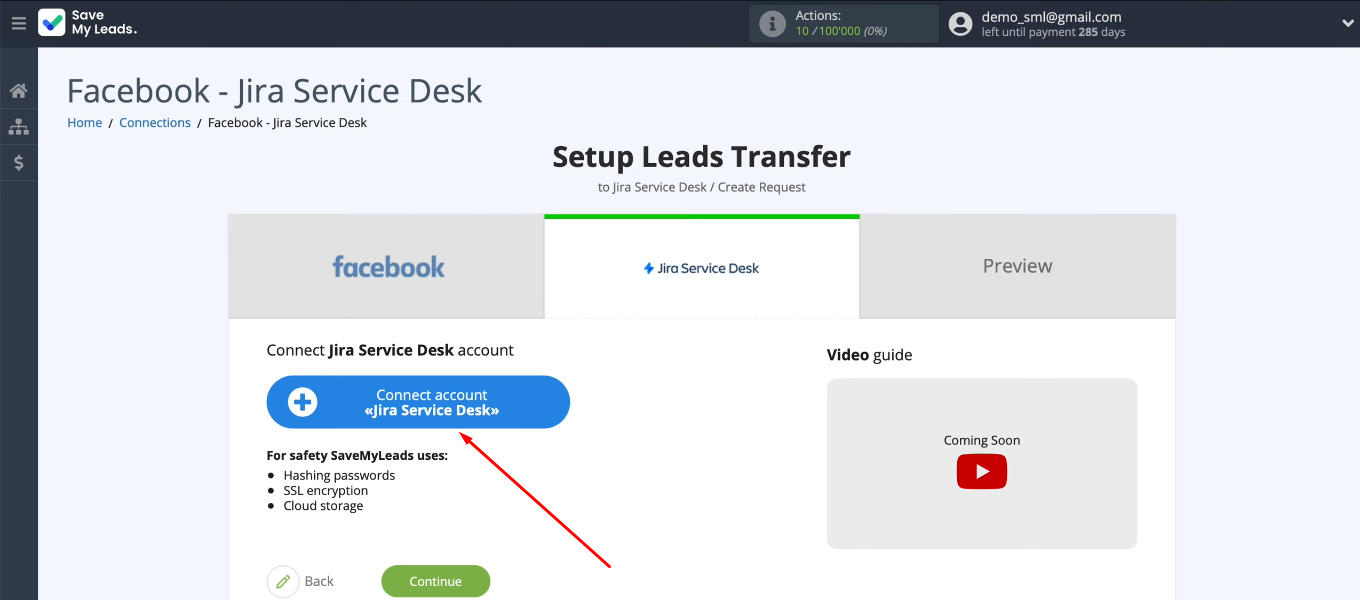
Connect Jira Service Desk account
Connect the Jira Service Desk account to the SaveMyLeads system.
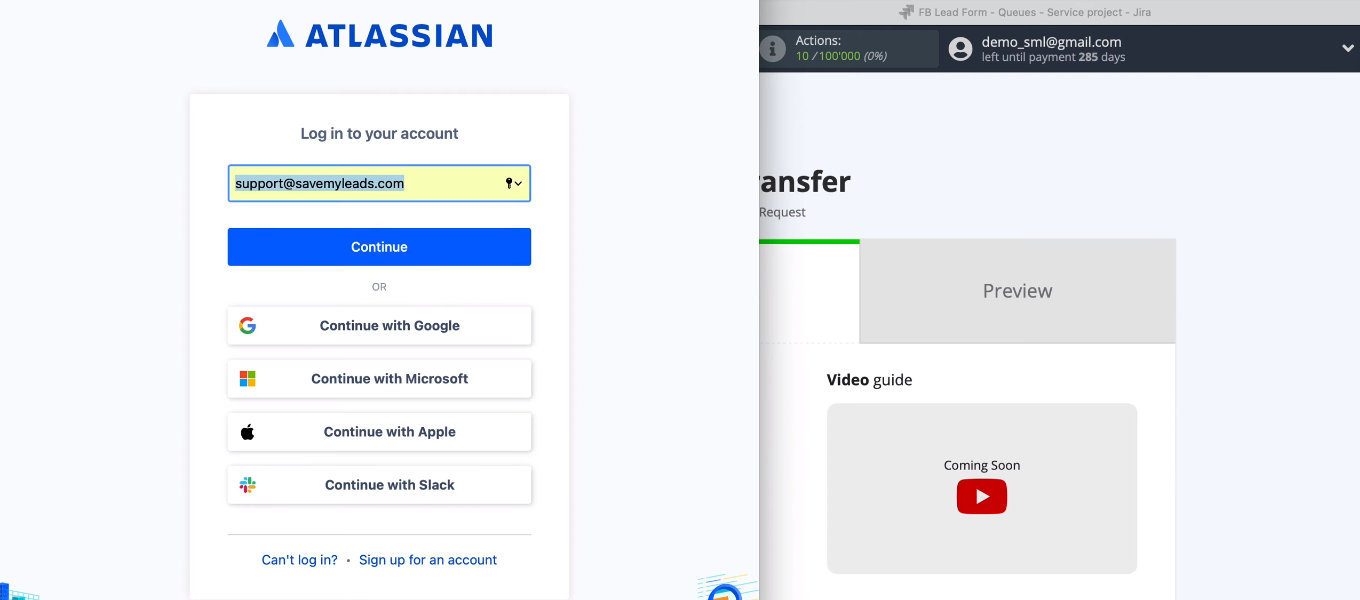
Login to Jira Service Desk.
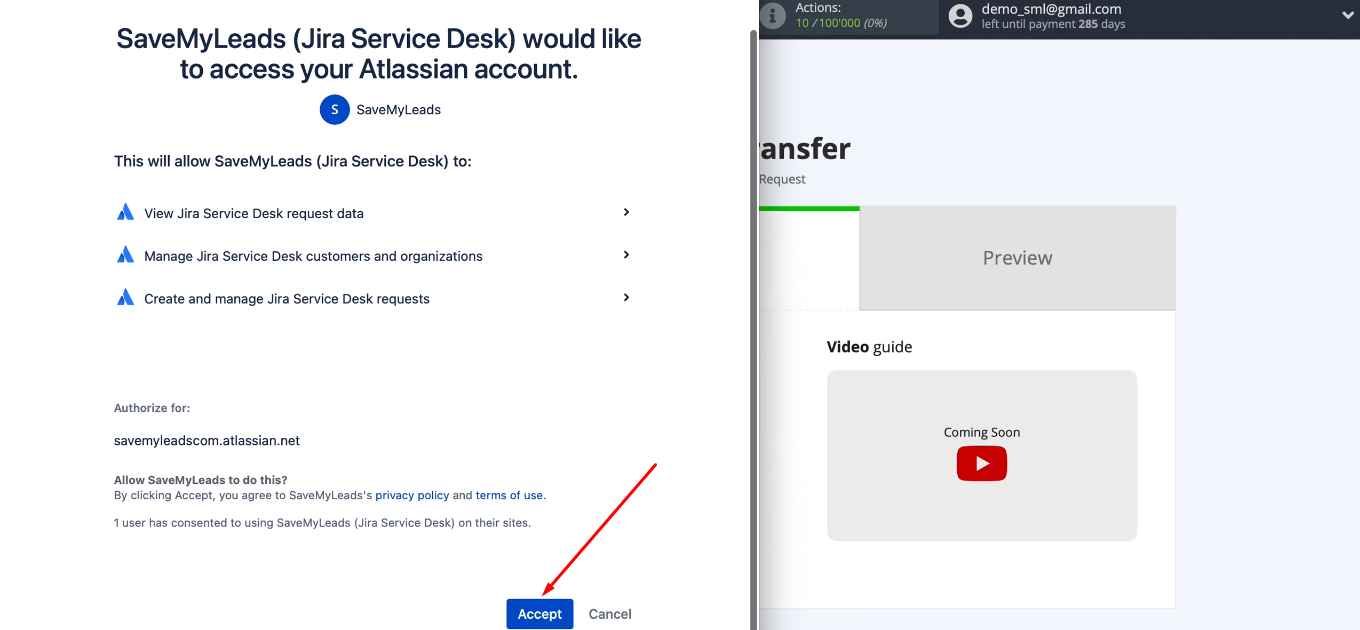
Provide access to work with a Jira Service Desk account.
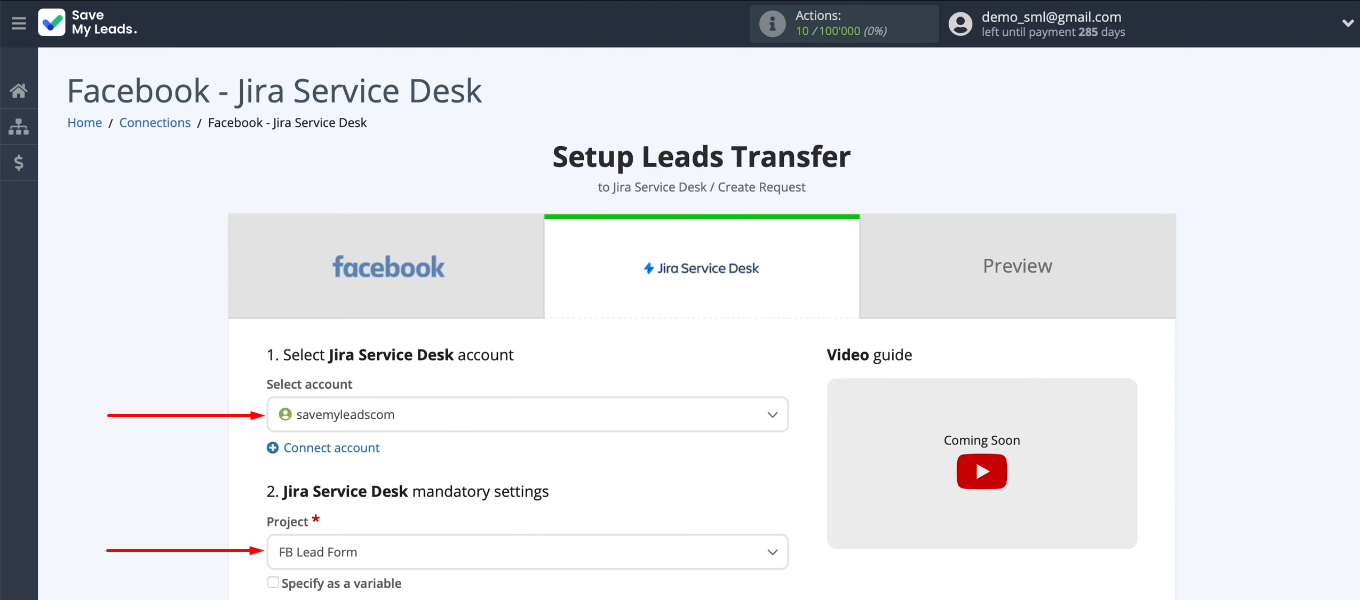
Select the connected account and the project in which new requests will be created.
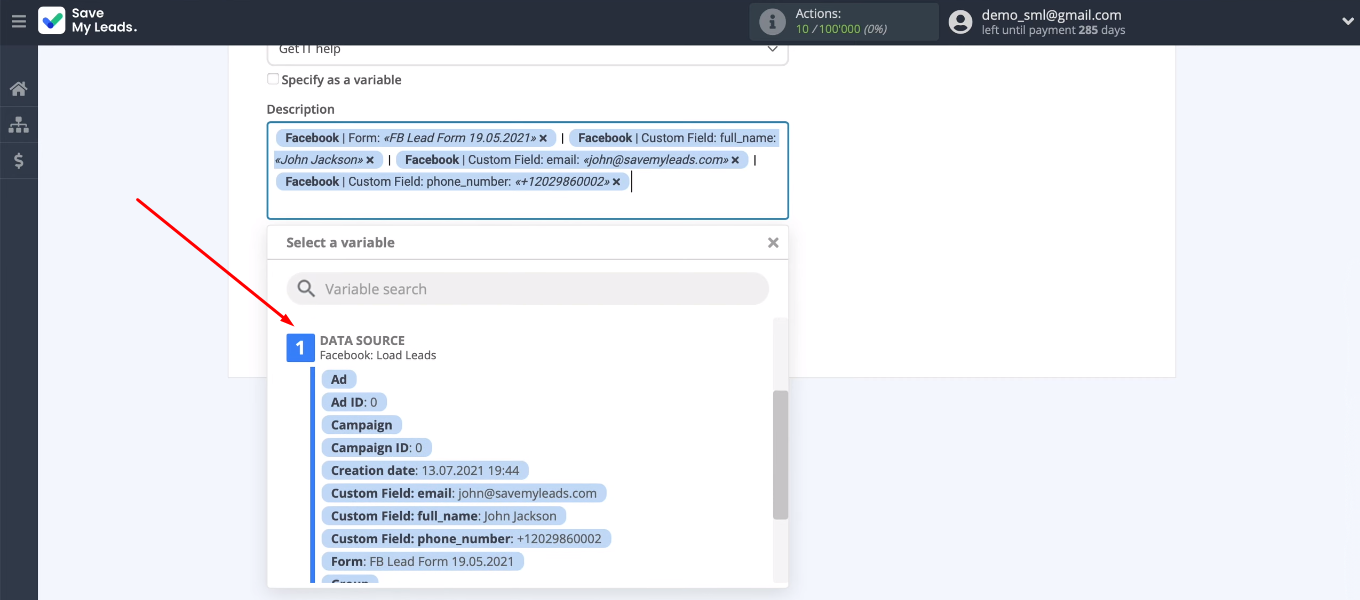
Now we need to define the request type as well as its description. The SML service offers its own option of filling in Jira Service Desk fields.
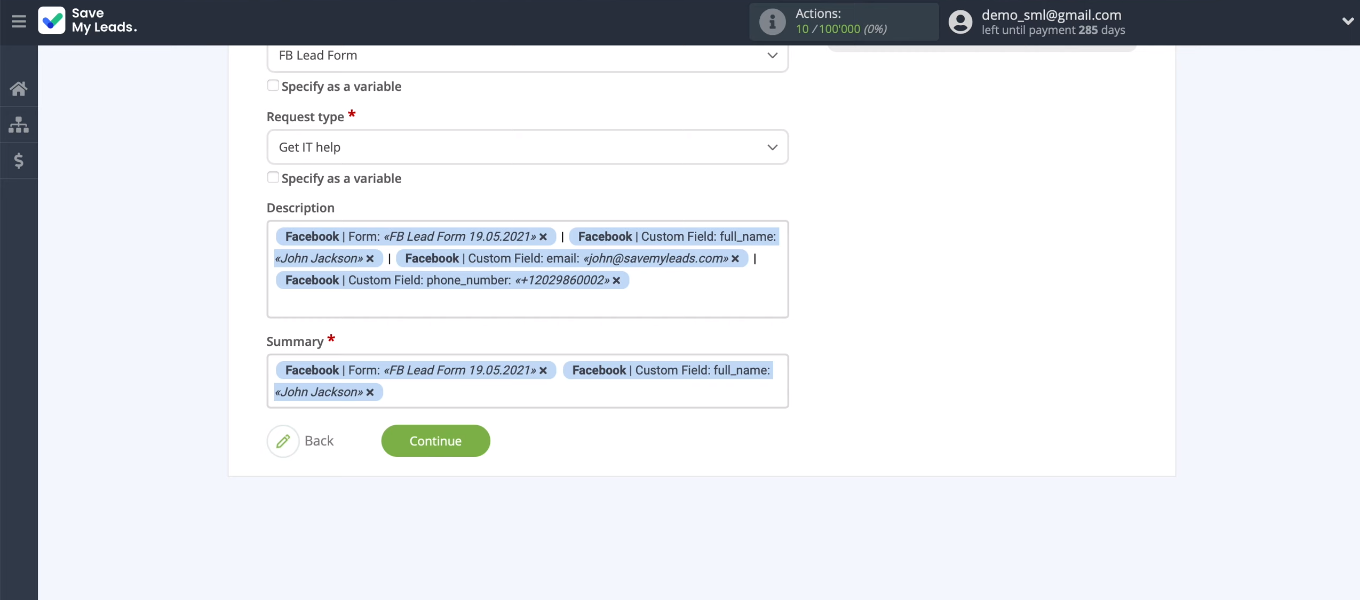
To define the content in the Jira Service Desk field yourself, you need to click in it and select a variable from the drop-down list. You can also add text manually.
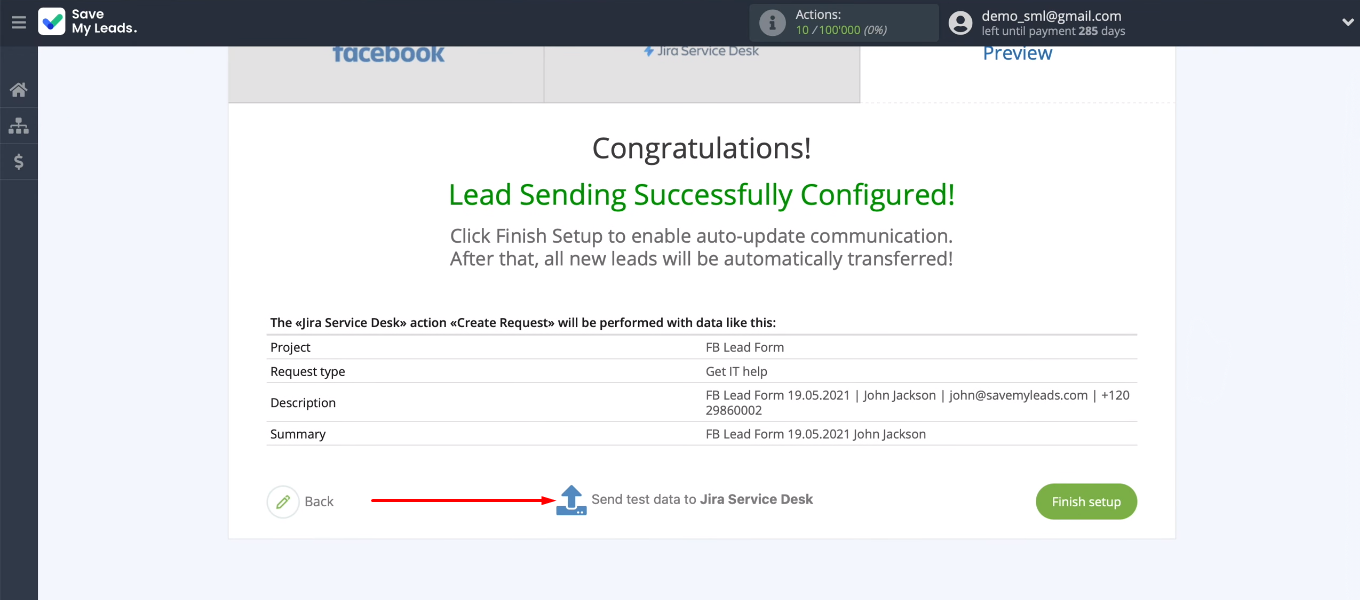
In the next step, we see an example of the data that will be sent to create a new request. Click “Send test data to Jira Service Desk”.
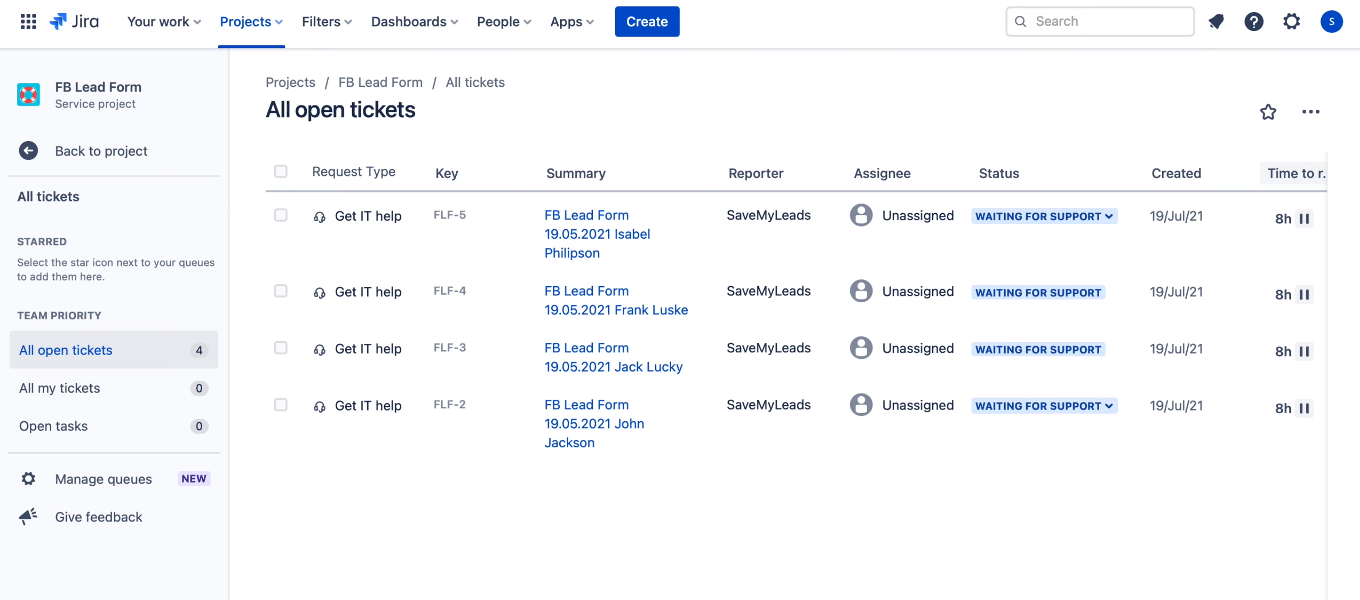
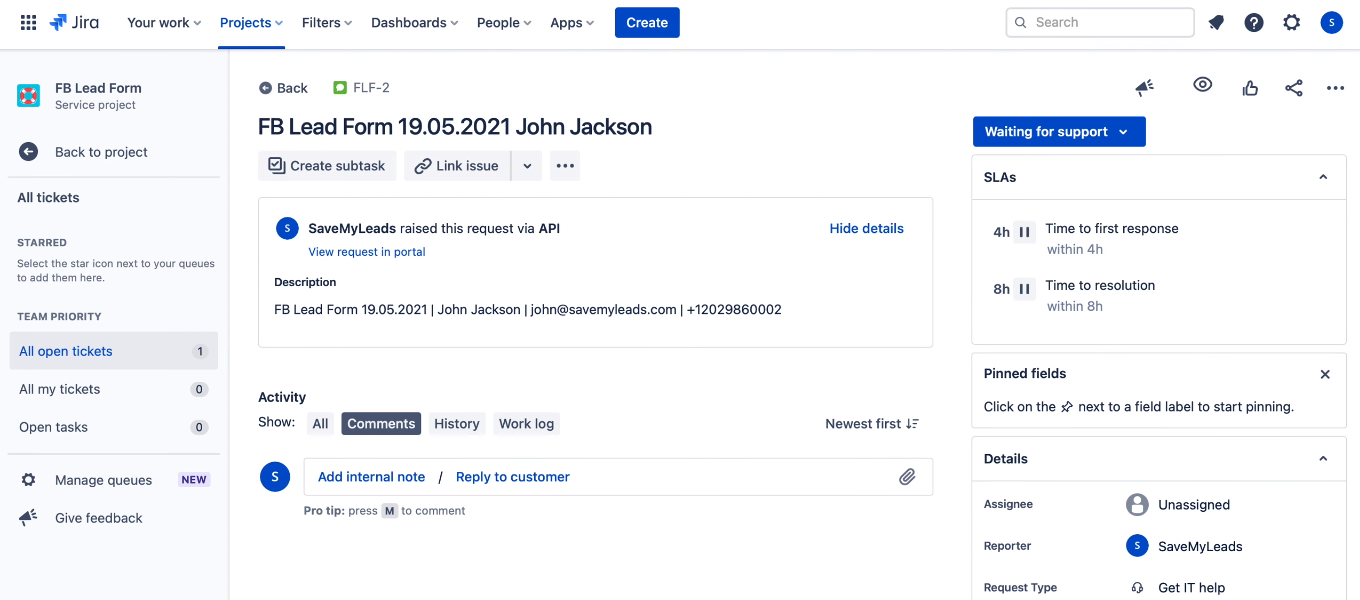
Go to Jira Service Desk and check the result.
Enable auto-update
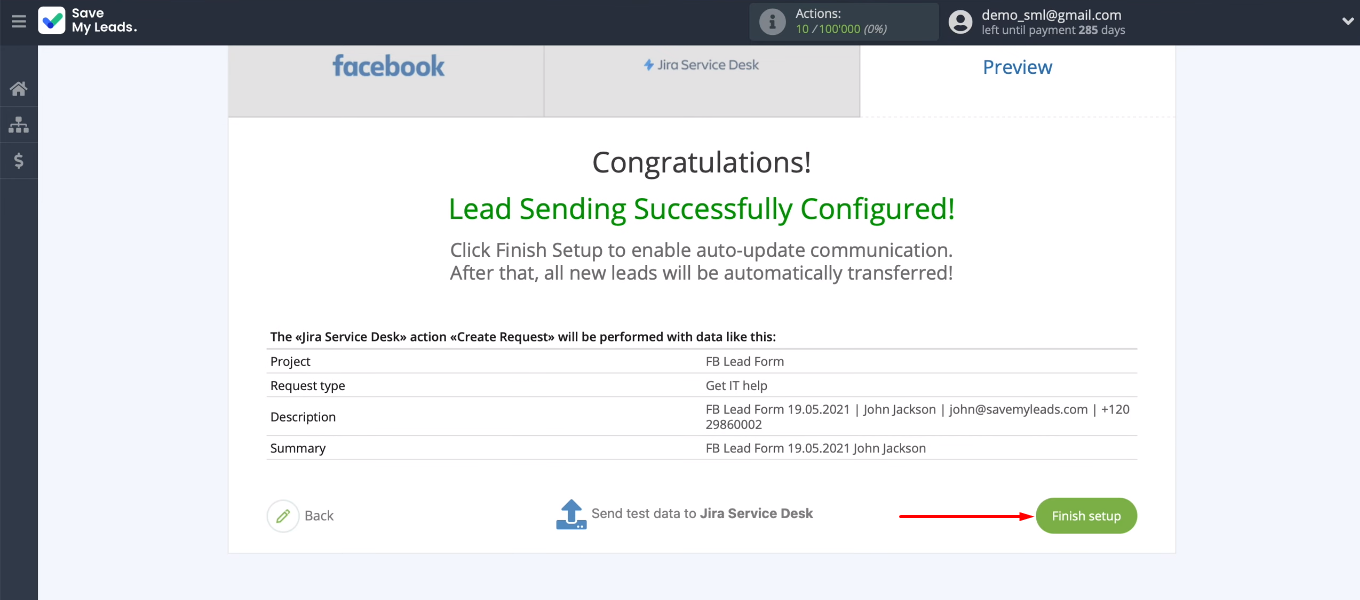
Return to the SaveMyLeads office. We need to activate the integration — enable auto-update. Click "Finish setup".
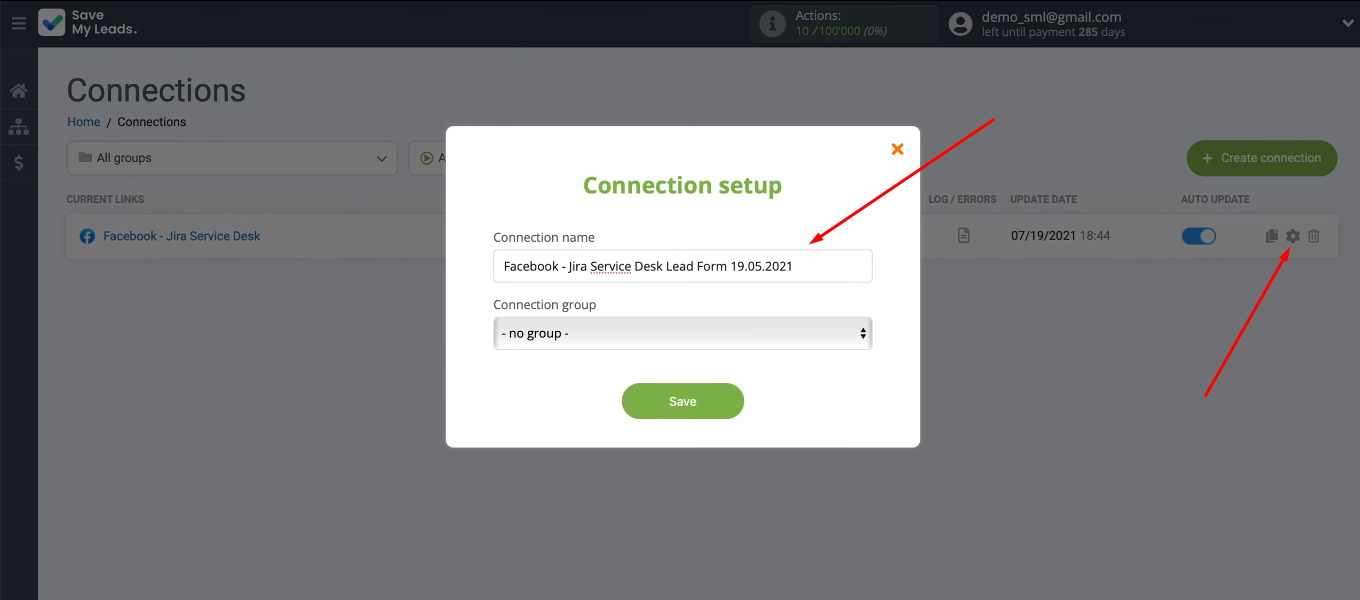
You can change the name of the integration if you wish.
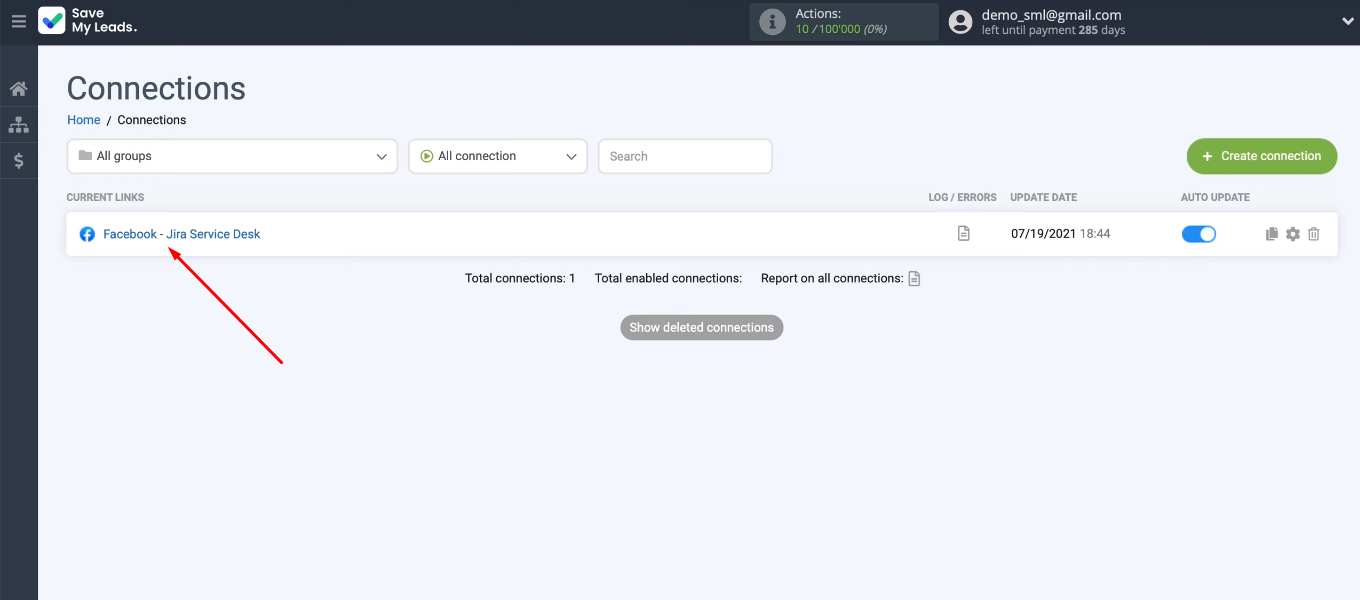
Go into the settings and specify our value in the “Connection name” field.
Conclusion
Using the SaveMyLeads service, we set up the integration of the Facebook advertising account and Jira Service Desk. Now data synchronization in these platforms occurs automatically. The SML system tracks new leads on Facebook, processes the data, and creates requests on the Jira Service Desk side. Automation of data transfer allows you to increase the speed of processing applications and the level of customer service. No special knowledge or skills are required to work with the SaveMyLeads system. SML is a no-code service with a user-friendly interface and a simple configuration algorithm.
