In this article, we will tell you how to set up integration between Facebook and Microsoft Dynamics 365. The created connection will solve such regular tasks: checking the Facebook advertising account, uploading new leads, creating deals in the CRM system. All these processes will be implemented automatically.
Content:
1. How to set up Facebook and Microsoft Dynamics 365 integration
2. Connect Facebook Lead Ads
3. Connect Microsoft Dynamics 365
4. Turn on auto-update
5. Conclusion
Microsoft Dynamics 365 is a set of tools for managing sales, marketing, finance, communications and other business processes. Microsoft offers a whole ecosystem, which includes various products for specialized tasks. Dynamics 365 features wide functionality and allows you to create customized management systems for the needs of a particular business. It is also worth noting the effective integration of Dynamics 365 with other products from Microsoft.
The CRM core of the Microsoft Dynamics 365 platform offers a full range of tools for working with clients and supporting transactions. Promotion of a lead through the sales funnel, tracking the history of interactions, organizing collaboration, monitoring the success of employees, analyzing and planning sales — this is not a complete list of tasks that can be solved using the Microsoft Dynamics 365 CRM system.
Consider a situation where a company uses Facebook as one of its lead generation channels. This is a common case, since a social network with a billion audience is an effective platform for attracting customers. The Facebook Lead Ads tool allows you to receive applications and contacts using lead forms. It is important to remember that generated leads need to be processed quickly. Order data must be uploaded and transferred to the CRM system (in our case, this is Microsoft Dynamics 365). This should be done regularly so as not to lose the lead and start processing it as quickly as possible.
How to set up Facebook and Microsoft Dynamics 365 integration
Migrating new leads from Facebook to Microsoft Dynamics 365 can be a significant time consuming process. But there is a solution that completely automates this process. If you link the Facebook advertising account and the CRM system, you can set up data transfer from one platform to another without human intervention. In addition, leads will get to Microsoft Dynamics 365 almost immediately after filling out the Facebook lead form, so managers can respond to the request as quickly as possible.
SaveMyLeads is a simple solution for creating Facebook integrations with various systems. In a few minutes, users can set up automated transfer of leads from Facebook advertising account to CRM, instant messengers, email marketing platforms, Google services, etc. To work with the SaveMyLeads system, you do not need to have special knowledge or skills. Anyone can get rid of the daily task of transferring data from Facebook Ads to other services. Below we will walk through a step-by-step algorithm for creating an integration to convert new Facebook leads into deals on the Microsoft Dynamics 365 side.
Connect Facebook Lead Ads
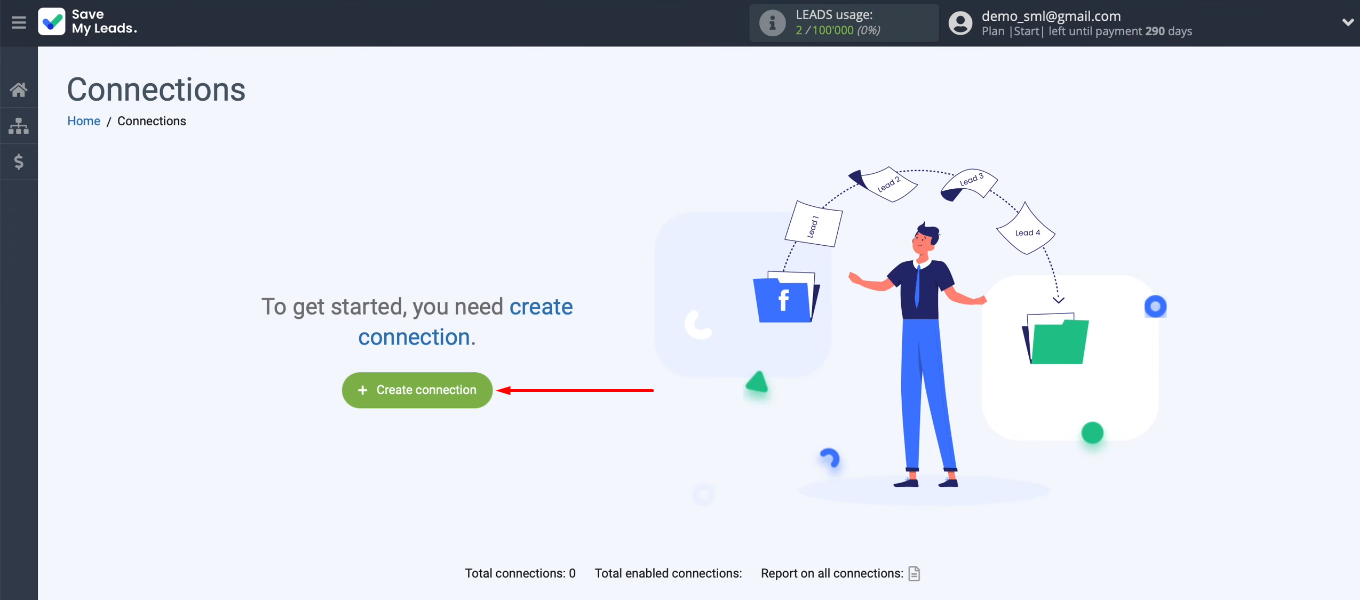
Go to the SaveMyLeads personal account and create a new connection.
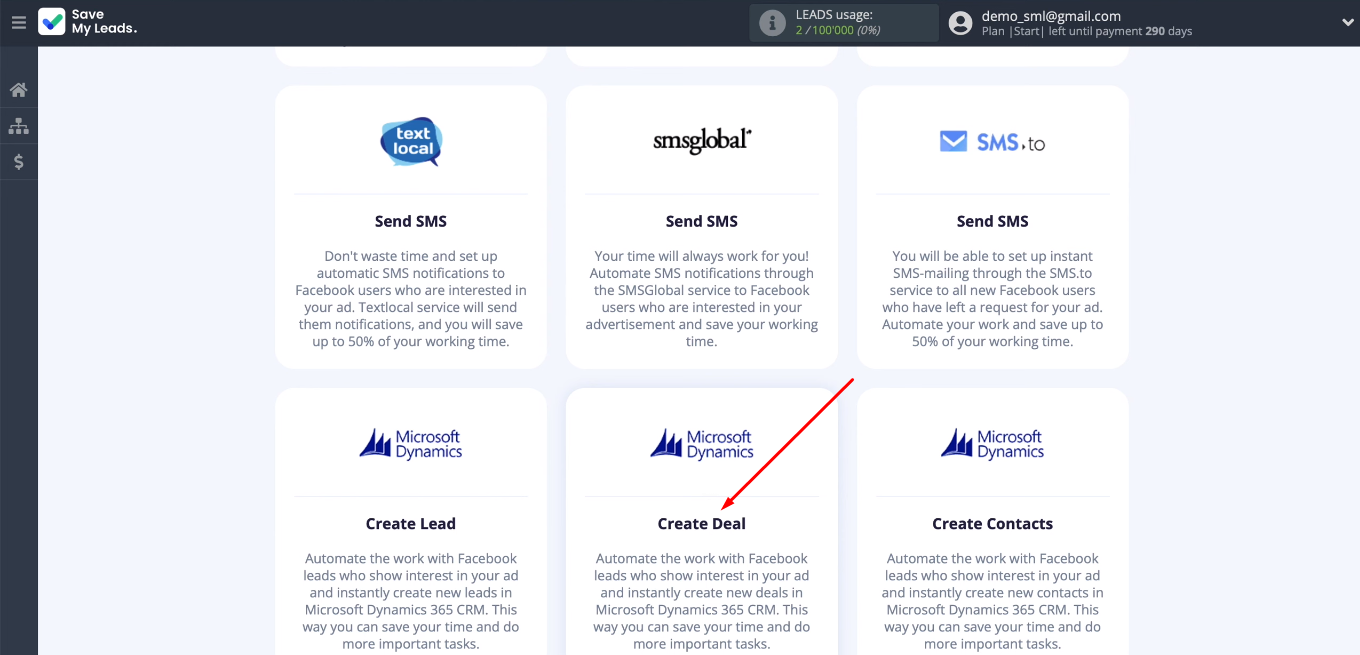
You must select a template to configure the integration. We need “Microsoft Dynamics (Create Deal)”.
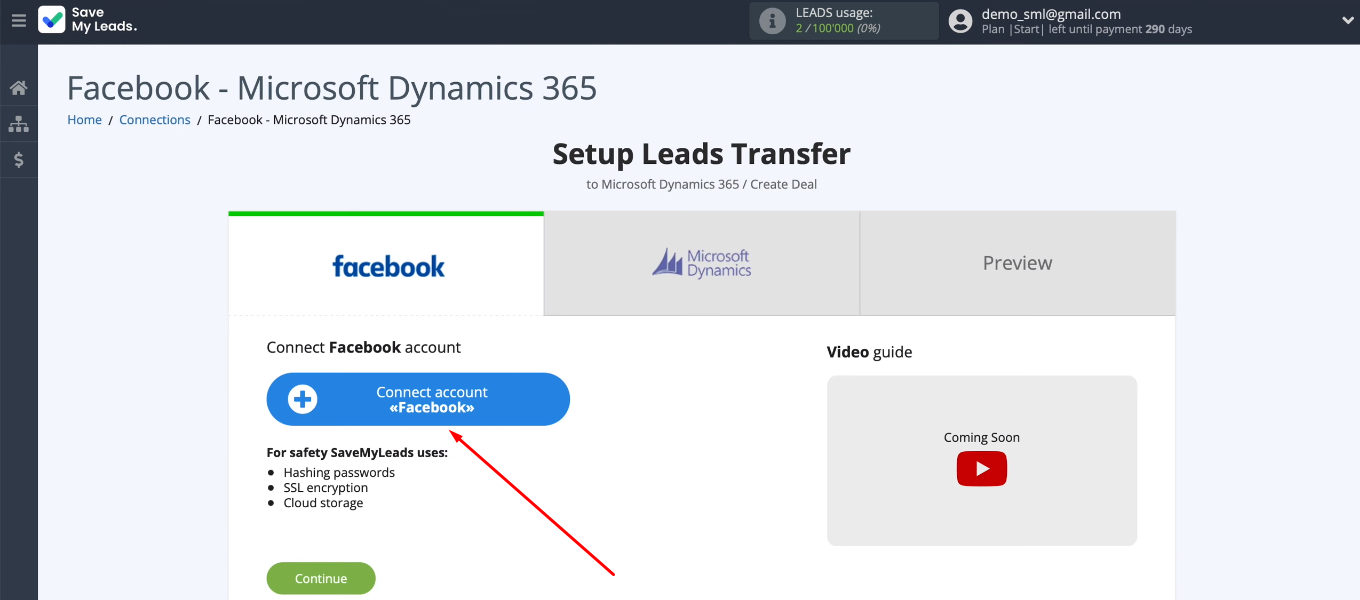
Connect the Facebook Lead Ads account.
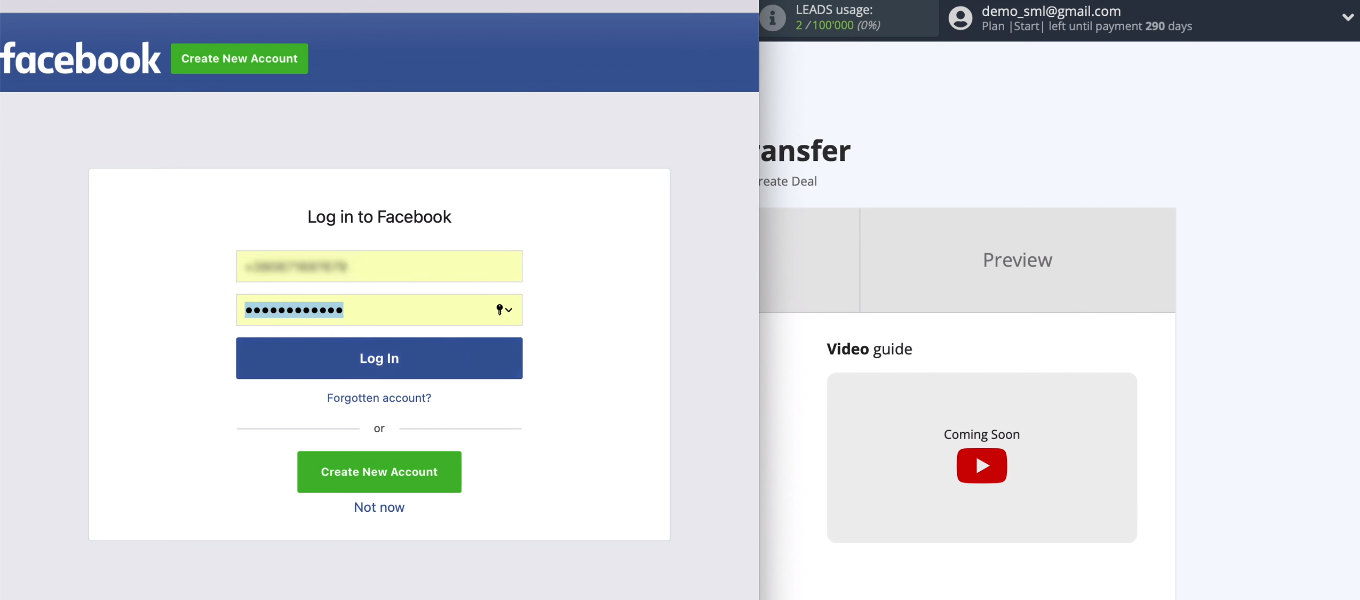
Log in to Facebook.
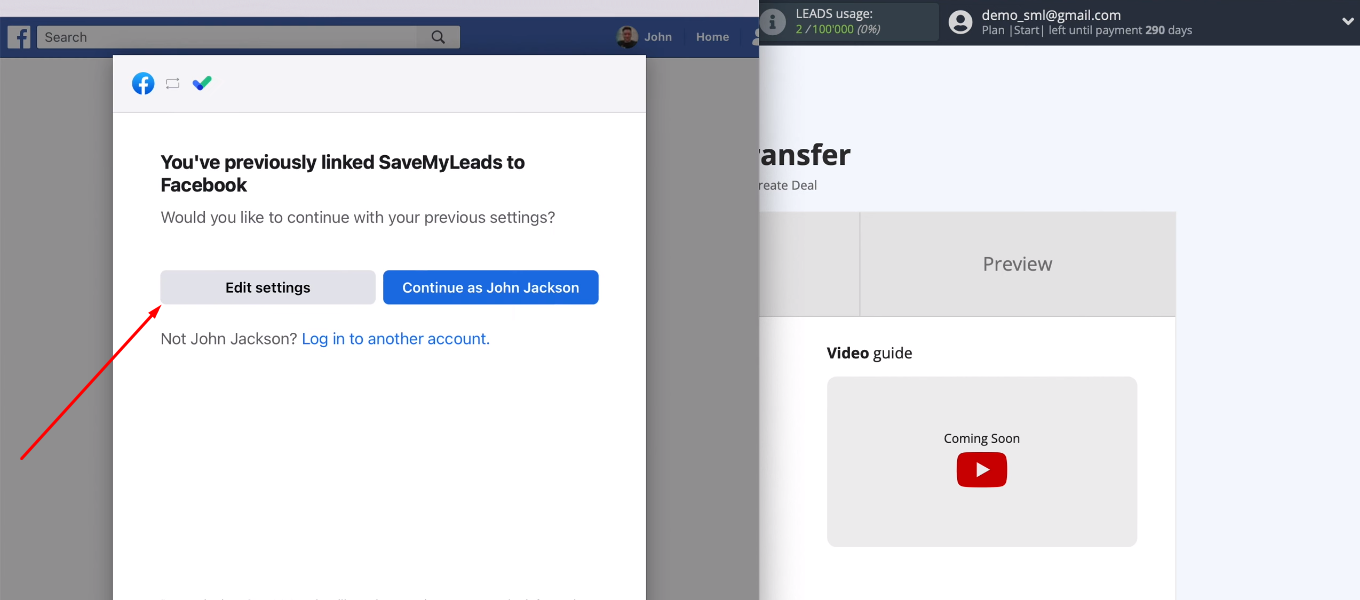
Click "Edit settings".
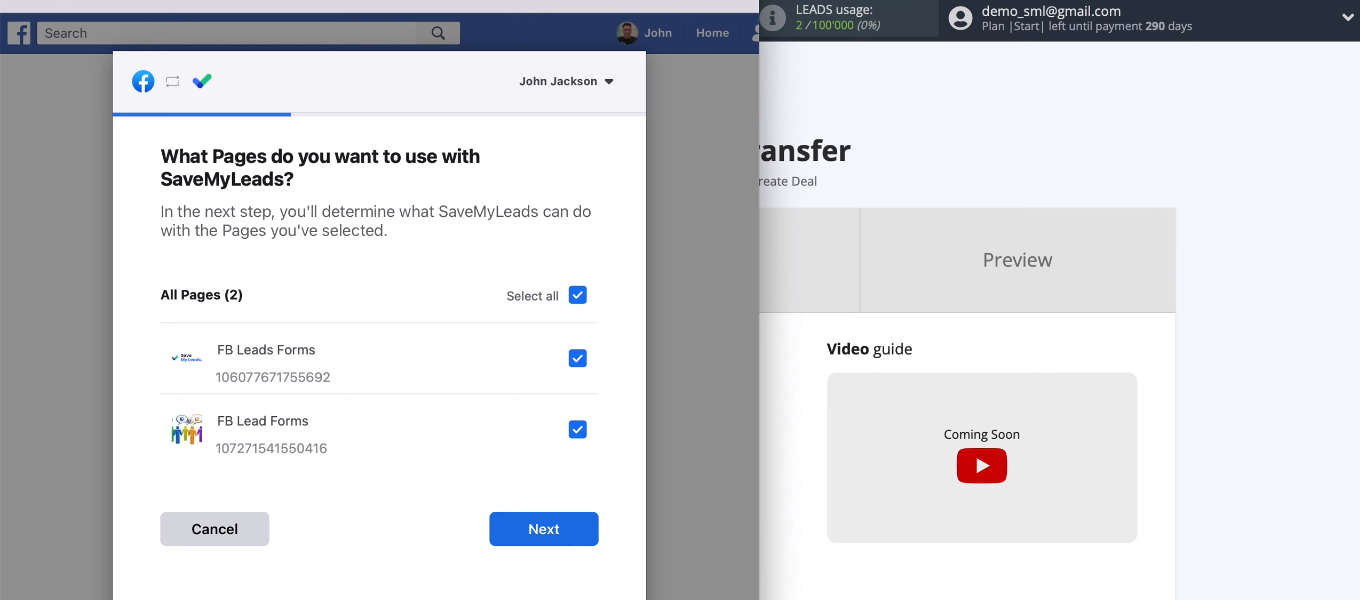
The next window shows the available promotional pages. It is necessary to mark those of them with which the SaveMyLeads service will be able to work in the future. We recommend marking all available pages at once.
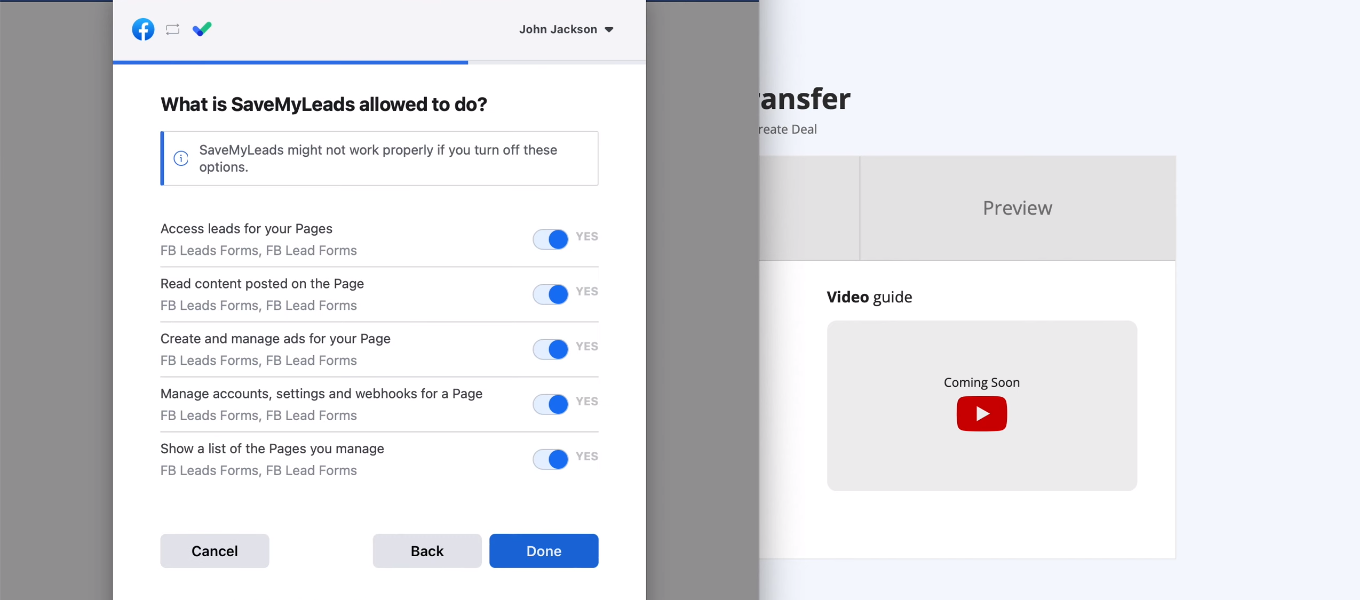
Leave all checkboxes enabled.
The Facebook account is connected to the SaveMyLeads system.
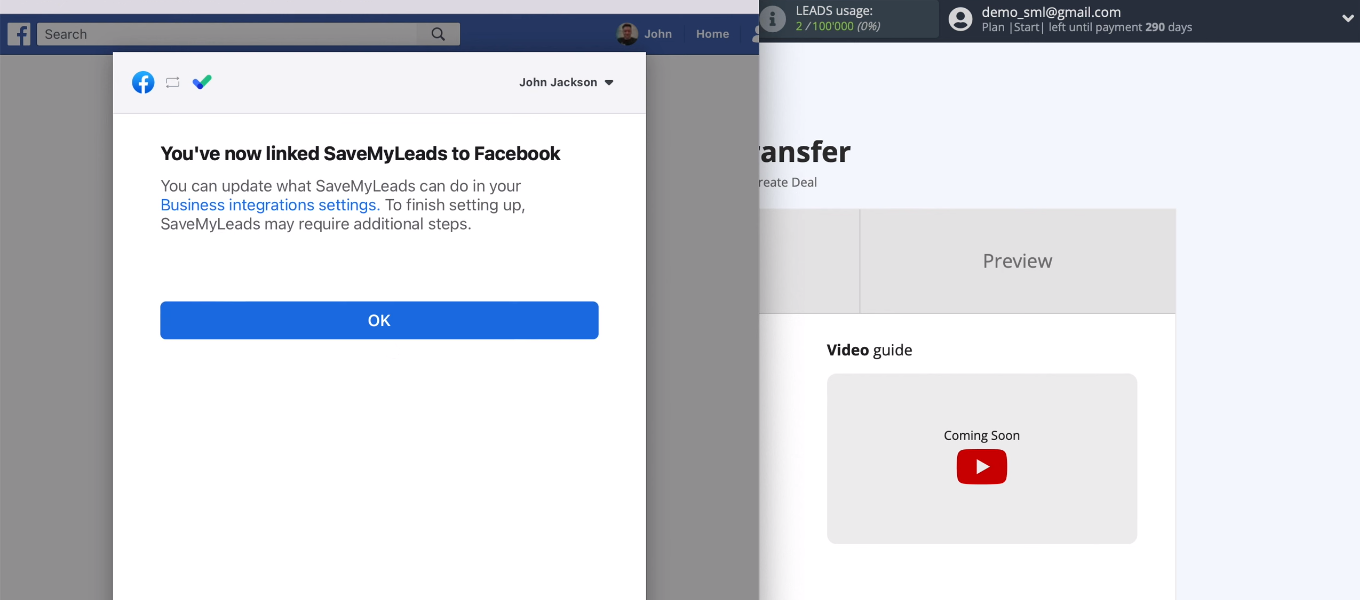
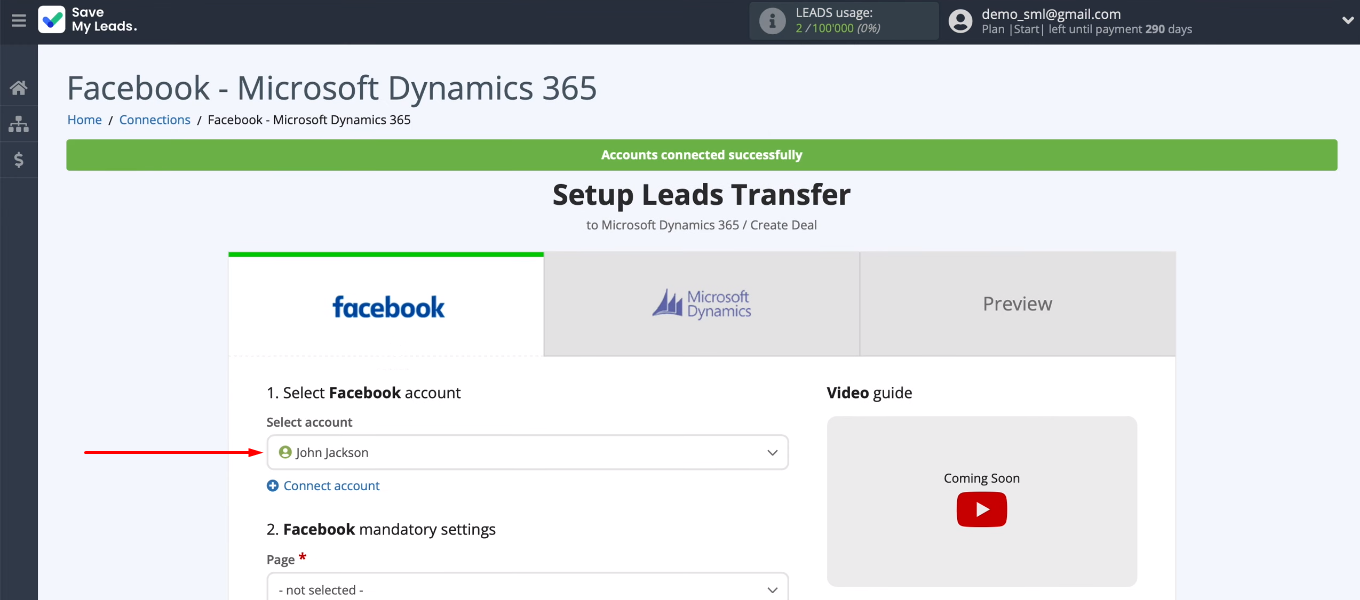
Select the connected account and continue setting up the data source.
Choose an advertising page and lead form. If you want to work with several forms at once, then you need to create a separate connection for each of them.
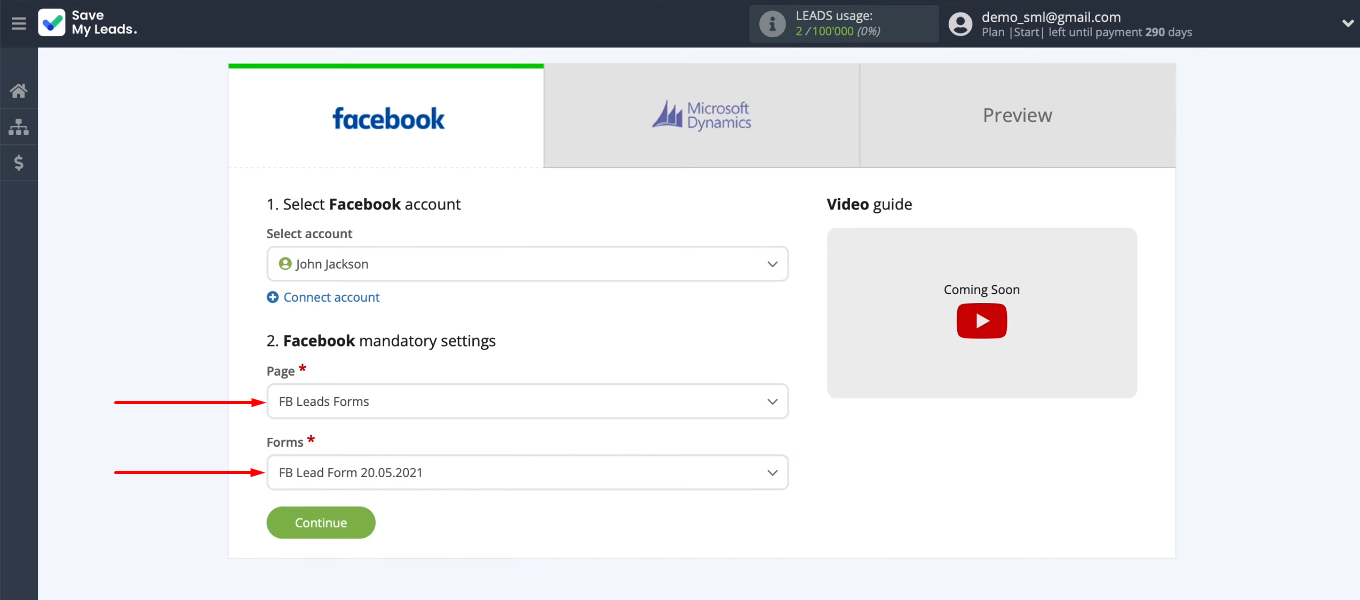
When we have defined the advertising page and form, click “Continue”. This completes the work with the data source.
Connect Microsoft Dynamics 365
Now let's start setting up the receiver. First, let's connect Microsoft Dynamics 365 account to the SaveMyLeads system.
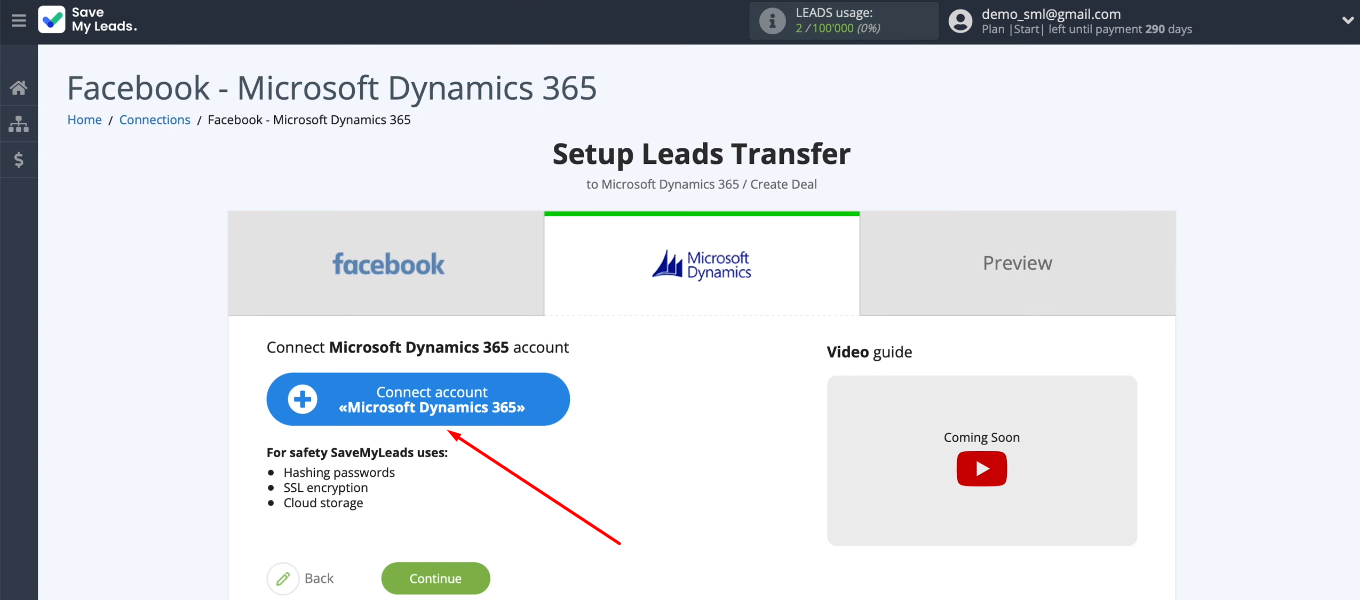
You must specify a Microsoft Dynamics 365 domain.
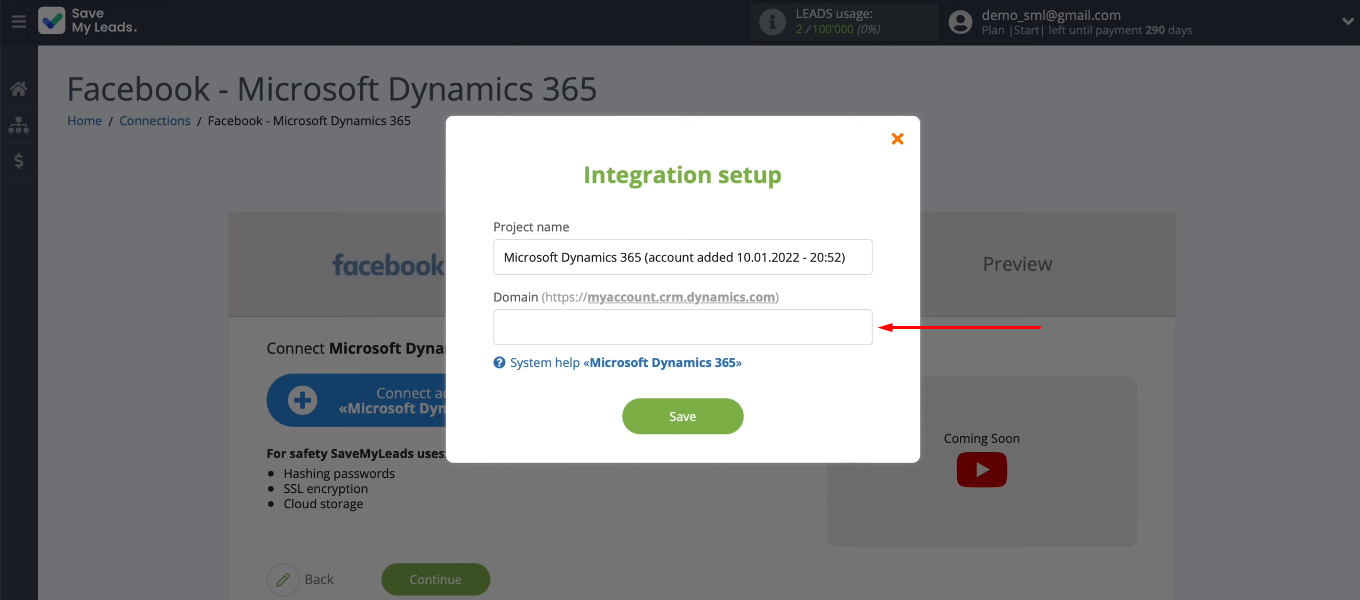
Go to the personal Microsoft Dynamics 365 account and copy the domain without additional characters in the address bar of the browser.
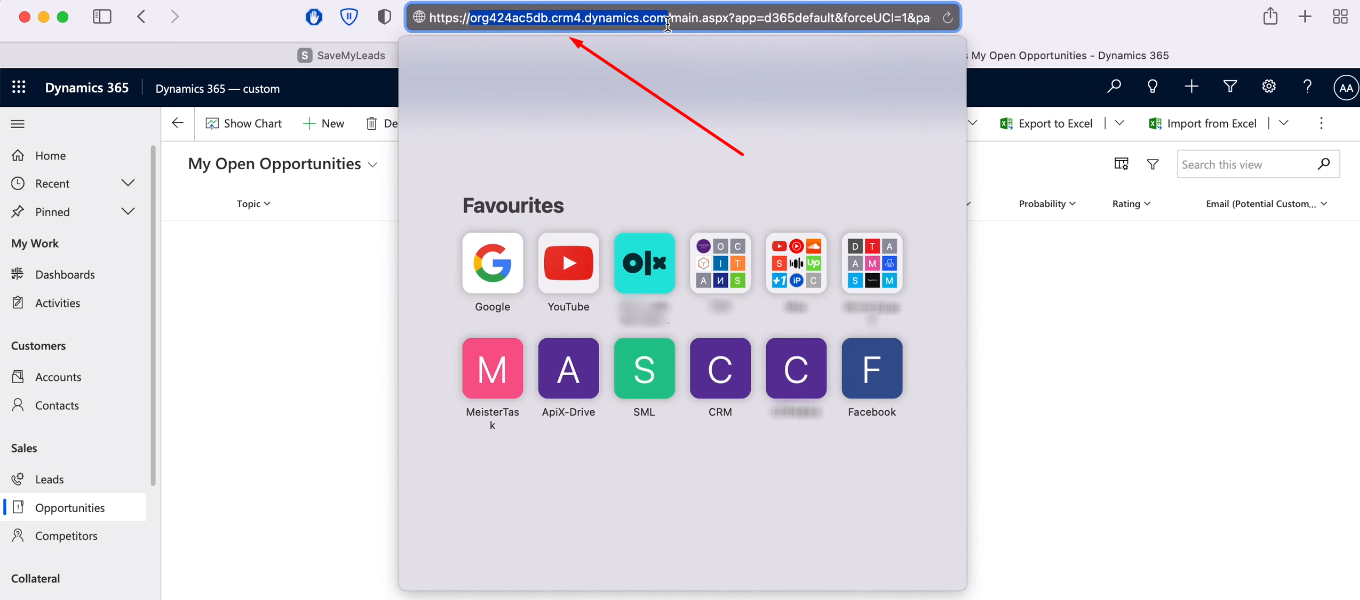
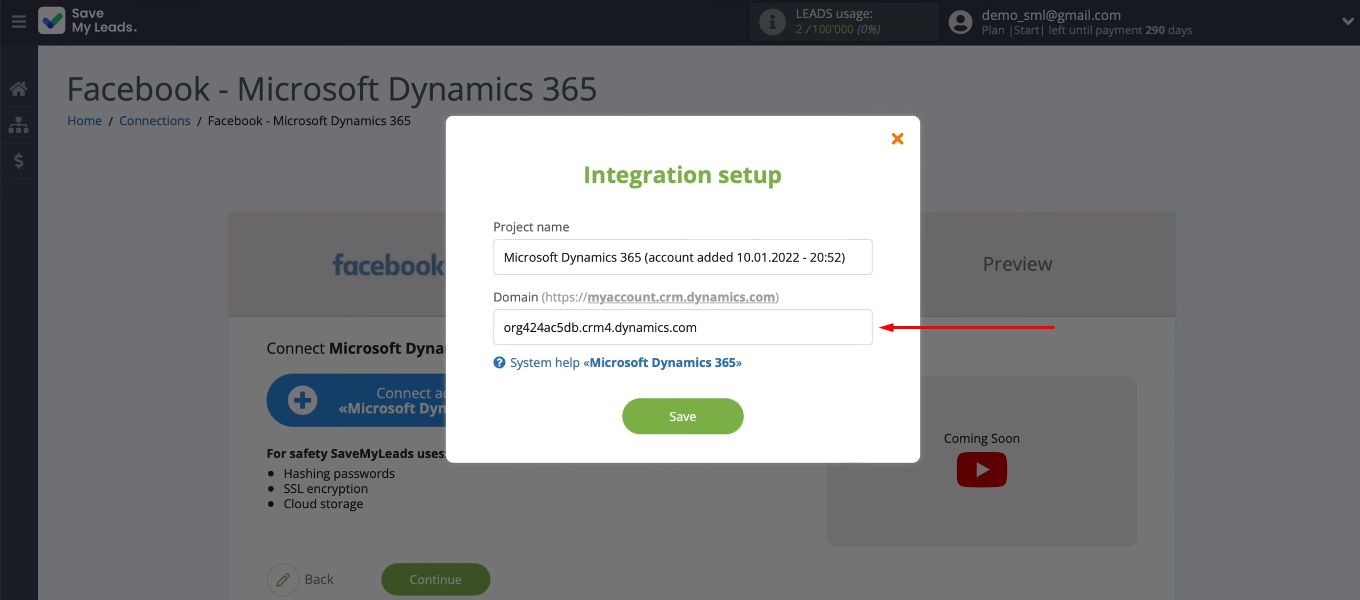
Return to the SaveMyLeads system, paste the copied domain and click “Save”.
Specify the login of the personal Microsoft Dynamics 365 account.
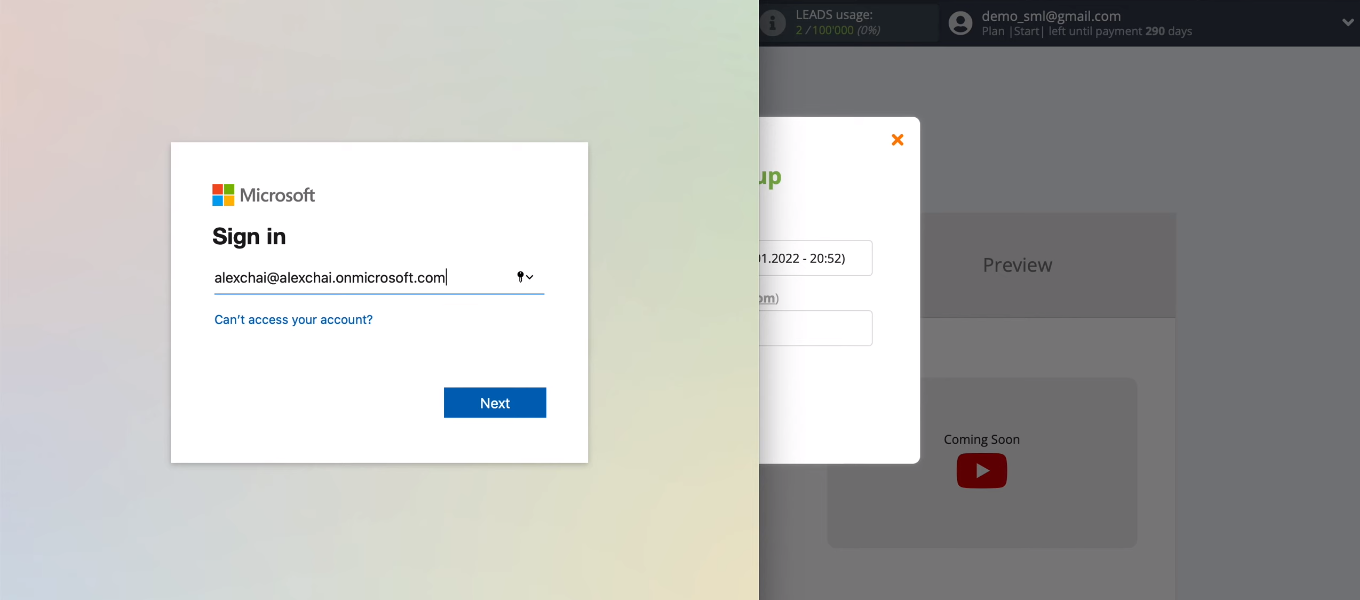
Enter the password.
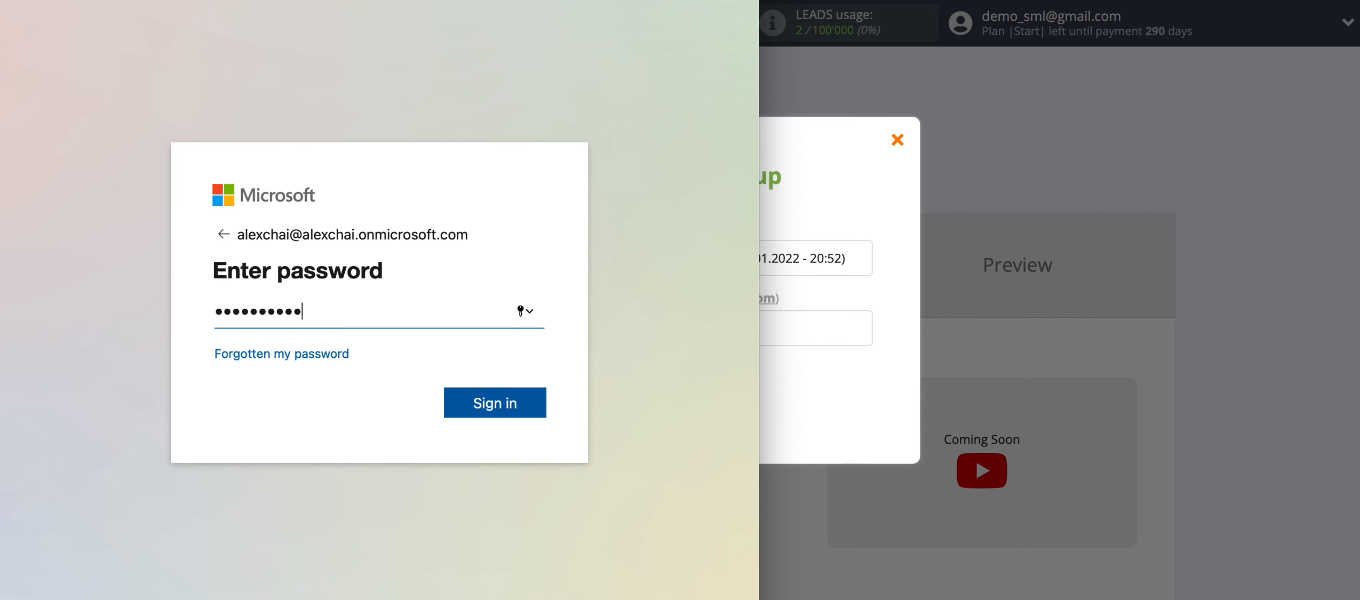
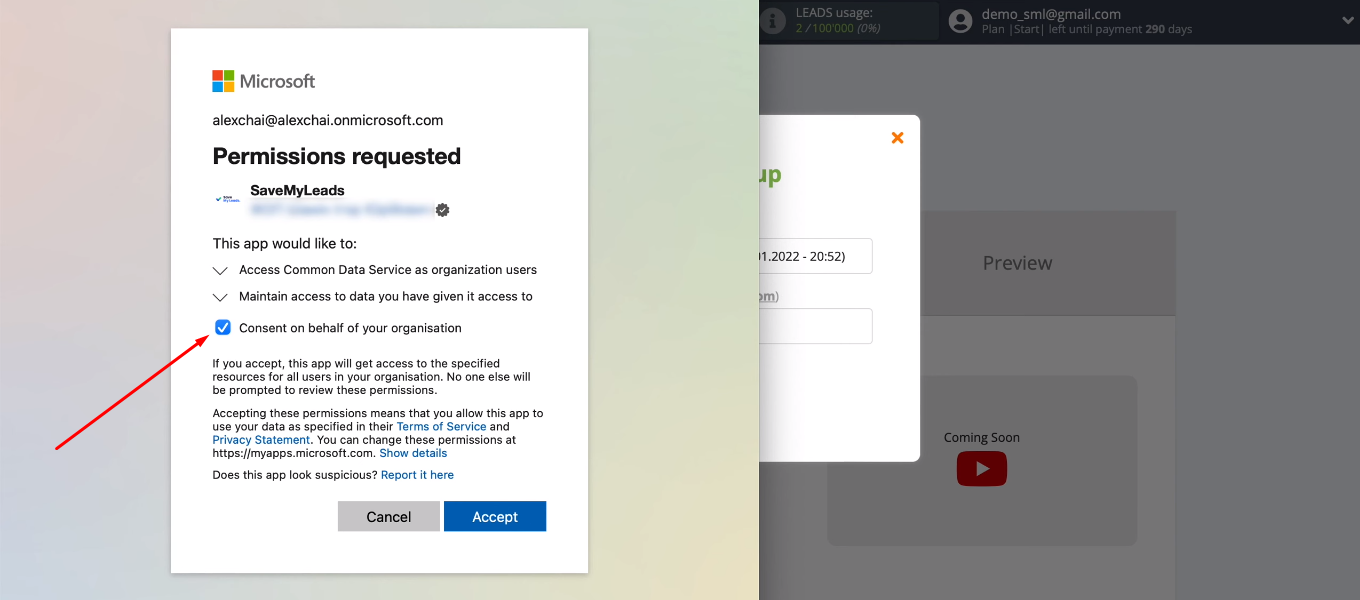
Grant the SaveMyLeads service permission to work with a Microsoft Dynamics 365 account.
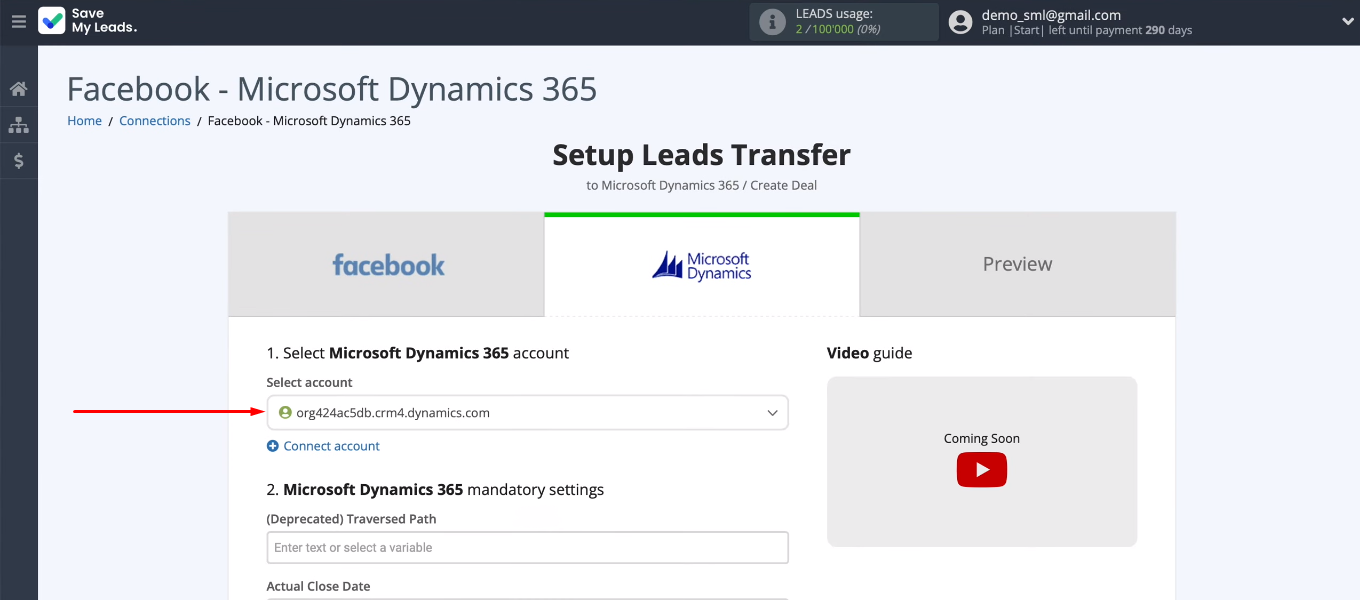
We have connected your Microsoft Dynamics 365 account to the SaveMyLeads system. Select it from the list.
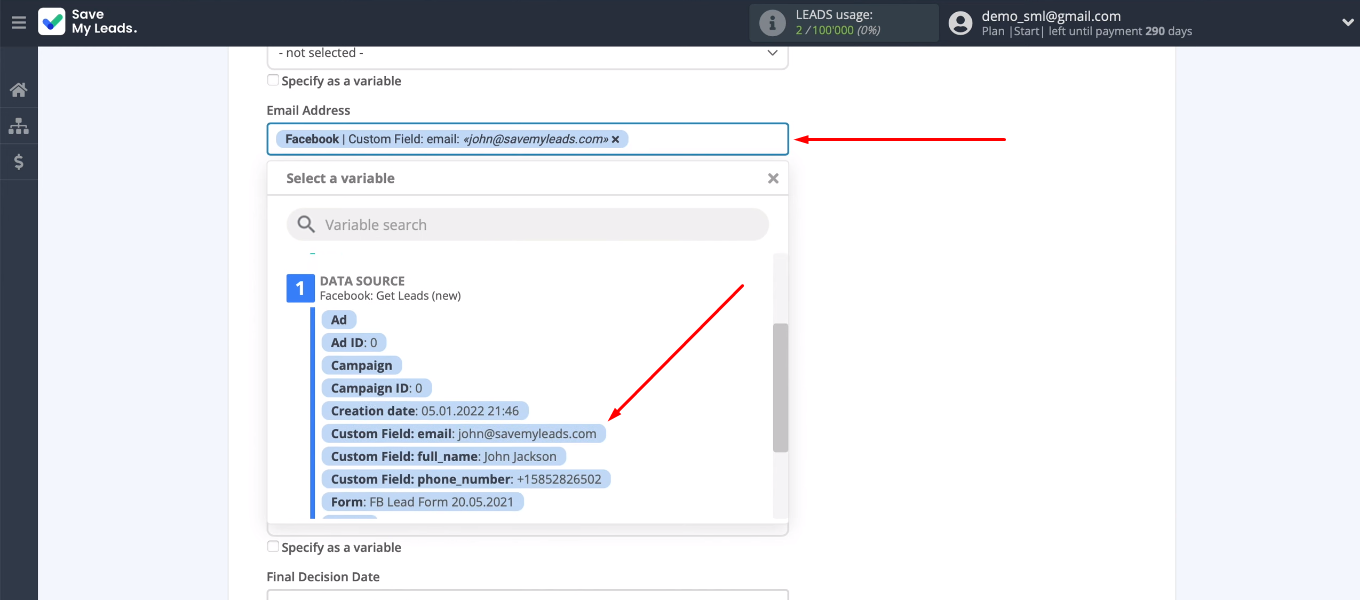
Now you need to fill in the Microsoft Dynamics 365 fields to create new deals. Click in the field and select the Facebook variable from the drop-down list. You can also leave the preset values unchanged. When the content of the Microsoft Dynamics 365 fields is defined, click “Continue”.
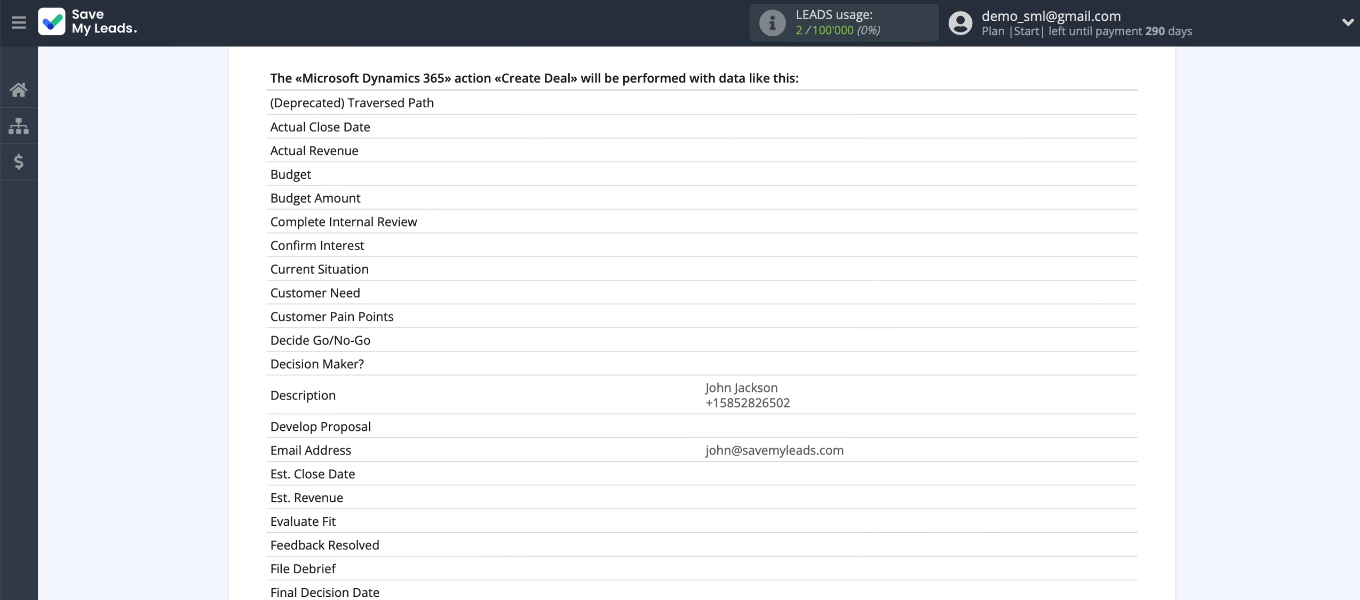
We see a set of test data that will be sent to the Microsoft Dynamics 365 CRM system to create a new deal.
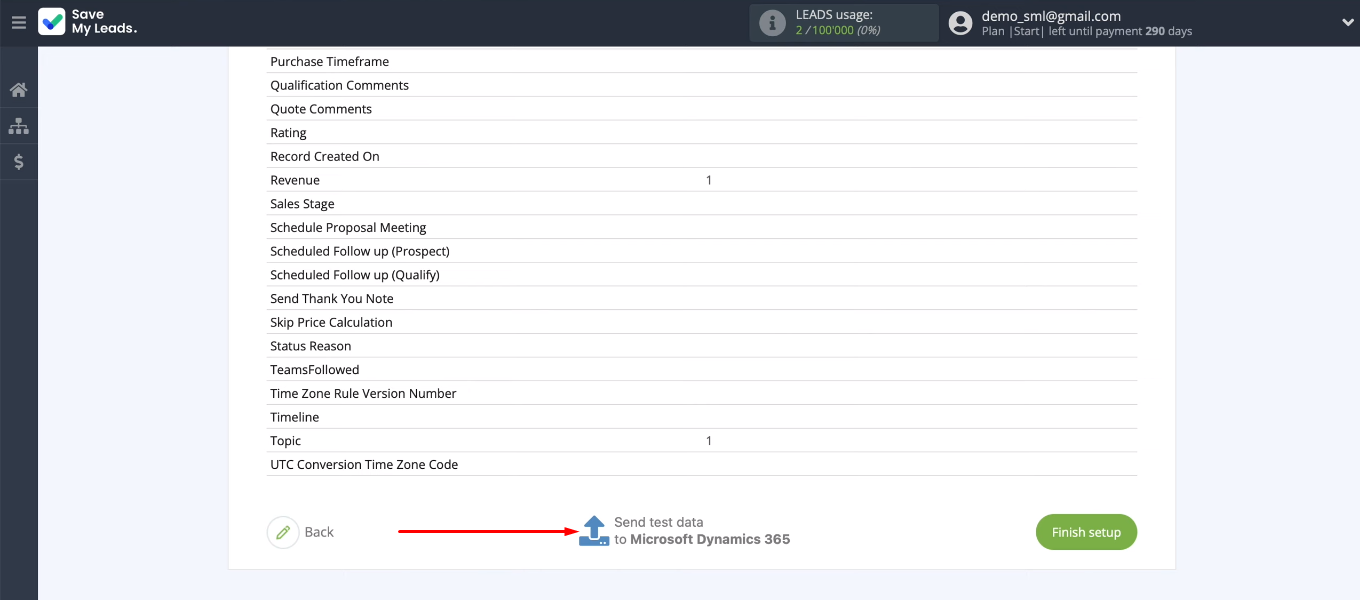
Нажимаем “Send test data to Microsoft Dynamics 365”.
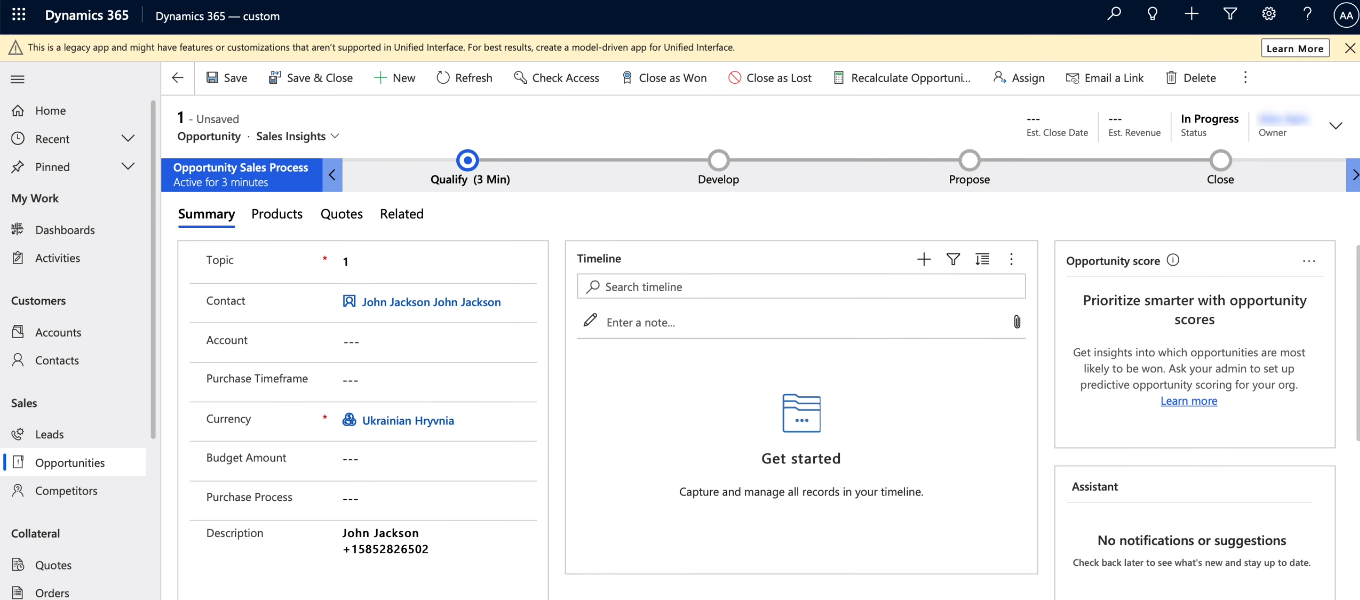
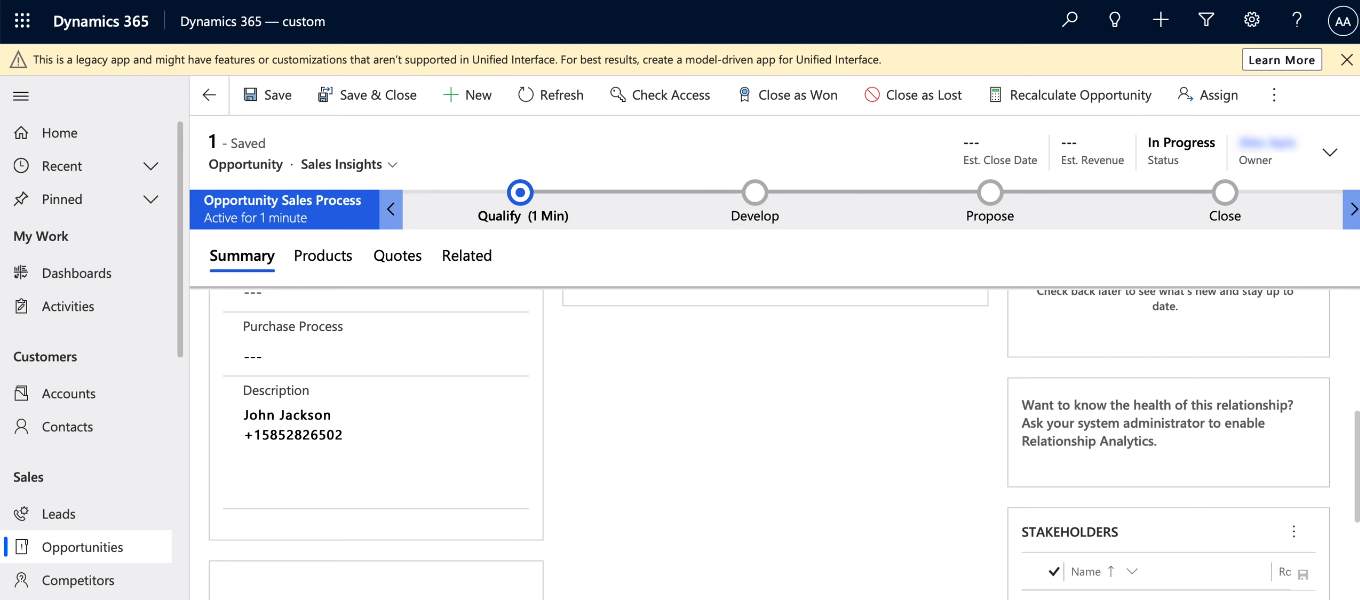
Go to the CRM system and check the result of the connection. The Microsoft Dynamics 365 workspace has a new object based on the test lead from Facebook.
Turn on auto-update
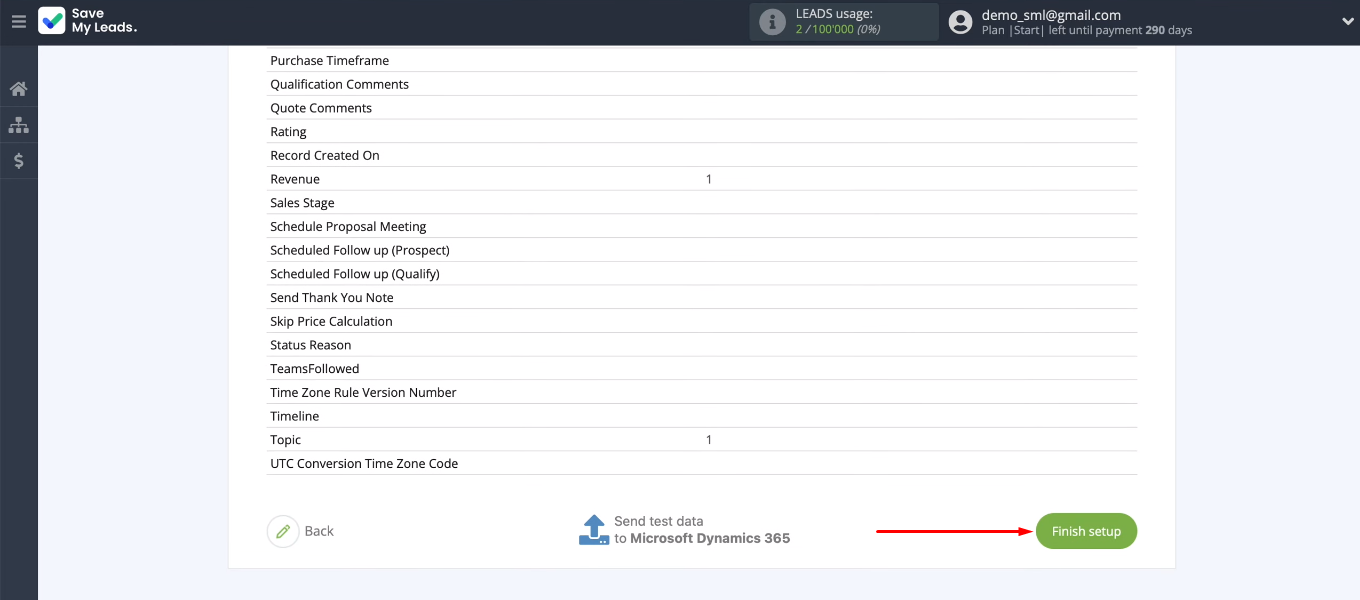
Return to the SaveMyLeads office. To activate the integration, click “Finish setup”. Now the SaveMyLeads service will constantly track new leads on Facebook and transform them into Microsoft Dynamics 365 deals.
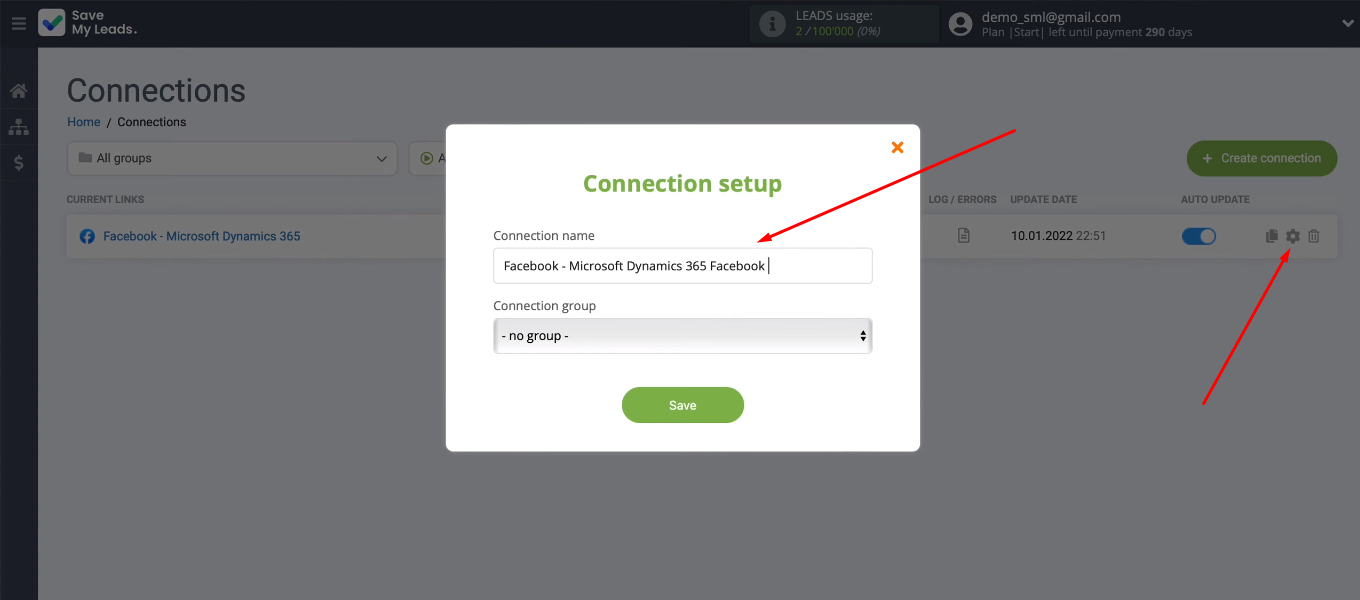
If necessary, you can change the name of the integration. To do this, go to the connection settings and adjust the contents of the “Connection name” field.
Conclusion
Using the no-code tool SaveMyLeads, we set up the integration of Facebook and Microsoft Dynamics 365. Checking the Facebook advertising account and transferring new leads to CRM are now fully automated. After spending just a few minutes, we got rid of a routine task that takes up a significant time resource every day.
The SaveMyLeads service offers a user-friendly interface and a clear algorithm for setting up integration. No need to involve programmers or spend time on training to connect Facebook with other systems. Anyone can create an integration, automate routine work and increase their productivity.
