In this step-by-step guide we'll show you how to automatically upload leads from your Facebook ad account to Mailchimp's email marketing service. You can set up a connection in 5 minutes without coding skills.
Contents:
1. How to set up Facebook and Mailchimp integration
2. Connect Facebook Leads Ads
3. Connect Mailchimp
4. Automatic data update
5. Finish the setup
Online trading through social networks is very popular all over the world. Users regularly buy various products on Facebook. In marketing, there is such a thing as spontaneous purchases and social networks - exactly the place where they are made most often. Plus, it often happens that the user, having made the main purchase, decides to purchase related products that he did not plan to buy before. They wanted to see the range of all products and suddenly decided to buy something in addition.
If at the moment when a potential buyer turned to the seller, the manager is not there, he missed this appeal or answered at the wrong time, the moment may be missed: the buyer will change his mind, or, without receiving feedback, will go to competitors for a similar product.
In order not to lose potential buyers and avoid such situations, you need to react as quickly as possible to leads' requests and warm up their interest in the product. Constantly monitor the posts and comments on Facebook - enough time-consuming process, but it is only a small part of the problem in the interaction with customers still need to communicate with them, to process incoming orders, etc.received.
To ensure that users who have shown interest in the advertisements in FB, quickly reply to mail, you can set up an email campaign, for example, through the Mailchimp service. Thanks to this, you will not miss a single customer who has contacted, stir up interest in the product, talk about it, etc.
How to set up Facebook and Mailchimp integration
If the company has a programmer, he will easily set up automatic mailing for you. But if he is not there or he is loaded with current tasks, then some of the leads may be left unattended, as a result, this part of potential buyers will be lost. If, in principle, there is no IT specialist on the staff of the company, then you will have to hire him from the outside, but there are certain risks, for example, he will have low qualifications, he will set up your mailing list for a long time or he will not be able to cope with this task at all, as a result, time , leads, and possibly funds, will be lost.
In order not to lose your potential customers, set up automatic mailing using the SaveMyLeads service. Thanks to its functionality and the simplicity of the interface, you can easily set up an automatic email campaign on your own, even if you don't understand programming. The whole process will take you no more than 5 minutes.
Connect Facebook Leads Ads
The first step is to create a new connection
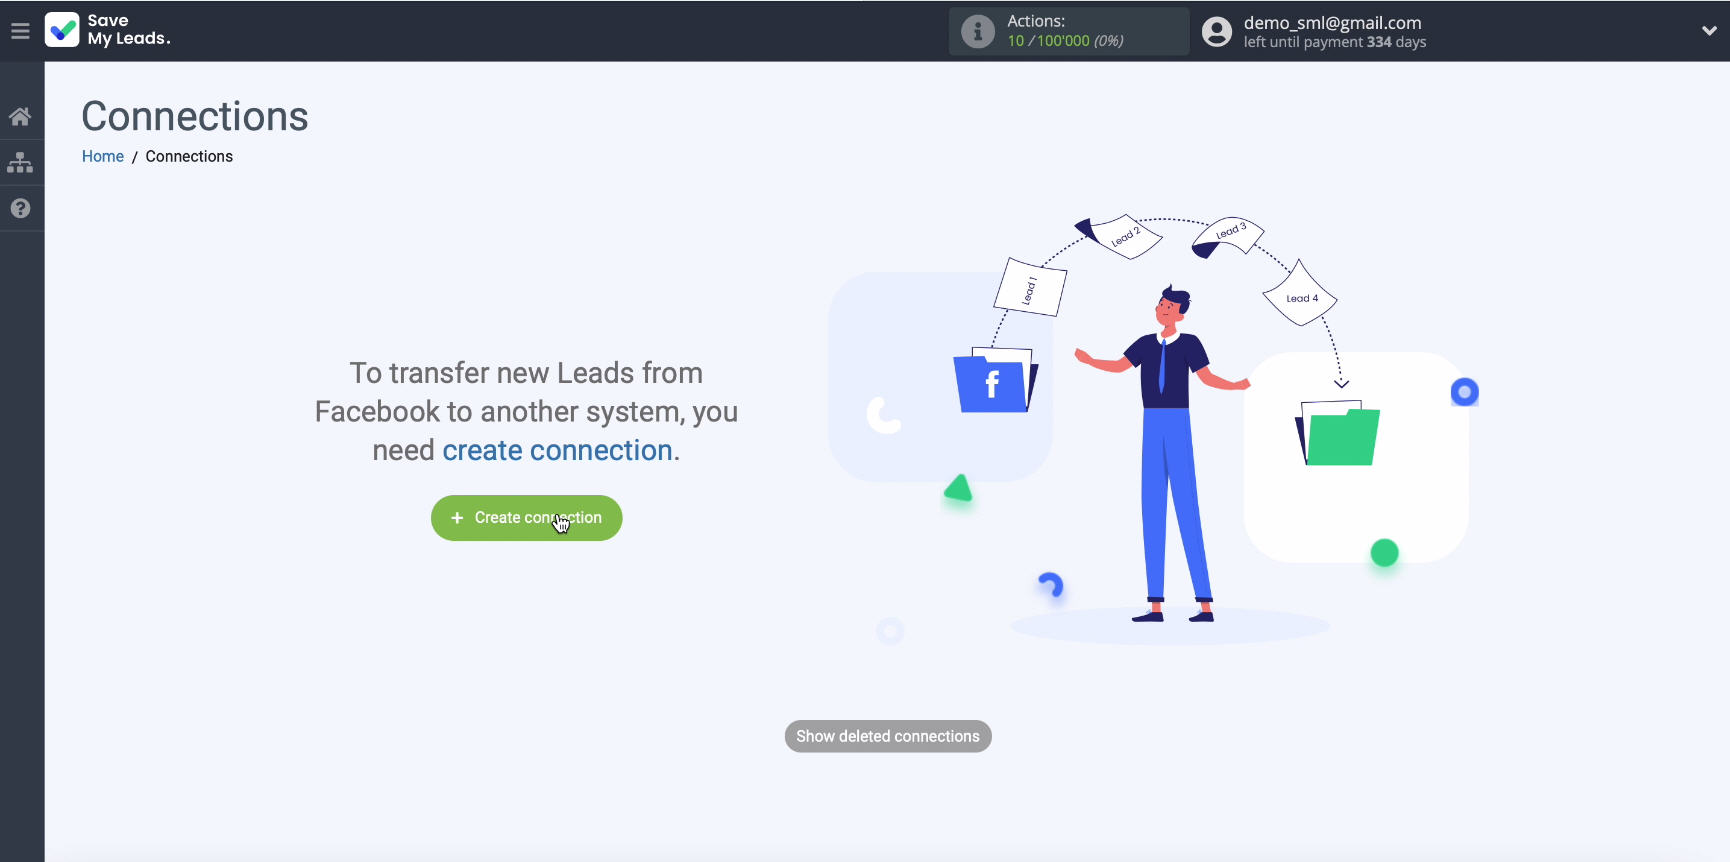
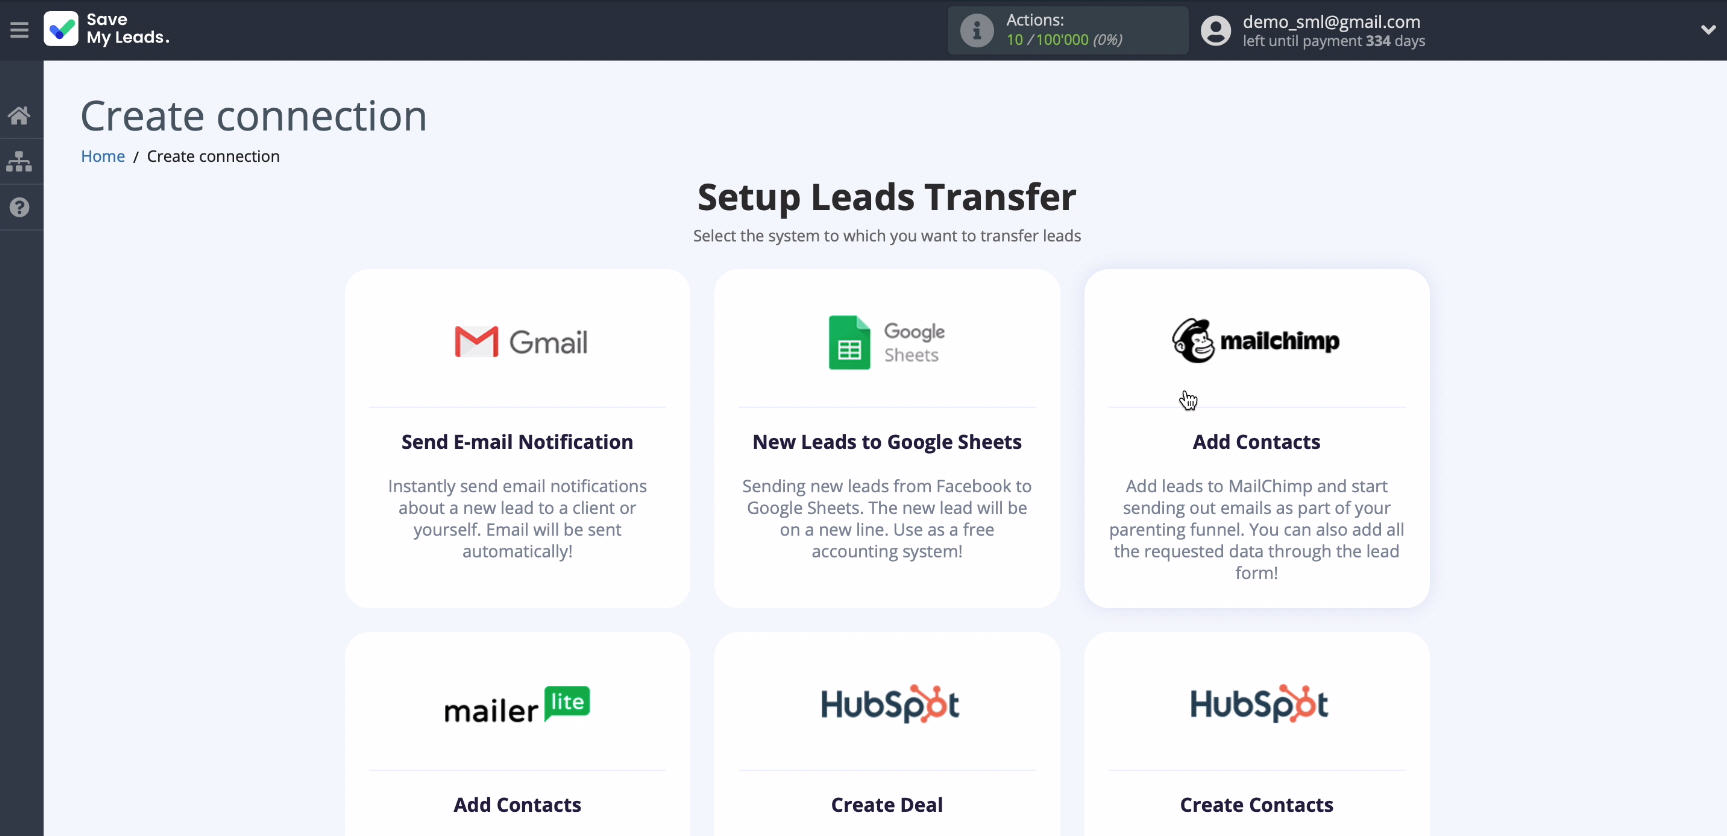
Next, select the service to which you want to upload leads from Facebook using pre-prepared templates. In our case, you need to select Mailchimp:
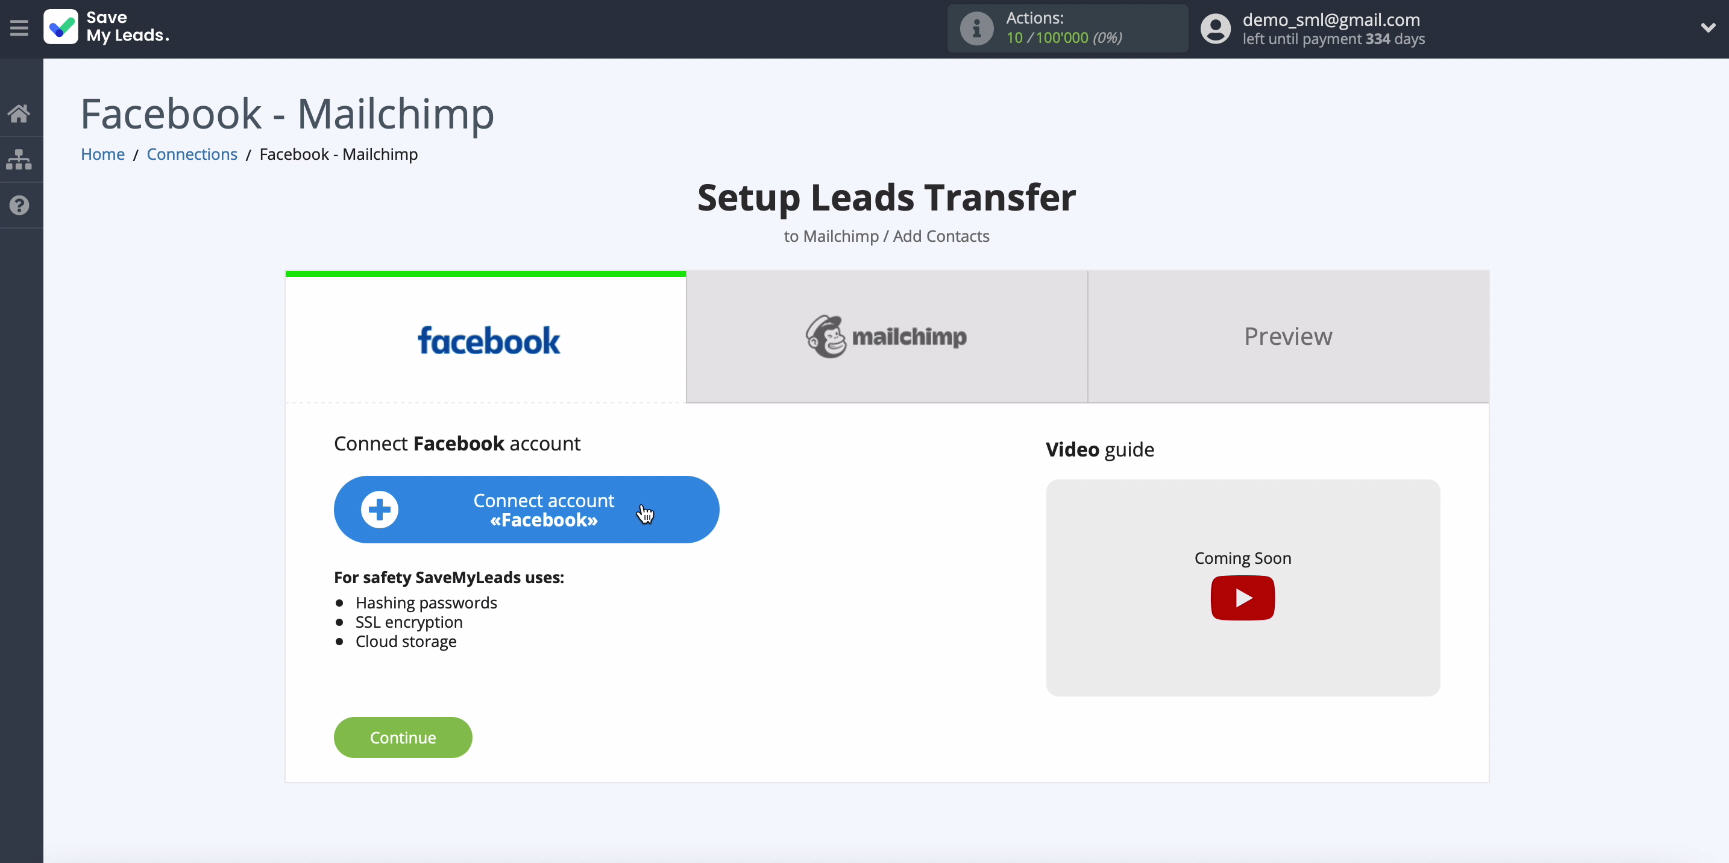
To start configuration, connect your Facebook account to the SaveMyLeads system:your Facebook account
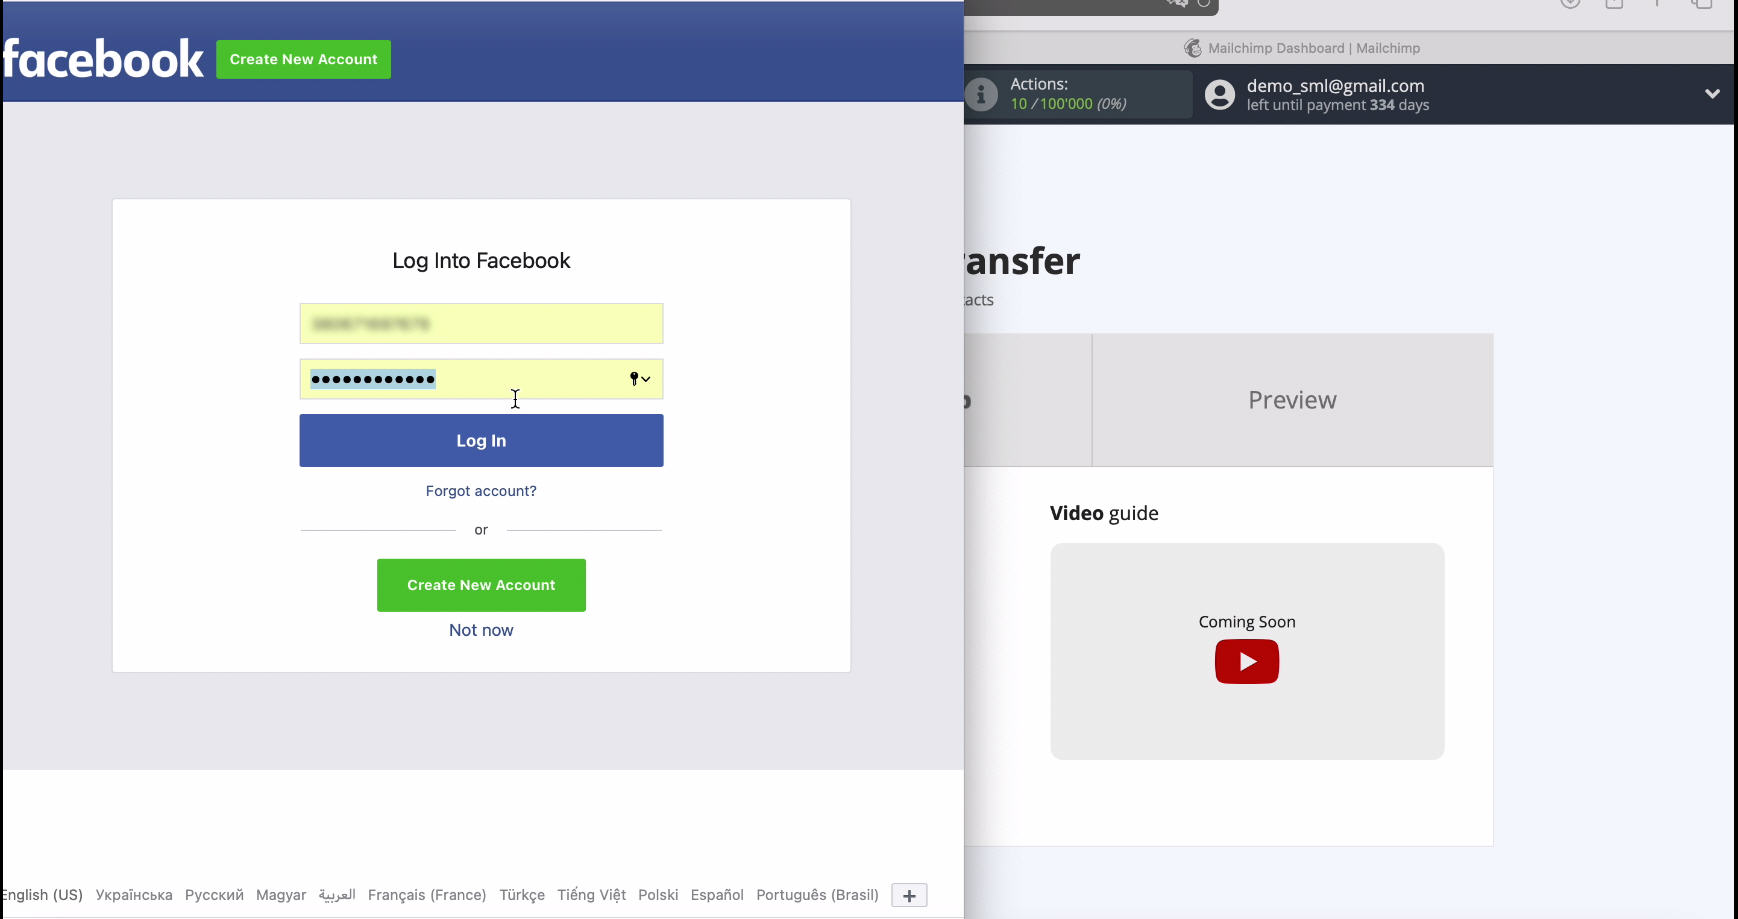
Enter your username and password and click the Log in button
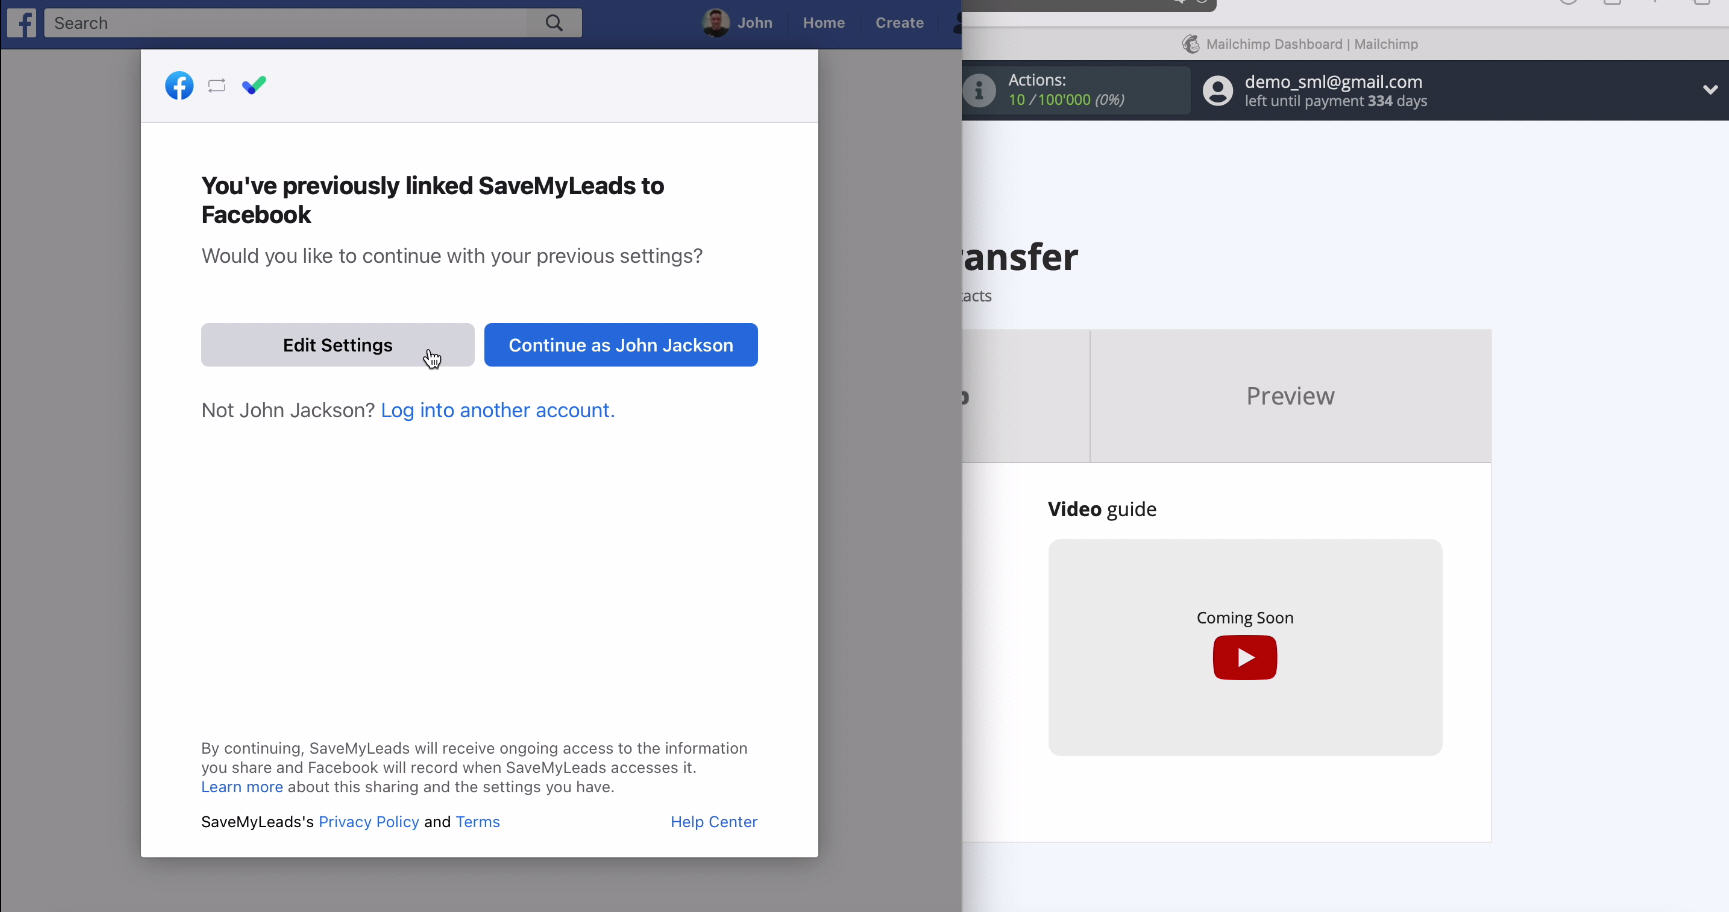
To continue the setup in In the window that appears, click Edit Settings
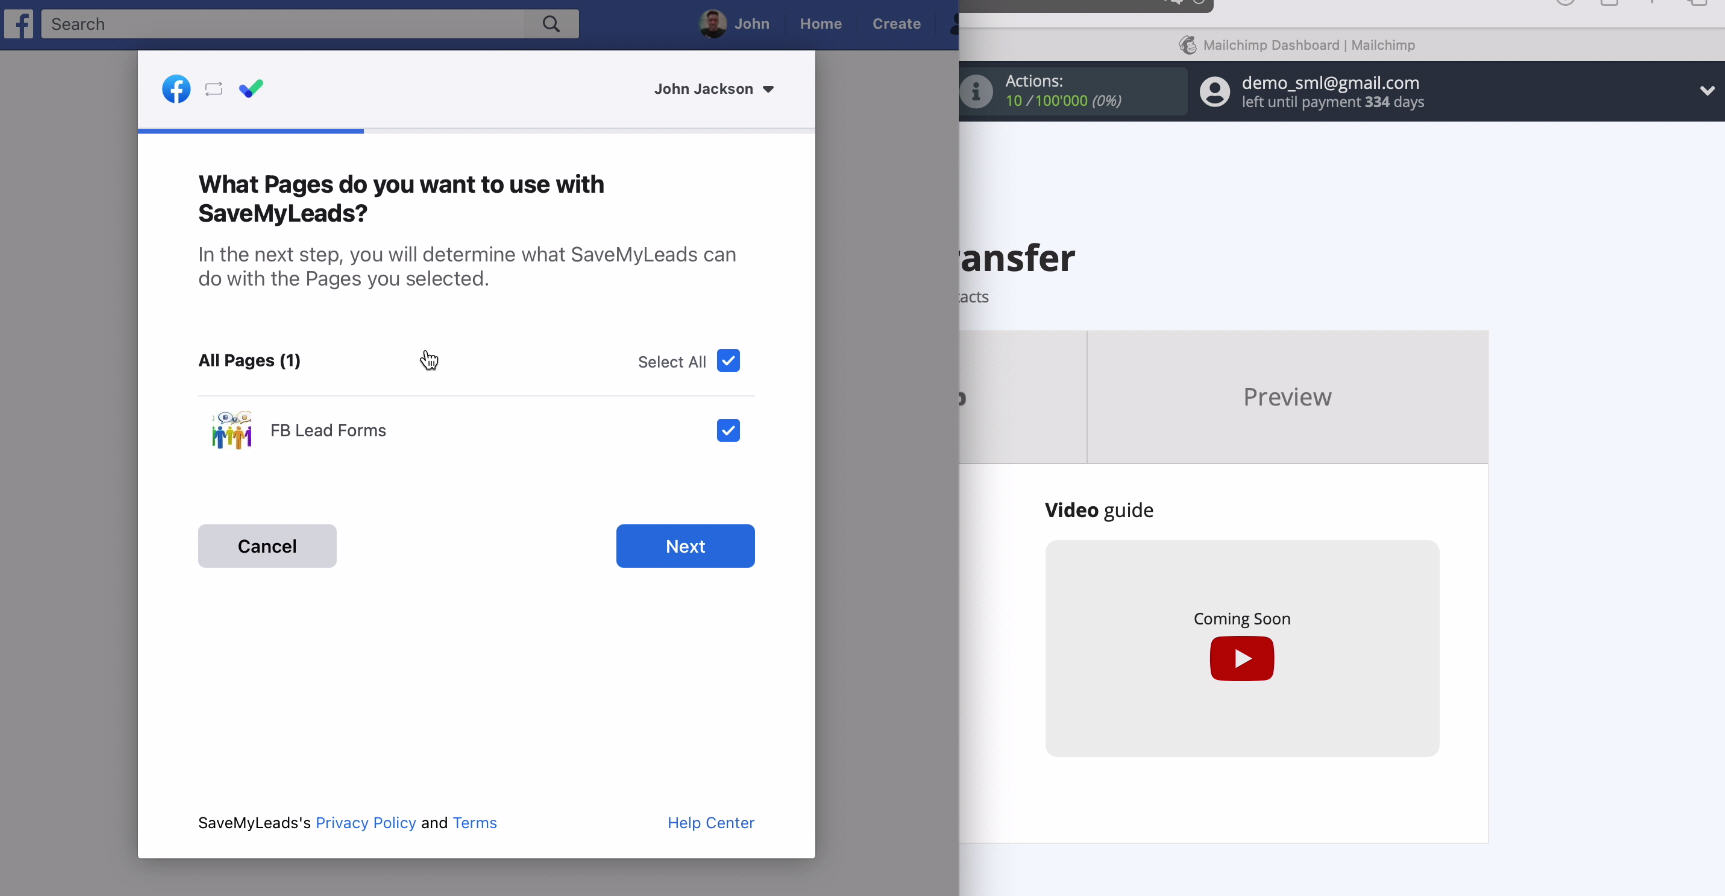
In the window that opens, you will see those advertising pages. to which you have access. Check all the pages so that you can work with them in the future.
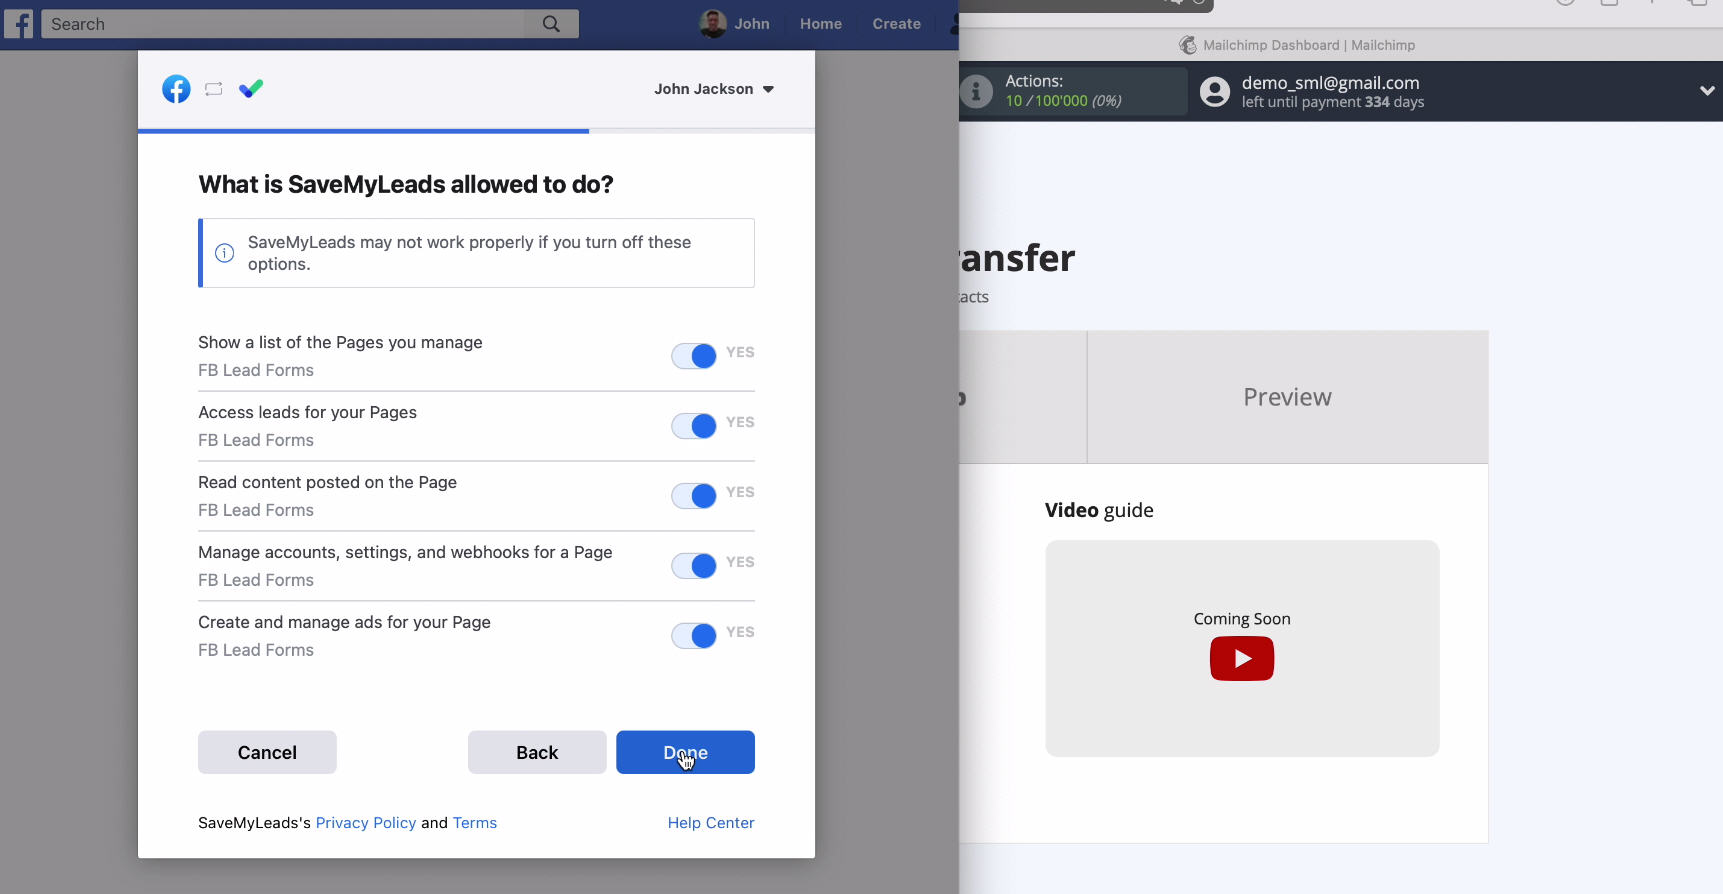
Grant access to the SaveMyLeads service - leave all the checkboxes enabled and click the Done button:
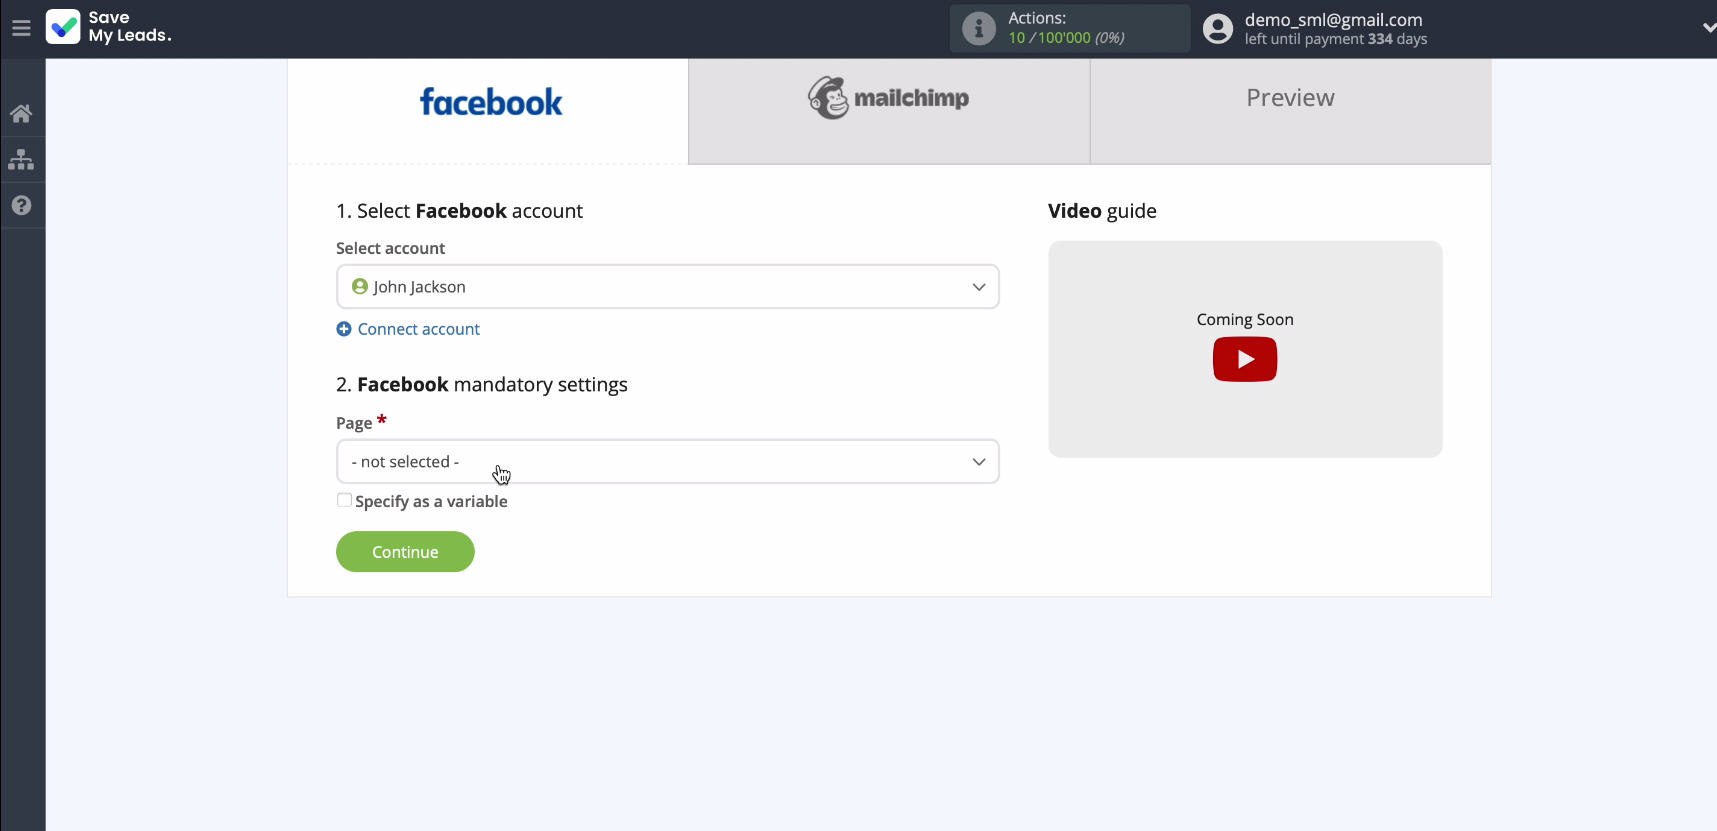
At the next step, select your connected account from the list:
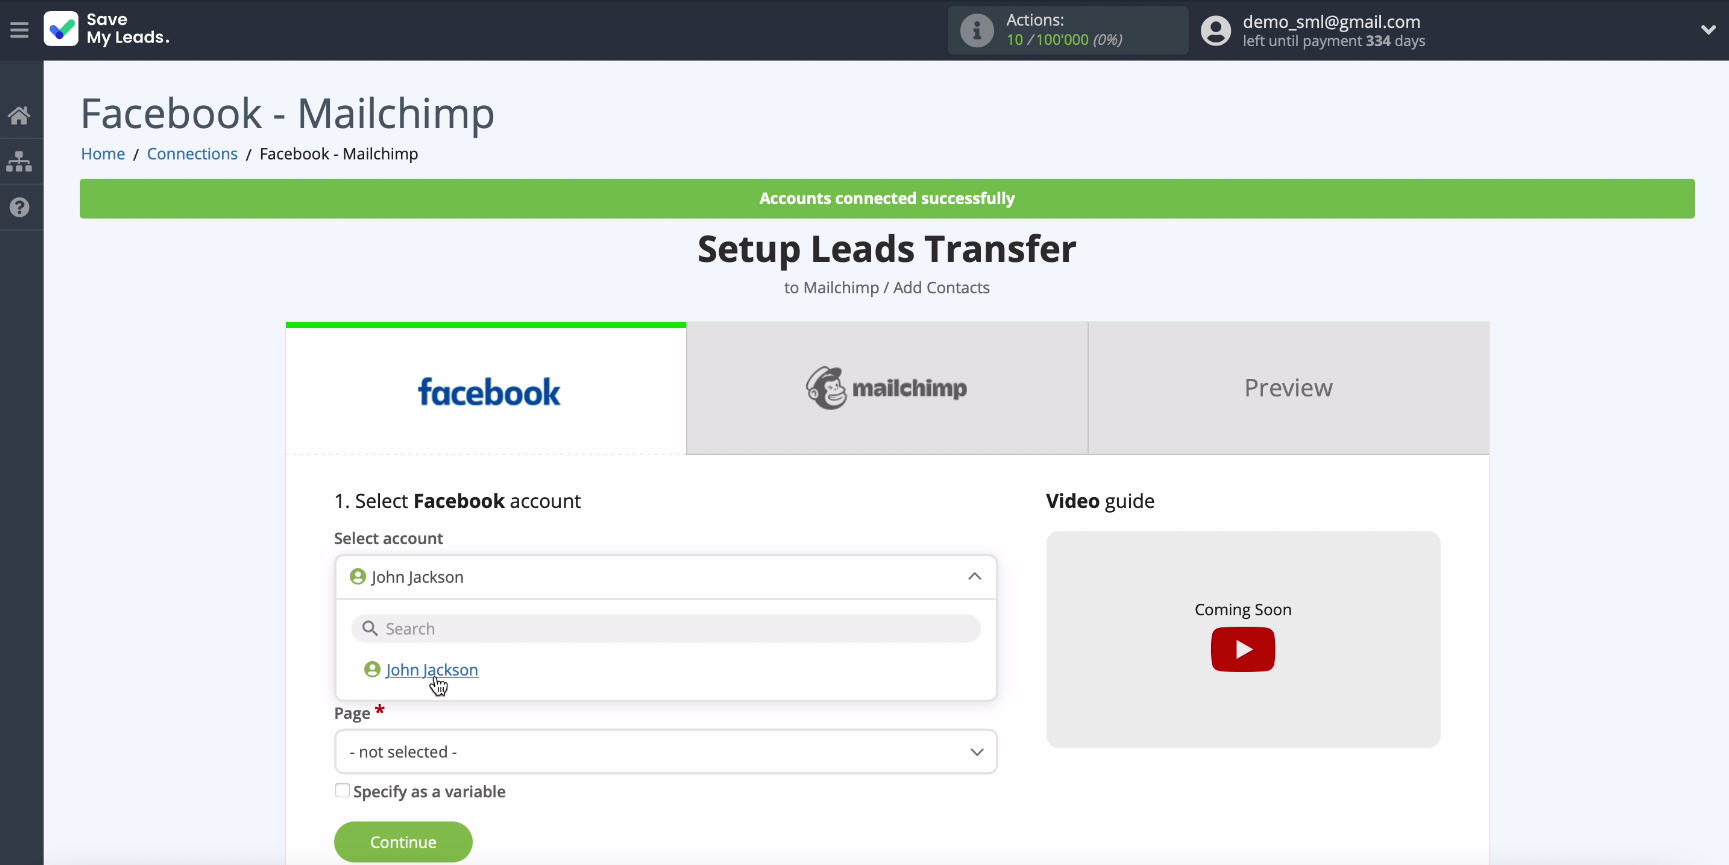
In the same window, select the advertising page on which you want to transfer leads.
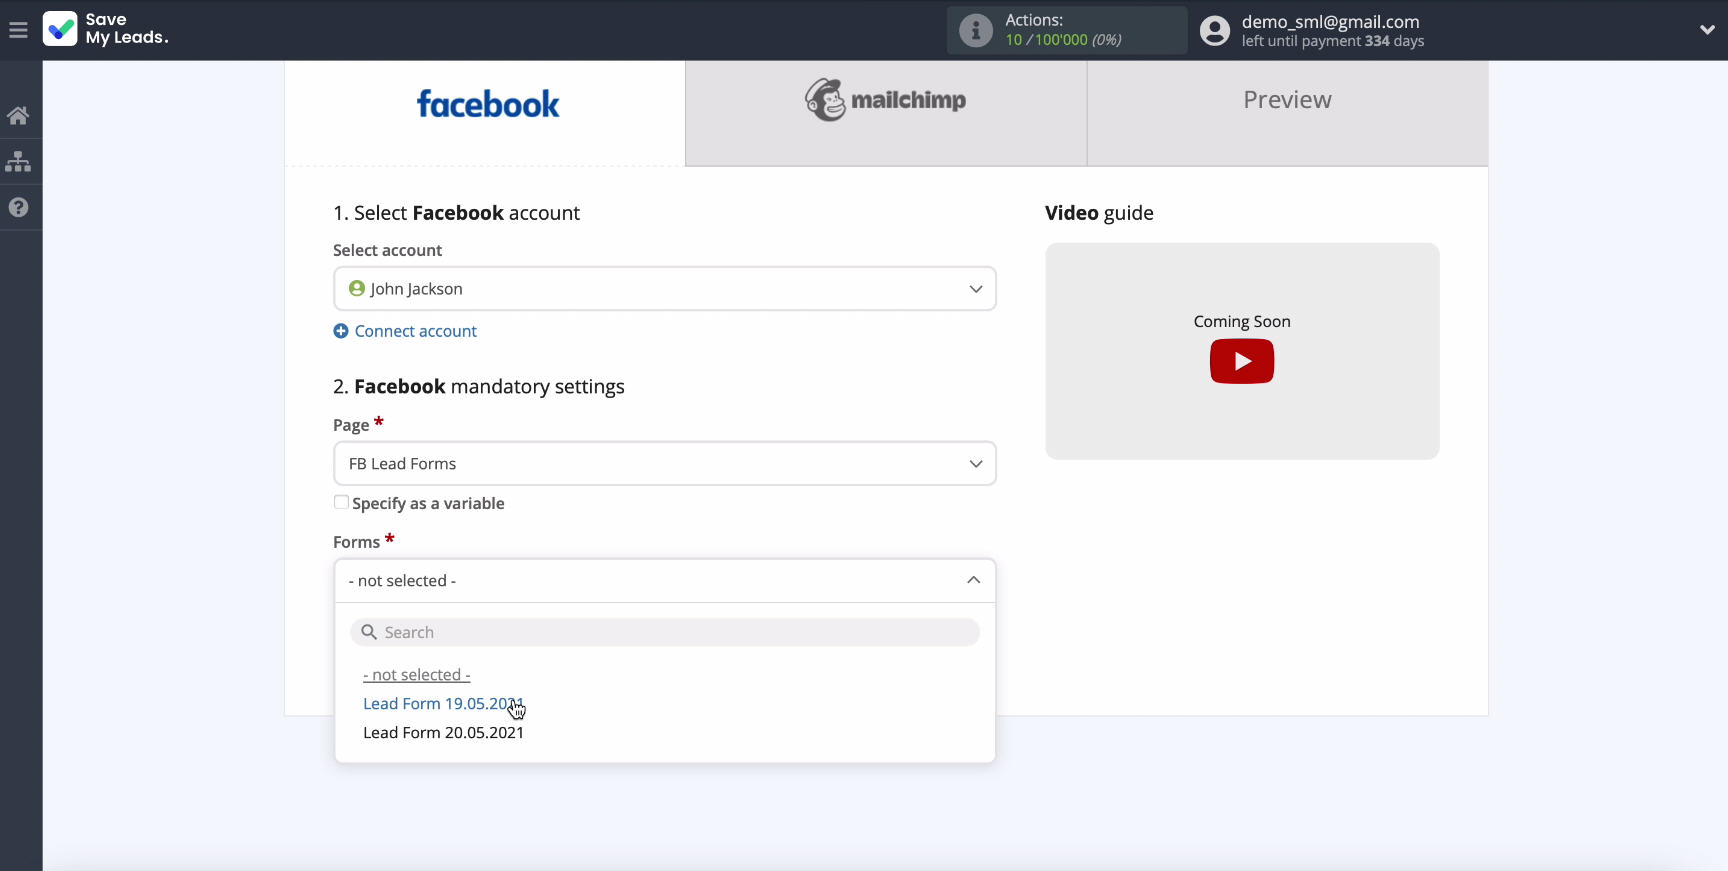
Now a new field will appear in the same window, in it you need to select the forms by which the data will be downloaded:
Connect Mailchimp
Now you need to connect your Mailchimp account to the SaveMyLeads system.
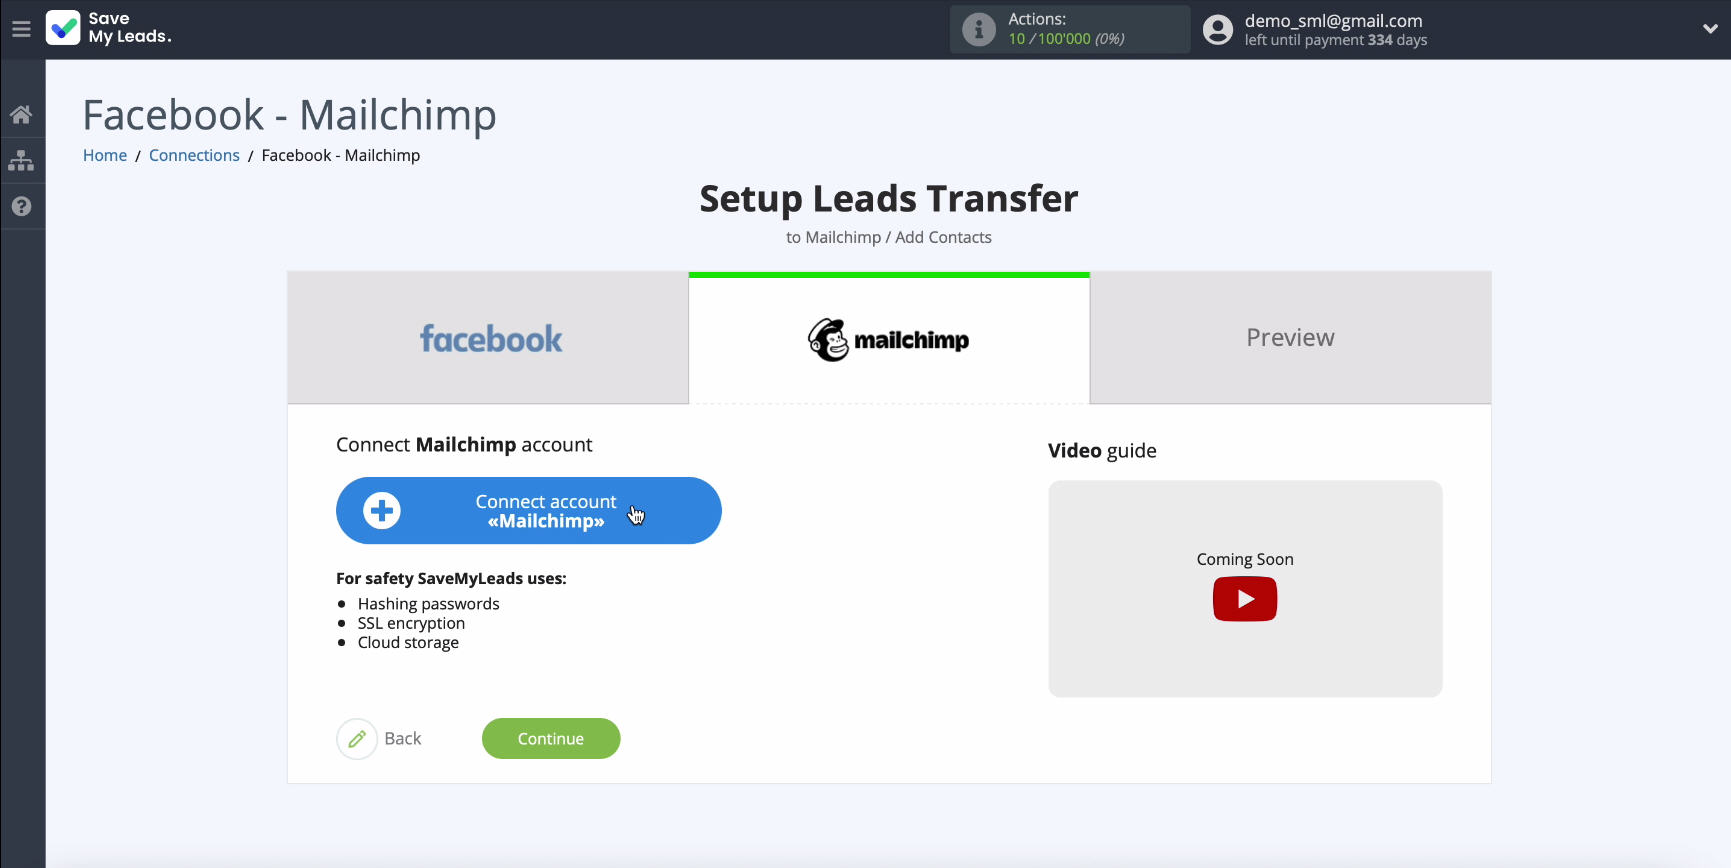
To continue the connection, you need to specify the API key in the window that appears. To get it, you need to go to your Mailchimp account.
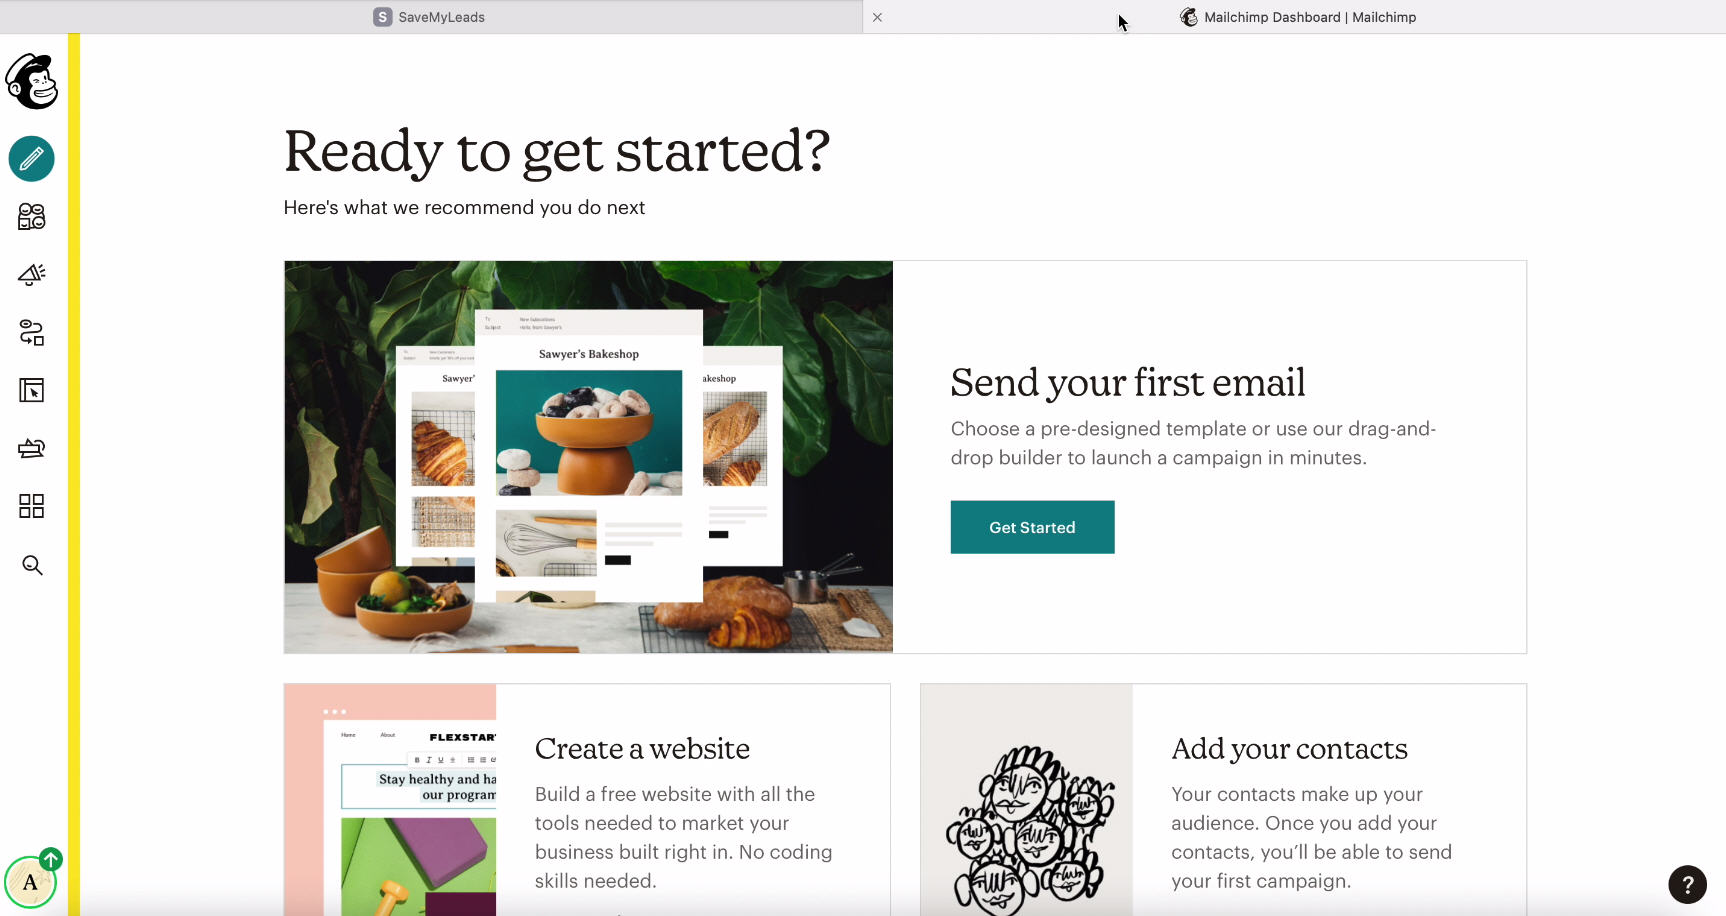
Enter your account profile:
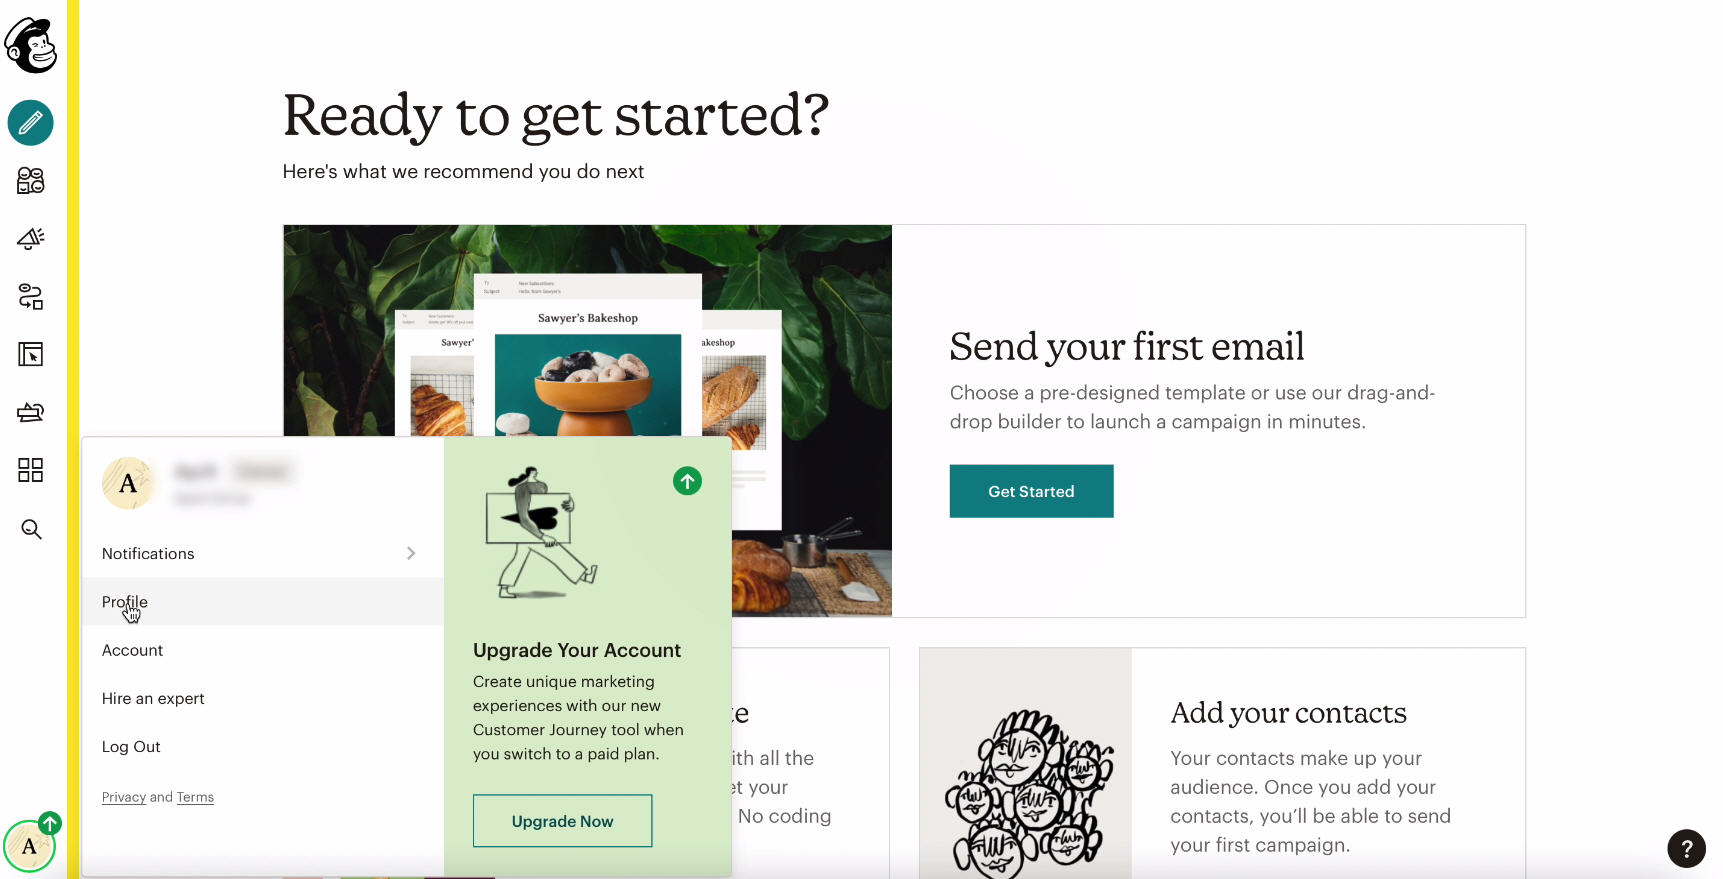
Go to Extras
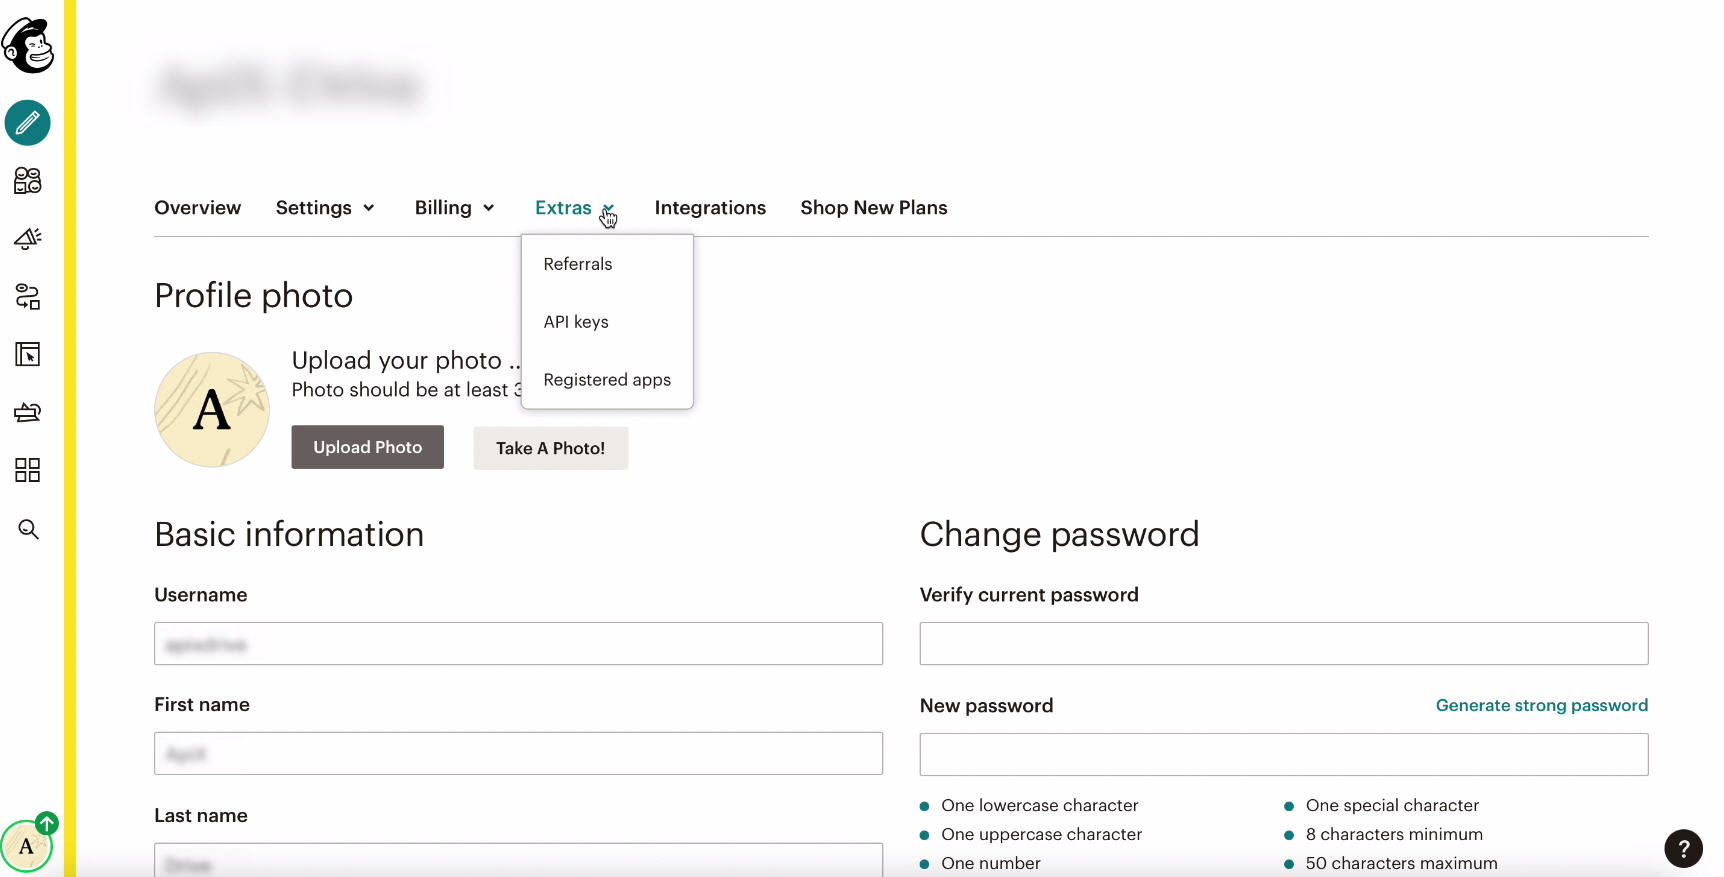
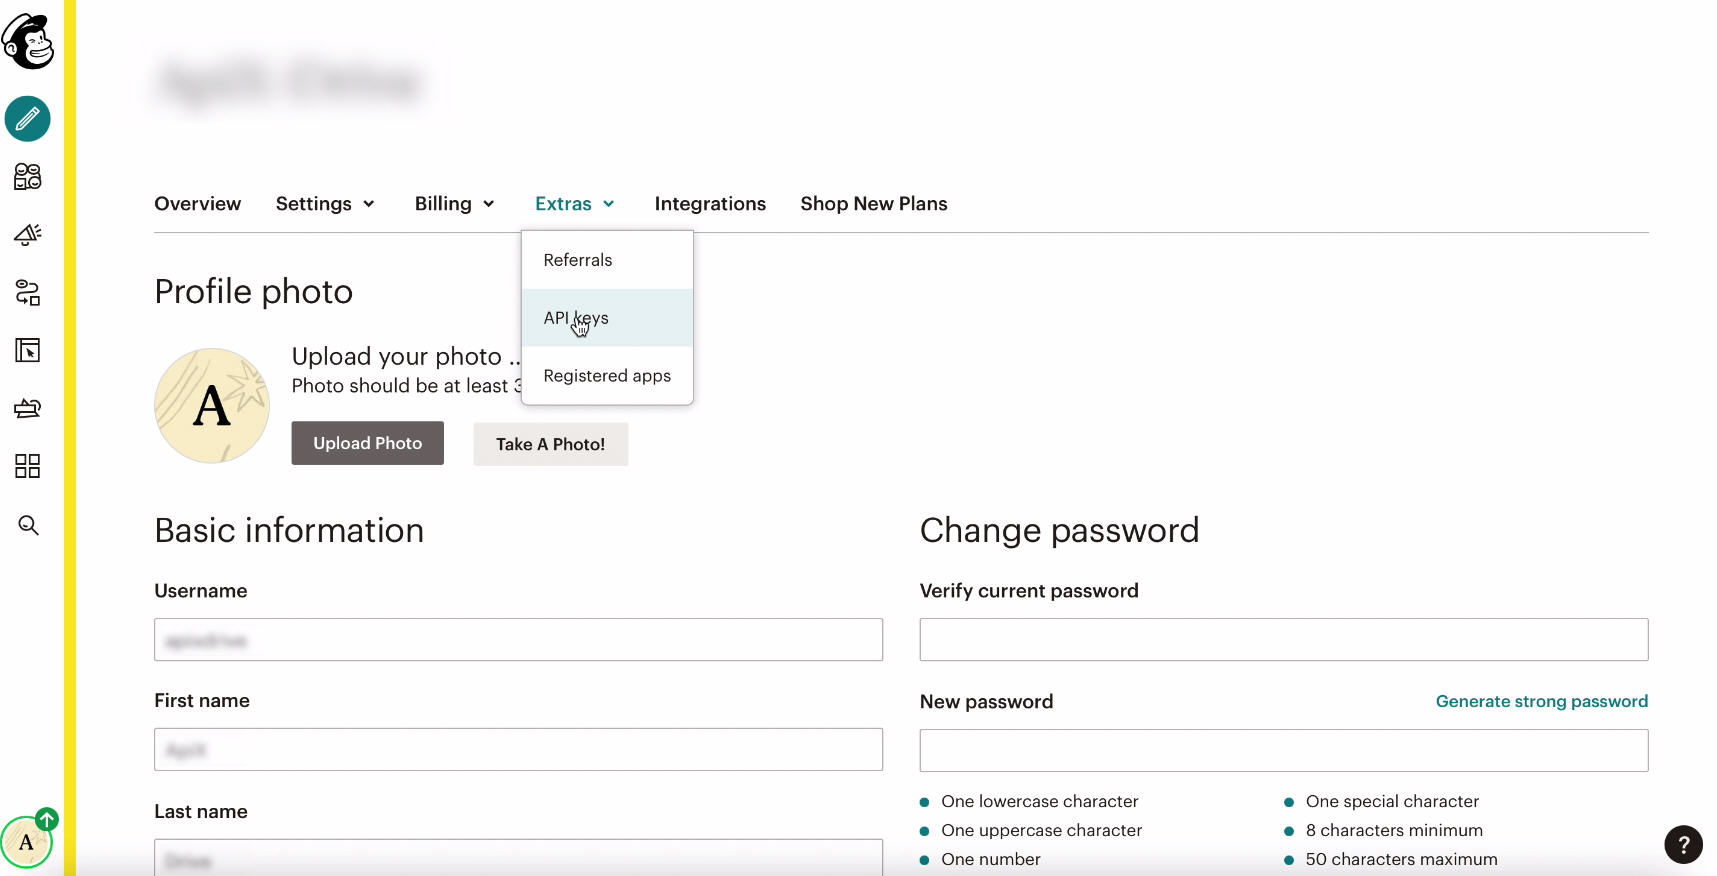
Under Extras from the drop-down list, select the "API-Keys" item:
In the event that if the API key is not created, click “Create a key” and create it.
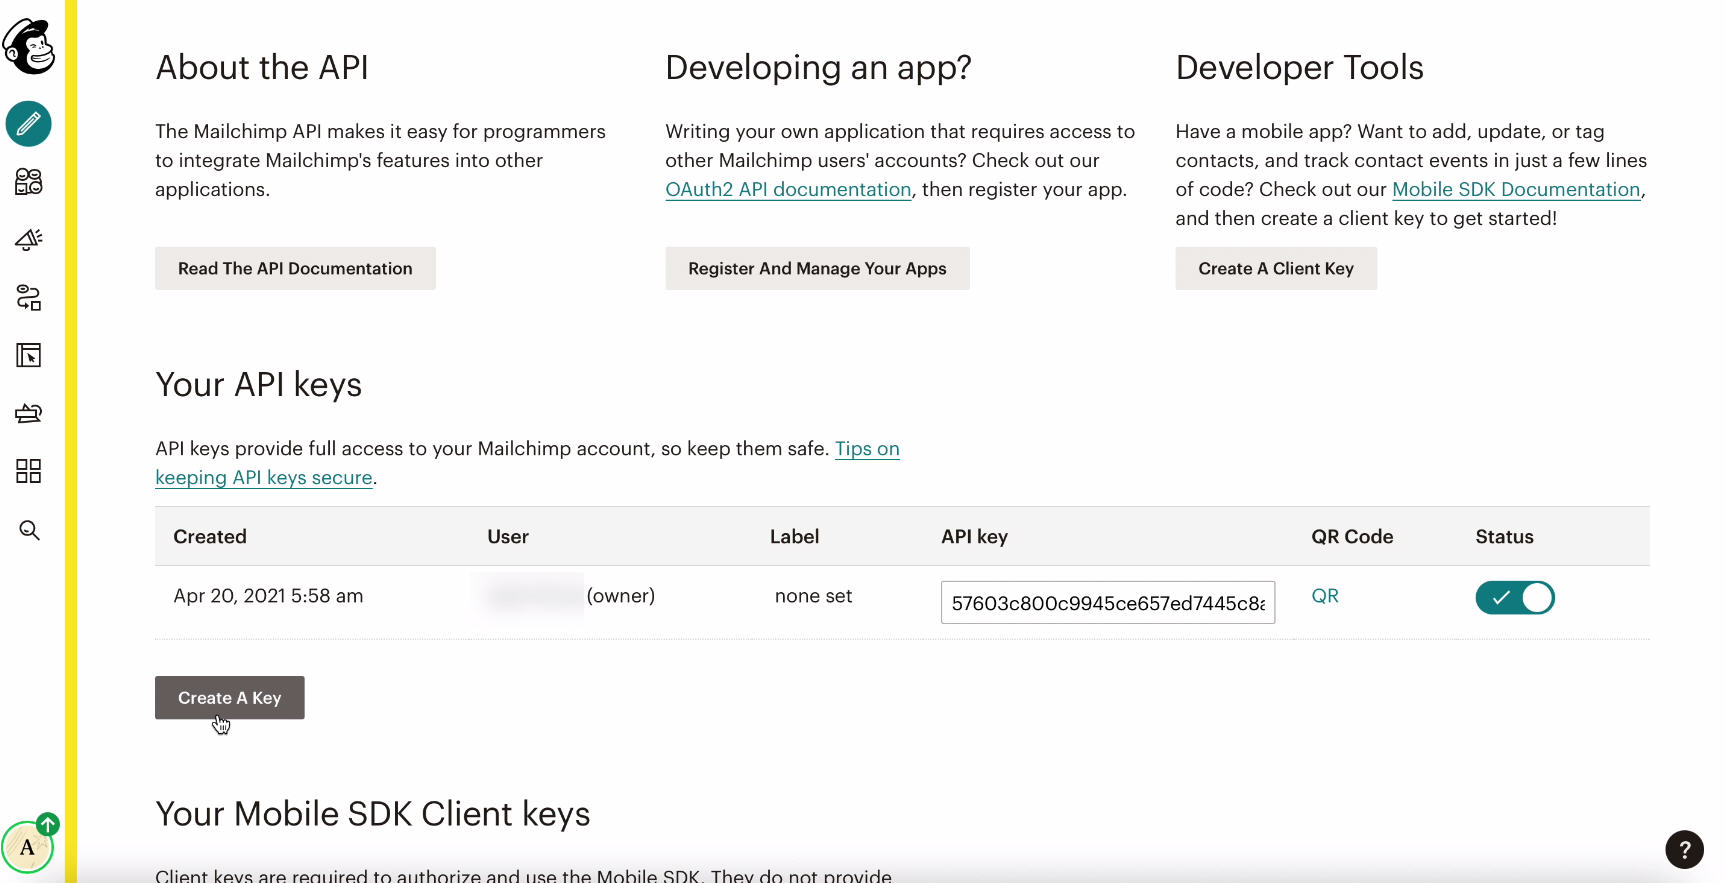
In the same window, look in the API key section, there may already be a generated key. If there is one, just copy it.
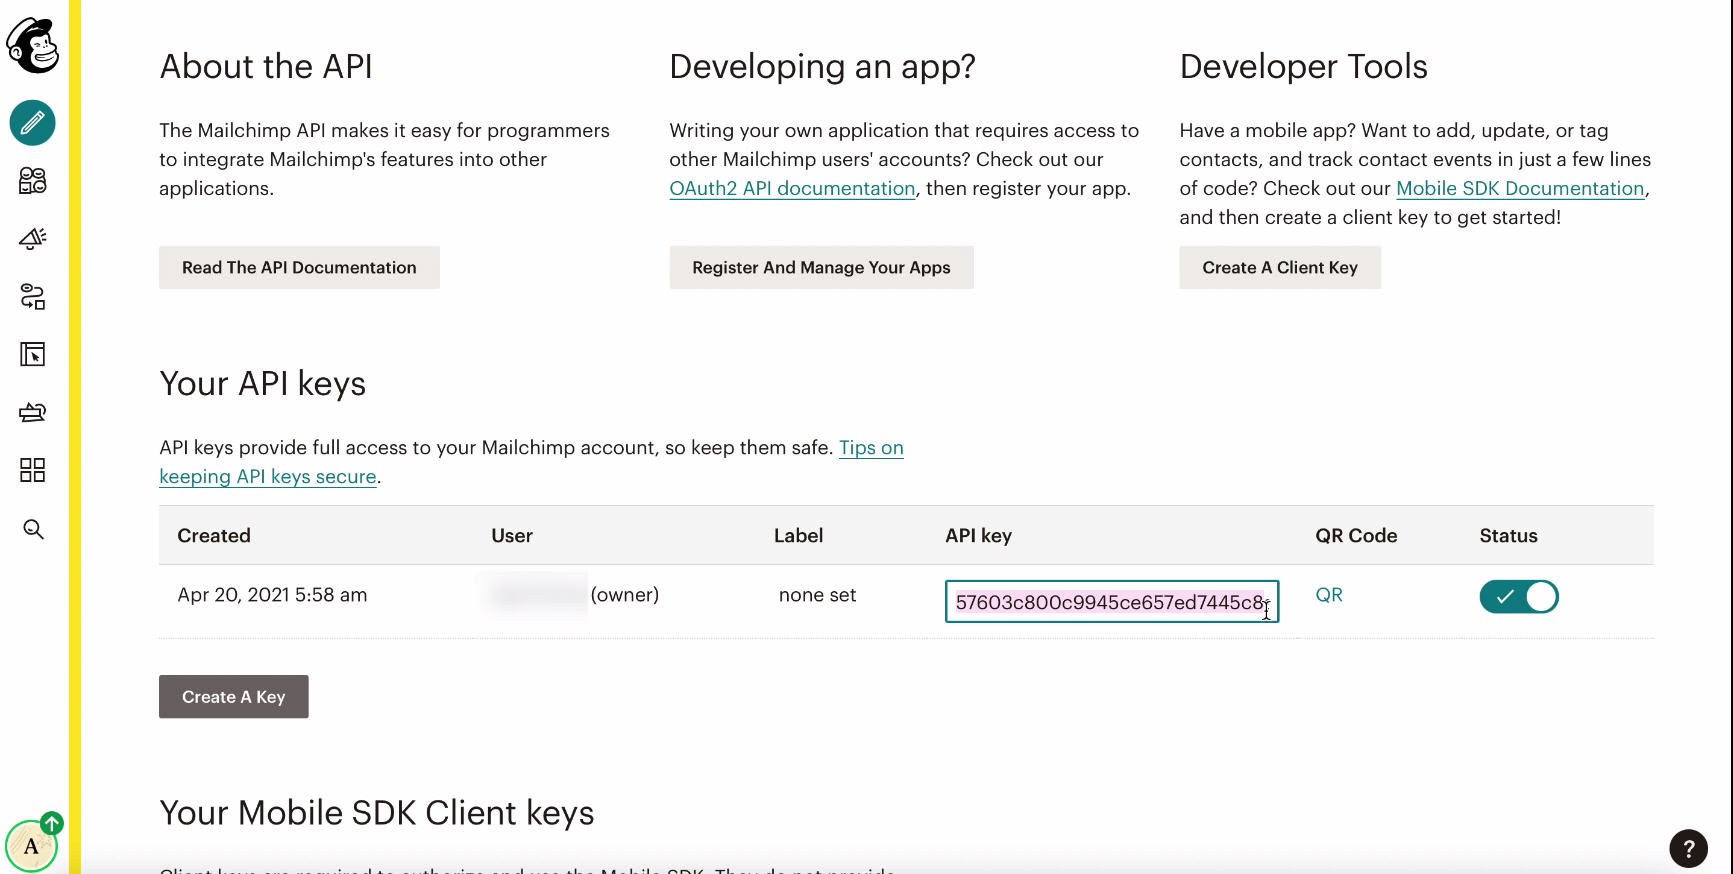
Return to the system tab SaveMyLeads and paste the copied key in the corresponding field, click the Save button.
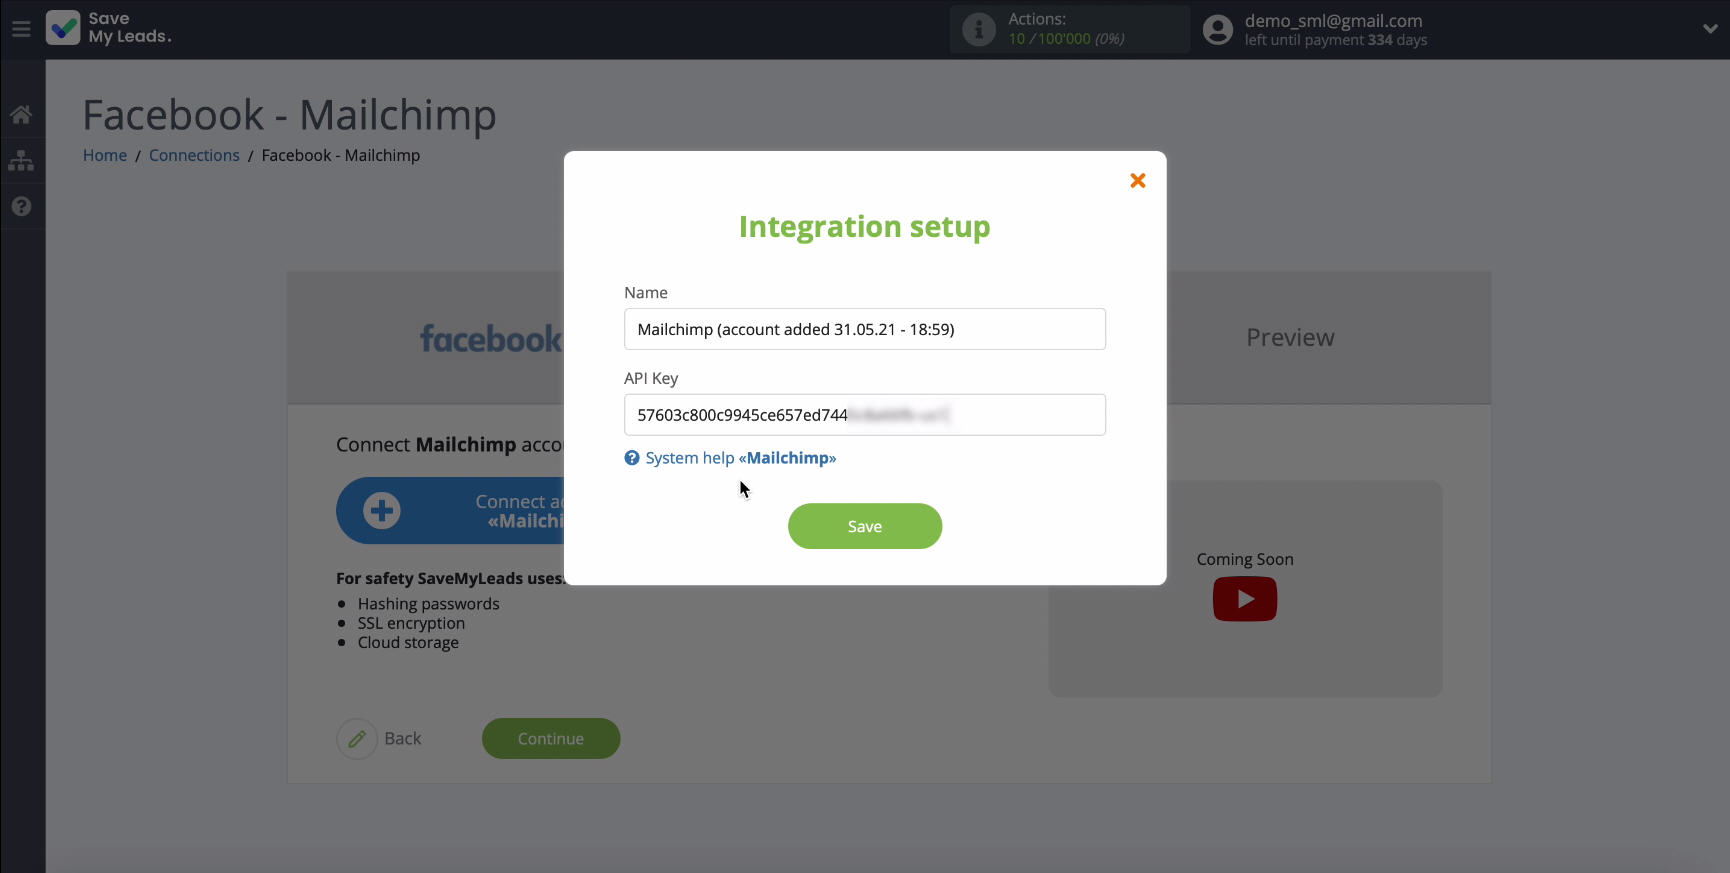
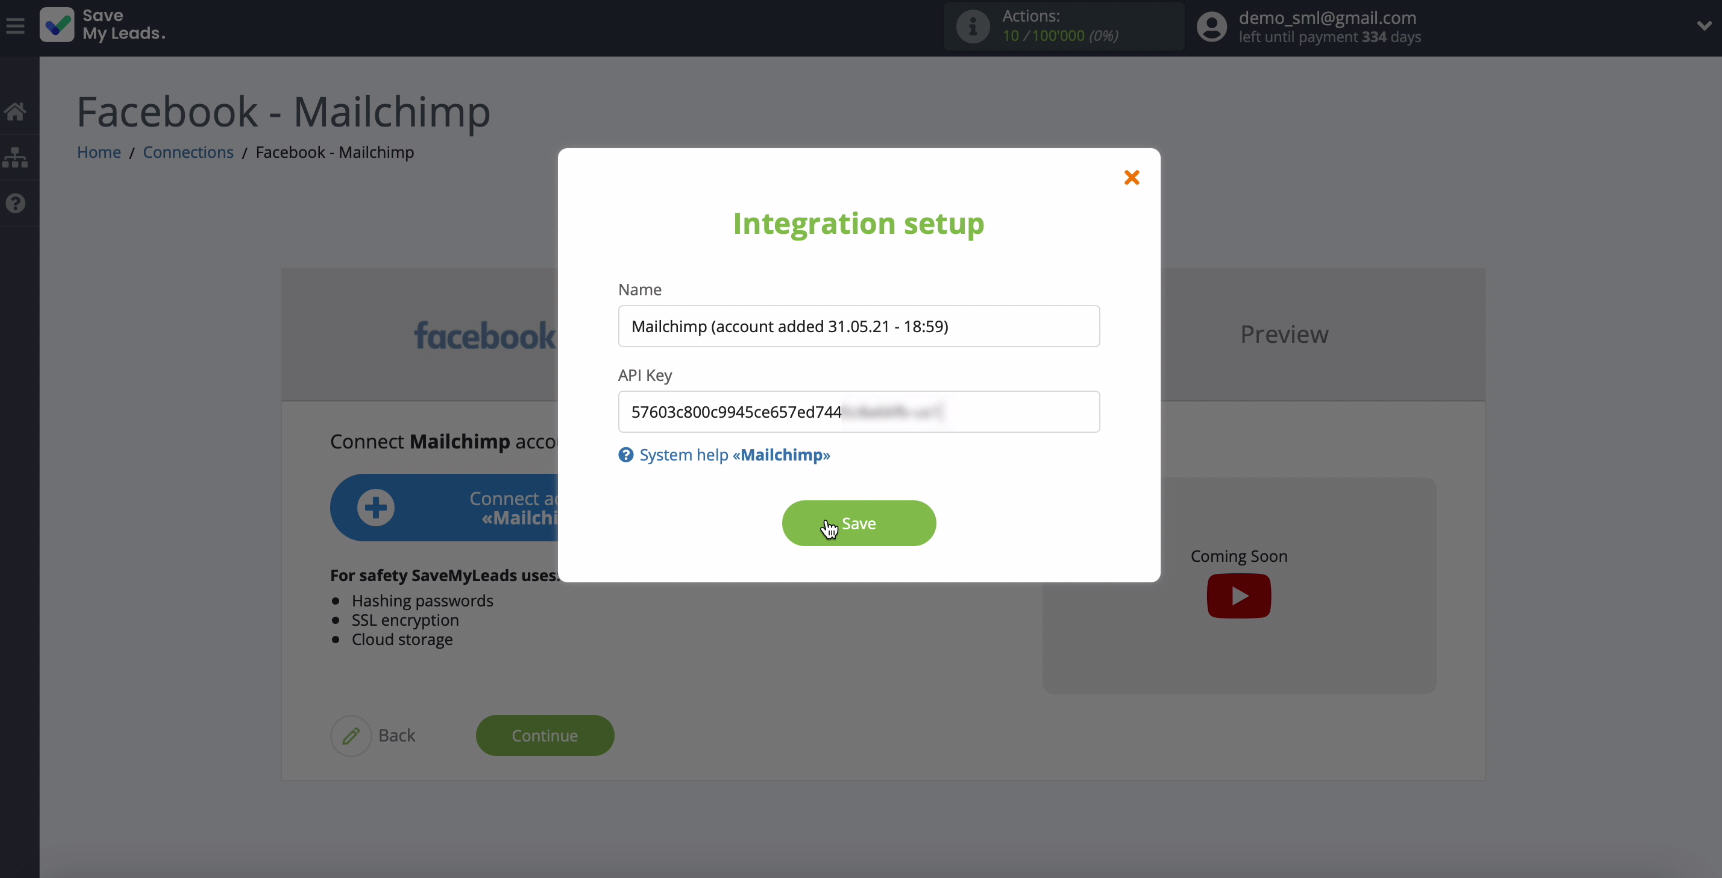
The connected account will be displayed in the window that appears, select it.
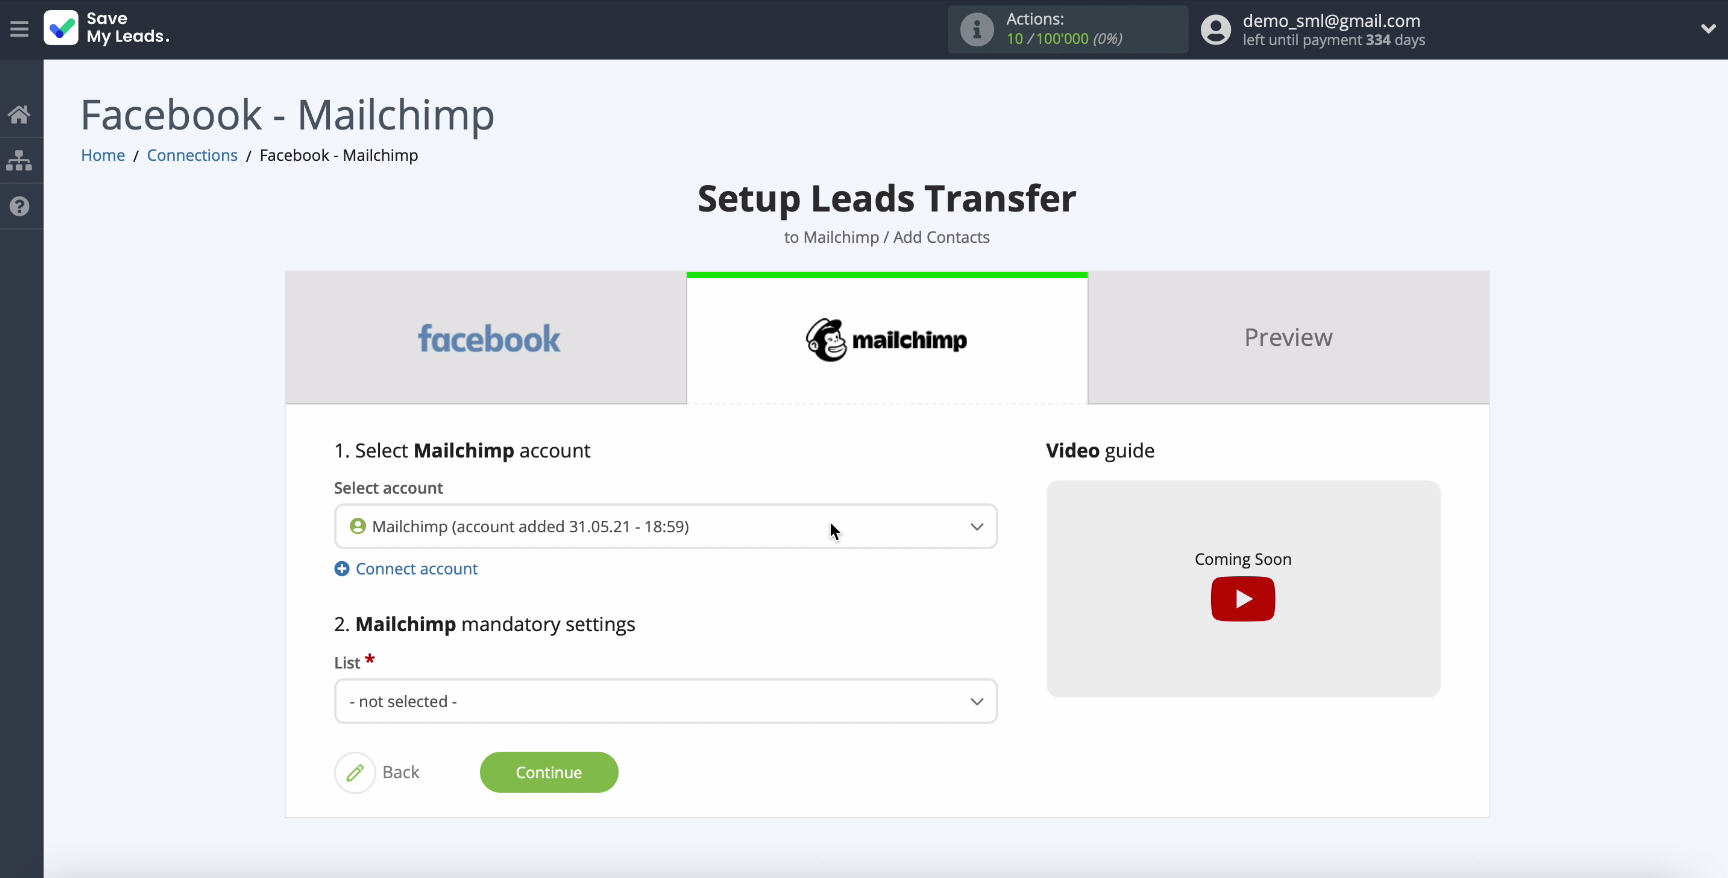
In the same window, in the corresponding field, select the List, to which you will add new contacts when leads appear in your Facebook advertising account.
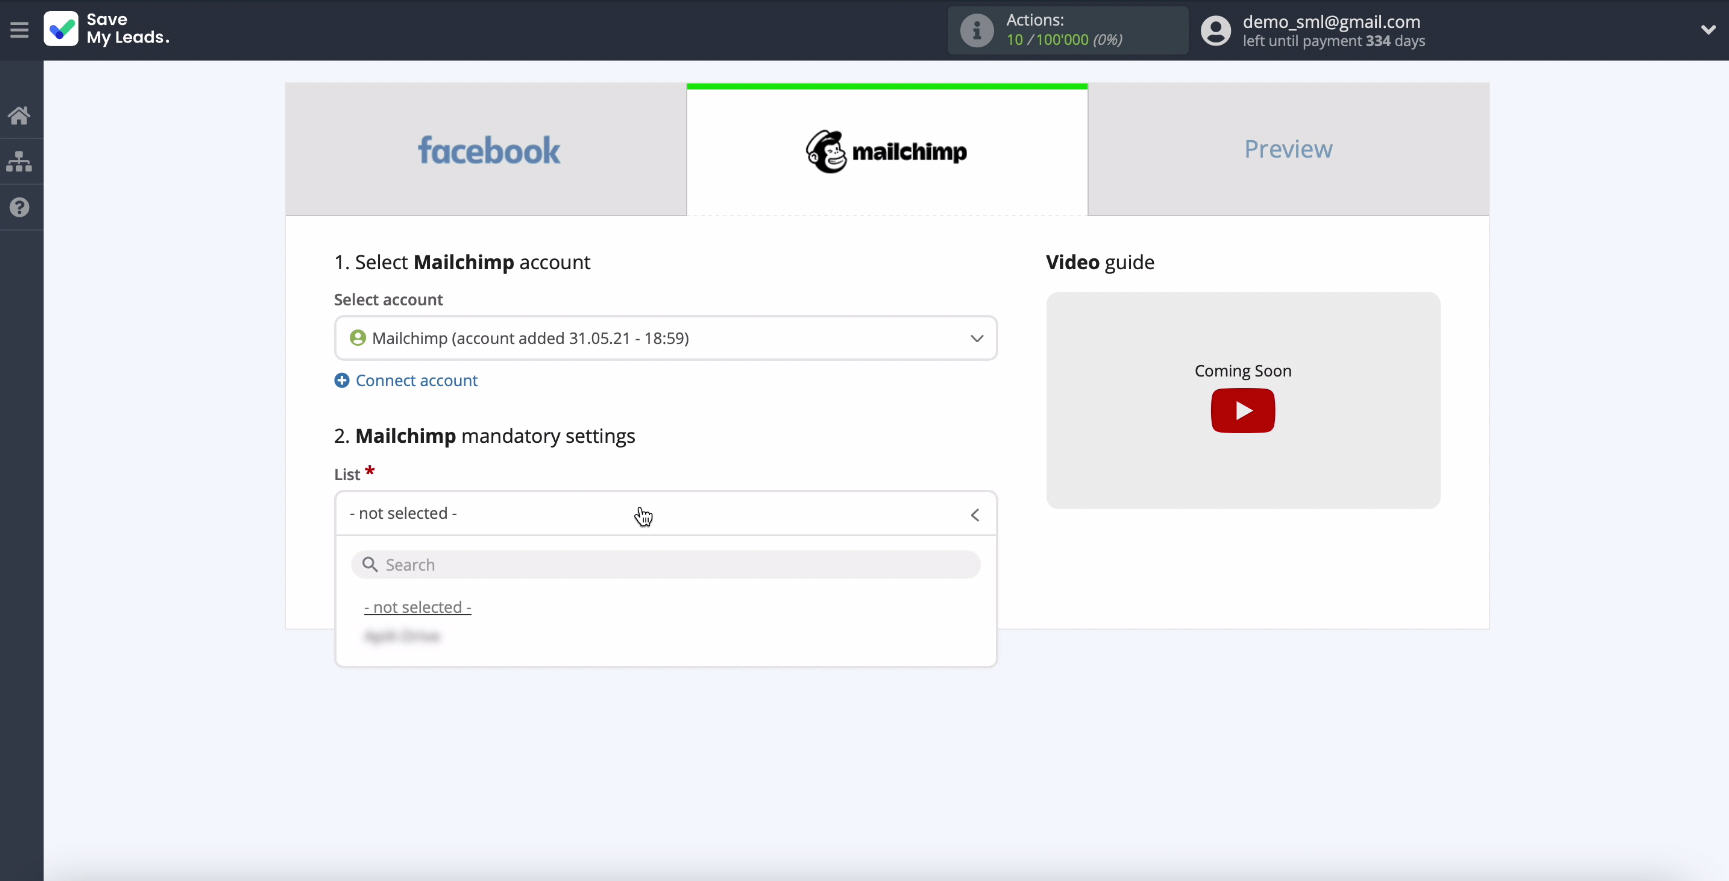
Here you can also set Mailchimp fields - variables from Facebook. To do this, click in the corresponding empty field and select a variable from the drop-down list
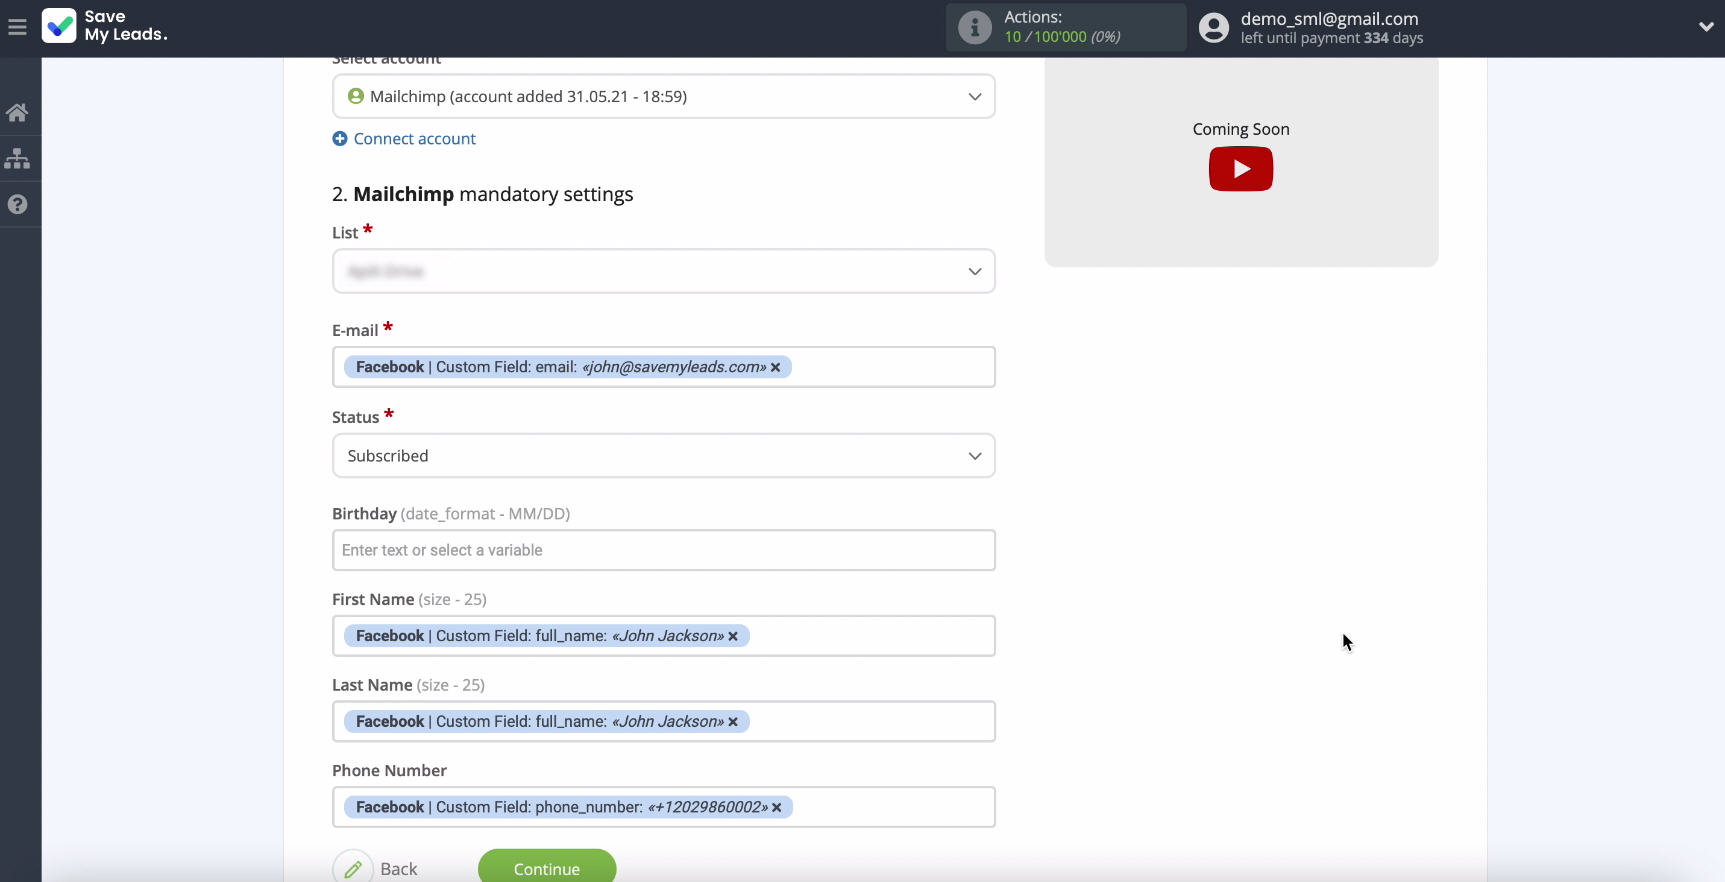
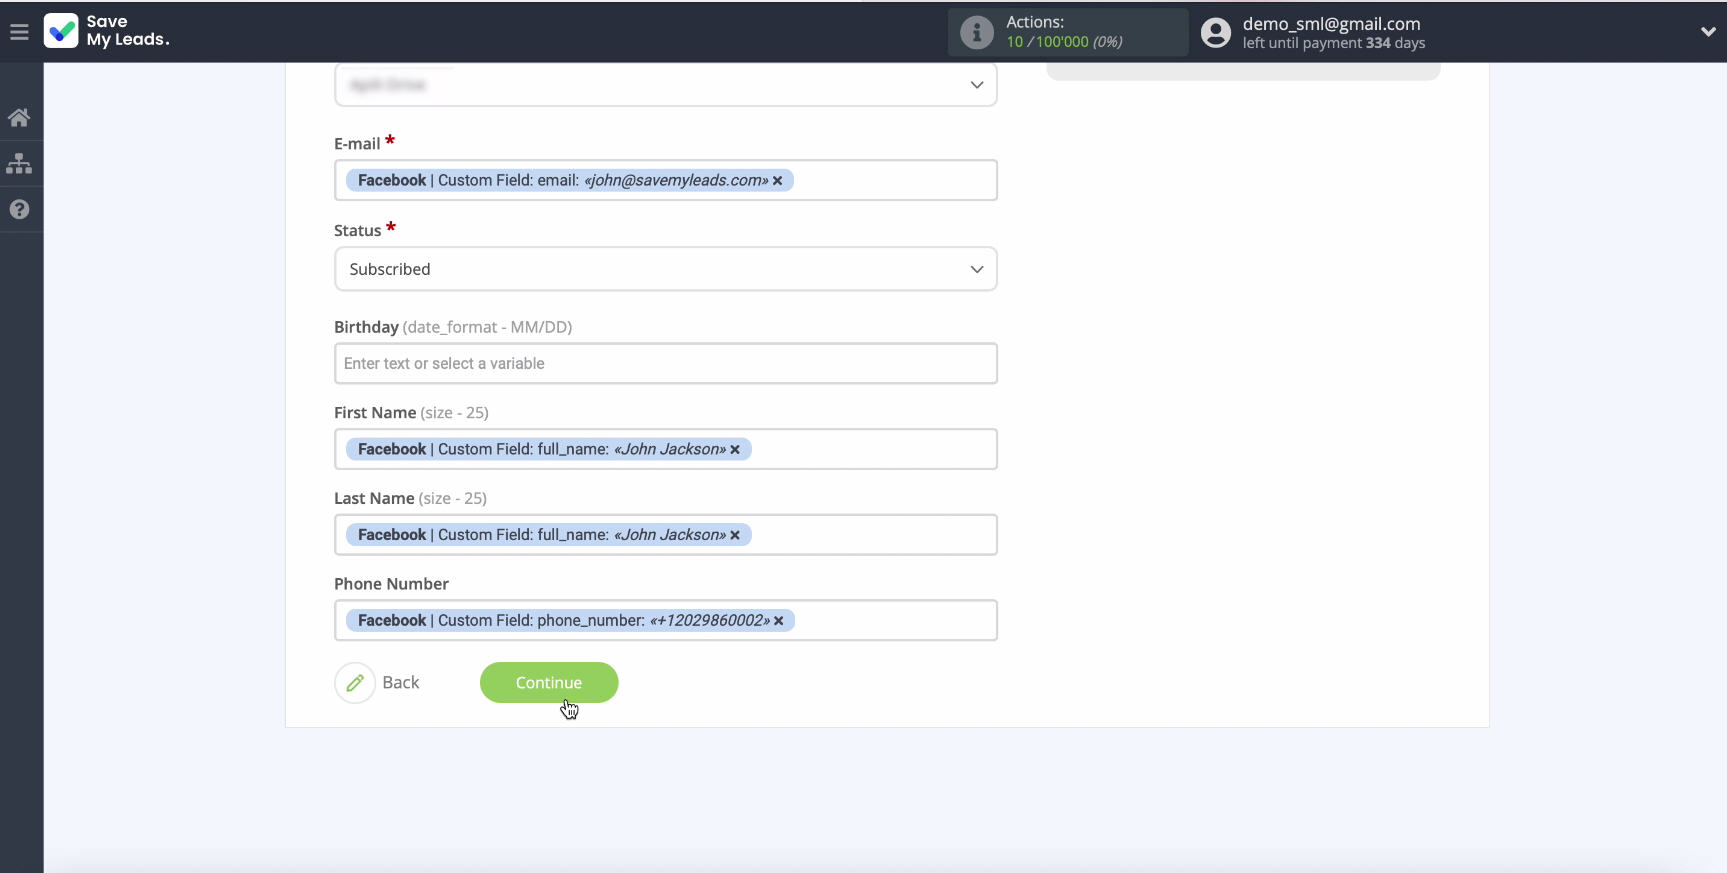
If the initial presets suit you, you can leave them unchanged and continue the settings by clicking Continue:
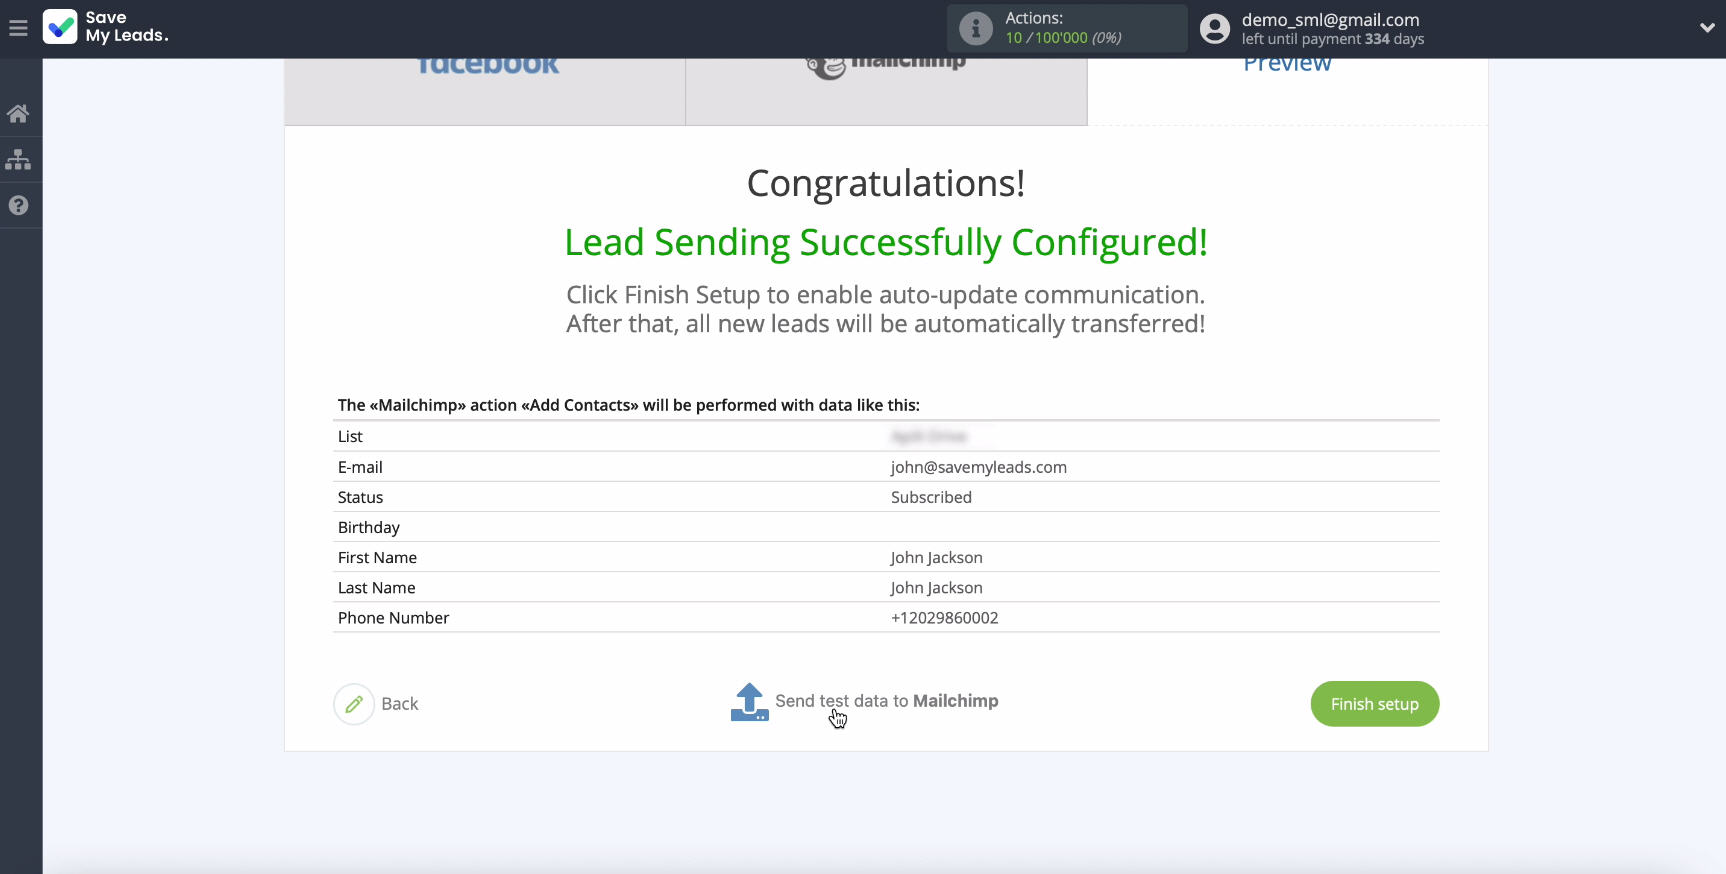
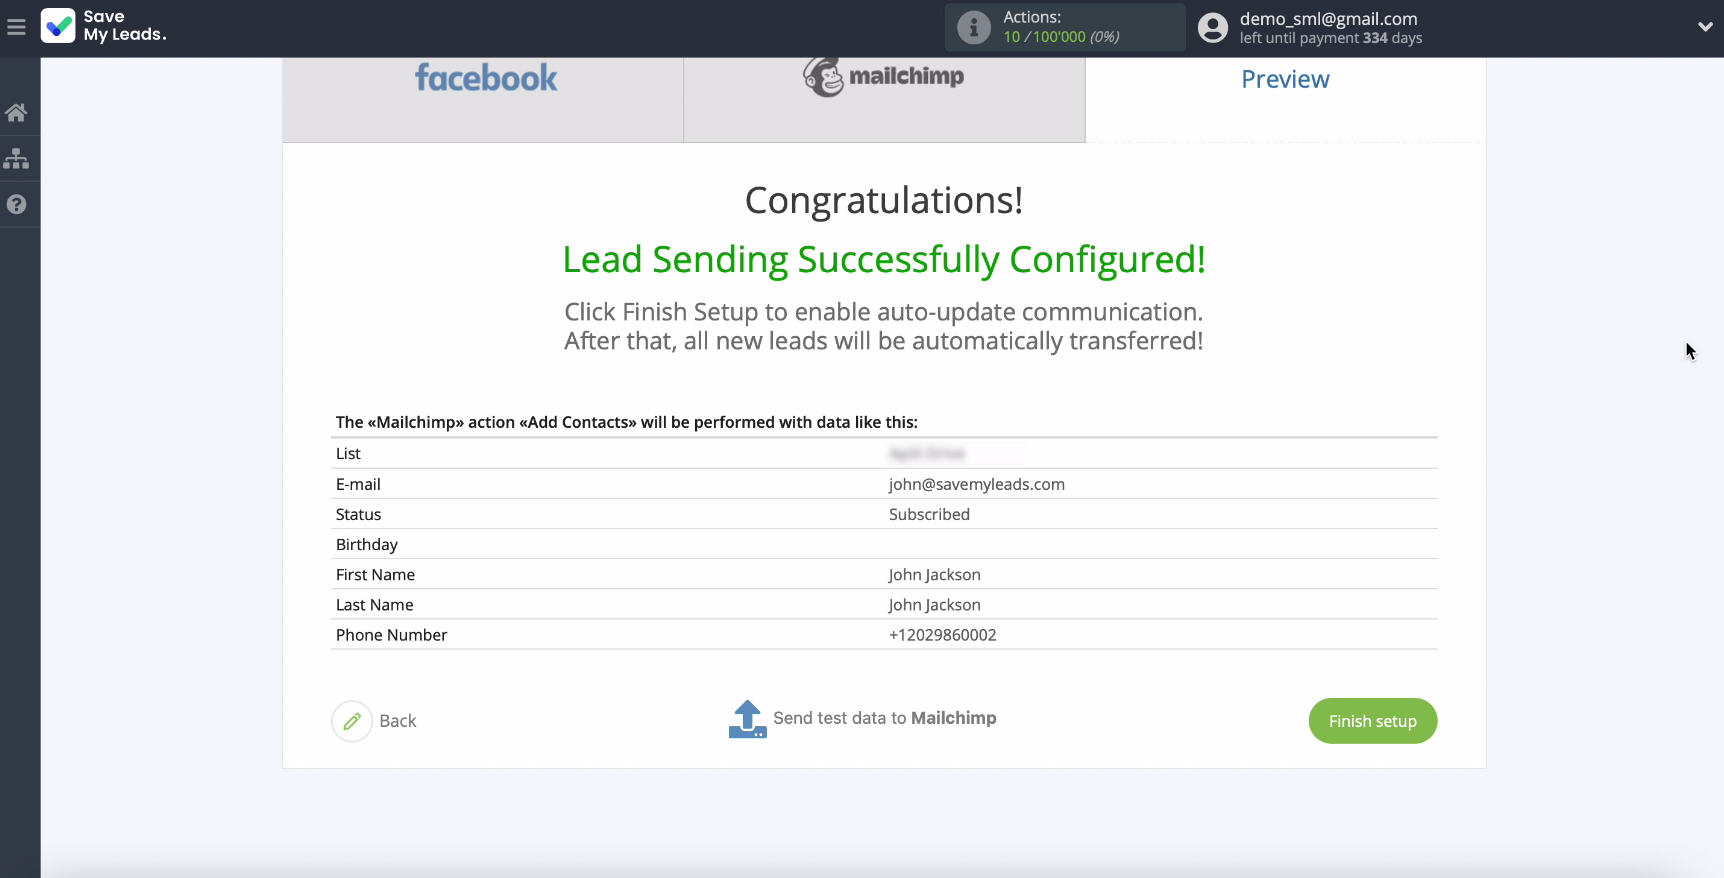
In the window that appears, you will see an example of the filled fields with data from Facebook.
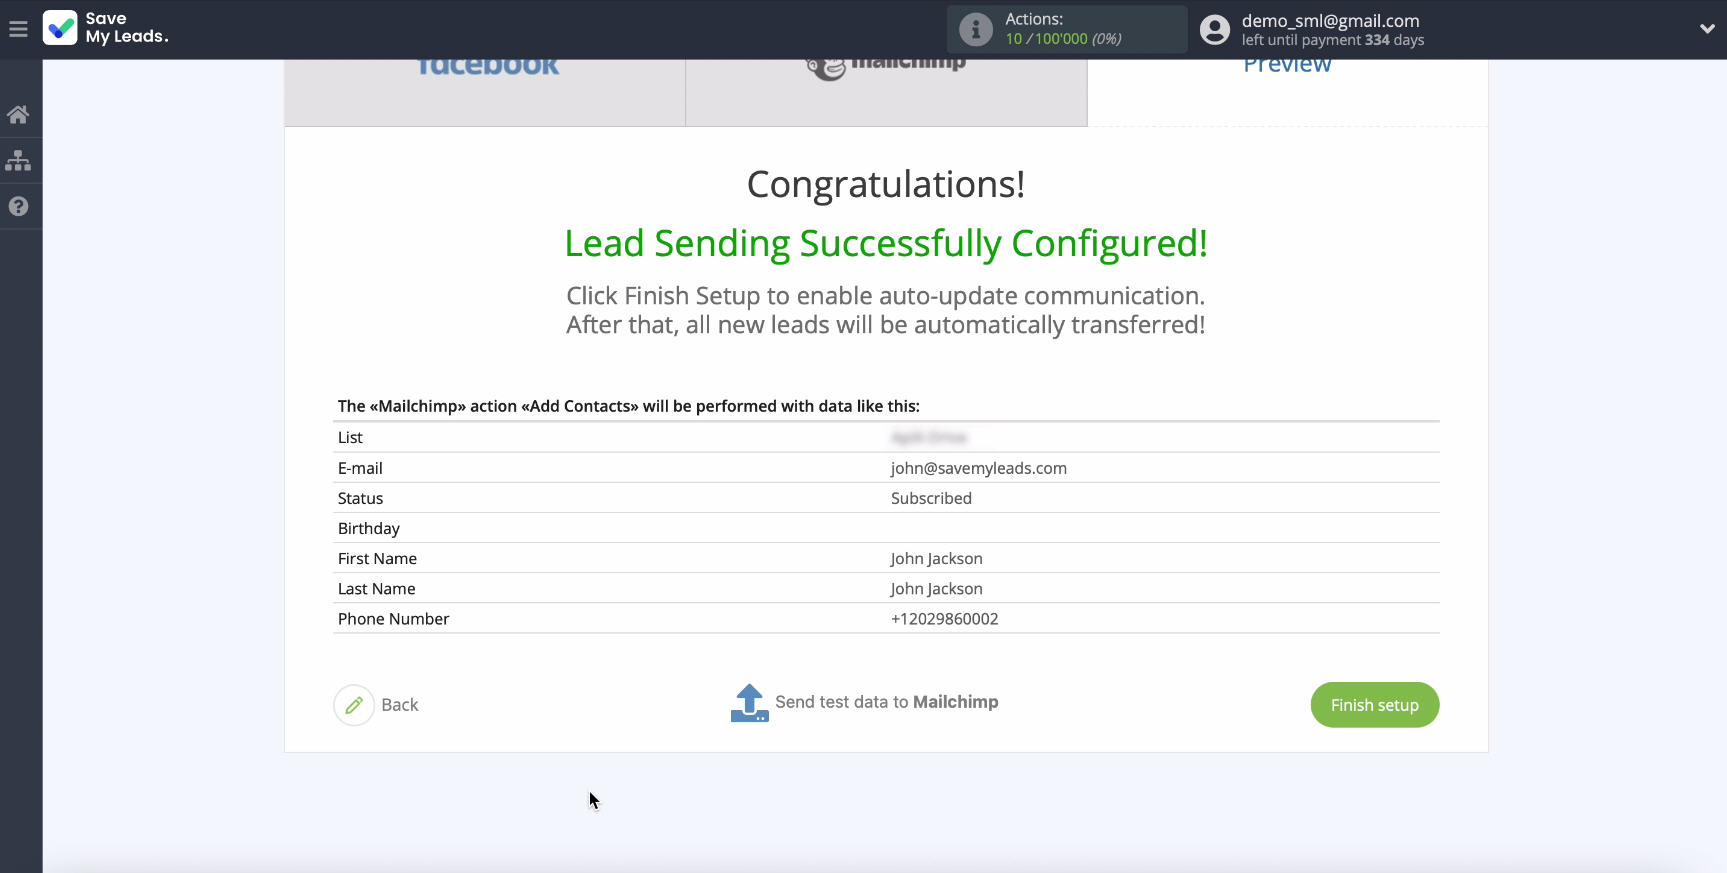
If you want to check the correctness of the settings, click Send Test Data to Mailchimp.
Go to your Mailchimp account and check the result:
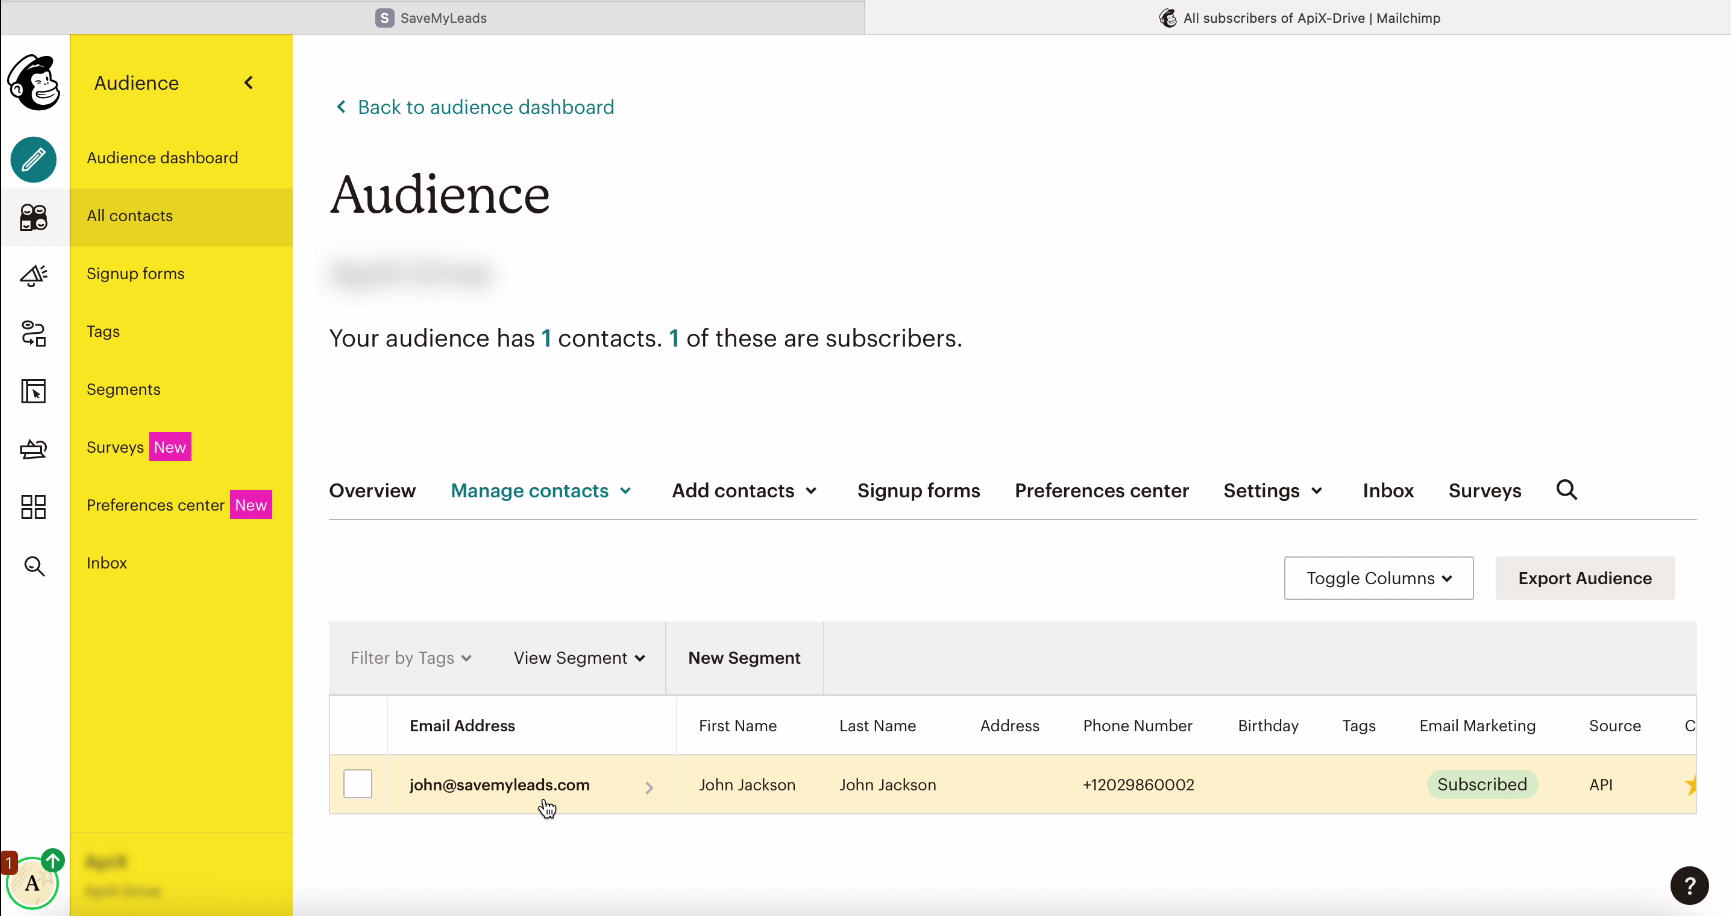
If the result satisfies you, return to the SaveMyLeads and continue with the configuration.
Automatic data update
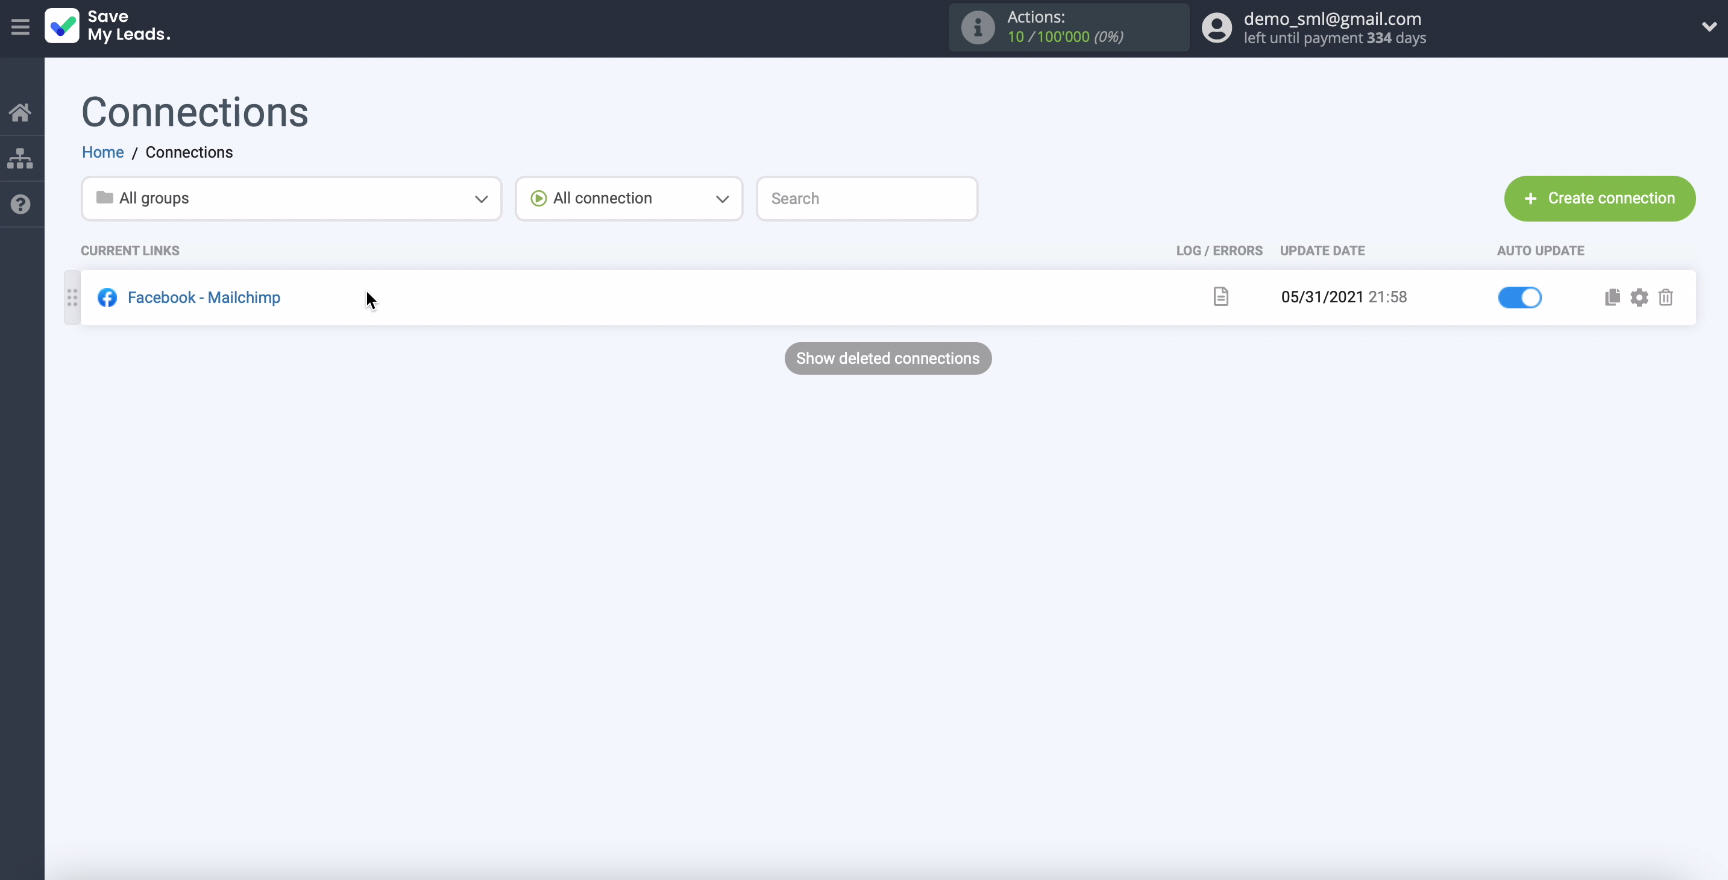
To complete the configuration and enable auto-update of the connection, so that all new leads from Facebook are instantly added to the List for emailing in Mailchimp, click Finish Setup.
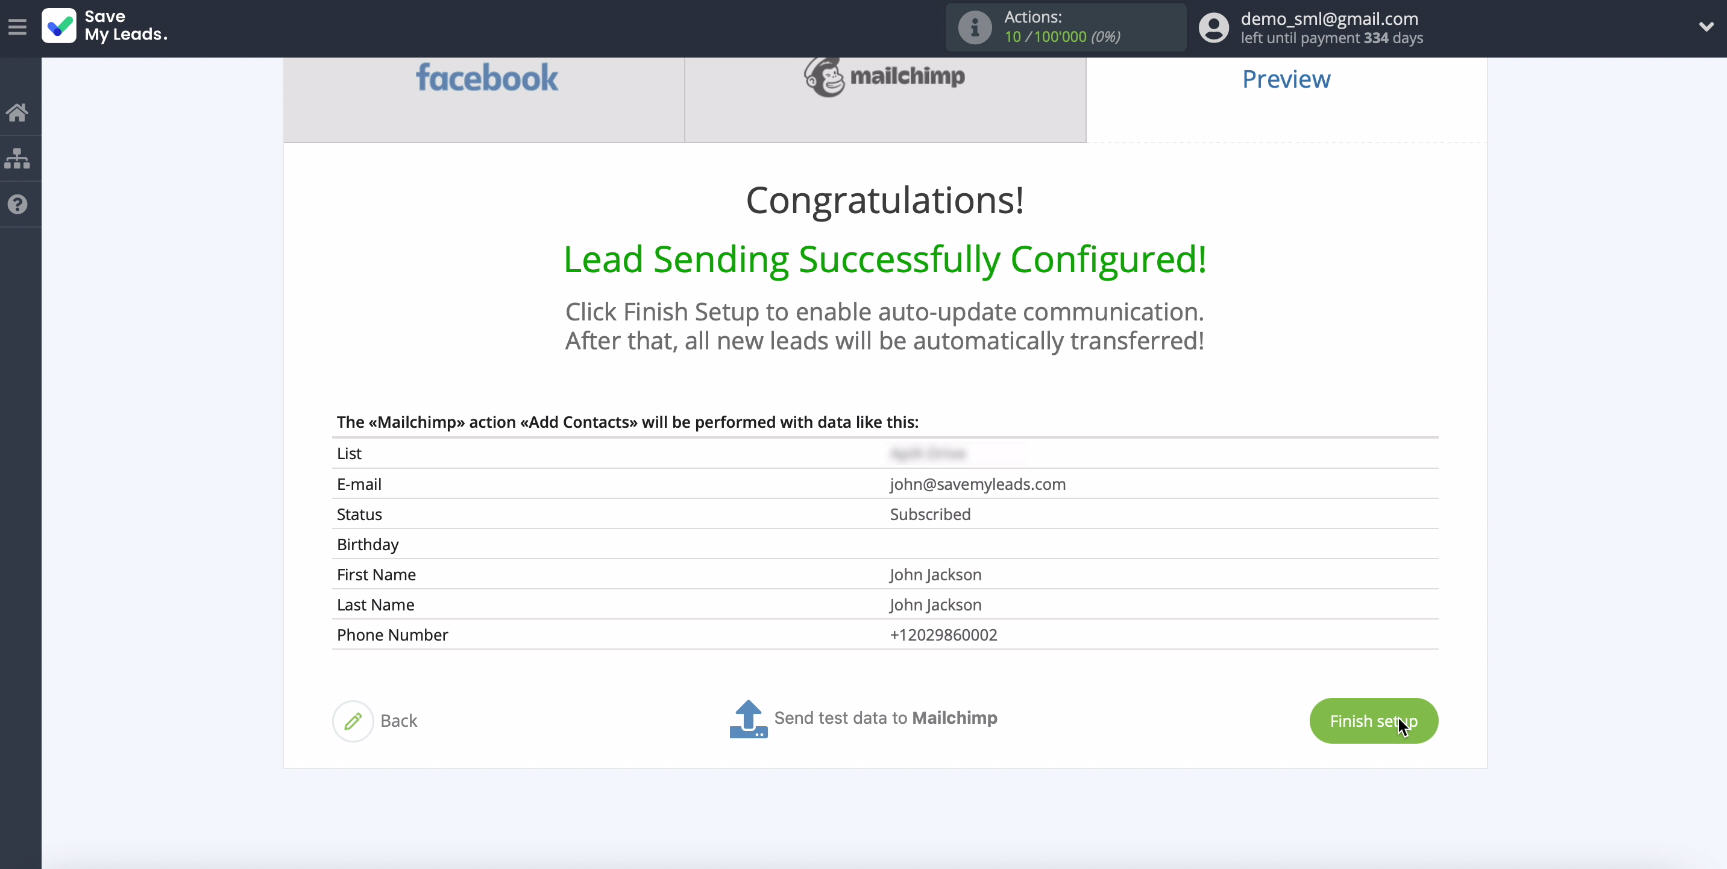
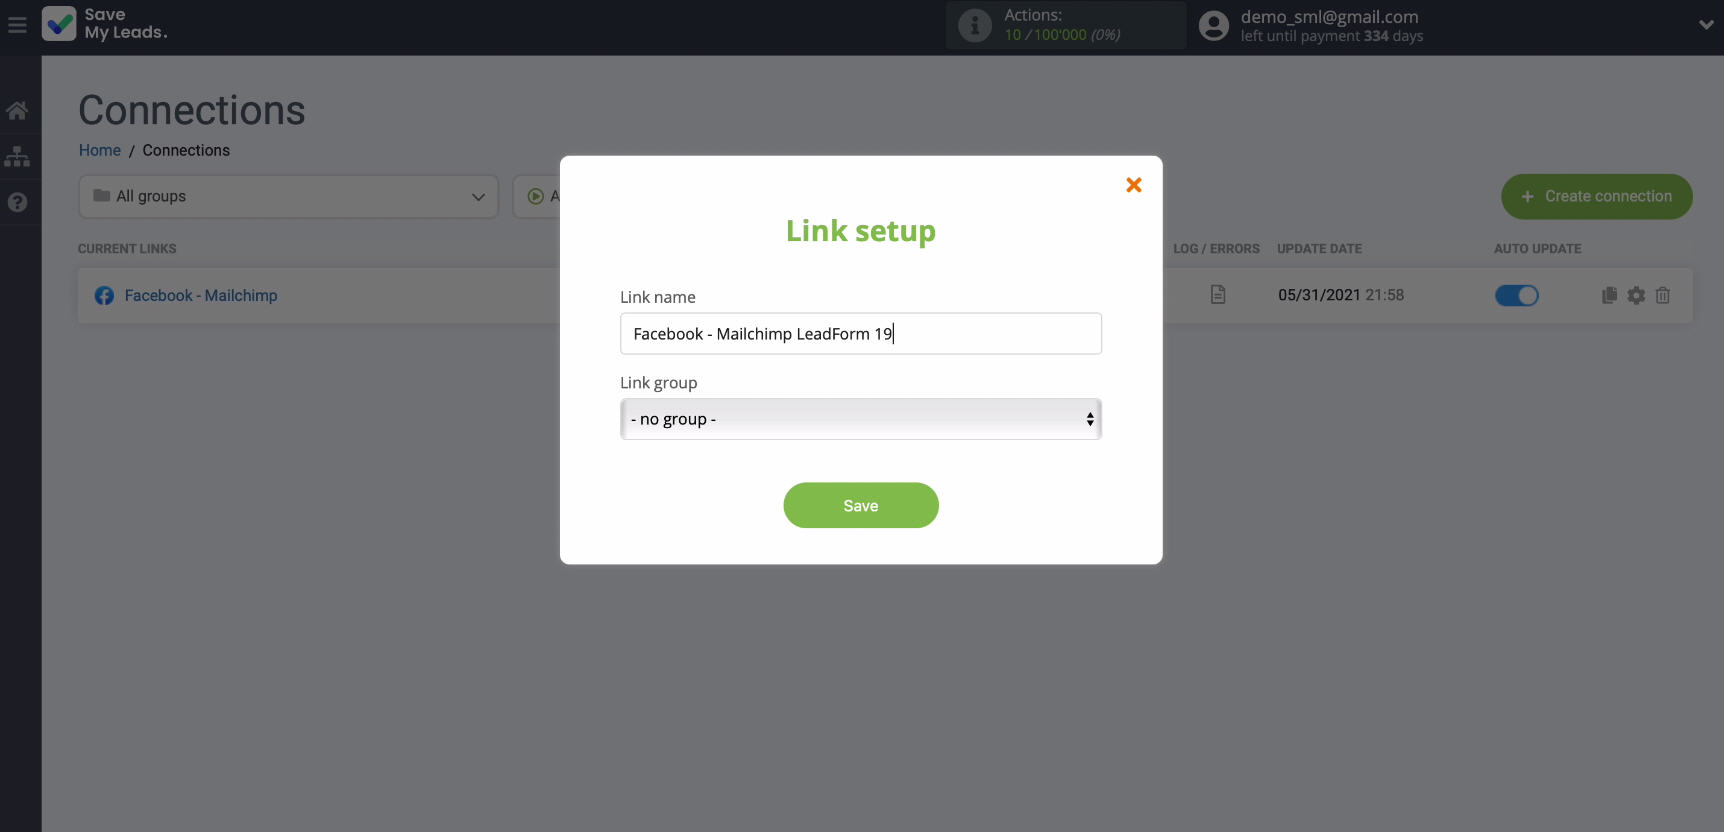
In the auto-update setup window, you can change the name of the link if necessary.
Conclusion
To set up automatic mailing of letters to leads who have responded to your Facebook ad, it will take no more than 5 minutes of your time. Thanks to the intuitive interface of the SaveMyLeads connector, you or your employees can easily set up the unloading of leads from the Facebook ad account. But if you still have any questions about working with this service, please contact SaveMyLeads specialists, they will be happy to help.
