Now all leads received through the popular social network are automatically copied to Notion – a convenient service for storing and organizing data. It's quick, easy and no code.
Content:
1. How to transfer leads from Facebook to Notion
2. Sign up SaveMyLeads
3. Connect Facebook Leads Ads
4. Connect Notion
5. Check the results
6. Finish the setup
How to transfer leads from Facebook to Notion
Thanks to automatic data transfer, each new lead will be stored in the list inside Notion. It is convenient to store and process a wide variety of information in this service, and leads are no exception. You can structure, sort and arrange them in every possible way, as well as quickly find the data you need using the built-in search. Just like in CRM.
You decide which details of each lead will be uploaded. This can be a phone number, email, name and any other data left by the user in the Facebook form.
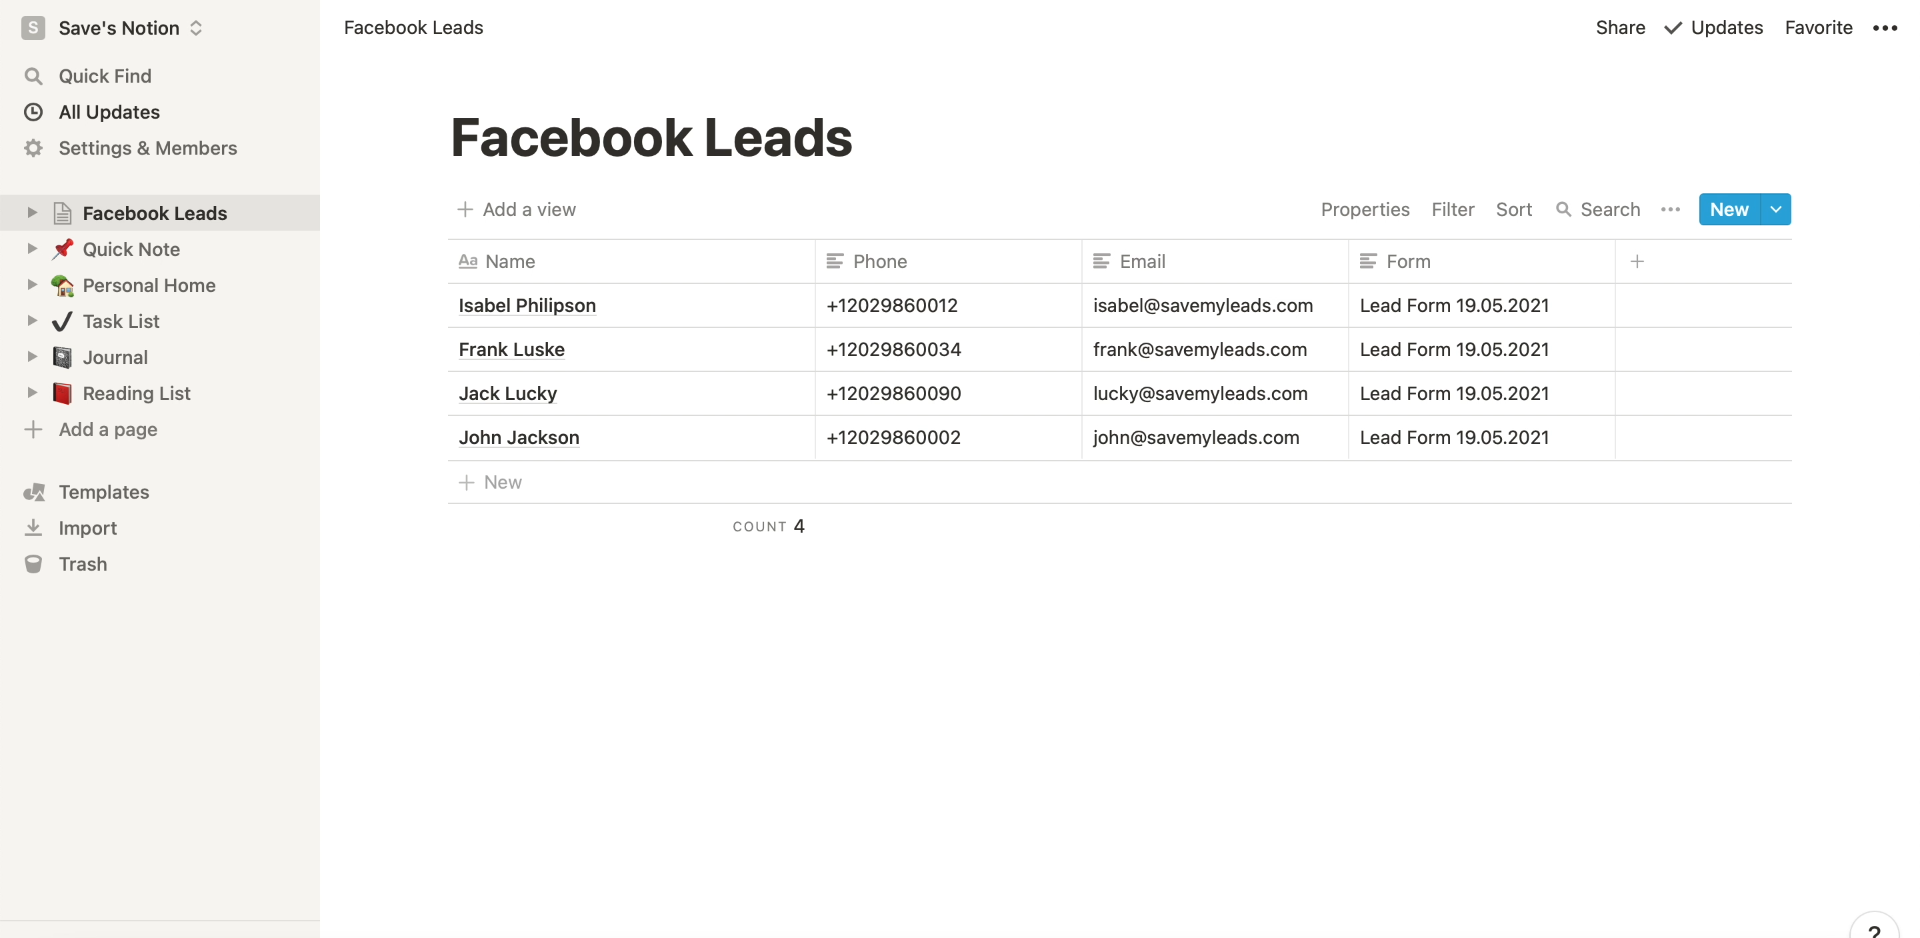
Since leads will be copied to Notion automatically, you don't have to waste time downloading data from the social network. Moreover, each lead will be included in the database immediately after it appears in the form. This will allow you to respond to customer requests without delay.
If you are already using Notion to work with files, tasks, or other information, you will get the most out of it. After all, you don't have to be distracted to process leads for other services.
Automation can be set up without technical knowledge. It is enough to create an account in the SaveMyLeads service and use it to set up a connection between Facebook and Notion. It only takes 10 minutes of your time. Our instructions will help you understand the system.
Sign up SaveMyLeads
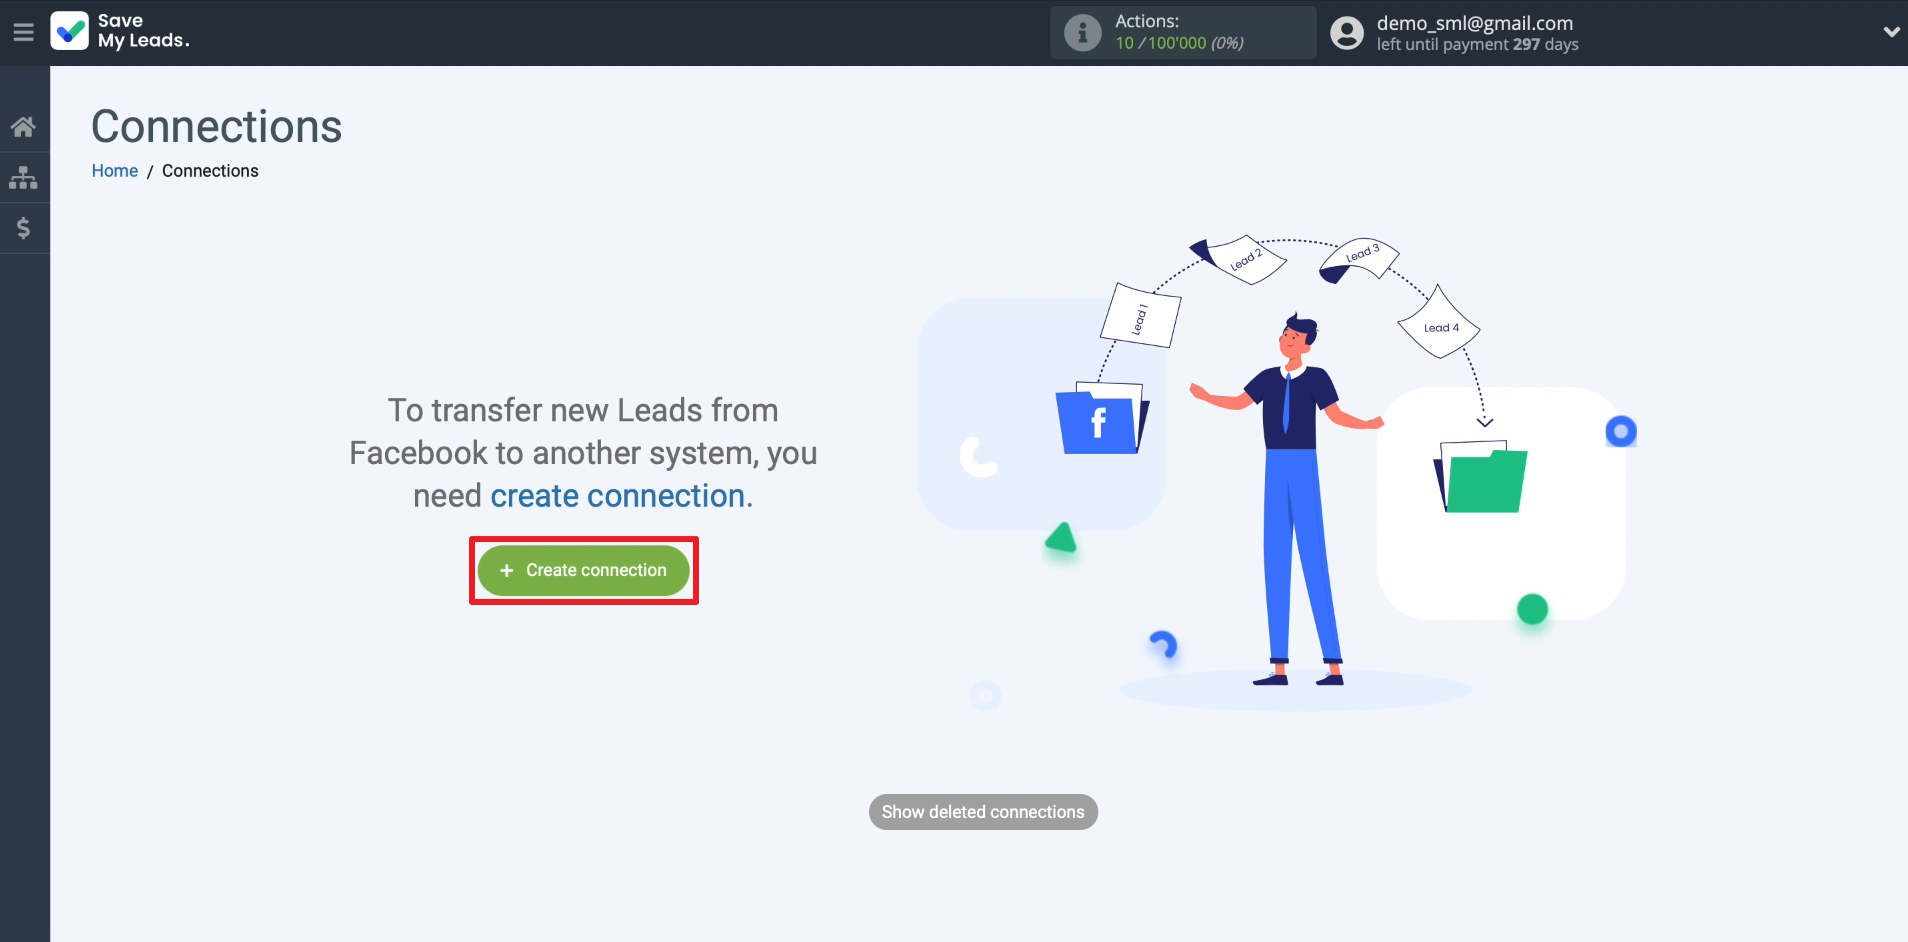
We register on the SaveMyLeads website and click Create connection to proceed to setting up a new integration.
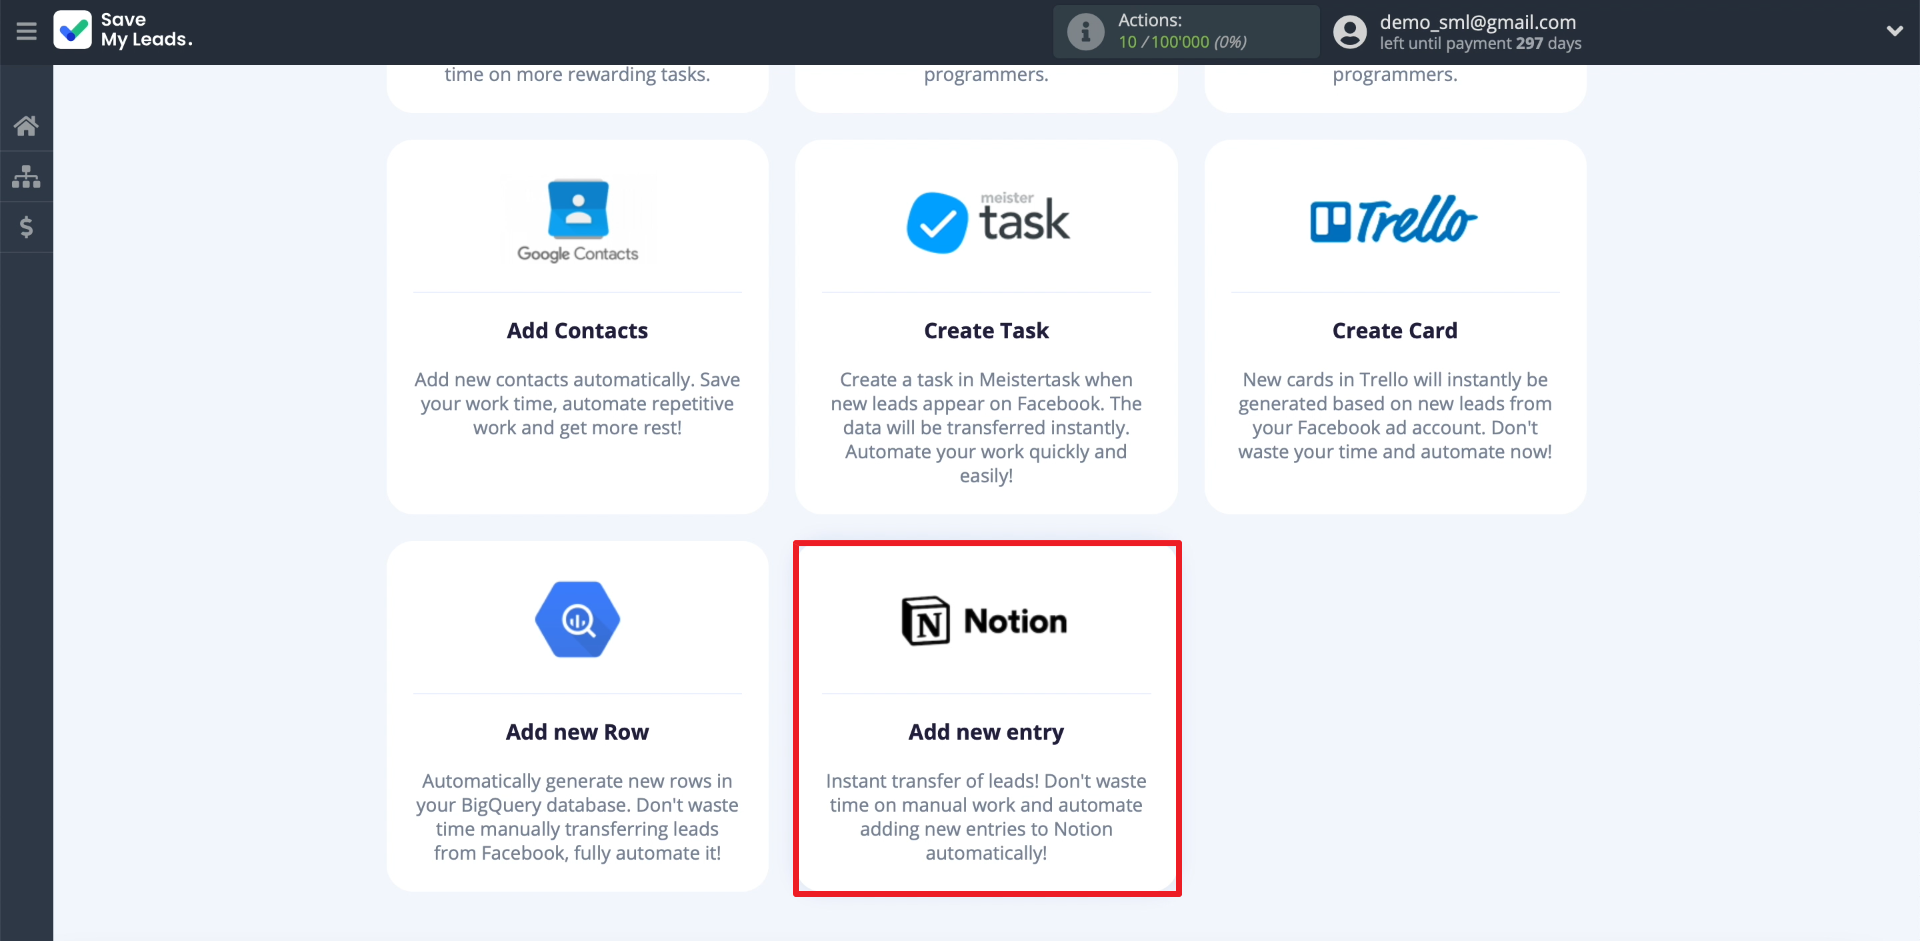
Choosing a template to create a connection between Facebook and Notion. It will guide us with built-in hints.
Connecting Facebook Leads Ads
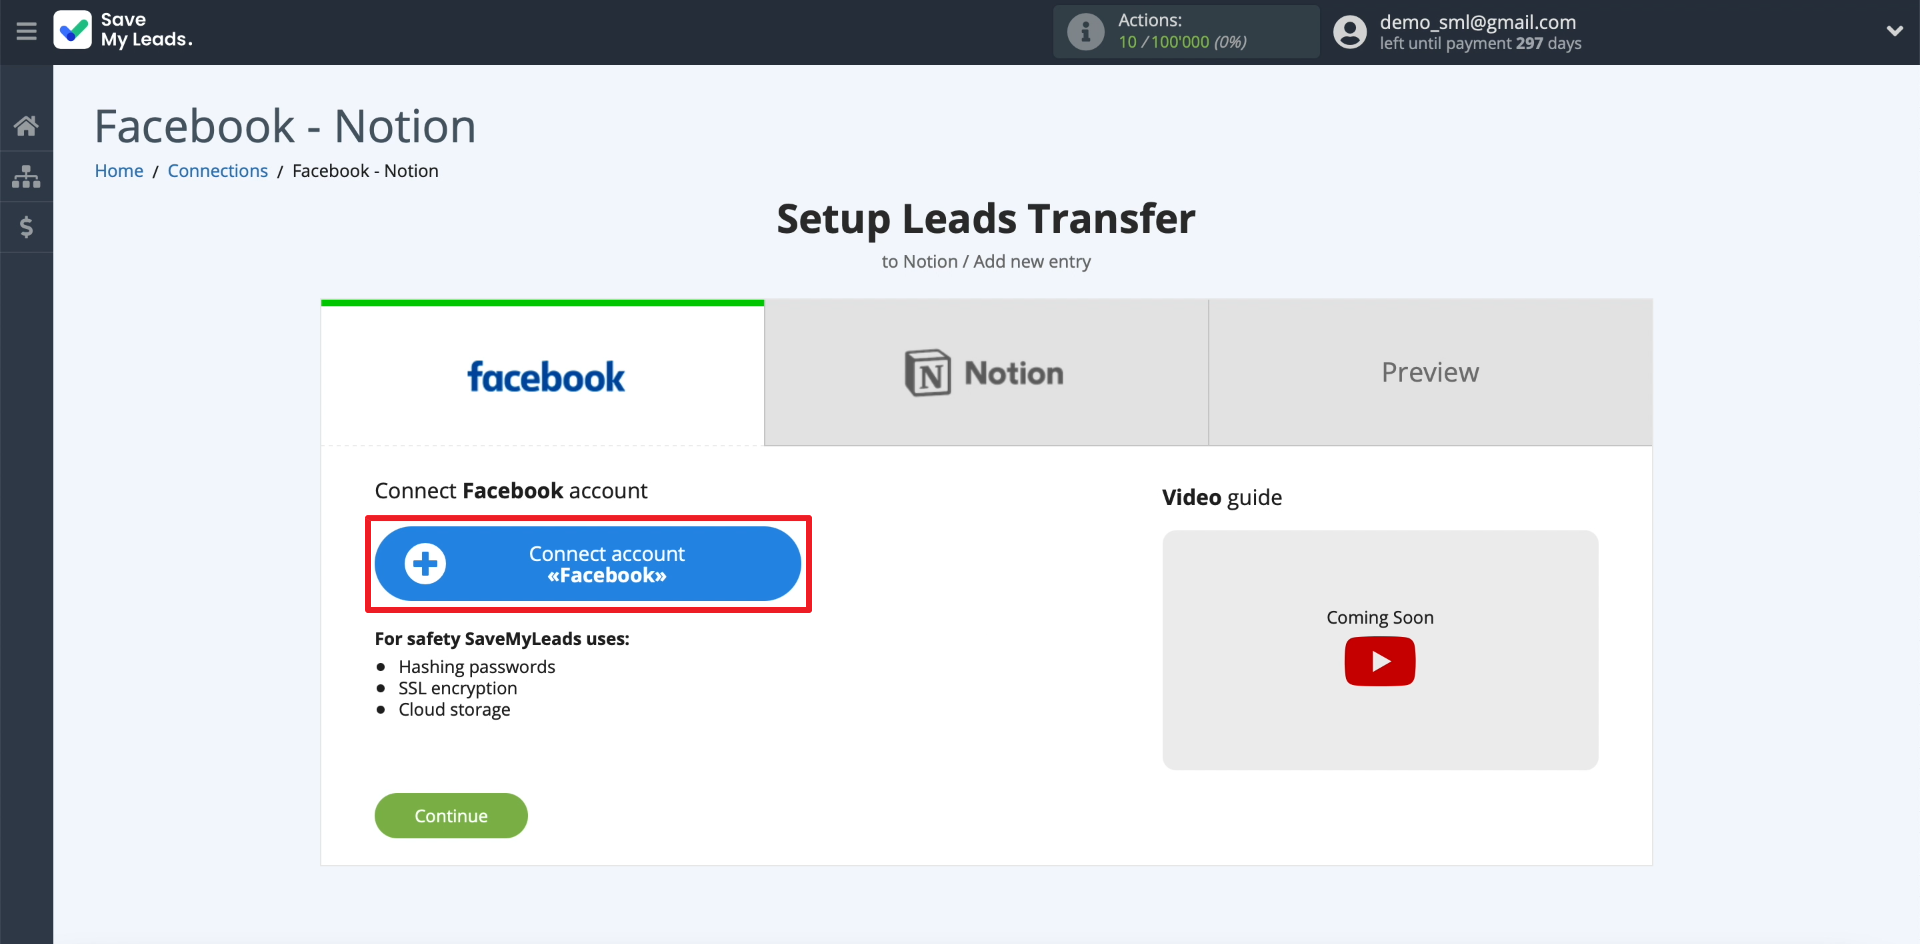
Click Connect account "Facebook". We enter the username and password from the Facebook profile, which we use to manage ads.
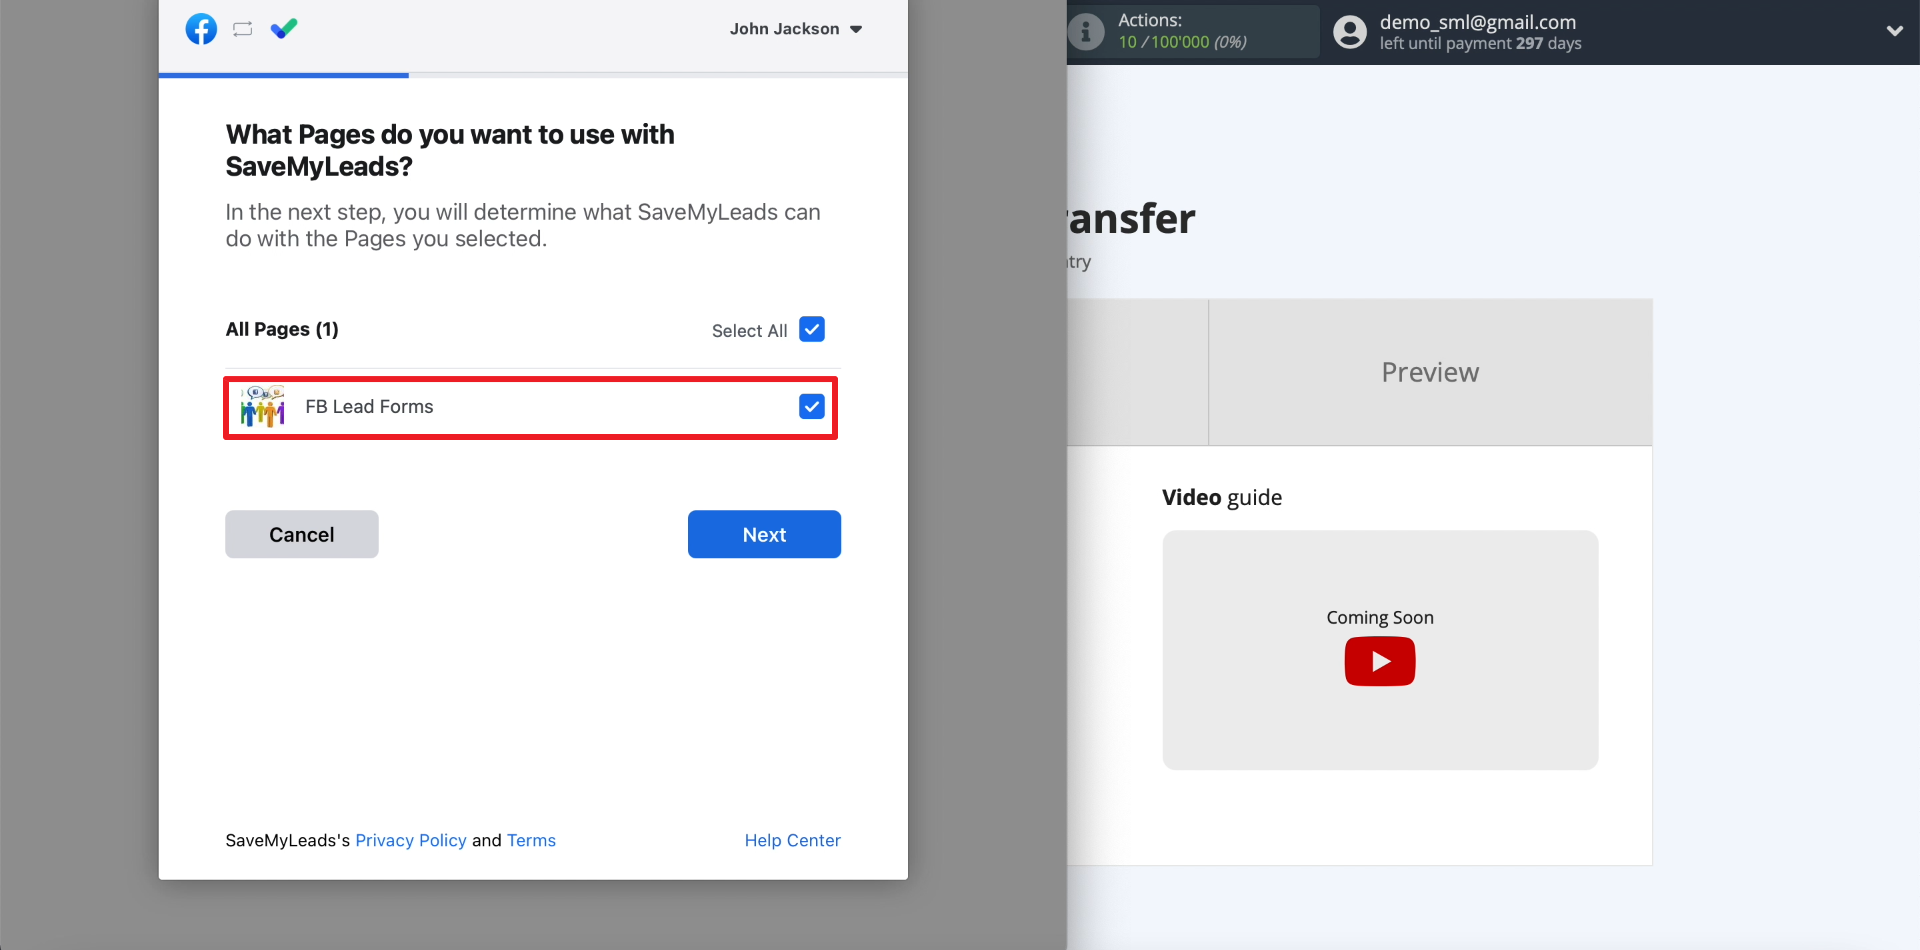
We connect the business page to which our advertising form is linked.
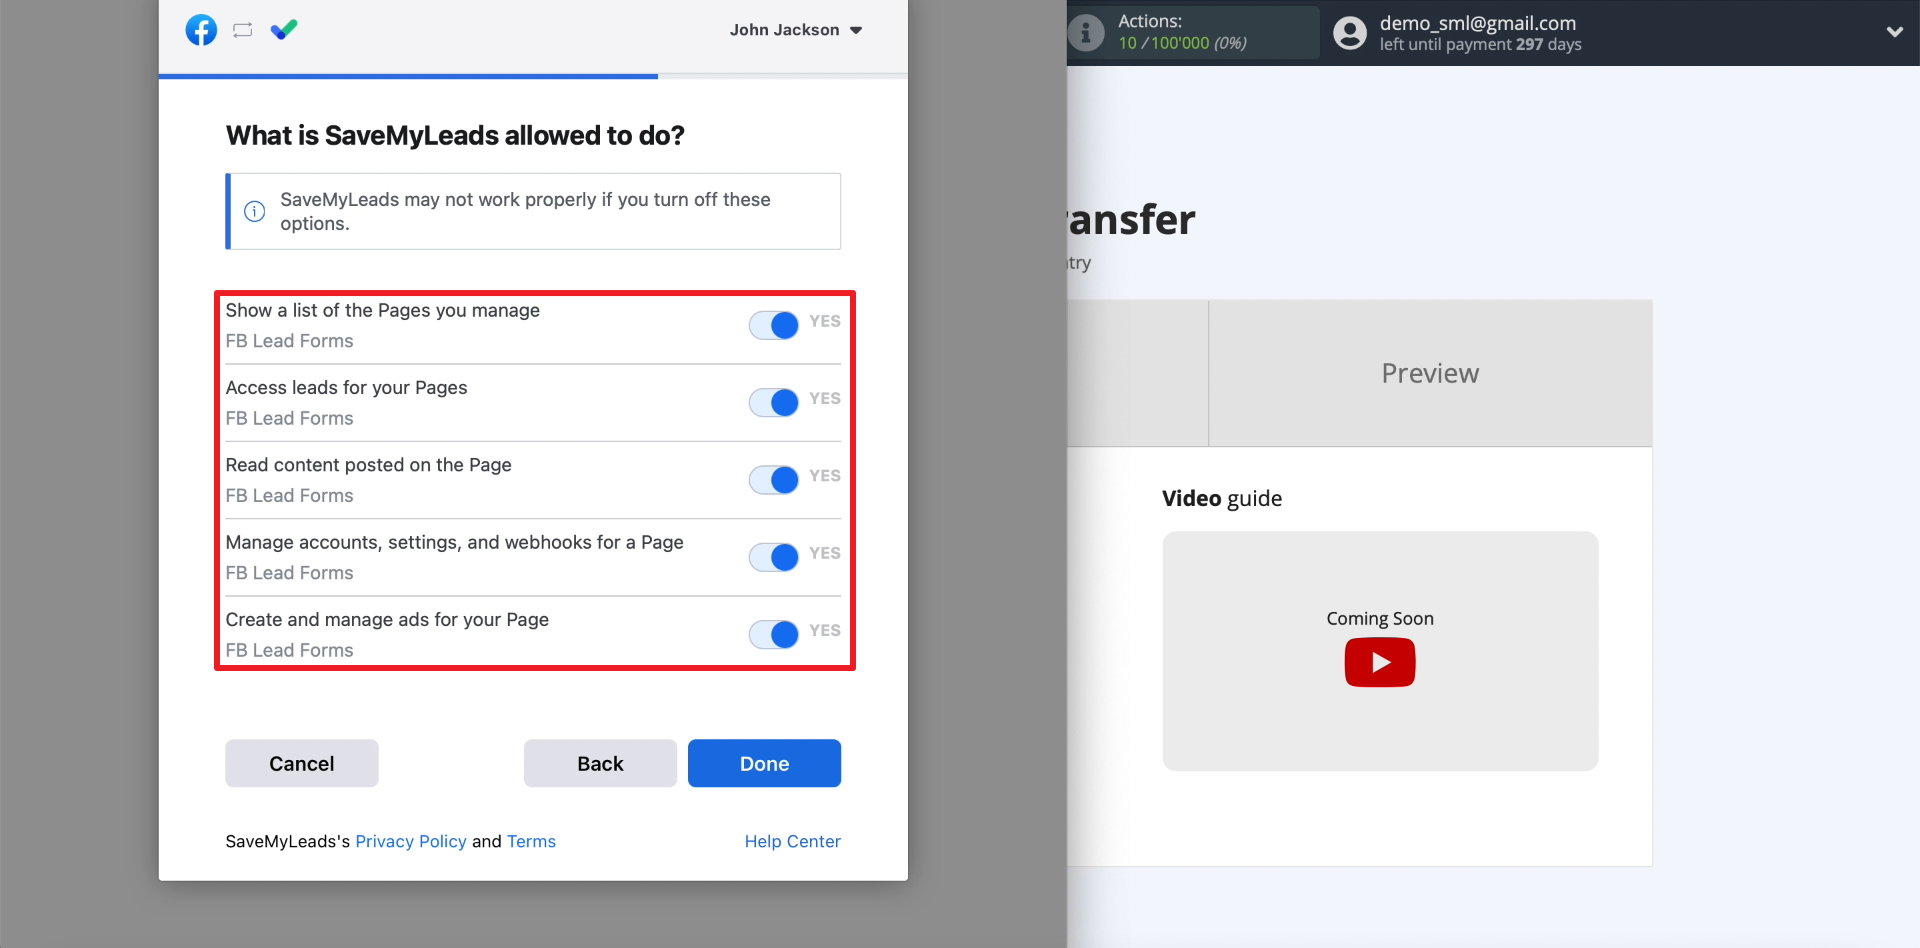
We grant SaveMyLeads permissions for all the listed actions. This is necessary in order for the service to unload leads from Facebook forms.
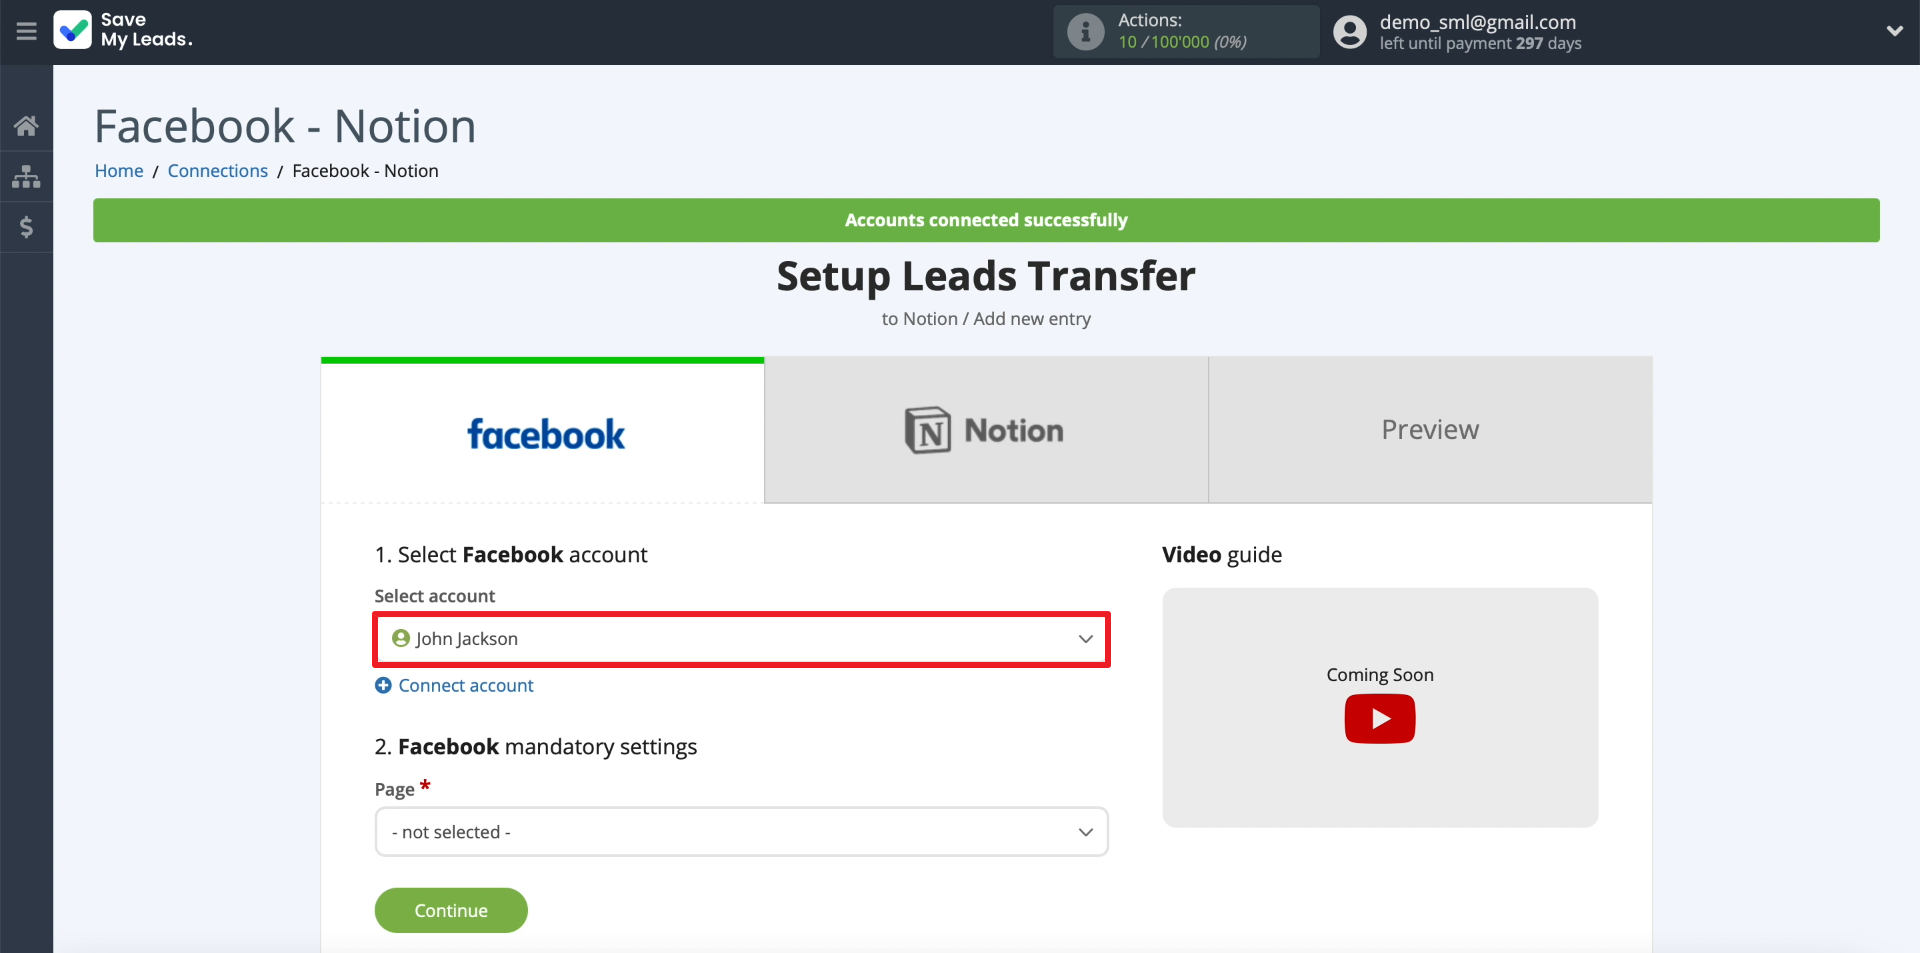
Select the newly connected ad account.
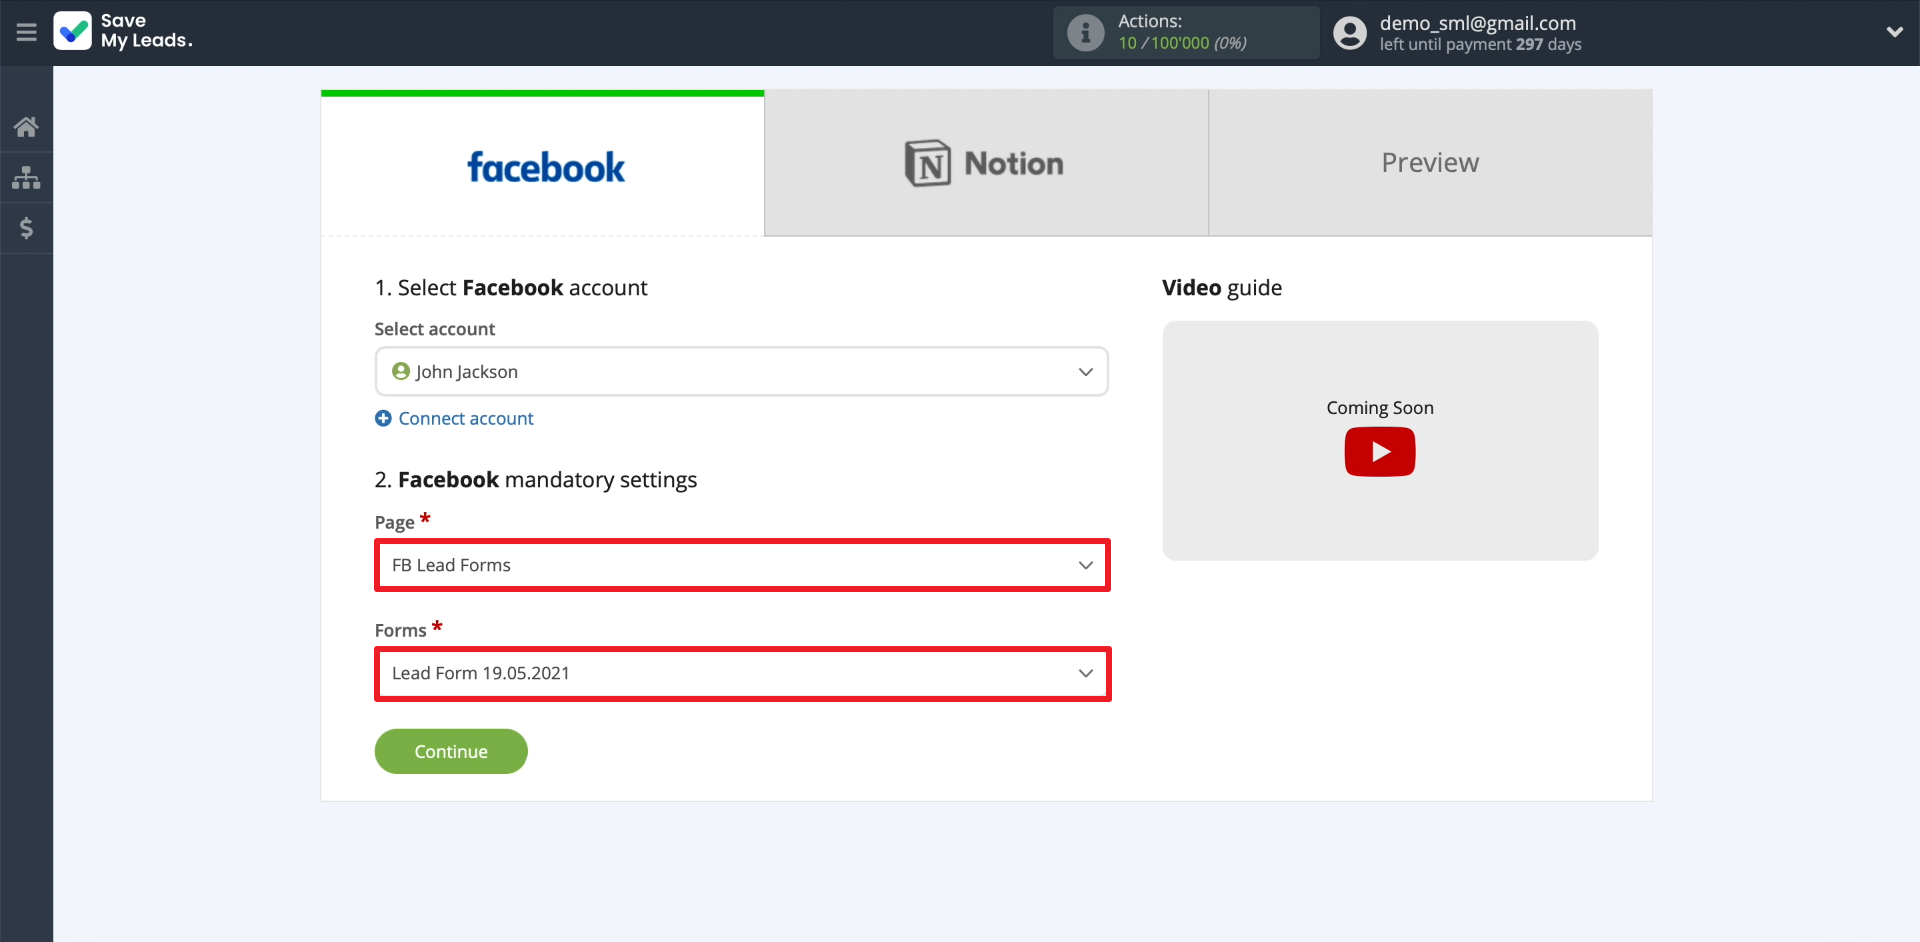
We select our business page. Then we connect the required form. Only one form can be selected within one connection. If you need to customize the uploading of leads from several forms, for each you need to create a separate connection between Facebook and Notion.
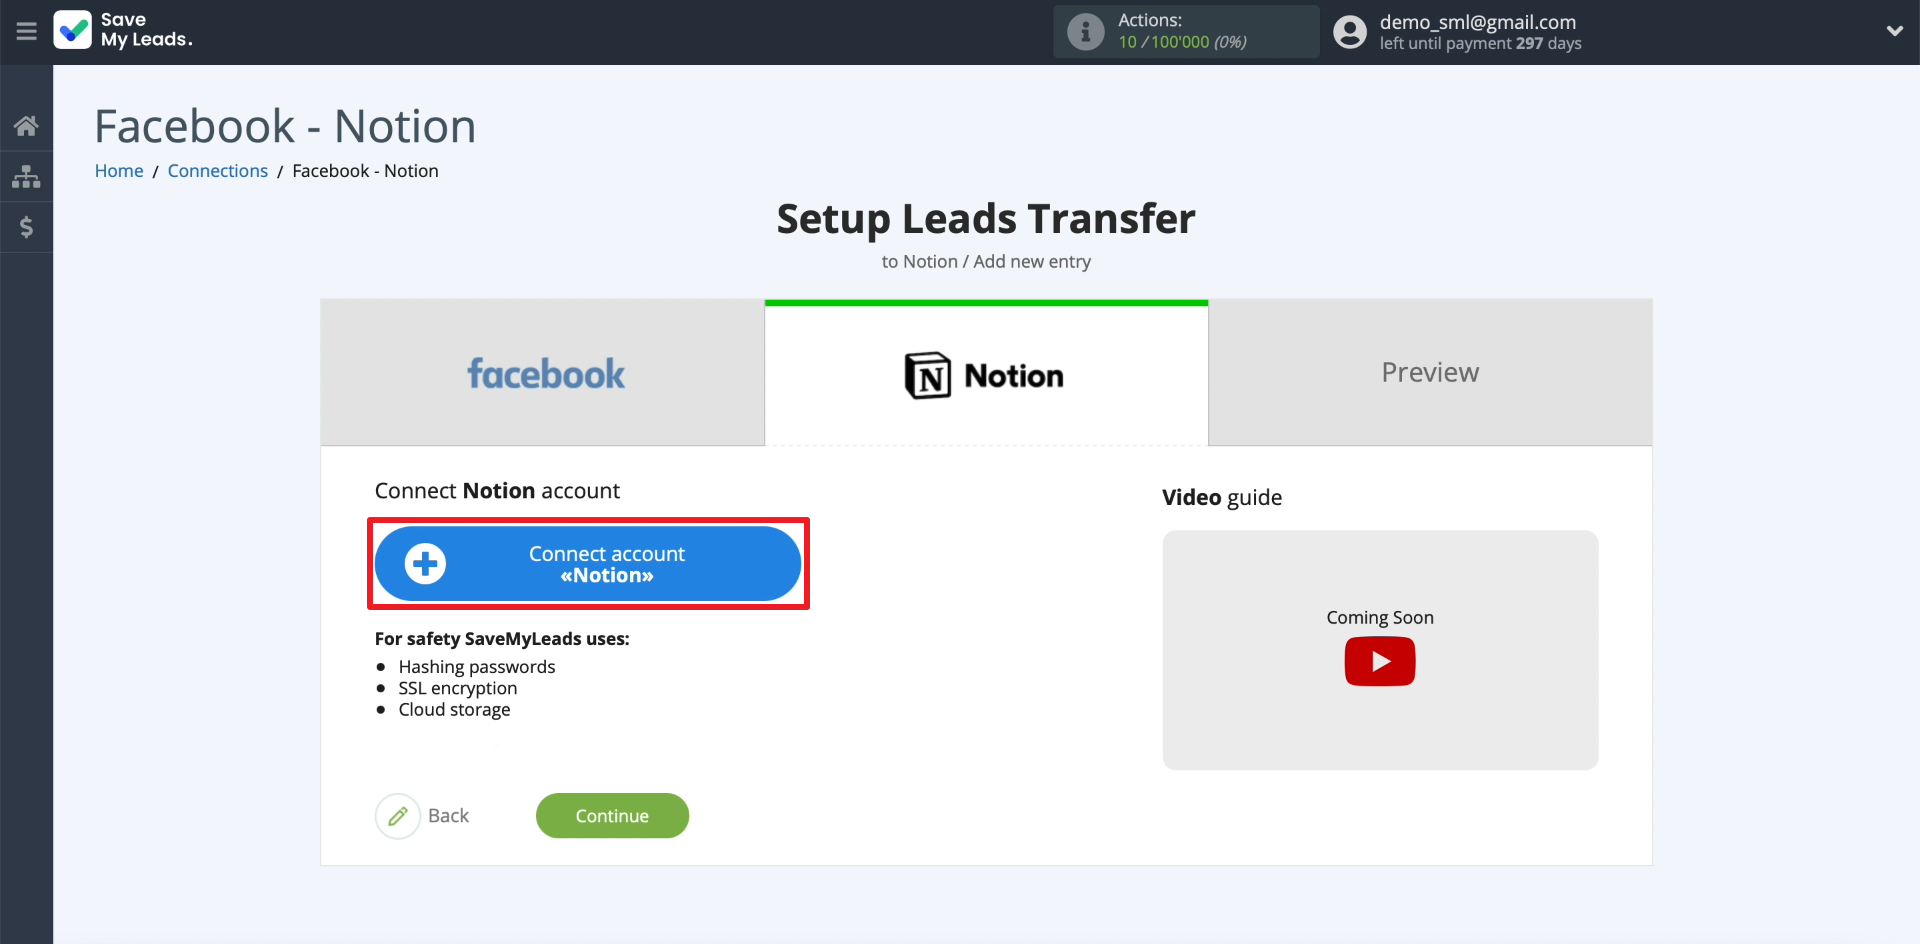
Connect Notion
Click Connect account "Notion". We enter the username and password for our account.
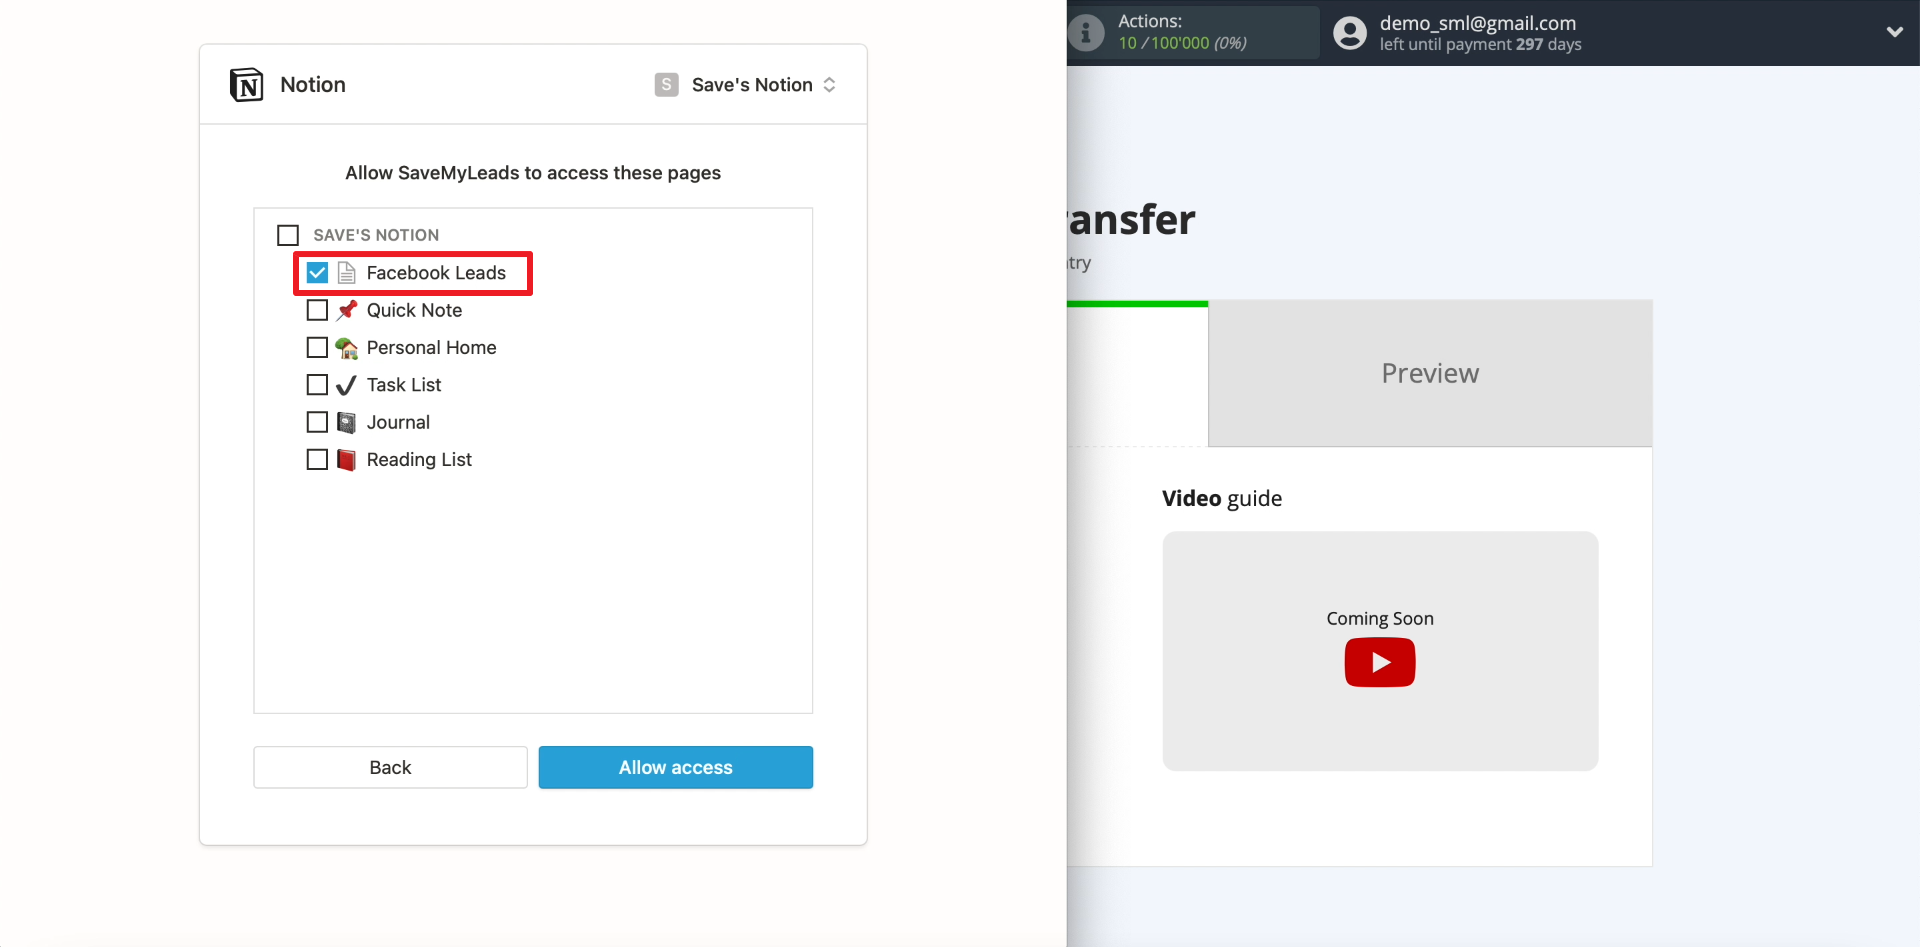
Select which Notion database the leads should be uploaded to, and allow SaveMyLeads to access it.
Select the newly connected Notion account.
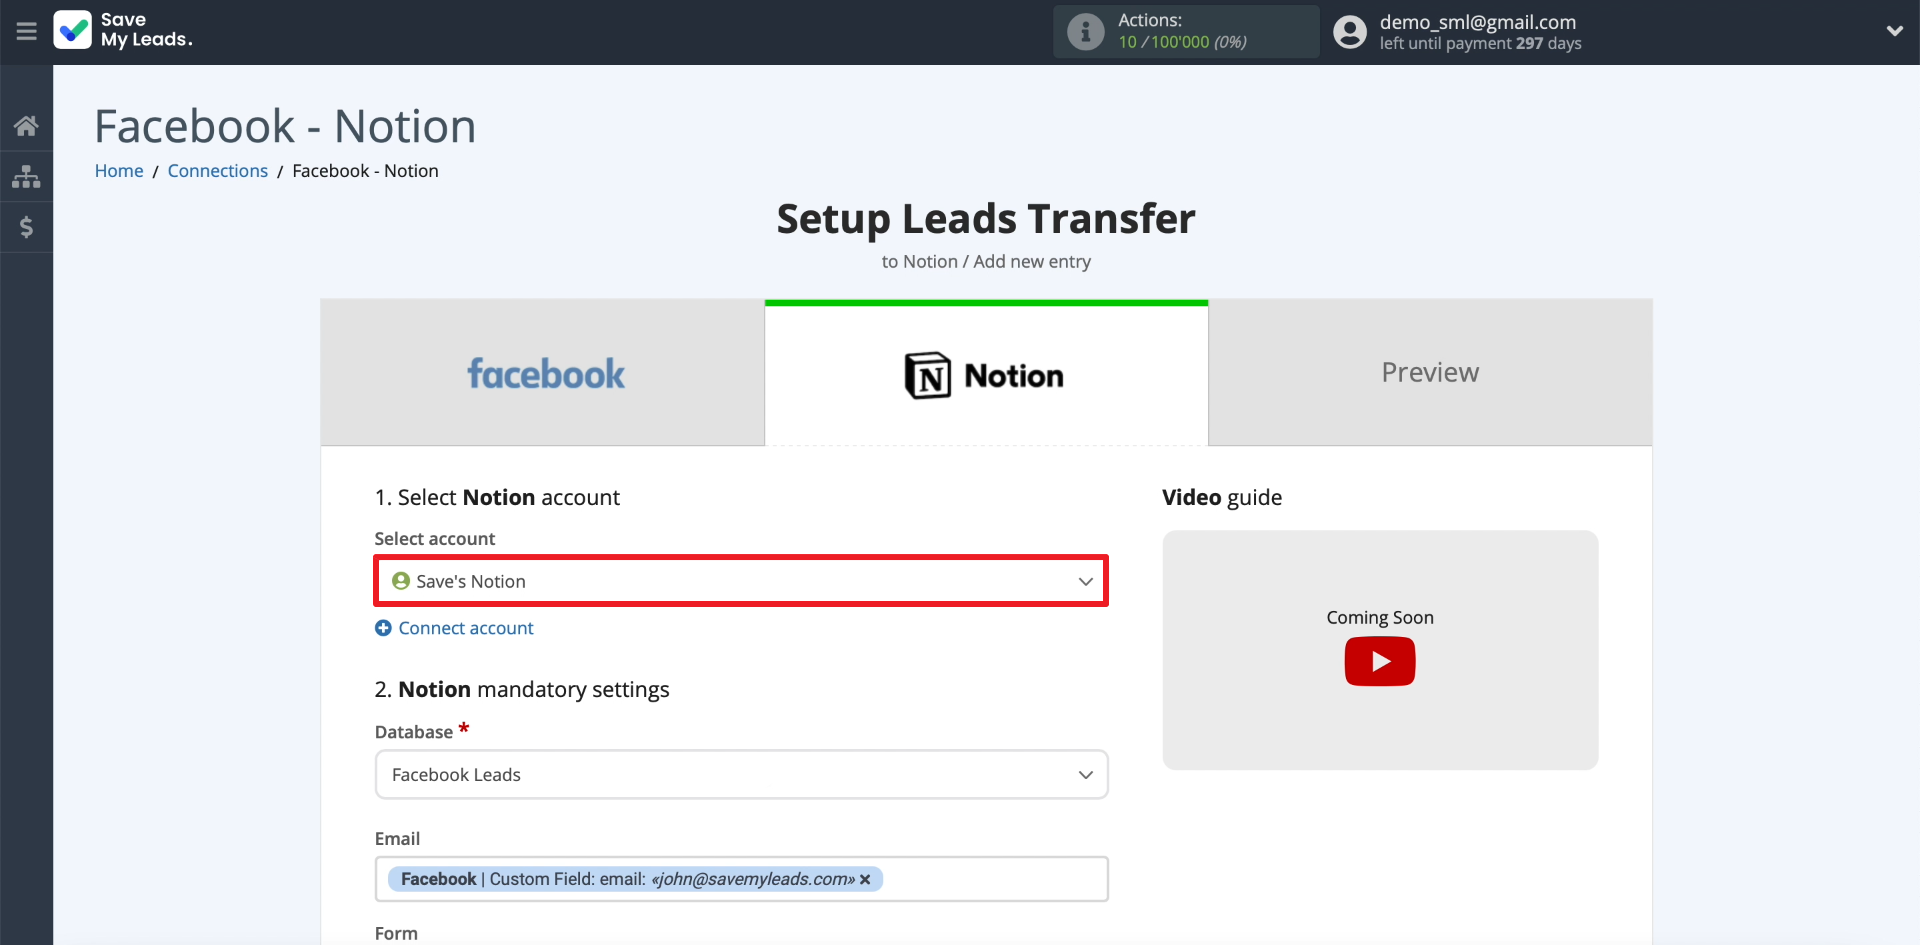
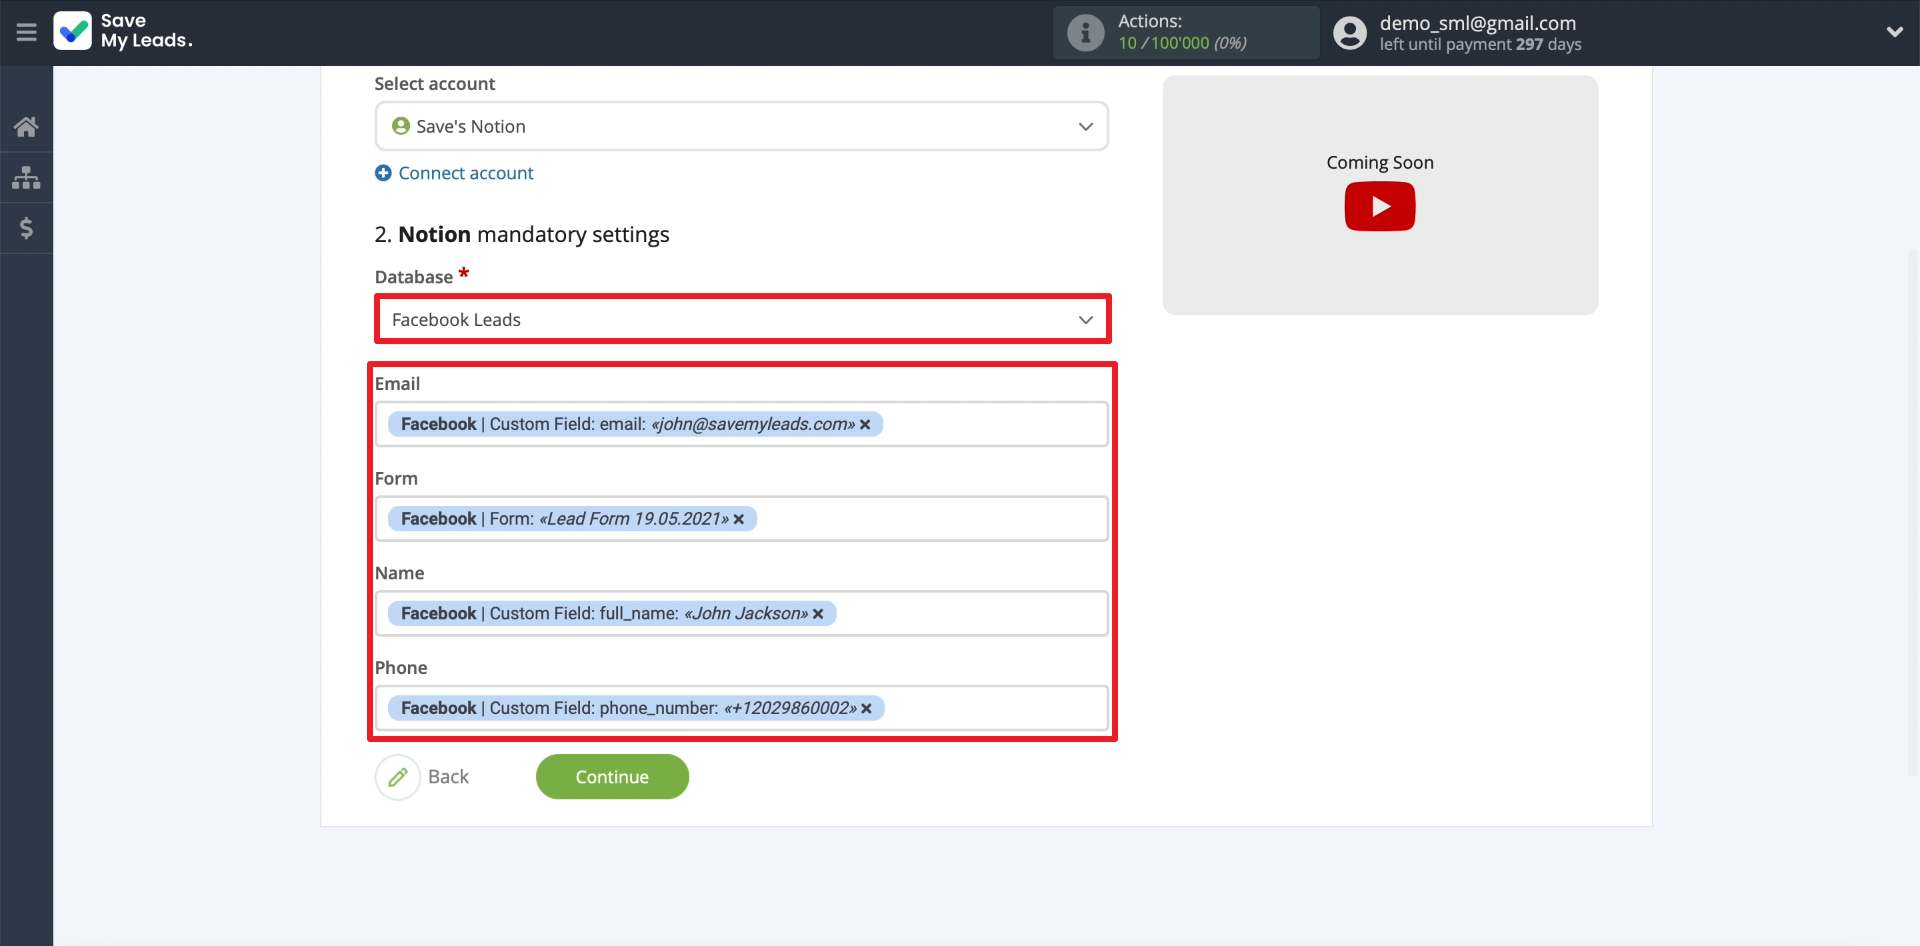
We select the connected database. Then we indicate which data should be included in Notion for each lead. To do this, click on each field and select what type of data will be transmitted through it: name, phone number, email, or another. Each field corresponds to a specific column in the Notion database.
Check the results
If there are leads in the form, the details of one of them will appear on the screen for verification. If this does not happen, open the Facebook advertising account, send any information to the form and update the SaveMyLeads page.
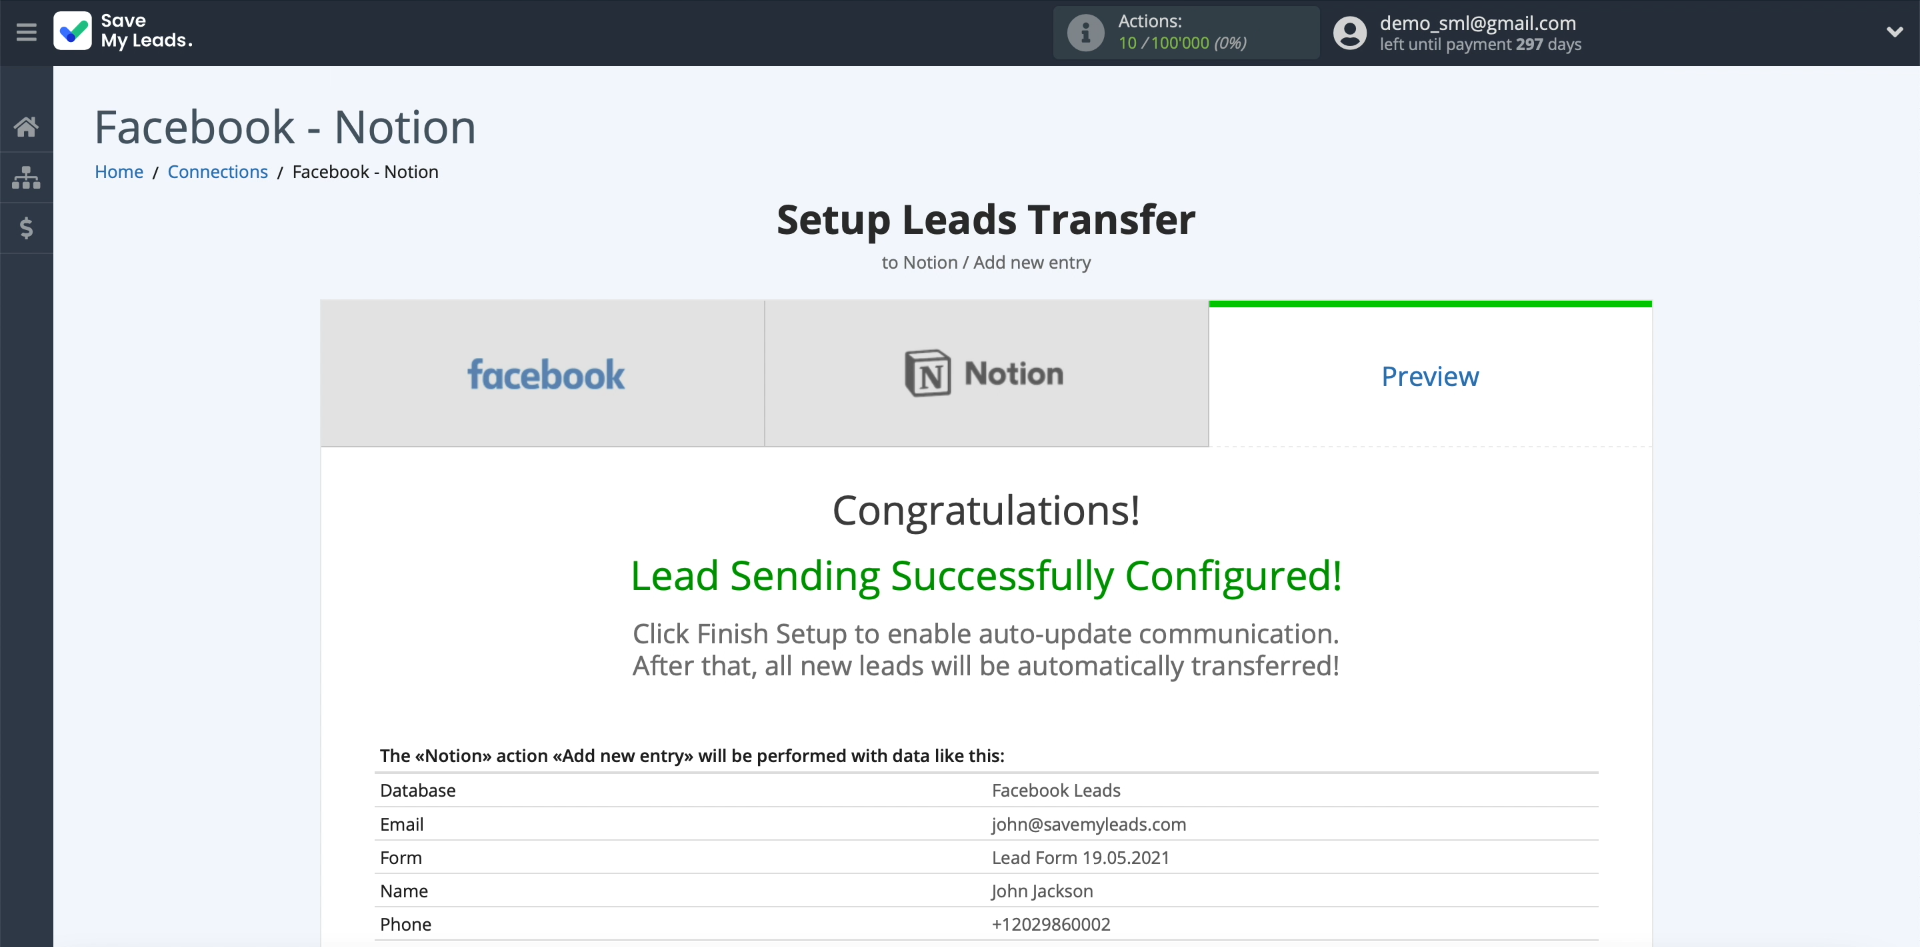
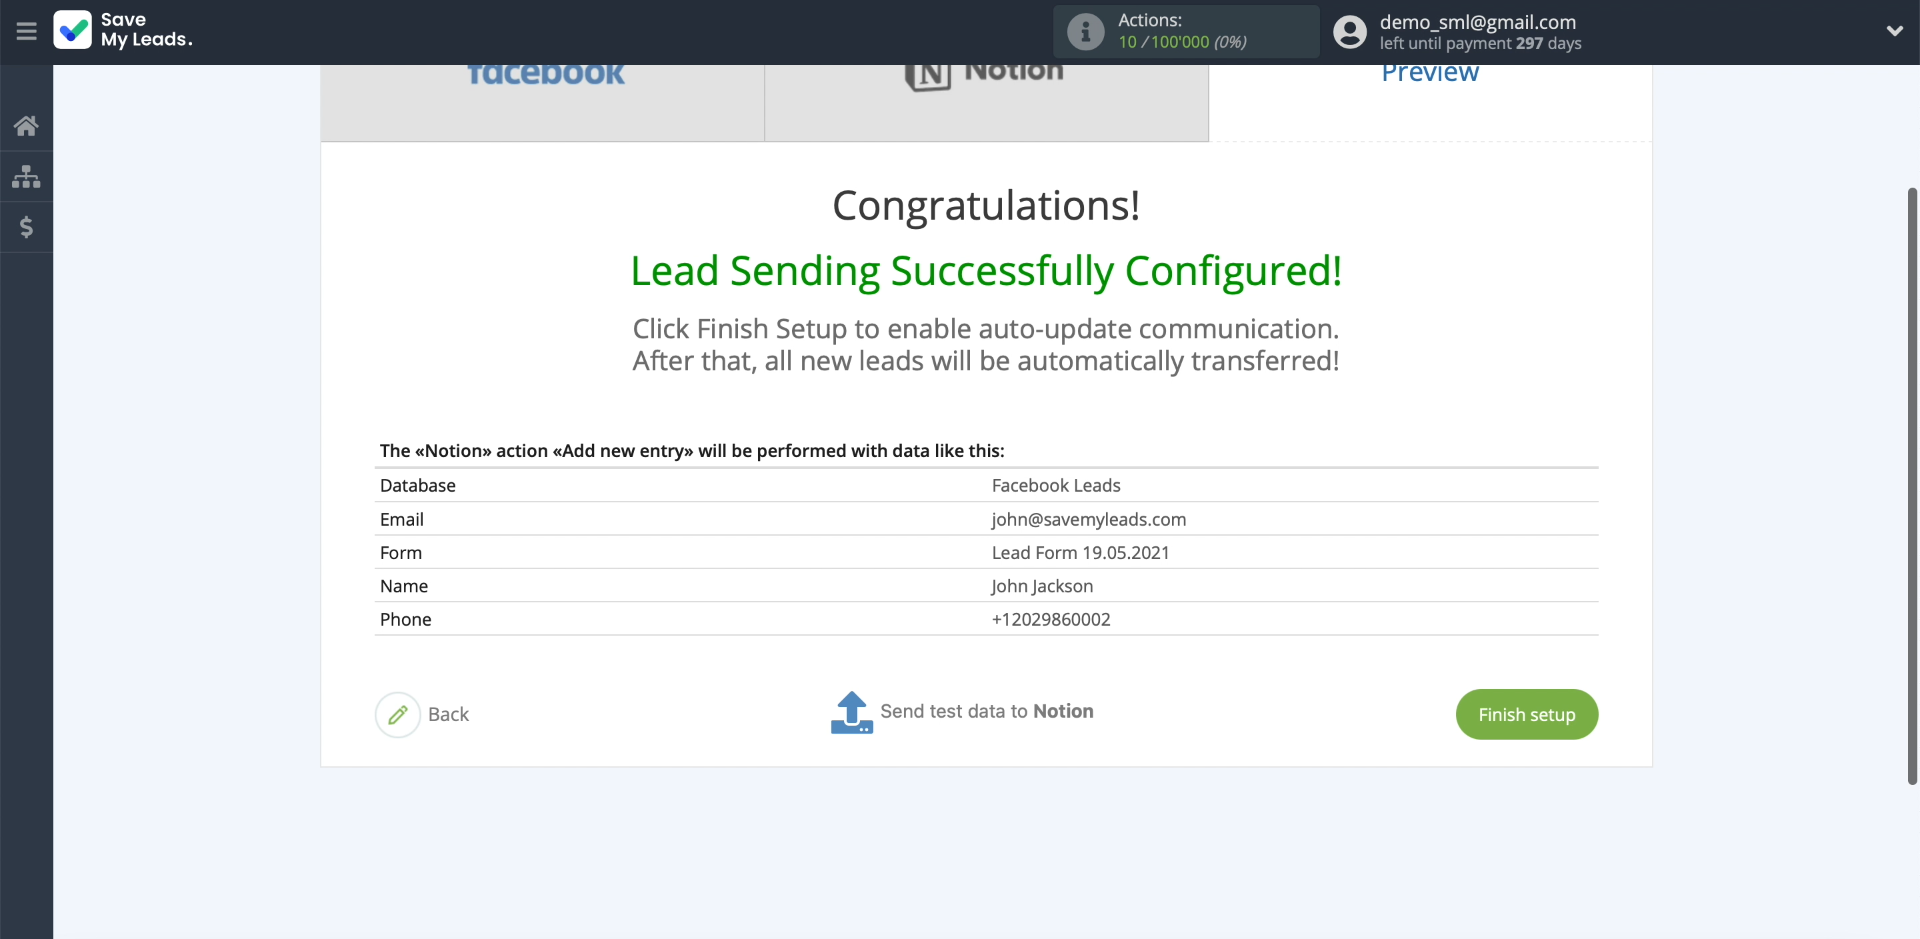
Now, as a test, we send the current lead to Notion using the Send test data to Notion button.
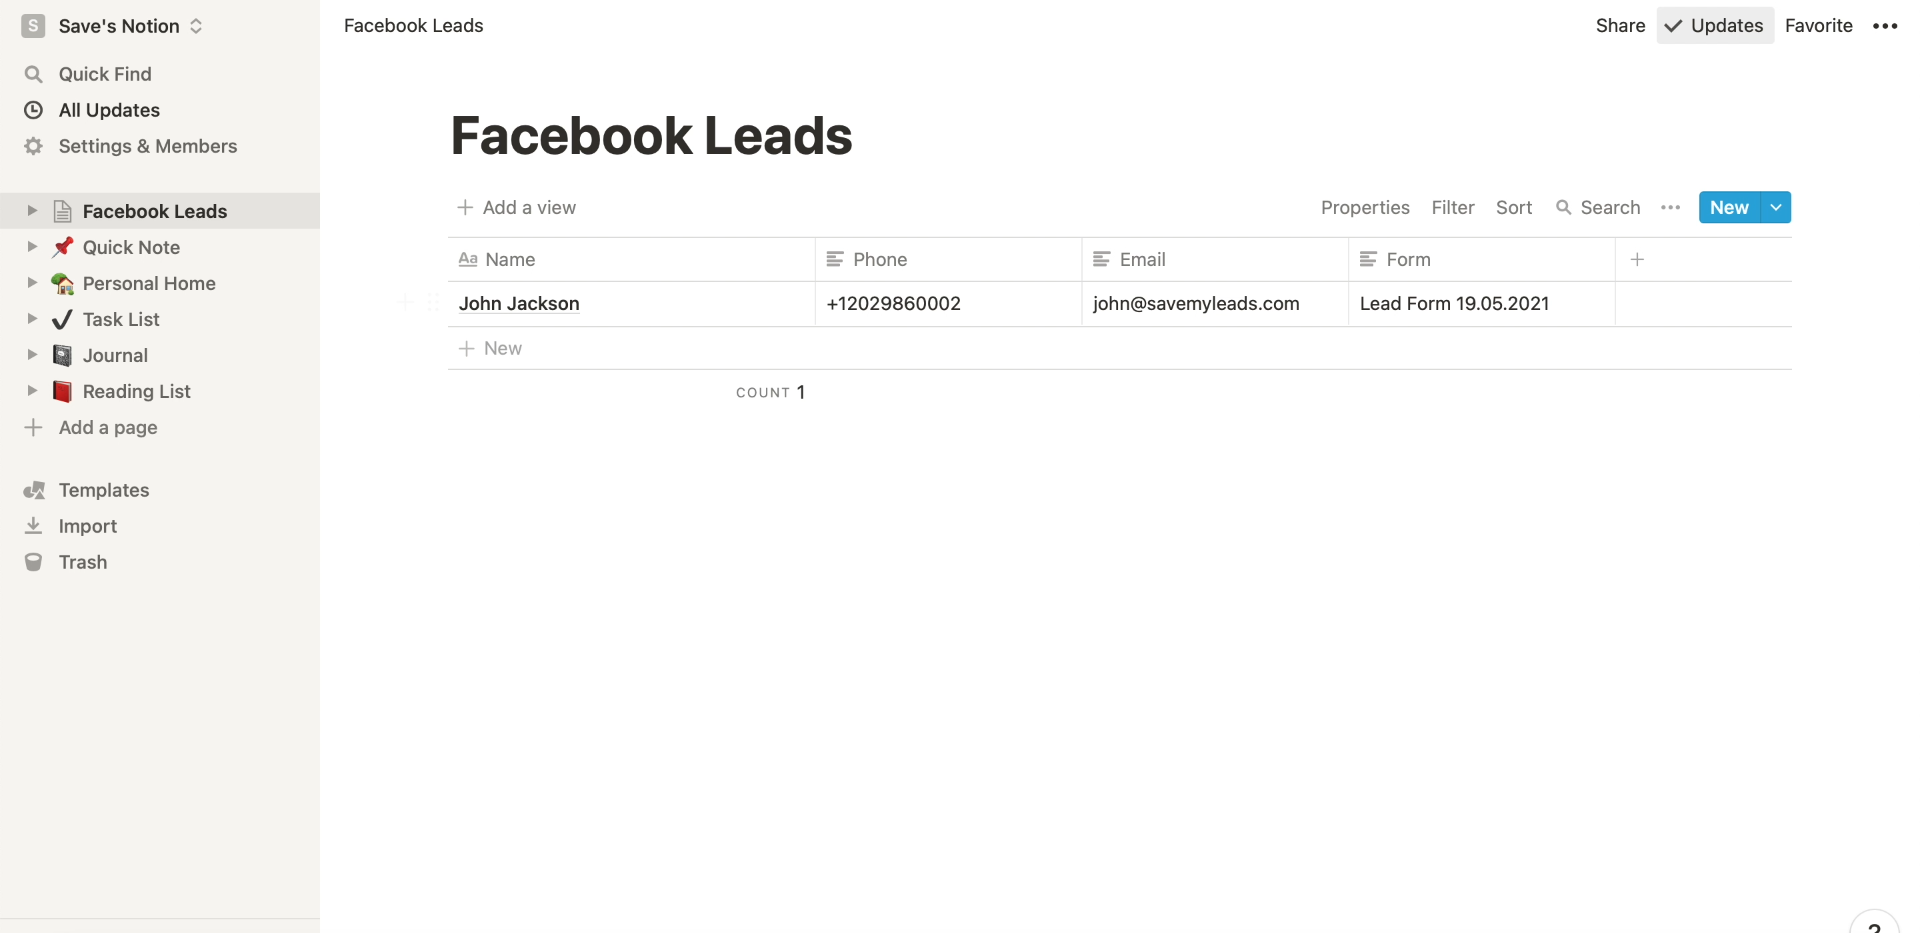
Checking the database. If the lead does not appear, go back and check the correctness of the settings in the previous steps.
Finishing the setup
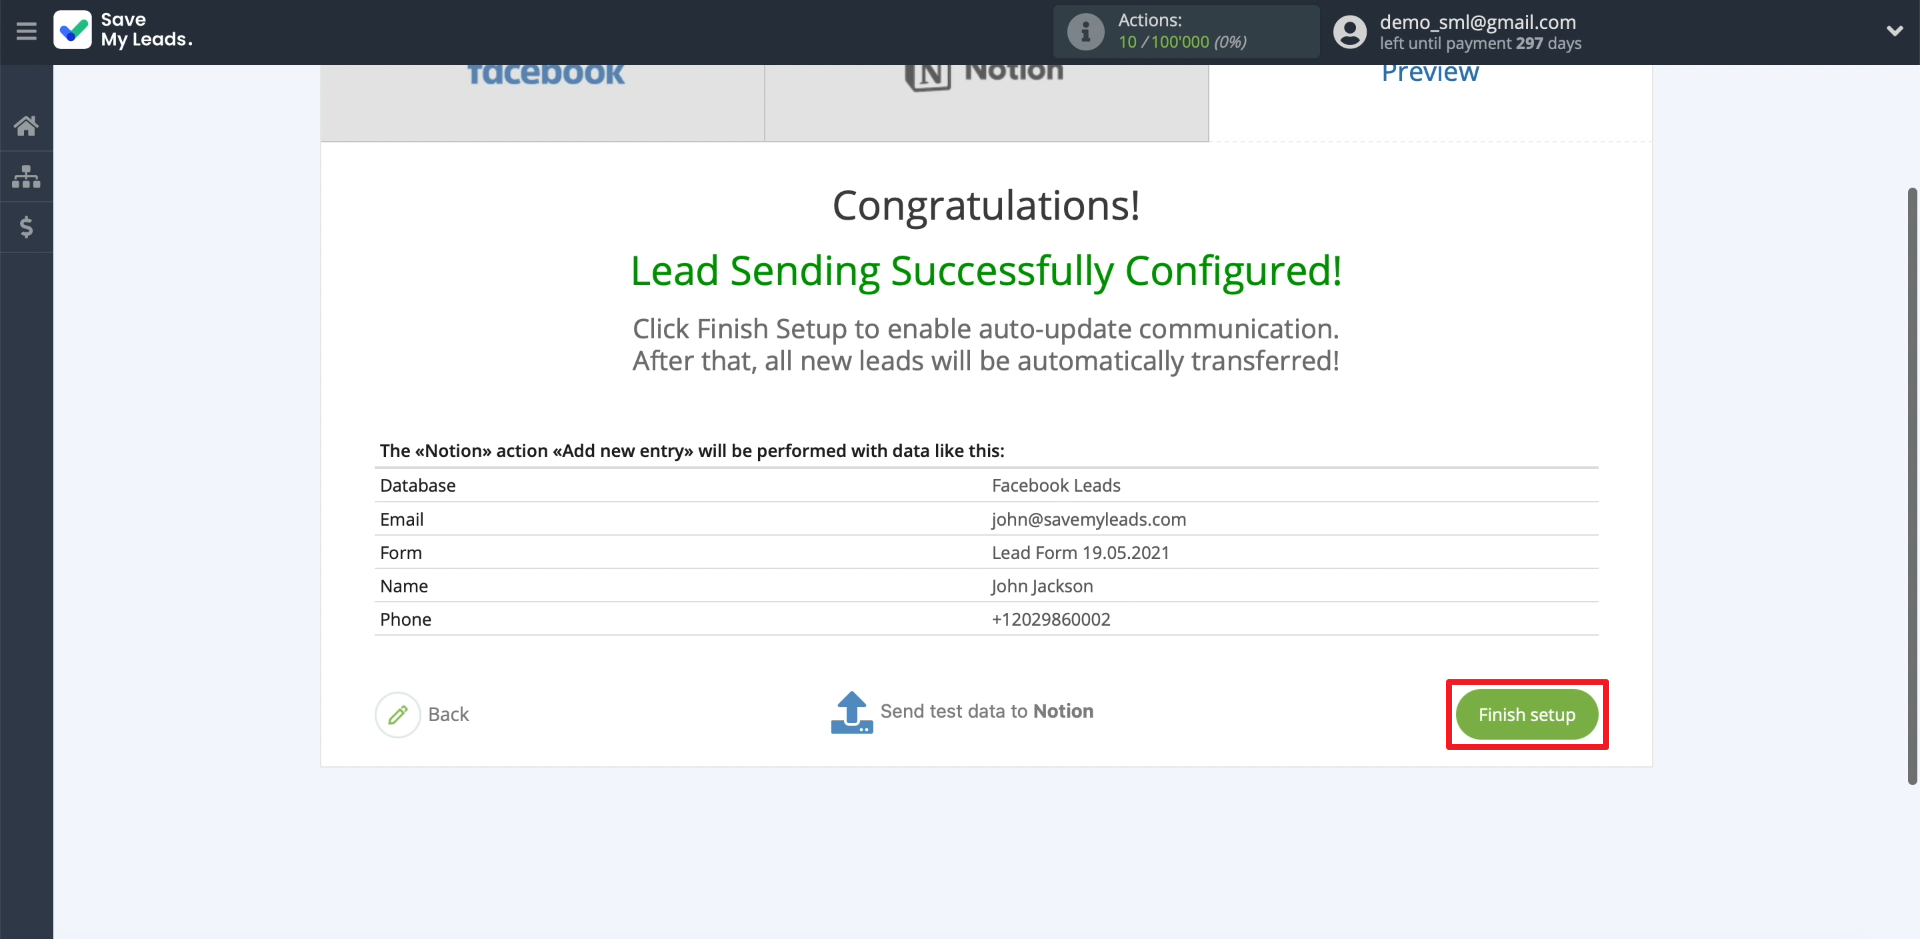
Click Finish setup to enable automatic data transfer.
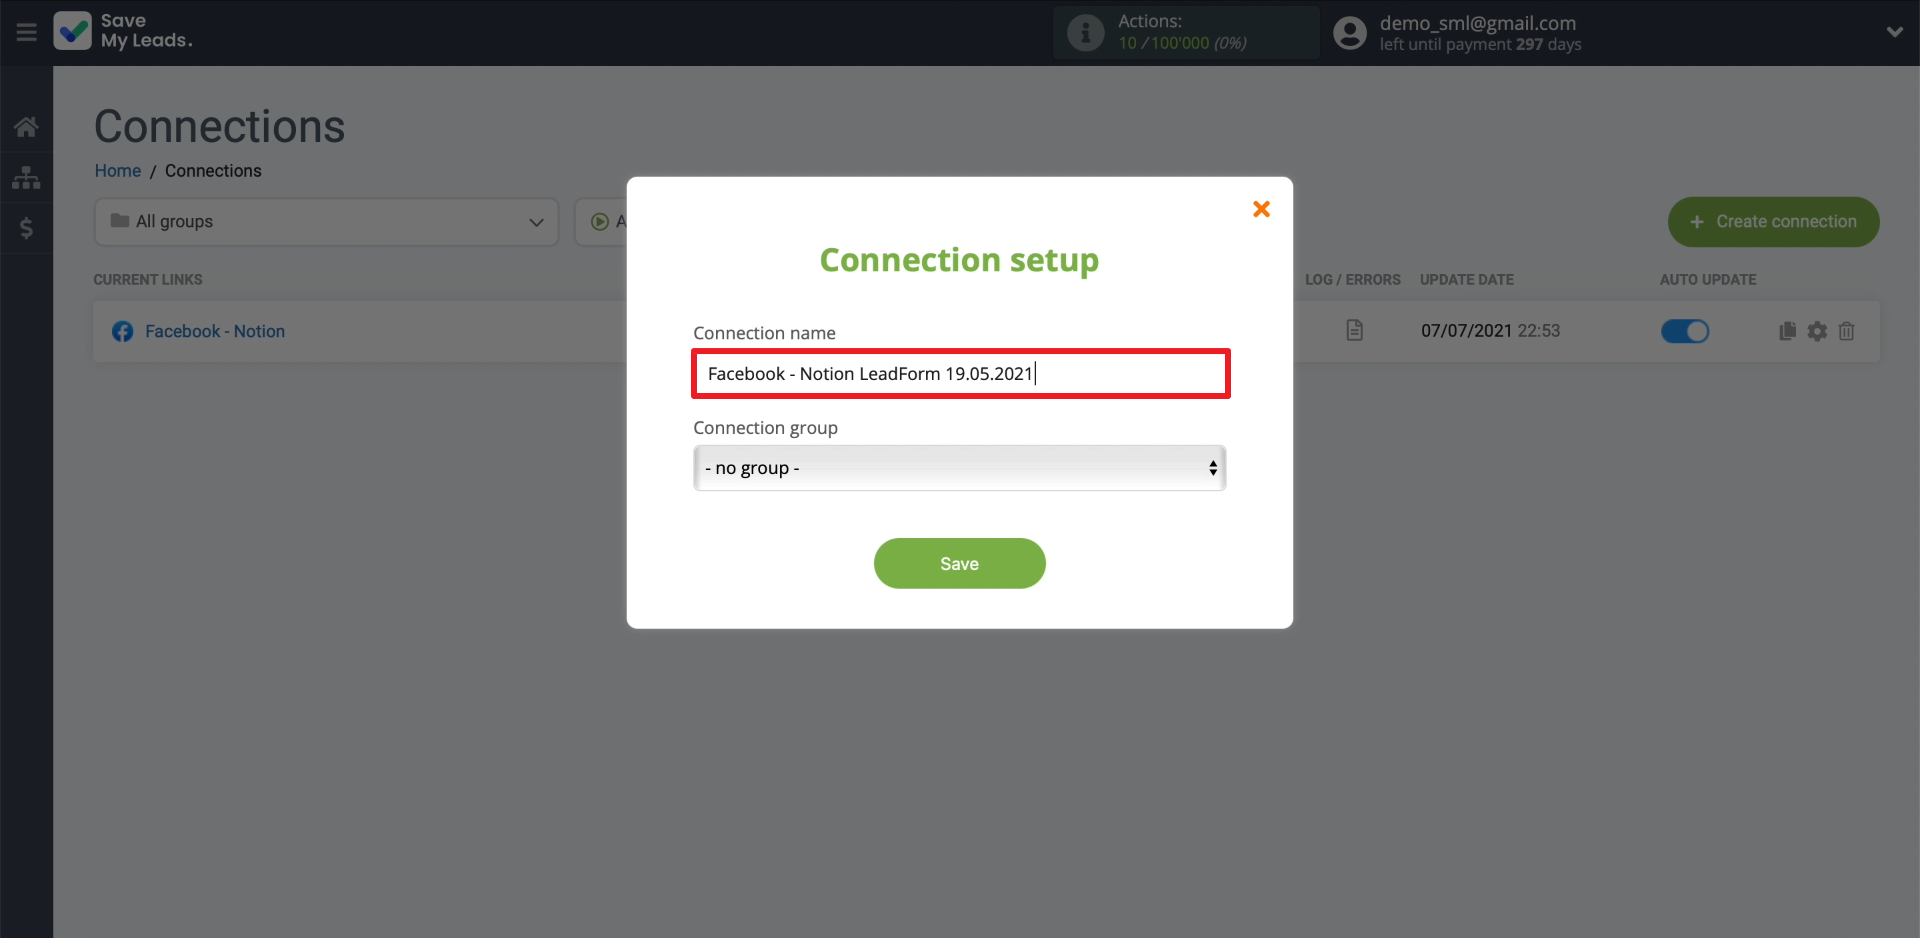
If you need to change the name of the created connection, click on the gear and enter the required text in the appropriate field.
That's all. Now SaveMyLeads will automatically upload leads from Facebook to Notion according to the specified settings. On the SaveMyLeads website, you can edit, stop or delete the current connection, or create a new one at any time. Good luck with your work!
