Make sure that each new lead is automatically sent from the social network to a separate row in the table. This will allow you to use Google Sheets as a user-friendly and free CRM.
Content:
1. How to transfer leads from Facebook Lead Ads to Google Sheets
2. Sign up SaveMyLeads
3. Connect Facebook Leads Ads
4. Connect Google Sheets
5. Check the results
6. Finish the setup
How to transfer leads from Facebook Lead Ads to Google Sheets
Uploading data to Google Sheets will help you store and process collected leads efficiently.
All data from the Facebook ad form will automatically go to the table and be saved in it - no valuable contact will be lost. You can choose which sheet to upload leads to, as well as what kind of data will be transferred for each lead: for example, name, email, phone number, and so on.
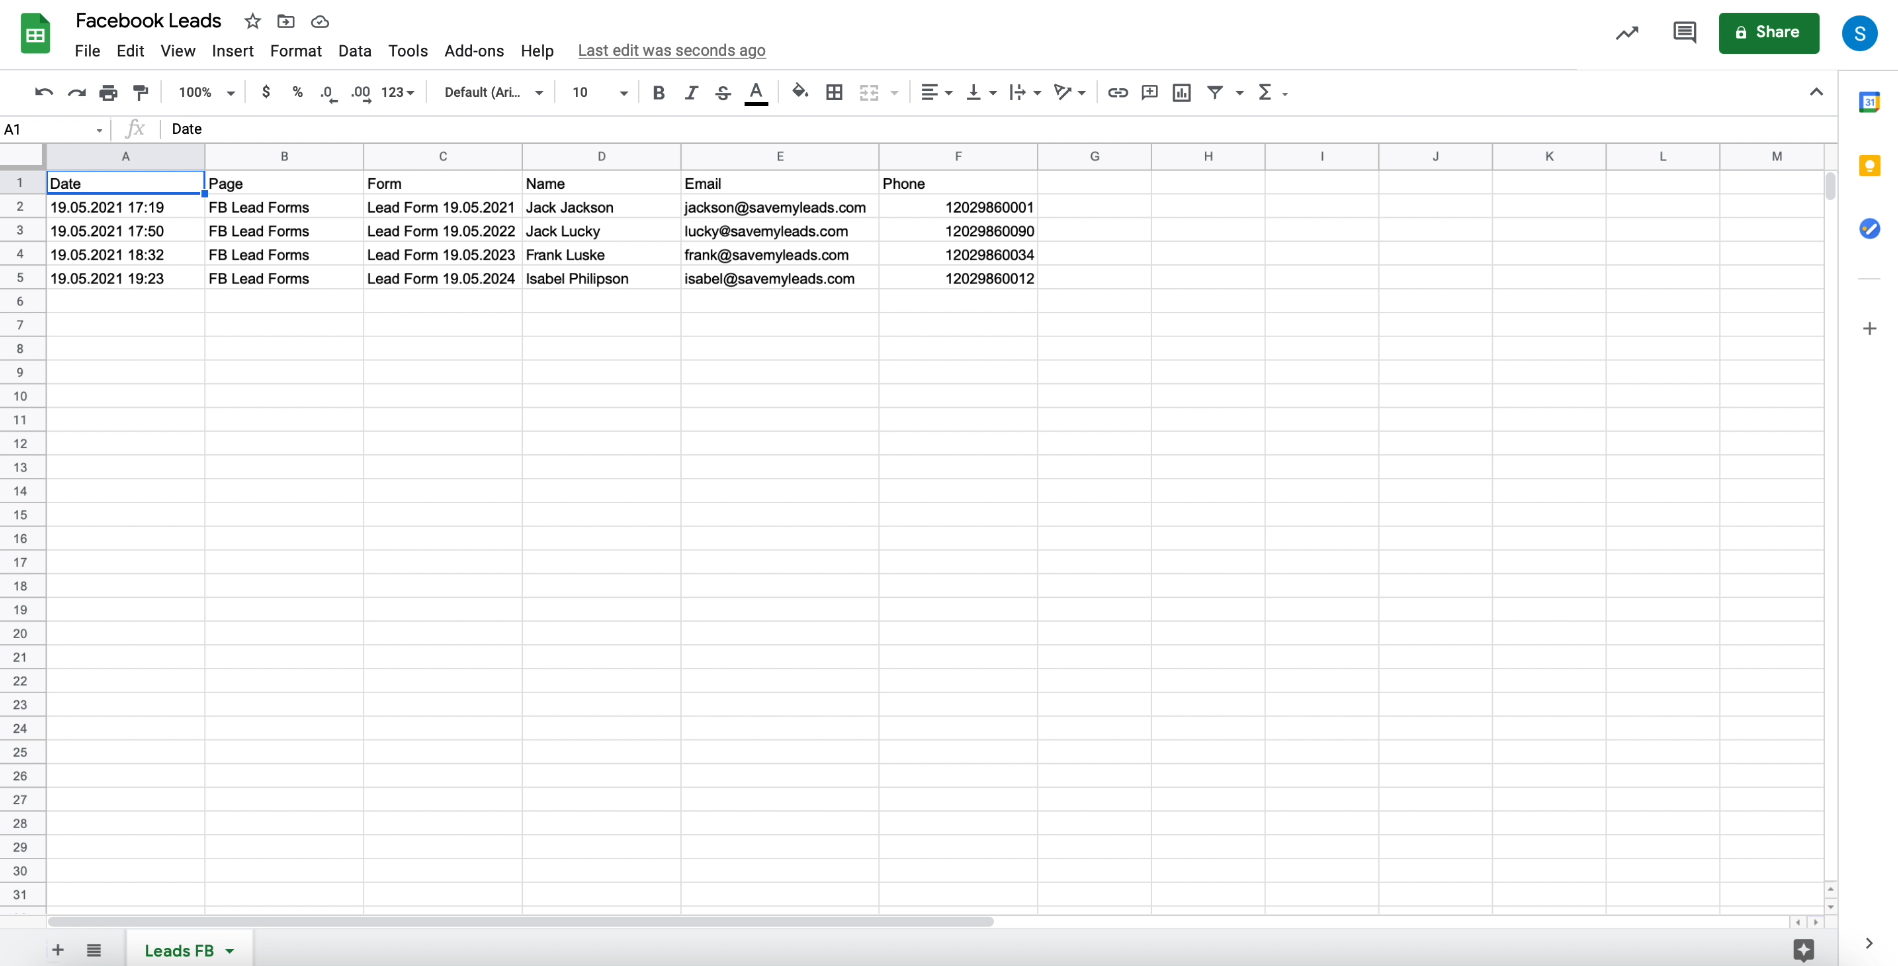
In addition, it is convenient to work with leads in Google Sheets, no matter how many of them are accumulated. The service allows you to design data at your discretion, structure, sort and filter them. And mathematical formulas and visualization tools help you quickly make calculations and build charts - in case you need to calculate profit from orders or other numerical indicators.
Since each lead will be included in the table immediately after it appears in the advertising form, your managers will be able to quickly respond to requests. Customers won't have time to lose interest in the order.
No special skills or knowledge is required to automate lead uploading. All you have to do is register with the SaveMyLeads service and use it to set up a connection between Facebook and Google Sheets. It only takes 15 minutes of your time. And our instructions will help you figure it out.
Sign up SaveMyLeads
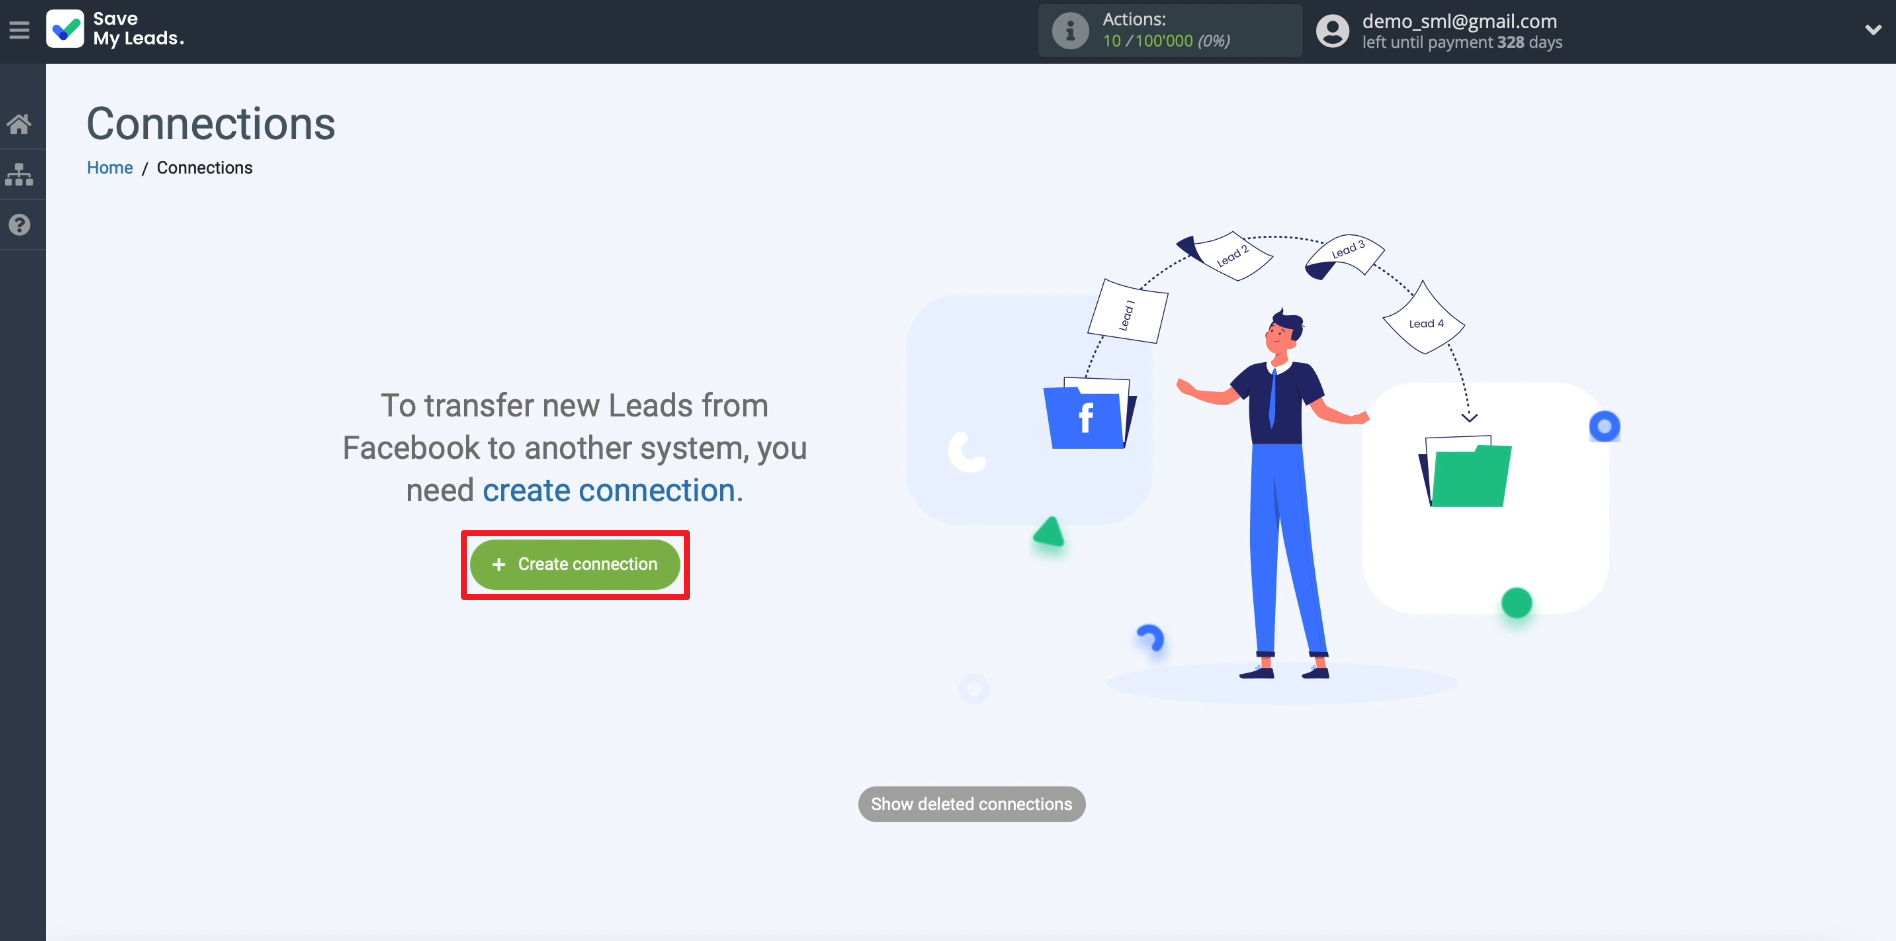
We register on the SaveMyLeads website. After that, click Create connection to proceed to creating a new integration.
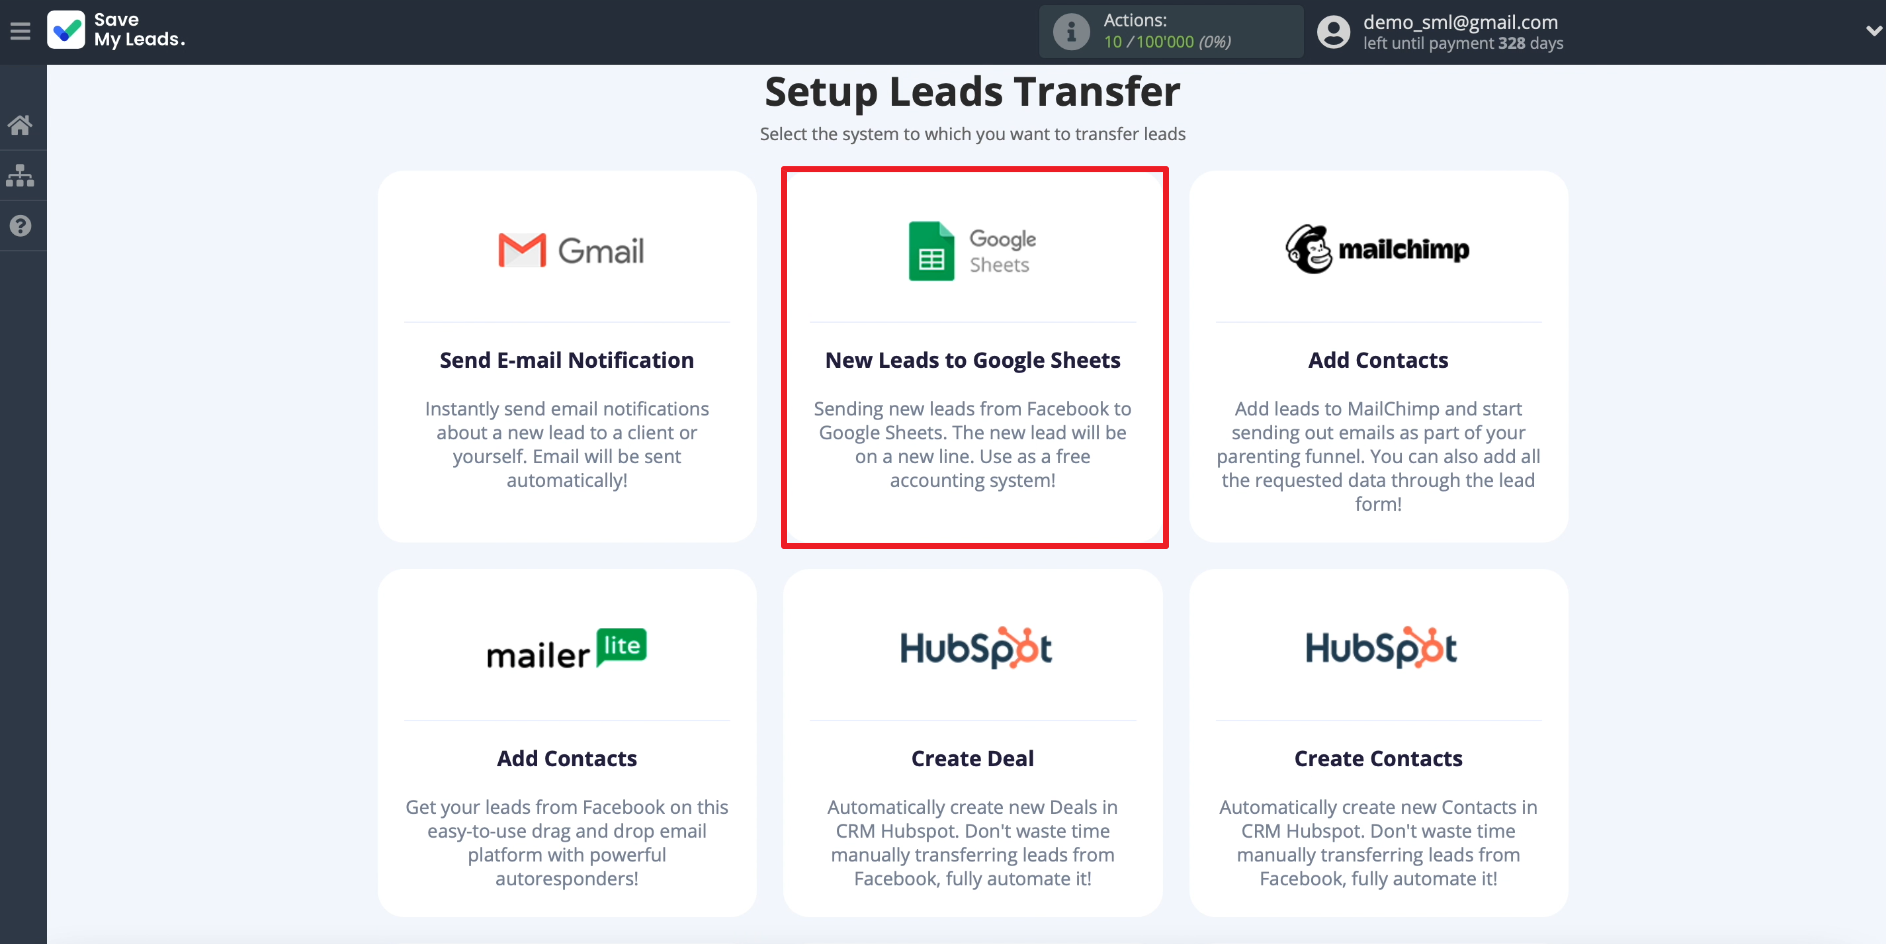
Choosing a template to set up a connection between Facebook and Google Sheets. It will guide us with built-in hints.
Connect Facebook Leads Ads
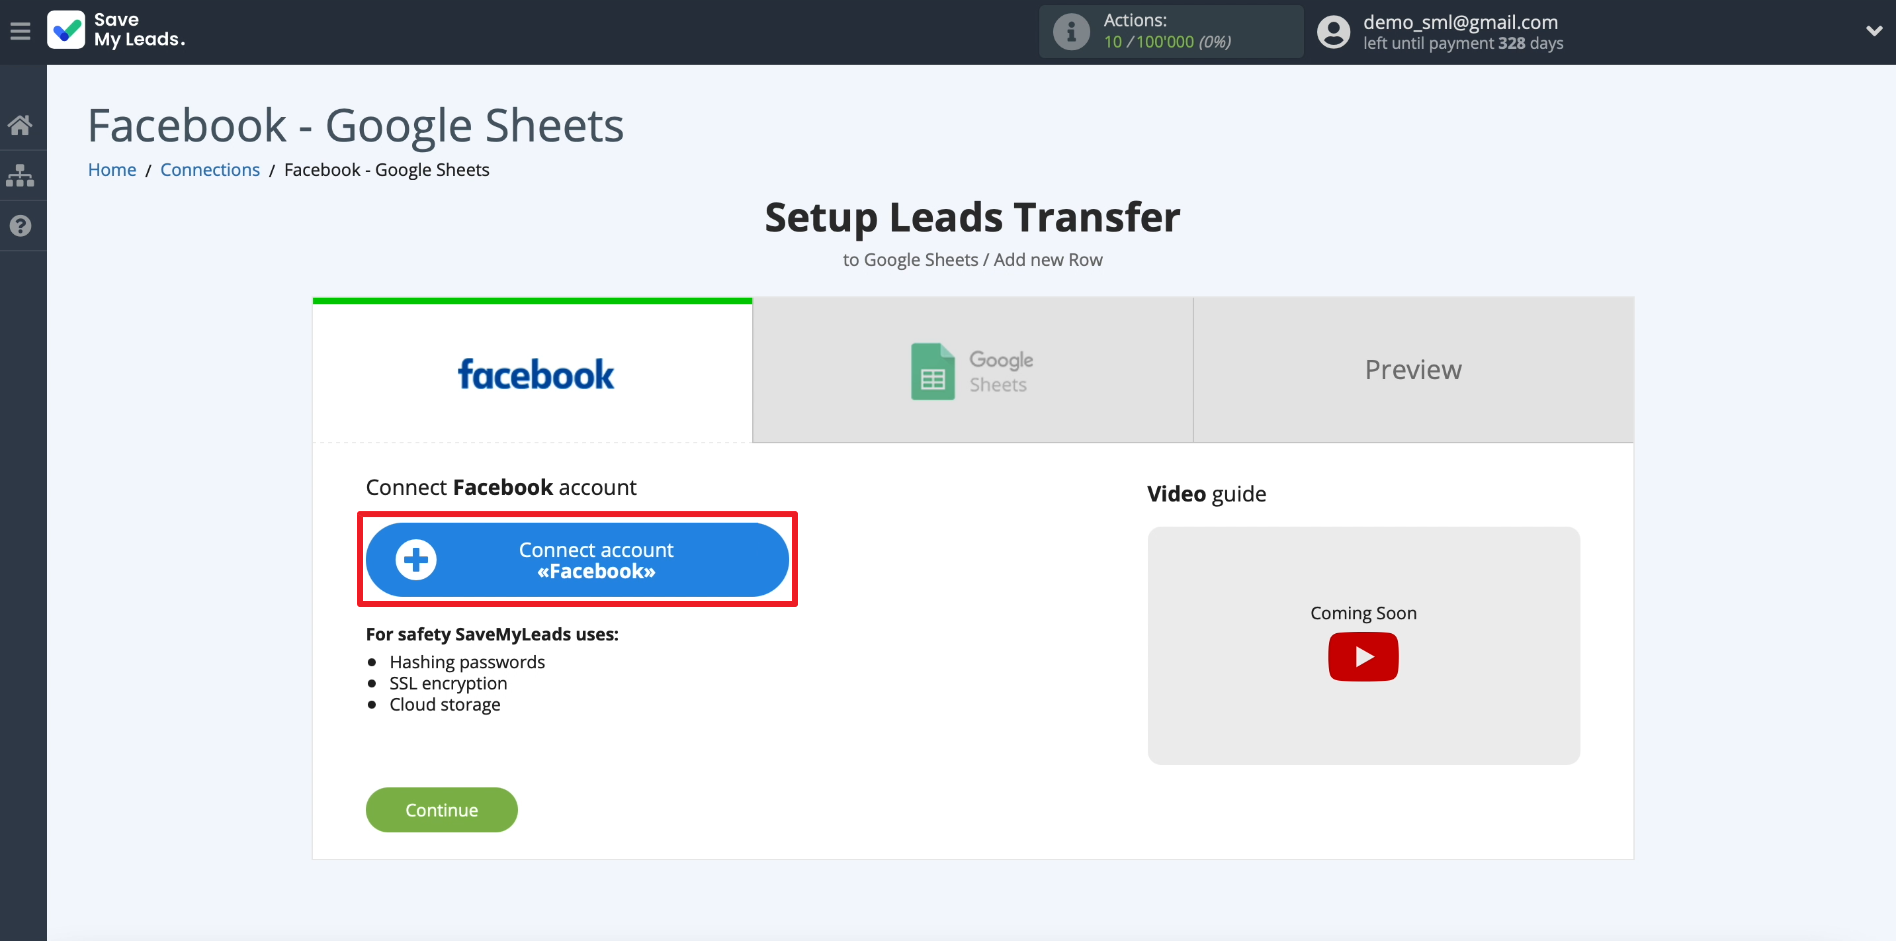
Click Connect account "Facebook". Then we enter the username and password from the Facebook account that we use to manage ads.
We connect the business page to which our advertising form for collecting leads is linked.
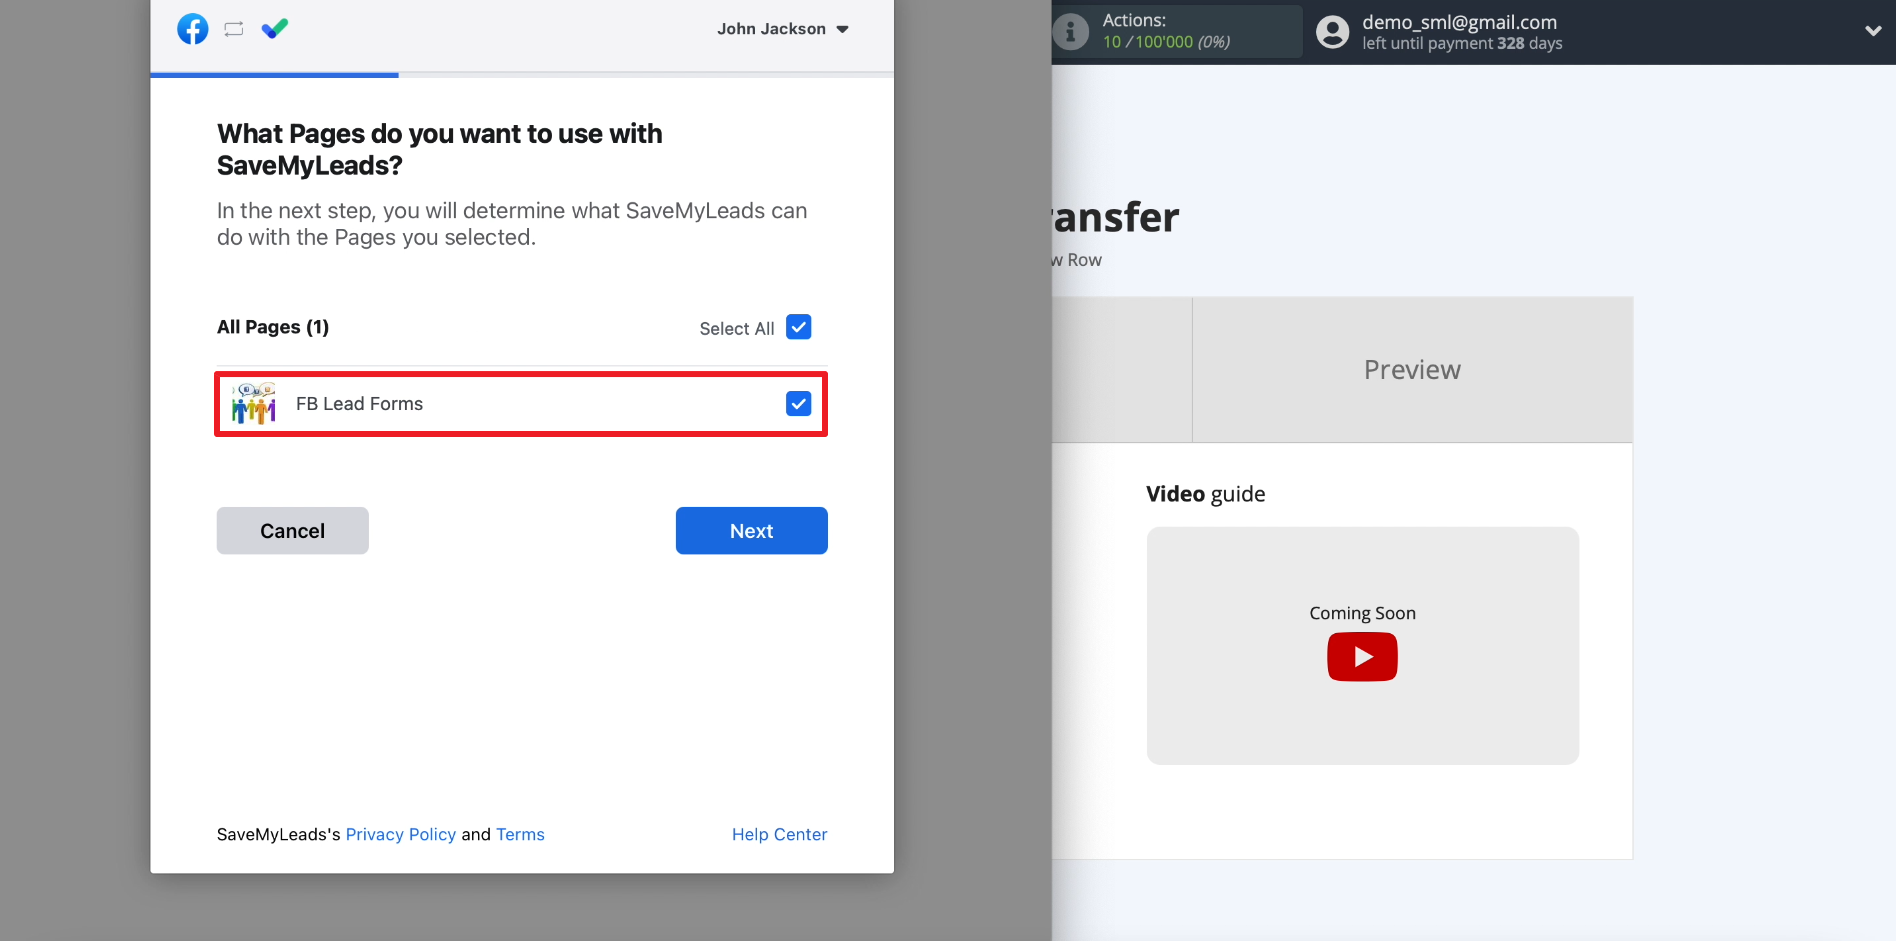
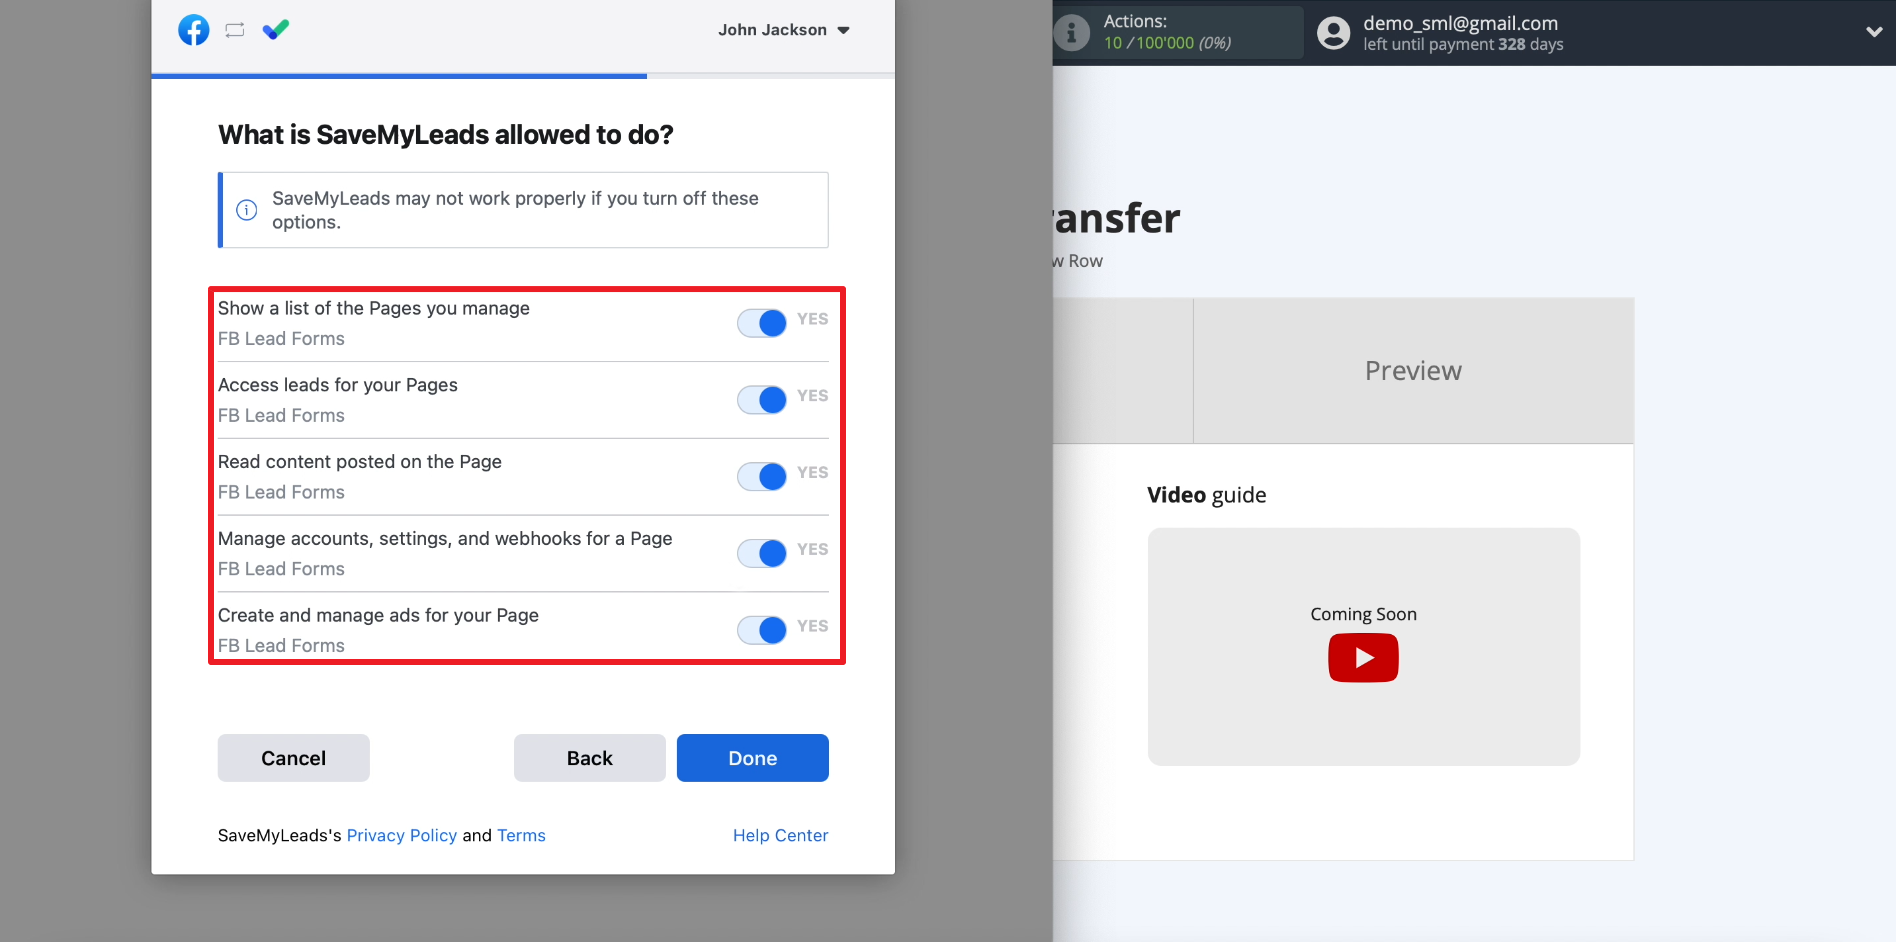
Give SaveMyLeads all the requested permissions. This is necessary for the service to be able to download leads from the social network.
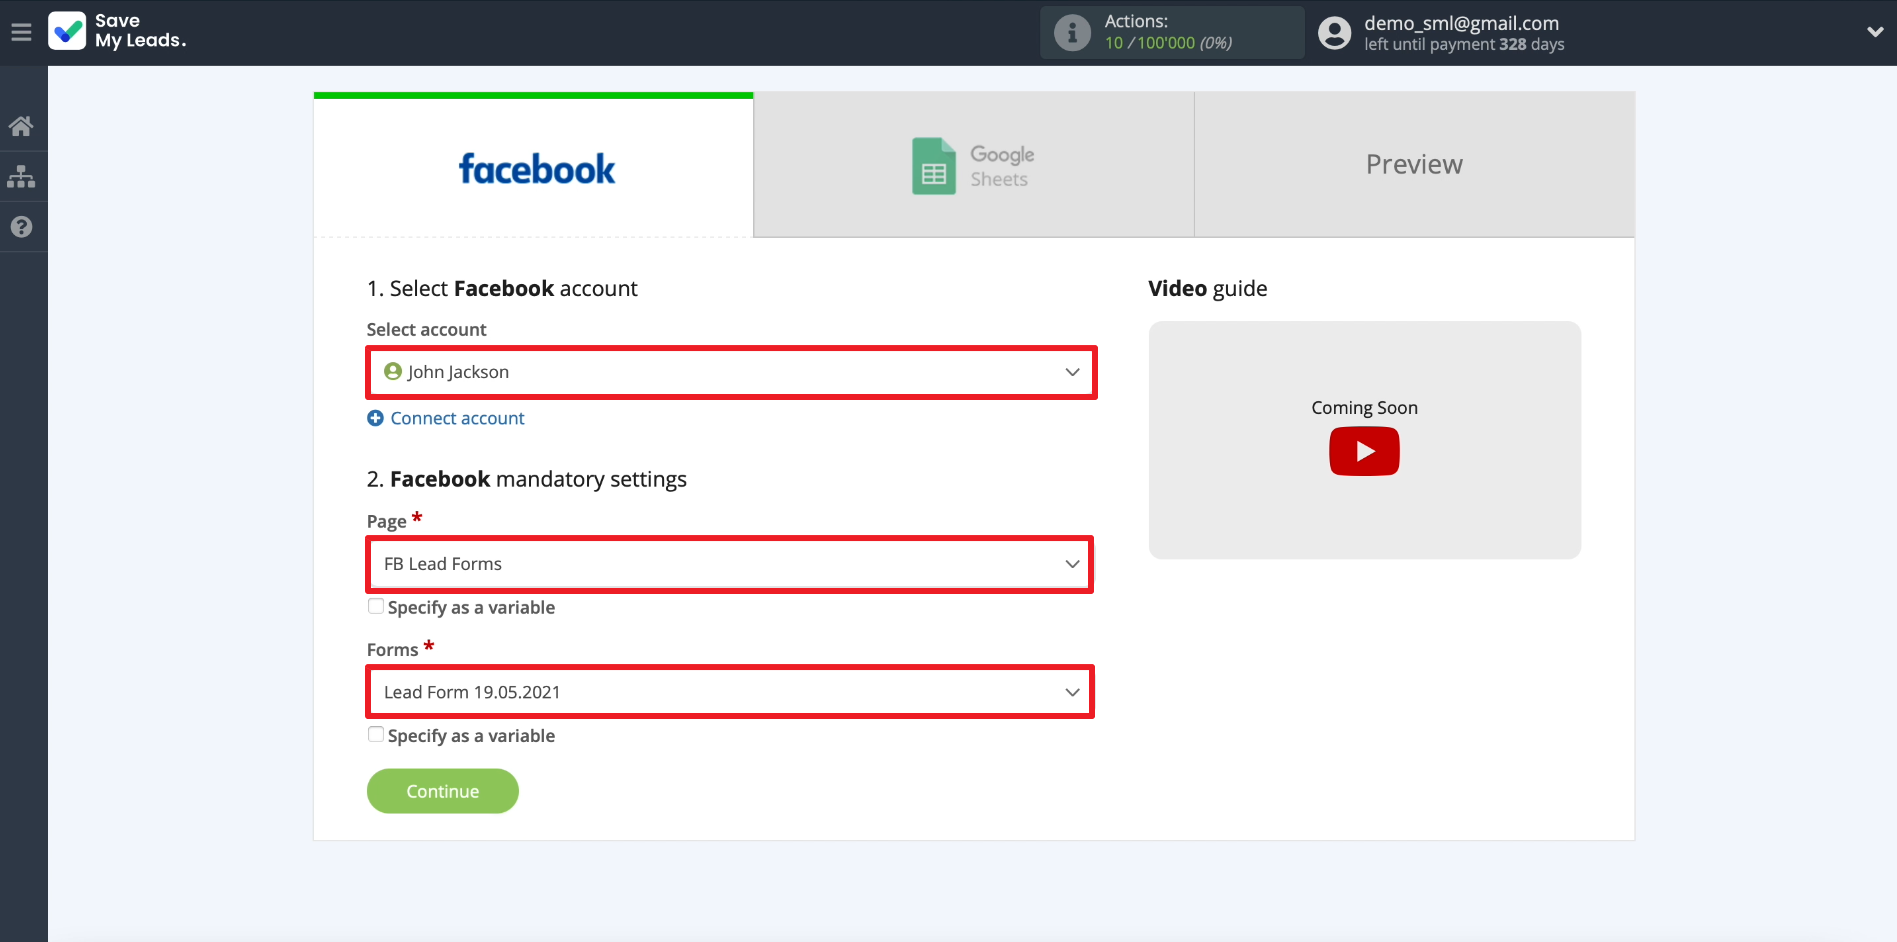
We select the newly connected account and business page. Below we connect the required form. If you need to customize the unloading of leads from several forms, for each you need to create a separate connection between Facebook and Google Sheets.
Connect Google Sheets
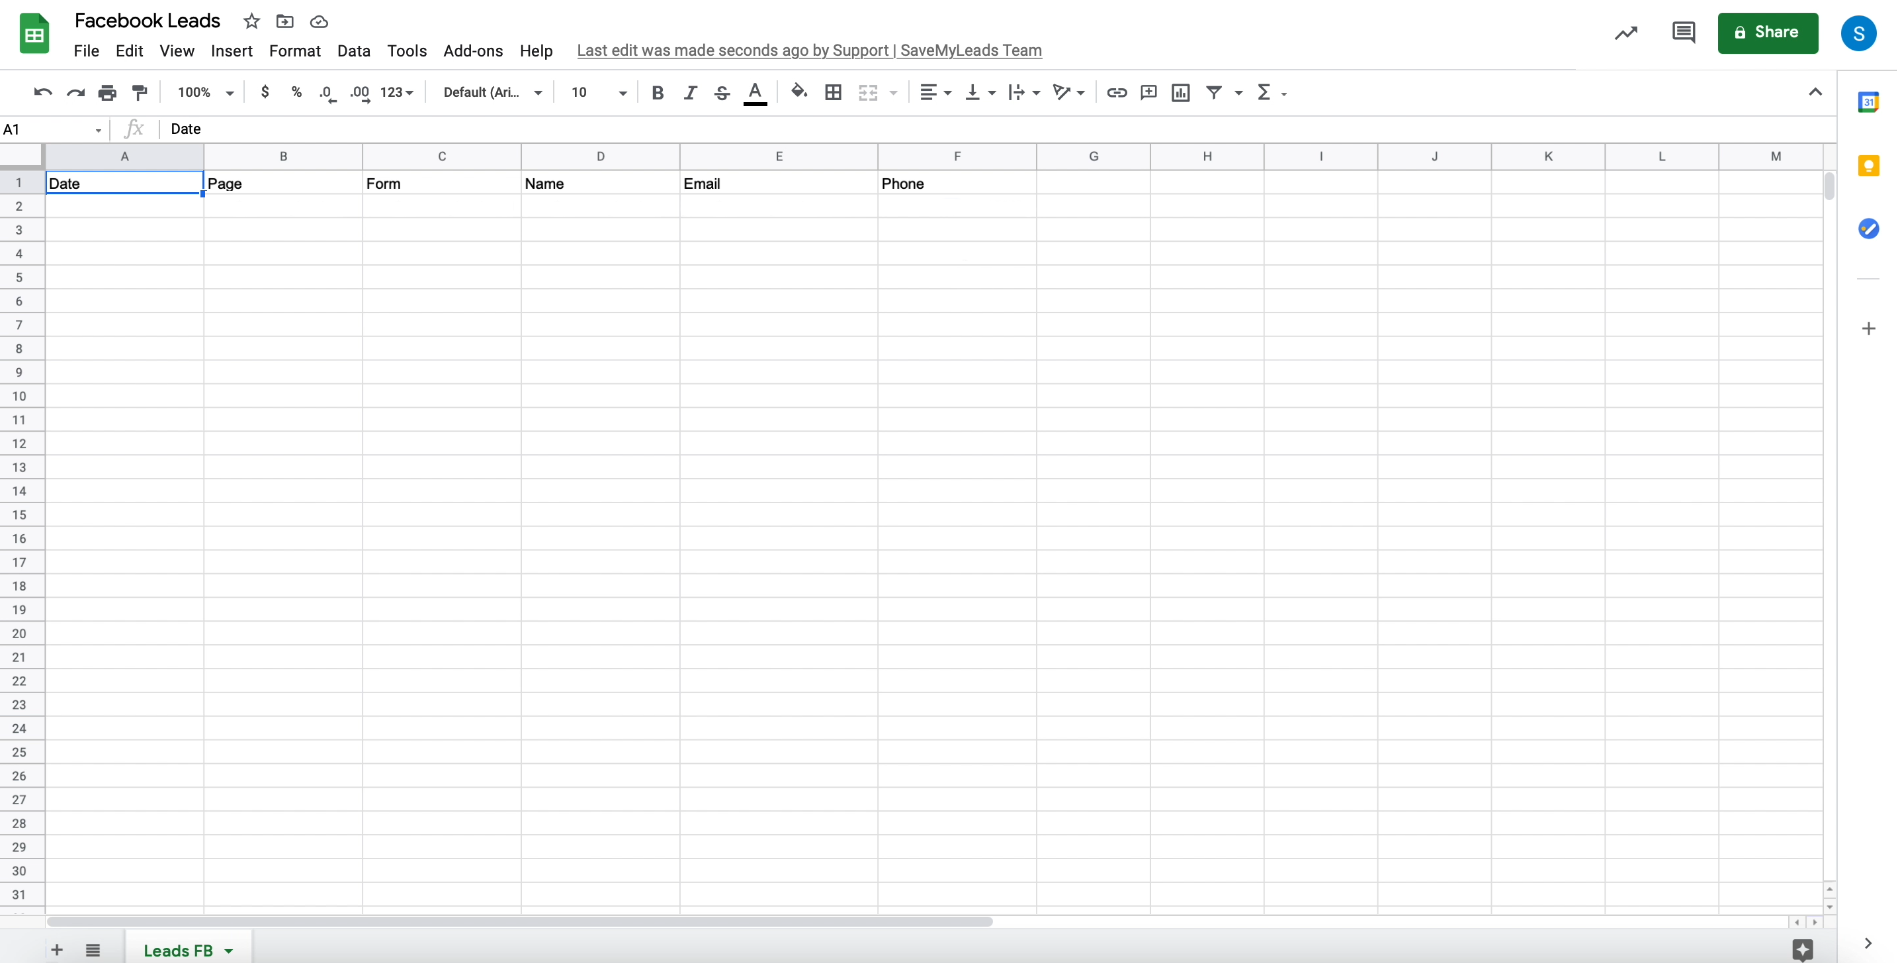
Go to Google Sheets and create a spreadsheet and sheet that we will use to store leads. SaveMyLeads will dump the data for each lead into a separate row. In this case, each type of data - for example, name, email or phone number - will be uploaded to a separate column of the current row.
- Automate the work with leads from the Facebook advertising account
- Empower with integrations and instant transfer of leads
- Don't spend money on developers or integrators
- Save time by automating routine tasks
In addition, SaveMyLeads can automatically add additional lead information to each row, such as the date of receipt, as well as the names of the page and form from which it was loaded.
For convenience, you can sign the column names in accordance with the types of data that we want to receive:
Now go back to the SaveMyLeads site and click the Connect account "Google Sheets". We give the system all the requested permissions.
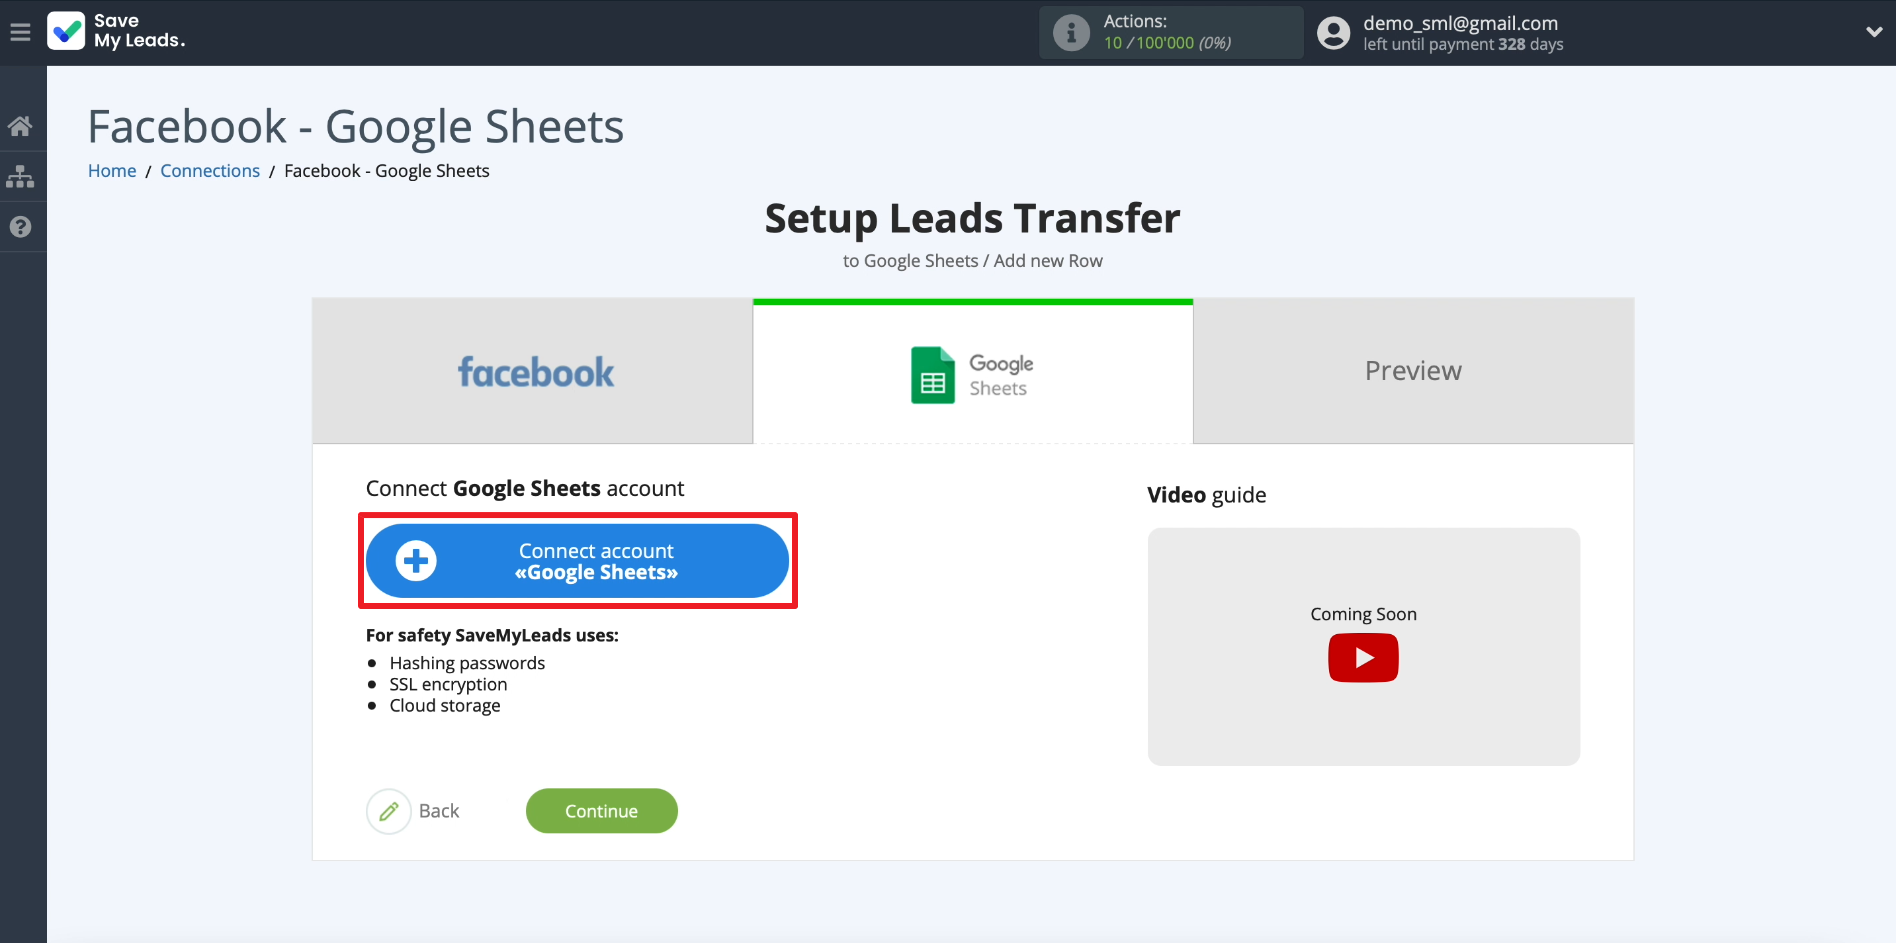
We select the just connected Google Sheets account, as well as the table (file) we created for collecting leads.
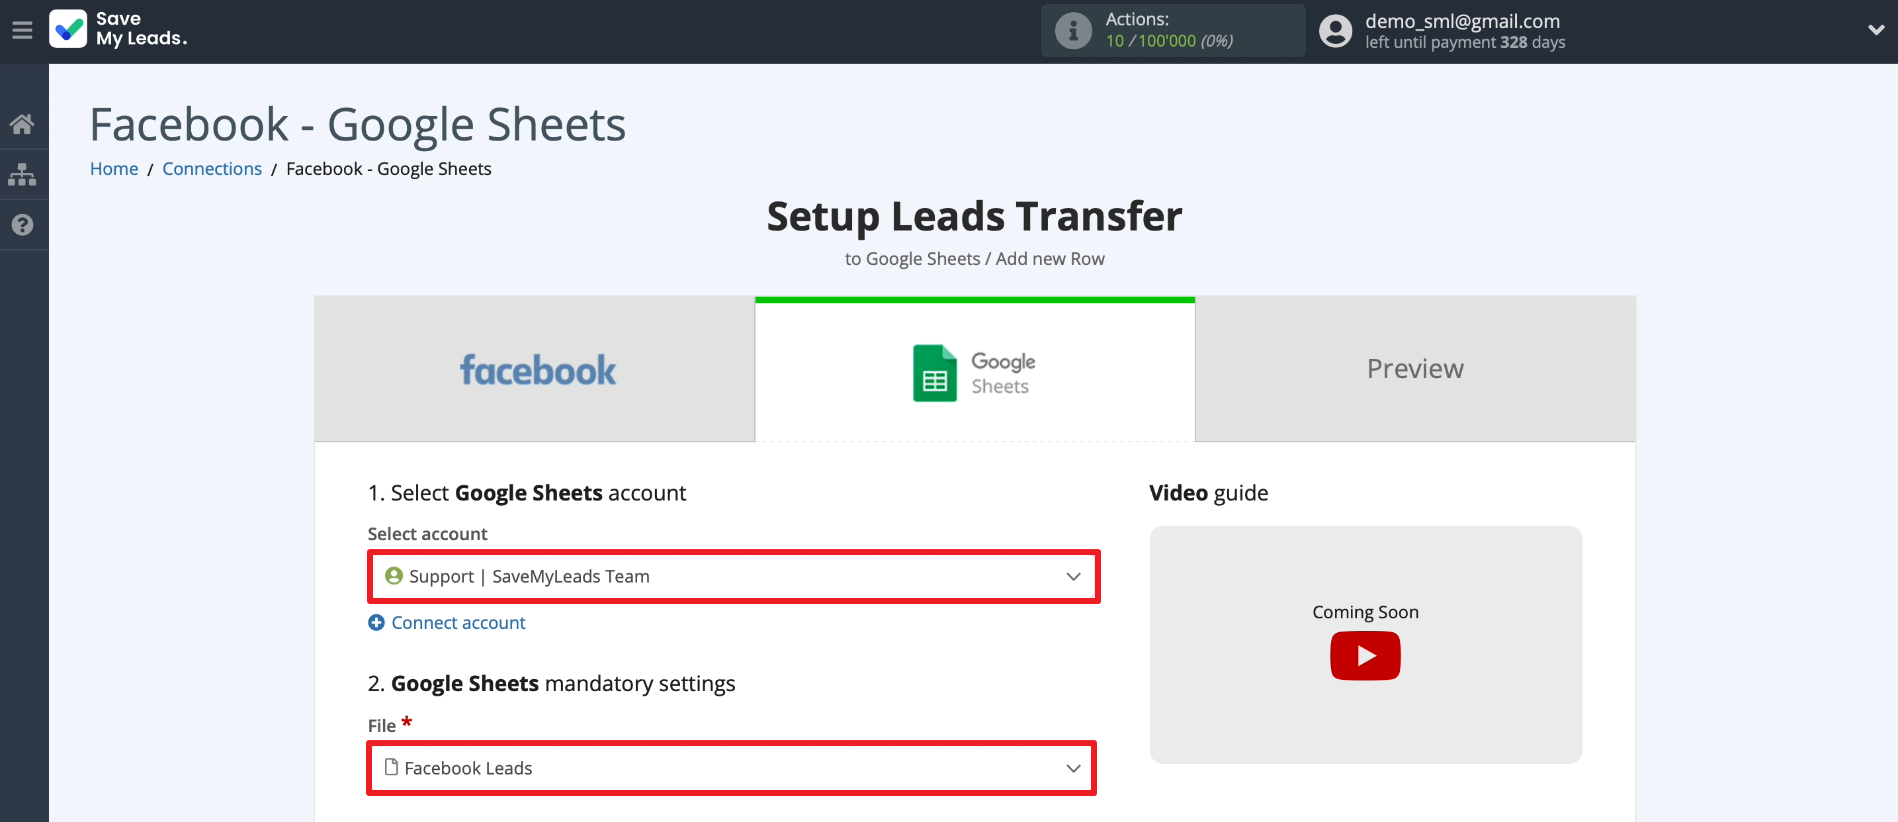
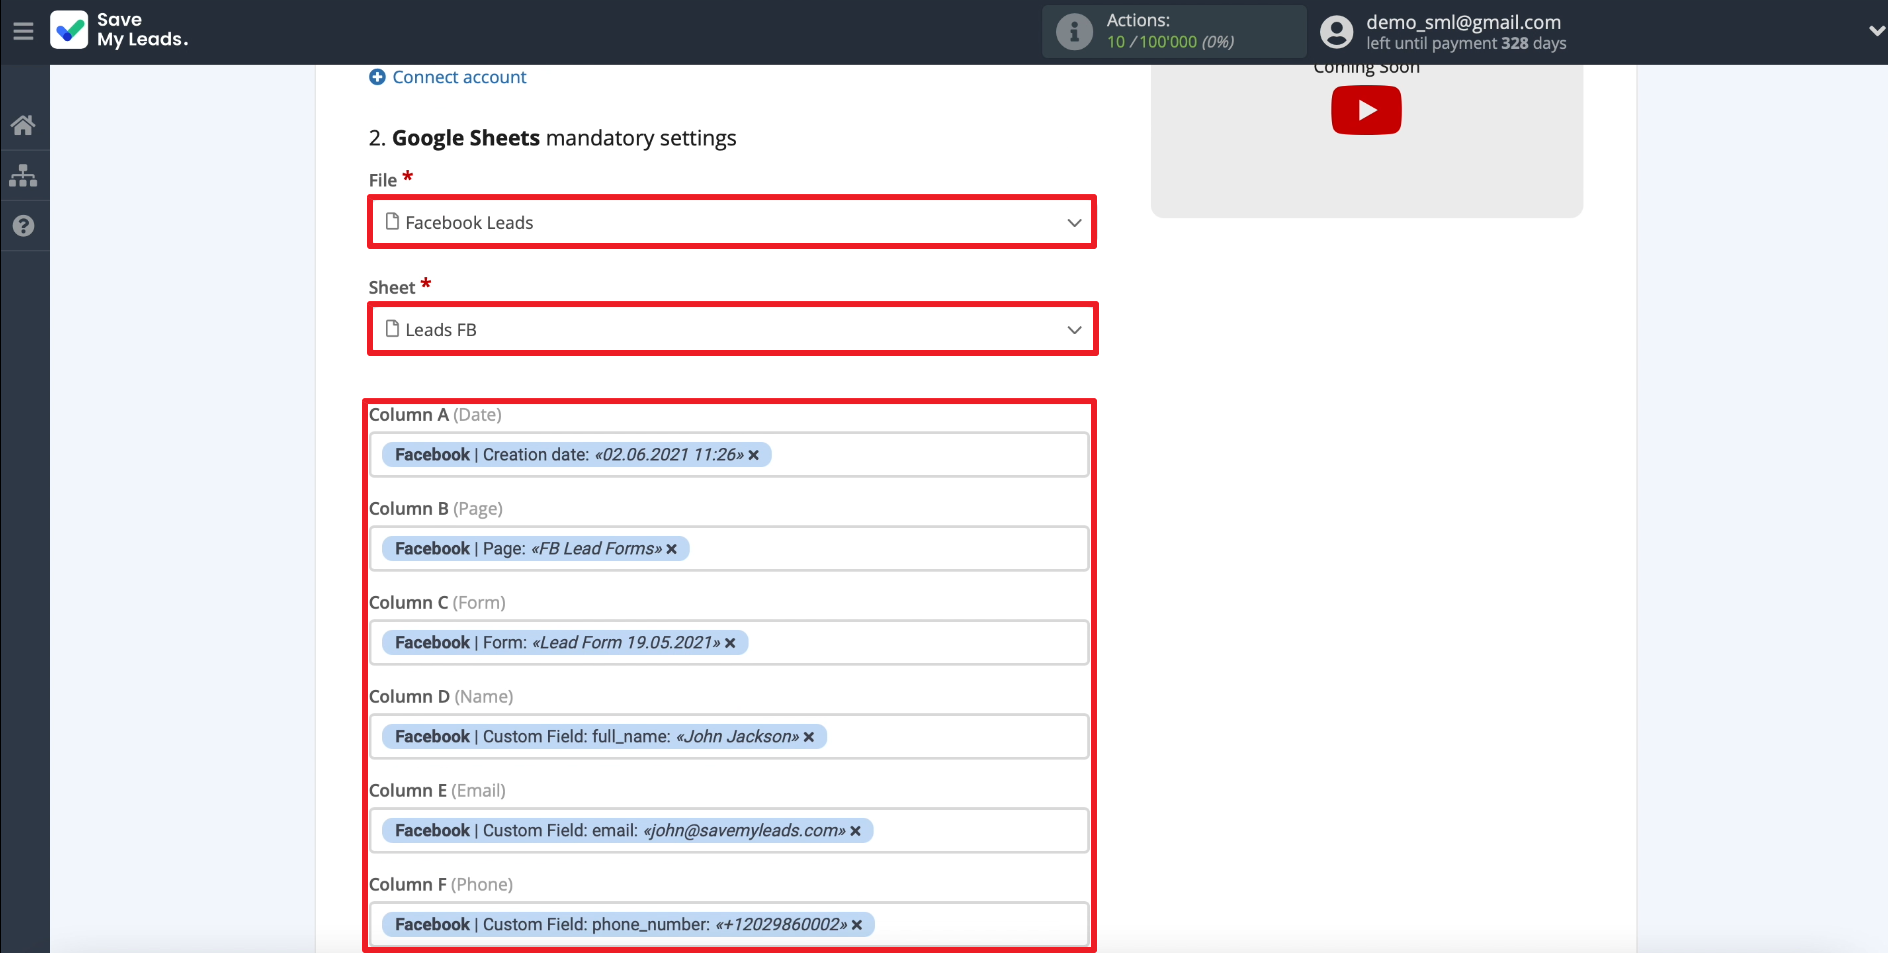
We select a sheet in our table, in which the leads will fall. Below we indicate what kind of data SaveMyLeads will download for each lead. To do this, click on the required fields and select the data types of interest to us. Each field corresponds to a specific column in the table. Leave the extra fields empty.
Checking the results
If there are already leads in the form, the details of one of them will appear on the screen for the test. If the data is not displayed, you need to log into your Facebook advertising account, submit a test application through the form and refresh the SaveMyLeads page.
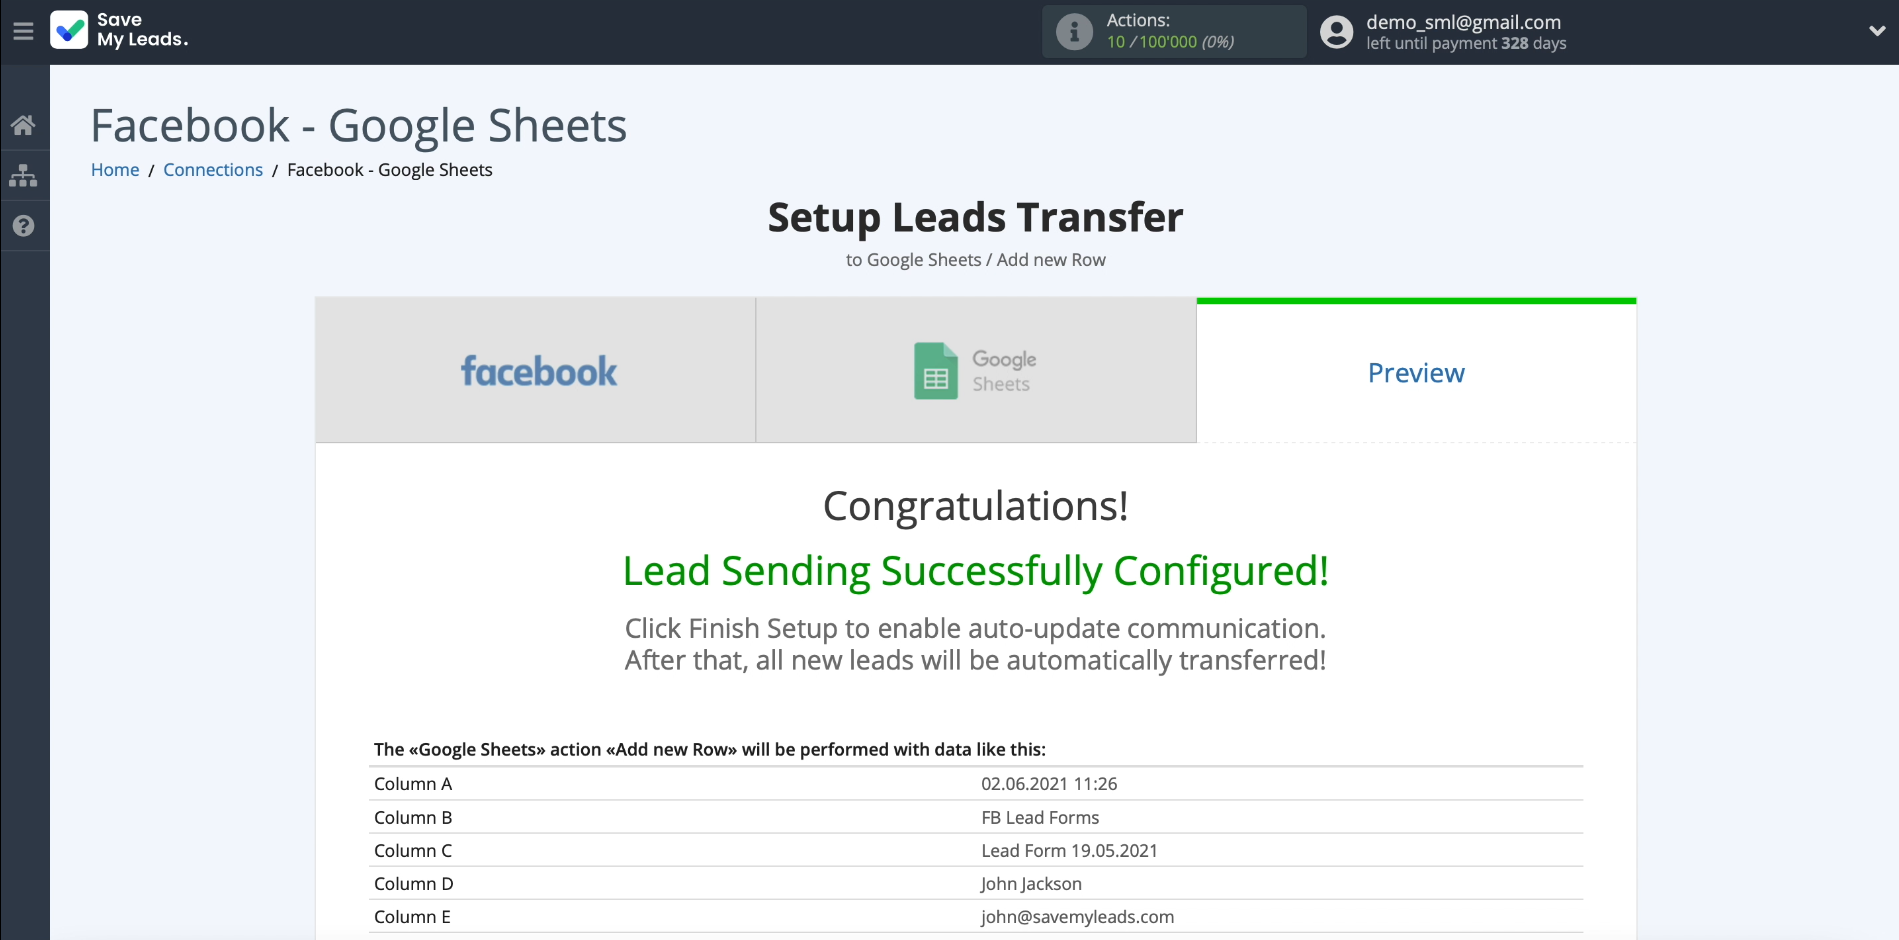
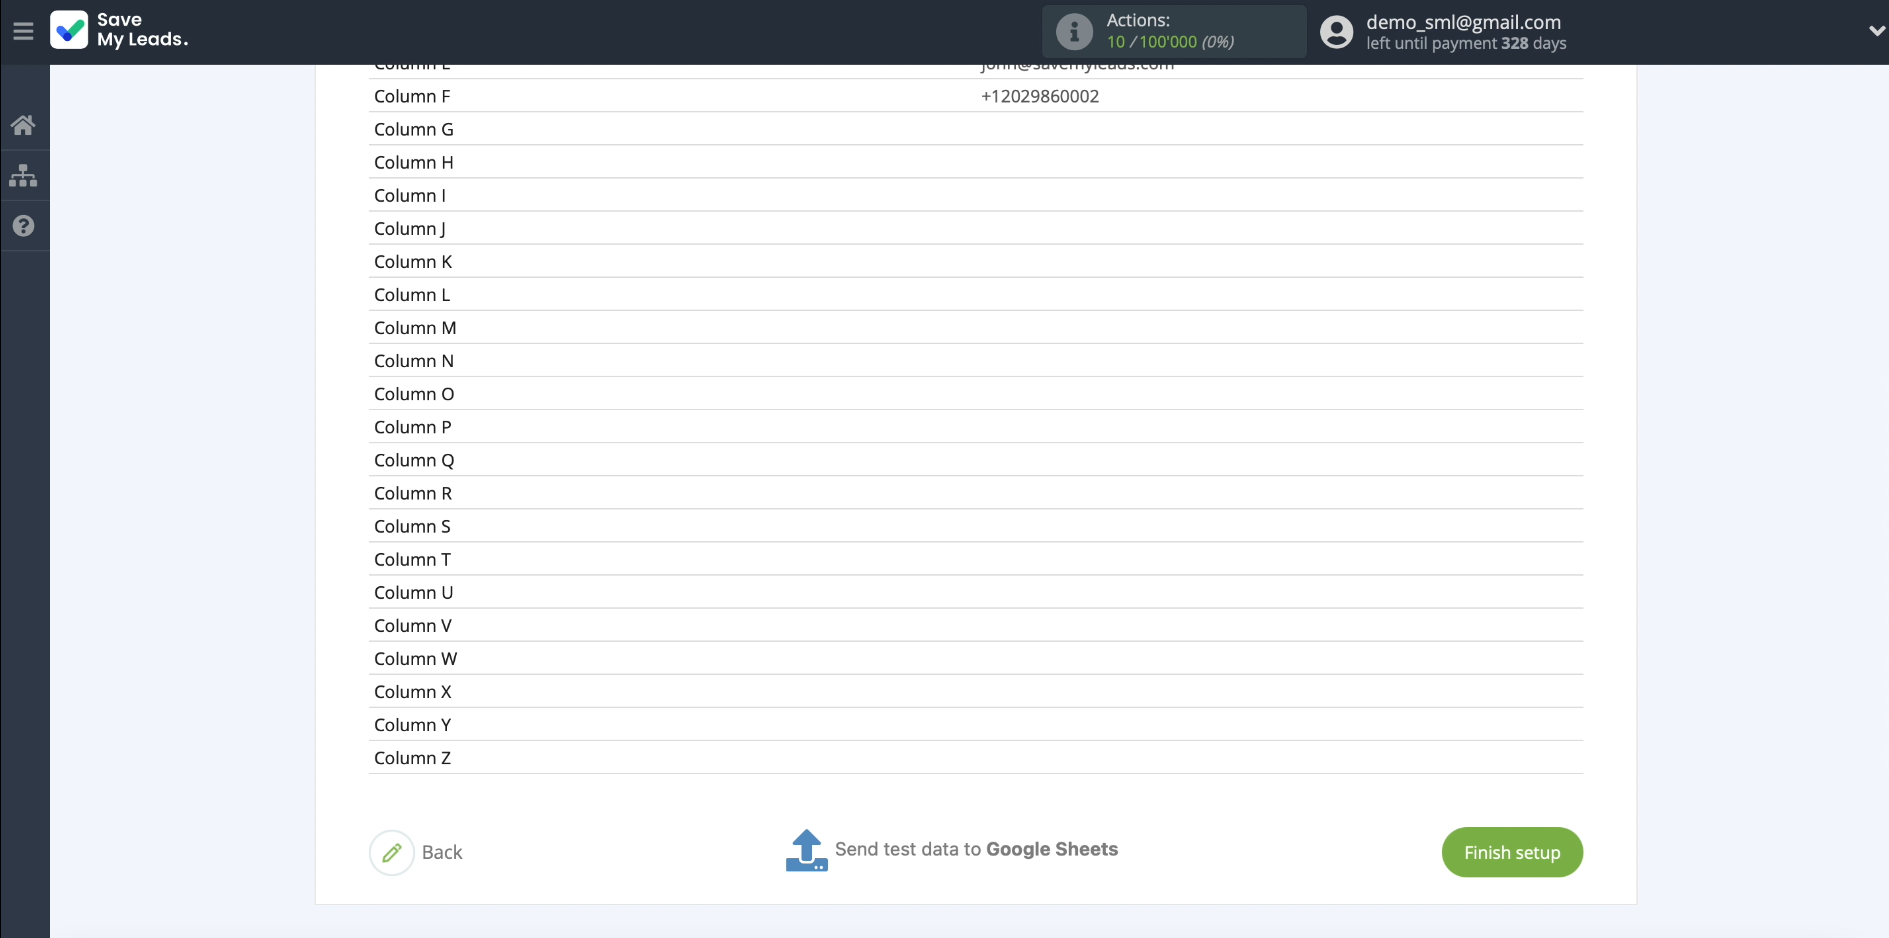
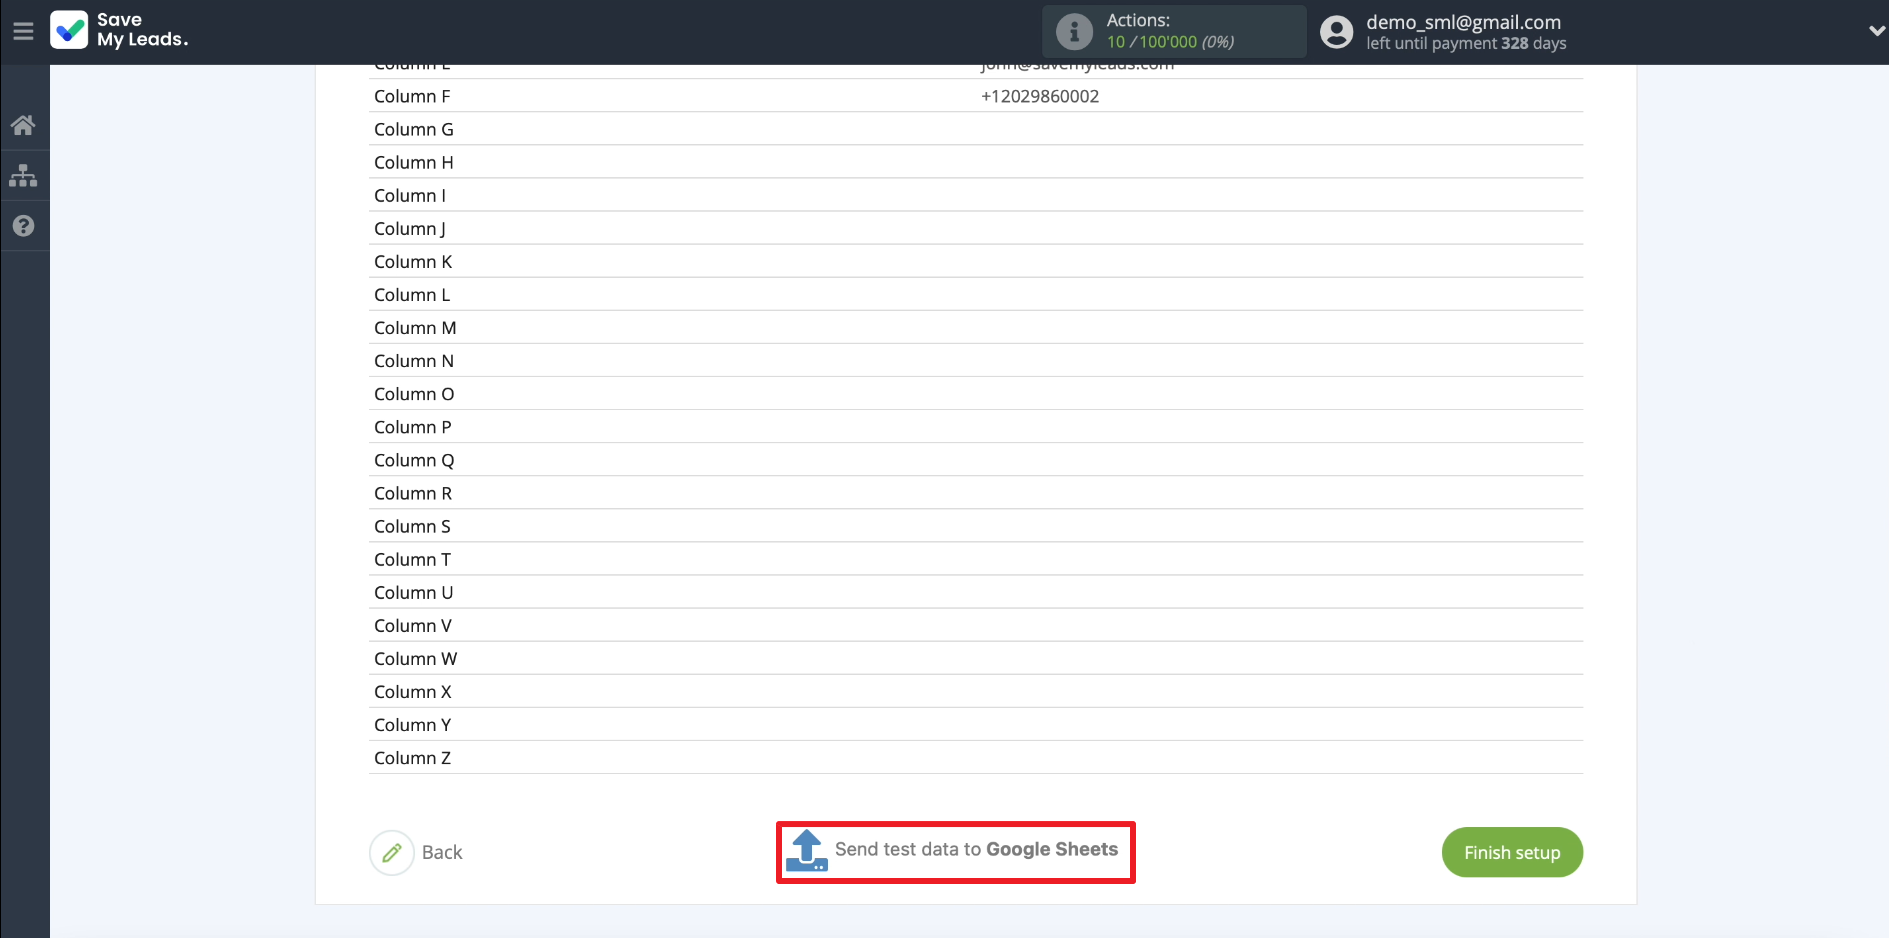
Now let's test sending this data to Google Sheets. To do this, just click Send test data to Google Sheets.
We go into our table and check the loaded data.
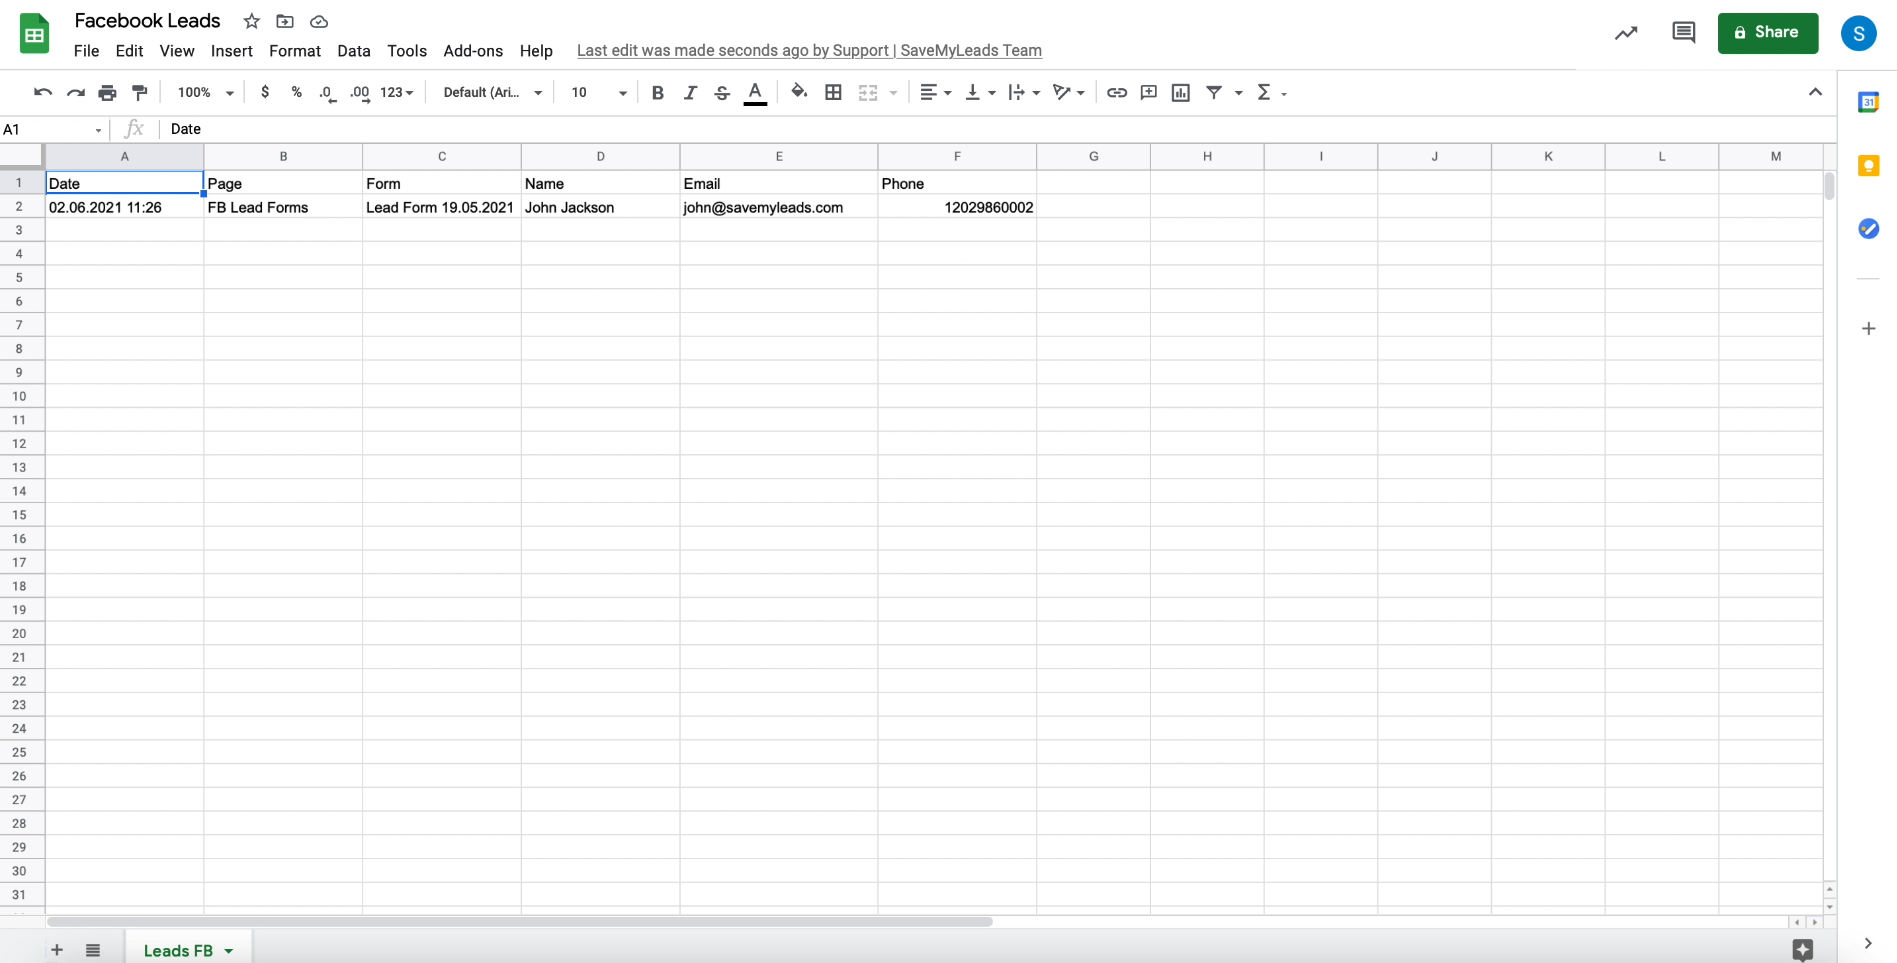
If everything is displayed, move on. If there is no data, go back and check the previous configuration steps.
Finish the setup
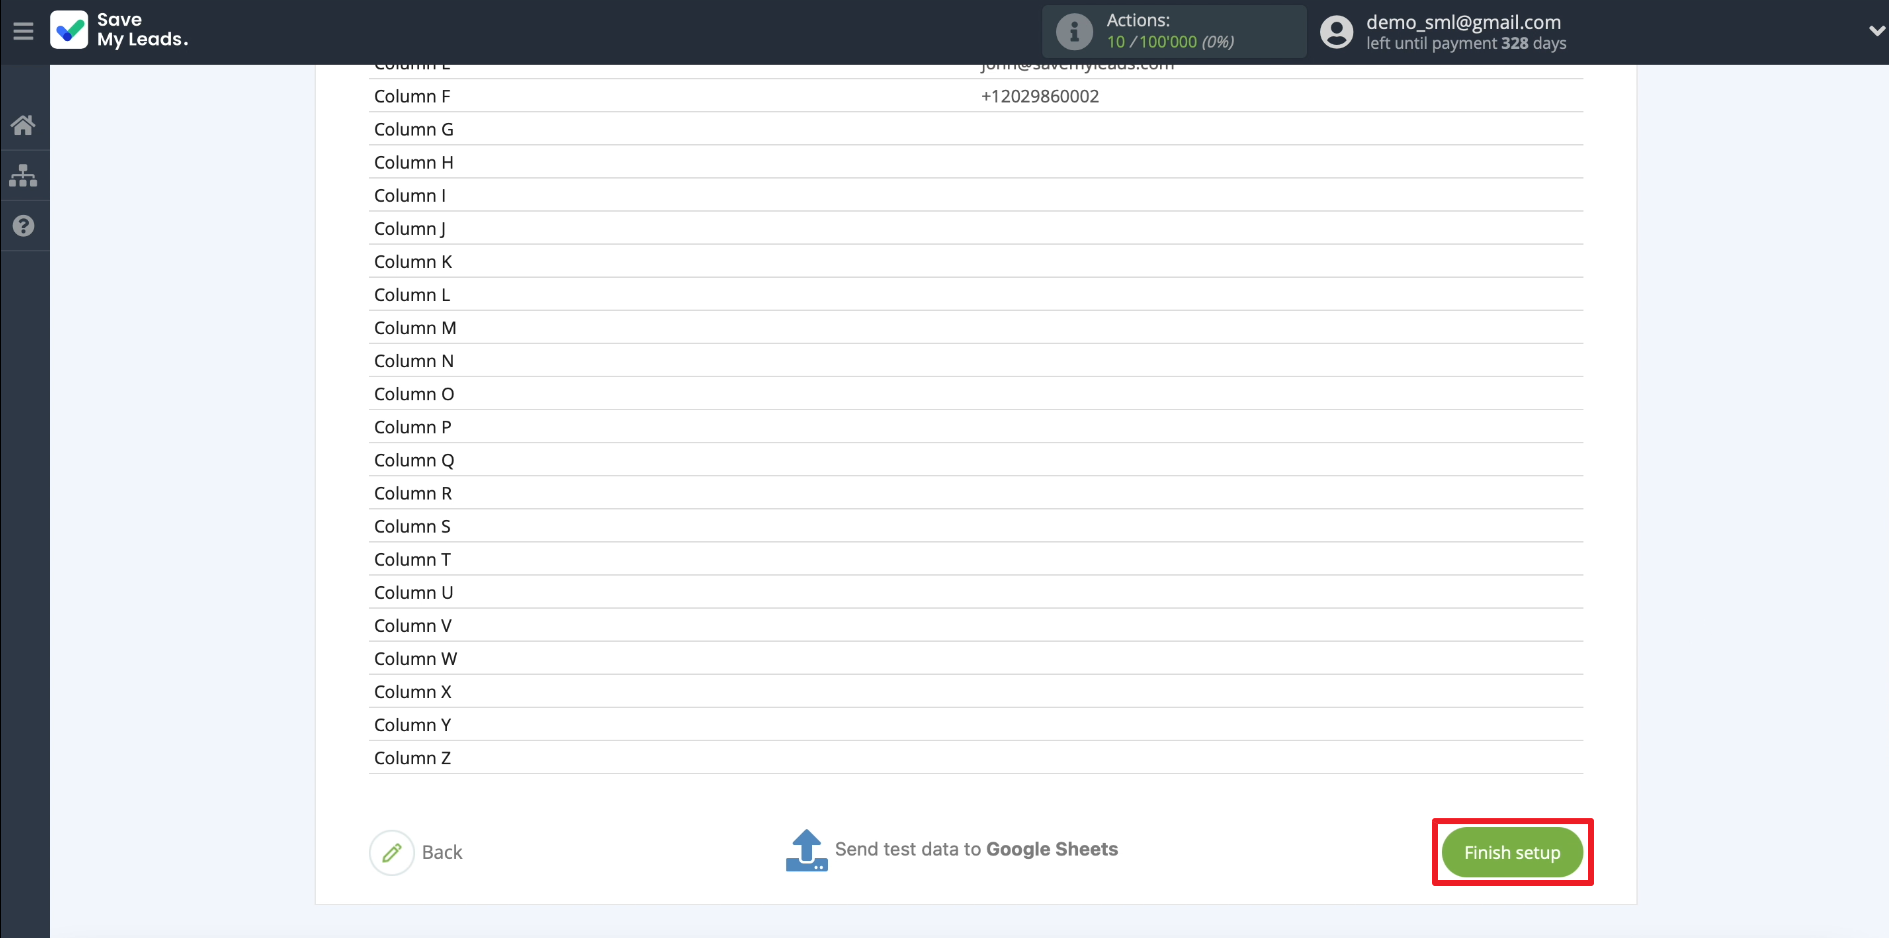
Click Finish setup to complete the configuration and enable automatic data upload.
If you need to change the name of the created connection, click on the gear and enter the appropriate text.
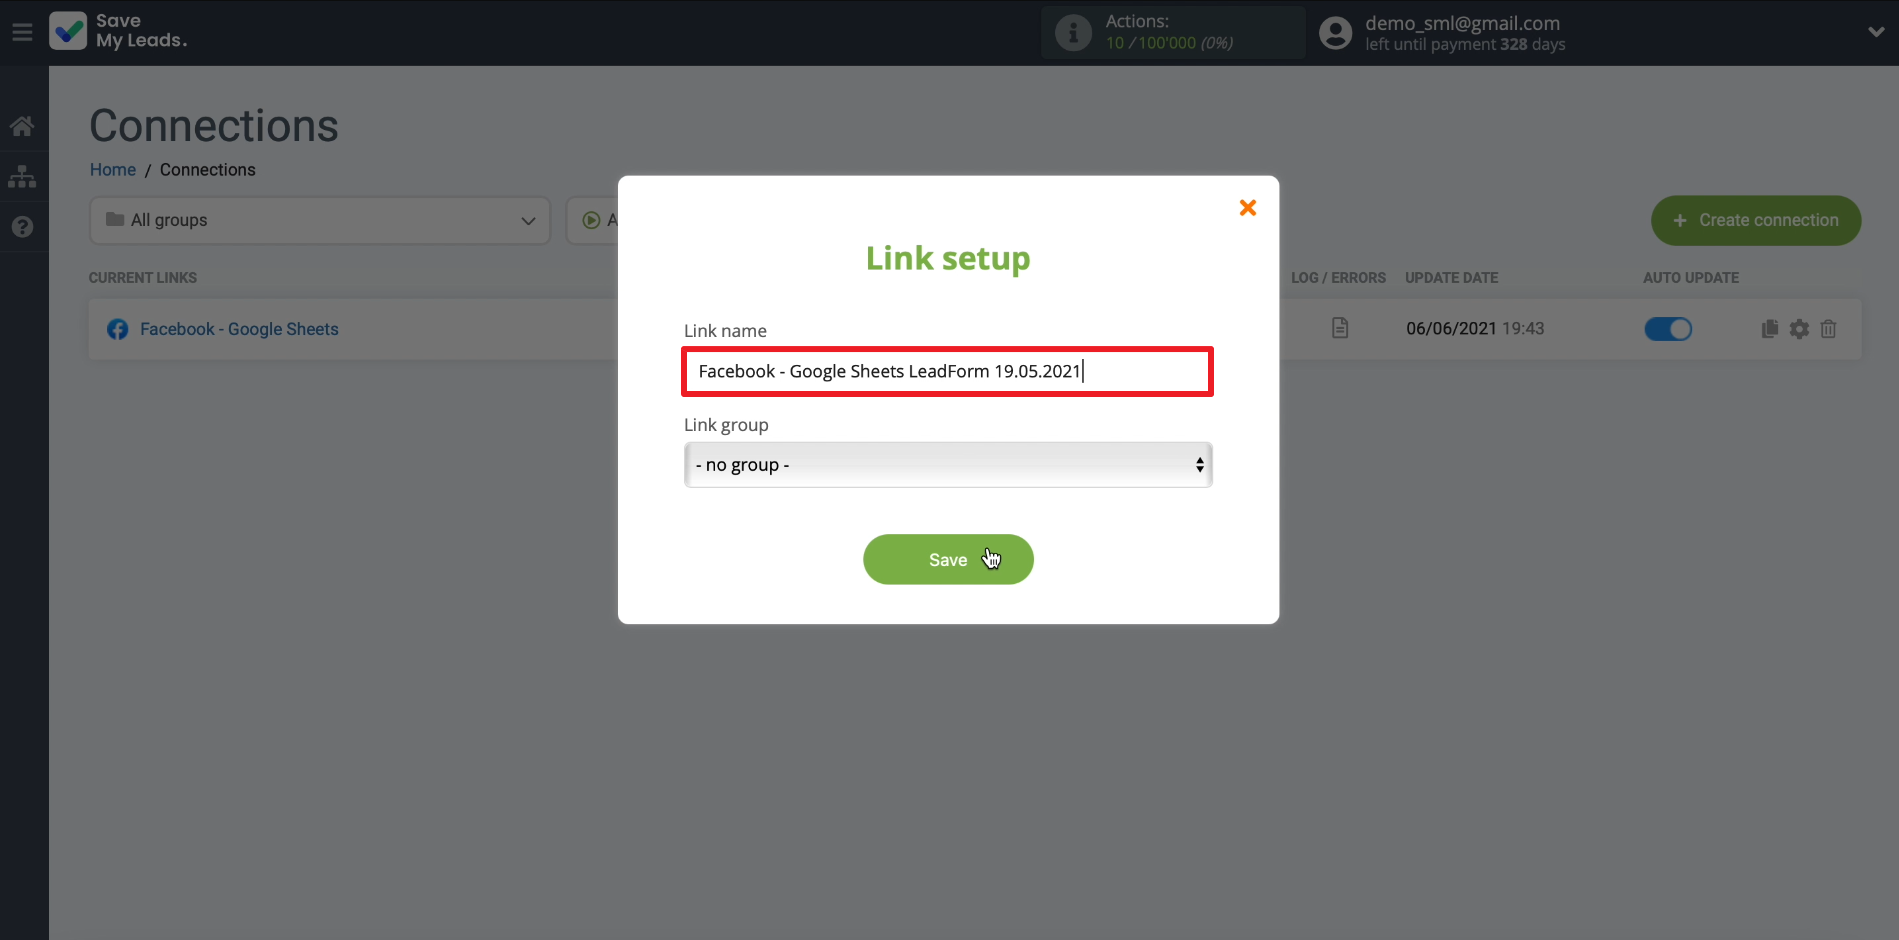
That's all. Now SaveMyLeads will automatically upload leads from Facebook to Google Sheets in accordance with the specified settings. On the service website, you can edit, stop or delete the current connection or create a new one at any time. Good luck with your work!
Are you actively using Facebook Ads Manager in your advertising campaigns? Set up the integration of this service with other systems and take your business automation to the next level. For example, set up that contact information from leads left by potential customers will be used for automated email campaigns or for creating new contacts and tasks in your CRM. Sign up and try it for free!
