Telesign is a communication platform that provides businesses with tools for identifying customers and quickly interacting with them through various channels (SMS, Viber, WhatsApp). This service is suitable for businesses operating in the areas of financial services, software development, e-commerce, and more. In our article, you will learn how to set up Telesign and Facebook integration to automate the transfer of leads from a social network to the database of the communication platform.
If you promote goods or services using the Facebook Lead Ads tool and use the Telesign platform to communicate with clients, in particular to create and launch SMS mailings, you probably manually enter new leads attracted from the social network into your subscriber base stored in this service. Automating the transfer of lead data will free you from at least one workflow and save your most valuable resource – time. By combining these systems with each other, you can achieve increased productivity. And not only personally but also as a team.
Our no-code online connector, SaveMyLeads, will help you do this. Having successfully configured Facebook and Telesign integration, you will make sure that the contact information of the new lead immediately appears in the communication service database in the form of a new entry. You will no longer need to manually enter a whole series of buyer or customer data (first and last name, phone number, and so on). This way, your work will be optimized, and the clients will have a positive experience with the quick feedback that you can now provide them.
How to Set Up a Connection Between Facebook and Telesign
Programmers can create a Facebook Lead Ads and Telesign integration using the API. However, do not rush to entrust this task to anyone. Let's first weigh the pros and cons of such a decision. Let's say you have an IT department. It may take its employees several hours or even days to fulfill your request because they have a number of other equally important responsibilities. Third-party programmers can issue an invoice that will cause a significant blow to your budget. We offer you a faster, friendlier and, importantly, budget-friendly alternative – the SaveMyLeads online connector. Its interface and operating algorithm are so simple and easy to understand that even a completely inexperienced user can set up the necessary connection in just a few minutes.
The Telesign Facebook integration scheme looks like this: “data source – online connector – data receiver.” SaveMyLeads continuously monitors your Facebook business page and, as soon as a new lead appears there, immediately transfers it to Telesign. To set up and launch such automation, you only need to perform a few simple steps. Why put off what you can do right now? Let's start!
Setting Up the Data Source – Facebook
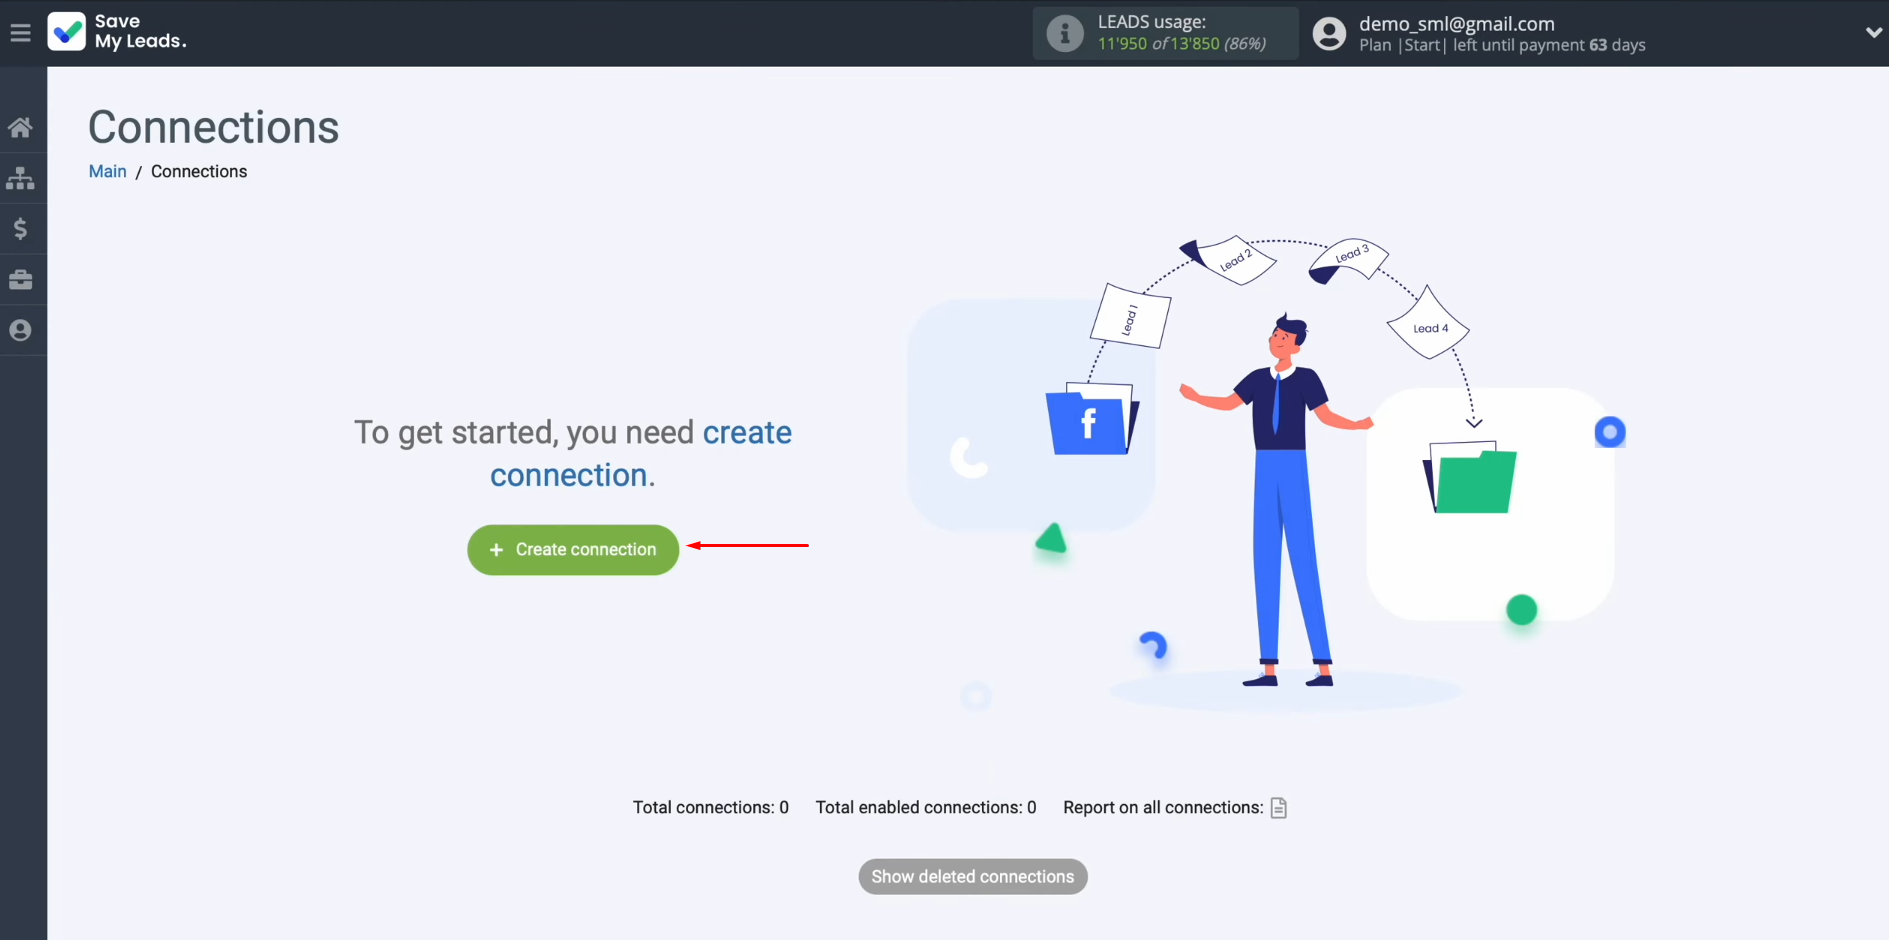
To set up Facebook integration with Telesign, first you have to create a new connection. For this, click on the green button "Create connection".
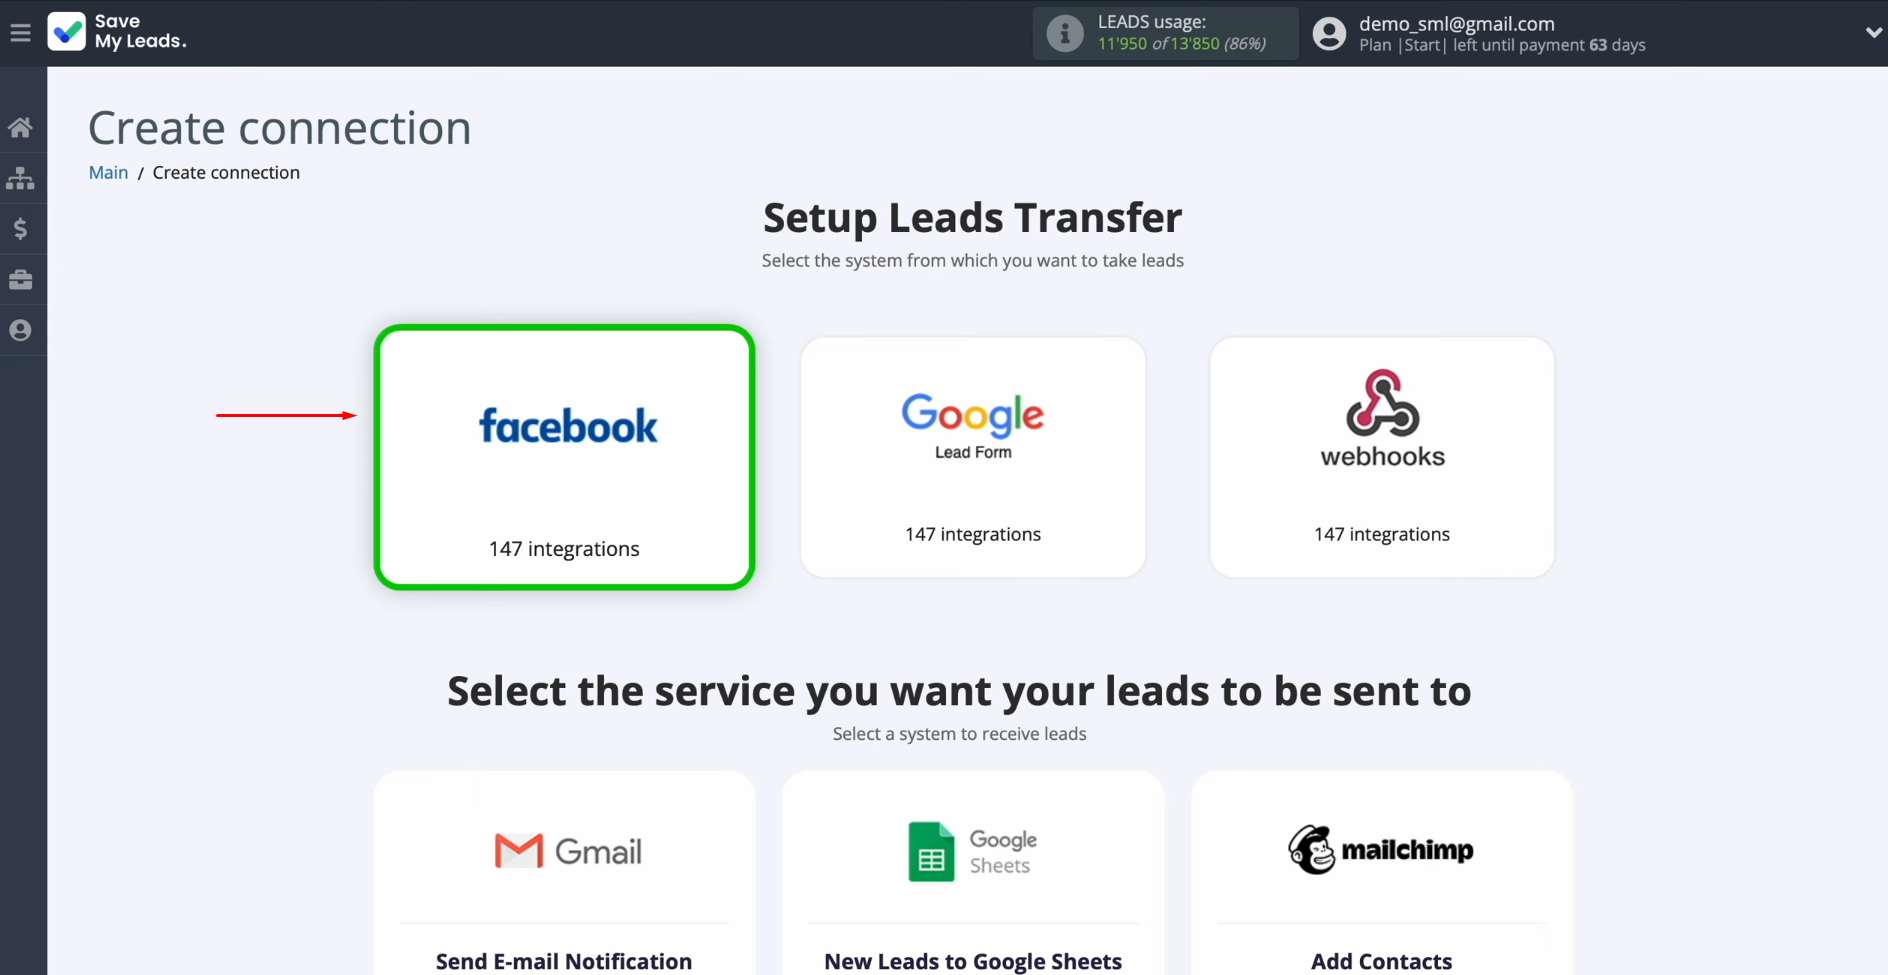
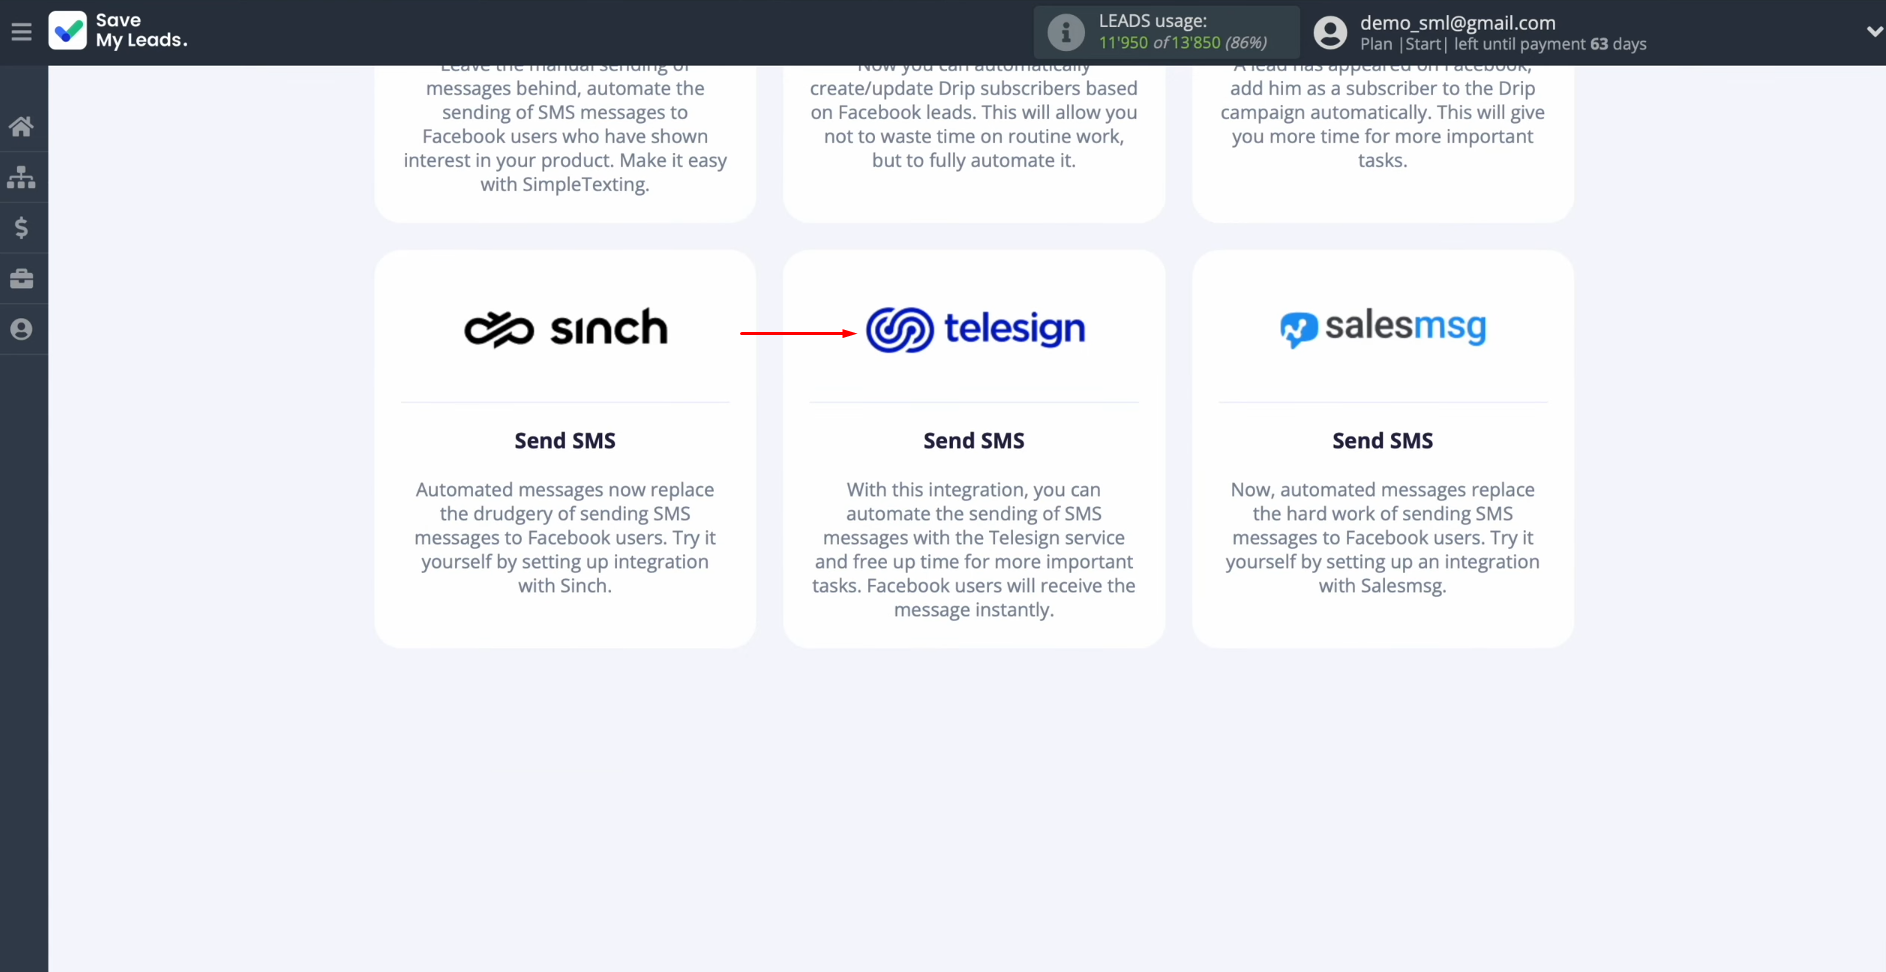
Next, you must select the data source system. In this case, we select Facebook.
Now, select the system where you want to transfer new leads from Facebook. In this case, select Telesign.
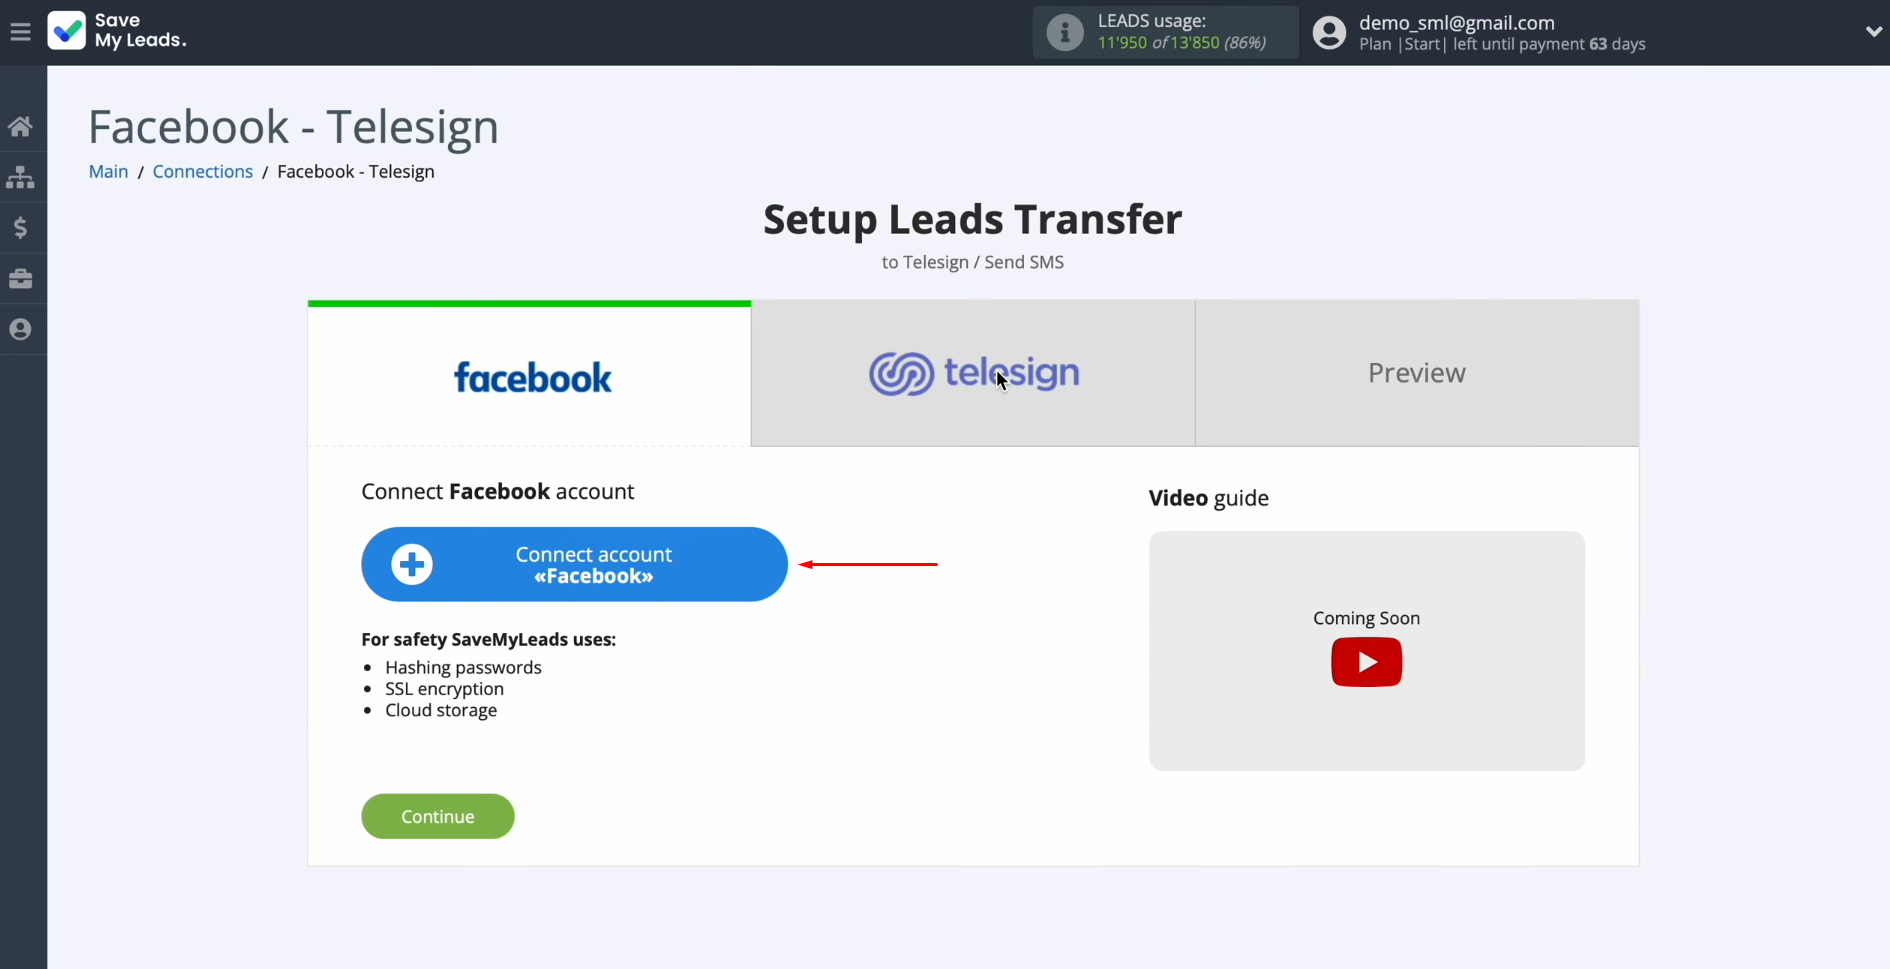
At this stage, you have to connect your
Facebook account to SaveMyLeads. Click on the blue button.
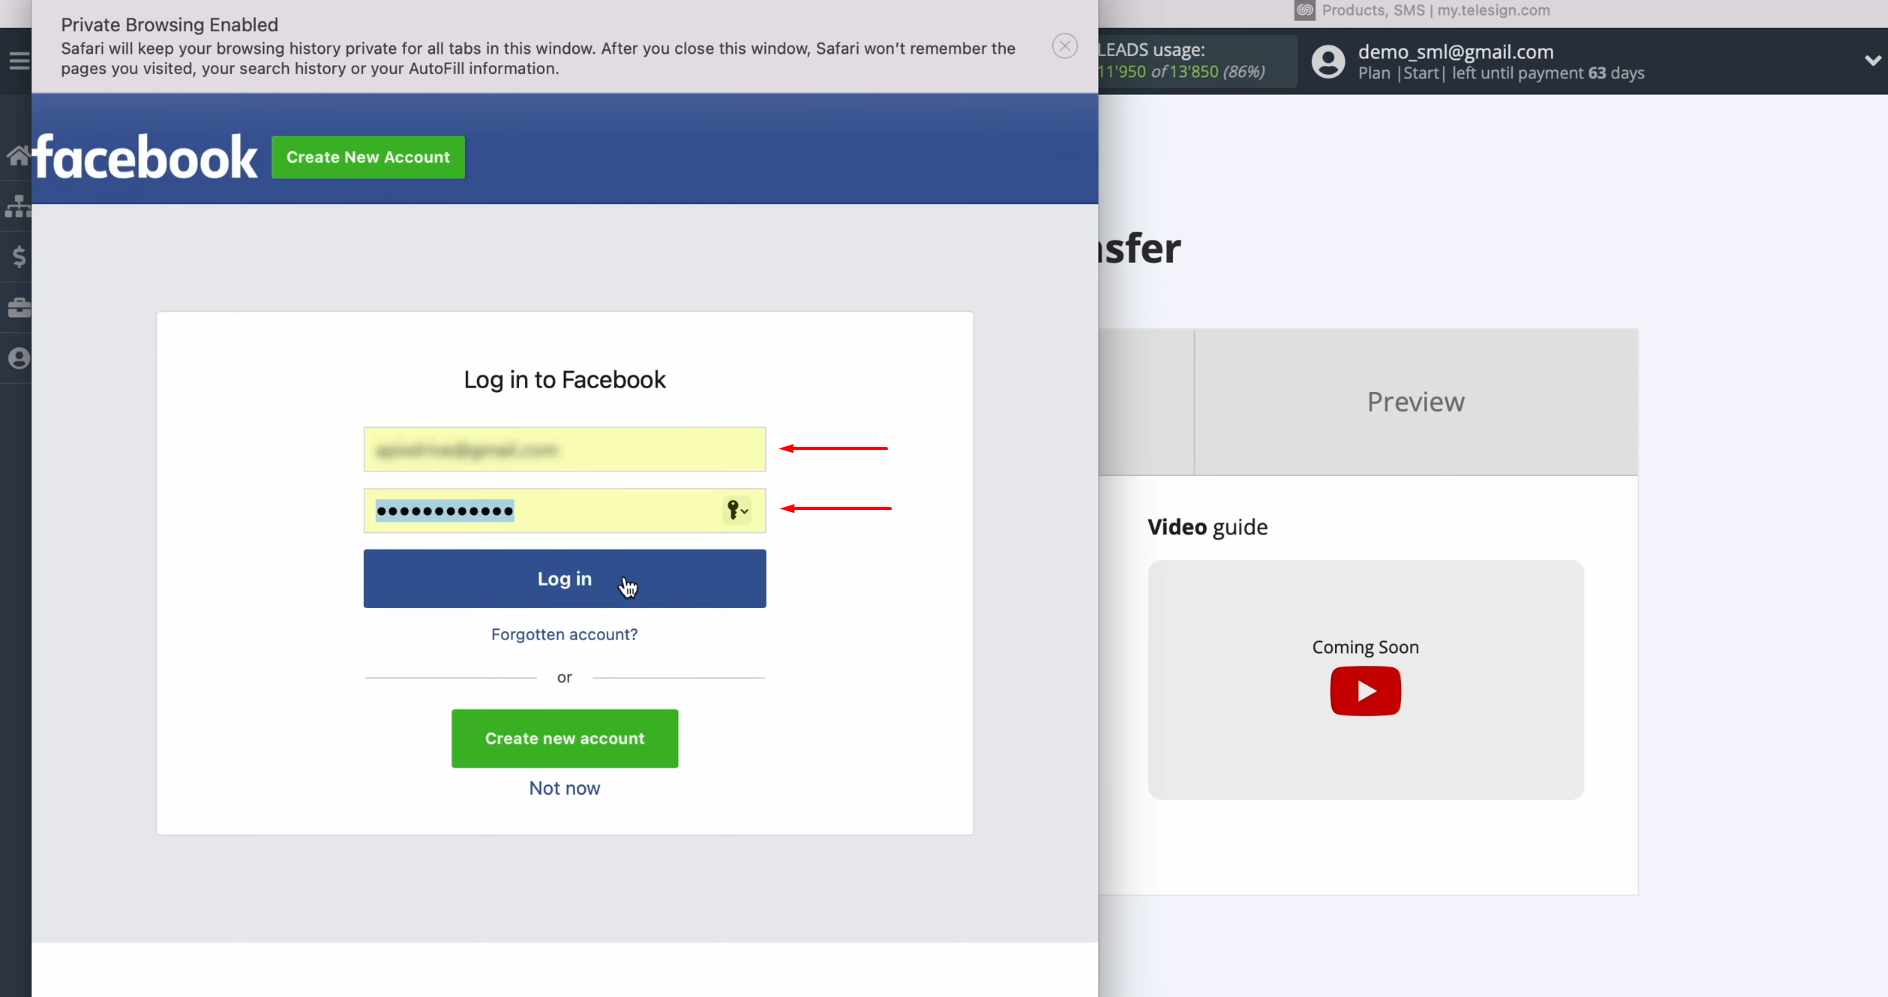
In this
window, you must specify the
login and password of your
Facebook personal account. Click “Log in”.
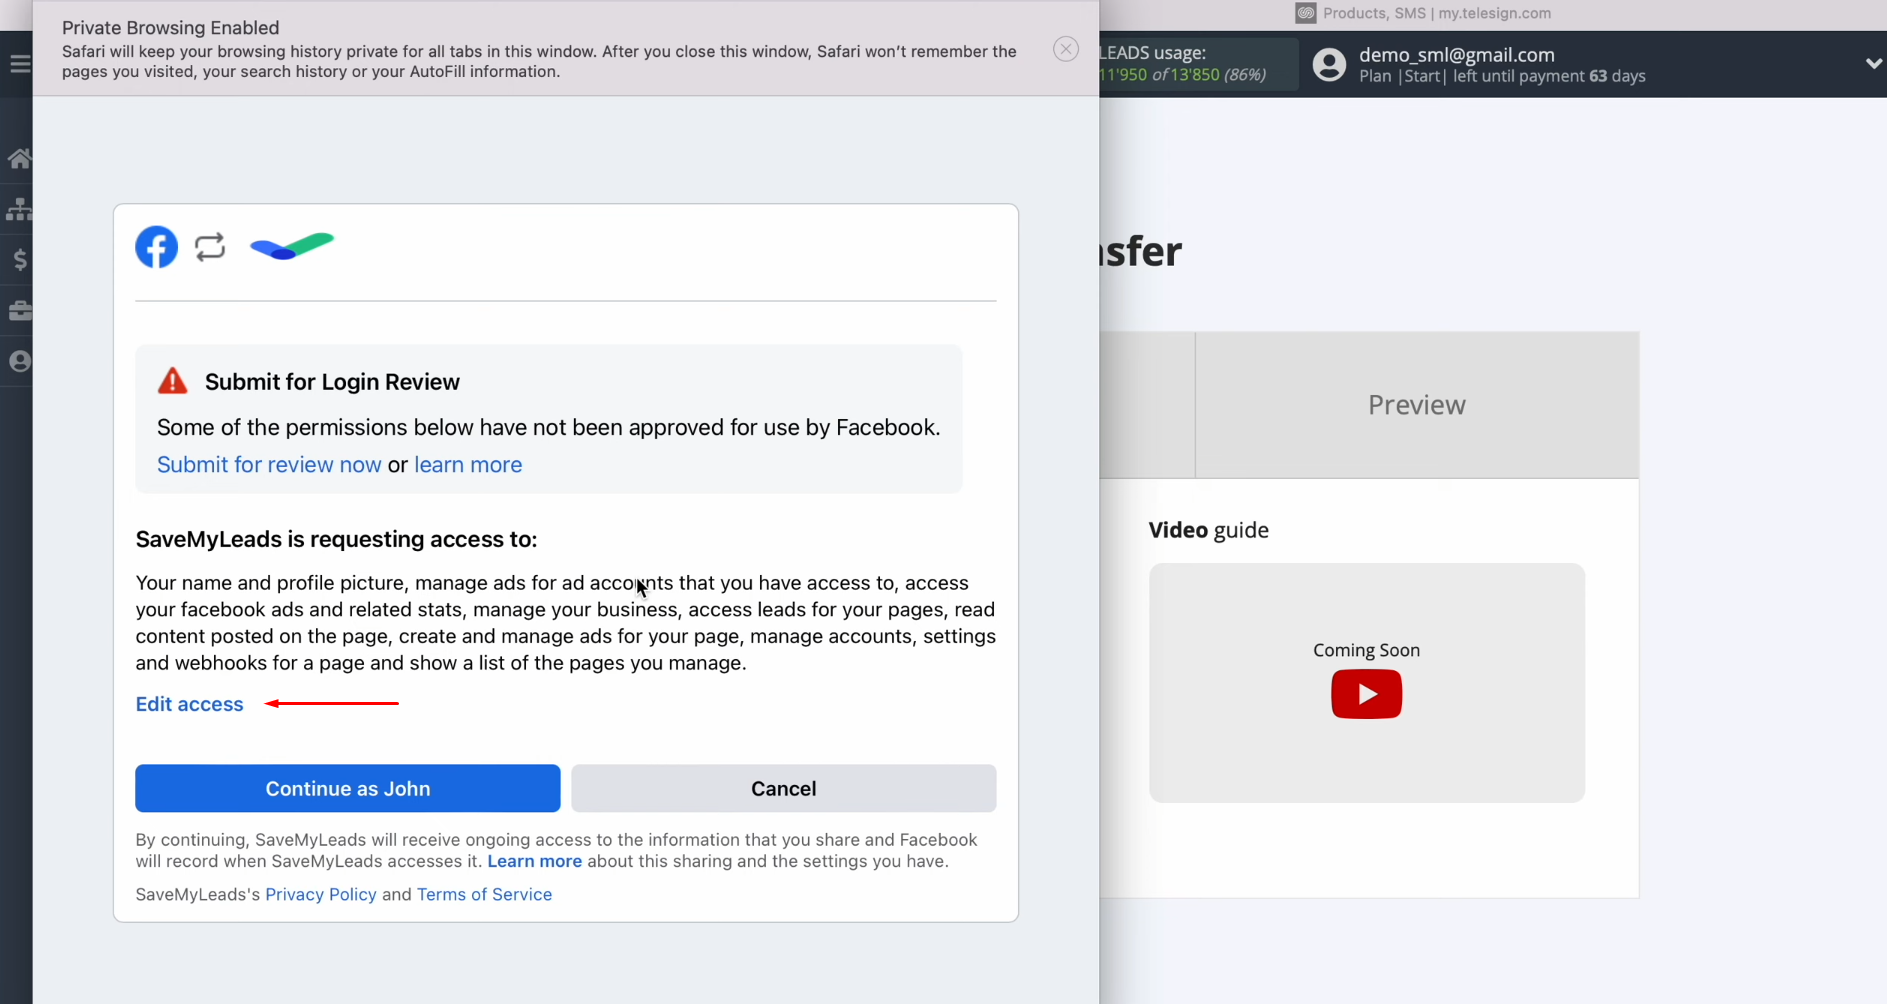
At this stage, you have to provide SaveMyLeads access to work with your
Facebook account. To achieve this, go to settings. Click “Edit access”.
At this stage, you have to leave all access checkboxes enabled.
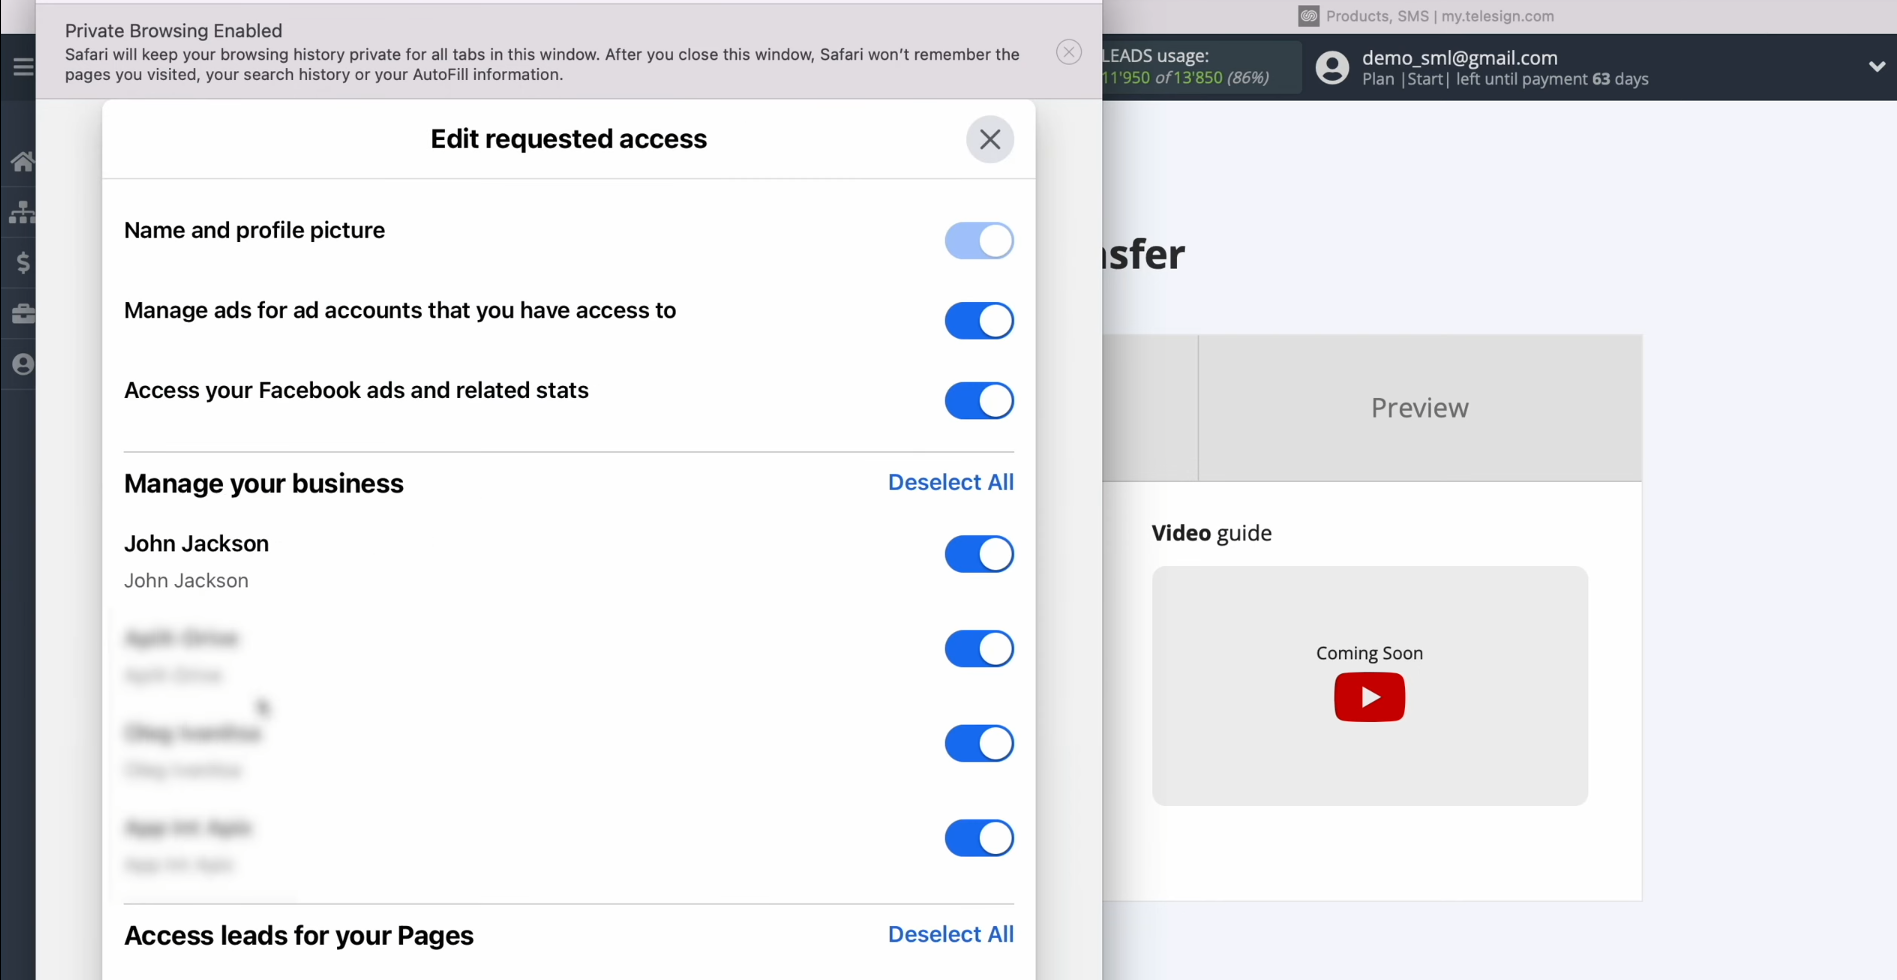
Next, click “Continue as …”.
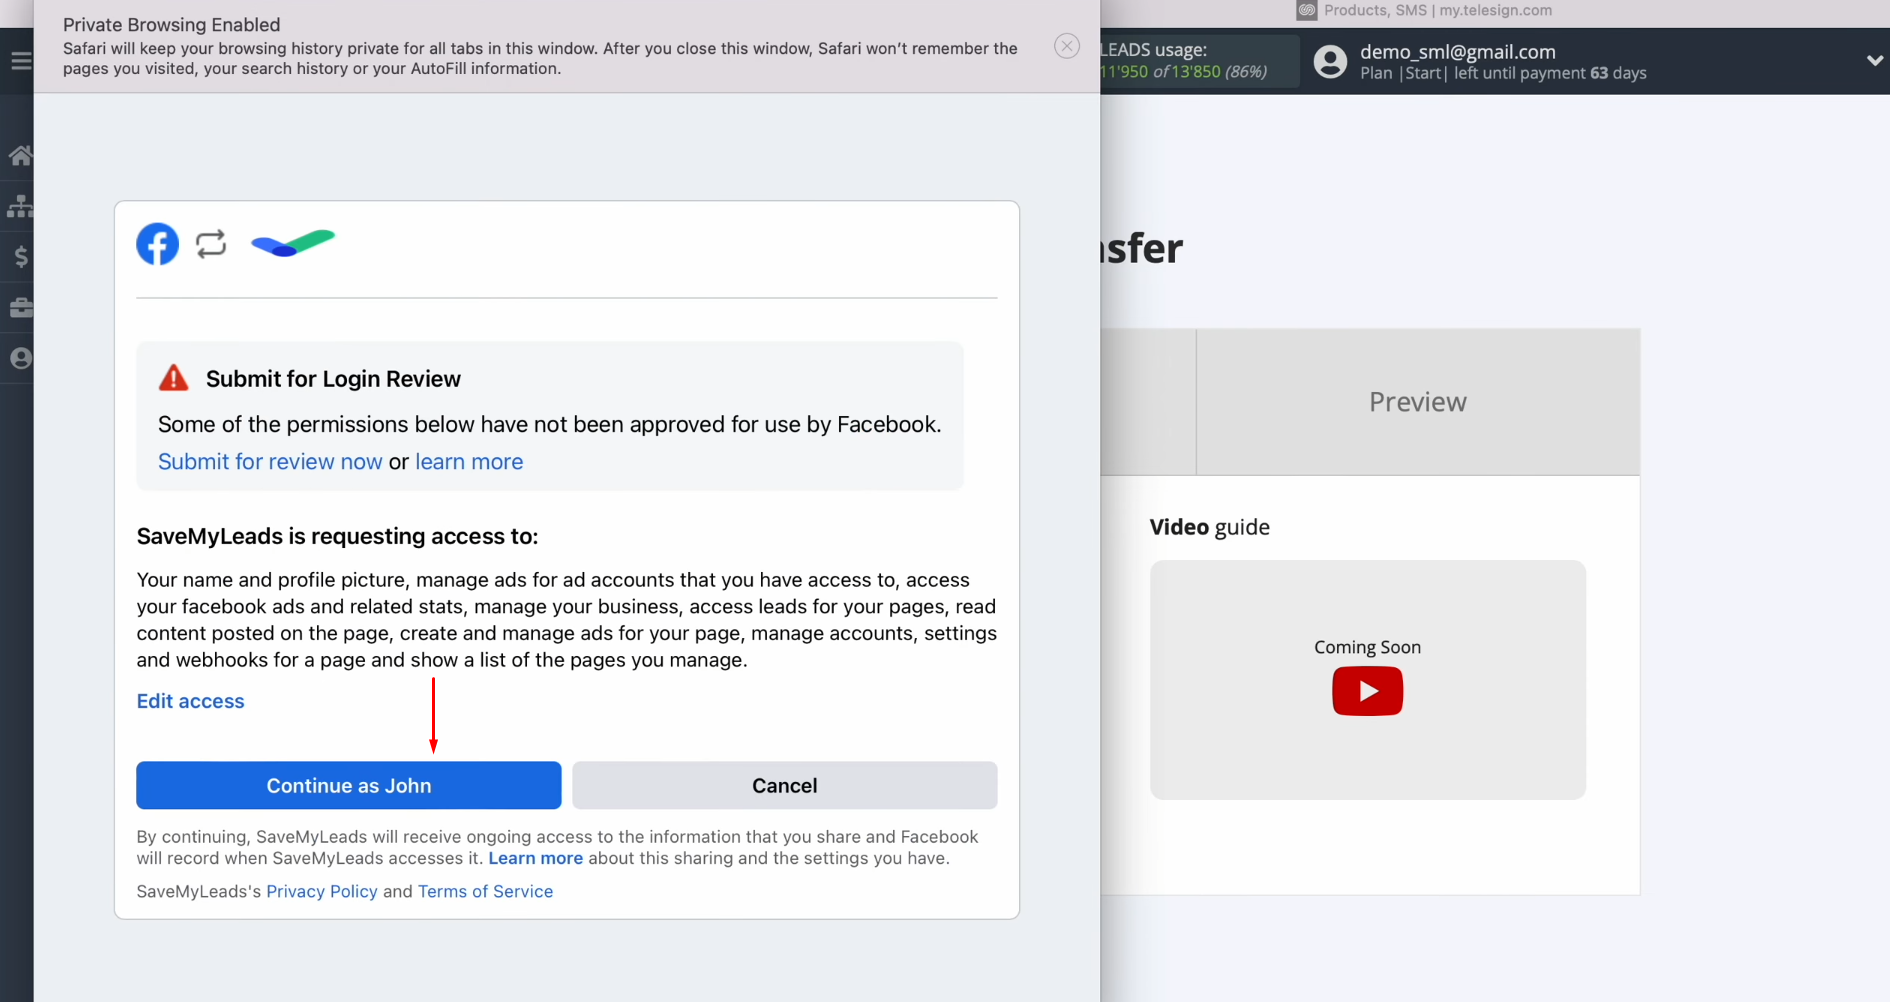
When the
connected account appears in
the list, select it.
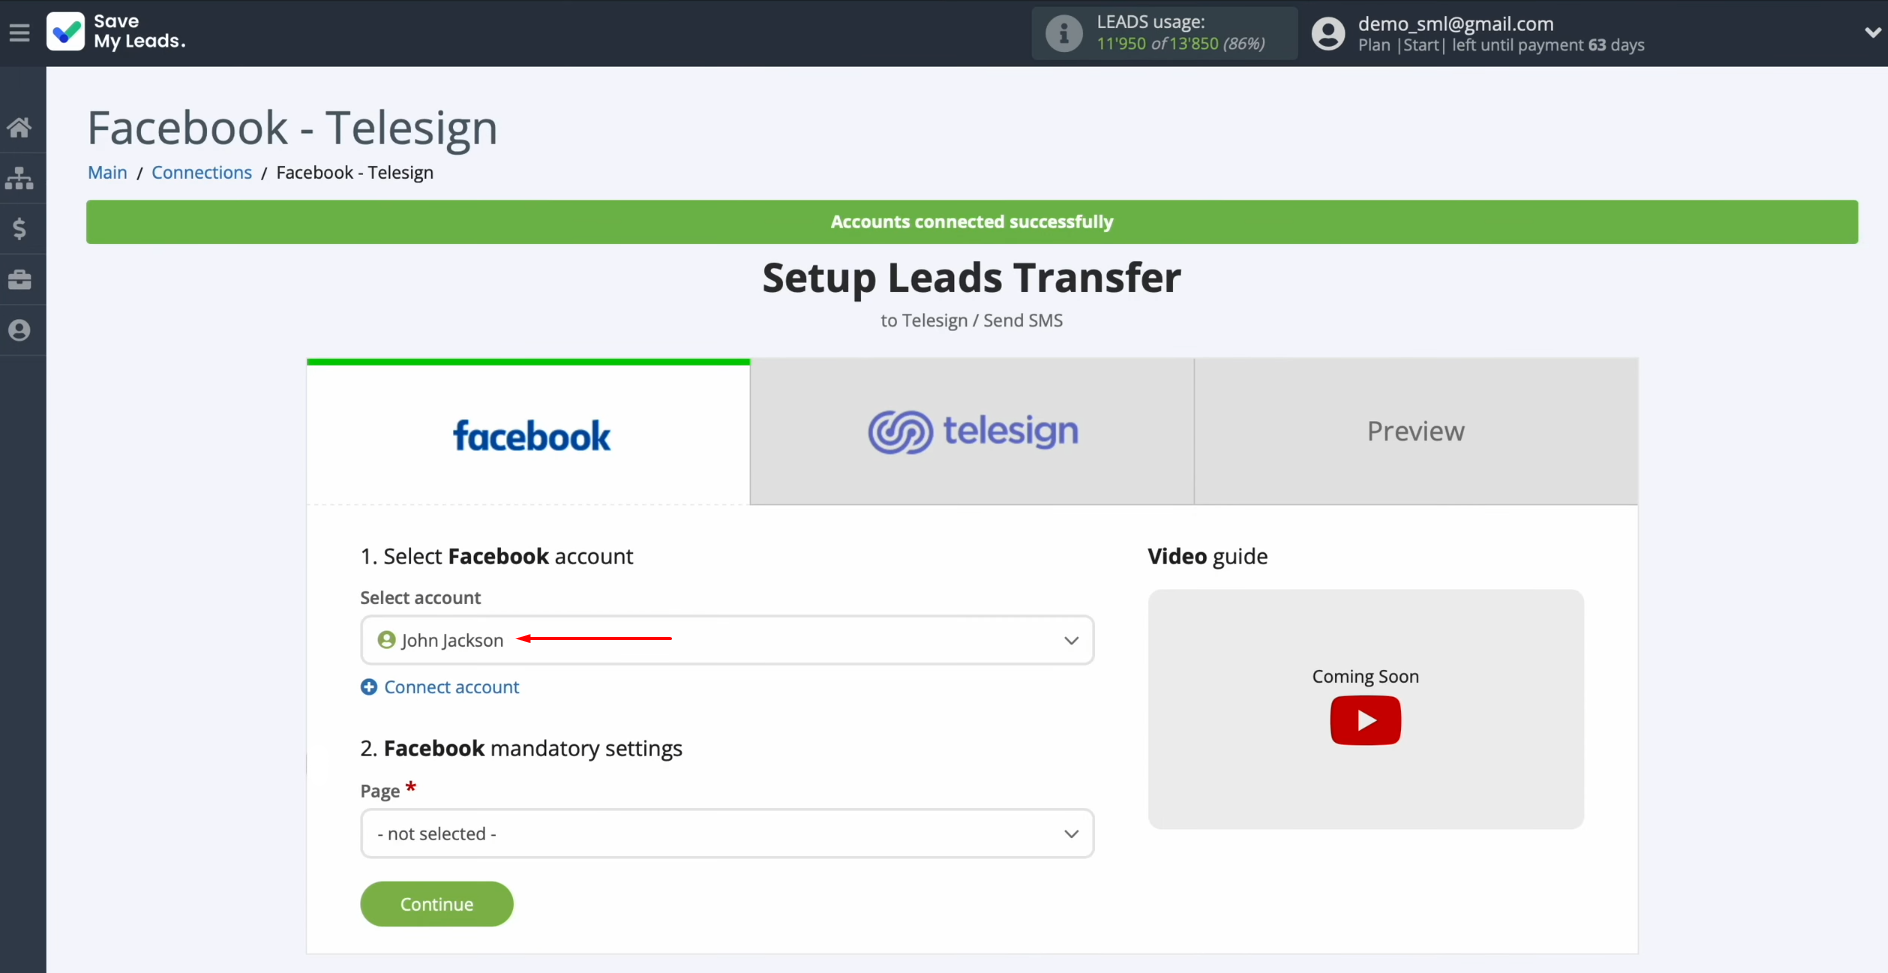
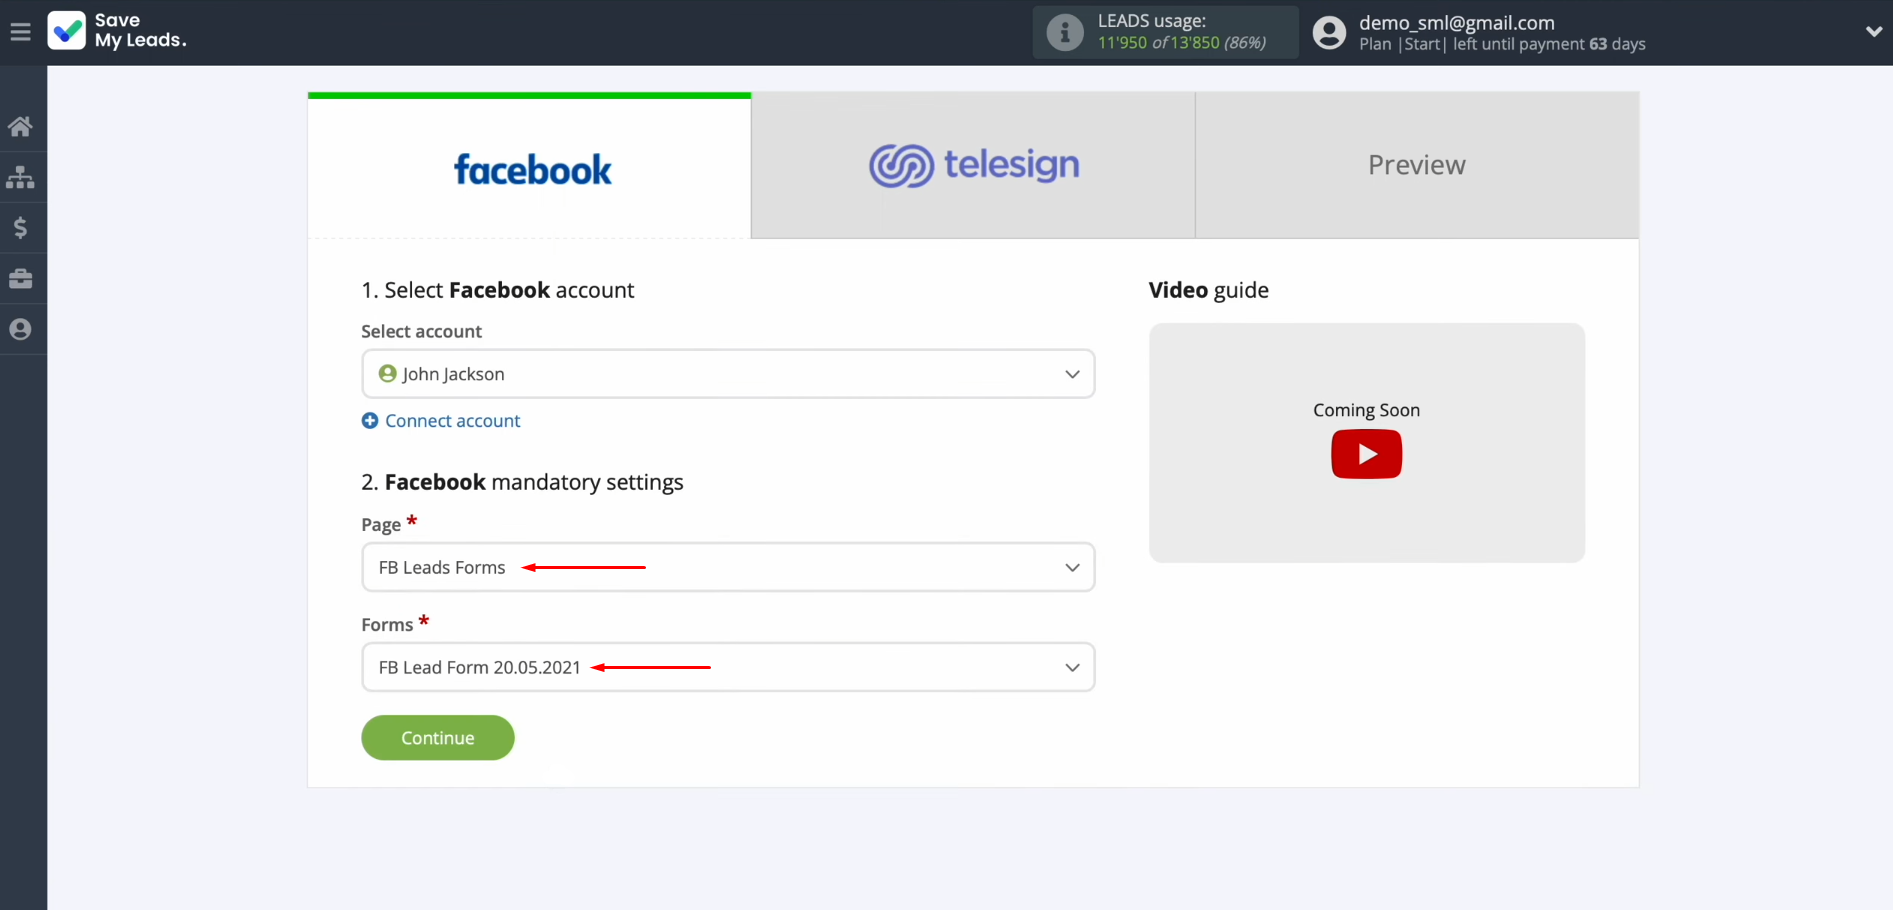
Next, you must select the advertising page and form by which you want to receive
new leads from Facebook. Click
“Continue”.
Setting Up the Data Receiver – Telesign
To set up Telesign integration with Facebook, at this stage, you have to connect your Telesign account to SaveMyLeads. Click on the blue button "Connect account Telesign".
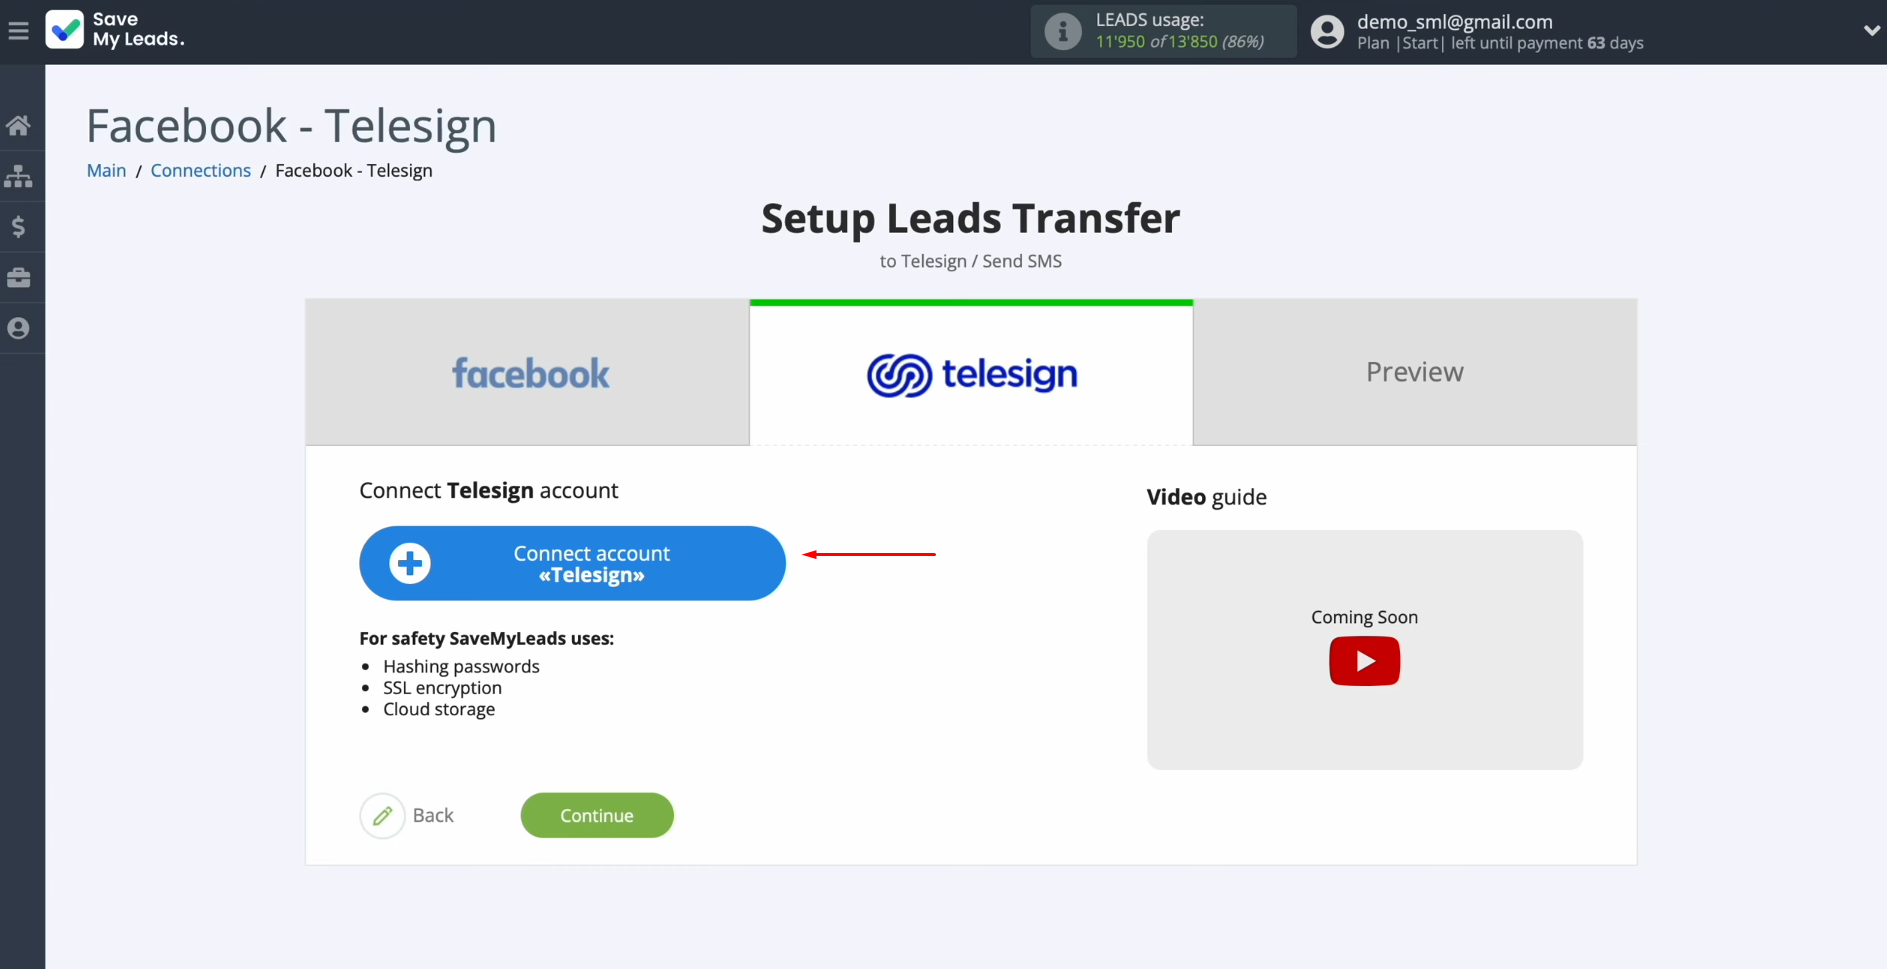
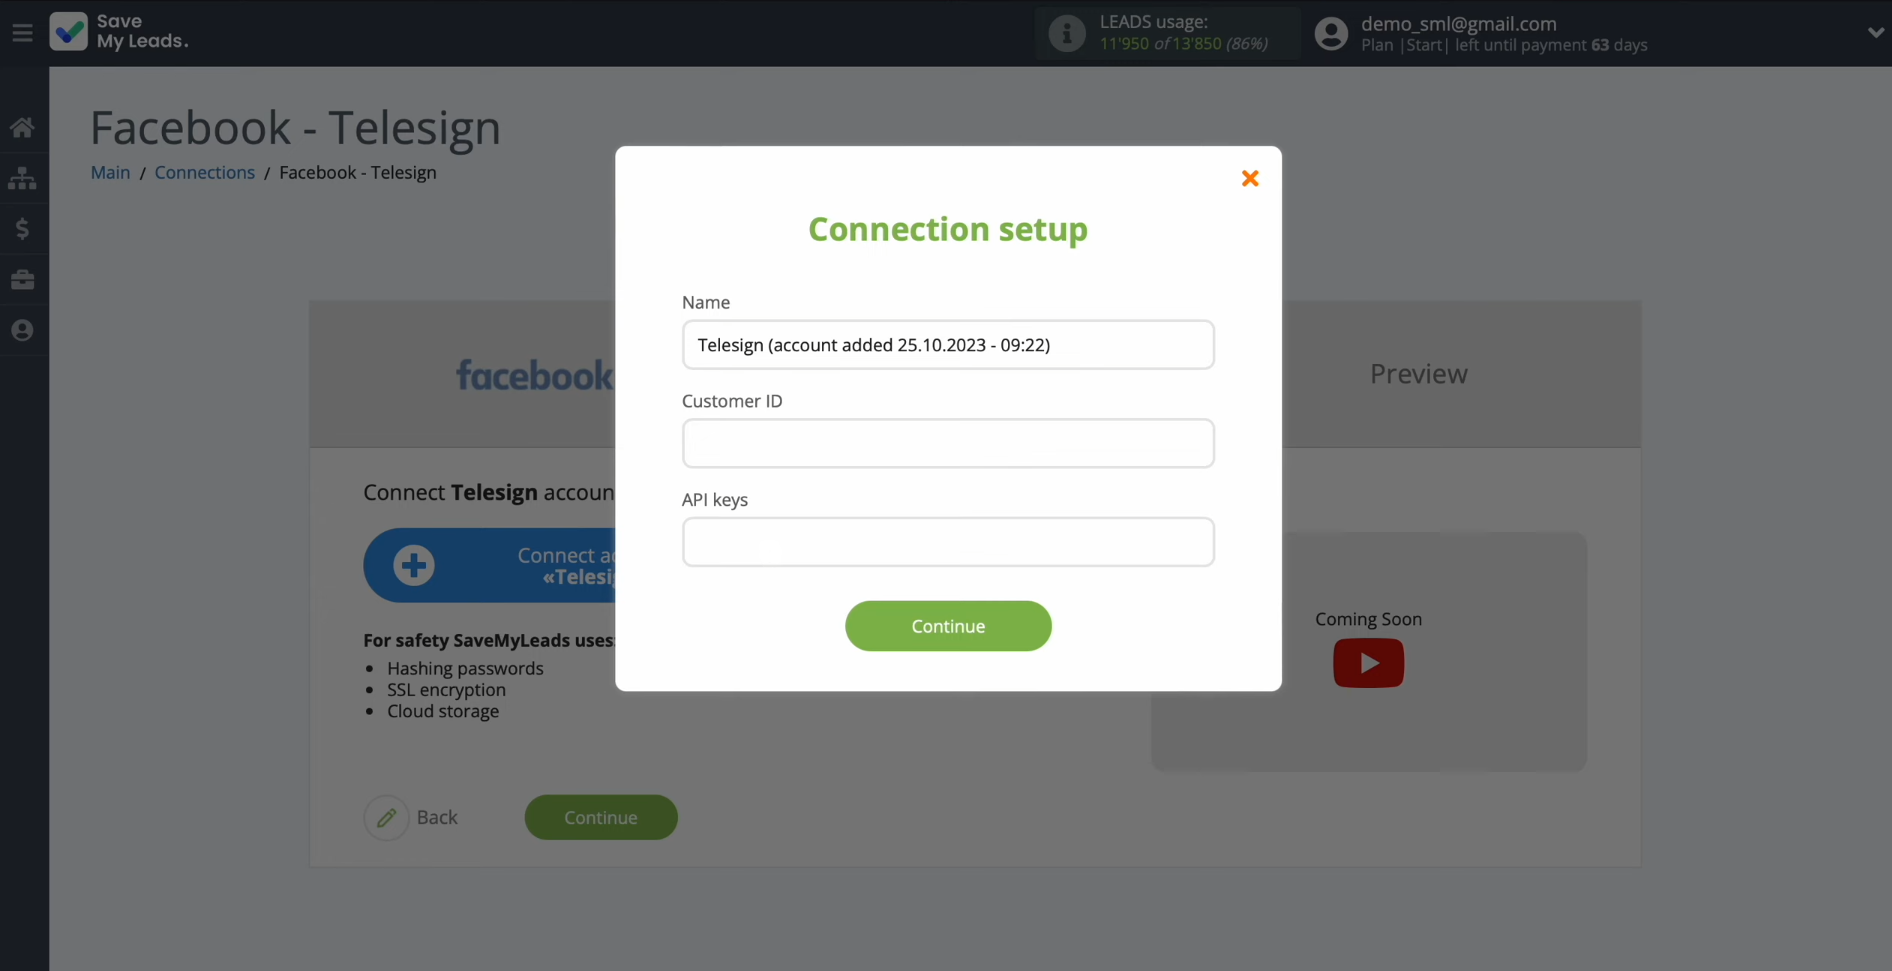
In this
window, you must specify the customer ID and API
keys.
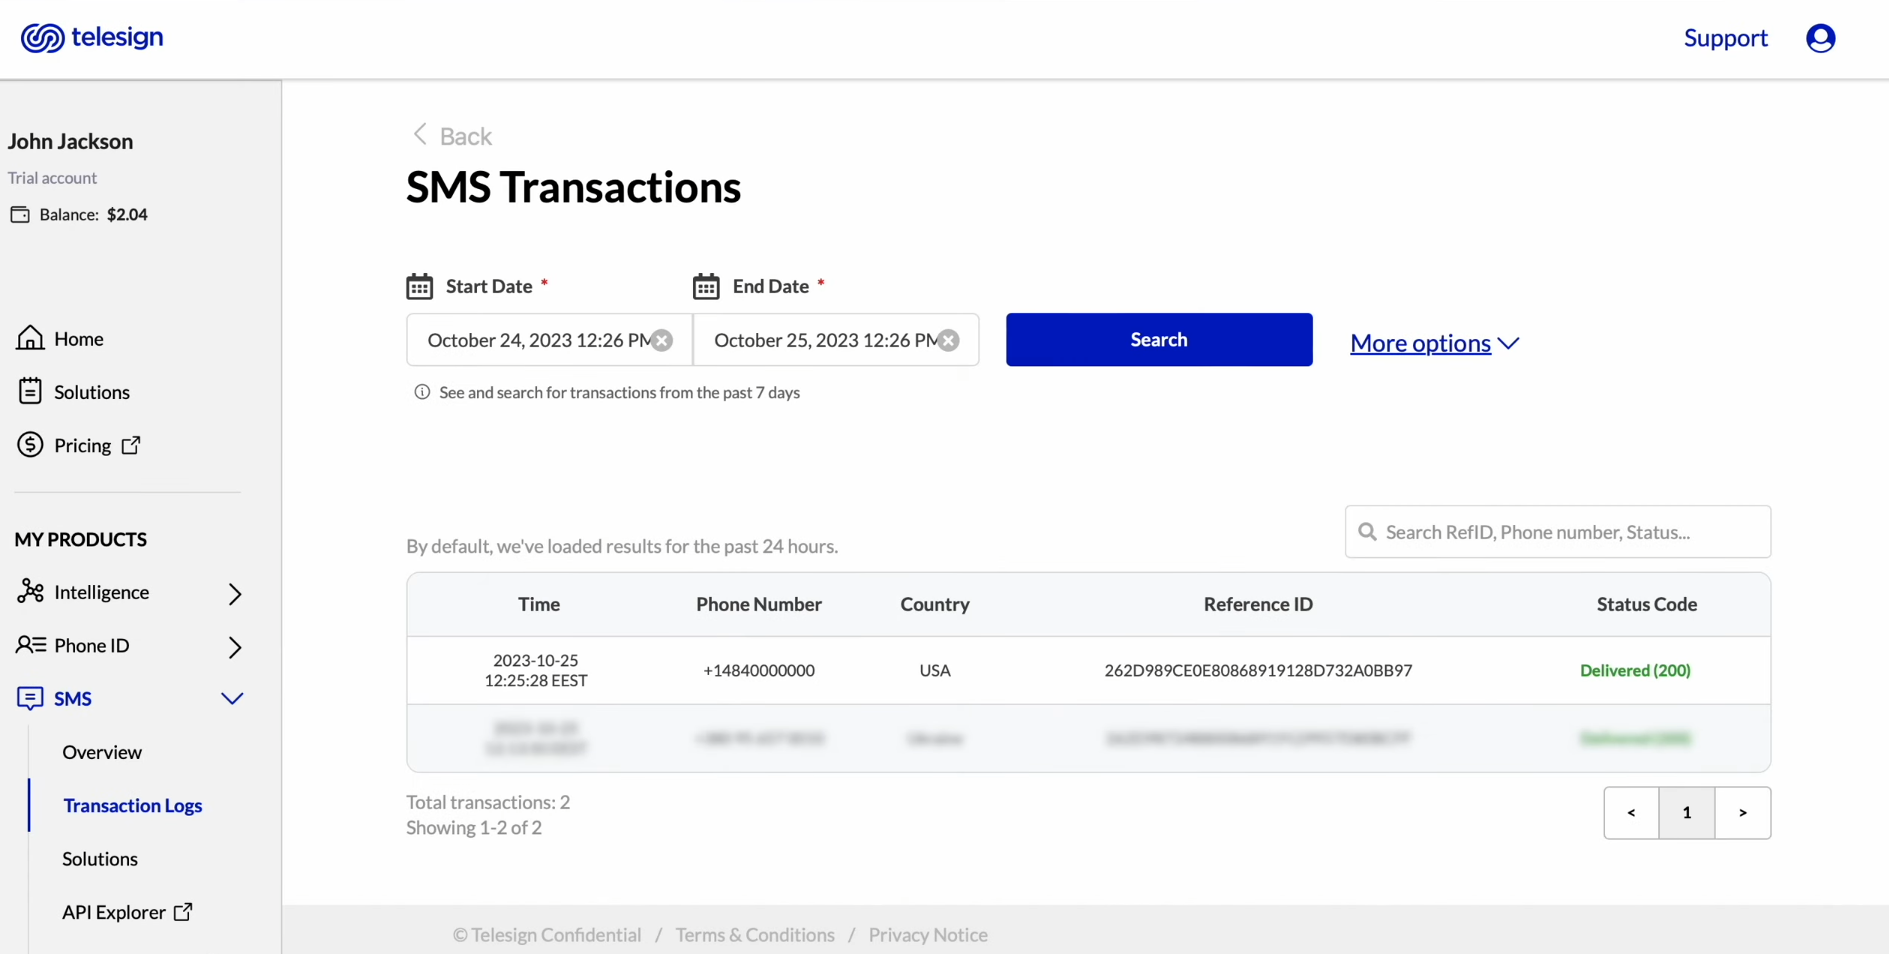
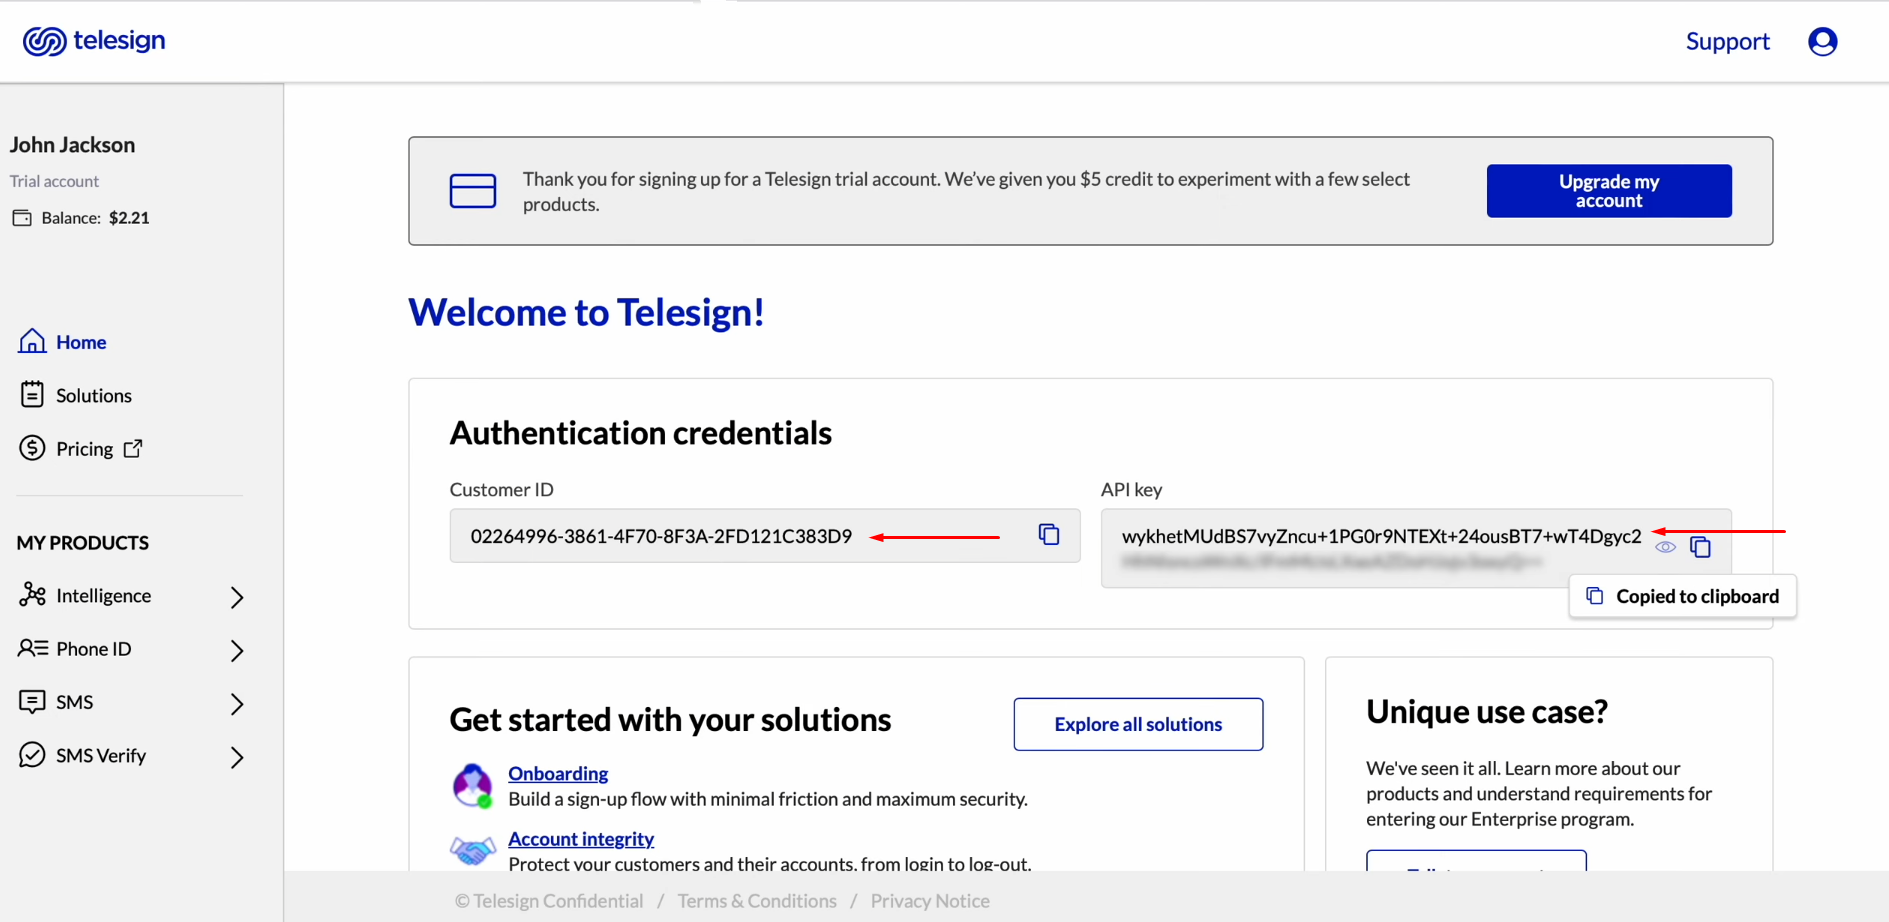
To get this data, go to your Telesign personal account. Copy the customer ID and API key.
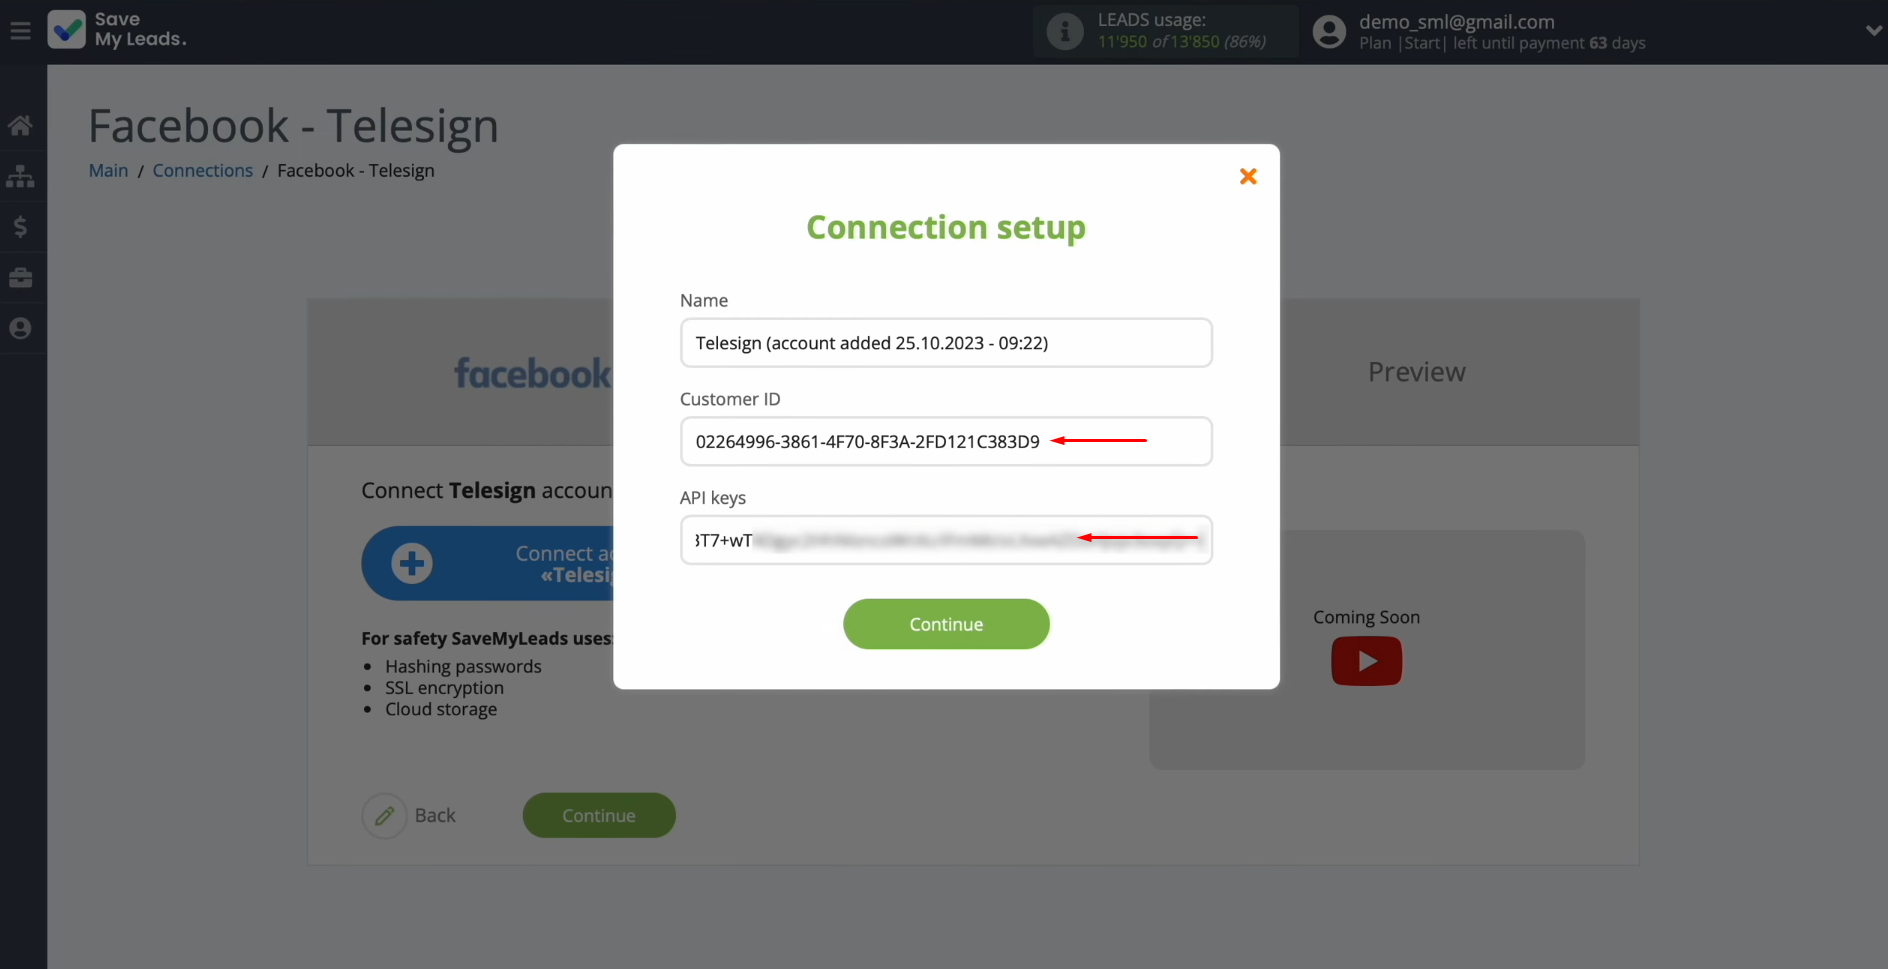
Paste the ID and API key into the appropriate fields. When the required fields are filled in, click “Continue”.
When the connected account appears in the
list, select it.
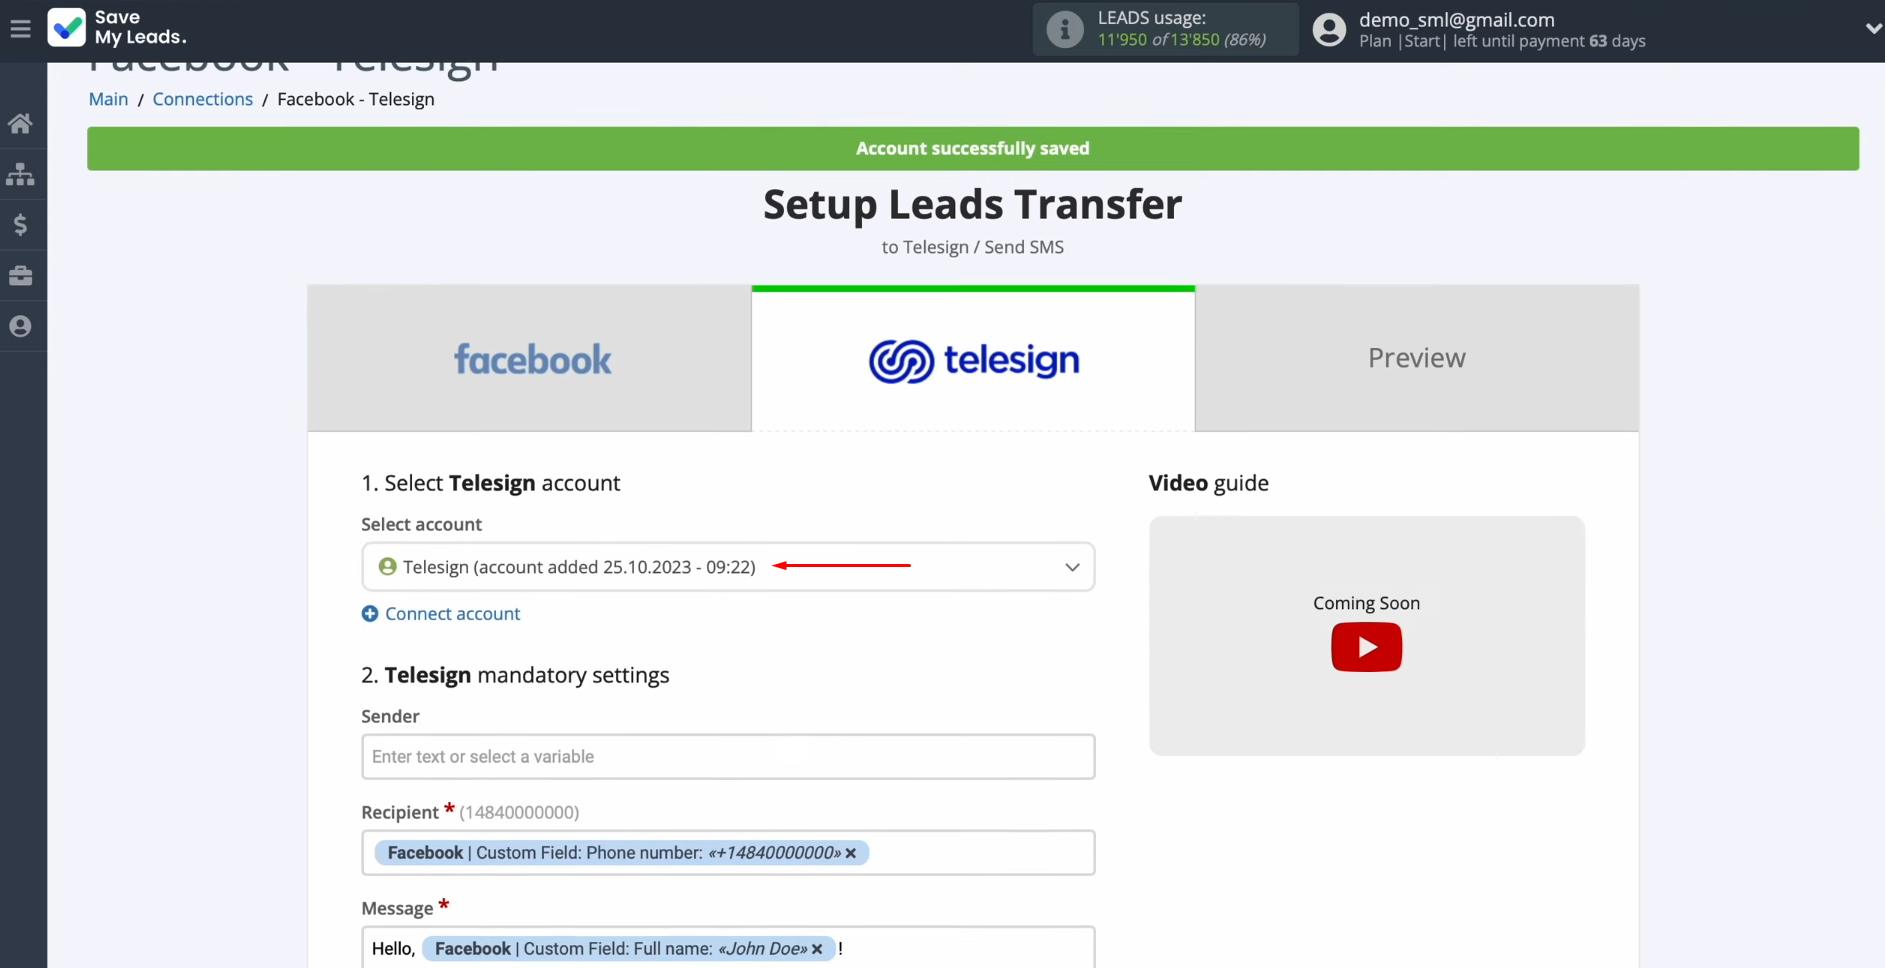
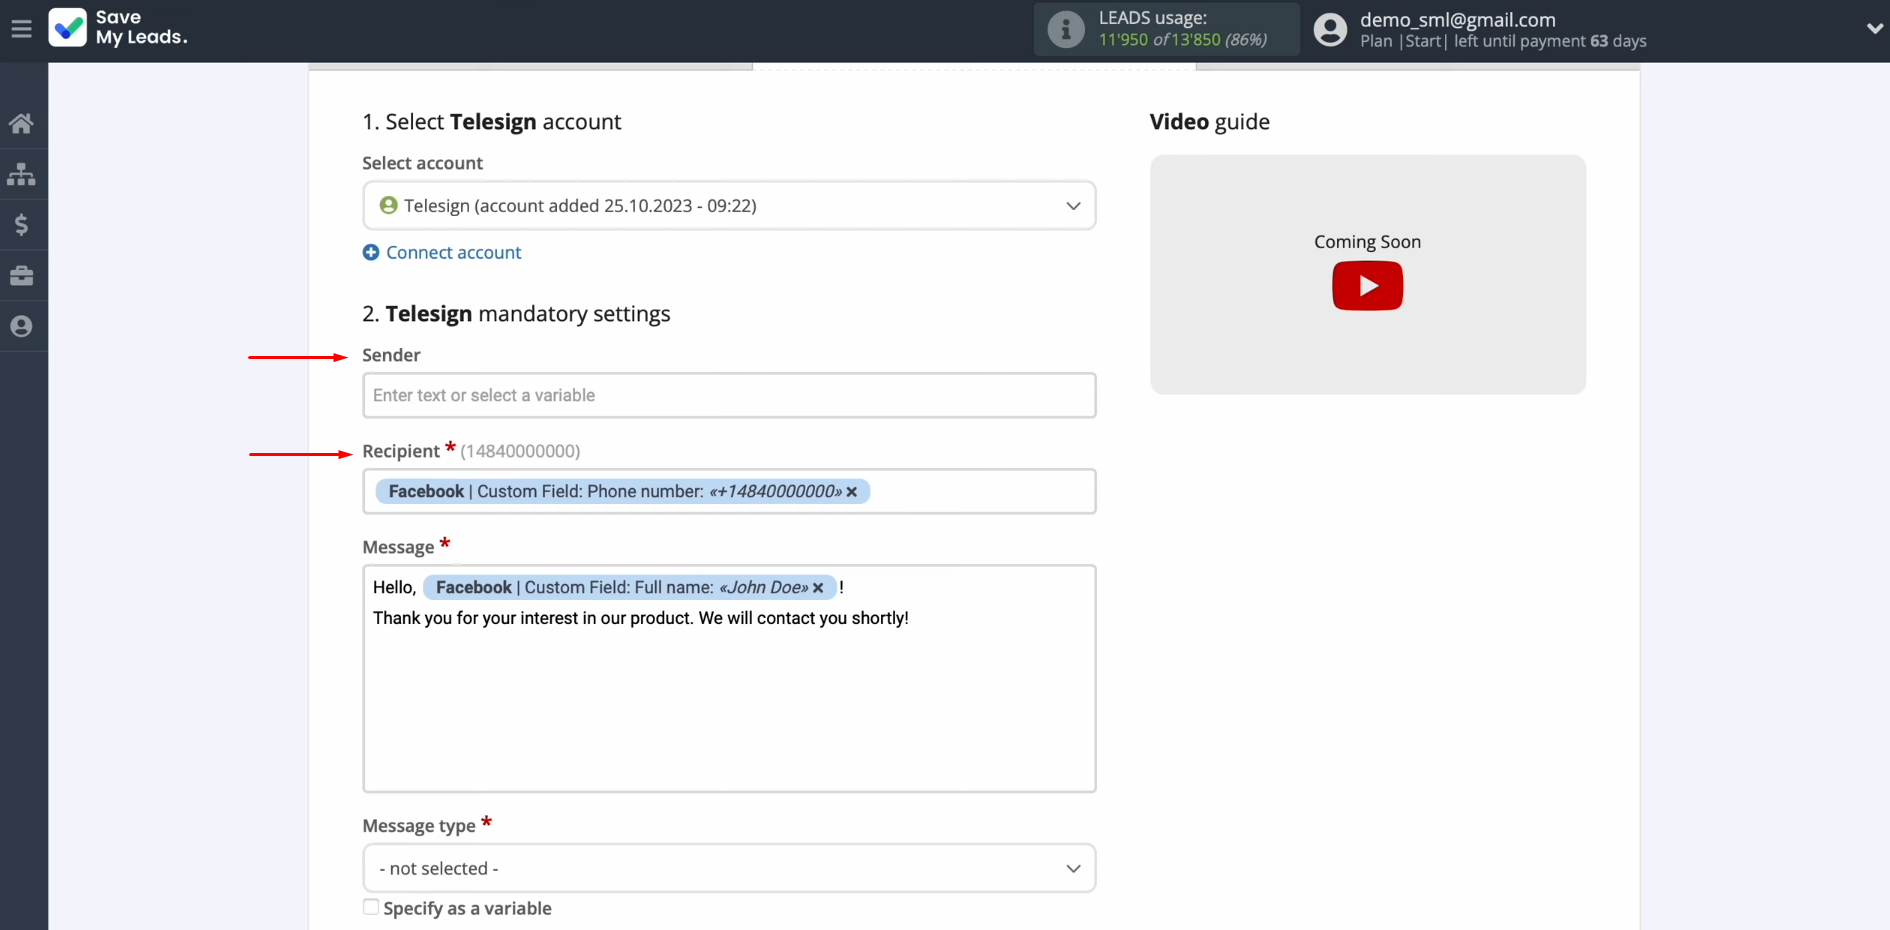
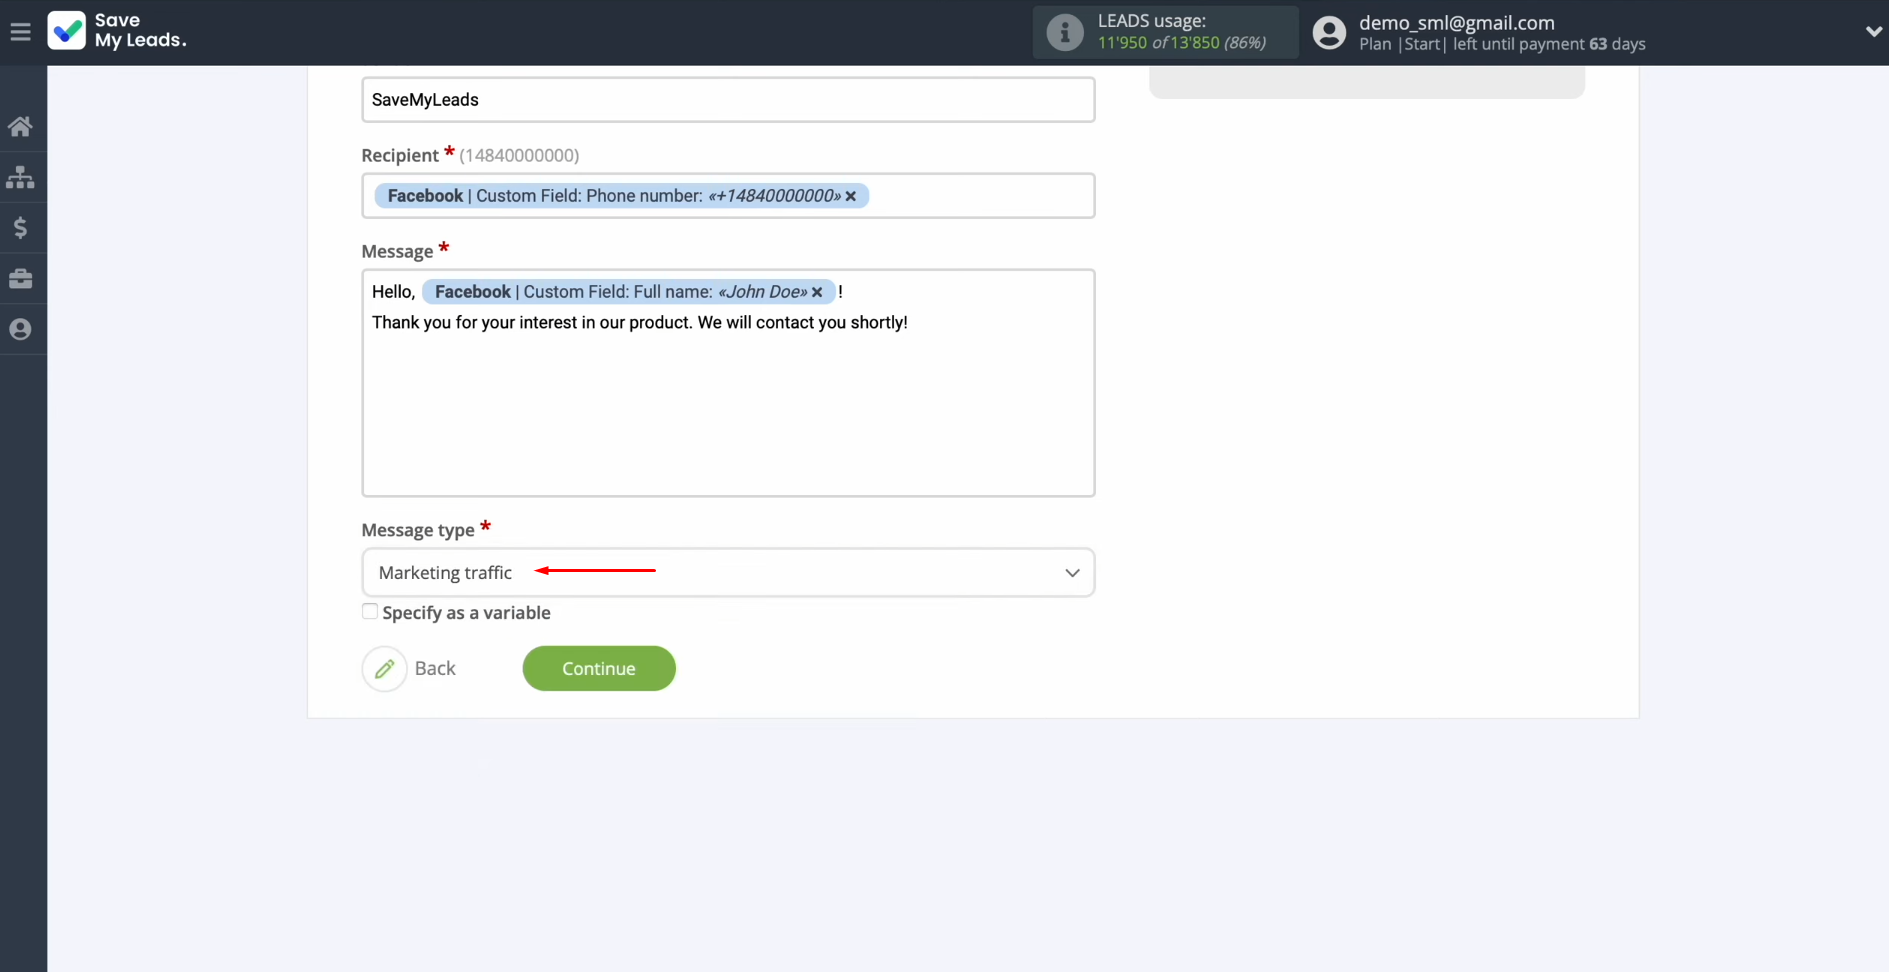
Next, you see Telesign fields for sending SMS messages. In the sender field, you must enter the name of the sender, which must first be
registered in your Telesign account. In the recipient field, you have to assign a variable from Facebook that contains the
phone number.
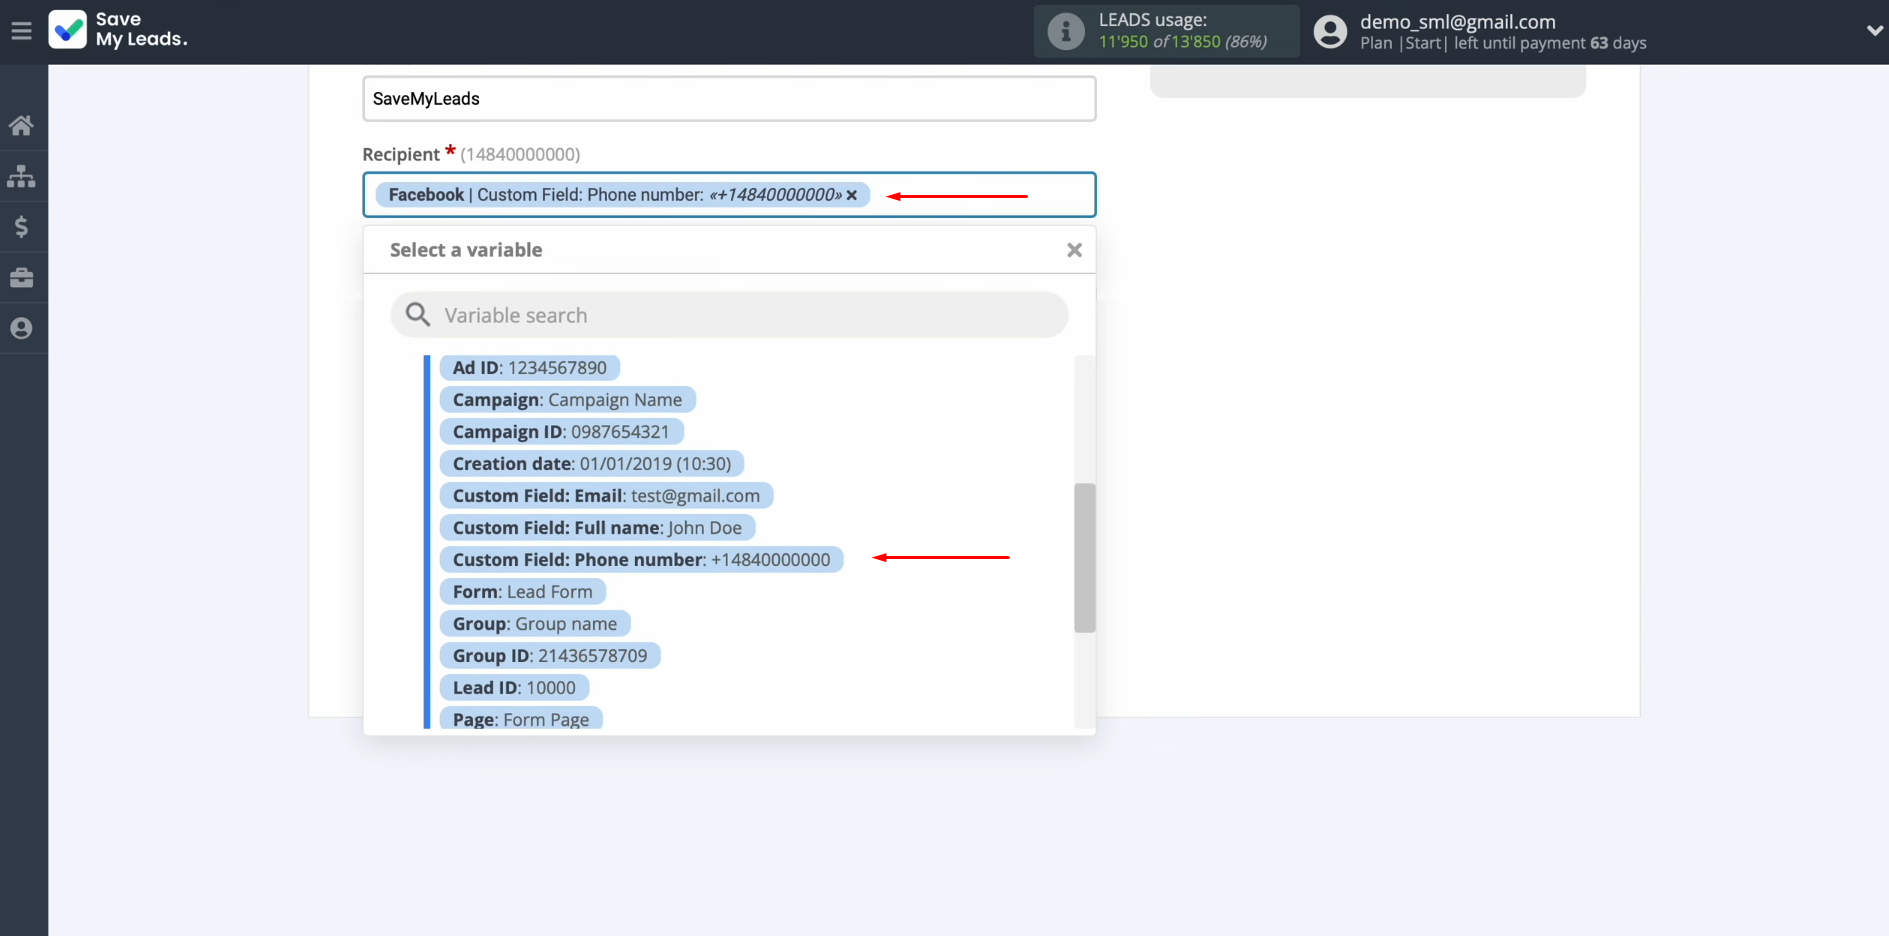
To do this, click in the field and select a
variable from the
drop-down list.
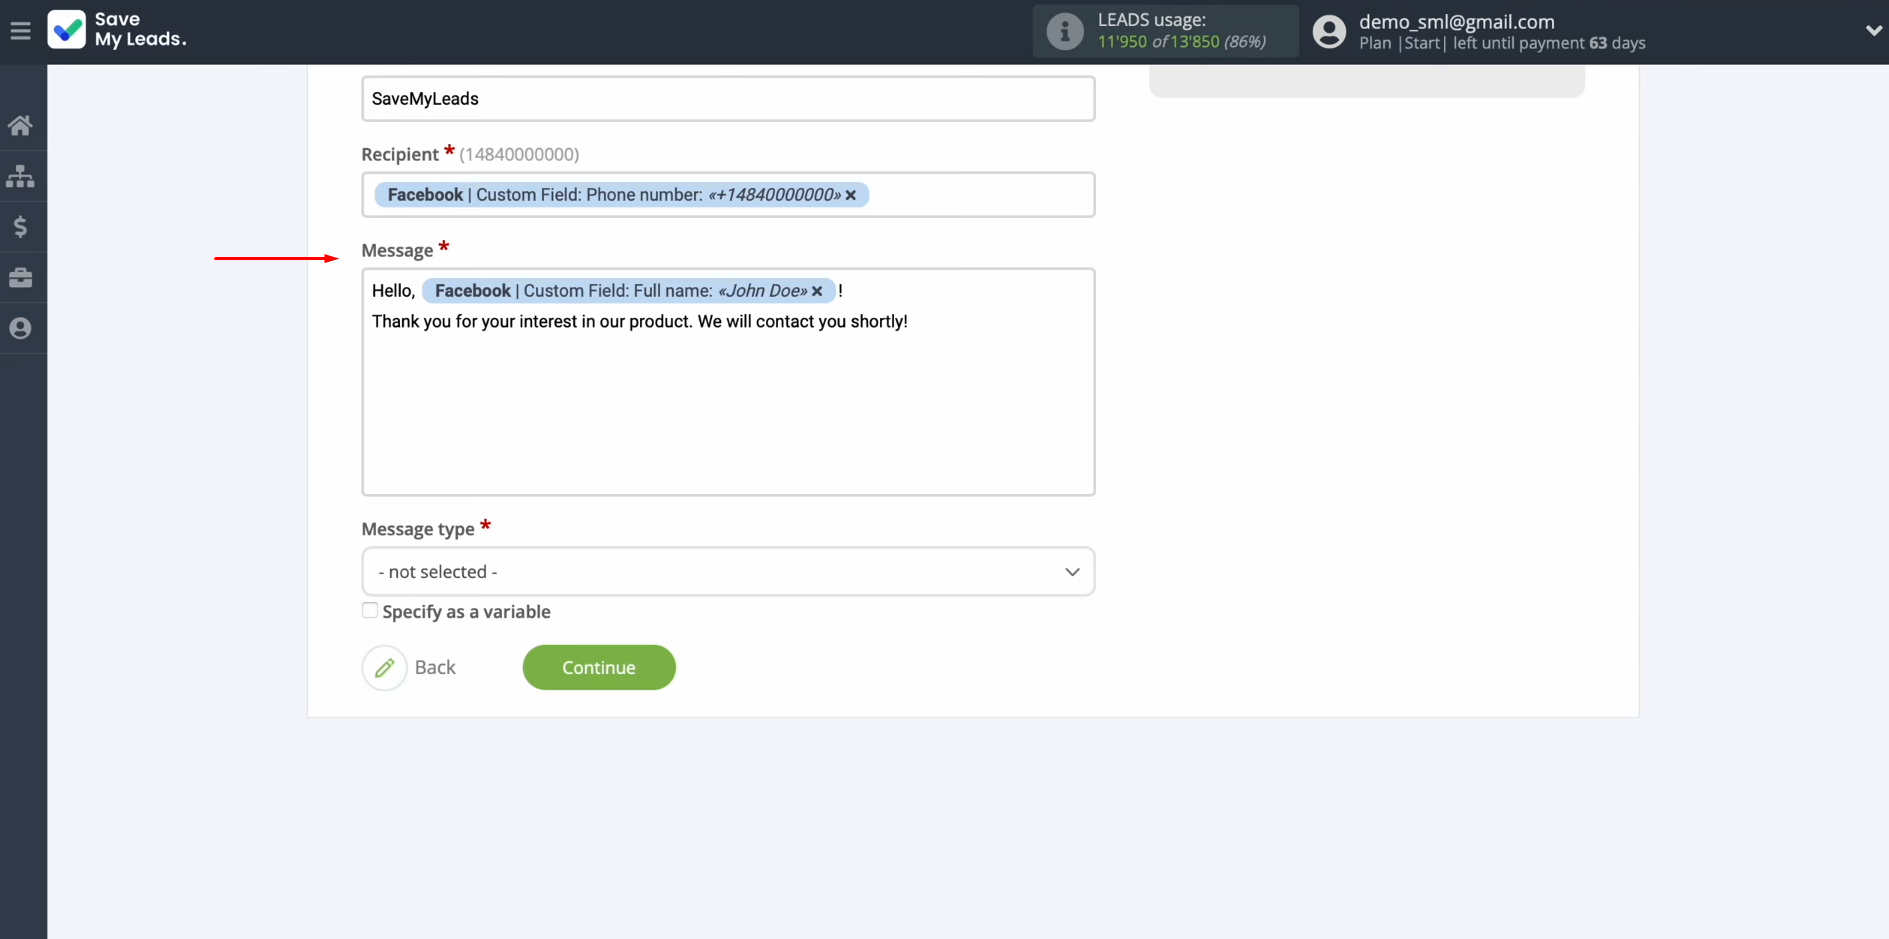
In the
message field, you have to create a message that will be sent as an SMS to each lead from Facebook. Please note that you can use not only
variables from the
drop-down list but also enter data
manually.
Next, select the message type when
all required fields are filled in. Click “Continue”.
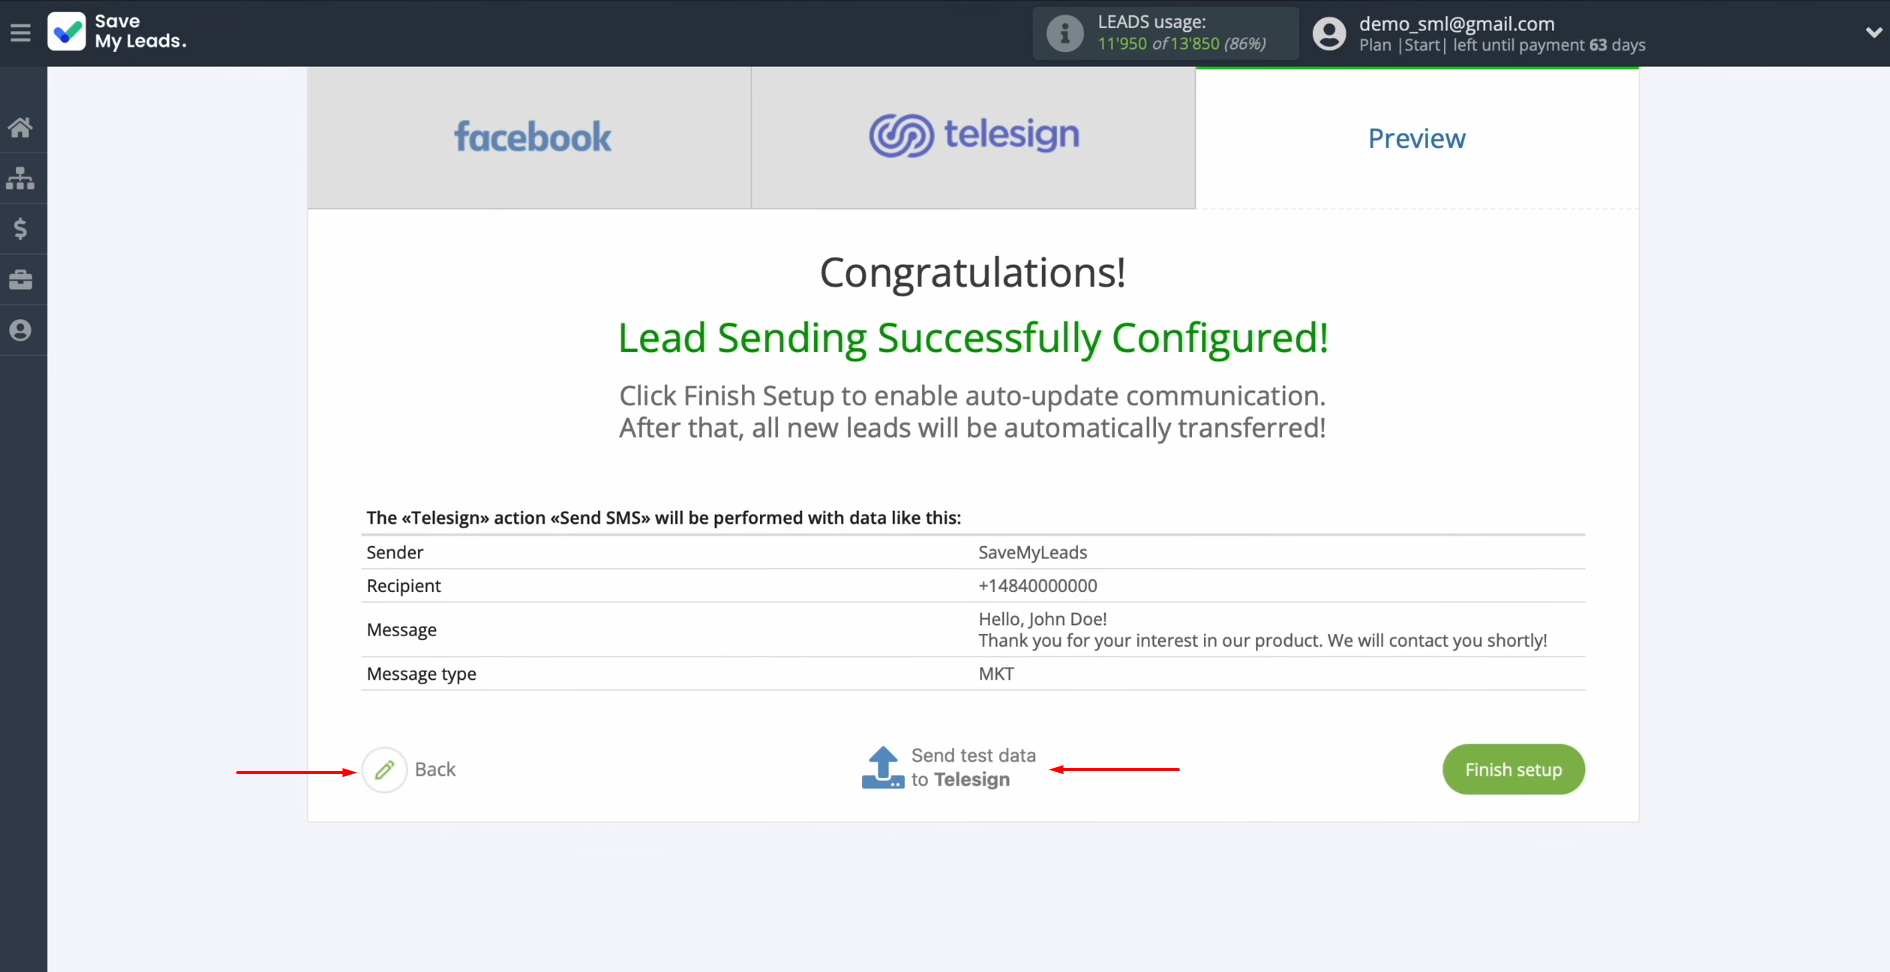
At this stage, you see an example of the SMS that will be sent
via the Telesign service to each new lead from Facebook. If you are not satisfied with something, click “Back”, and you will go back a step. To check the correctness of the
settings, click “Send test data to Telesign”.
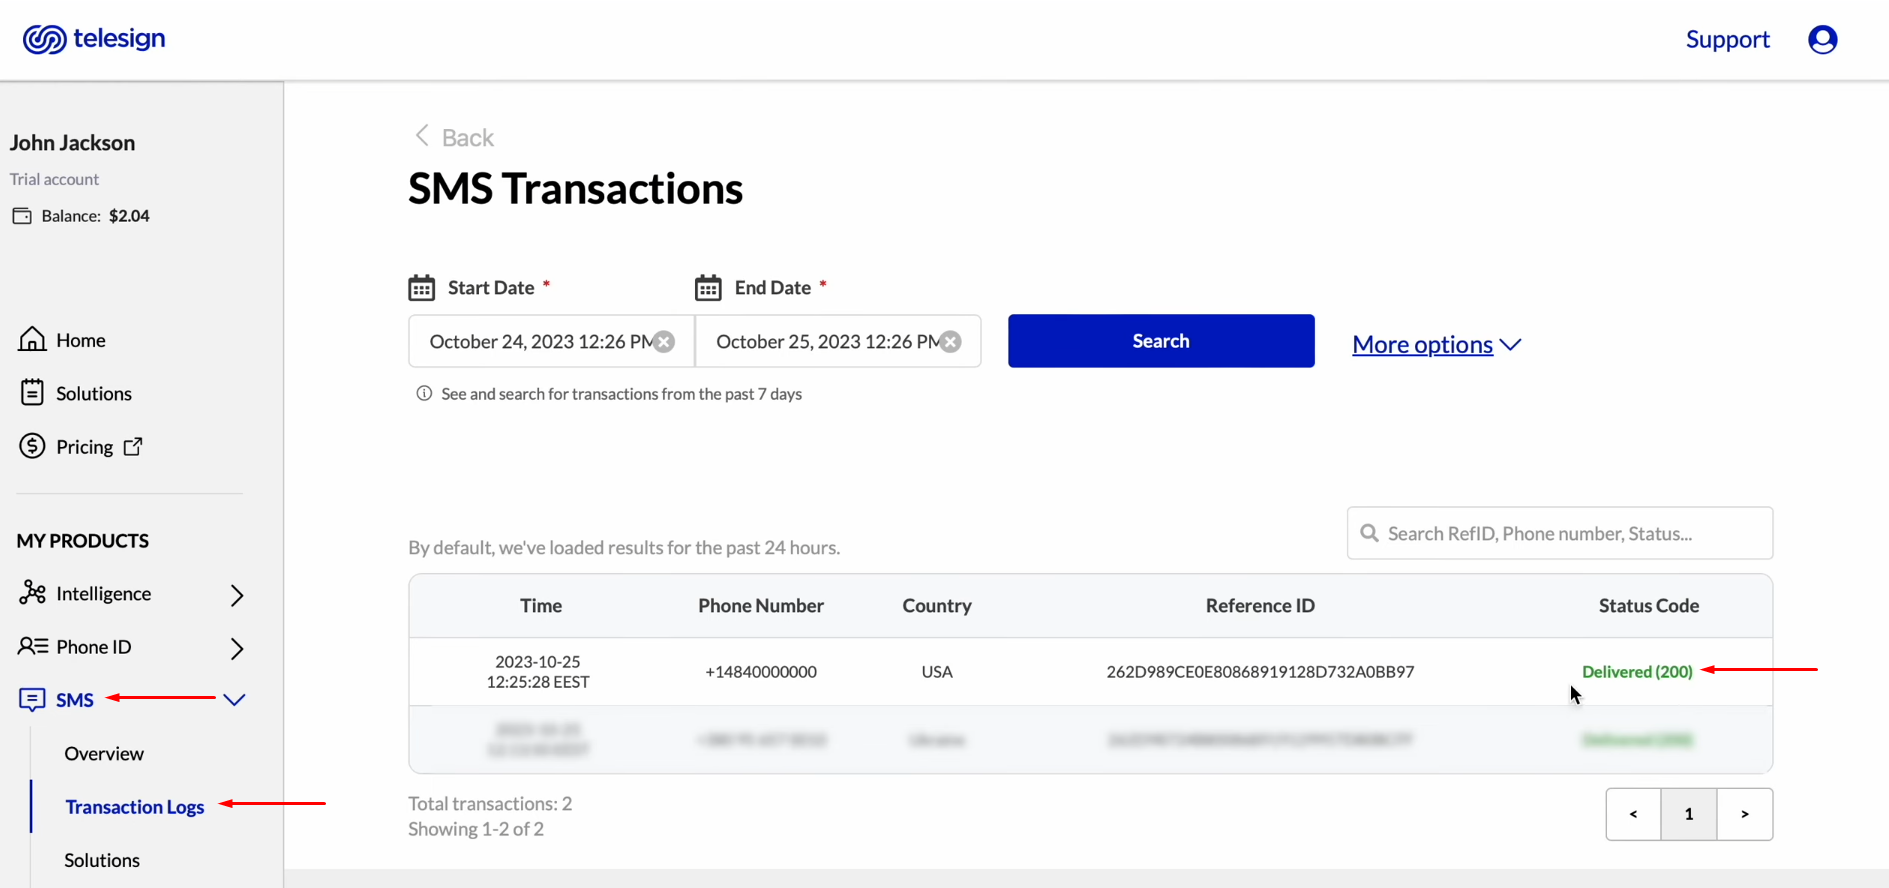
After
successful sending, go to Telesign and check the result. If you are satisfied with everything, return to SaveMyLeads and continue setting it up.
Setting Up Auto-Update
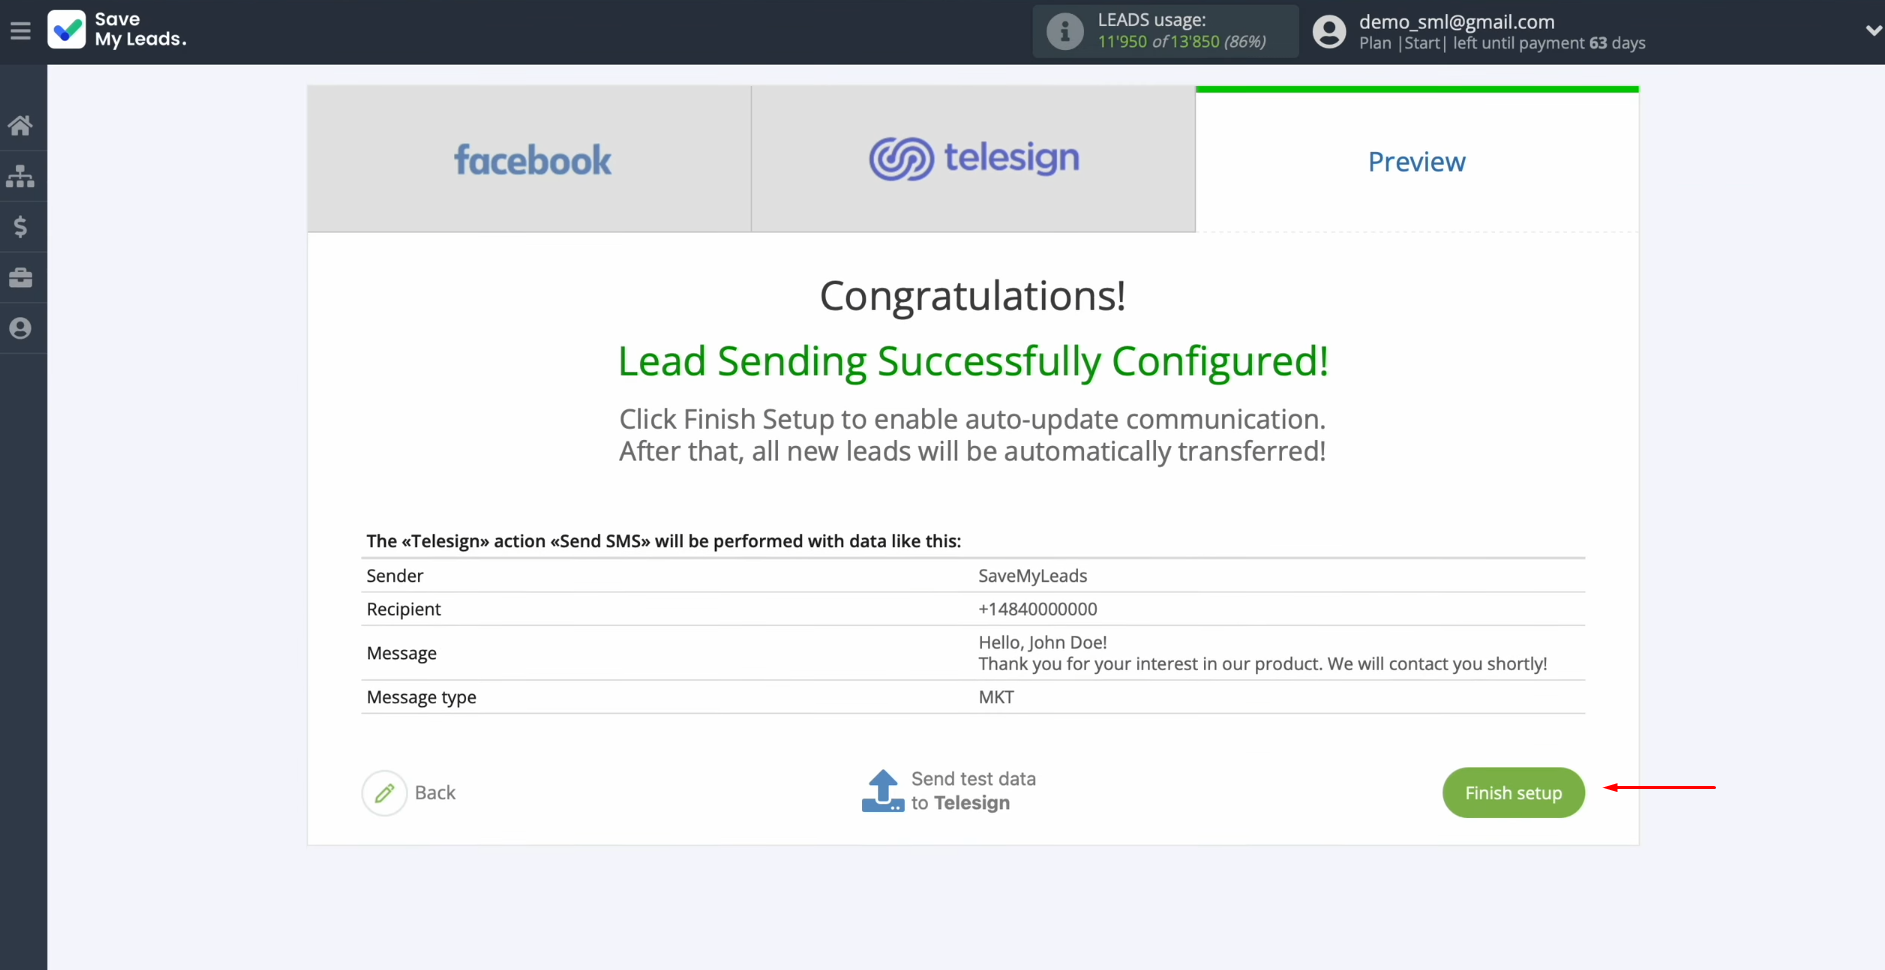
In order for each new lead from Facebook to instantly receive an SMS message via the Telesign service, you have to enable auto-update. To achieve this, click “Finish setup”.
If you want to change the connection name, you can do this in its
settings. For this, click on the gear icon.
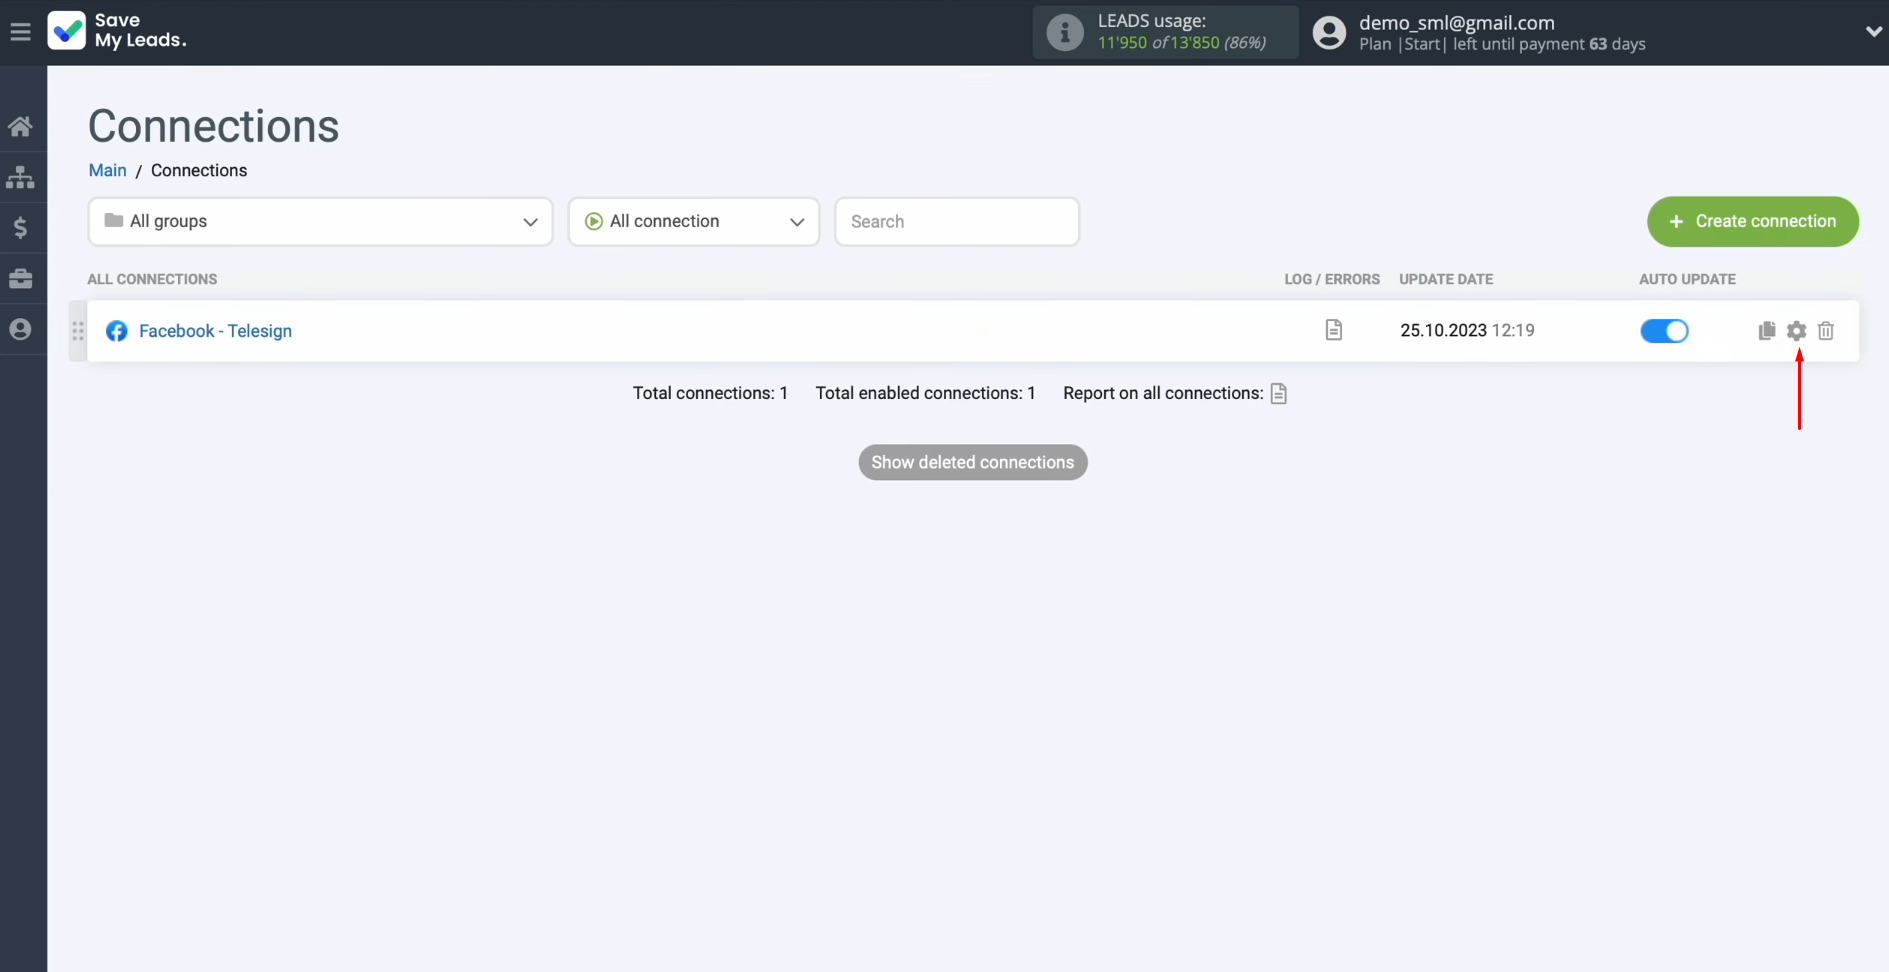
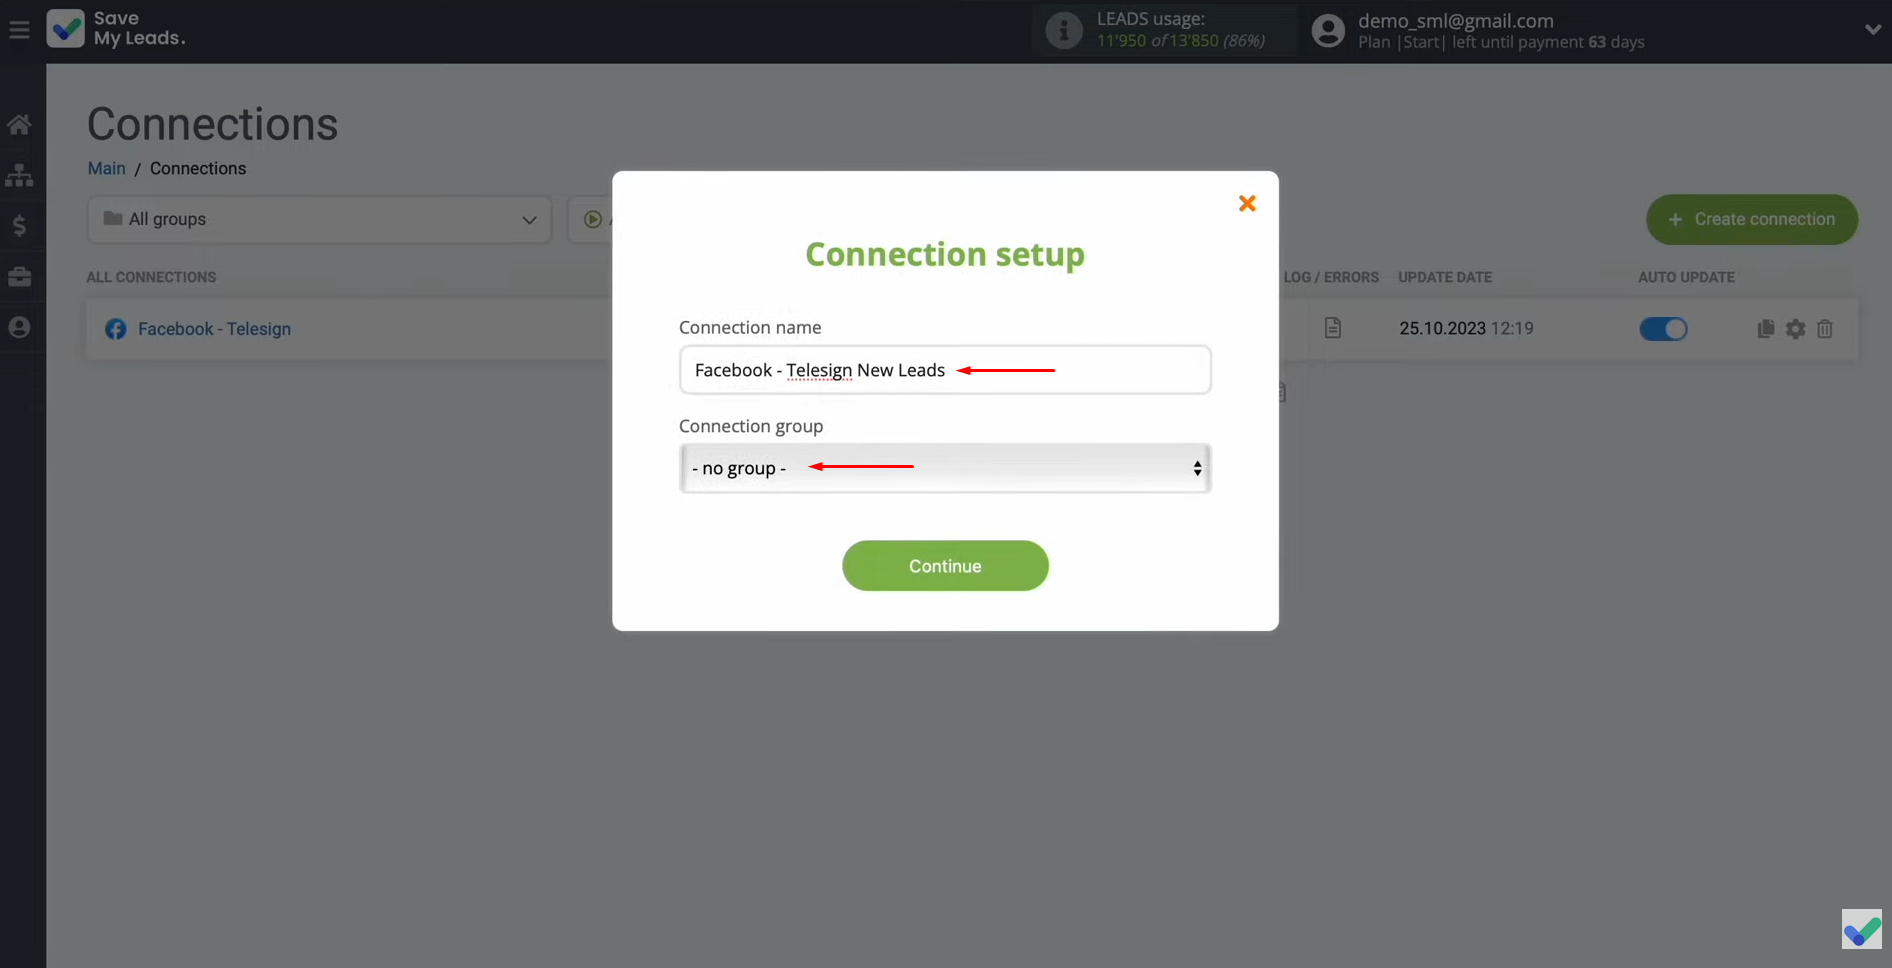
Here you can change the connection name and add your
connection to the group. After that, click “Continue”.
The Result of Facebook-Leads and Telesign Integration
If you followed all the steps in order using these instructions, it is most likely that you have successfully configured the connection of systems with the automatic transfer of new leads from the social network to the communication service. Currently, you can see for yourself how Facebook Telesign integration frees you from manual work. You will no longer need to transfer the contact information of leads coming from Lead Ads to the platform database for communicating with clients for the purpose of further including them in SMS mailings. This will happen automatically. Your time-consuming routine will now be taken care of by our SaveMyLeads online connector, and you can focus on improving the quality of your customer interactions or finding new business development strategies. Whatever you choose, good luck!
Would you like your employees to receive real-time data on new Facebook leads, and automatically send a welcome email or SMS to users who have responded to your social media ad? All this and more can be implemented using the SaveMyLeads system. Connect the necessary services to your Facebook advertising account and automate data transfer and routine work. Let your employees focus on what really matters, rather than wasting time manually transferring data or sending out template emails.
