Drip is an automation service for online marketing campaigns. This platform makes it possible to create and launch mailings through various channels of communication with the audience, as well as collect and analyze their statistics. In addition, it allows you to automate activities to promote a product or service, create lead forms, perform audience targeting, and receive reports. In our article, you will learn how to set up Drip and Facebook integration to automate the transfer of leads from a social network to the service database for running marketing campaigns.
If you use Facebook Lead Ads to promote goods or services and the Drip service to conduct marketing campaigns, most likely you have to manually add each new lead that comes from the social network to your subscriber base. Automated transfer of potential customer data from one system to another will significantly facilitate the work process and save a valuable resource – your time. By connecting both platforms, you will see an increase in personal and team productivity. Our online connector, SaveMyLeads, will help you with this. Having correctly configured the Facebook and Drip integration, you get the transfer of leads' data into the database of the service for running marketing campaigns. You will automatically receive new subscribers to your promotional mailing list. This way, you can get rid of the need to manually enter the first name, last name, phone number, and other data of a potential client. As a result, you will optimize your workflow, and the customer will be satisfied with the quick feedback you provide them.
How to Set Up Facebook Lead Ads and Drip Integration
It may seem to you that the easiest way to create Facebook-Leads and Drip integration using the API is to give the corresponding task to a specialist. Do not hurry. Let's analyze this situation together. Imagine that your IT department employee will only be able to fulfill this request in a few hours or even days. When engaging a third-party programmer, be prepared for costs, which today can be quite significant. We offer you an alternative that is much faster, cheaper and friendlier – the SaveMyLeads online connector. The intuitive interface and operating algorithm of our no-code service will help you independently configure the desired connection without errors in just a few minutes.
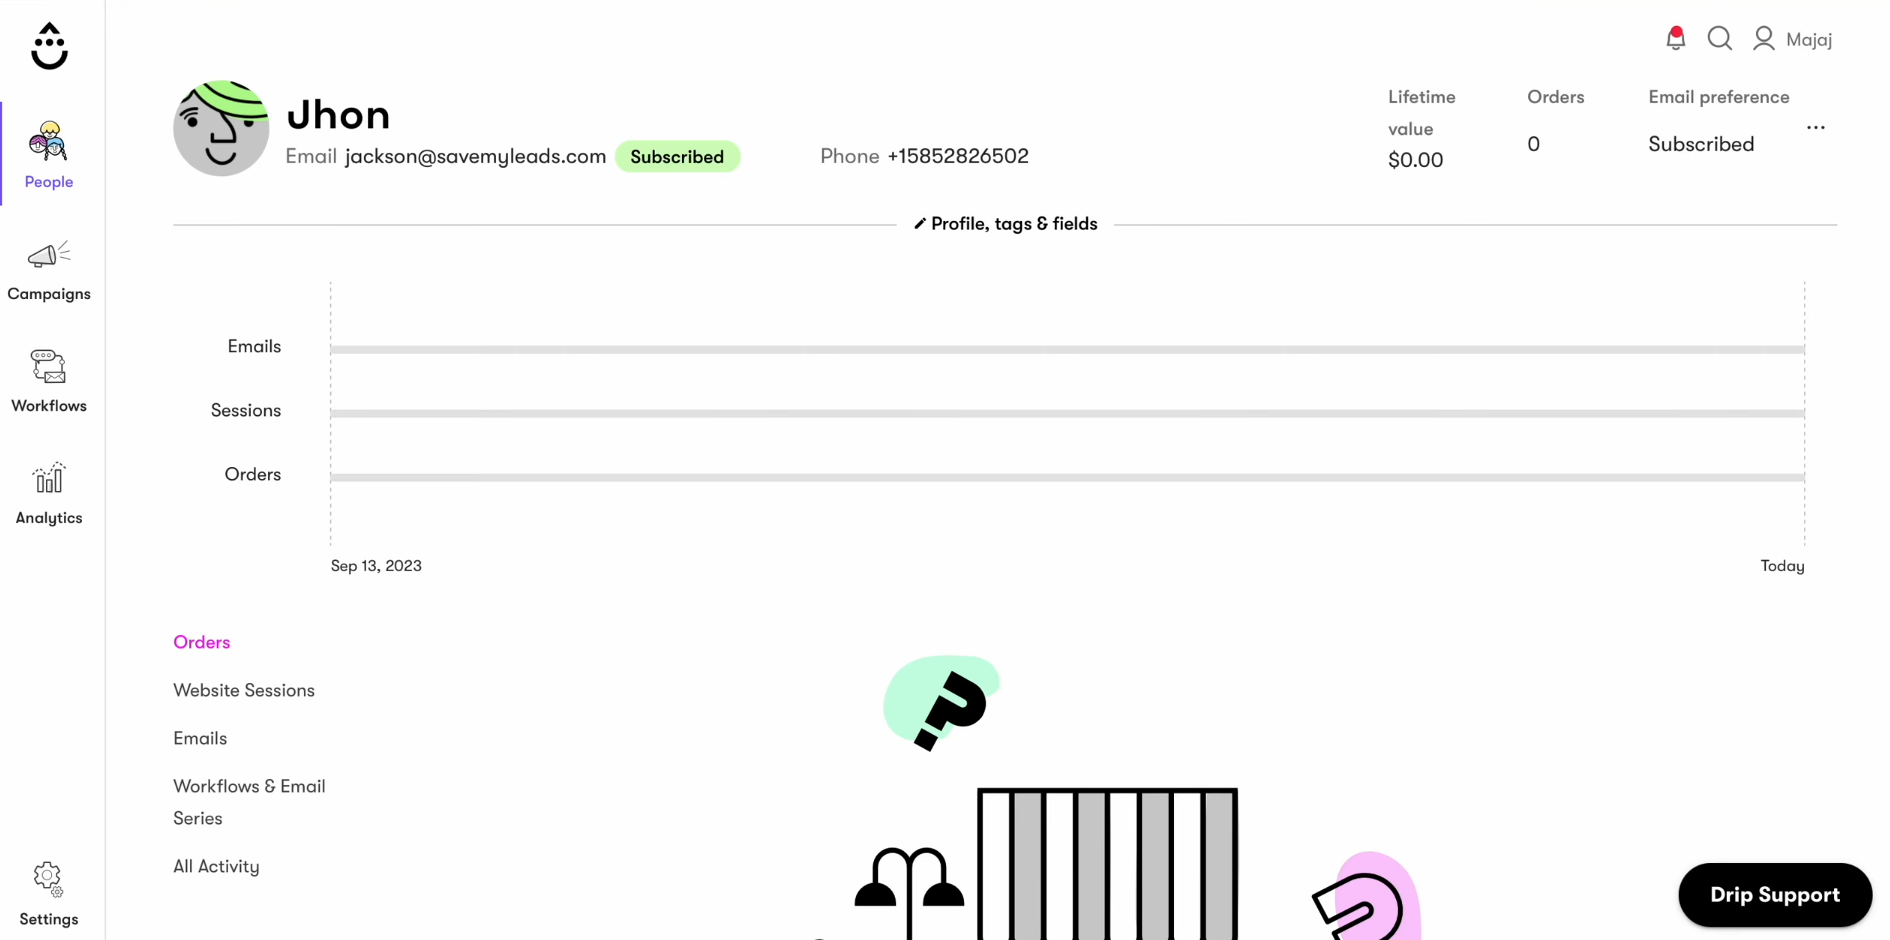
If you depict the integration of Drip and Facebook in the form of a diagram, it will look like this: “data source – online connector – data receiver.” The SaveMyLeads system continuously monitors the emergence of new leads on Facebook and immediately transfers them to Drip. To get this automation up and running, you only need to take a few simple steps. We suggest you start right now.
Setting Up a Data Source – Facebook
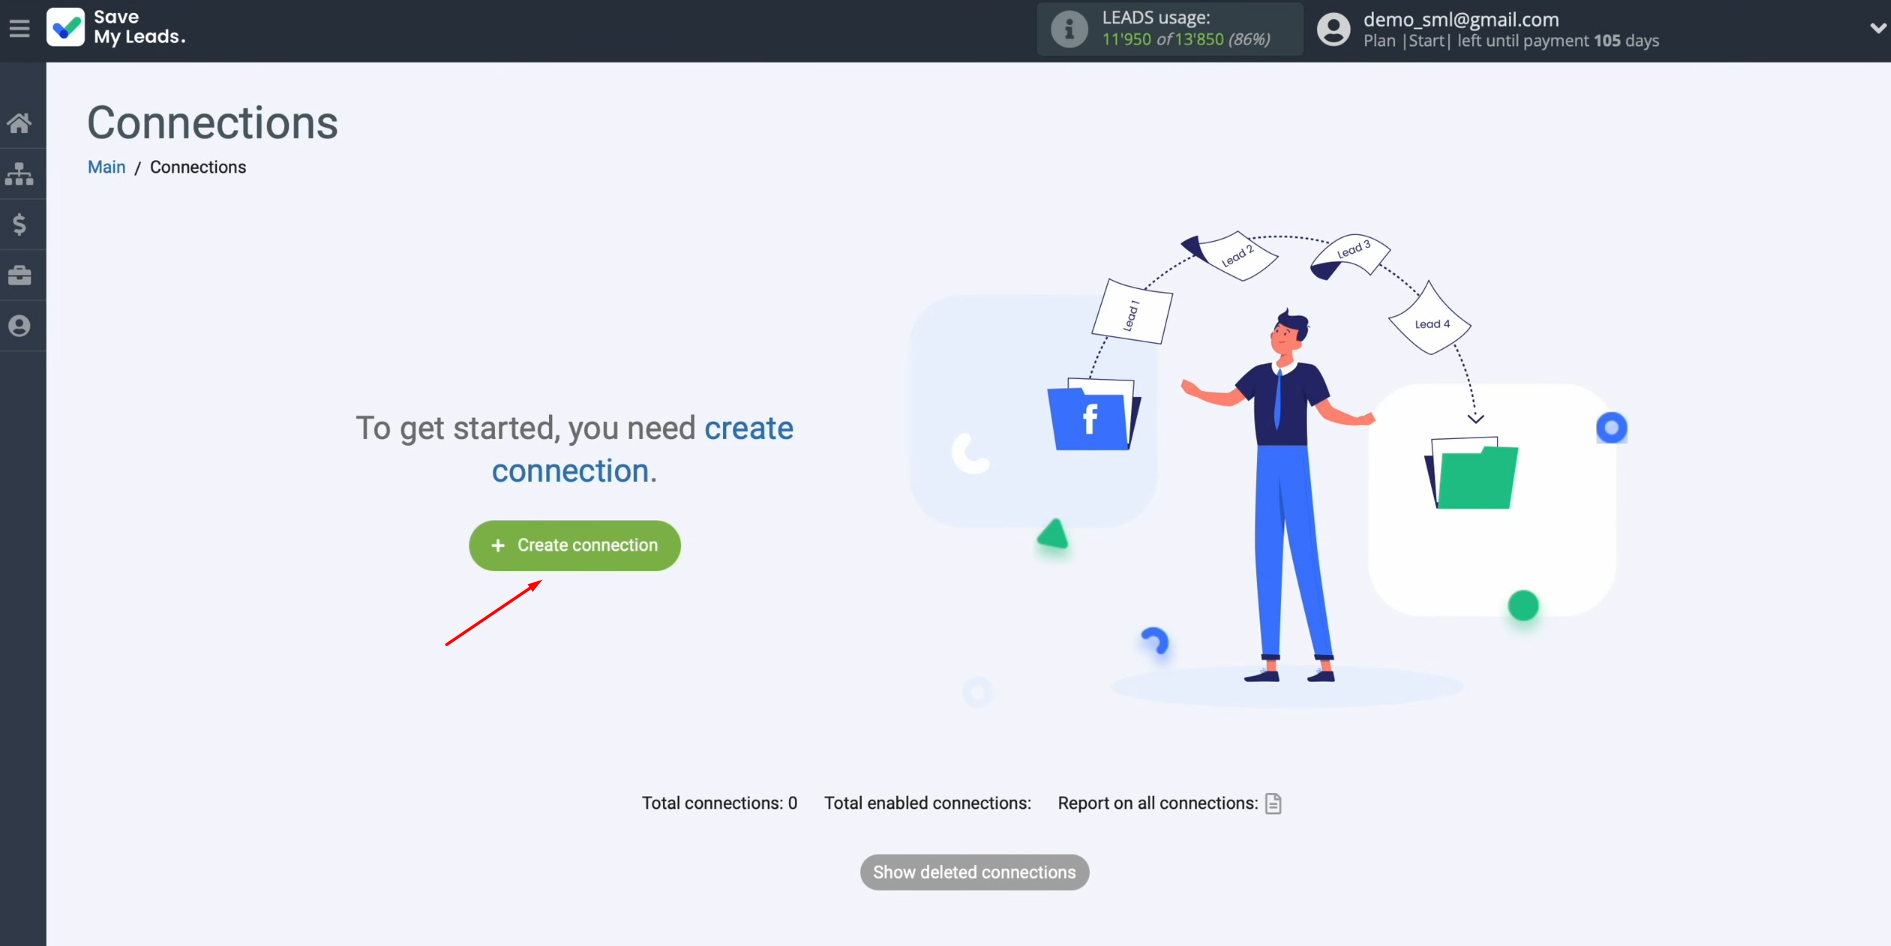
To set up Facebook integration with Drip, first you have to create a new connection. For this, click on the button "Create connection".
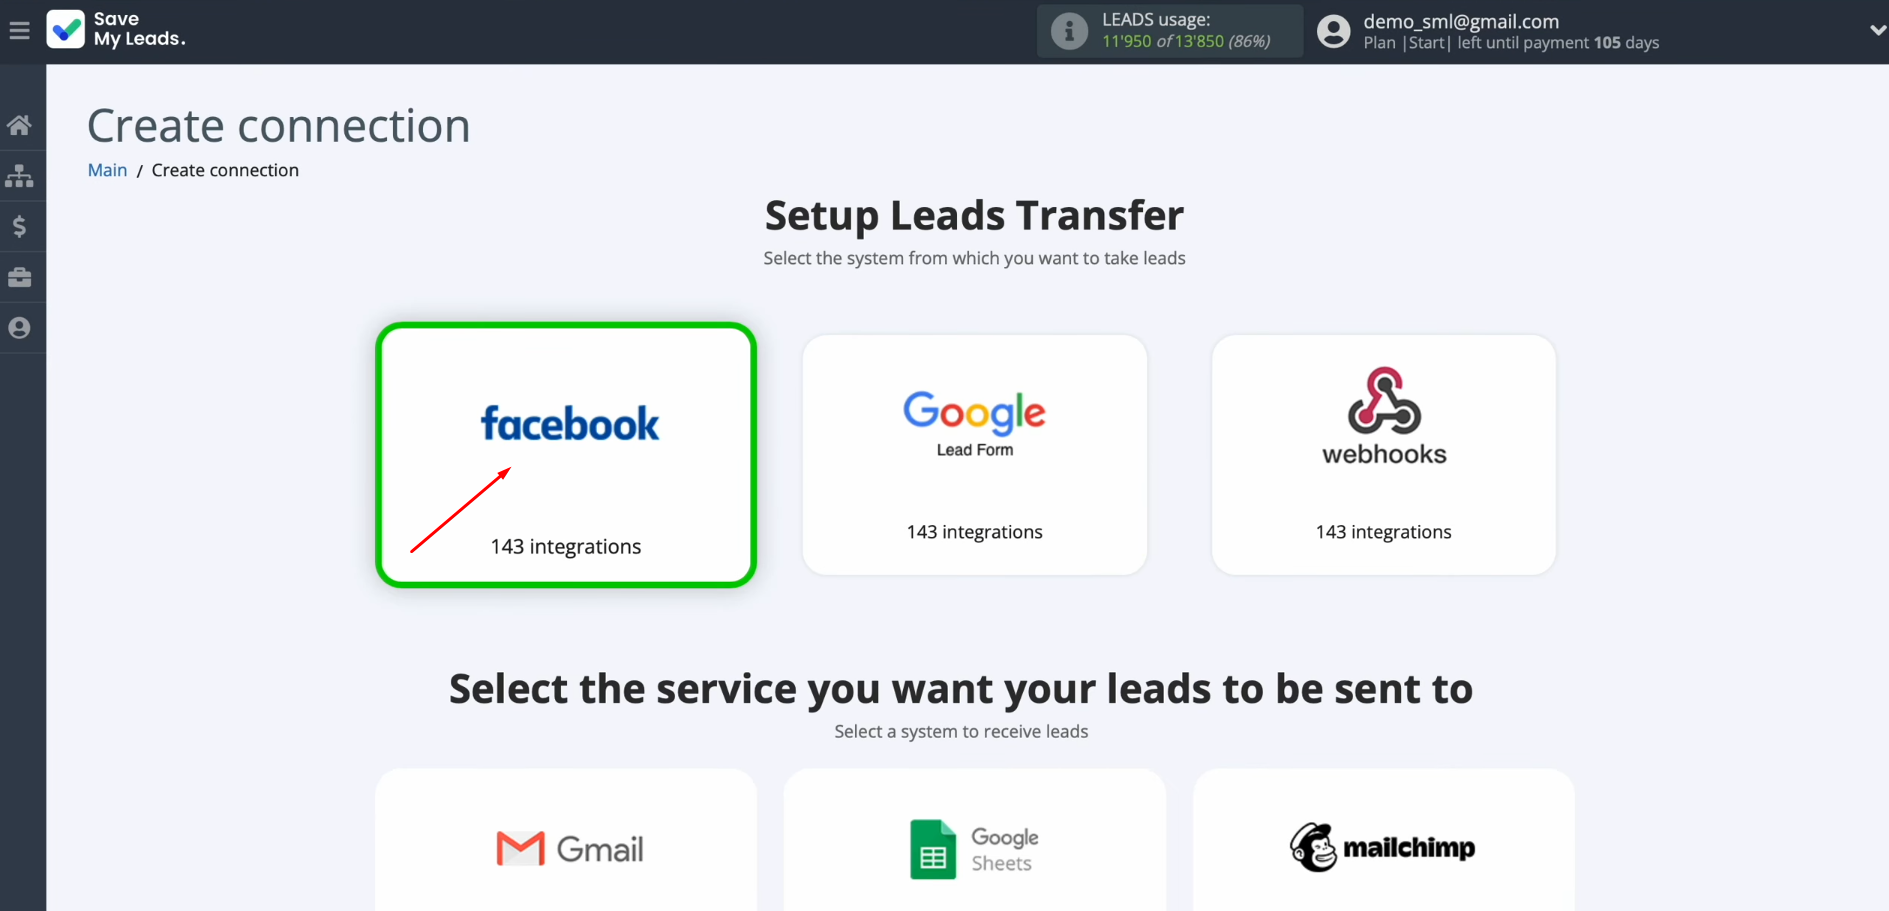
Next, you must select a data source system. In this case, choose Facebook.
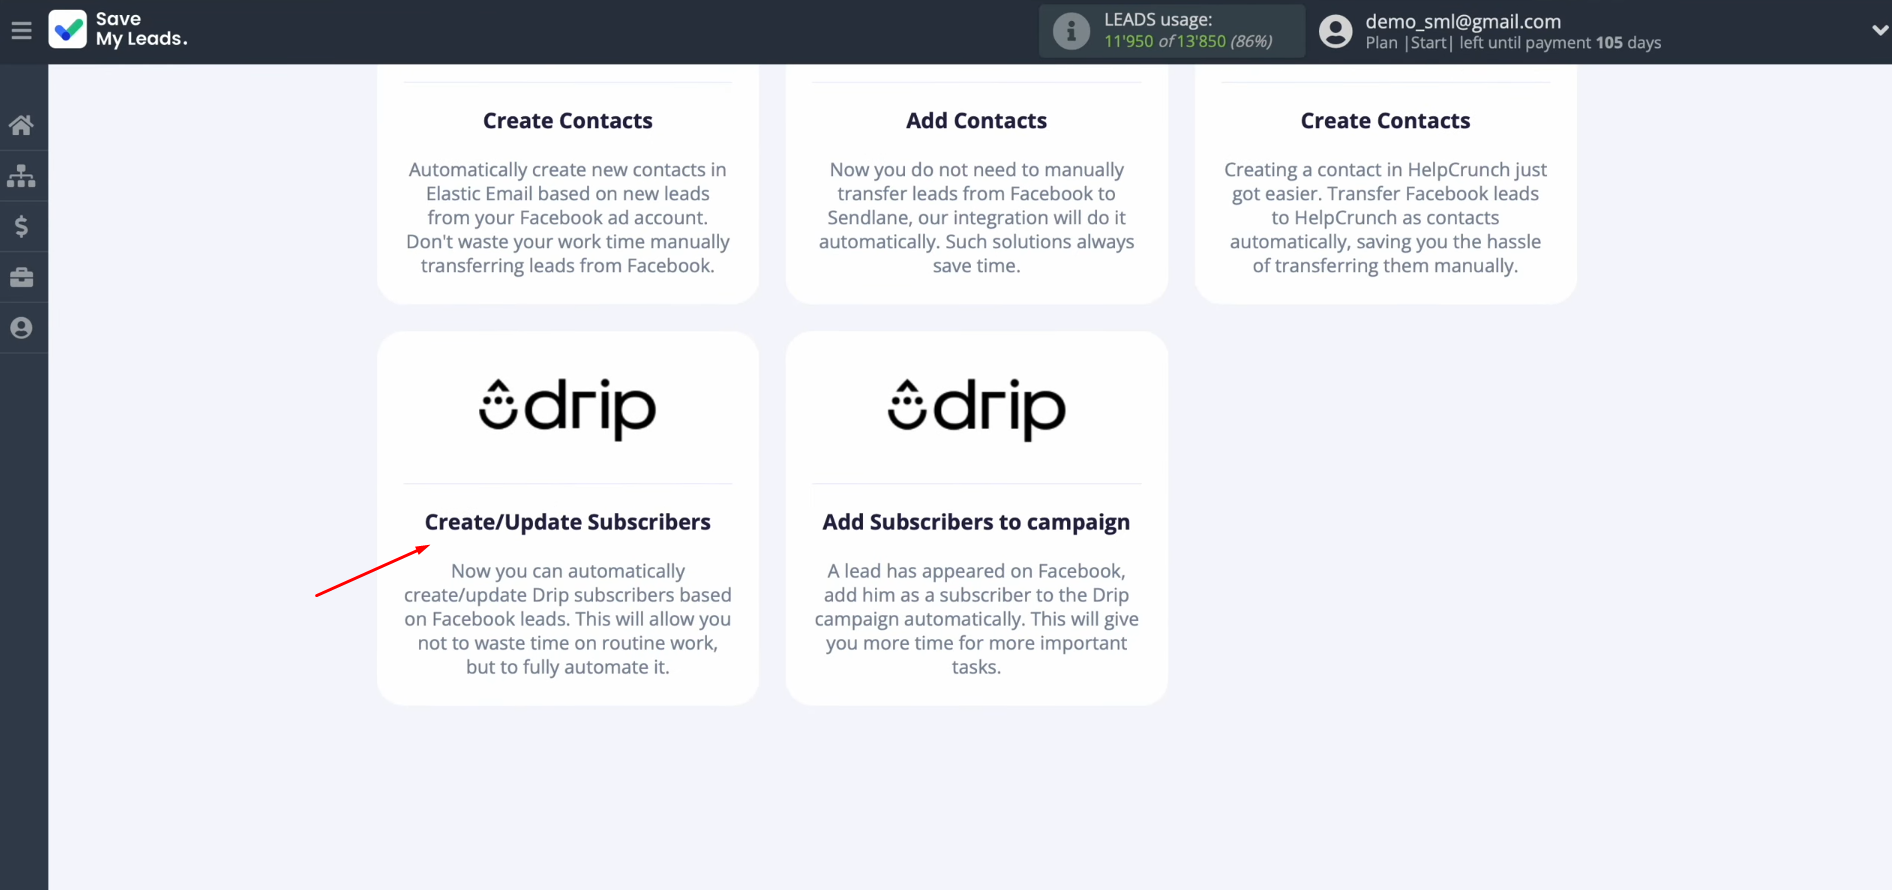
Now you have to select the system where you want to transfer new leads from Facebook. In this case, select "Drip Create/Update Subscribers".
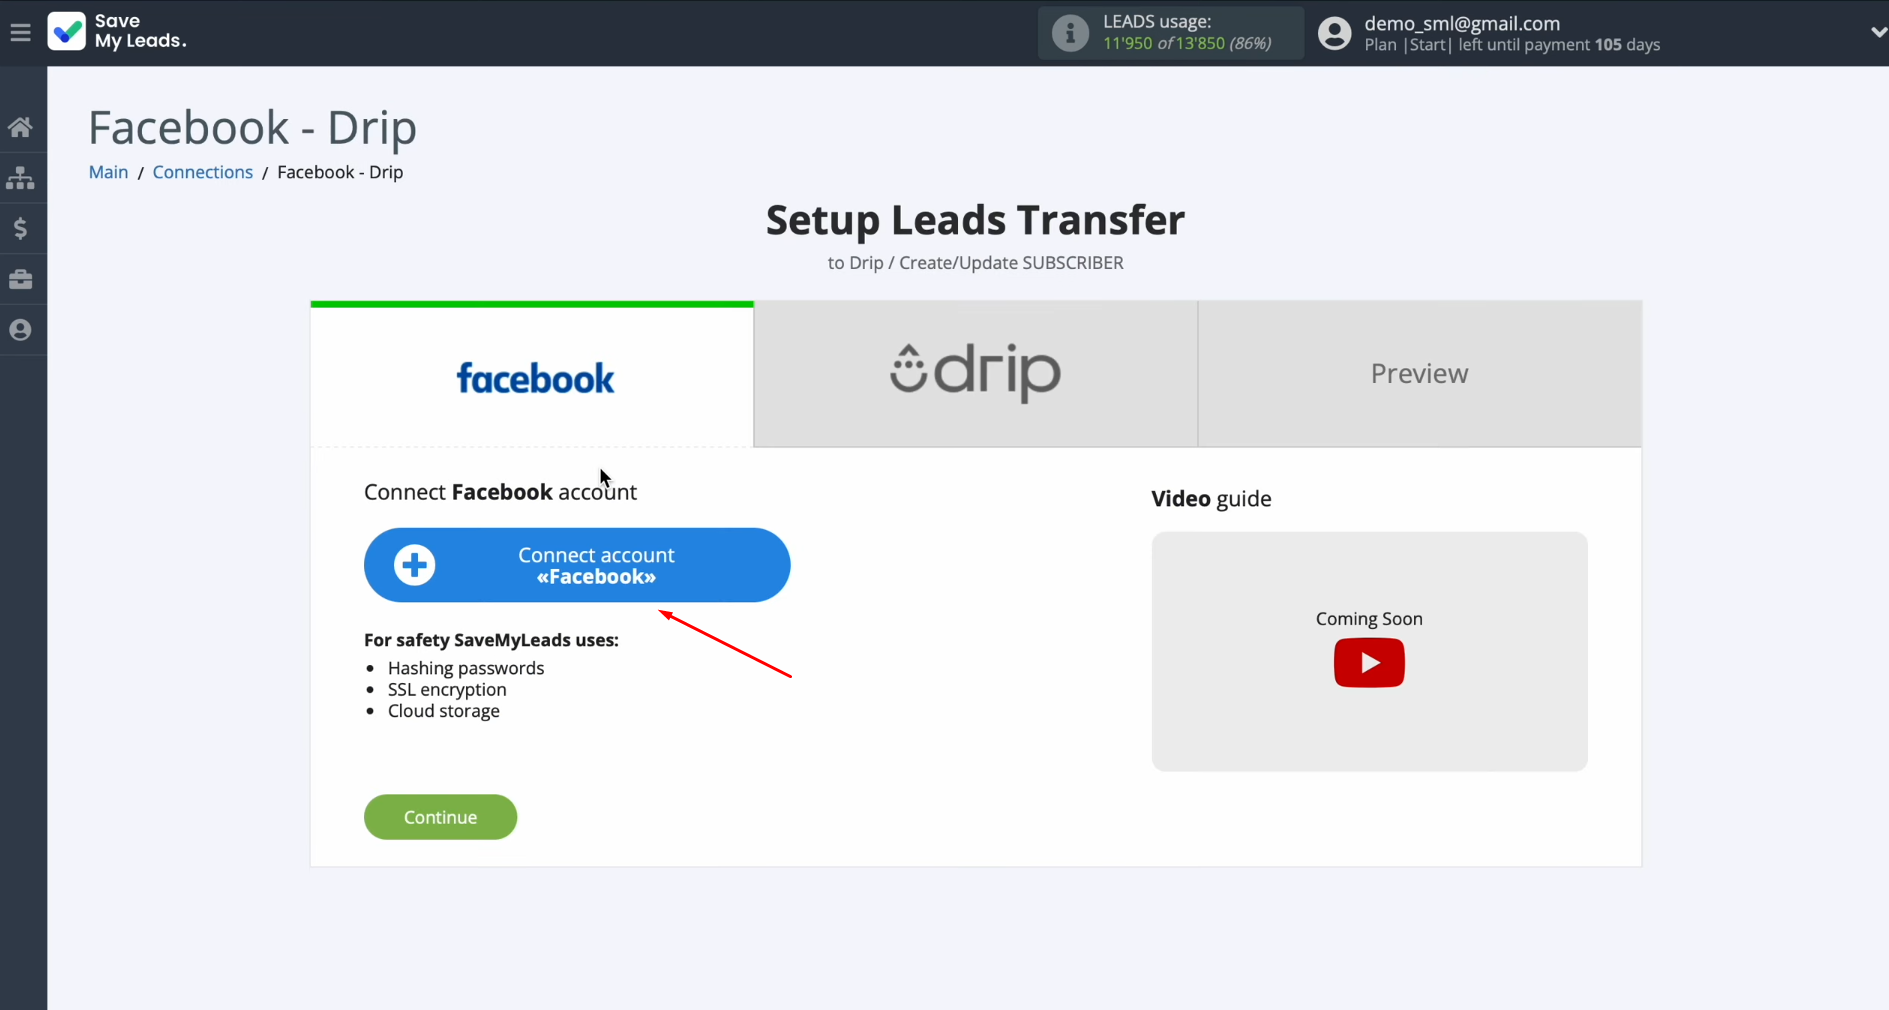
At this stage, you must connect your Facebook
account to SaveMyLeads. For
this, click on the blue button "Connect account Facebook".
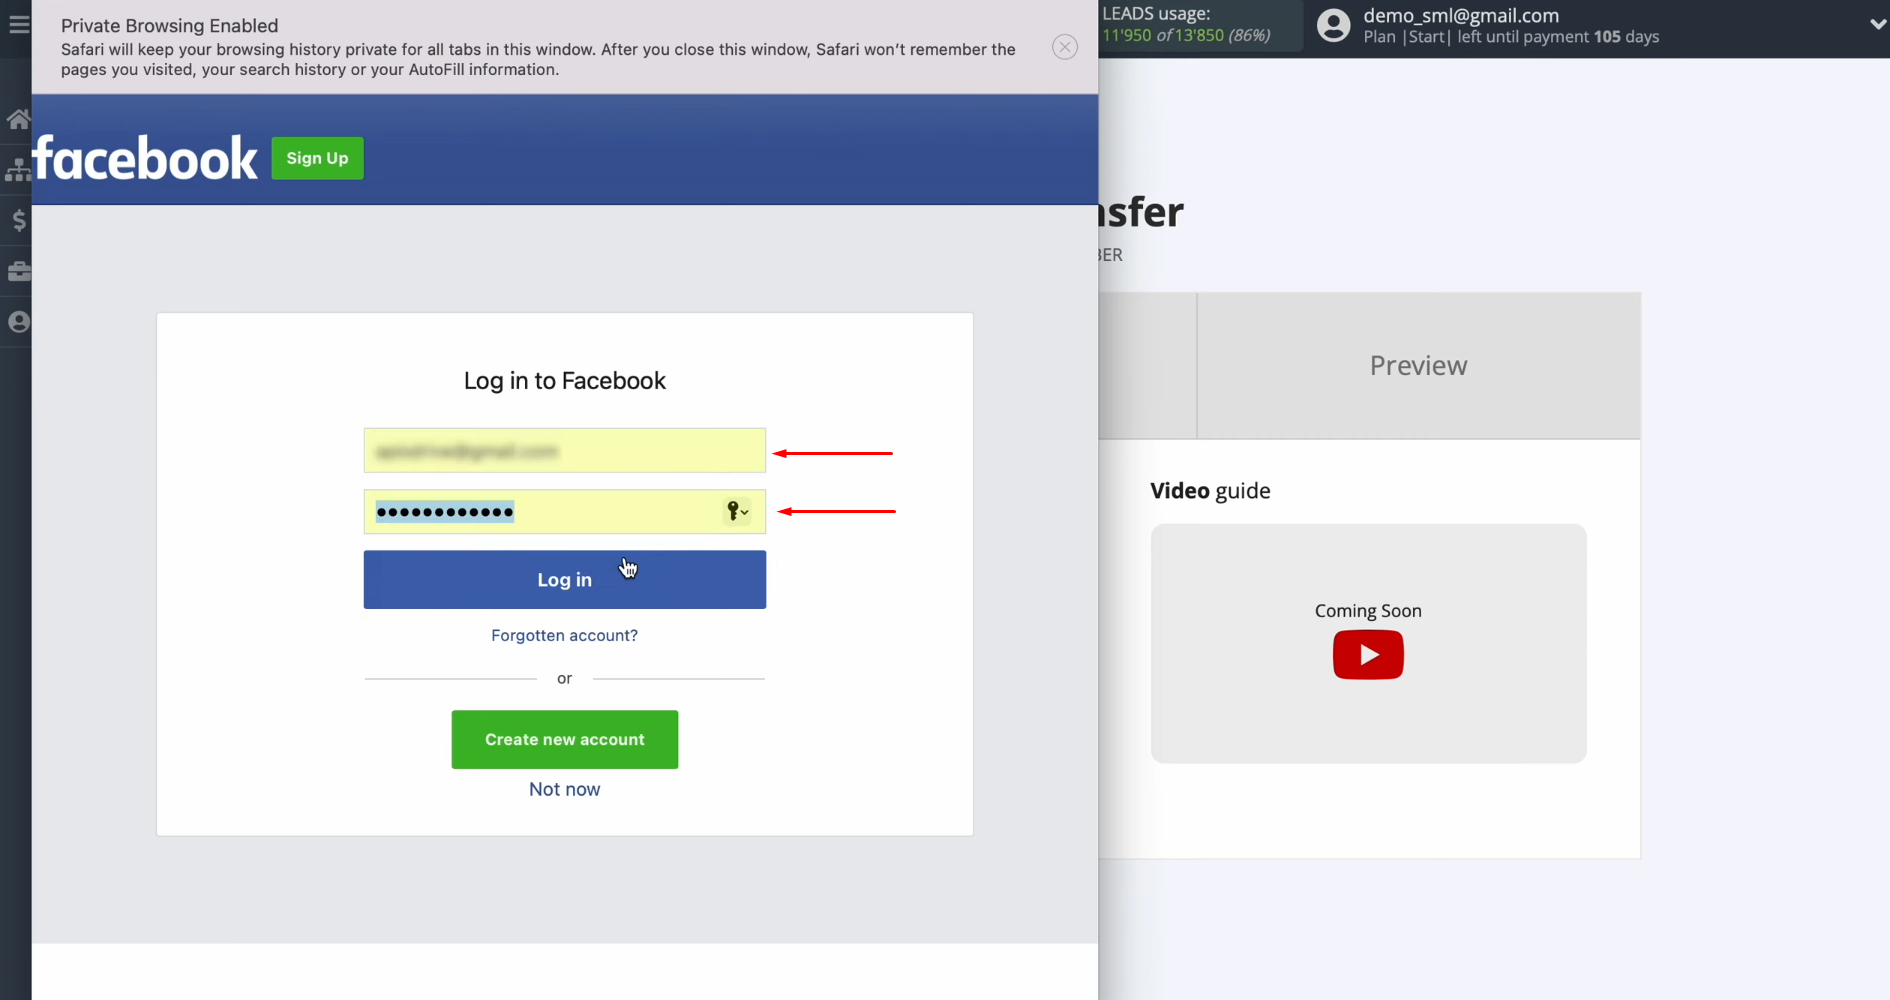
In this window, you must specify the login and password of your personal Facebook
account. Then click
“Log in”.
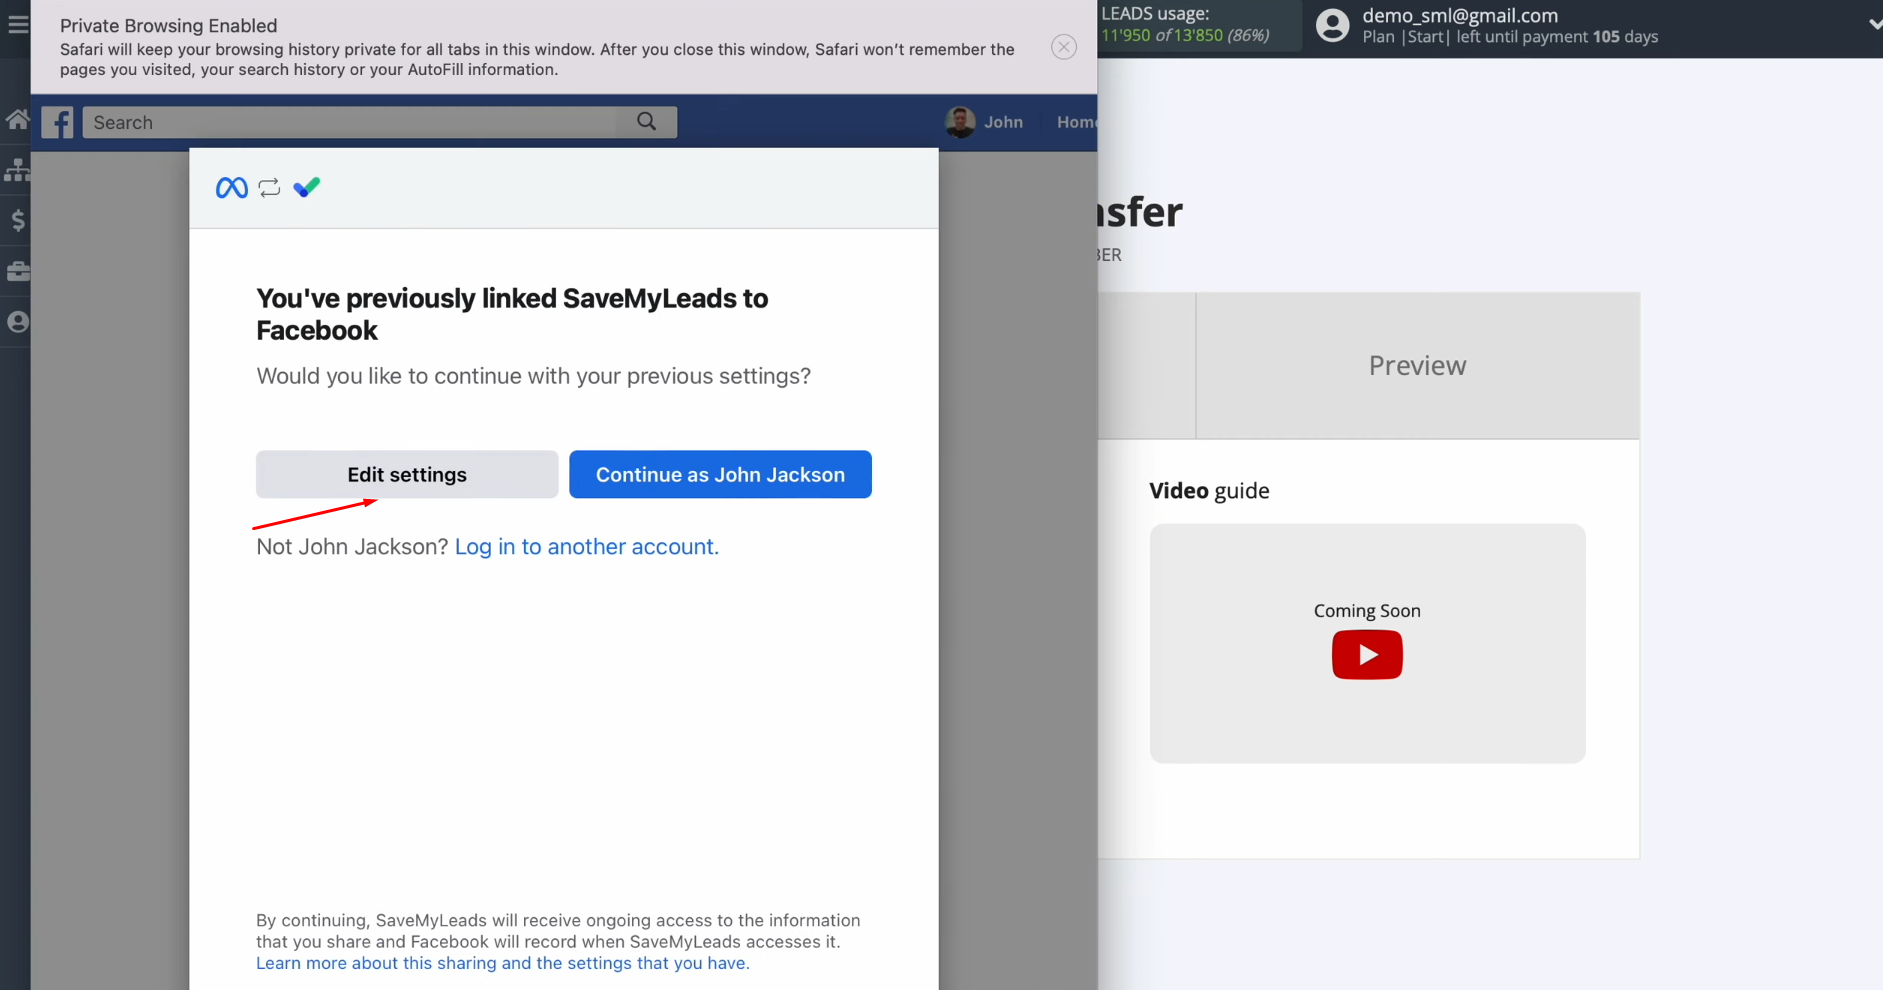
Now click “Edit
settings”.
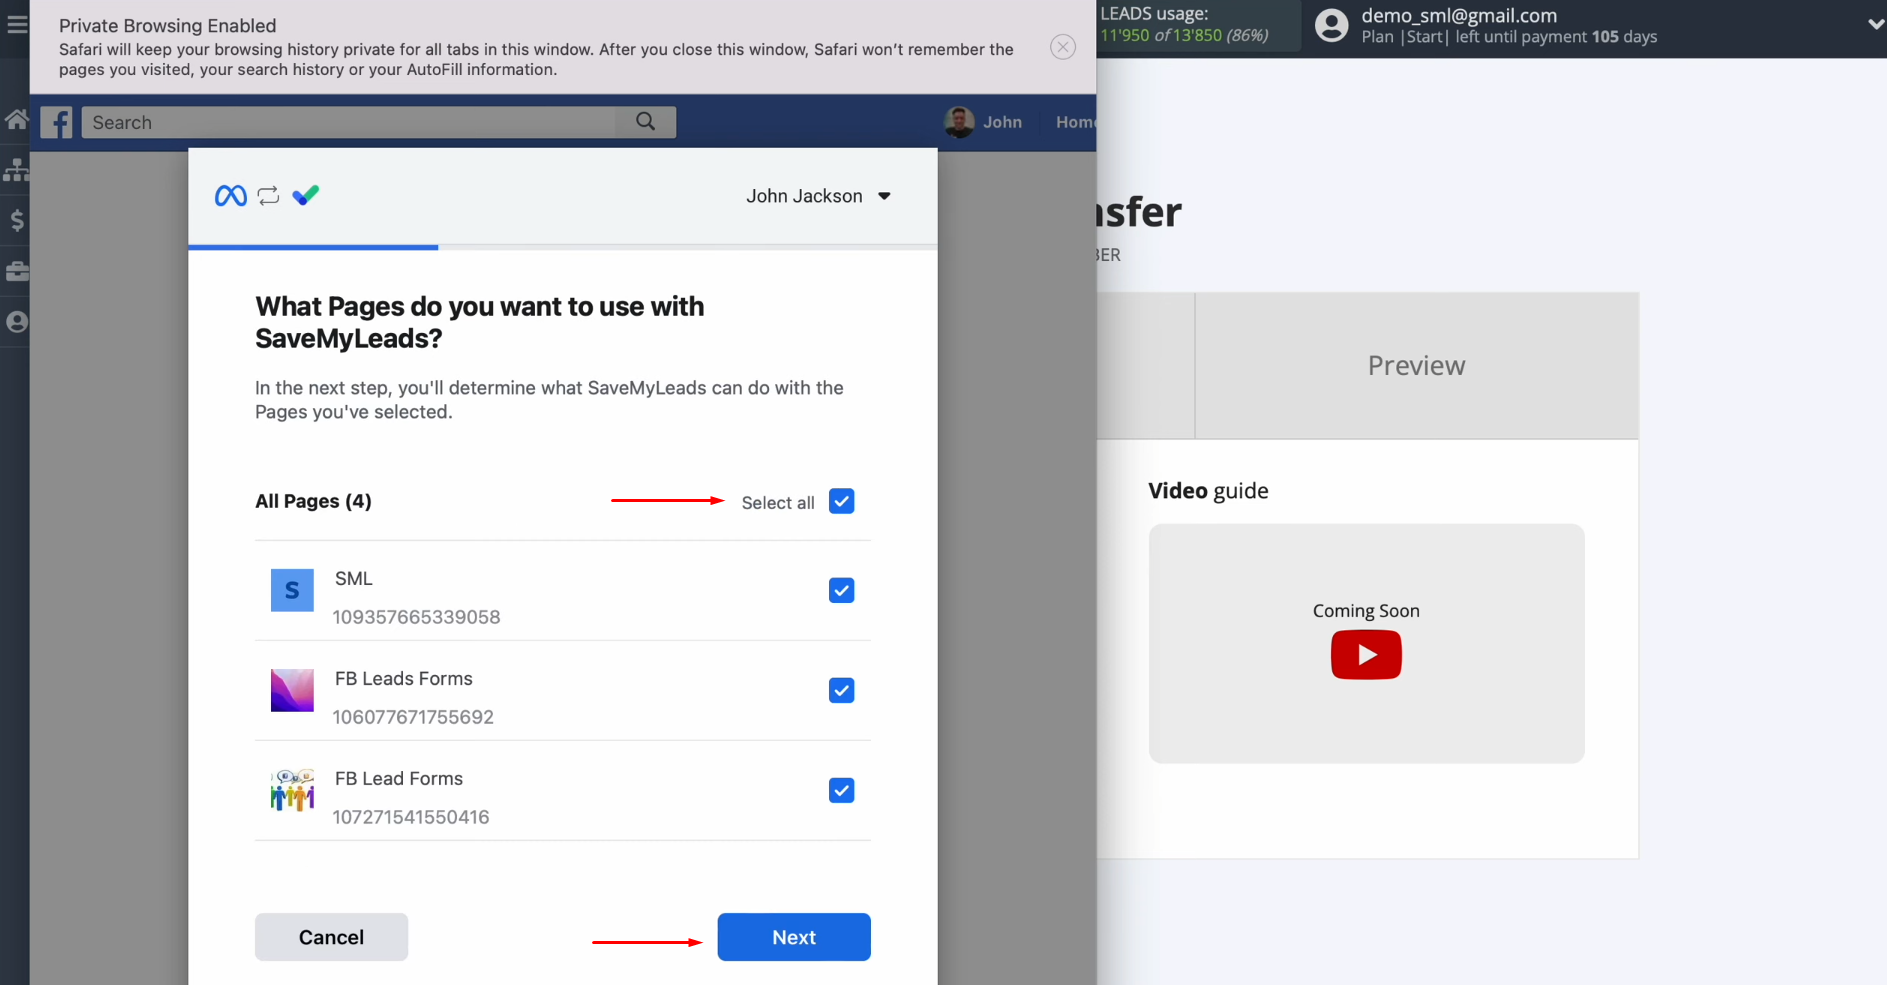
At this stage, it is necessary to check the advertising pages for
which you want to receive new leads. We recommend
marking all advertising pages at once to be able to work with them in the future. Click “Next”.
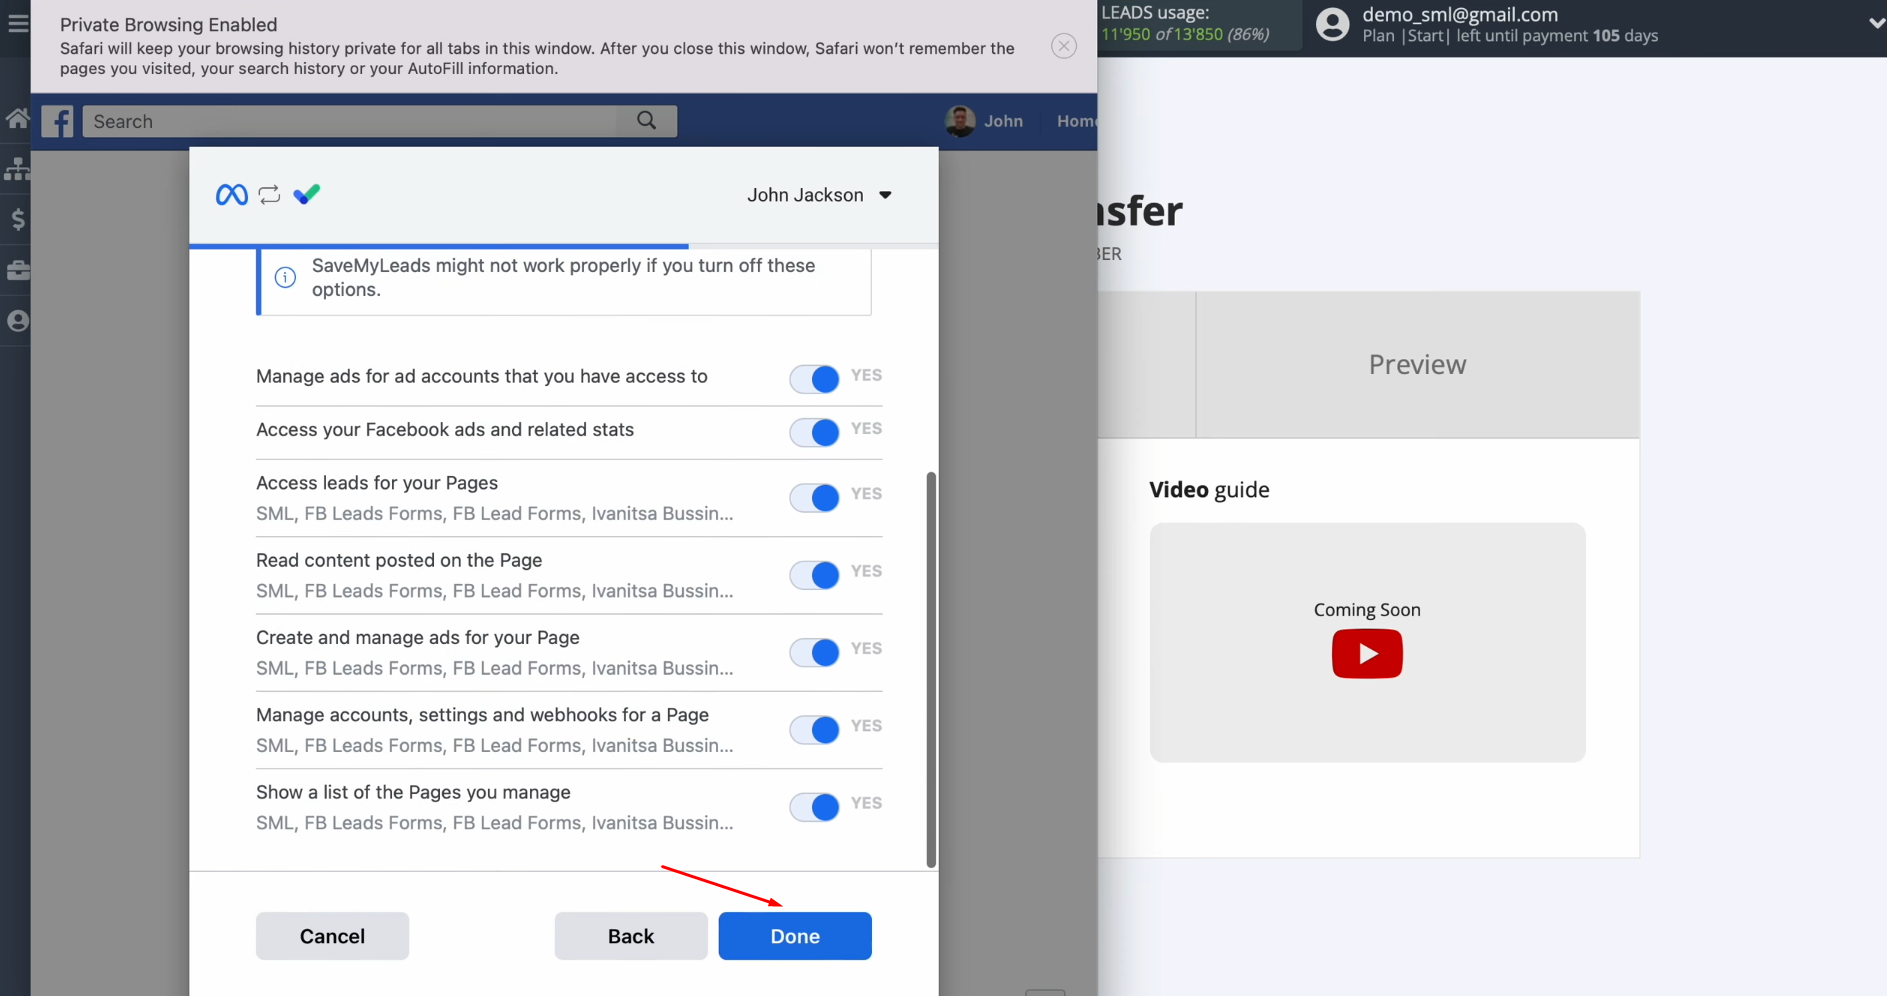
Here, leave
all checkboxes enabled
and click “Done”.
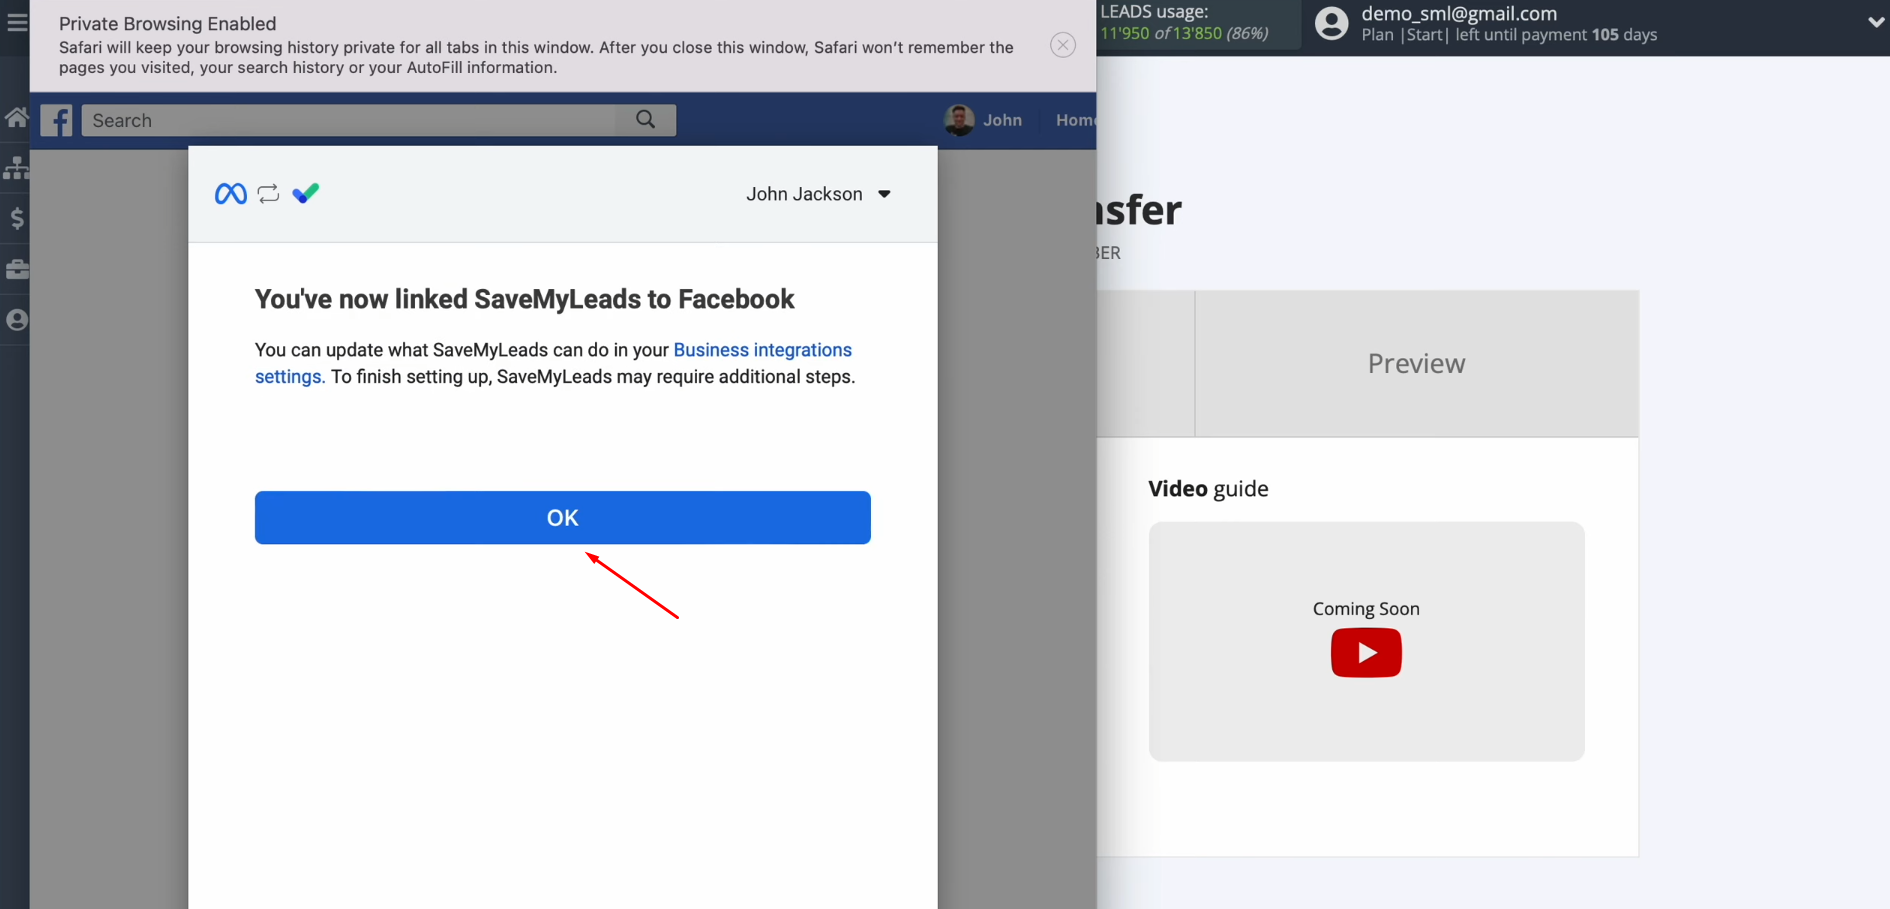
Then, click “OK”.
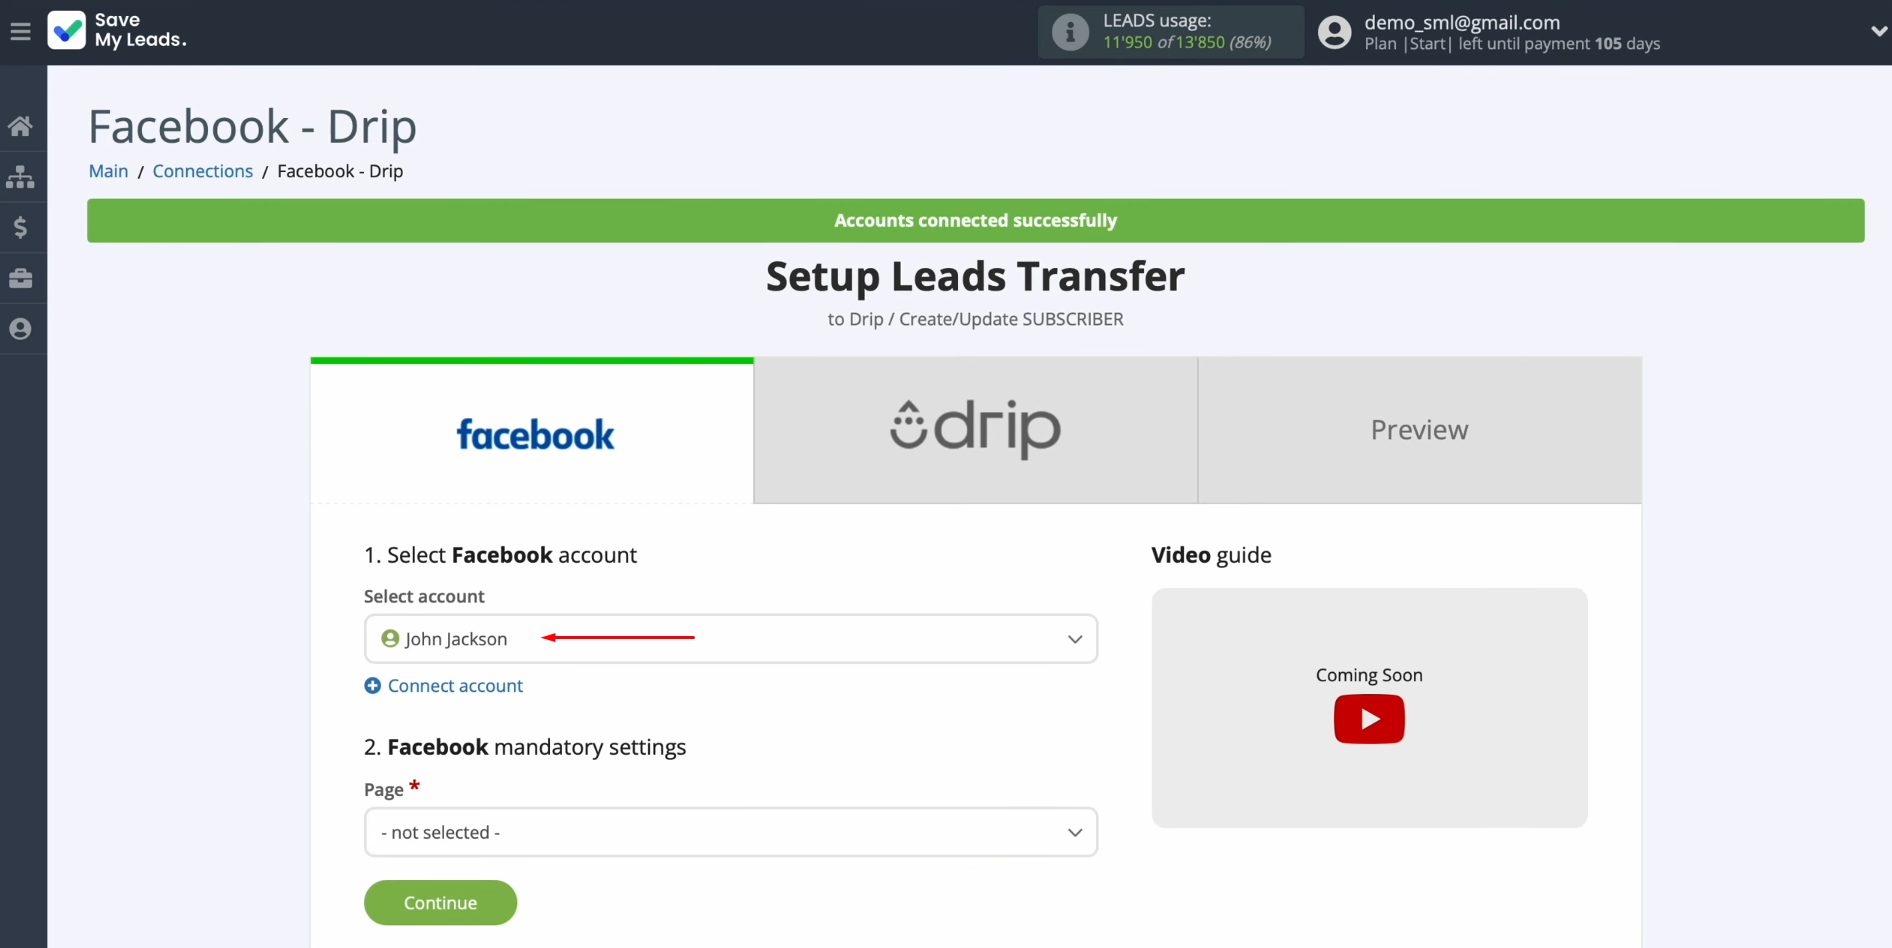
When the connected login is displayed in the list, select it.
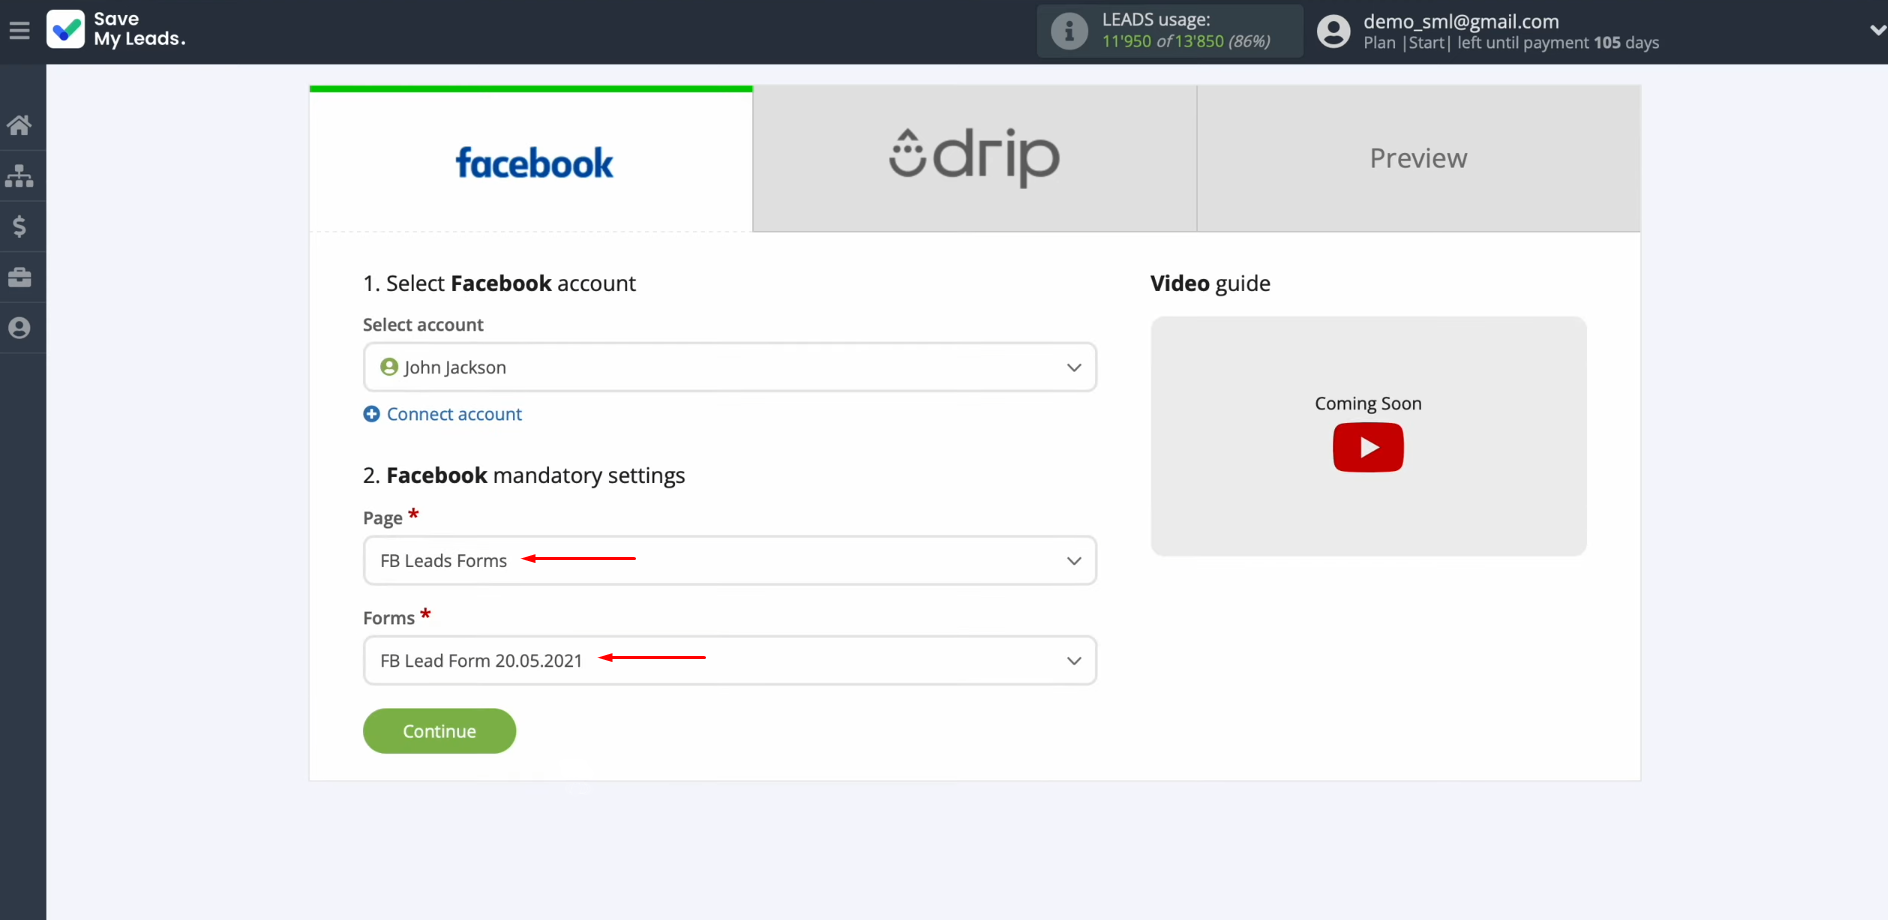
Now you have to select the advertising page and the form for which you want to receive new leads. Click “Continue”.
Setting Up a Data Receiver – Drip
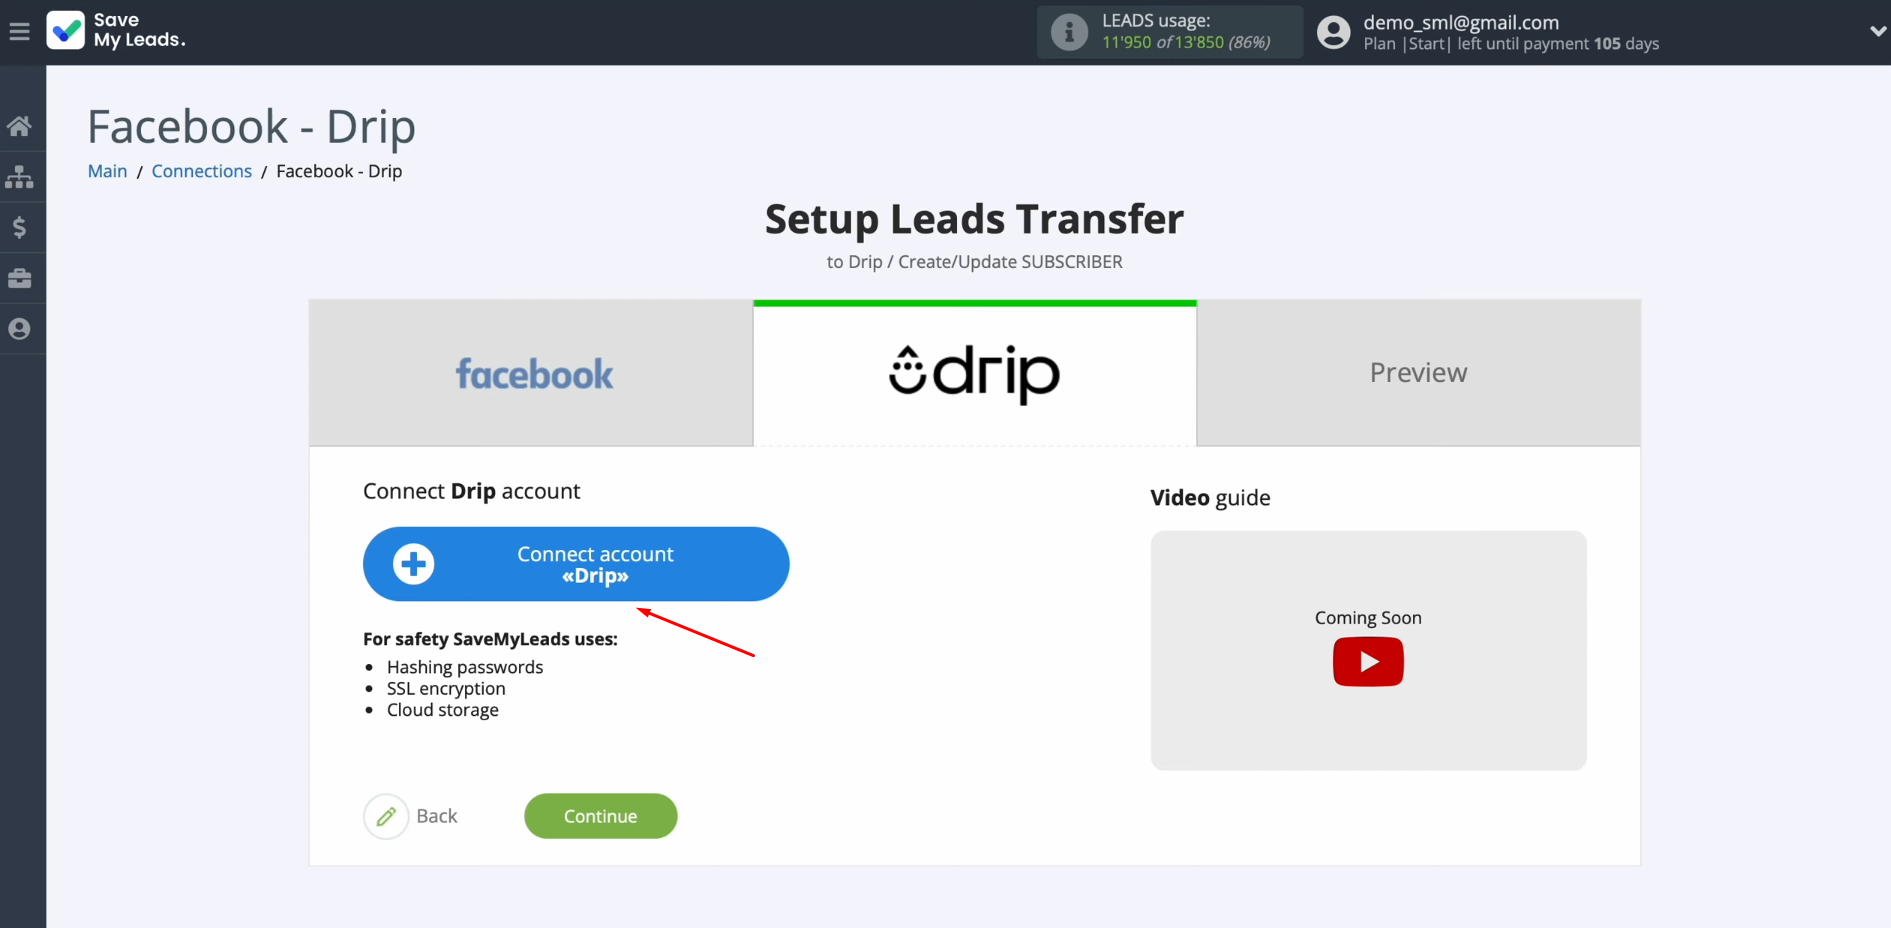
To set up Drip integration with Facebook, you have to connect your Drip account to SaveMyLeads. For this, click on the blue button, "Connect account Drip".
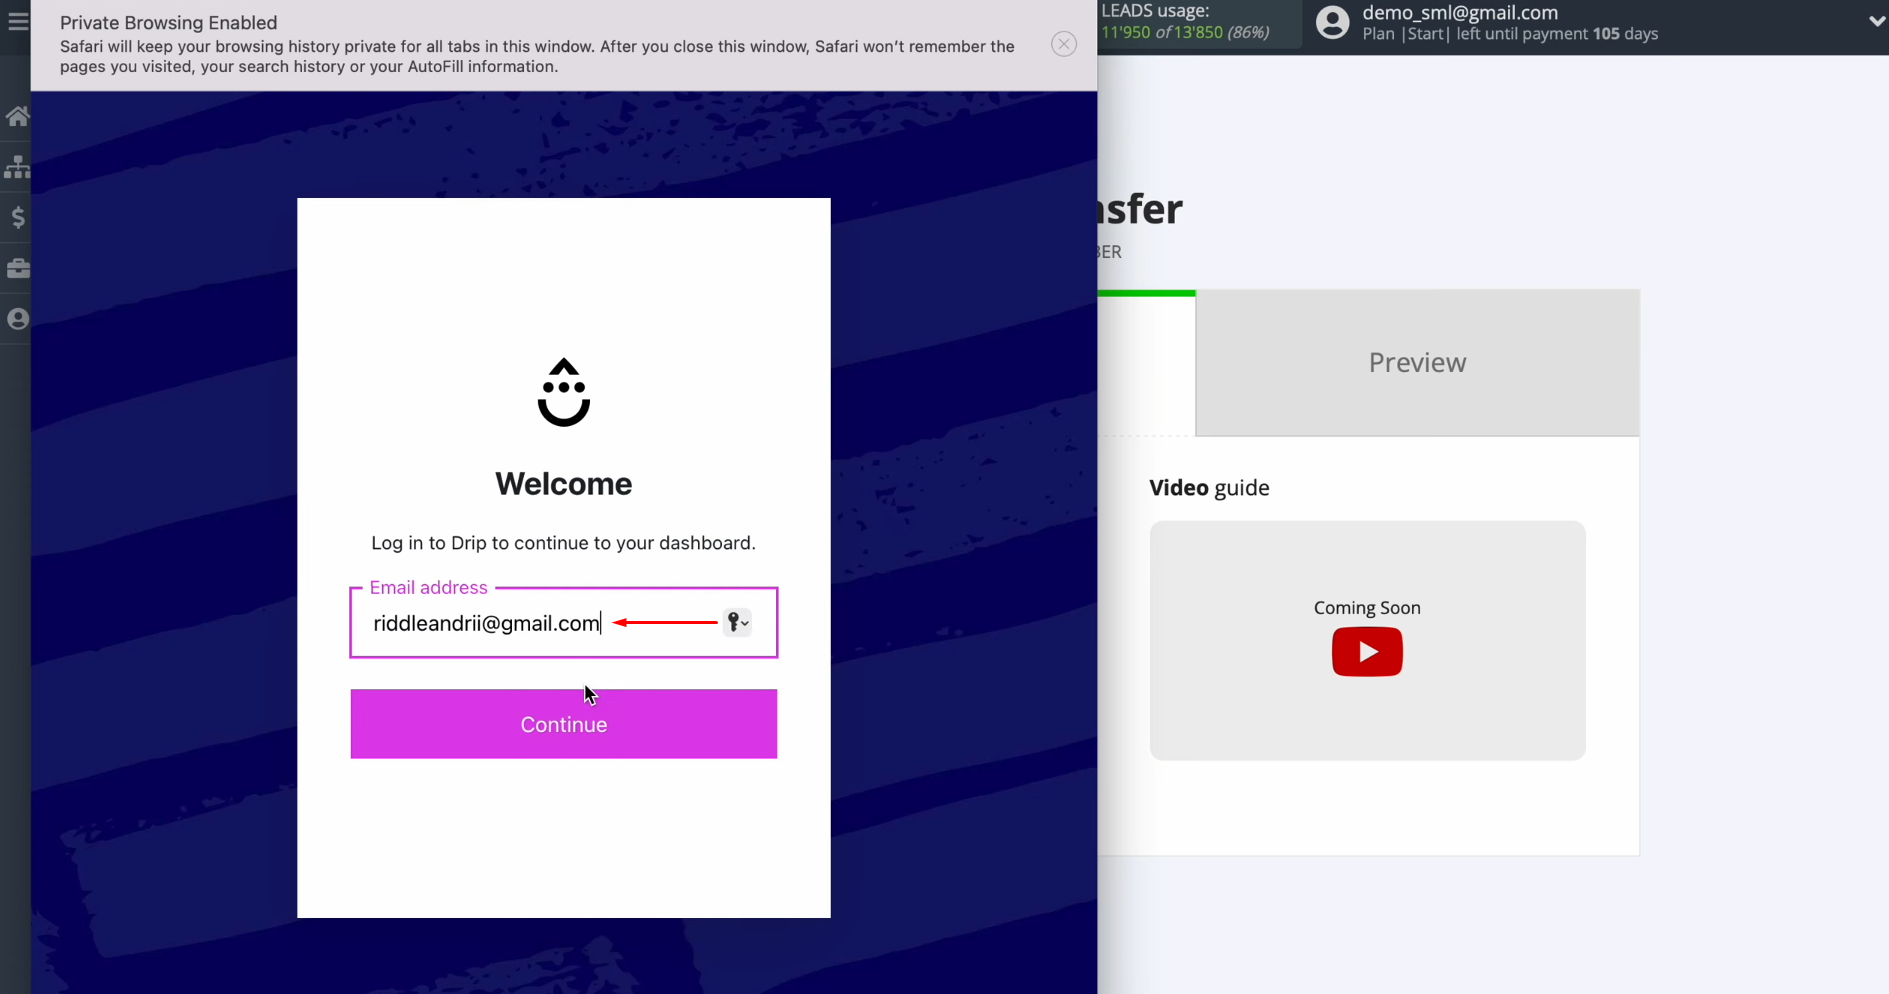
In this window, you must specify the email for your Drip personal account.
Click “Continue”.
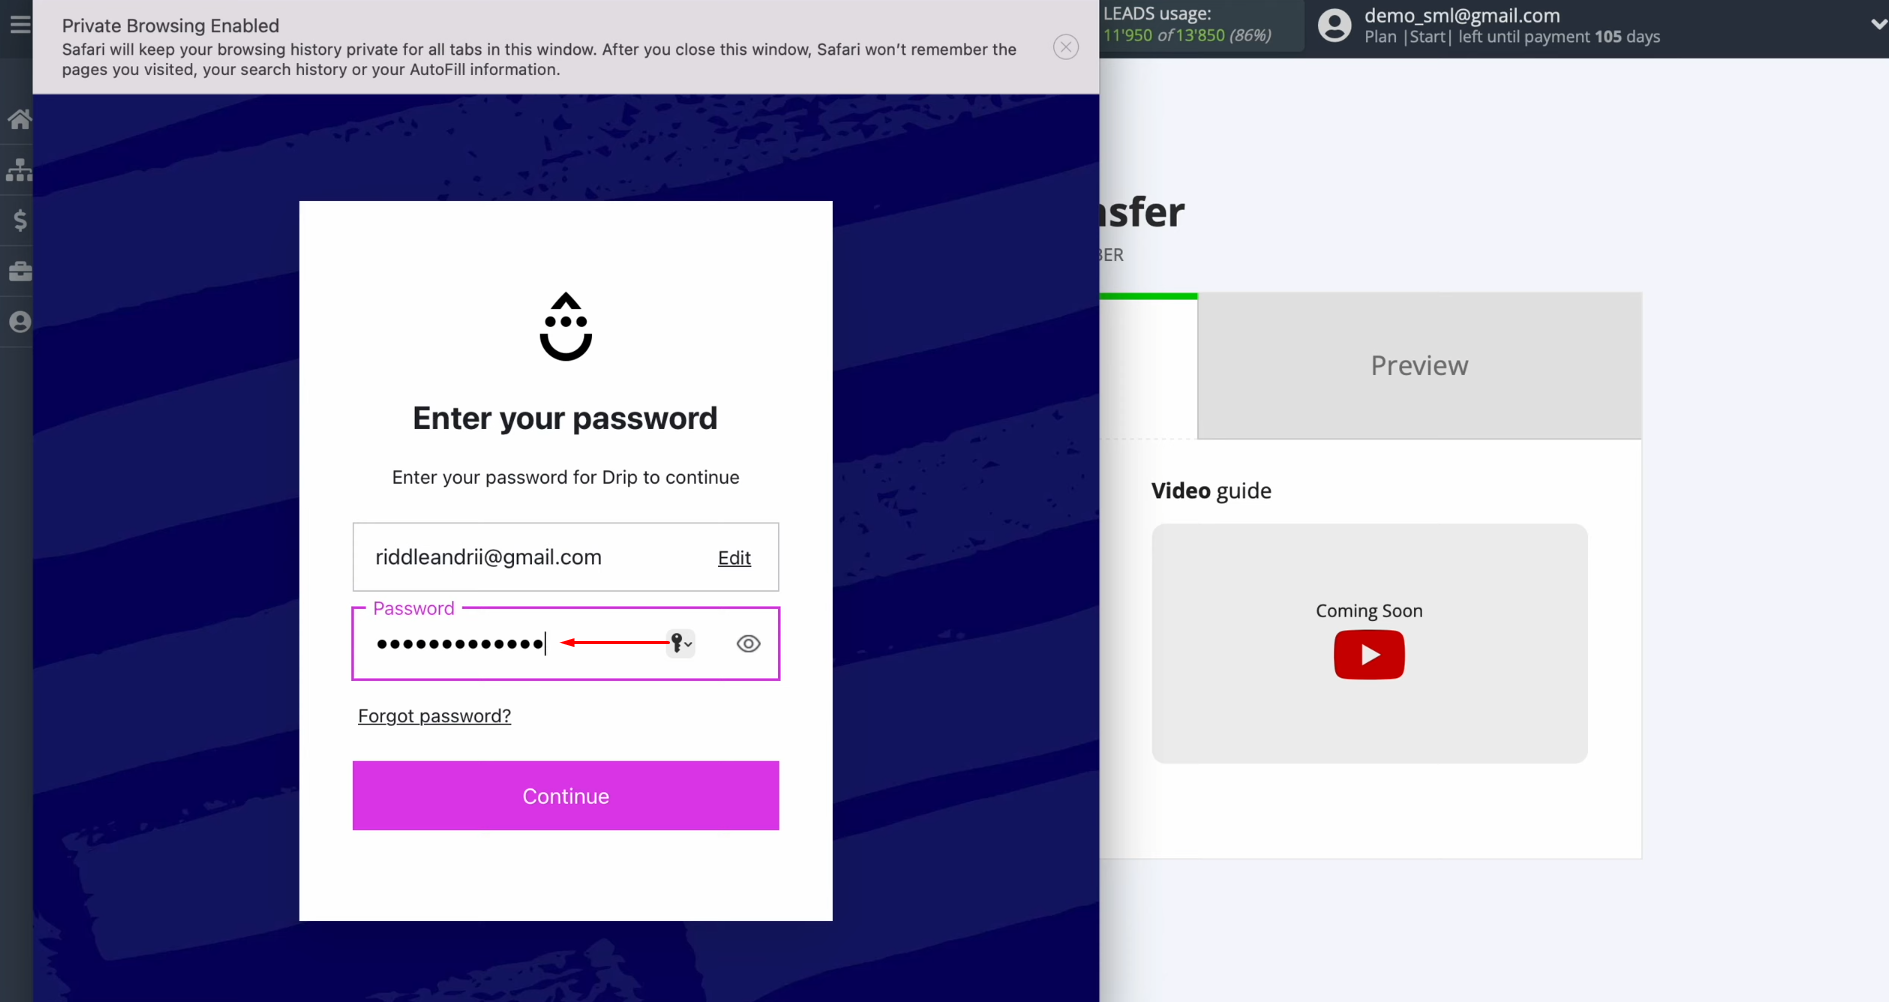
Then you have
to specify the password for your Drip personal
account. Click
“Continue”.
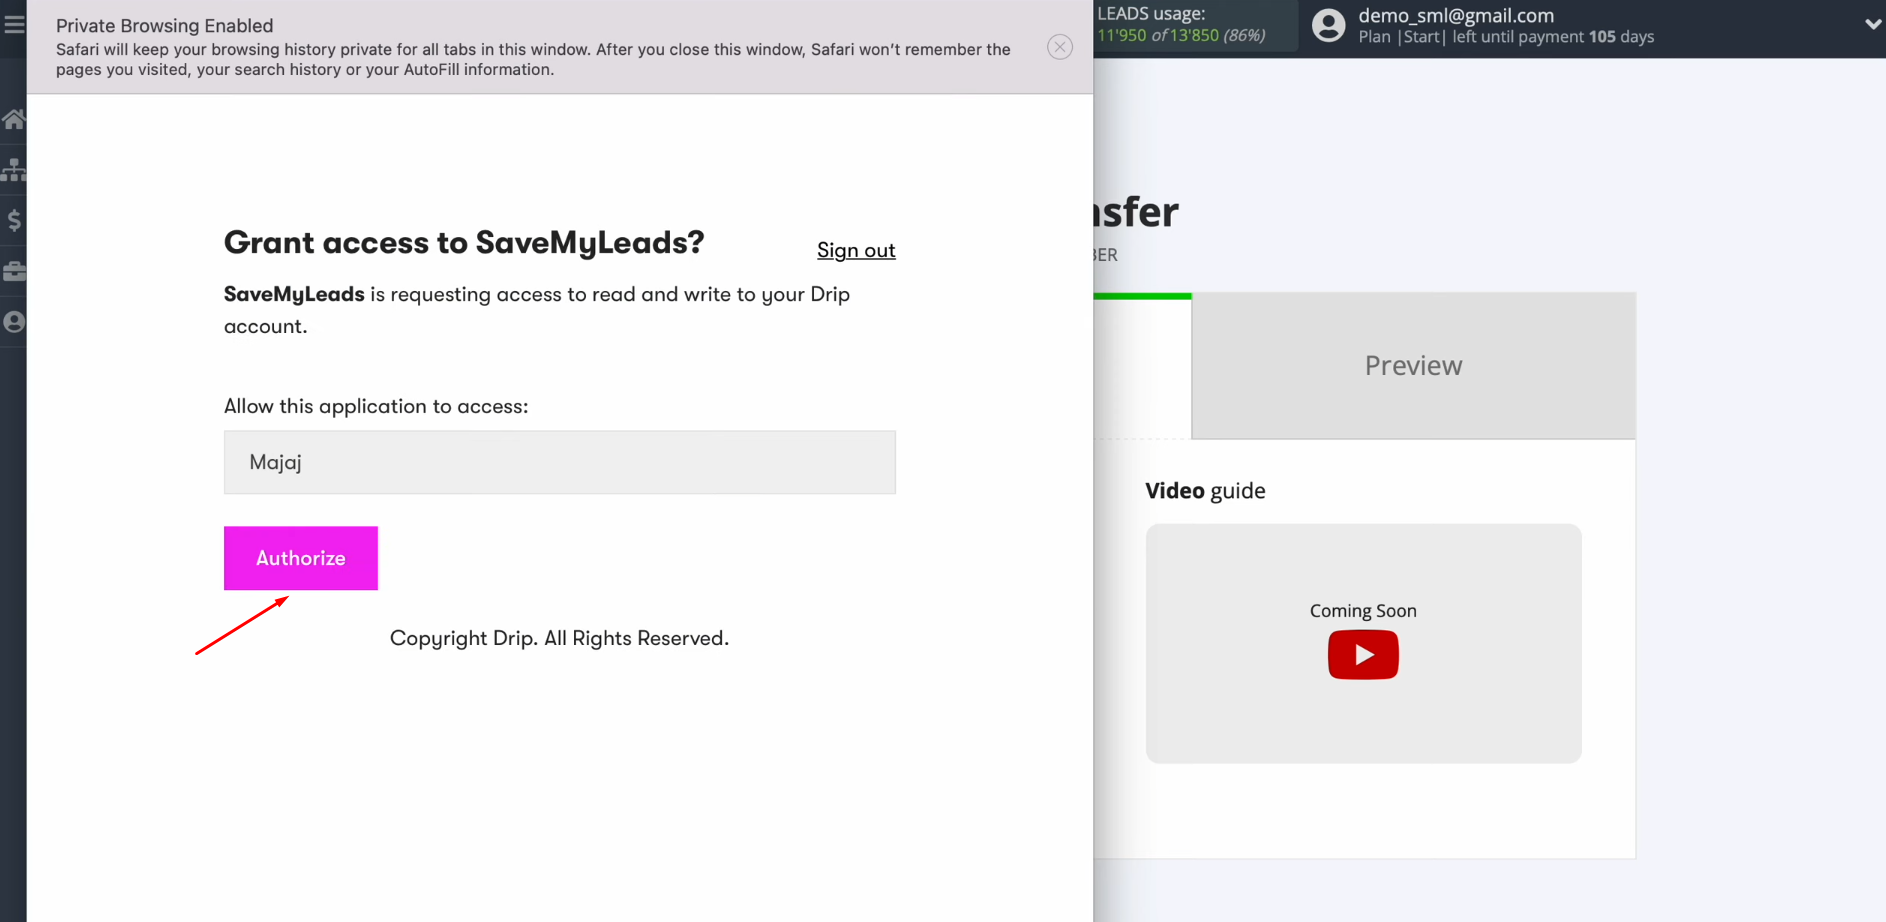
Now click “Authorize”.
When the connected account appears in the list, select it.
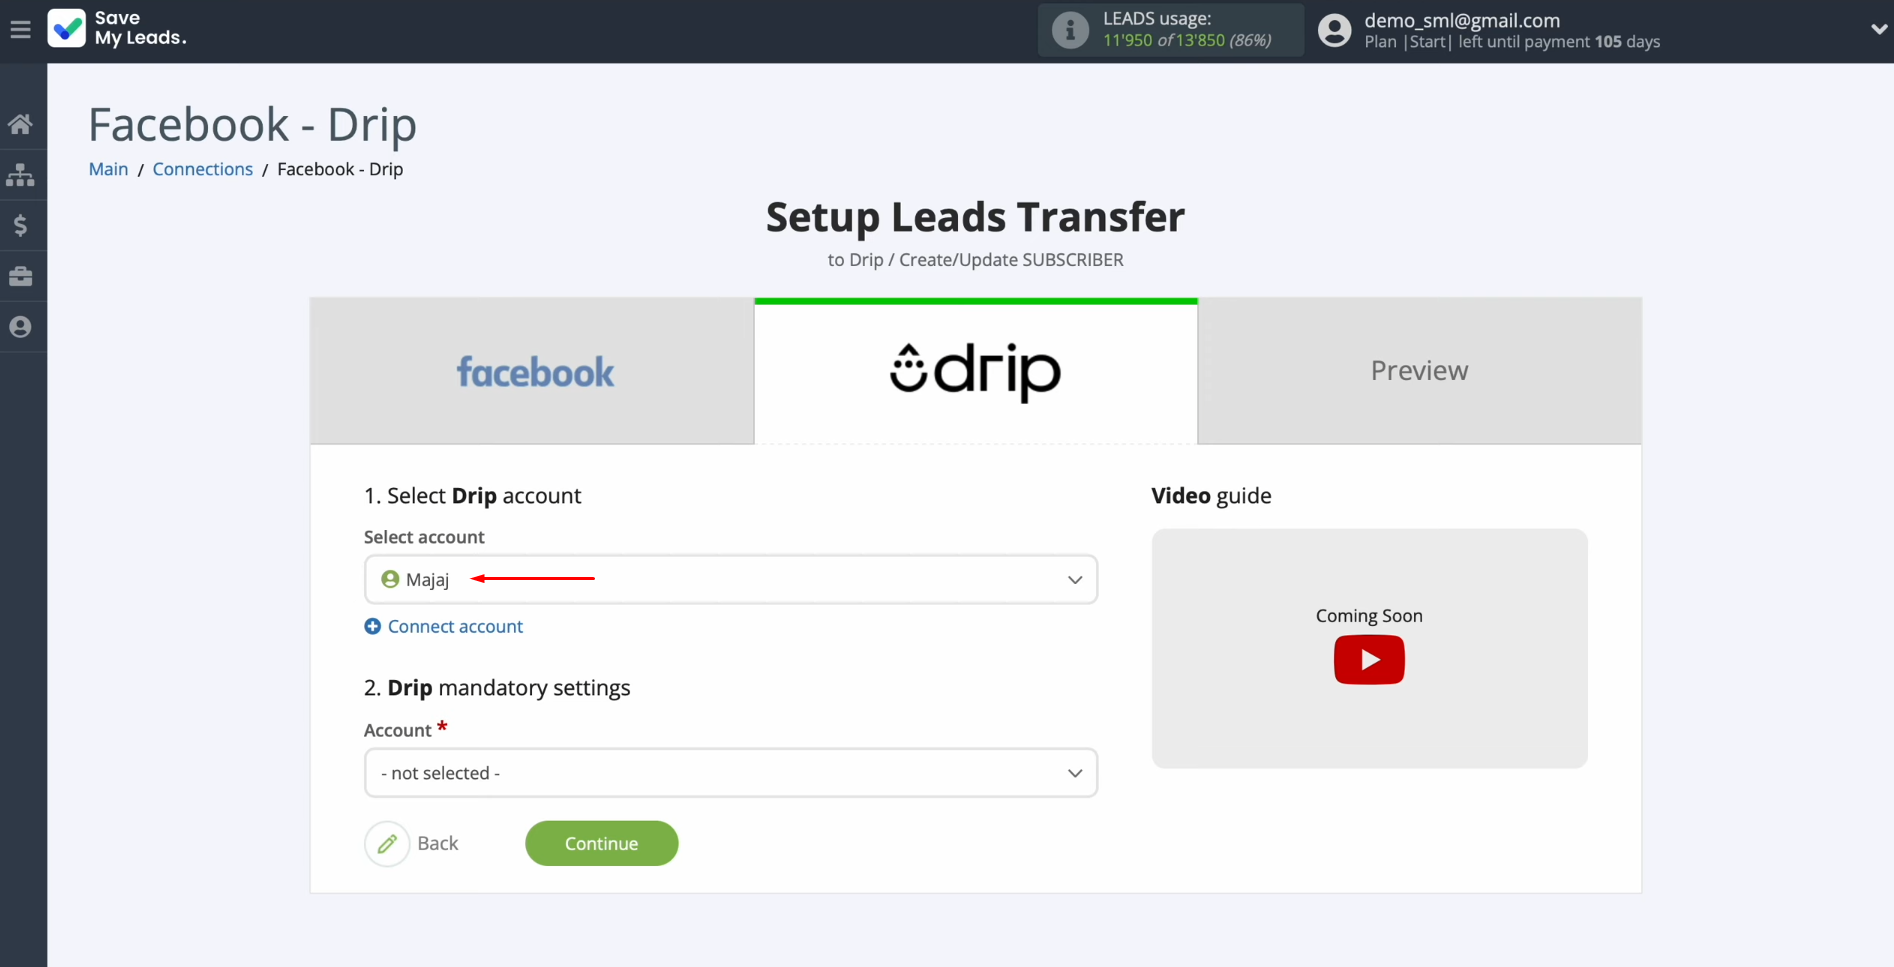
Next, you need to select an account in Drip settings.
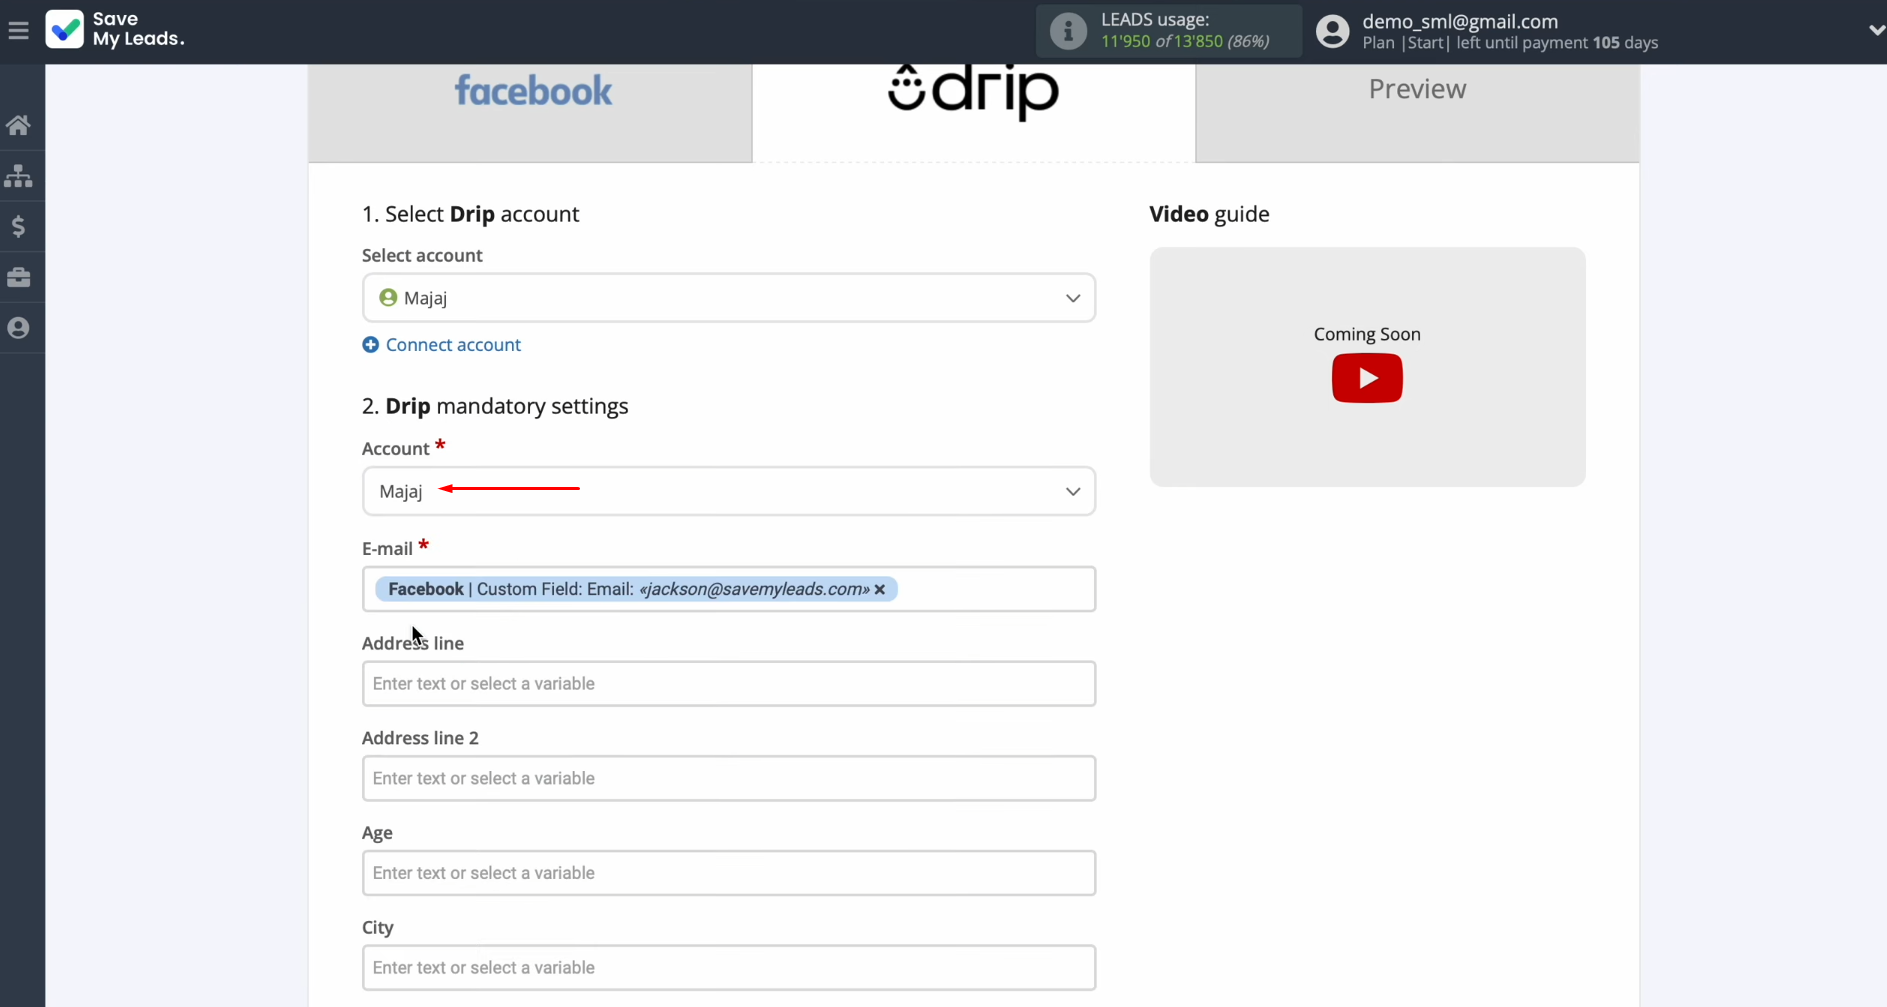
You see drip fields for creating new subscribers. You can assign variables from Facebook to these fields. To achieve this, click in the field and select a variable from the drop-down list.
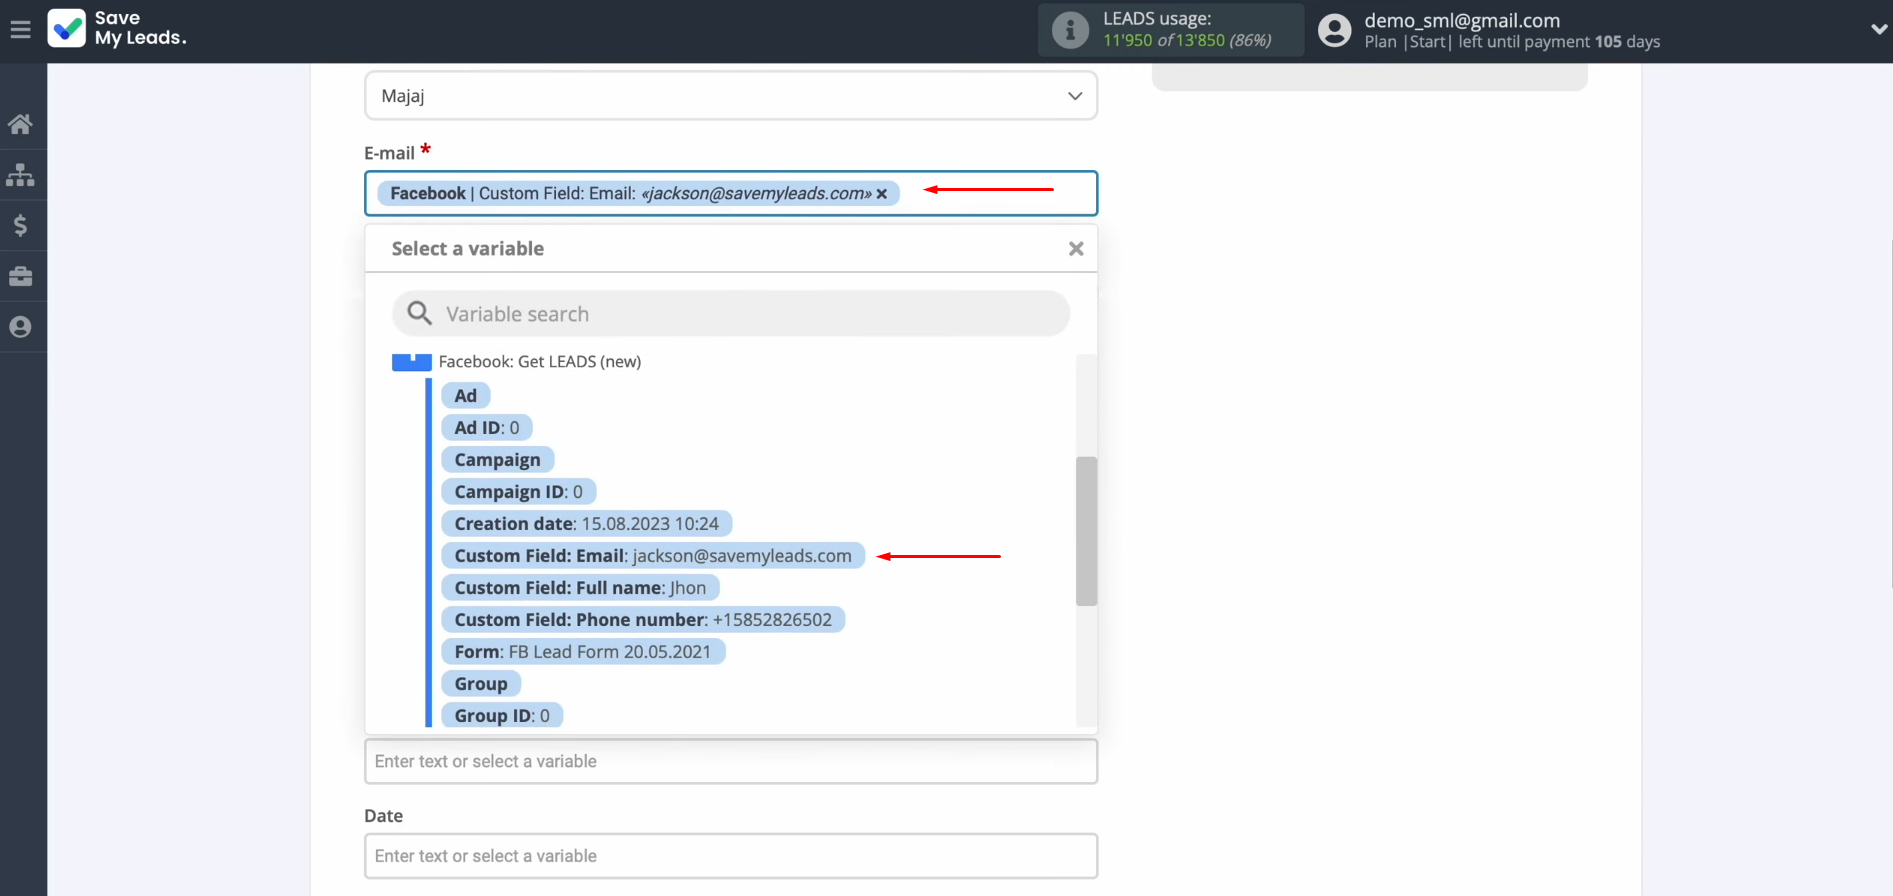
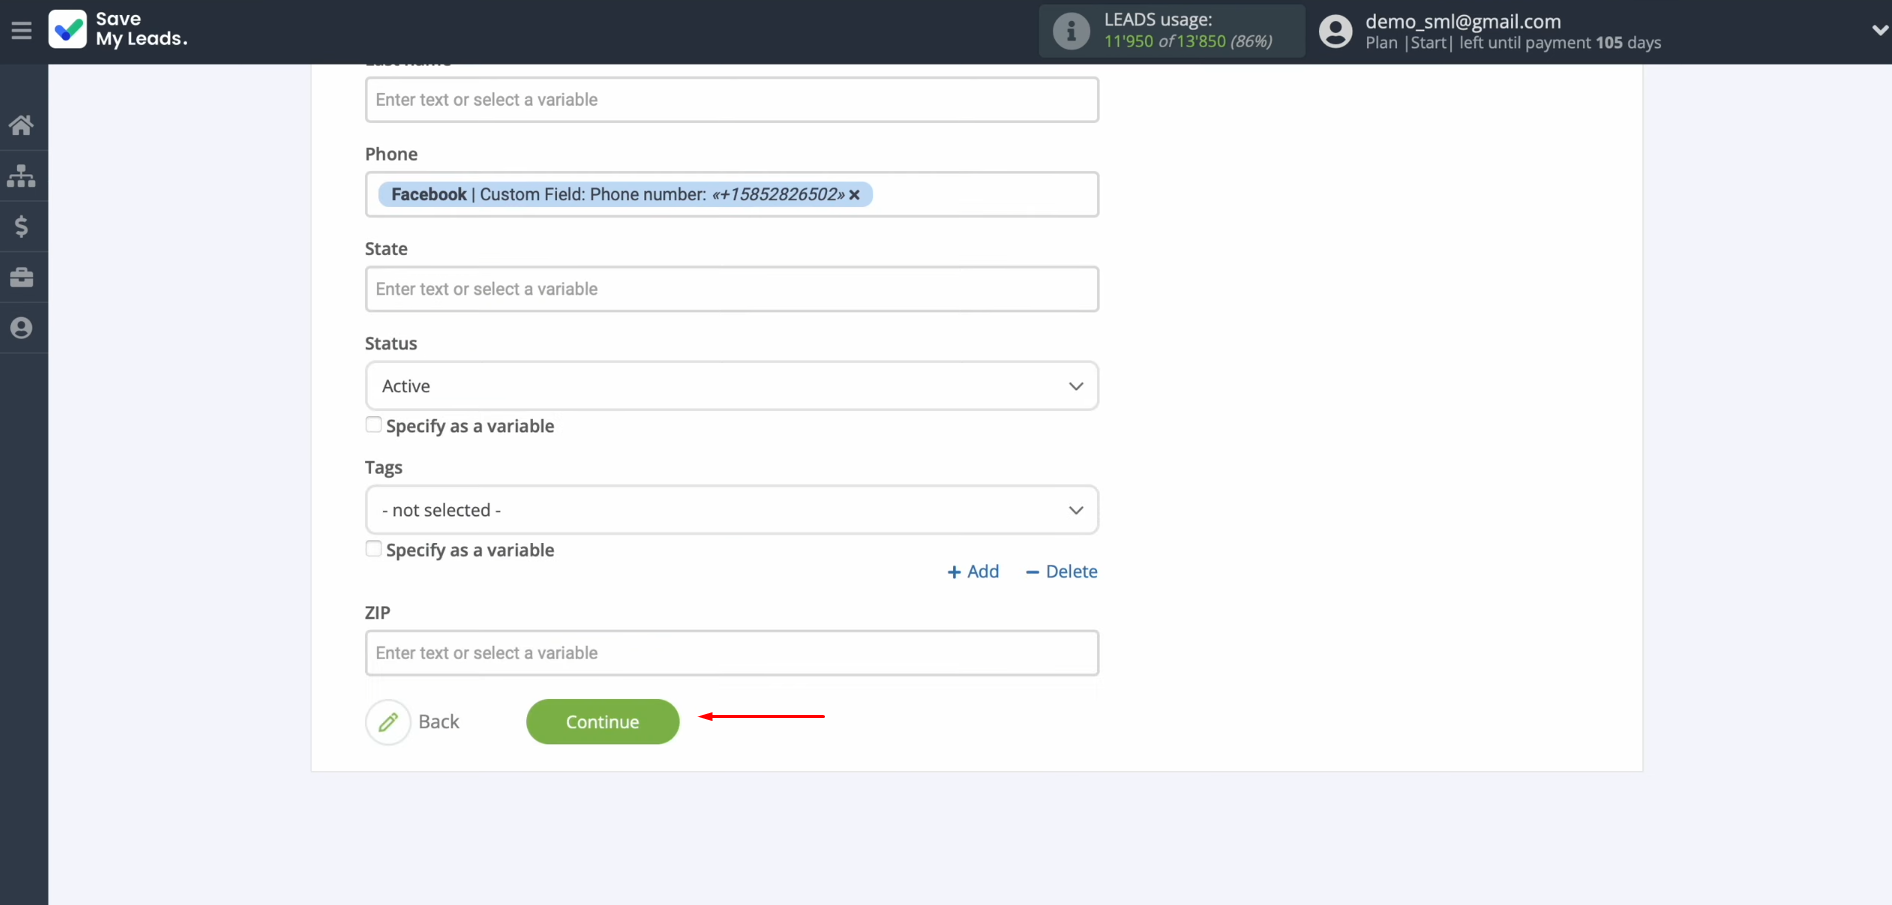
When all fields
are filled in, click
“Continue”.
At this point, you see an example of the data that will be sent to Drip in the form of new subscribers for each new lead from Facebook. If you are
not satisfied with something, click “Back”, and you will go
back a step. To check the correctness of the settings, click “Send test data to Drip”.
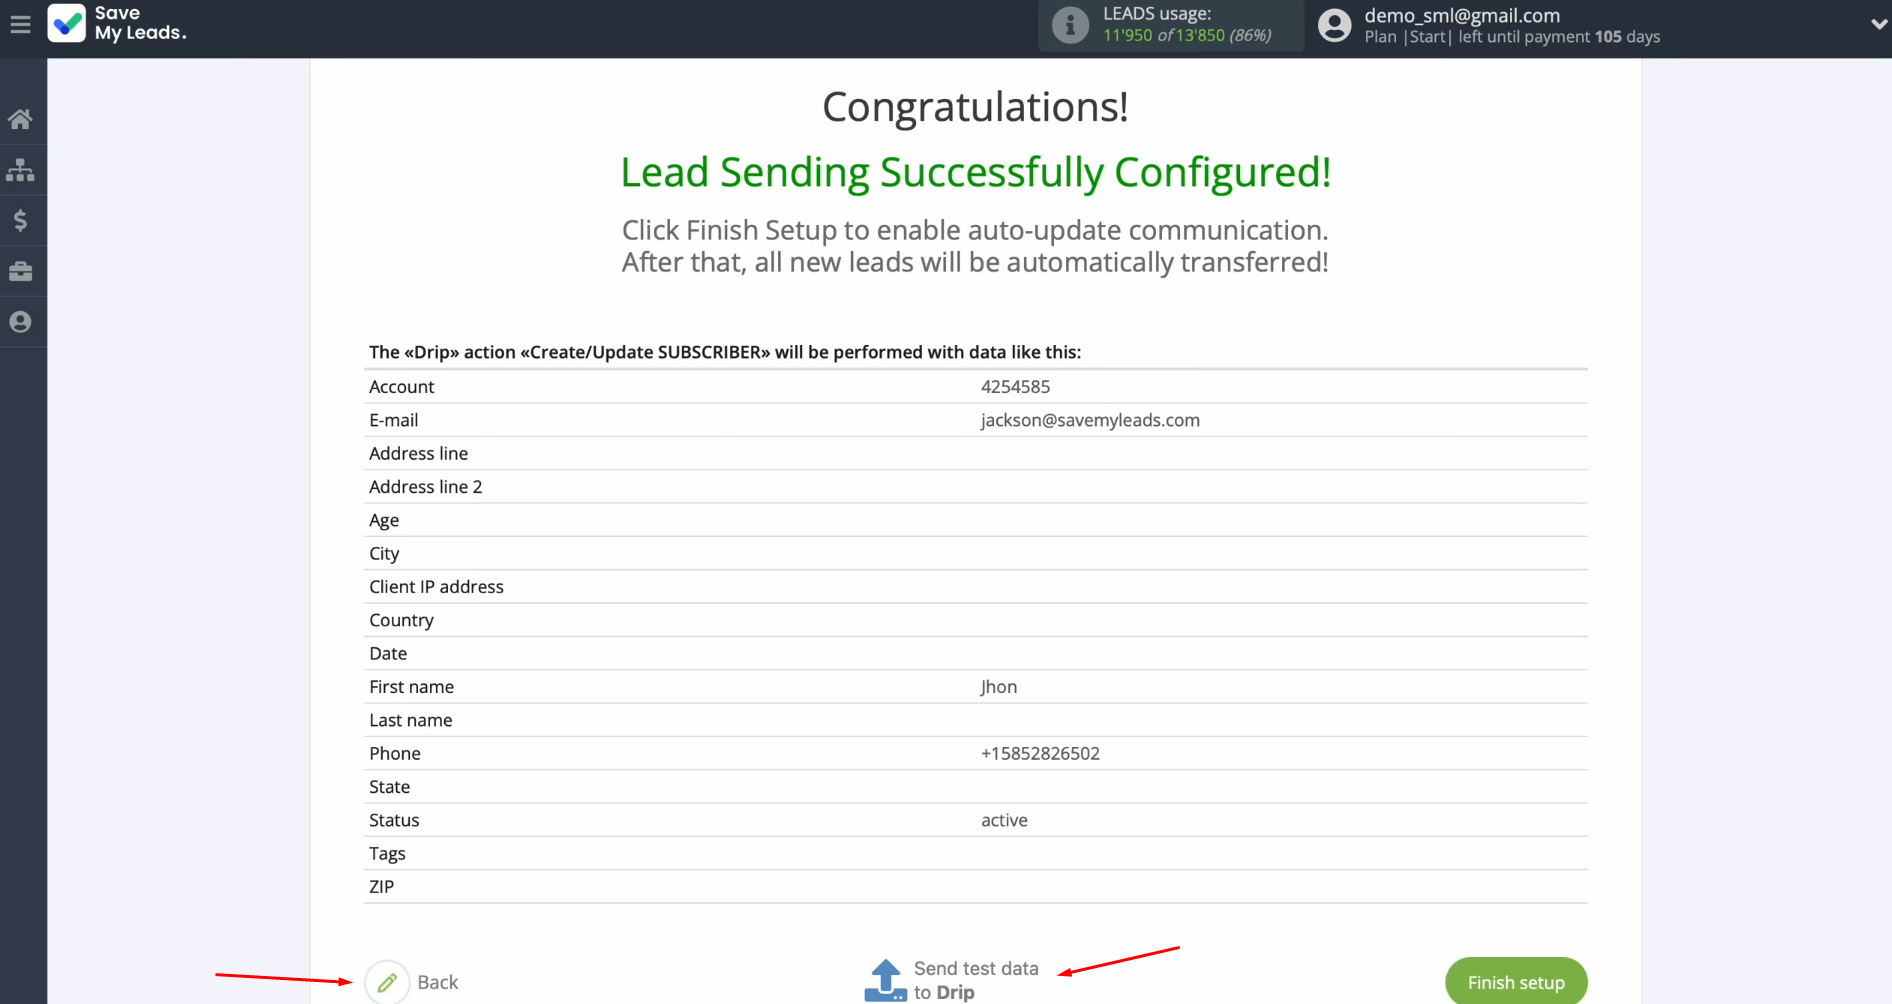
After successful sending, go to Drip and check the
result.
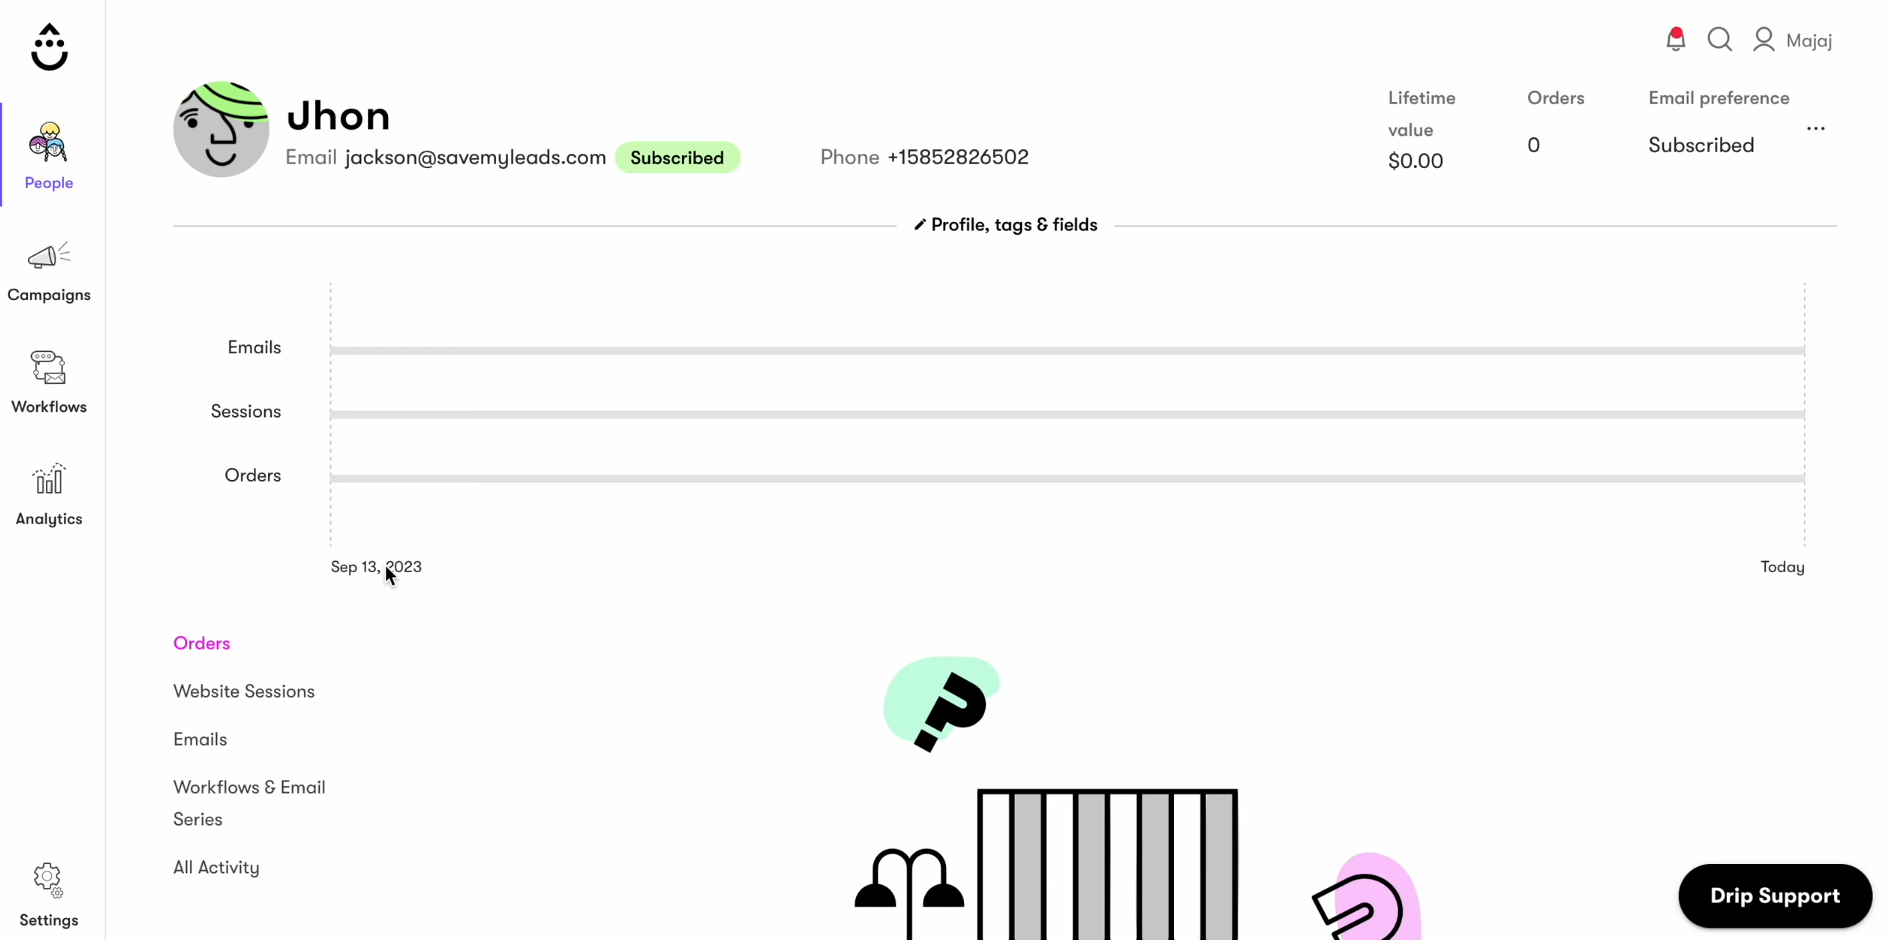
If you are satisfied with everything, return to SaveMyLeads and continue setting it up.
Setting Up Auto-Update
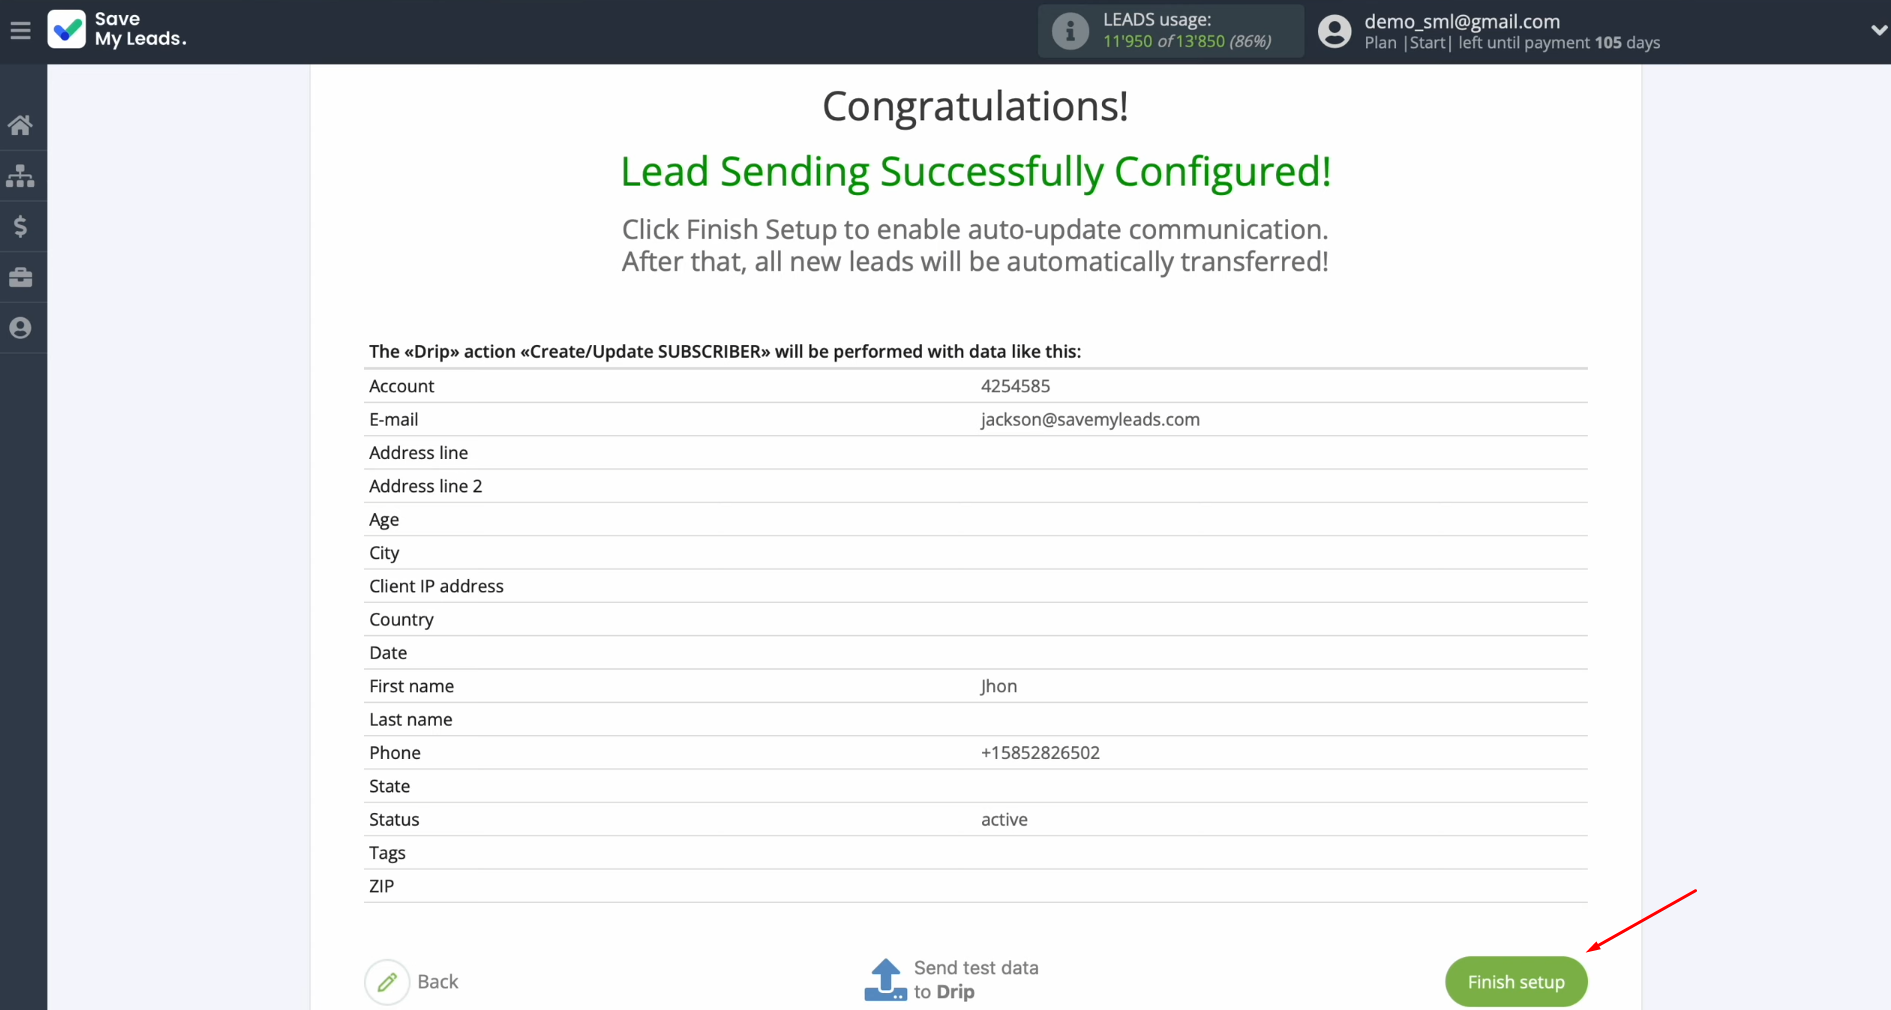
In order for new leads from Facebook to be instantly transferred to Drip in the form of new subscribers, you need to enable auto-update. To achieve this, click “Finish setup”.
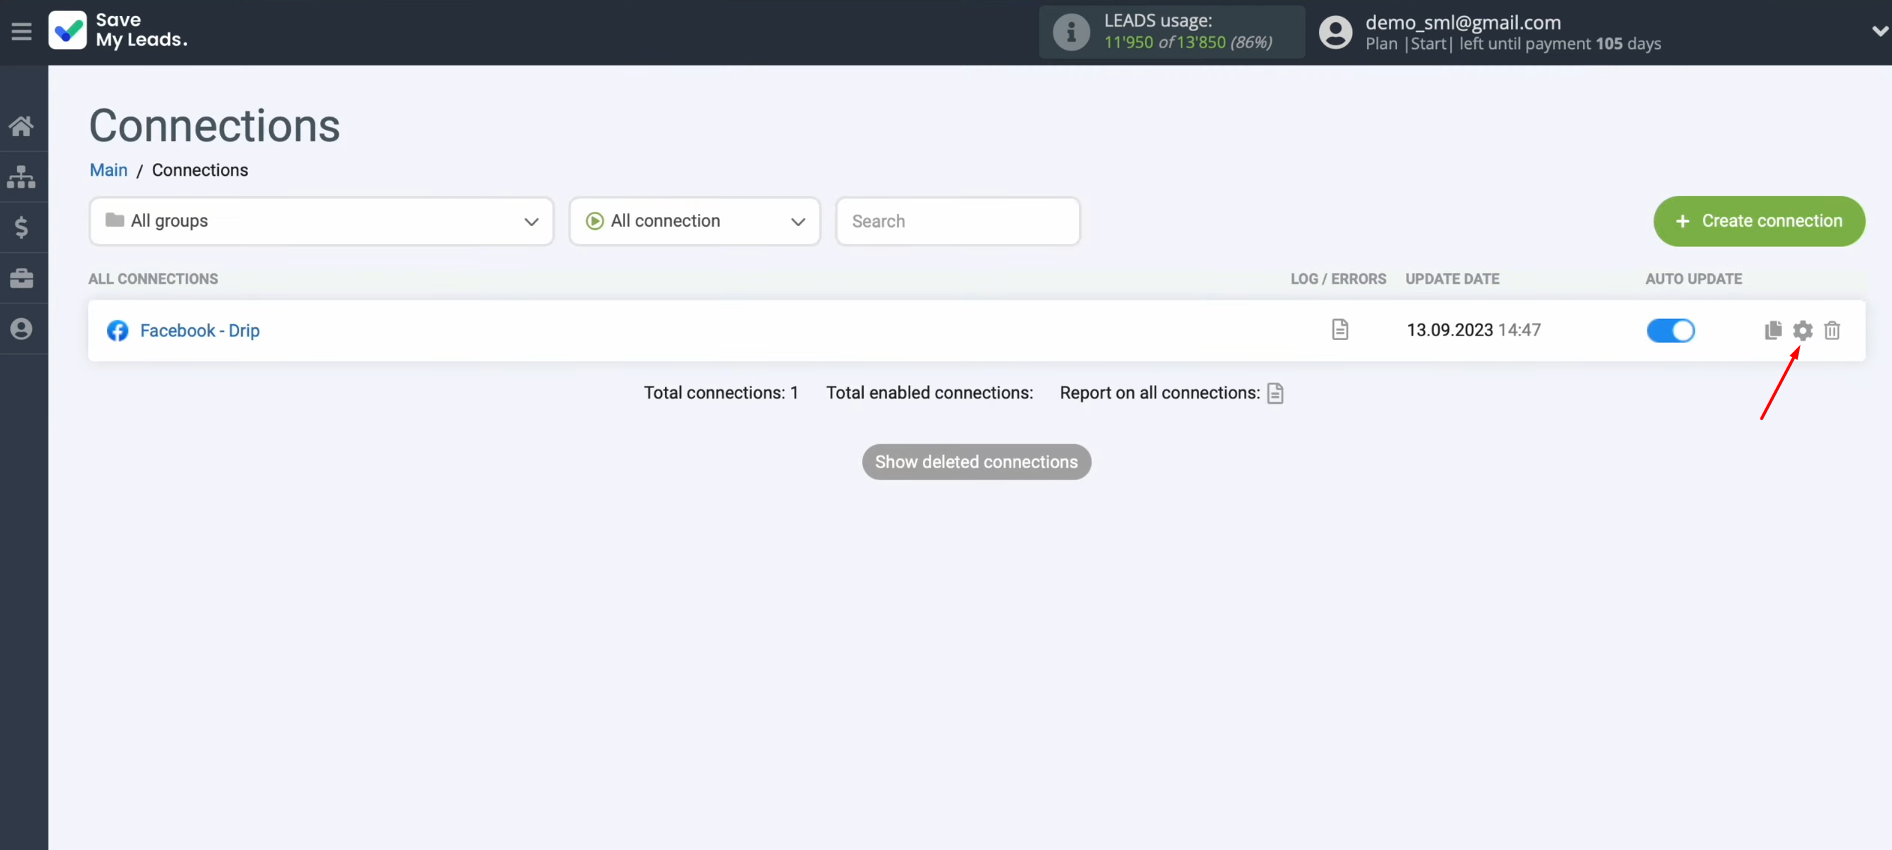
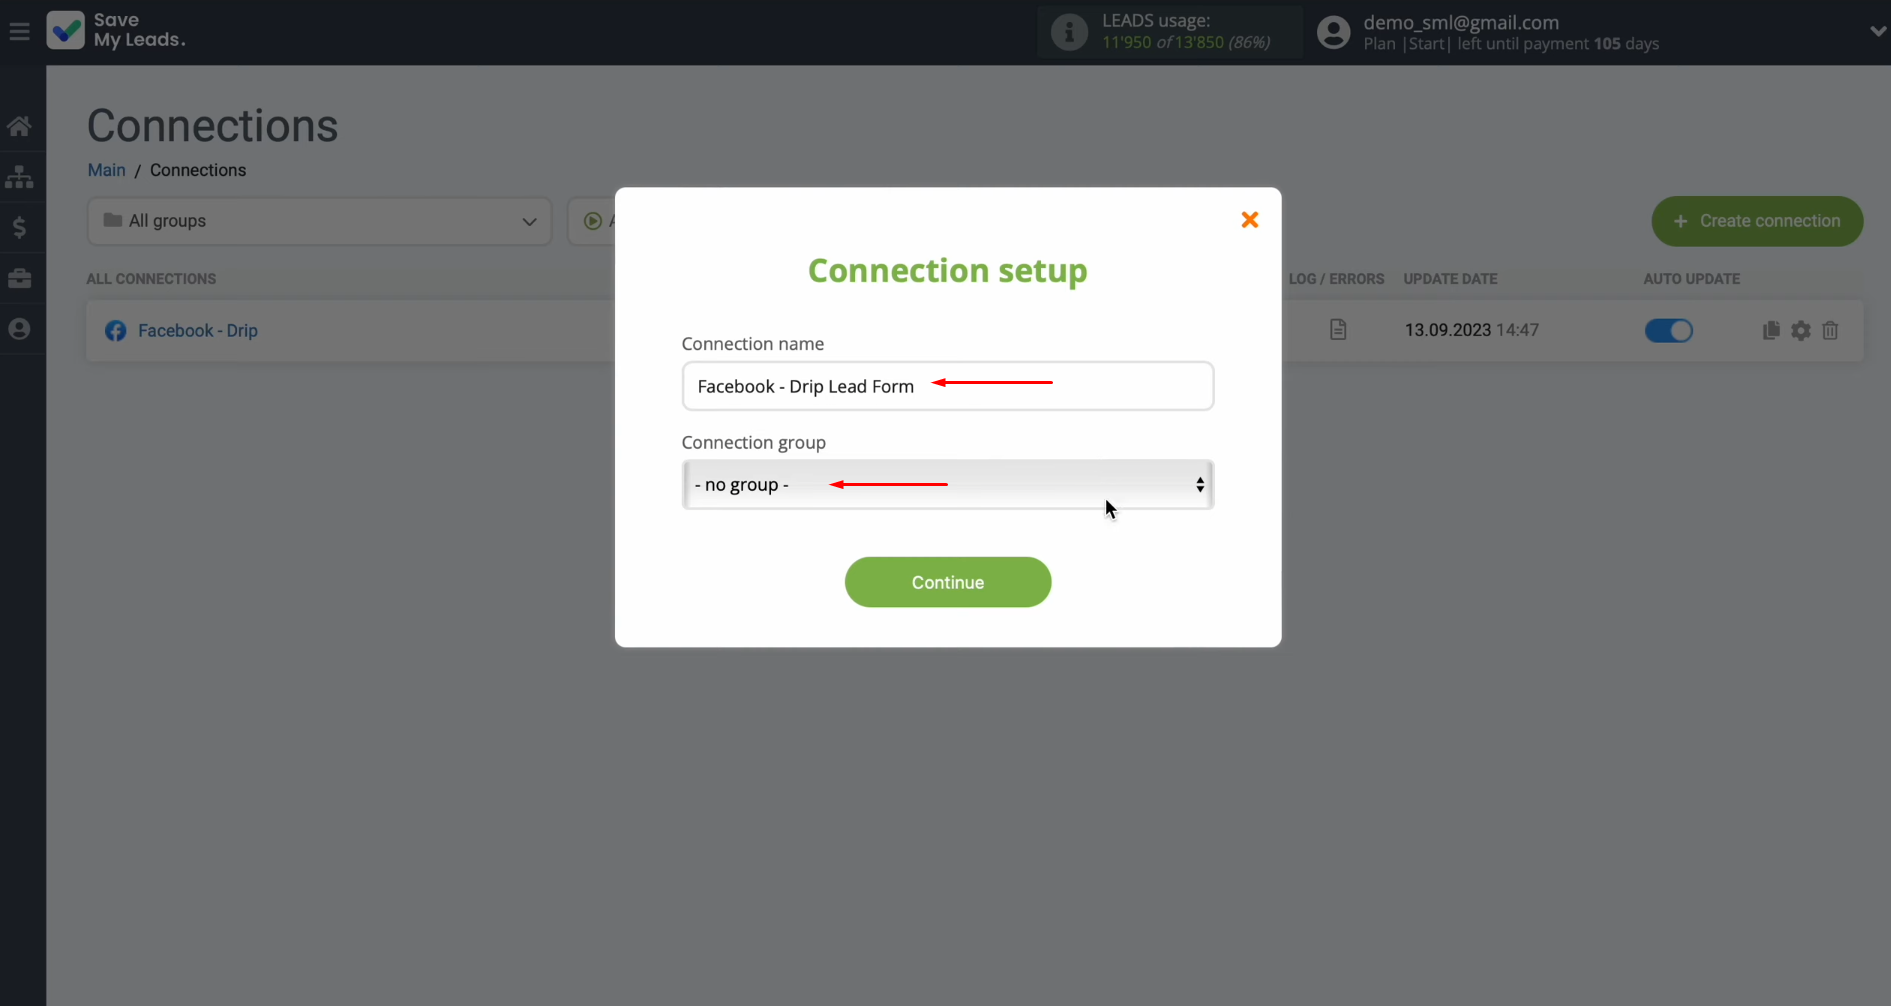
If you want to change the connection name, you can do this in its settings. For this, click on the gear icon.
Here you can change the
connection name and add your connection to the group. After that, click “Continue”.
Result of Facebook + Drip Integration
If you have followed all the steps in this instruction, you should have been able to successfully set up a connection
between the platforms and enable the automatic transfer of new leads.
Drip + Facebook integration will free you from the need to manually
transfer leads' data received from Lead Ads to the database of the
marketing automation platform. Now all this will happen on autopilot,
without your participation. Entrust the boring routine to our online
connector, SaveMyLeads, and use the time freed up as a result of such a
delegation of tasks to search for new ideas for business development or
think about new marketing tactics and techniques. Good luck!
Use the SaveMyLeads service to improve the speed and quality of your Facebook lead processing. You do not need to regularly check the advertising account and download the CSV file. Get leads quickly and in a convenient format. Using the SML online connector, you can set up automatic transfer of leads from Facebook to various services: CRM systems, instant messengers, task managers, email services, etc. Automate the data transfer process, save time and improve customer service.
